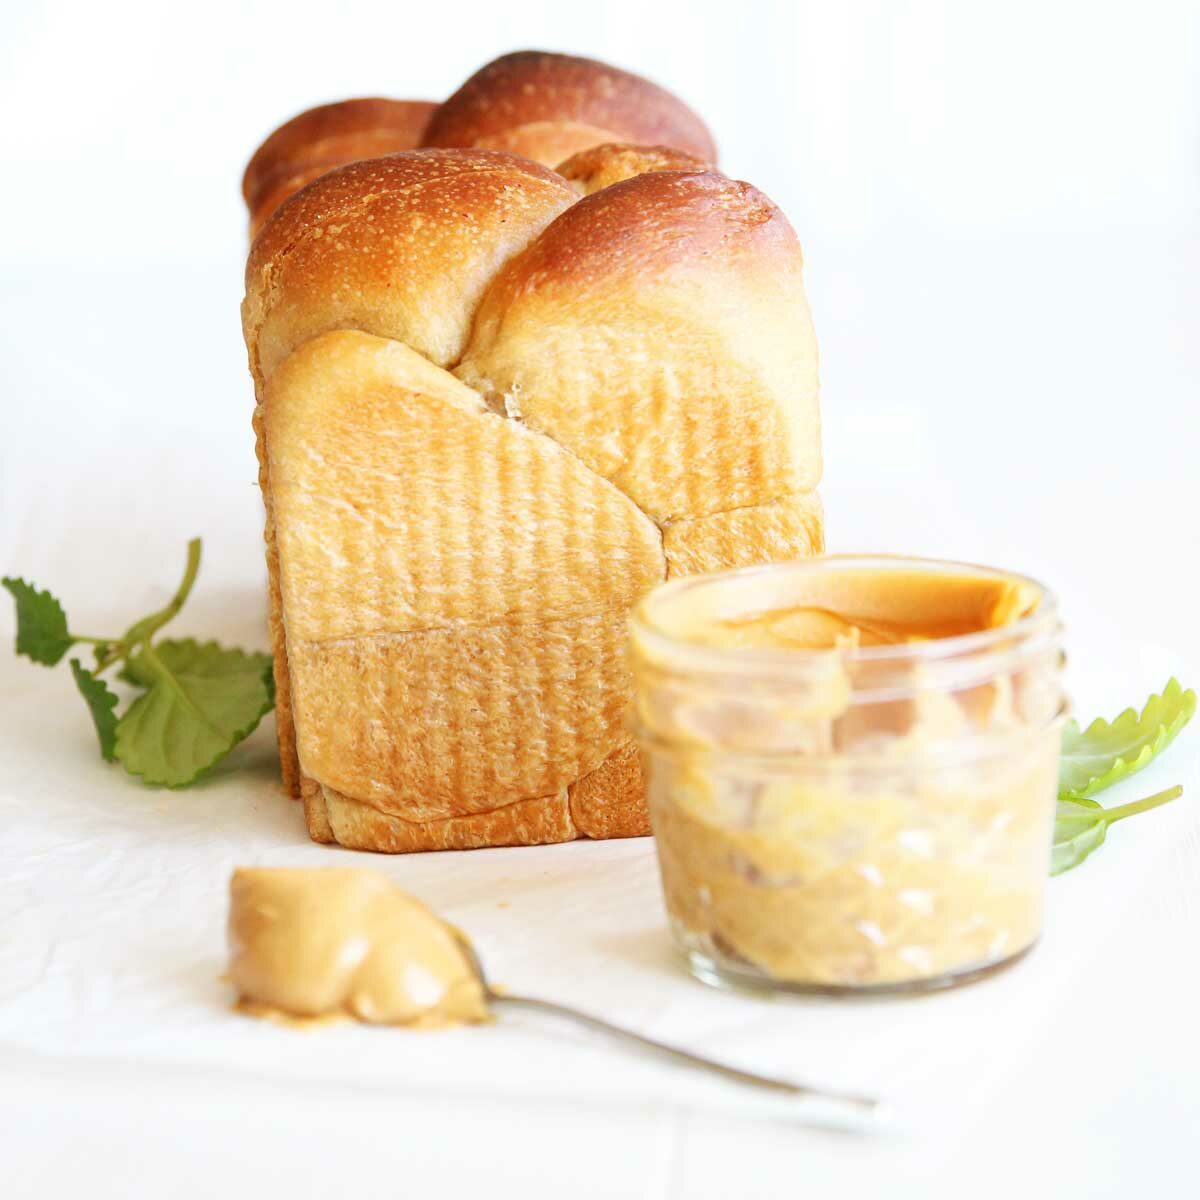
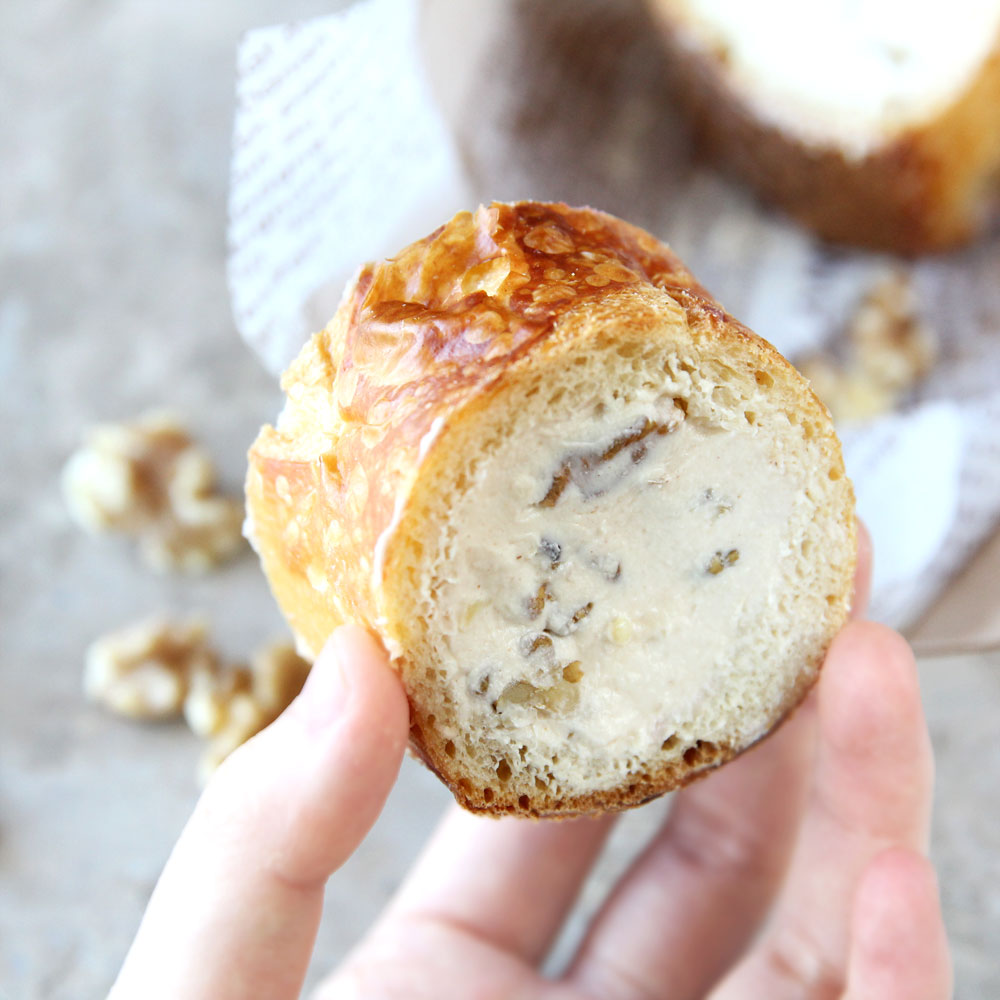
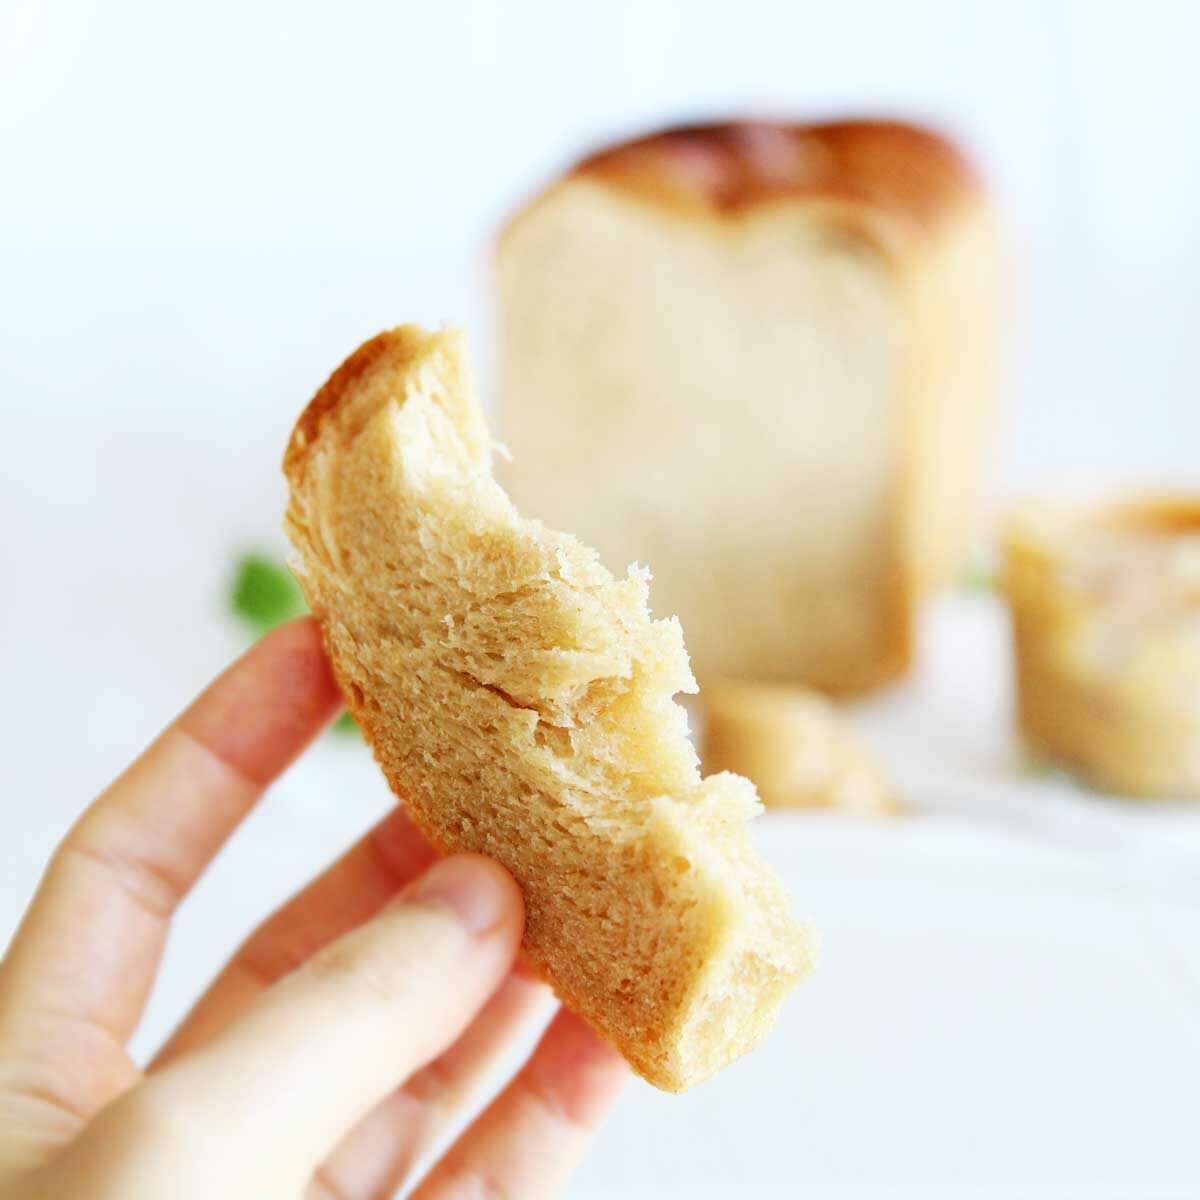
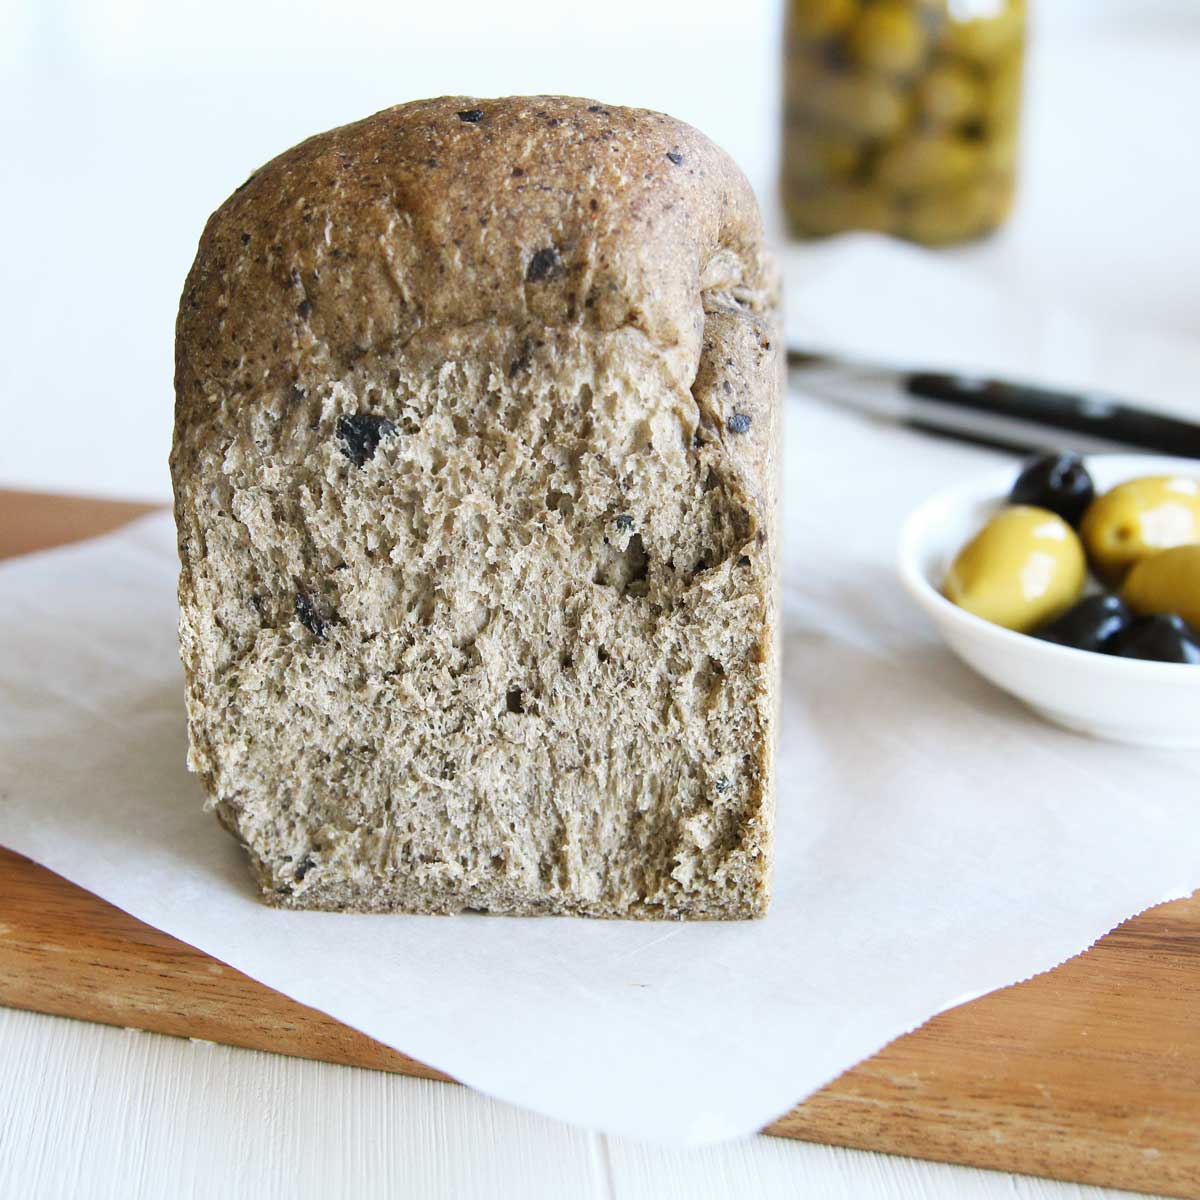
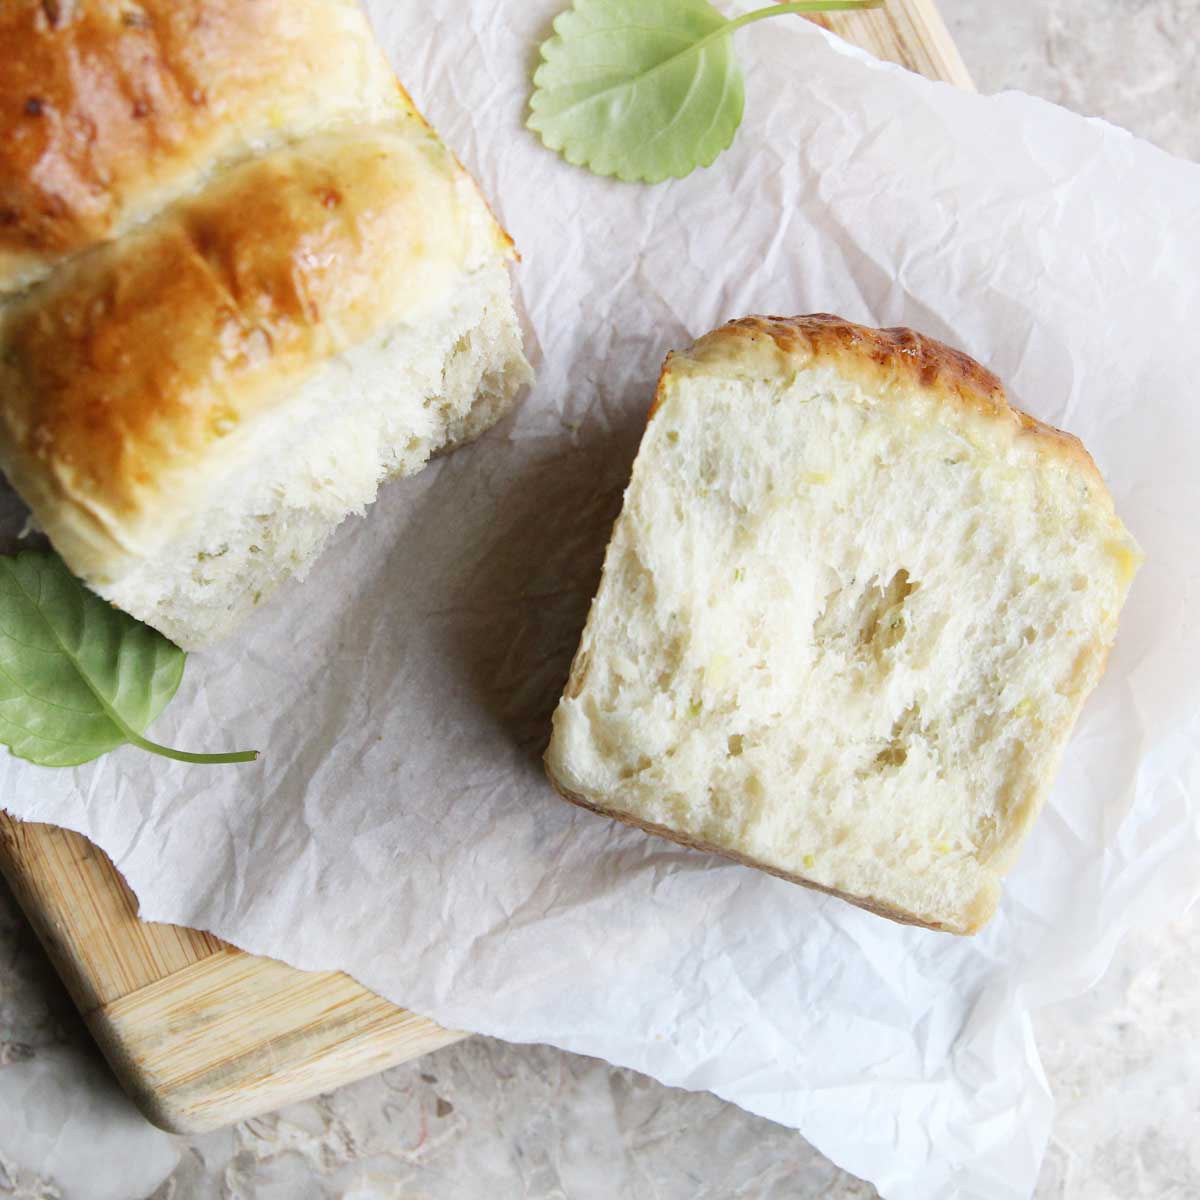
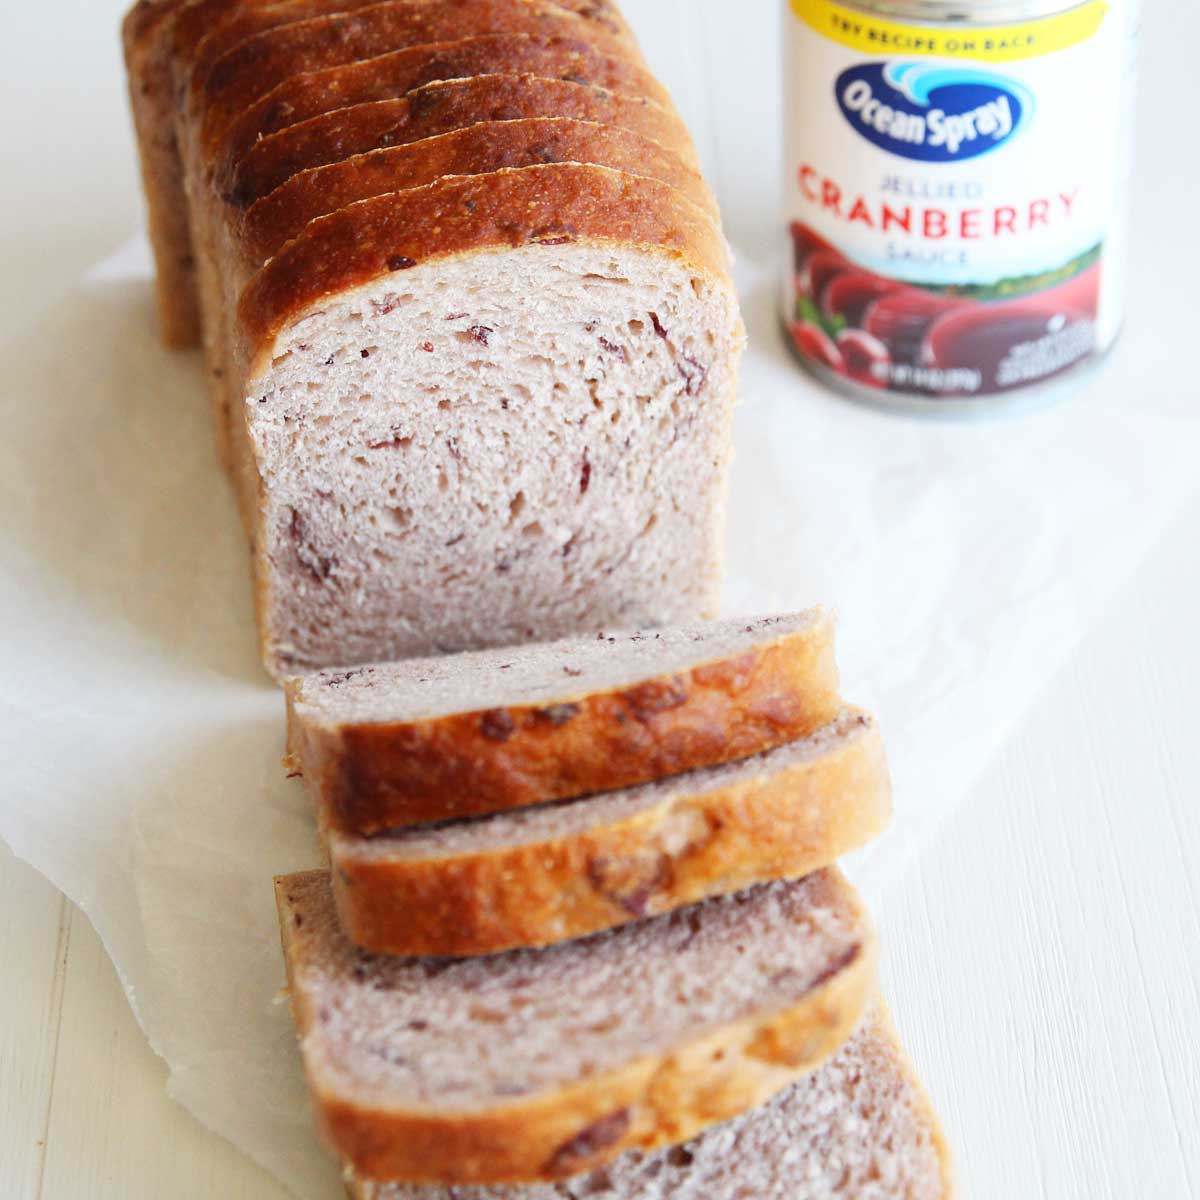
Here's a Peanut Butter Yeast Bread that's buttery, tender and melt-in-your mouth -- just like brioche! While traditional brioche recipes call for egg yolks and 1-2 sticks of butter per loaf (no wonder, since brioche literally translates into "butter cake" in French!) this lovely tan bread is an even better & healthier vegan version. No eggs, no dairy, and definitely no sticks of butter. In this easy recipe, the peanut butter completely replaces the butter, resulting in one dense, rich bread with an amazing nutty scent that's sure to be one of your favorite homemade peanut butter recipes!
HERE’S WHY I LOVE THIS RECIPE
- No eggs, milk or butter and vegan friendly!
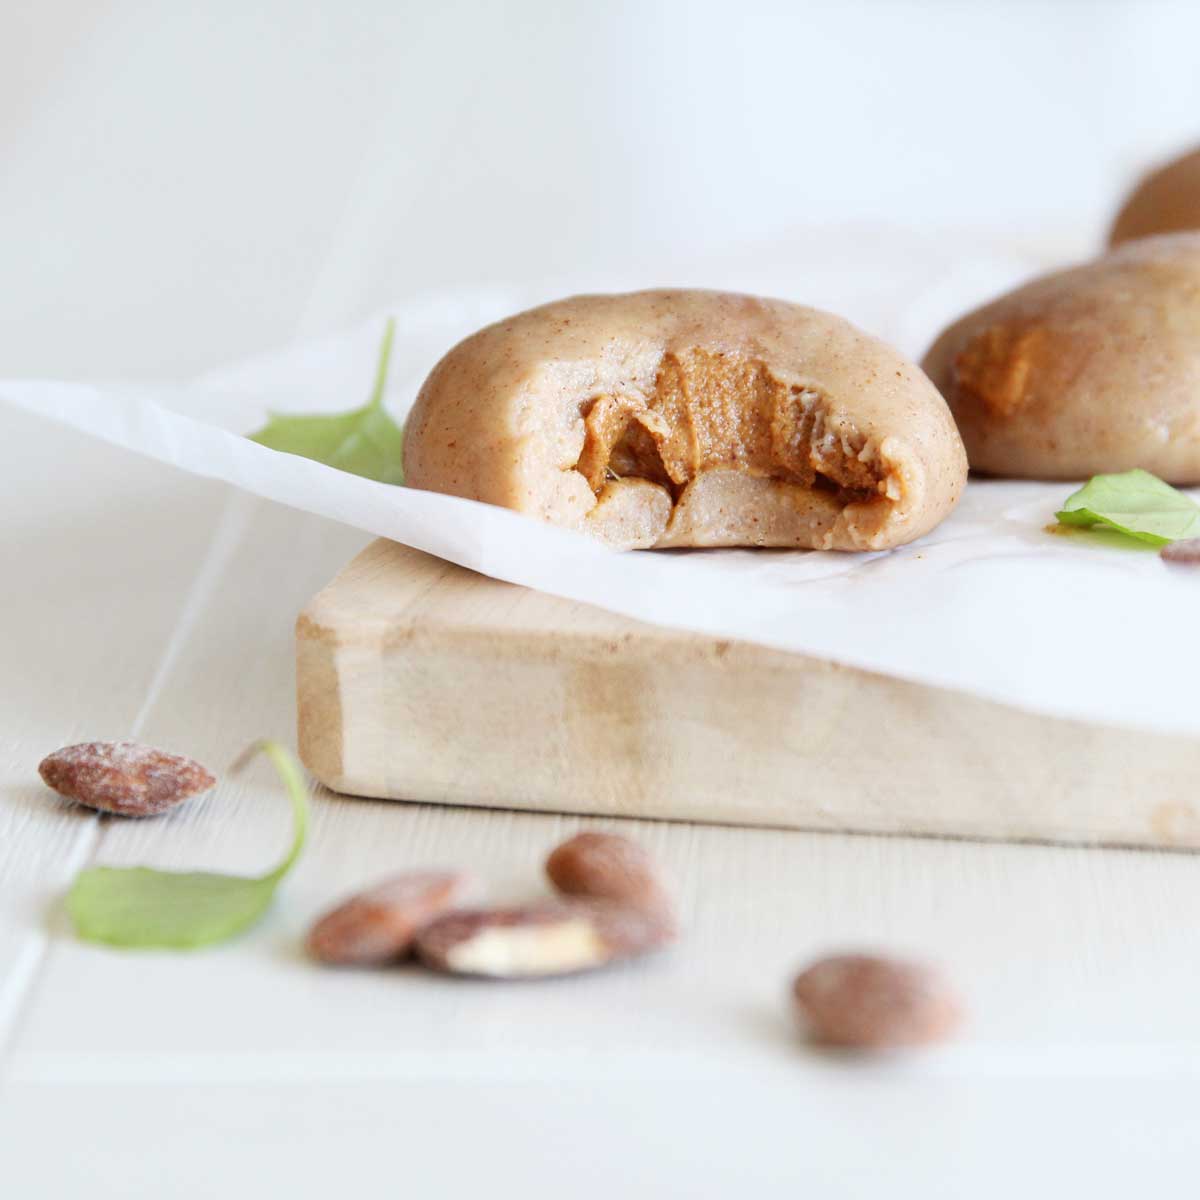
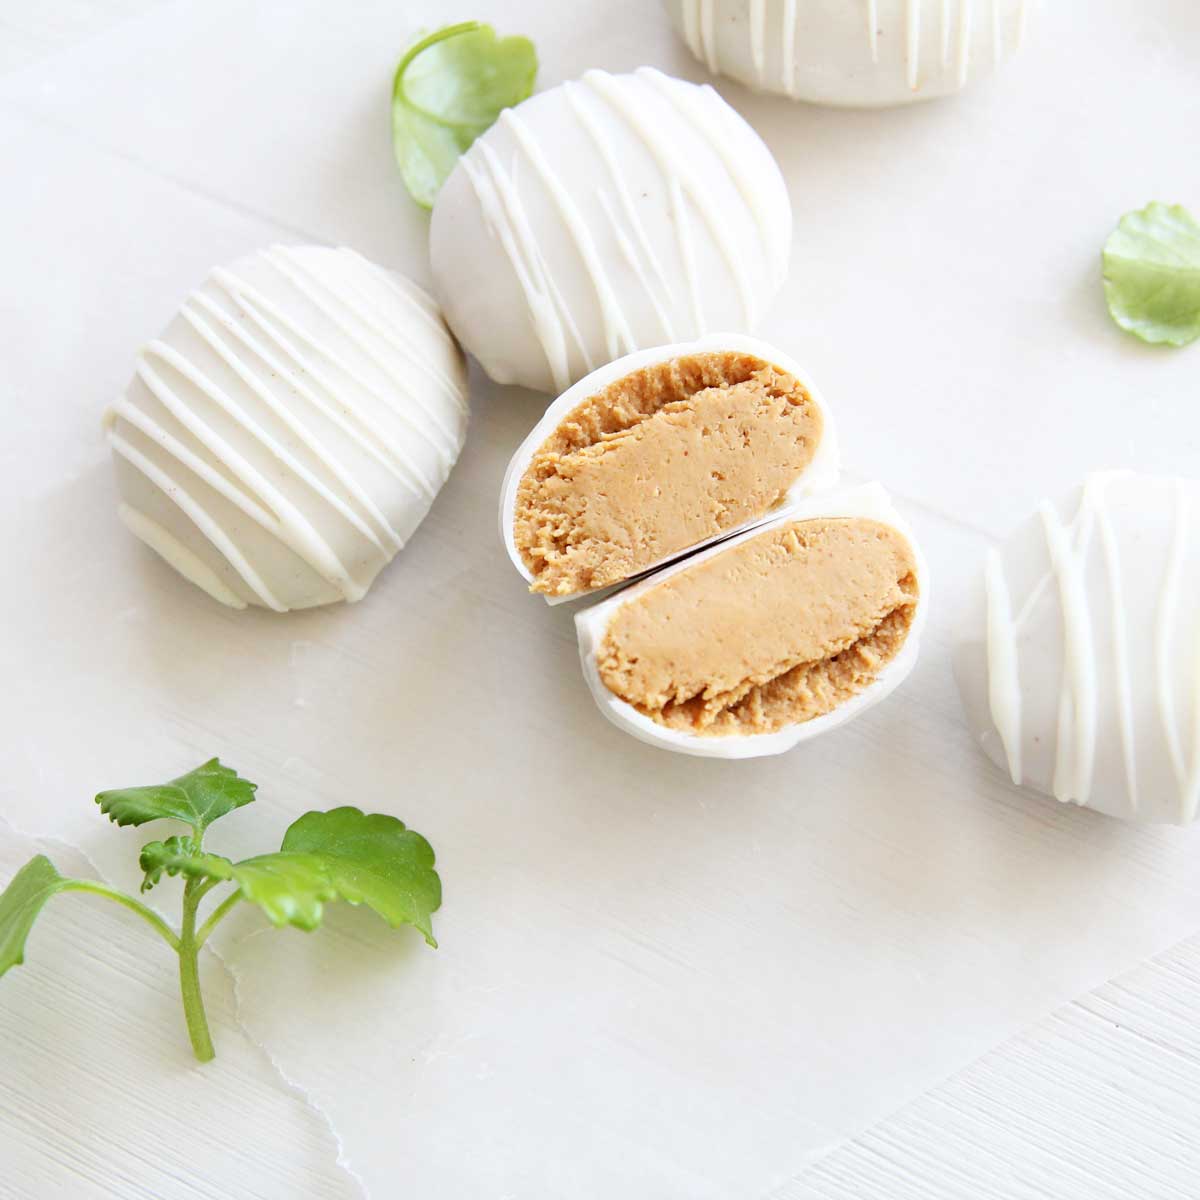
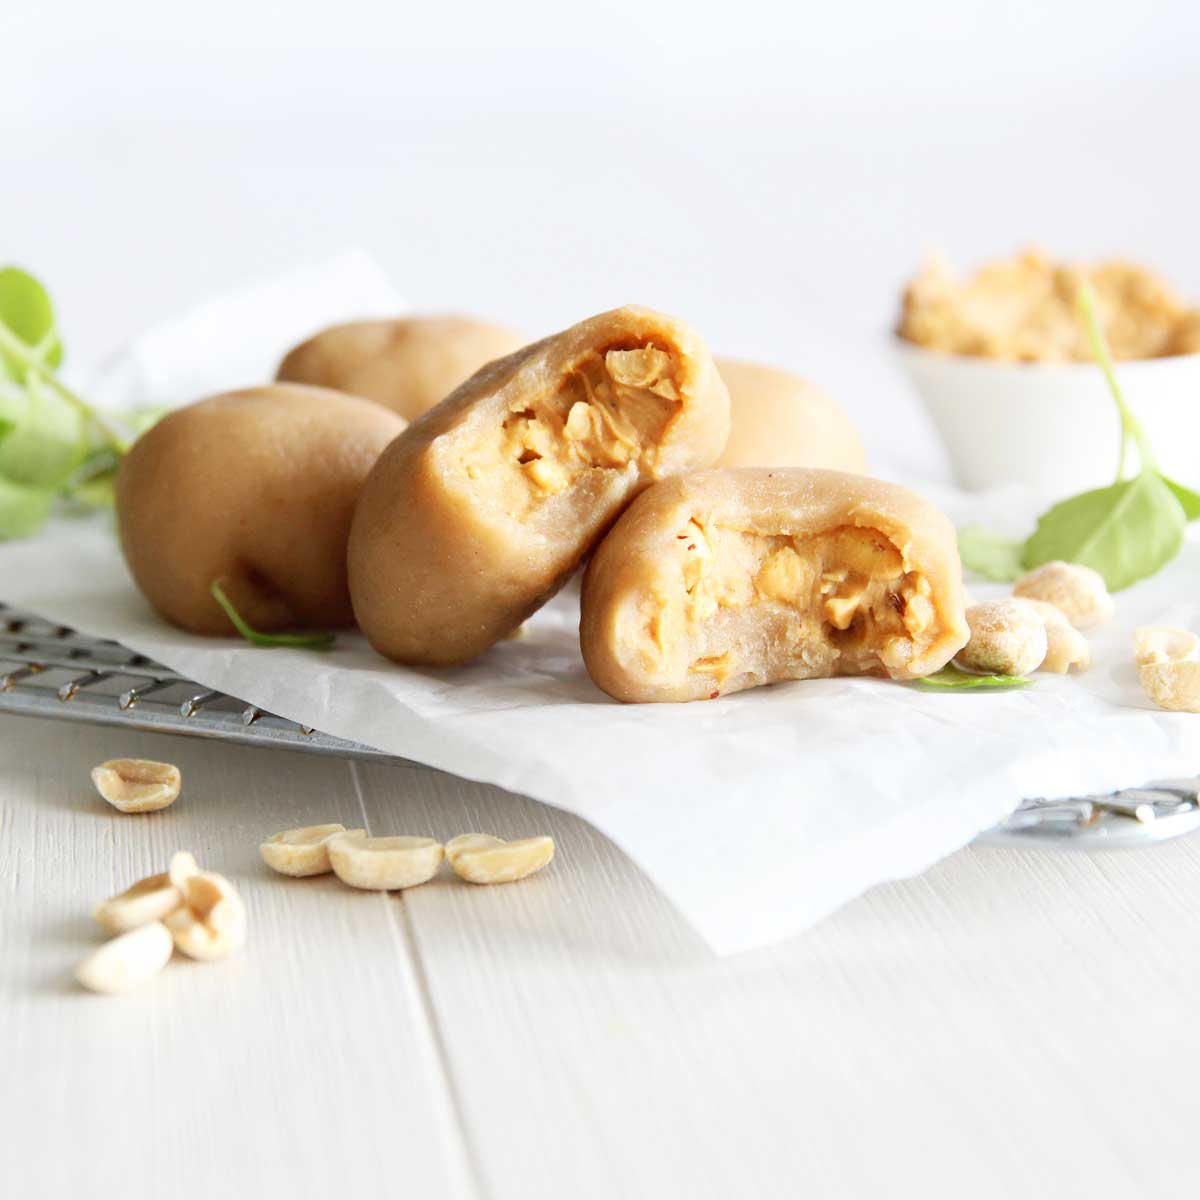
- The creamy peanut butter is the star of this recipe. It gives these bagels a rich, nutty flavor.
- Minimal kneading is required, and the stuffing part is actually fun to make.
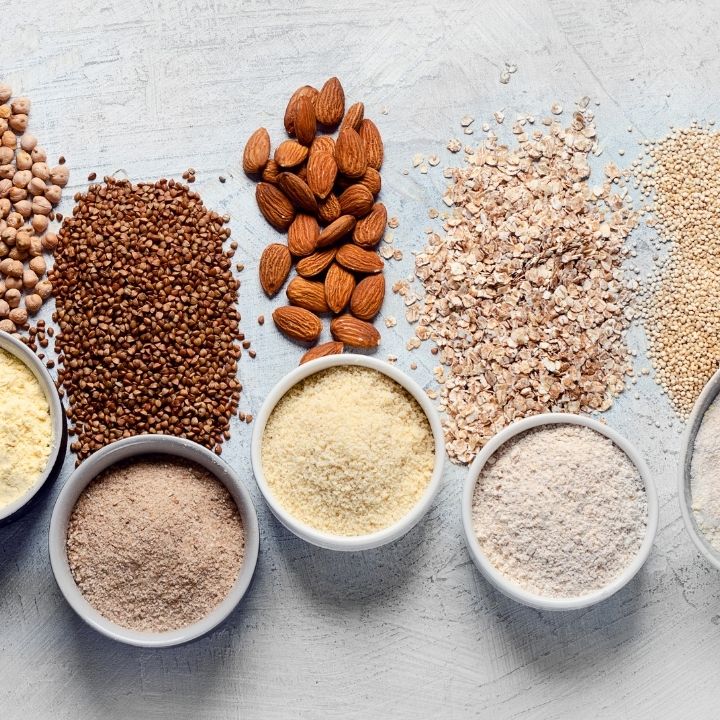
- There’s a good source of nutrients and fiber, thanks to the peanut butter, the chopped nuts and added almond flour
Ingredients Used to Make This Peanut Butter Brioche Loaf Recipe
**I've linked some of these ingredients to amazon.com to give you an idea of what they are, but you should also be able to find them in your local grocery store (usually, the baking aisle, or the natural & organic food section). They are also affiliate links, which means that I earn a commission as an Amazon Associate if you decide to purchase the items. The price will be the same for you, link or no link 🙂
- Bread Flour - I used bread flour for this recipe (I use King Arthur Bread Flour most), which I prefer and highly recommend for the best texture and structure. Please read the note on the substitution section below if using other flours.
- Instant Yeast - you can find instant yeast in the baking section near the flours. My favorite is SAF Instant Premium Yeast, which works quickly and consistently produces great results. I recommend using instant yeast over active yeast for this recipe since active yeast (unlike instant yeast) needs to be activated in water, which we don't add until the very end.
- Sugar - I used raw cane sugar, but you can use regular granulated white sugar, or healthier alternatives like coconut, date, or maple sugars which are less processed and more natural. I also sometimes like to use honey powder.
- For yeasted breads, I would not recommend using sugar-free substitutes such as monk fruit sweetener or stevia powder since they can cause the bread to not rise properly. If you prefer a lower sugar recipe, you're welcome to leave out the sugar. The bread might taste slightly plain, but it will not significantly impact the shape or texture of the bread.
- Salt - Pink Himalayan salt is what I have at home, so it’s what I use, but you can use any kind for this recipe.
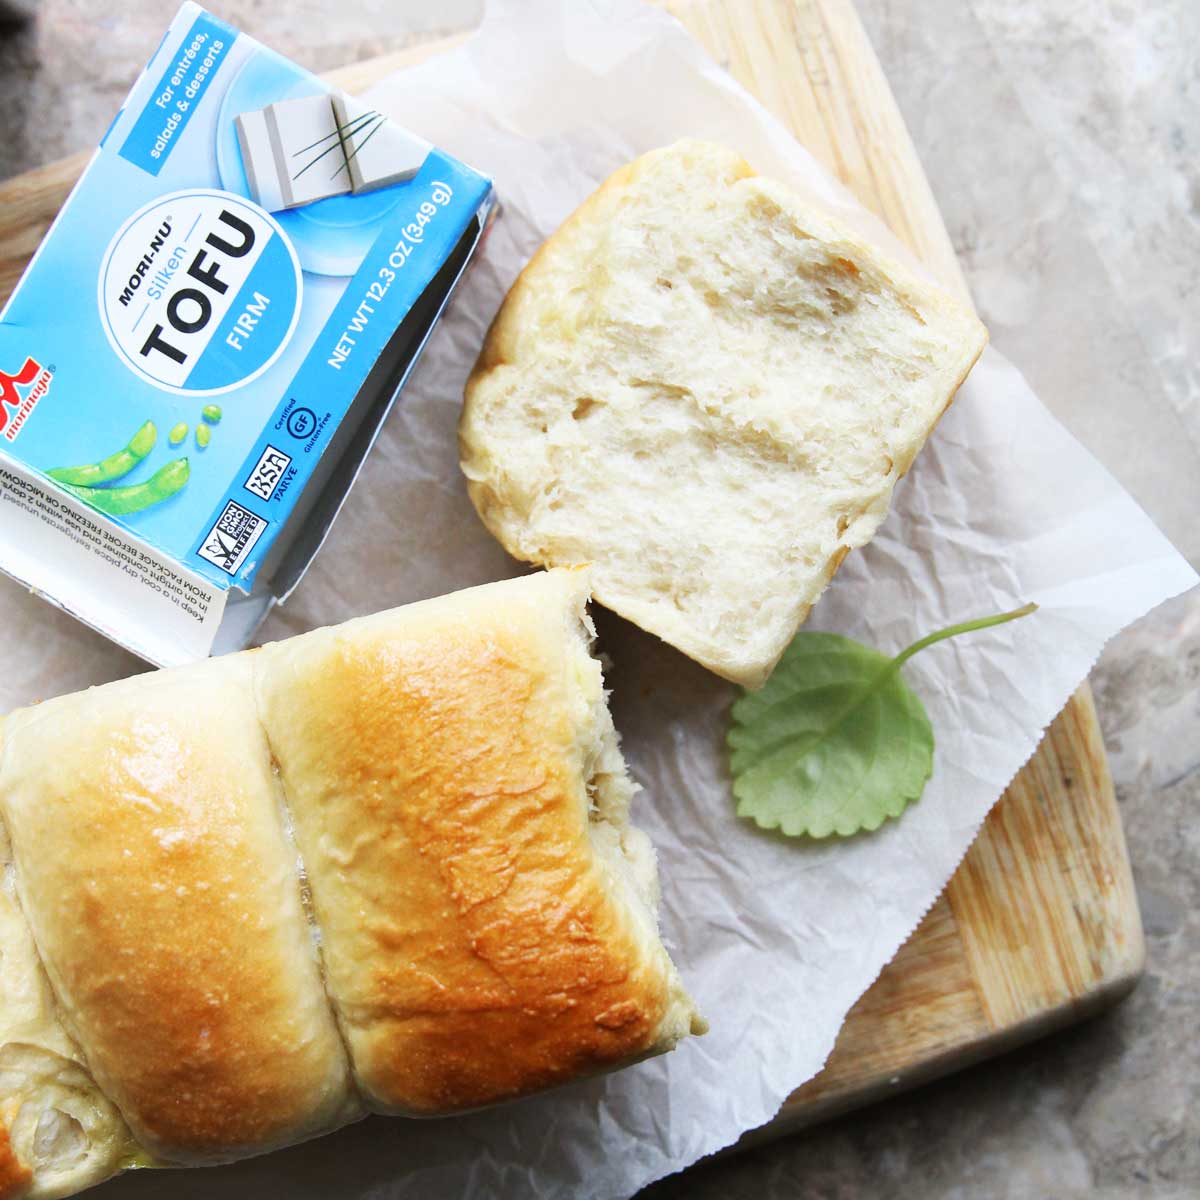
- Almond milk - or any other milk of choice (can be dairy or dairy free milk). Water also works.
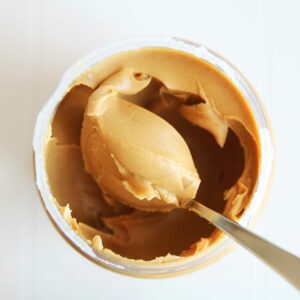
- Creamy Peanut Butter Spread – such as Jif. This ingredient is what will replace the butter that goes in a traditional brioche recipe.
Equipment
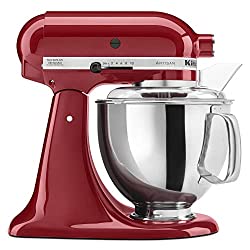
- I used a KitchenAid Stand Mixer with a dough hook to knead the dough. You're also welcome to use a bread machine, or knead the dough by hand.
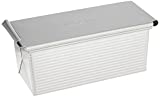
Bread Pan
- I used a 9 x 4 x 4 pullman loaf pan for this recipe, which helps to create tall breads with straight sides/ edges that's perfect for baking sandwich breads. If you don't have a pullman loaf pan, you can also use a 9 x 5 loaf pan instead.
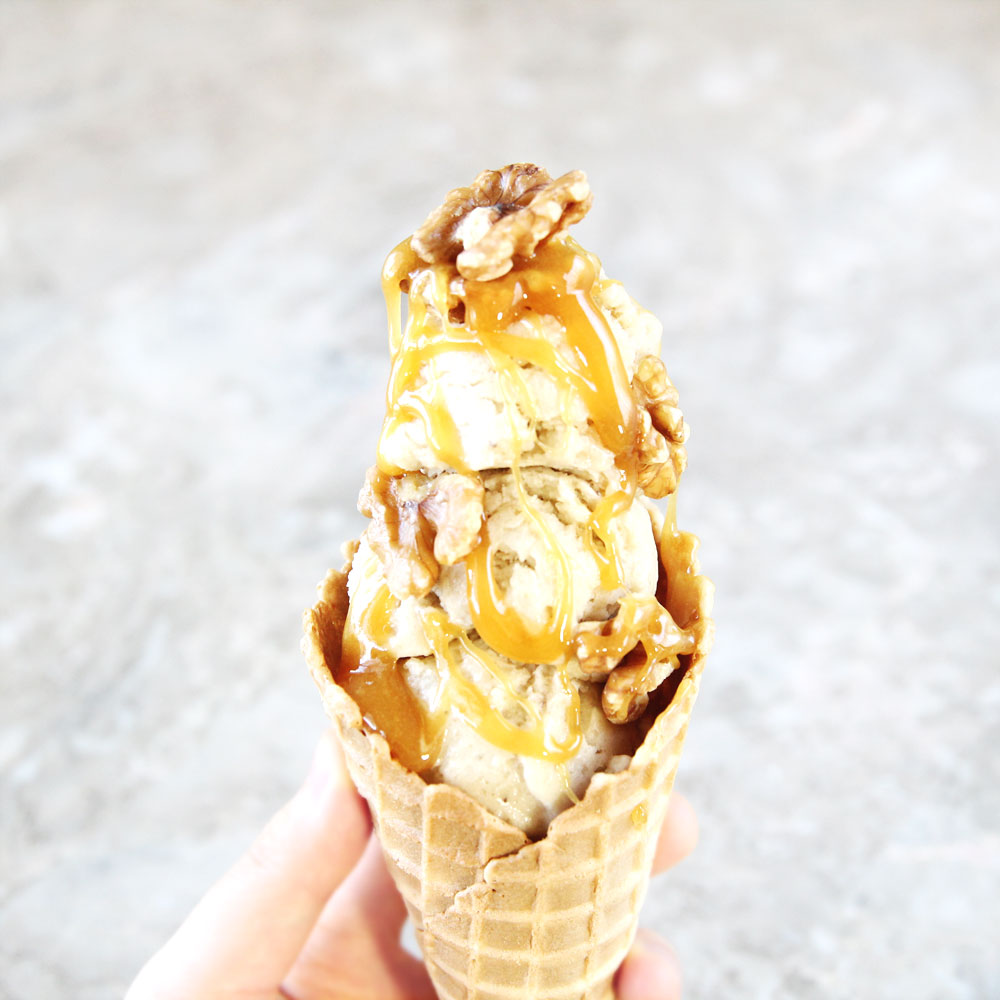
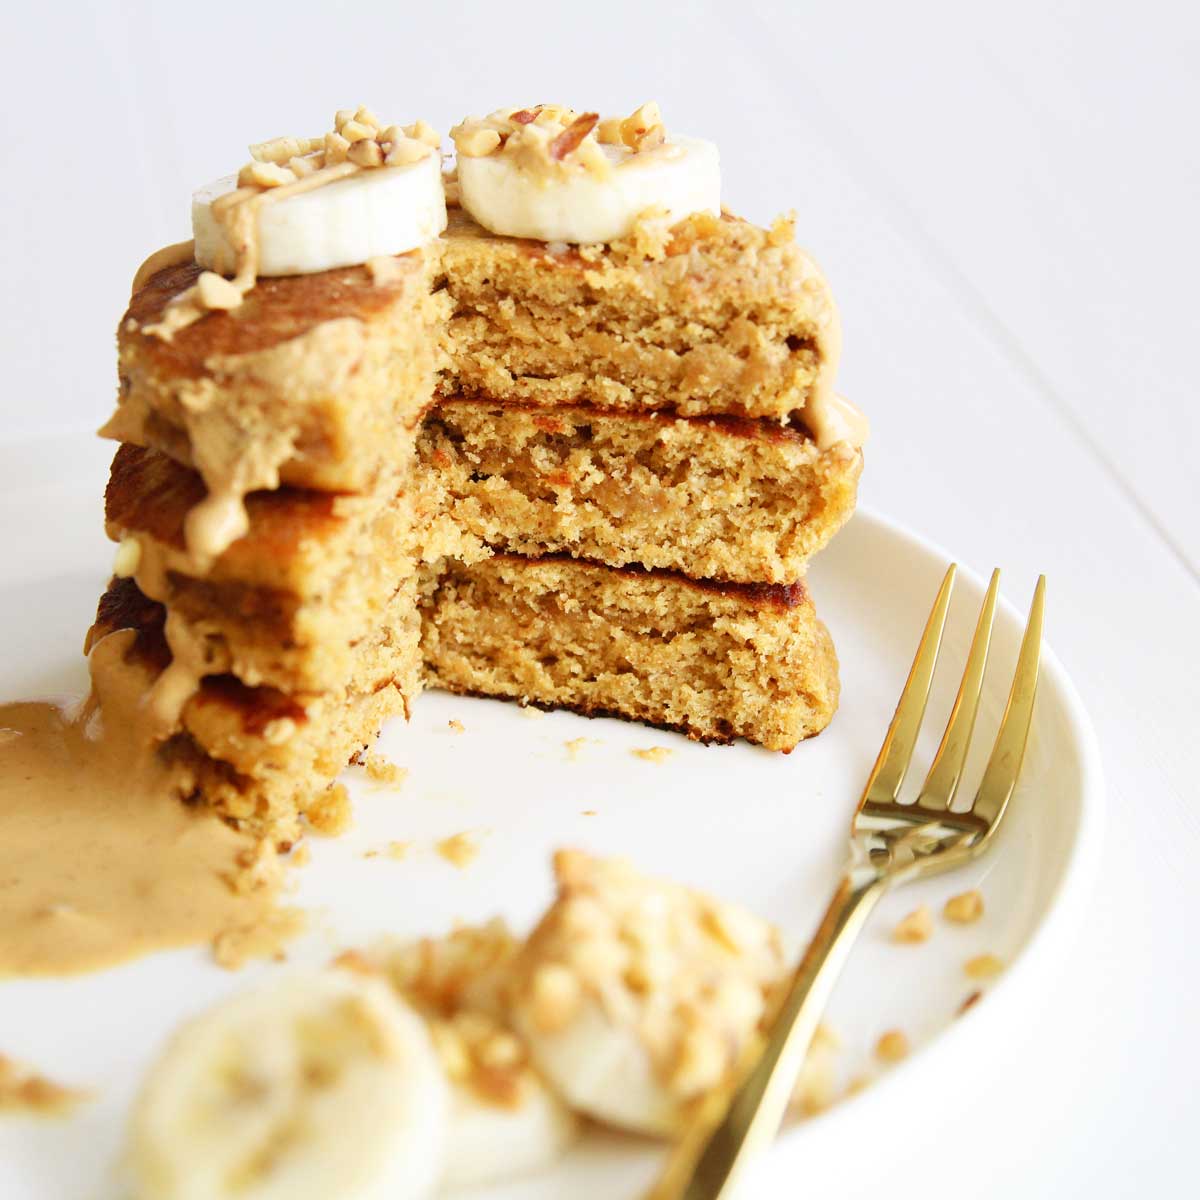
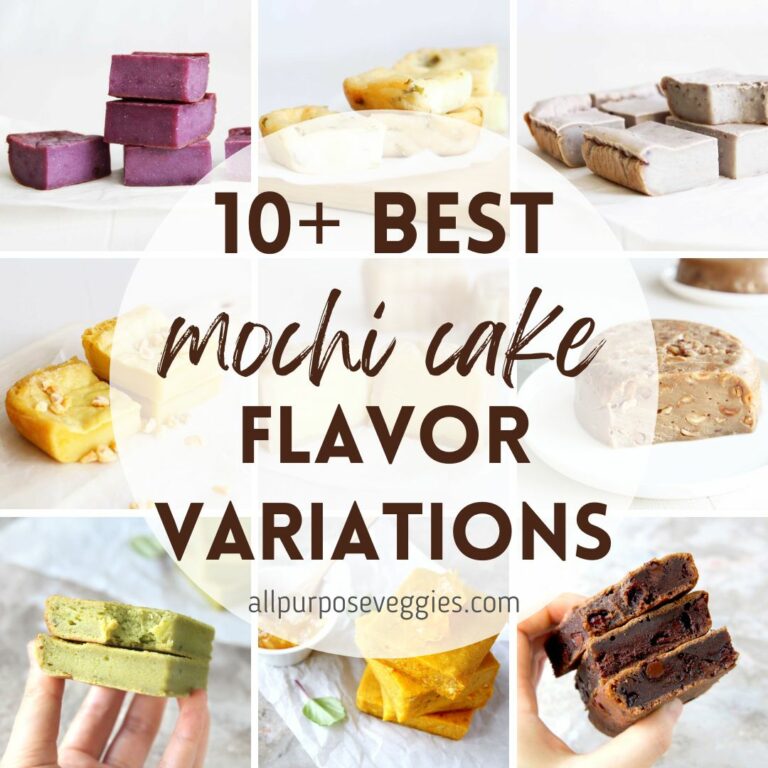
More Nutty Recipes (HERE)


Step by Step Guide
How to Make Peanut Butter Brioche Bread
STEP 1
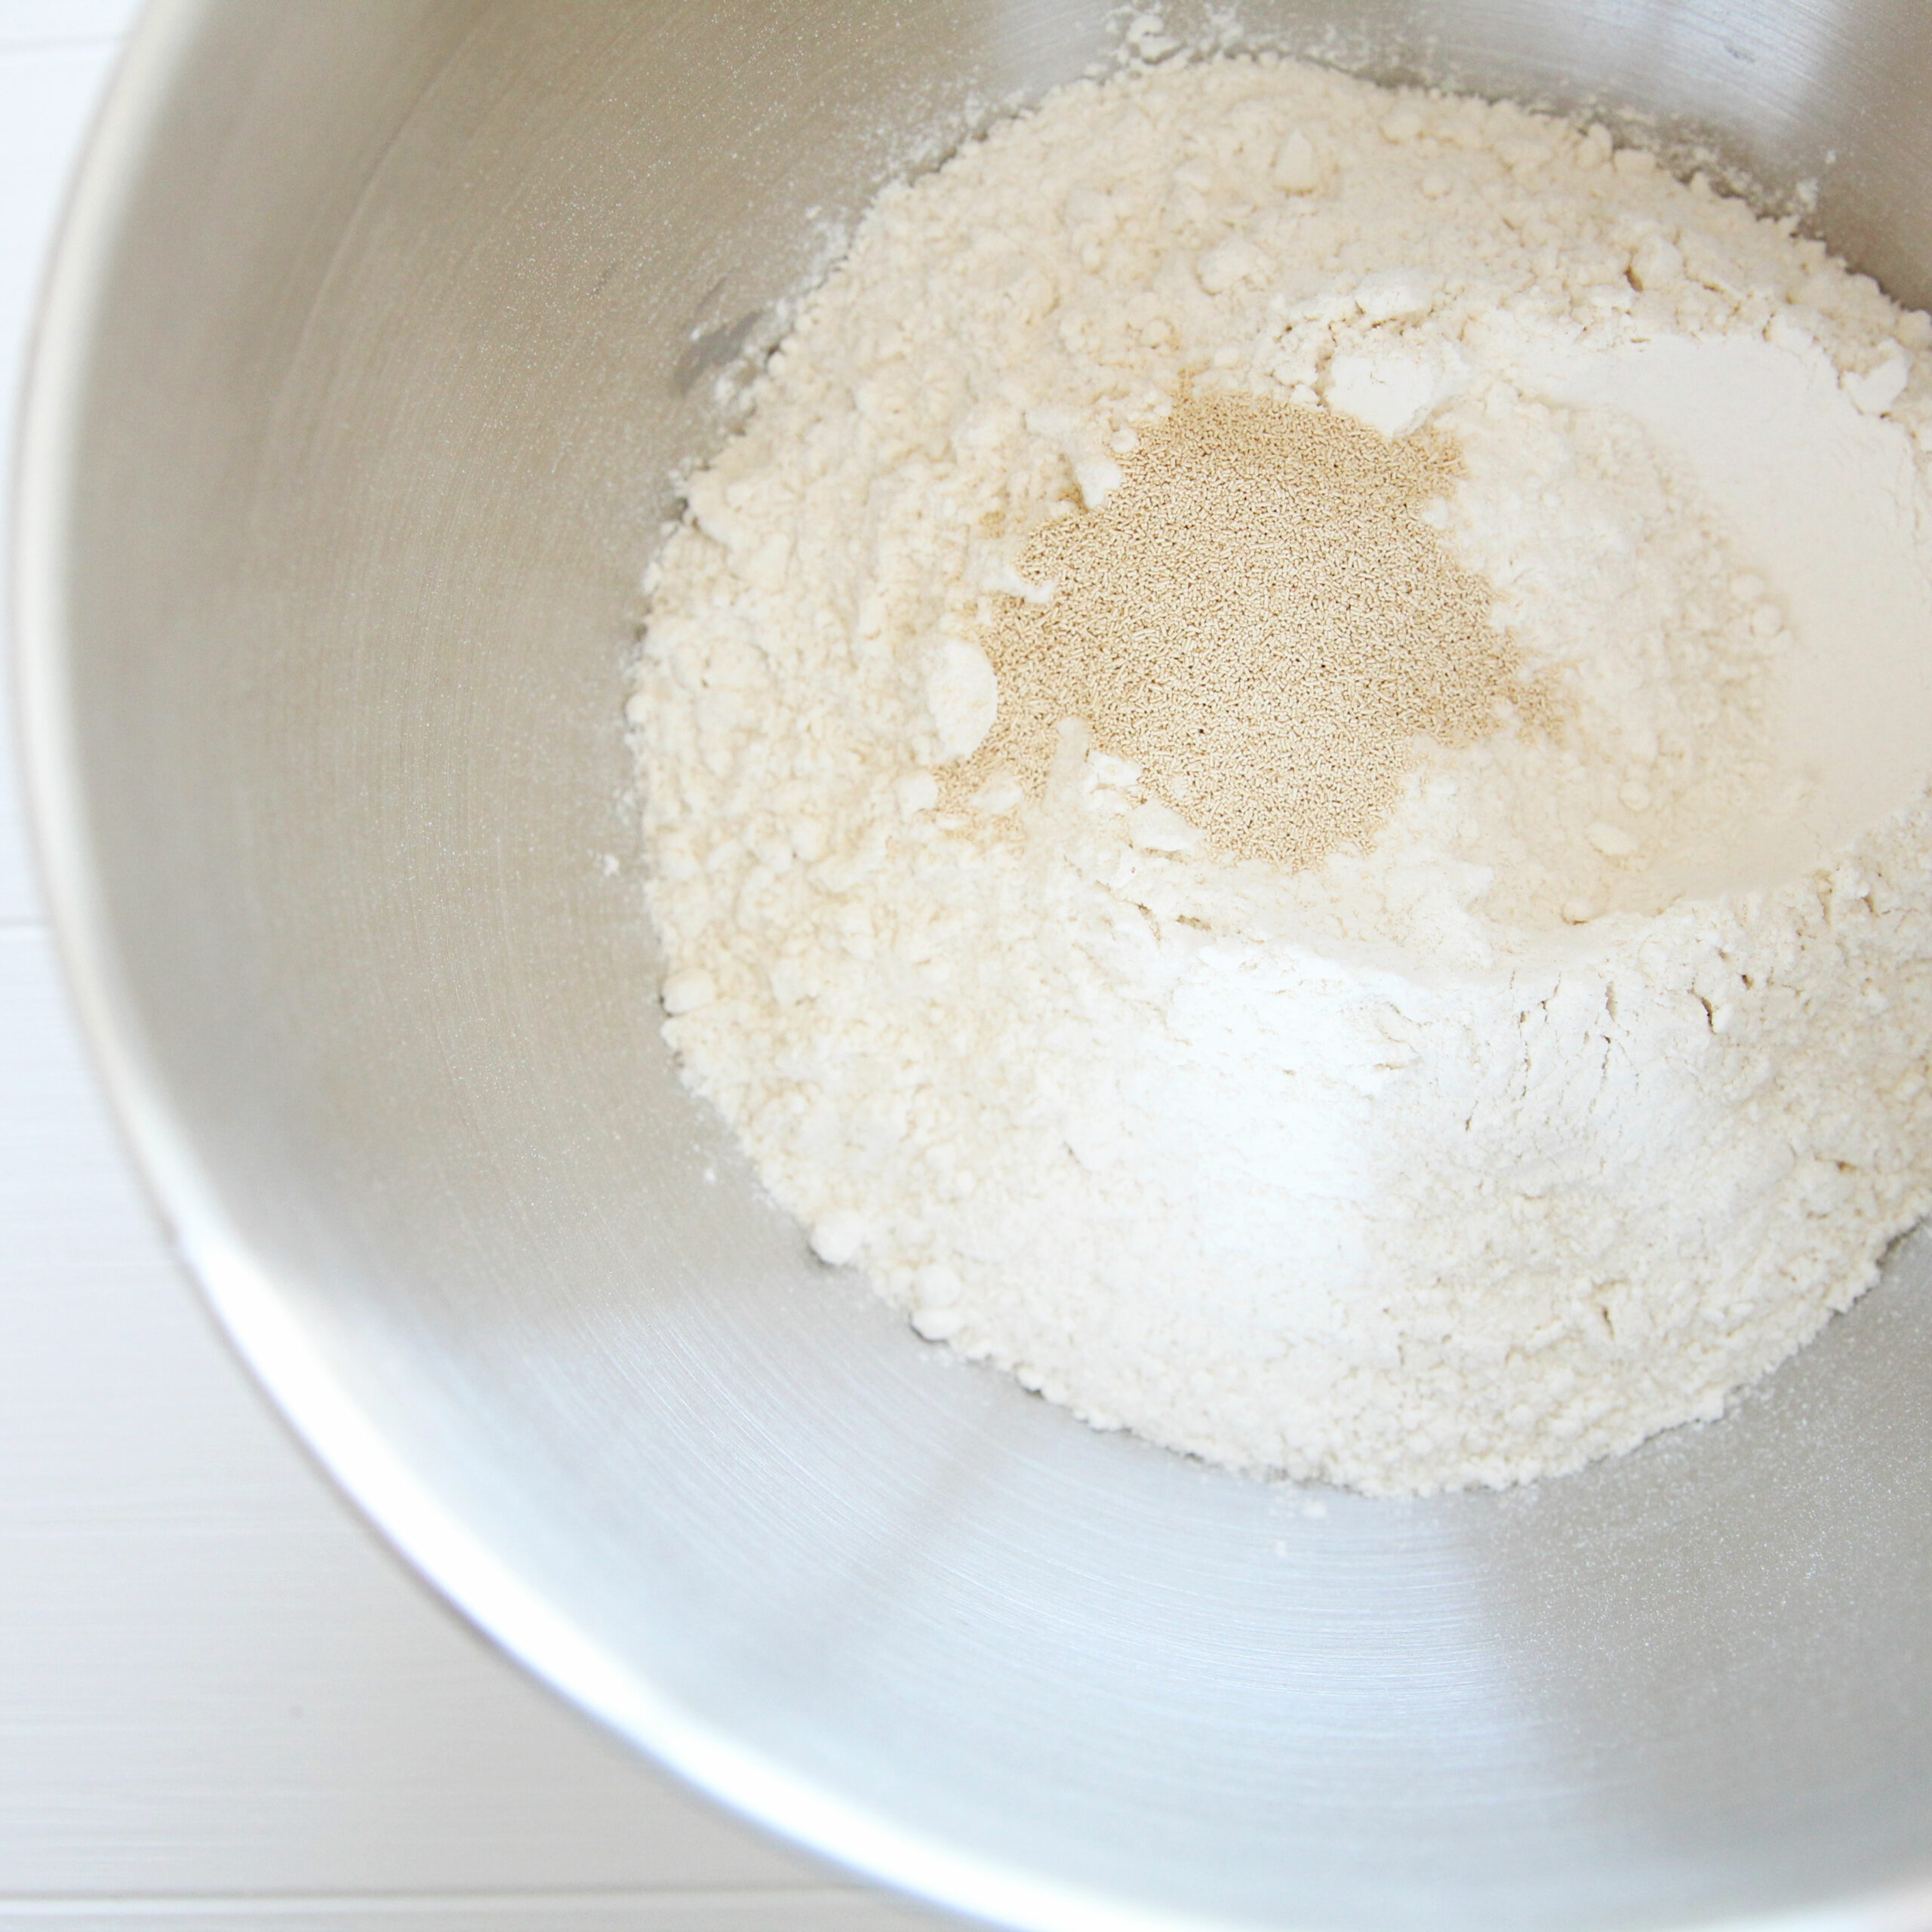
Mix the dry ingredients in the bowl of the stand mixer: the bread flour, instant yeast, sugar and salt.
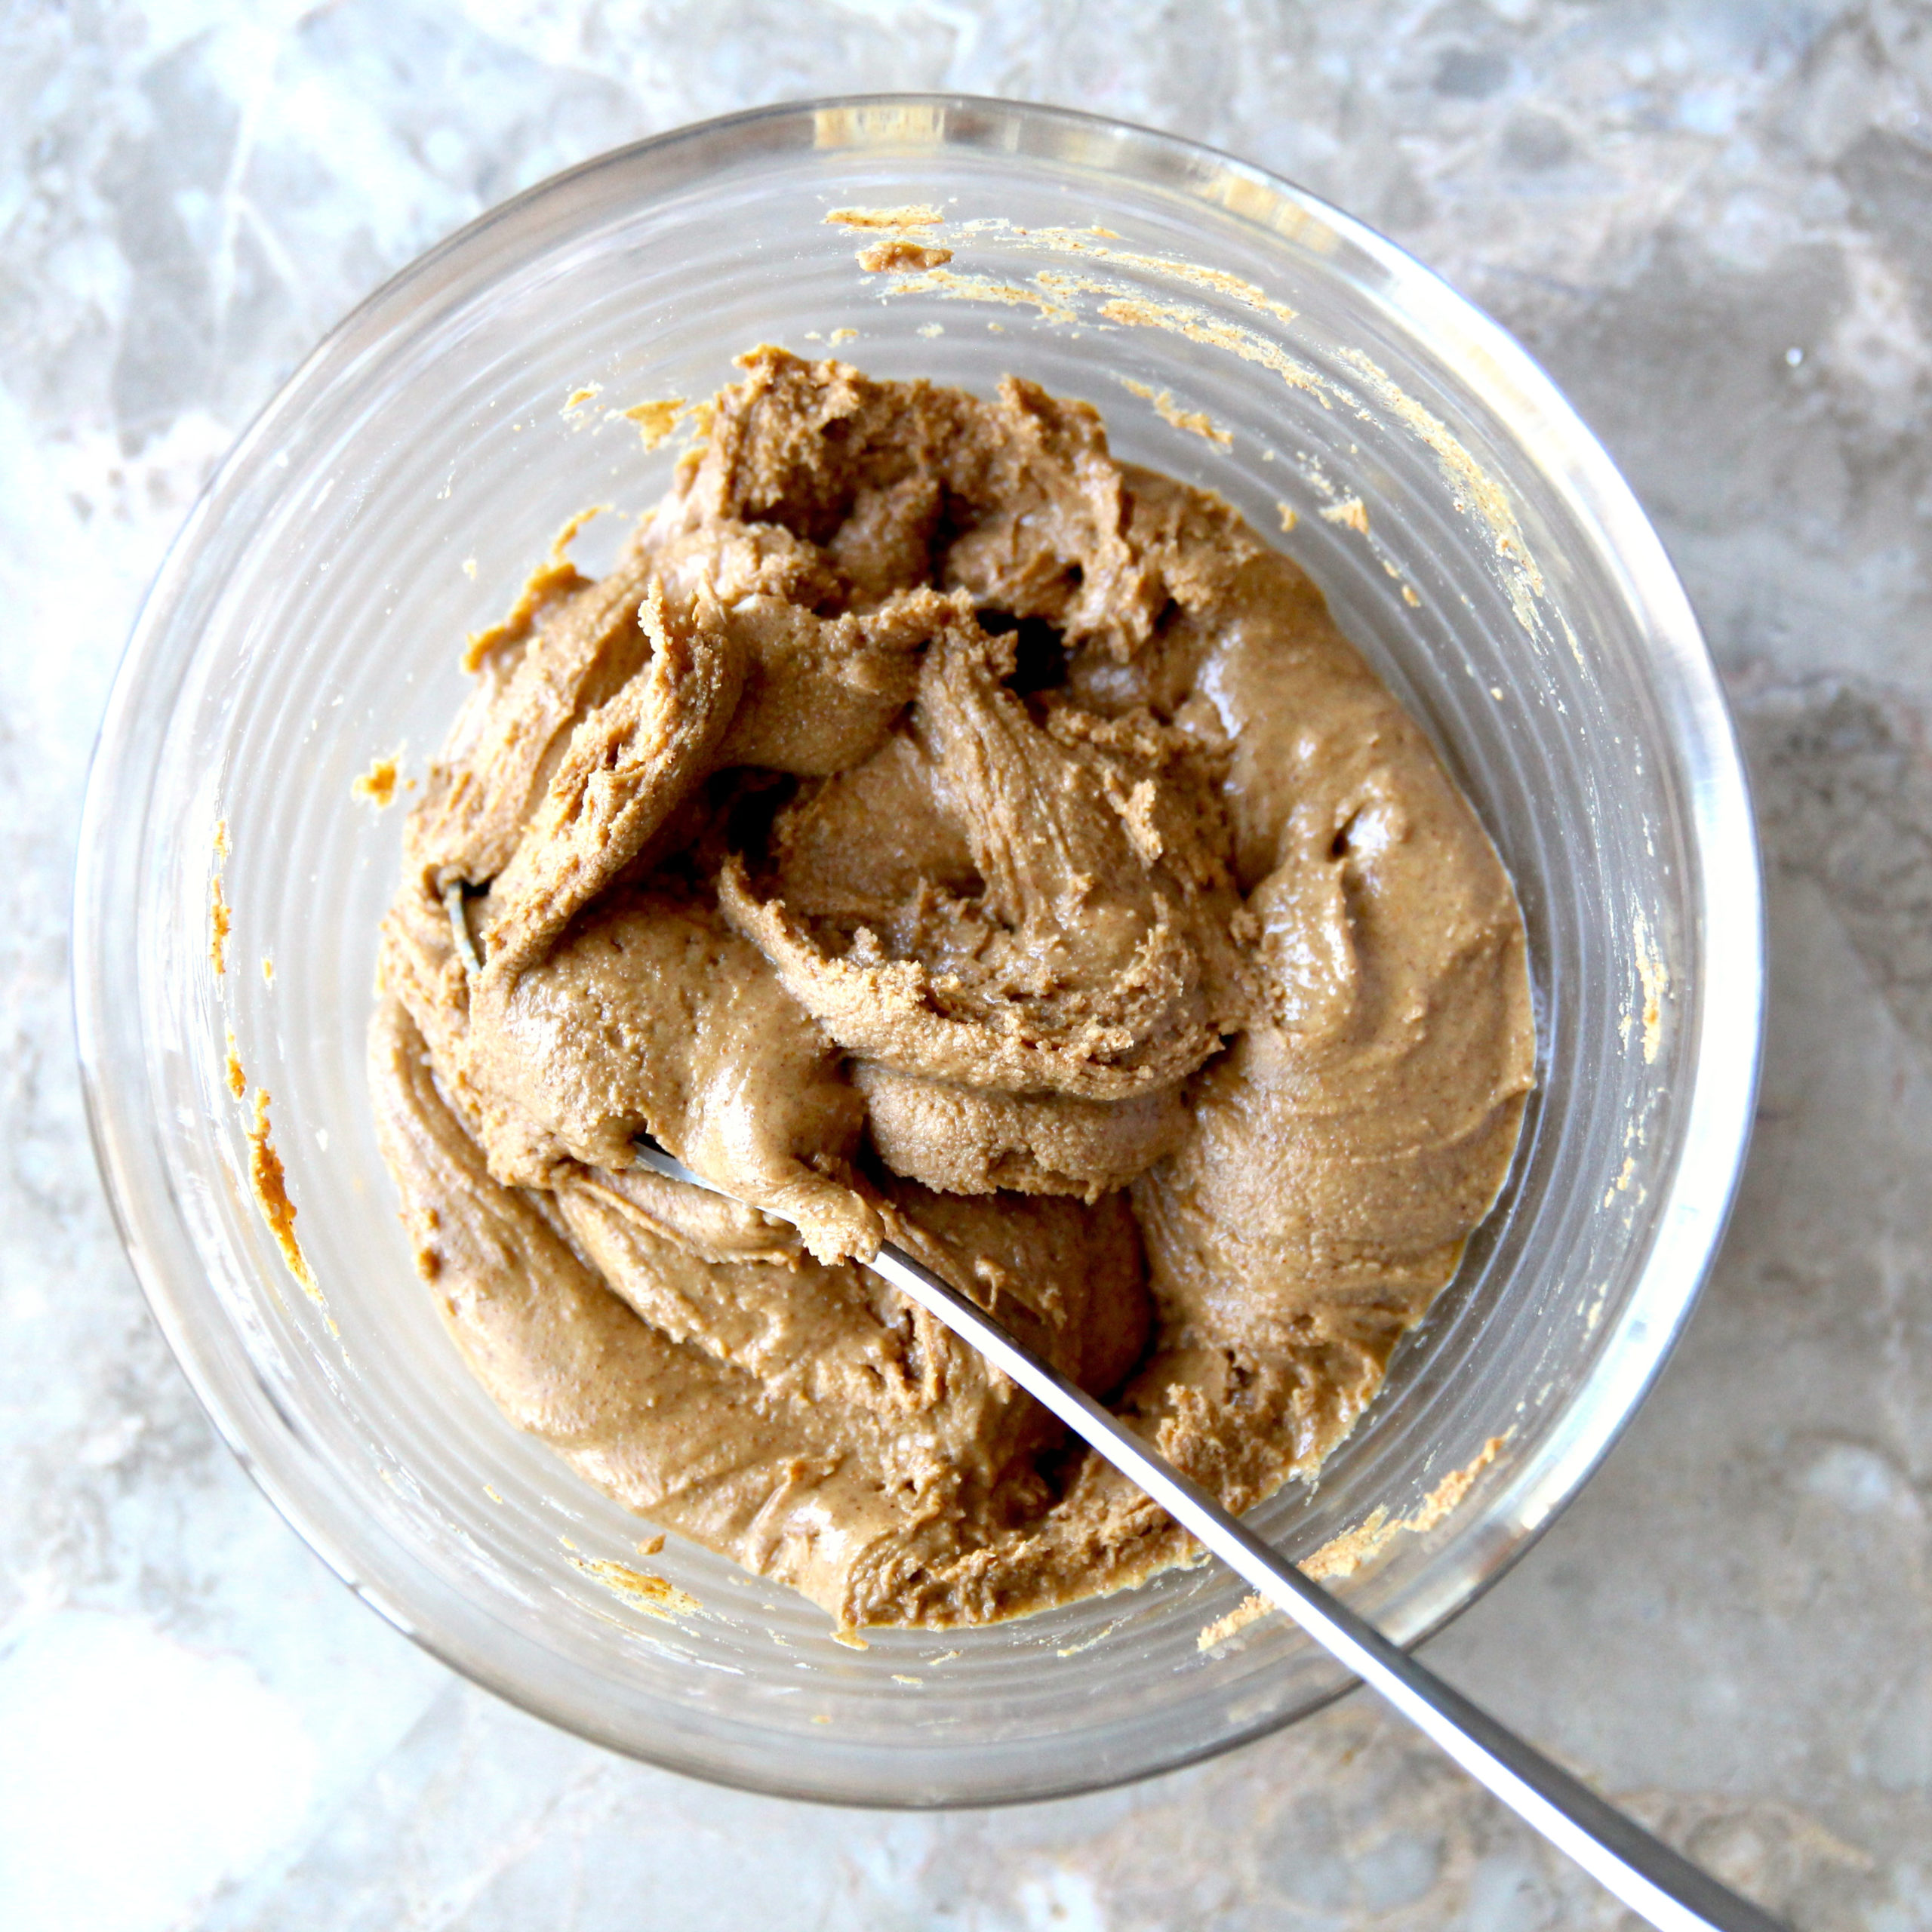
STEP 2
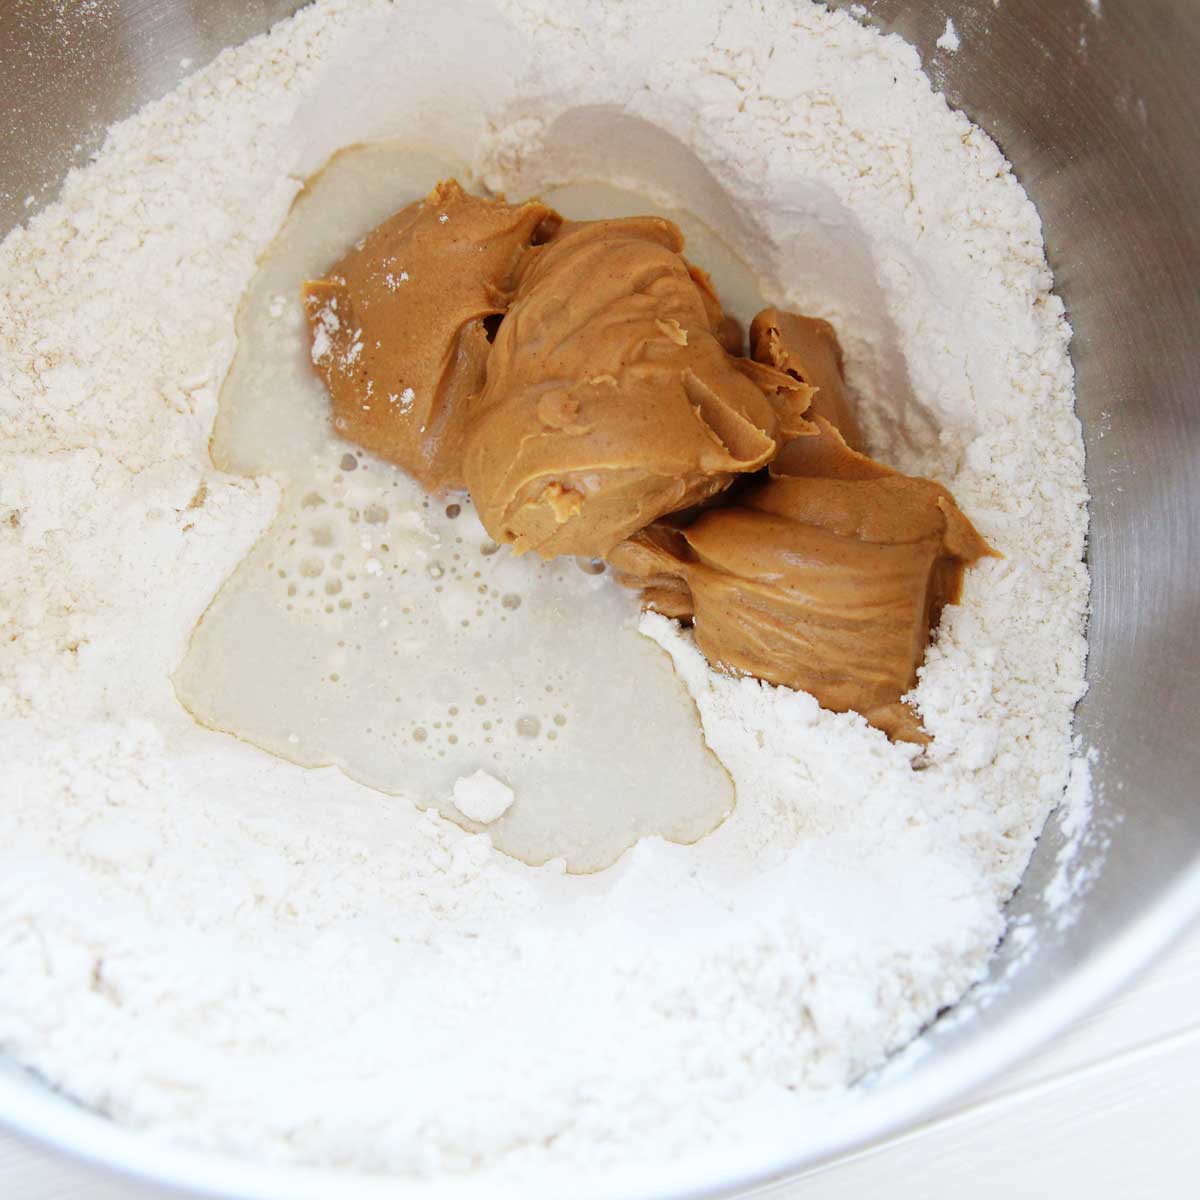
Add the peanut butter and almond milk, and start to knead the dough at a low setting (speed 2) for about a minute, until all the ingredients are combined.
STEP 3
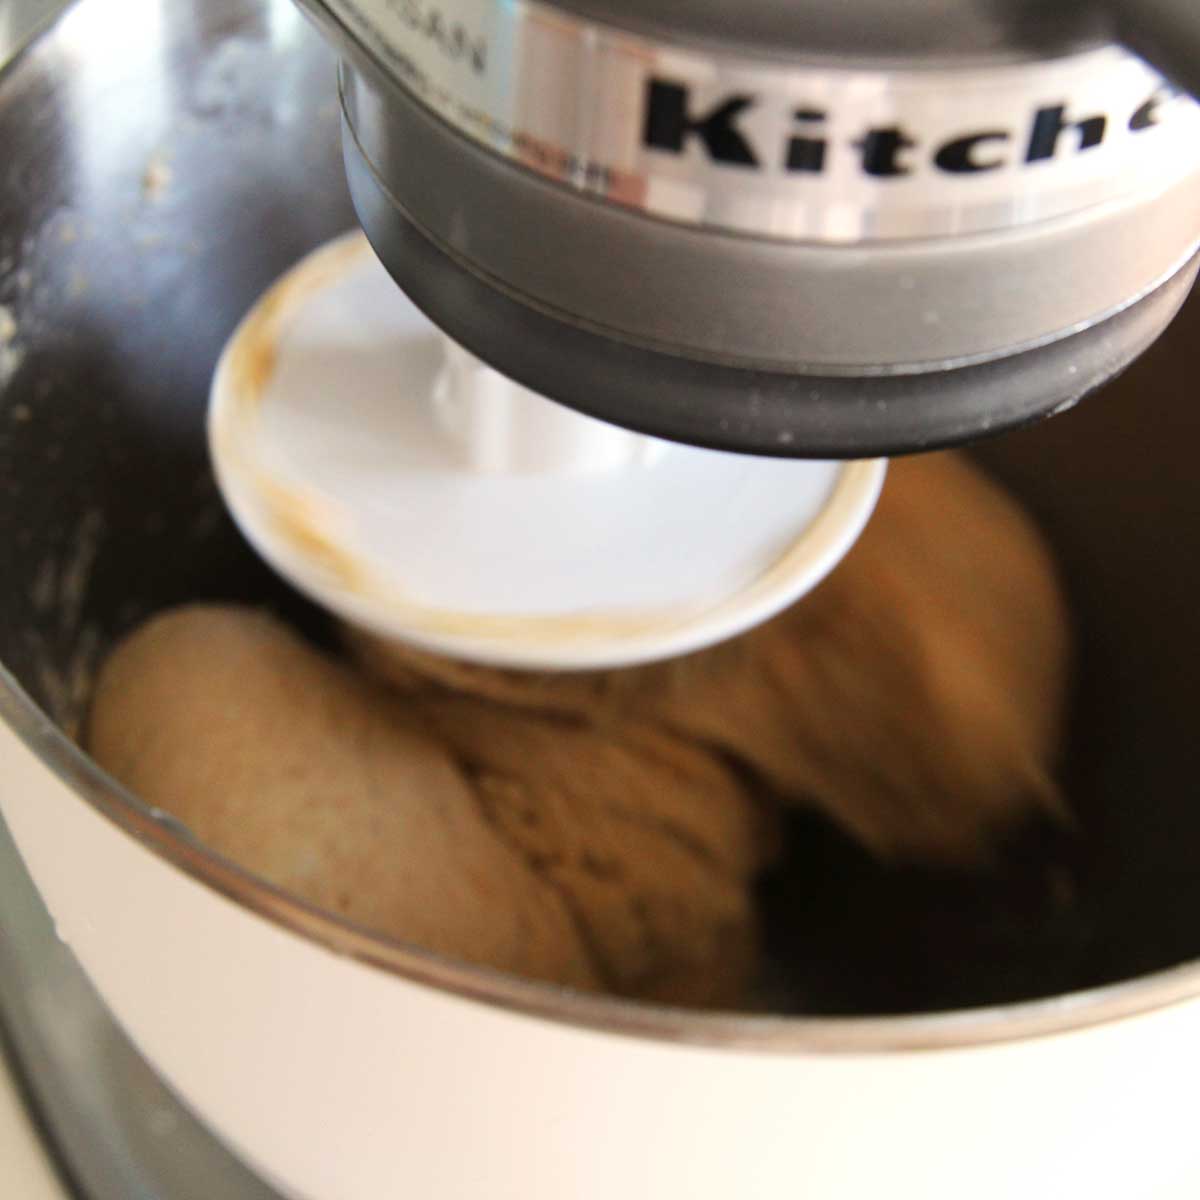
Continue to knead for about 8 to 10 minutes, or until the dough pulls away from the bowl and forms a smooth, supple ball.
**Additional 1-2 Tablespoons of bread flour (or additional almond milk) may be necessary depending on the protein content of the bread flour, what type of peanut butter you used.
STEP 4
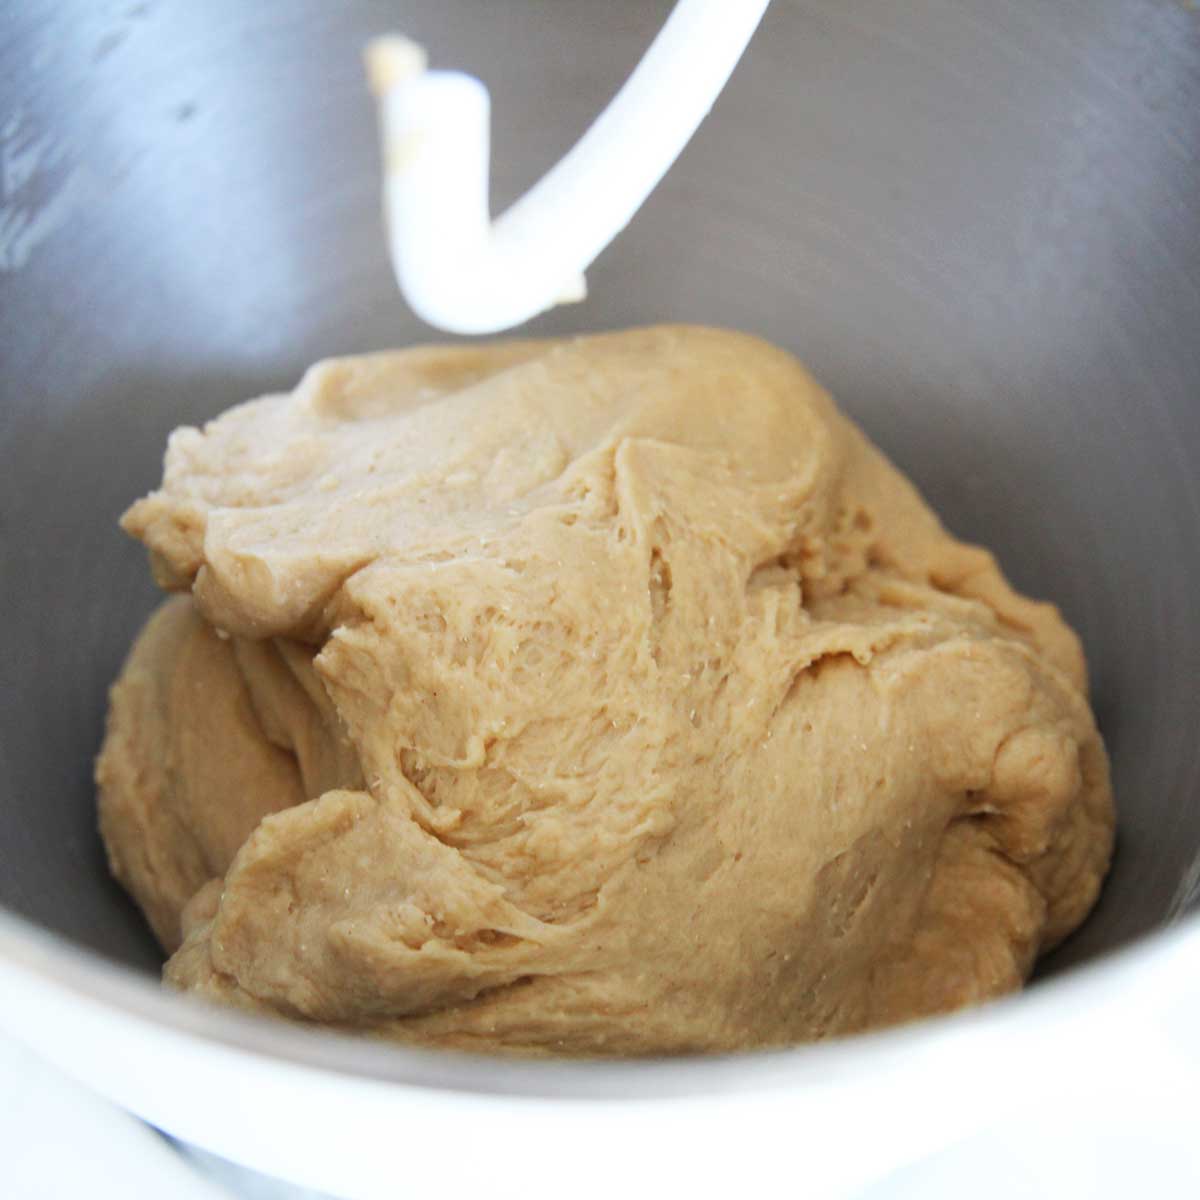
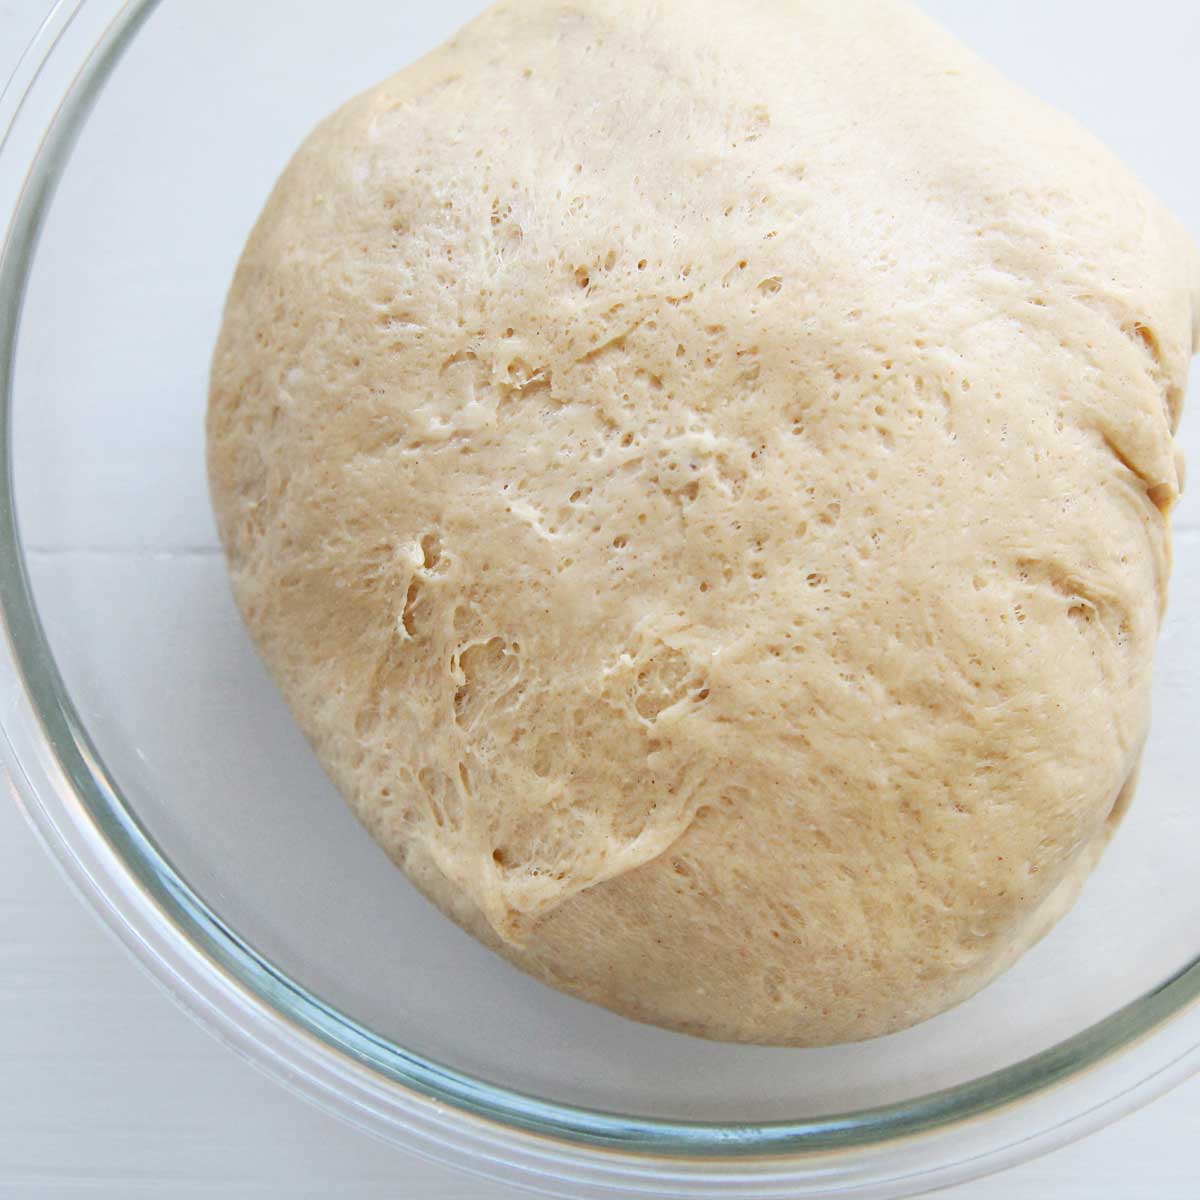
Remove the finished dough from the mixer bowl and place the dough in a lightly greased bowl.
STEP 5
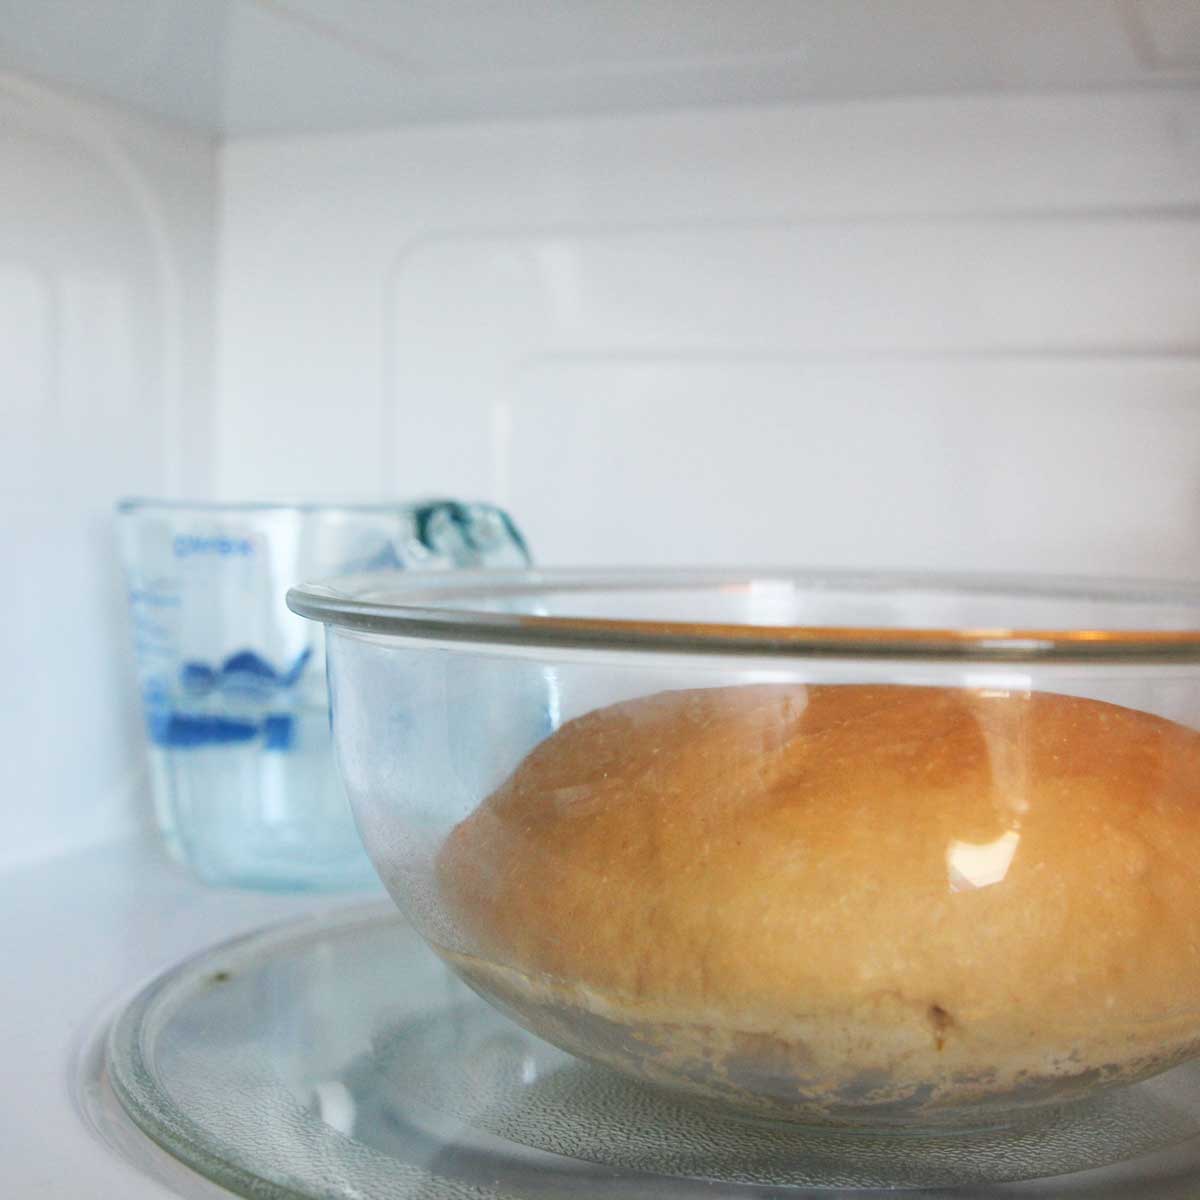
Cover and let rise until doubled, about 90-120 minutes.
**note: It’s best if the bread dough is put in a warm place. I placed the bowl inside a microwave oven spritzed with some water. A moist condition like this is perfect for the yeast bread to rise without it drying out. You can also place a bowl of hot water inside the oven so that the steam helps to maintain the humidity and keep the microwave warm. This is especially useful during the winter months, when the conditions are cold and dry.
STEP 6
Punch down the dough, then remove it from the bowl. Place on a generously floured surface and divide into 3 equal-sized pieces.
STEP 7
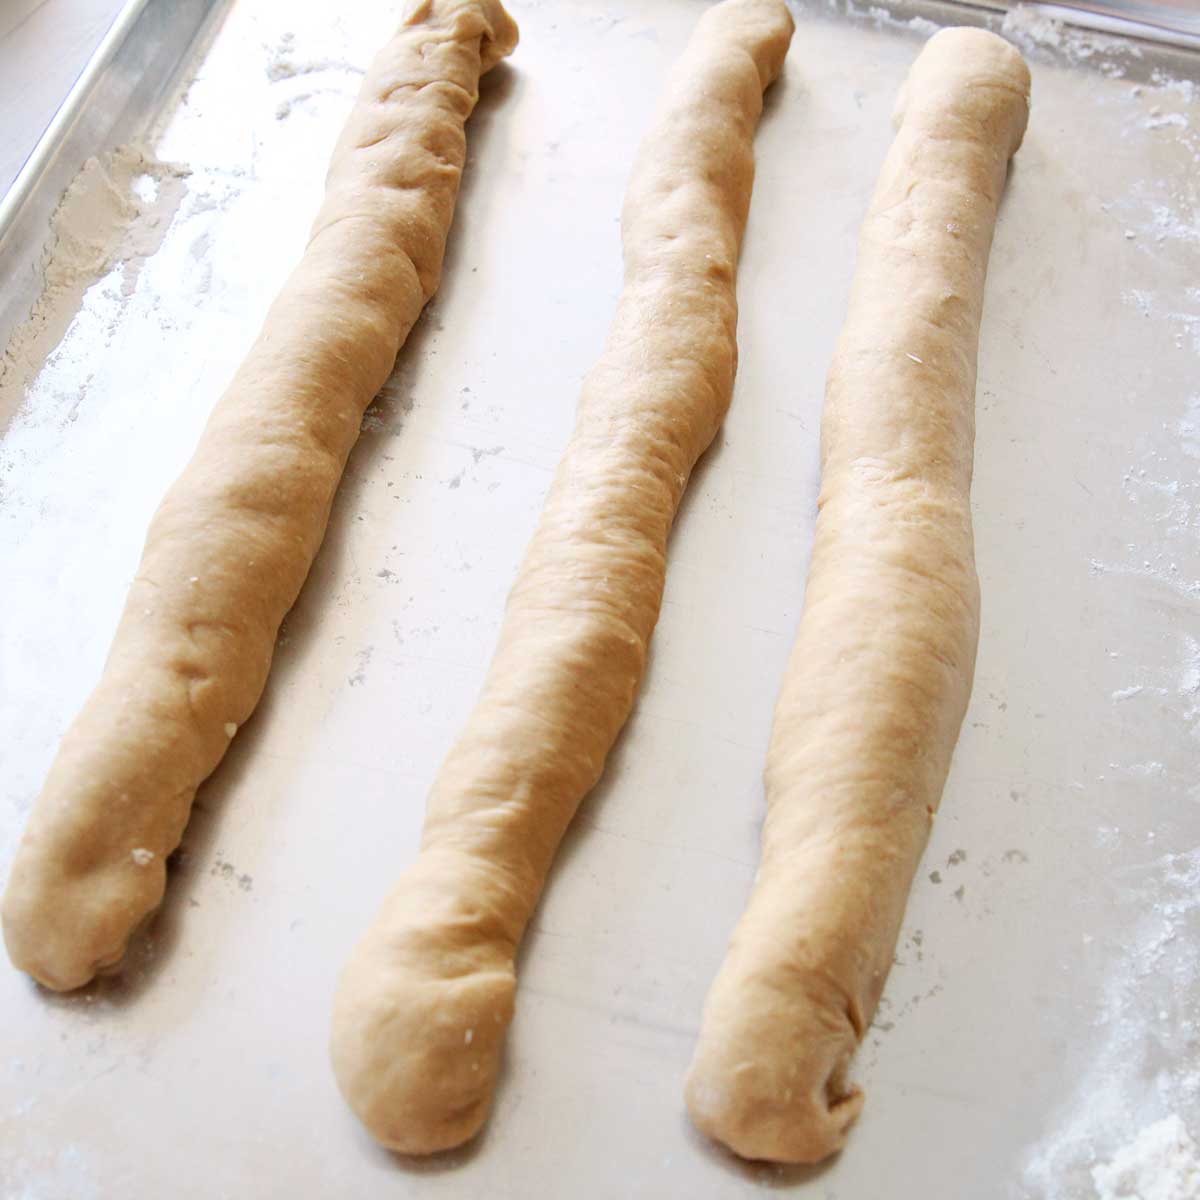
Roll out the 3 pieces of the dough to about 16-18 inch long ropes.
STEP 8
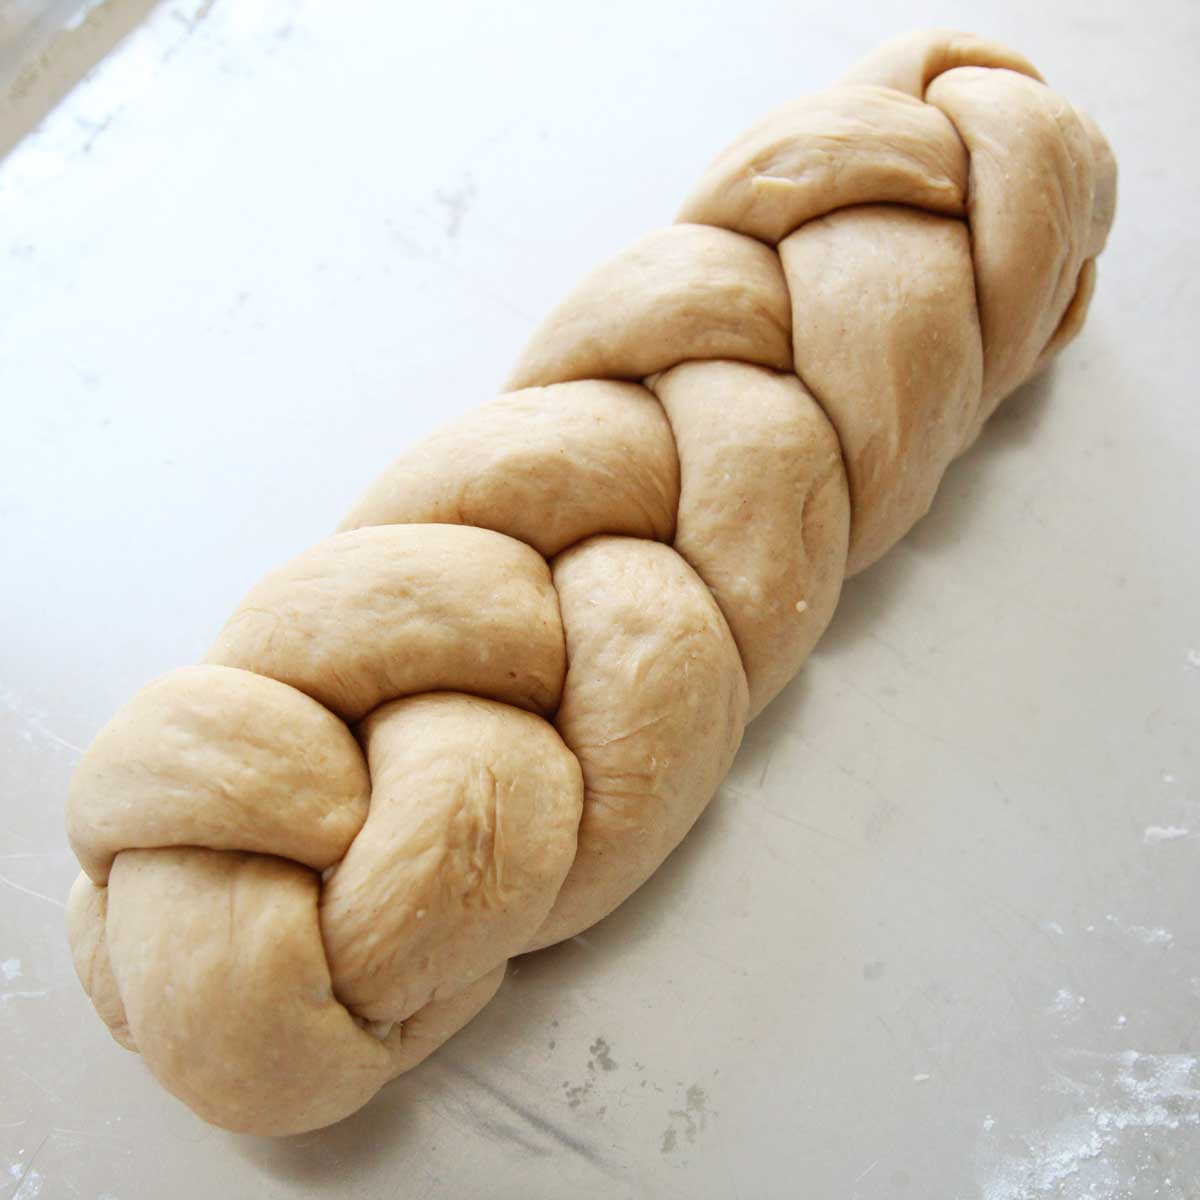
Attach one end of the three rope-shaped dough, and braid to the end of the rope (this video from King Arthur Baking shows how to braid a three-strand dough). Tuck in the two ends of the rope under the braided dough.
STEP 9
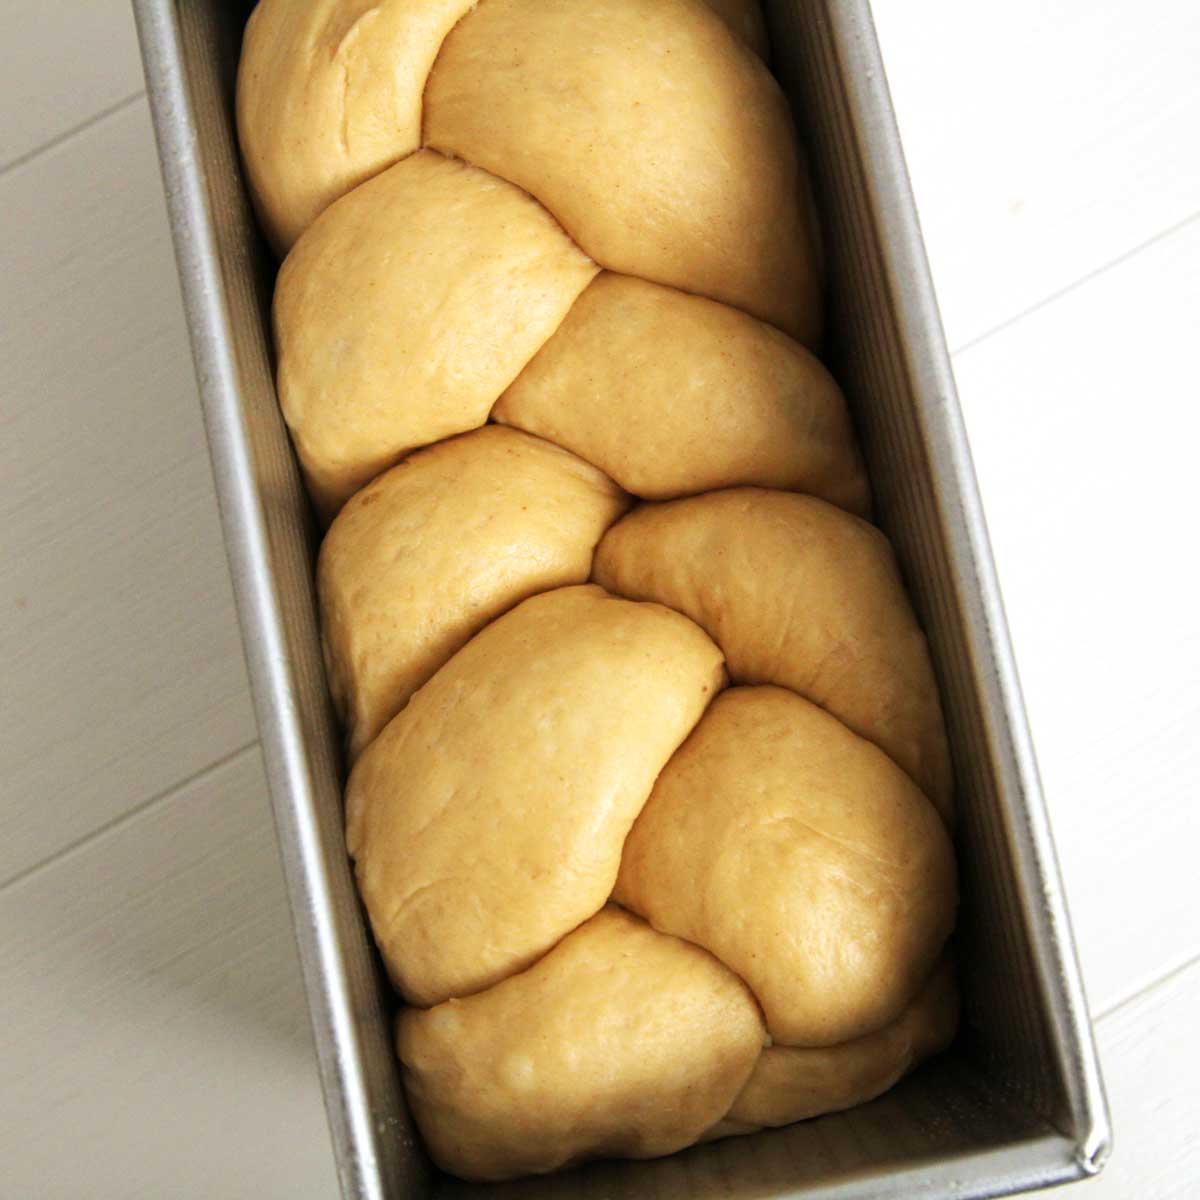
Place the braided dough into a loaf pan, and let rise for another 2-3 hours until about double its size. (Enriched breads like this peanut butter brioche take longer to rise because it is a heavier dough).
STEP 10
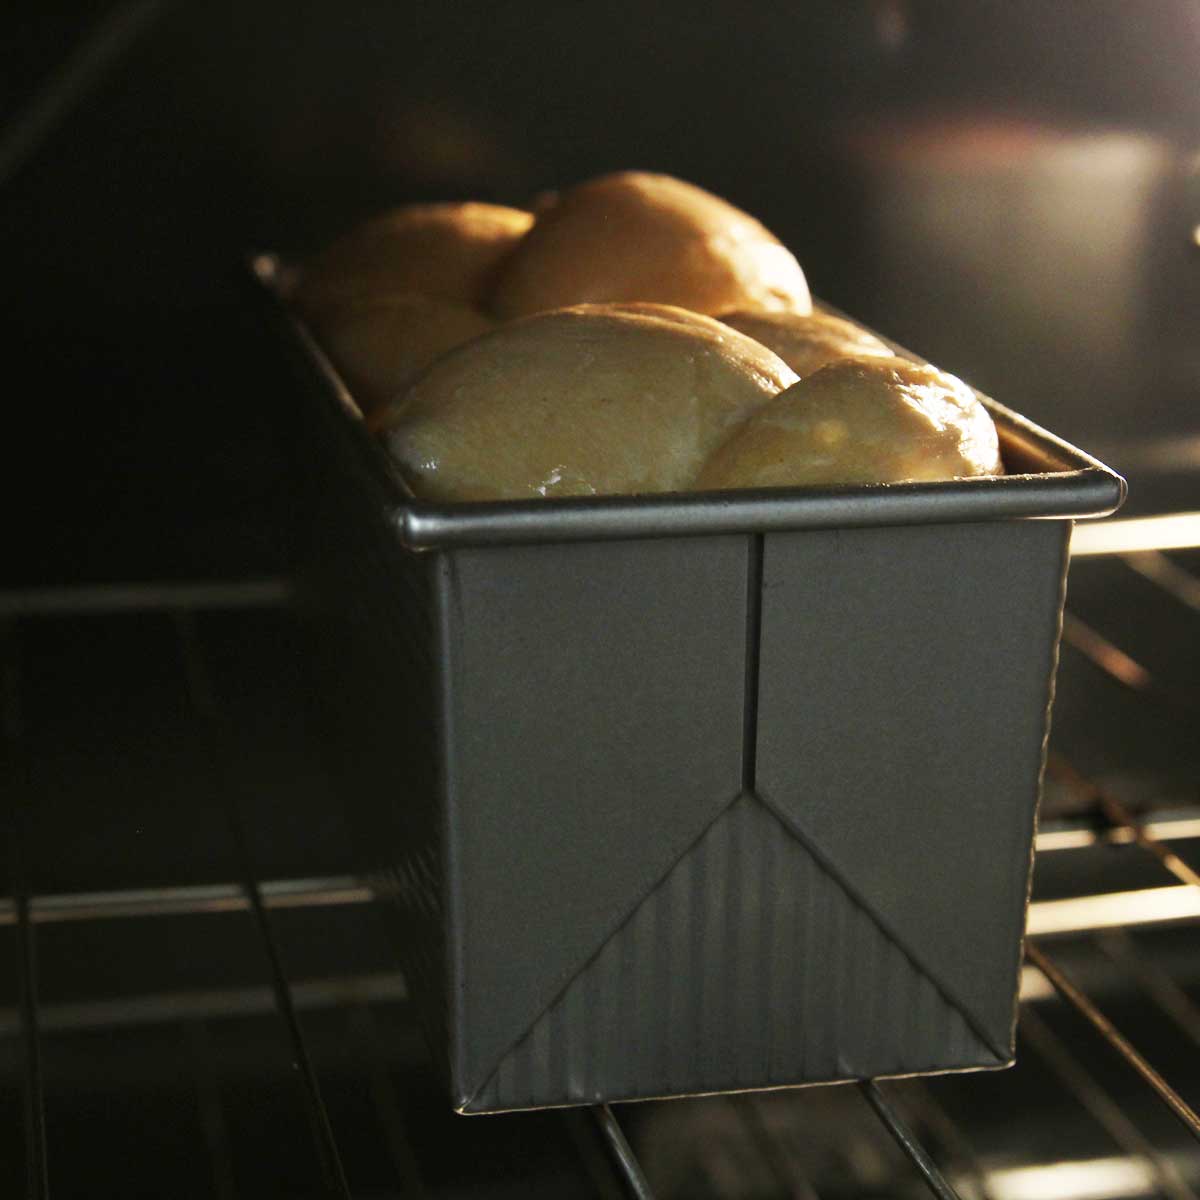
Bake the bread for 15 minutes, then cover / tent the bread with aluminum foil to prevent over-browning, and bake an additional 10 to 15 minutes, or until the interior of the bread reaches 190°F.
STEP 11
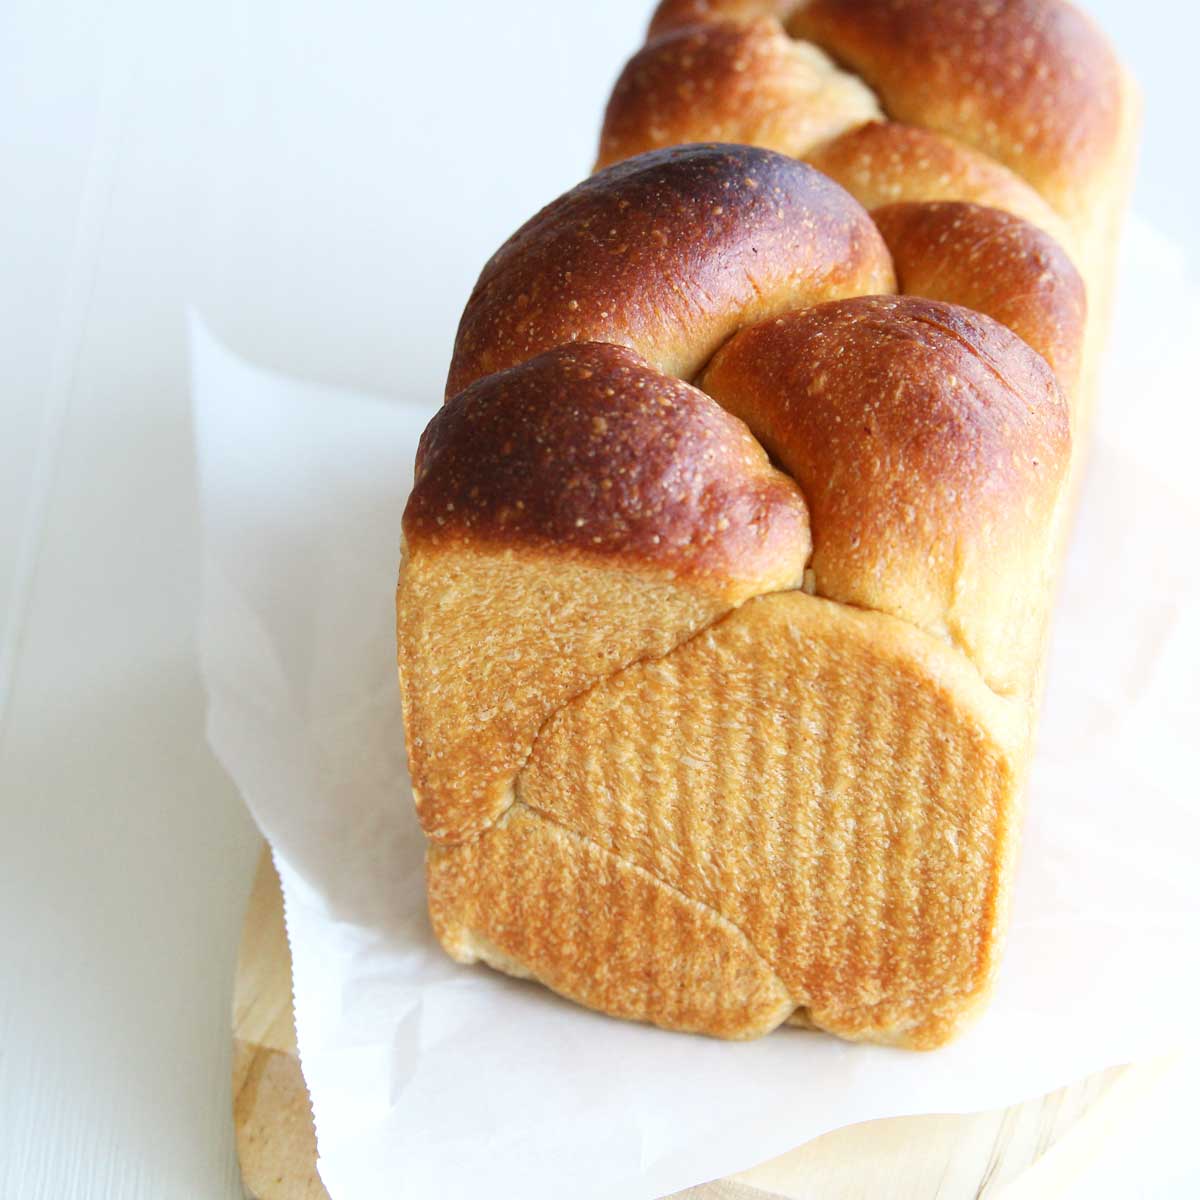
Take the bread out of the oven, turn it out on a rack, and cool it slightly before slicing.
Recipe Variations and Optional Add Ins:
I made this bread recipe as basic and neutral flavored as possible so that people can customize it to fit their own tastes. Here are some awesome ways you can make this bread your own 🙂
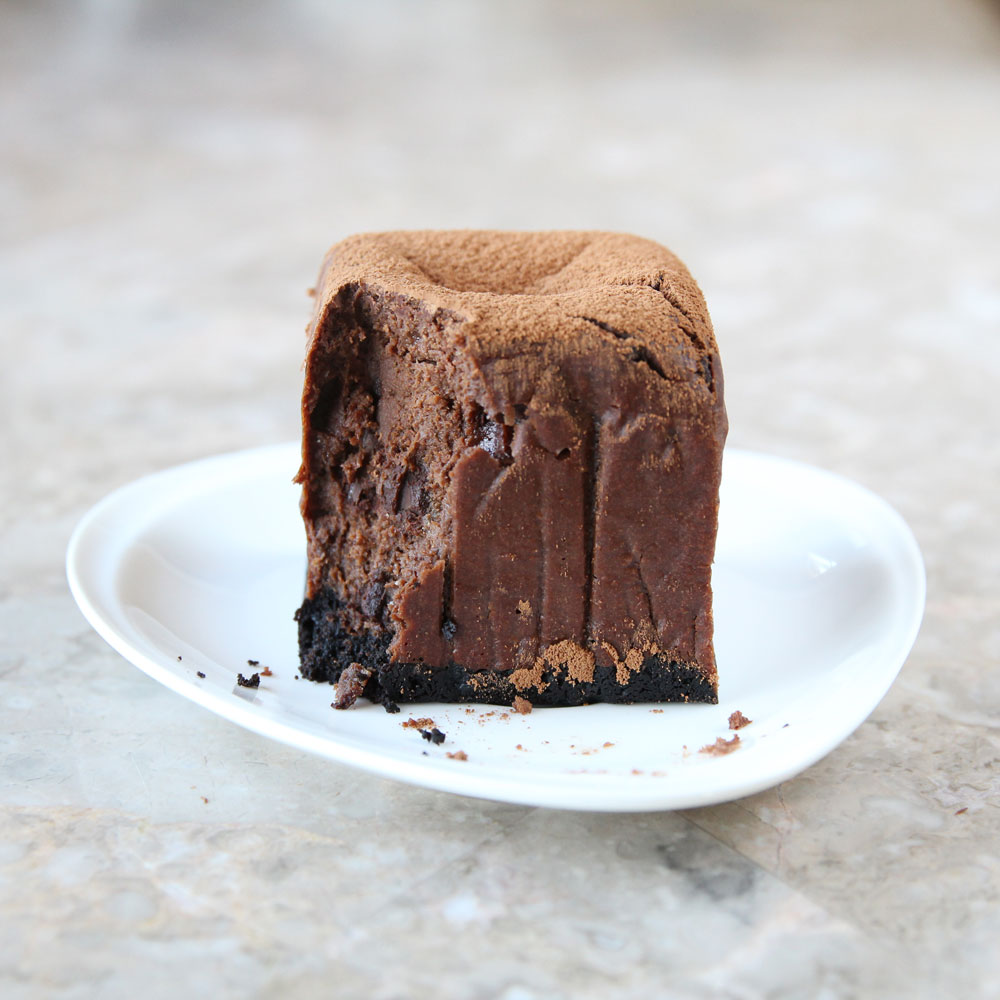
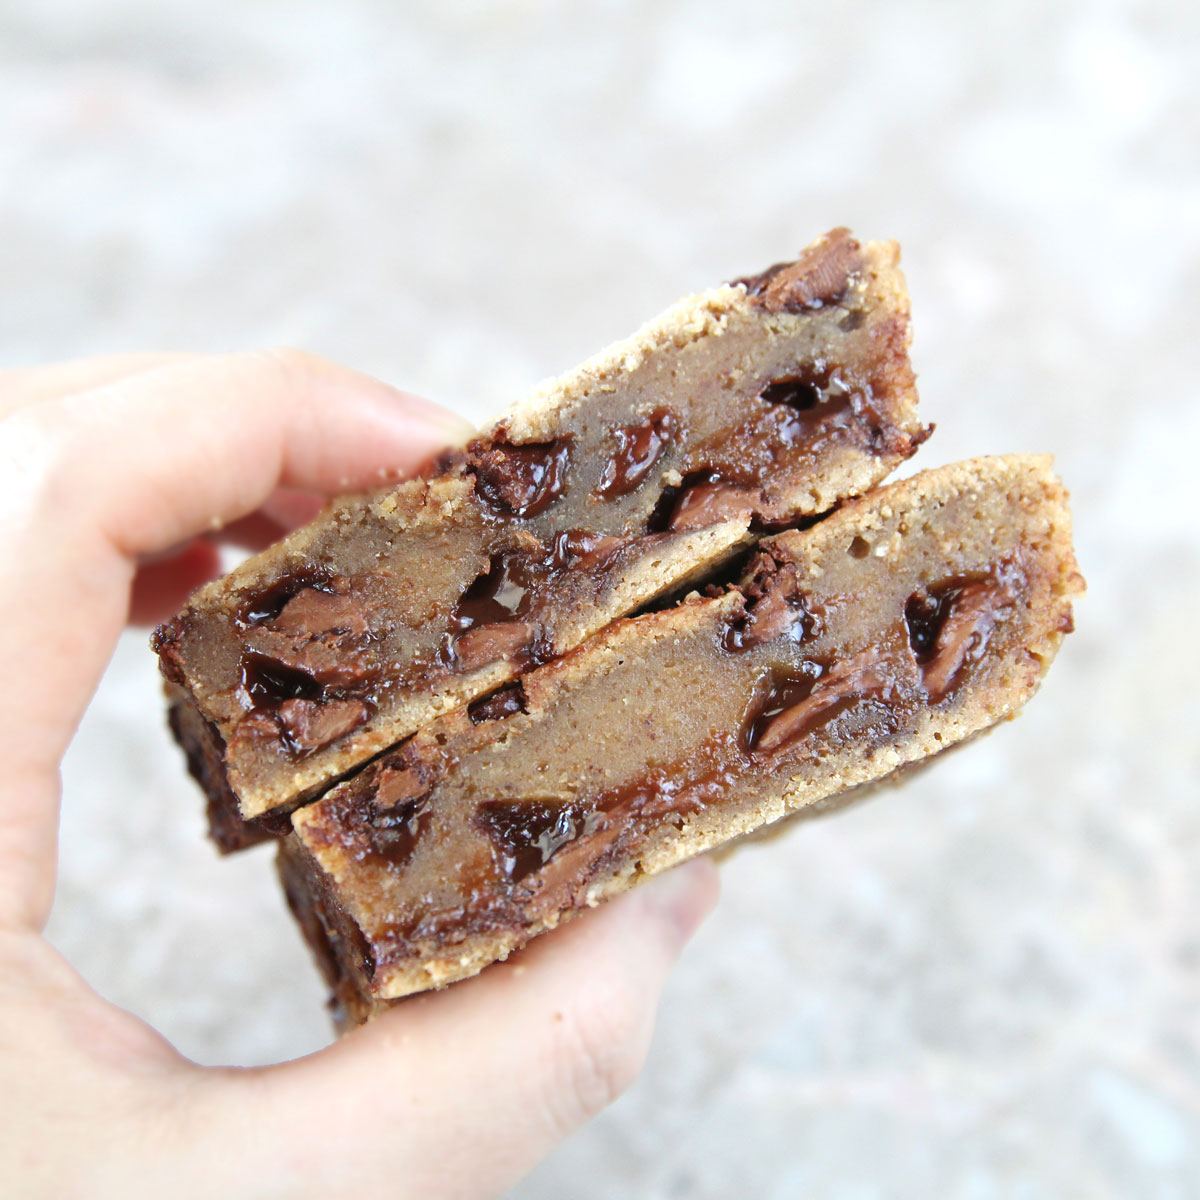
- Add more flavor! Add 1 Tbsp of cocoa powder to make this into a chocolate peanut butter loaf.
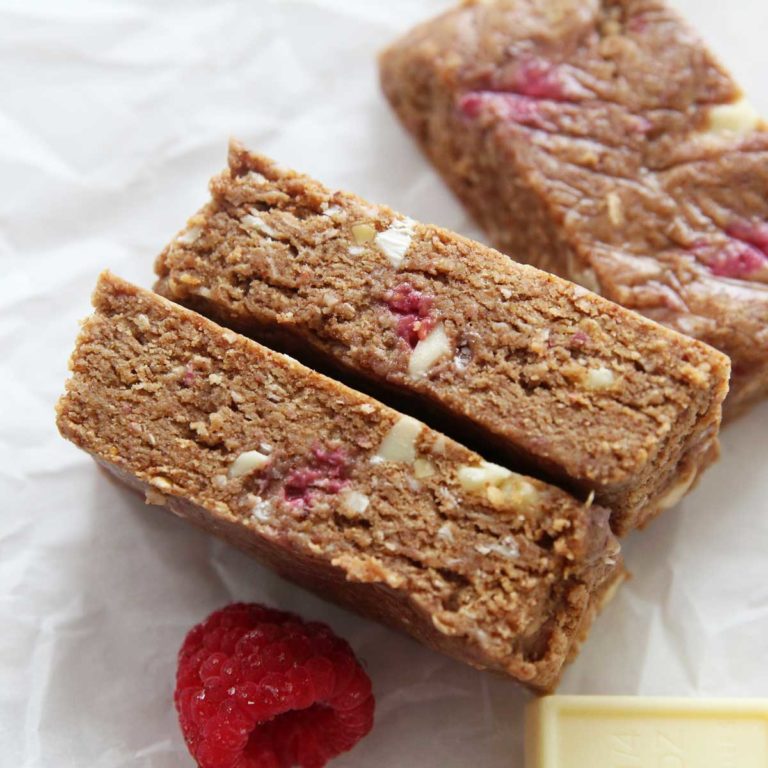
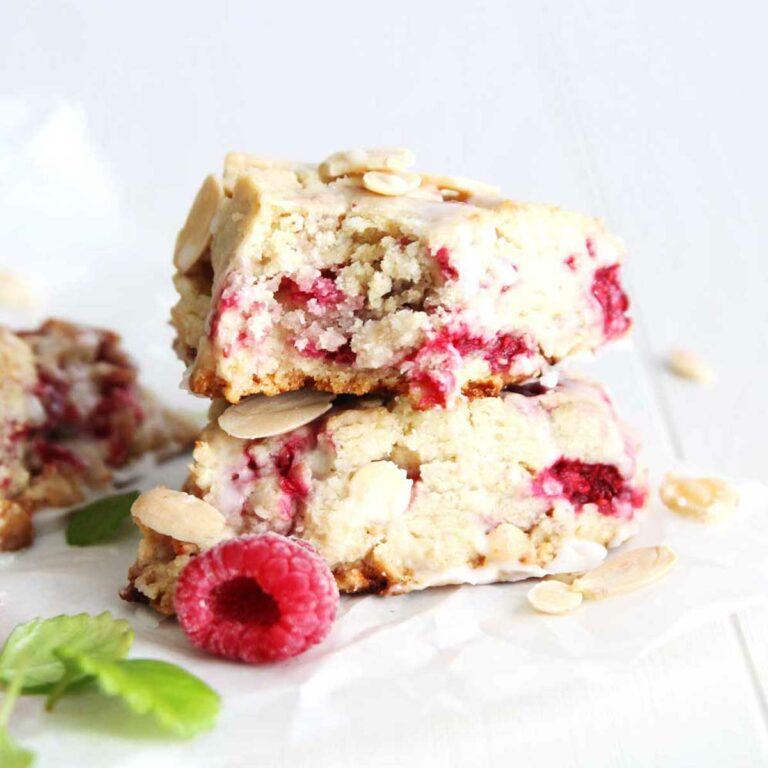
- Add more texture! Adding chopped nuts, seeds, or dried fruits or oats is a fantastic way to increase the nutrition and flavor in breads.

How to Make this Bread Recipe Healthier
- Make this even healthier by adding a handful of nuts, seeds and old-fashioned oats to add texture and nutrition. Here are some ideas
- Nuts - chopped walnuts, pecans, cashews
- Seeds - poppy seeds, pumpkin seeds, sunflower seeds, sesame seeds, flaxseeds or chiaseeds
- Dried Fruit - chopped apricot, raisins, cranberries, dried cherries, candied ginger, citrus zests, etc.
Note on Substitutions
- Unfortunately, I haven't tried using gluten-free flours in this recipe. So substitute at your own risk!
- While bread flour is highly recommended, all-purpose flour can be used instead with 1 tsp of vital wheat gluten for every cup of flour.
- Liquid sweeteners such as maple syrup, honey or molasses can replace all of the sugar in this recipe, but it makes the dough softer and more difficult to handle since it contributes additional moisture. Increase bread flour by 1-2 Tablespoons to adjust.
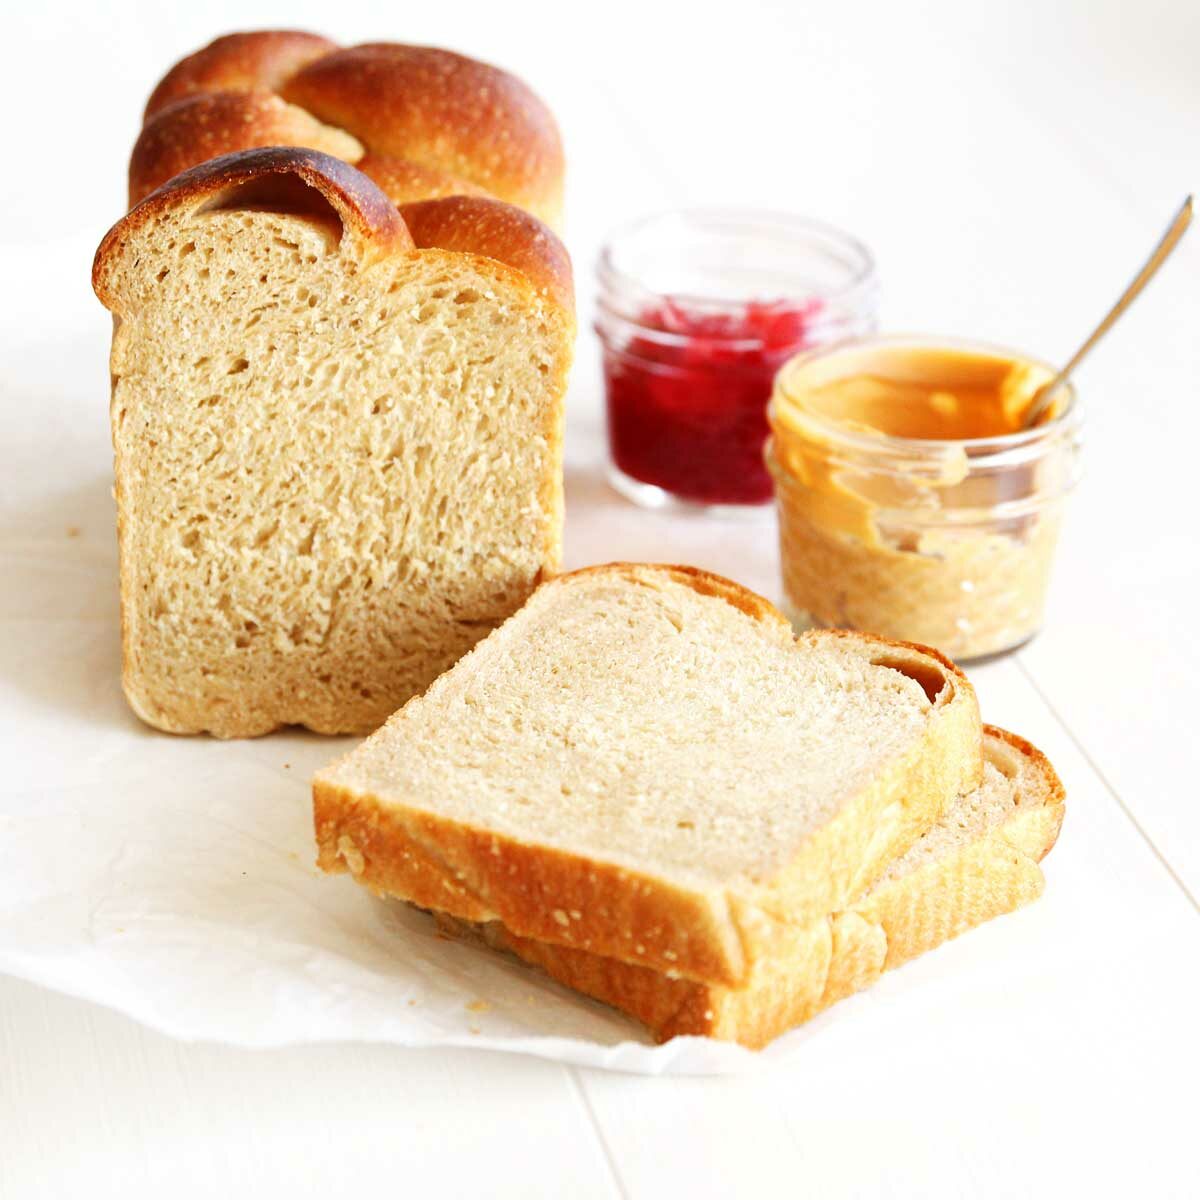
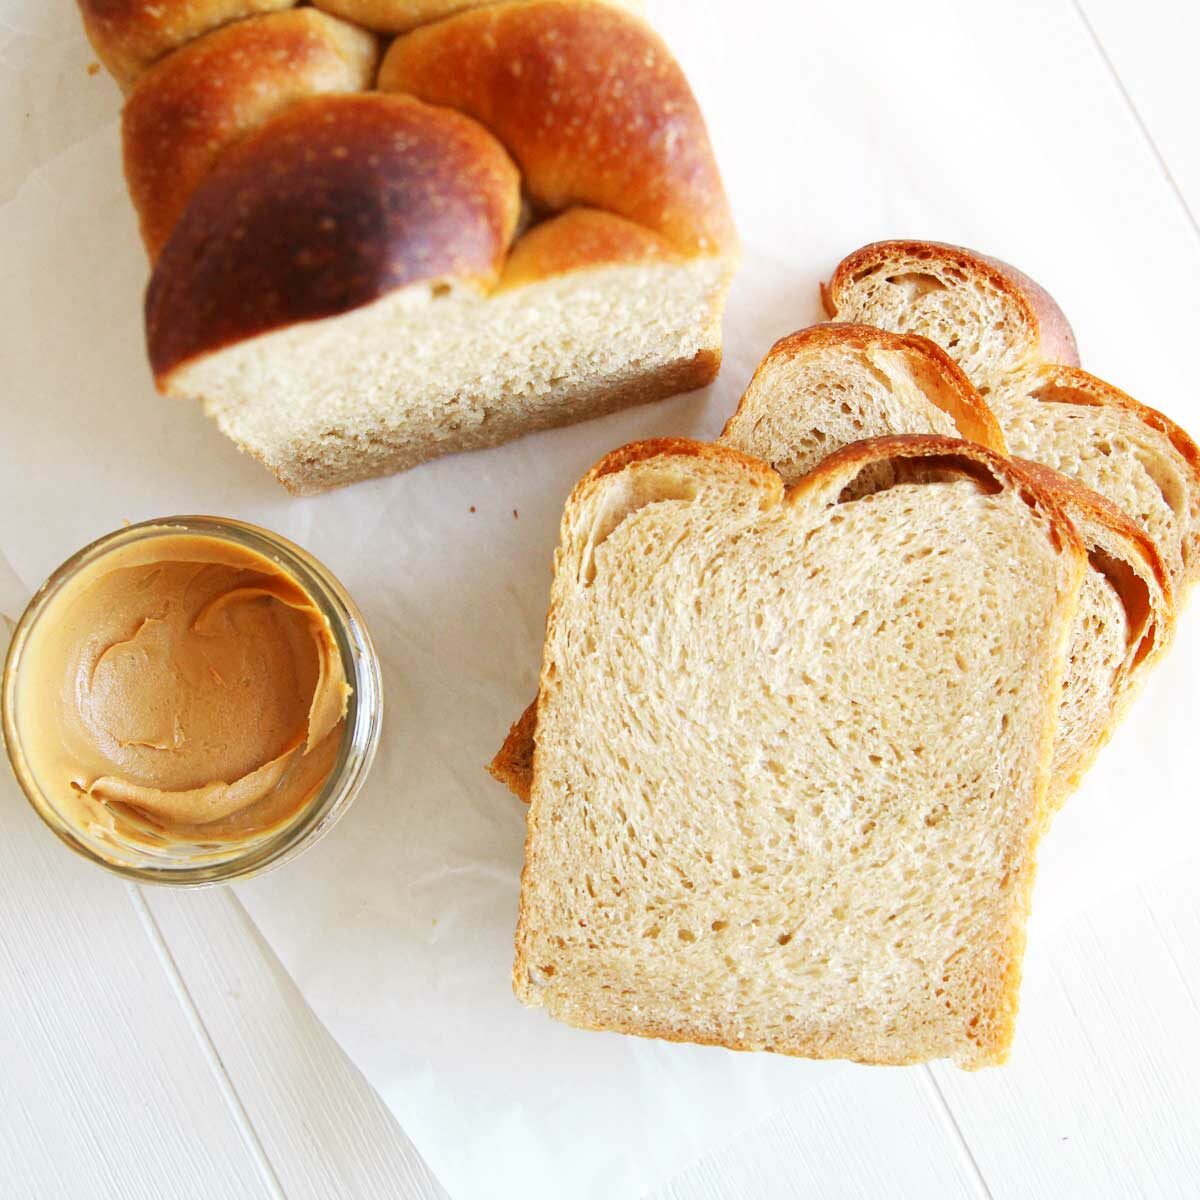
What are some ways you can eat and serve this Bread?
- Plain and warm, right out of the oven
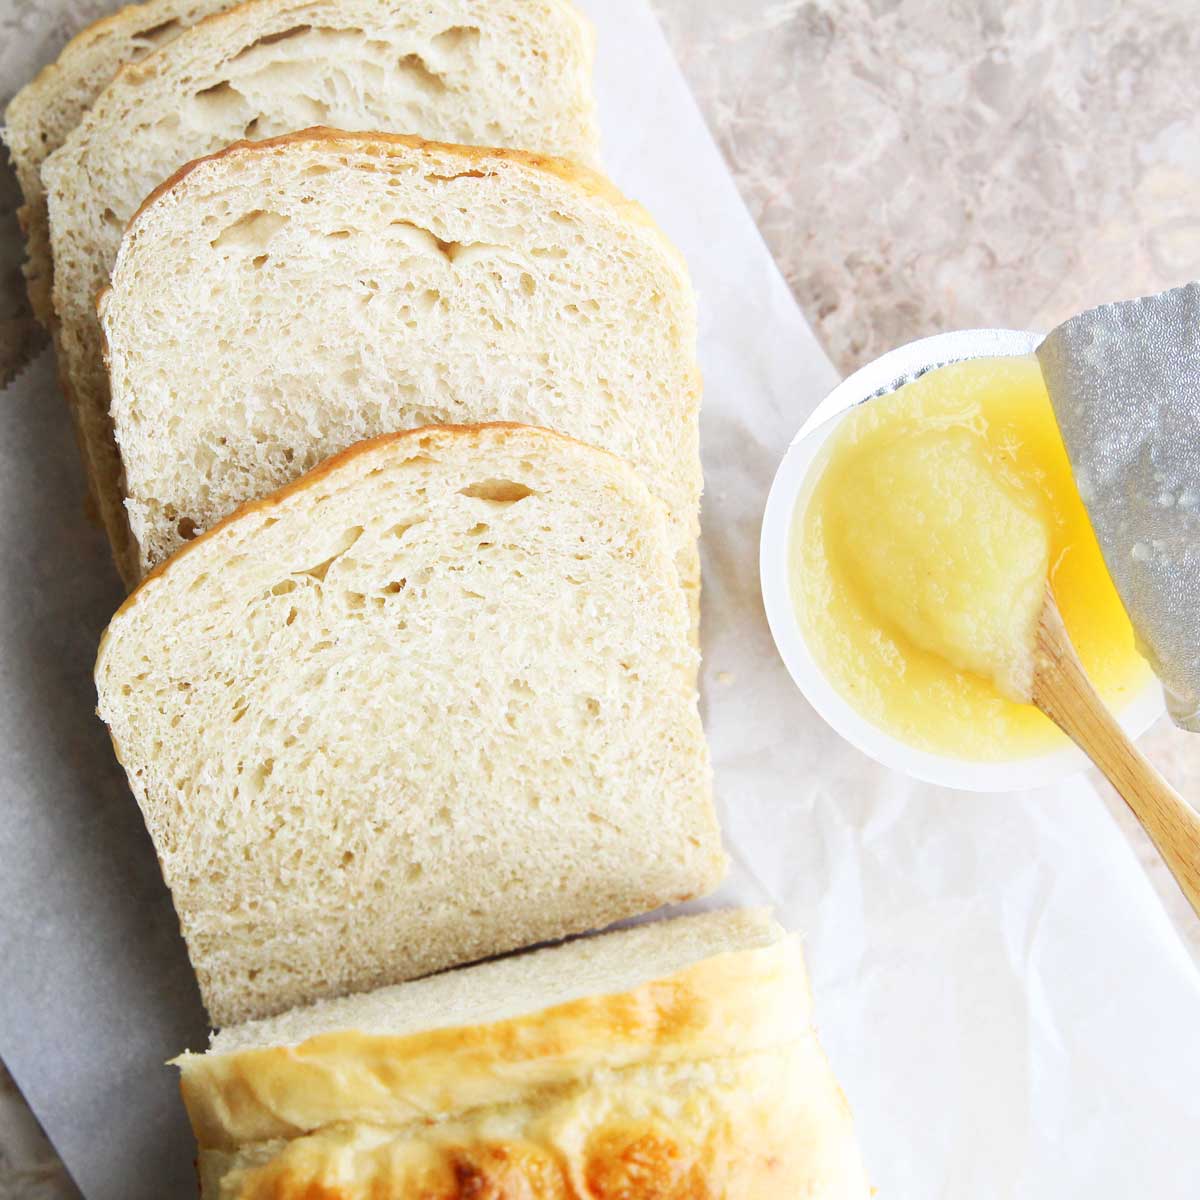
- Toasted the next day, served with jam, marmalade, honey or more peanut butter.
- Sliced and use for any sandwich.
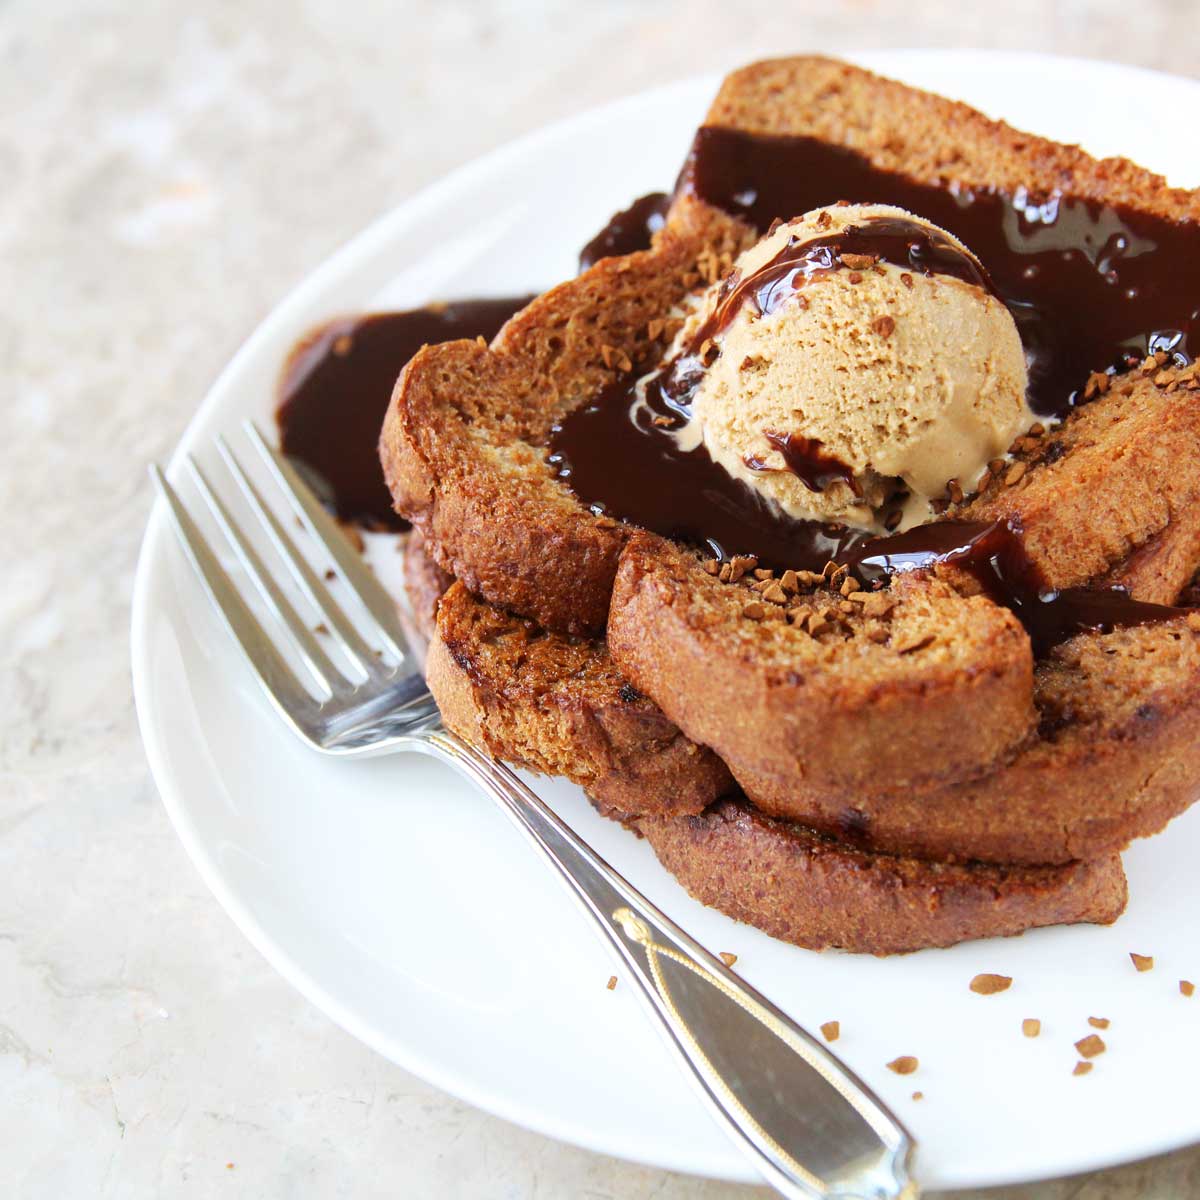
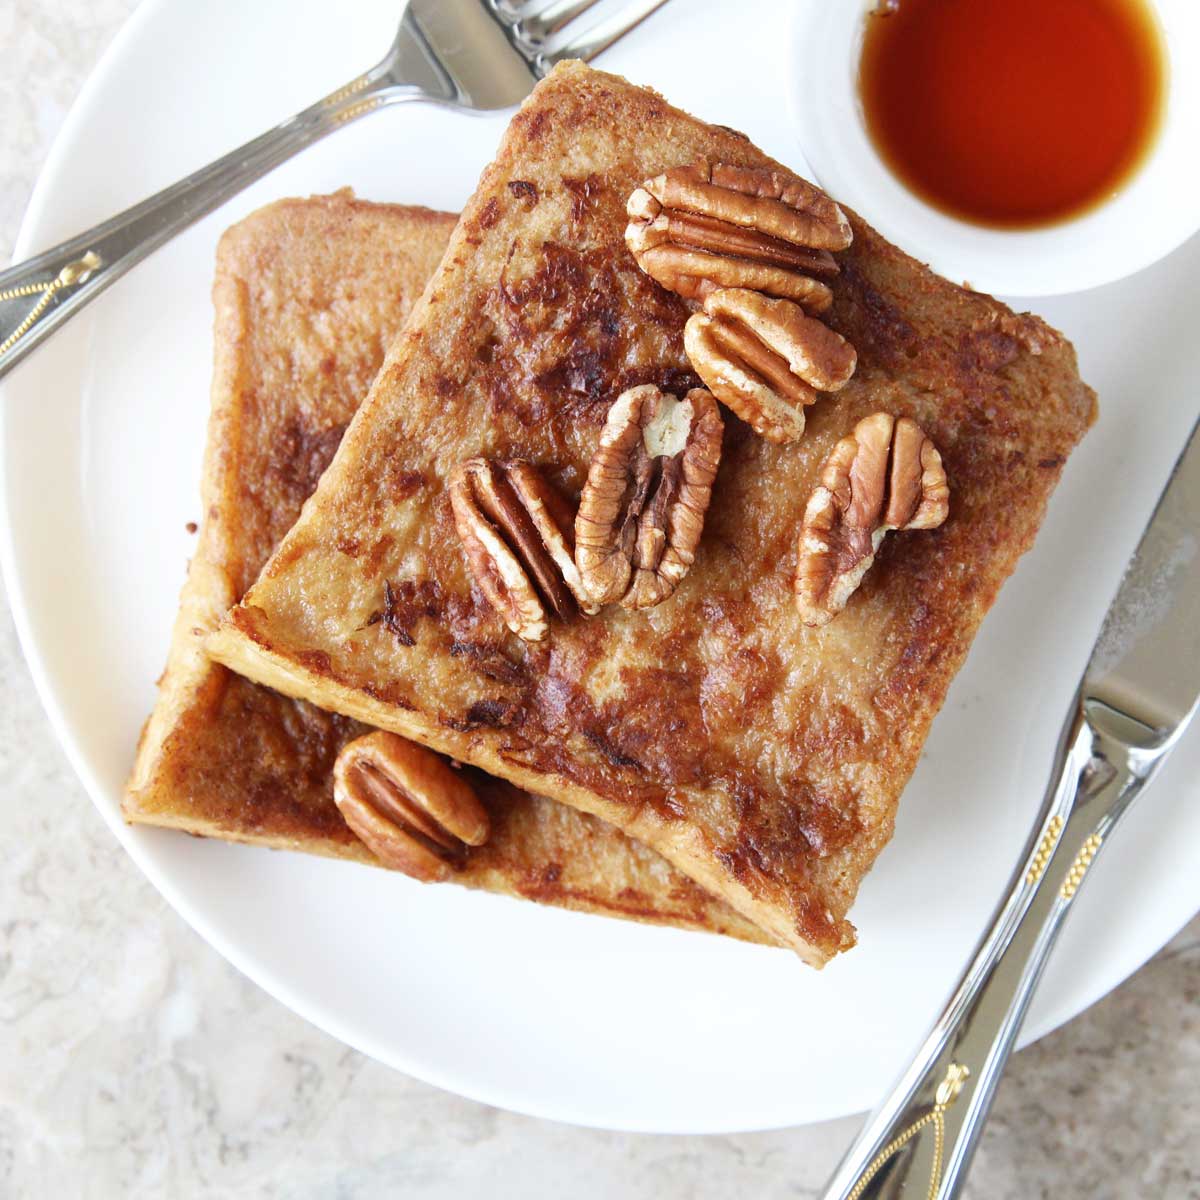
- And if you do get any leftovers or stale bread left, use it for french toasts
How to Store
- You can store this bread loaf, well wrapped, at room temperature for up to 3-4 days.
- For longer storage, you can place them in a plastic freezer bag or airtight container and freeze up to 3 months, then defrost them at room temperature or microwave before eating.
Final Tips
- Weigh your flour for the best results. 1 cup of bread flour = 120 grams / 4.23 oz. This is recommended since scooping the flour directly from the bag can can pack the flour into the measuring cup, and this means you'll end up with more flour than what's called for in the recipe. If you don't have a kitchen scale, you can measure the flour by spooning pre-sifted flour into the measuring cup, then using the straight end of the spoon to level the flour across the top to sweep off the excess.
- Baking time (as well as serving size) will vary based on the size of your baking pan, the material (silicone vs metal) of the pan. If you're not sure whether the bread is ready, you can insert a quick read thermometer into the bread - a finished loaf will register 190 F (or 88 C).
- To make this recipe in the bread machine: add all the dry ingredients into the machine, stir briefly before adding the wet ingredients. The machine can be set for basic. Check the dough for consistency and adjust by adding additional water (or flour) before the end of the first kneading cycle. If you want to add additional nuts or dried fruits, leave them aside, and only them 3 minutes before the end of the second kneading cycle.
- Keep in mind the longer rise (fermentation) time. Enriched breads, like this peanut butter brioche, take longer to rise because it is a heavier dough.


Peanut Butter Yeast Bread (Vegan Brioche)
Ingredients
- 4 cups bread flour (480 g) sifted and leveled*
- 1 Tbsp instant yeast
- ⅓ cup sugar**
- 1 tsp salt
- ¾ cup creamy peanut butter spread (192g)
- 1 ½ cup unsweetened almond milk , warmed in the microwave (about 30 seconds)
Instructions
- Mix all the dry ingredients (bread flour, instant yeast, sugar, salt) in the bowl of the stand mixer.
- Add the peanut butter and almond milk to the dry ingredients
- Start to knead the dough at a low setting (speed 2) for about a minute, until all the ingredients are combined.
- Continue to knead for about 8 to 10 minutes, or until the dough pulls away from the bowl and forms a smooth, supple ball.
- Note: Additional 1-2 Tablespoons of water (or additional bread flour) may be necessary depending on the protein content of the flour, the water content in the puree, as well as the humidity and temperature of the kitchen.
- Remove the finished dough from the mixer bowl and place in a lightly greased bowl.
- Cover and let rise until doubled, about 2 hours***
- Punch down the dough, then remove from bowl. Place on a generously floured surface and divide into 4 equal sized pieces.
- Use a small rolling pin to flatten each piece into a 6 x 9 inch rectangles, and fold into thirds. Starting from the long side, roll the dough tightly into a tight cylinder (like a sushi roll or cinnamon roll). Pinch the ends to seal. Repeat with the other 3 pieces and place in a well-oiled bread pan. Here's a step by step guide to how I shape bread dough, here!
- Let the dough rise again for 1 hour until puffy. Toward the end of the rise time, preheat the oven to 350F / 180C
- Optional: To add some color and shine to the bread as it bakes, gently brush the tops of the bread with 1 Tbsp of non-dairy milk mixed with 1 Tbsp of maple syrup. (Regular milk or egg wash also works).
- Bake the bread for 15 minutes, then cover / tent the bread with aluminum foil to prevent over-browning, and bake an additional 10 to 15 minutes, or until the interior of the bread reaches 190°F.
- Take the bread out of the oven, turn it out on a rack, and cool it slightly before slicing. Enjoy!
- Note: You can store this bread loaf, well wrapped, at room temperature for up to 3-4 days. For longer storage, you can place them in a plastic freezer bag or airtight container and freeze up to 3 months, then defrost them at room temperature or microwave before eating.


Noelle says
Hi, this bread looks amazing! I can’t find the ingredient measurements though. Thanks
All Purpose Veggies says
Thank you so much for bringing this to my attention, Noelle. I must have accidentally deleted the recipe card when I made my last edit. The recipe has been uploaded now, but please let me know if you have any other questions!