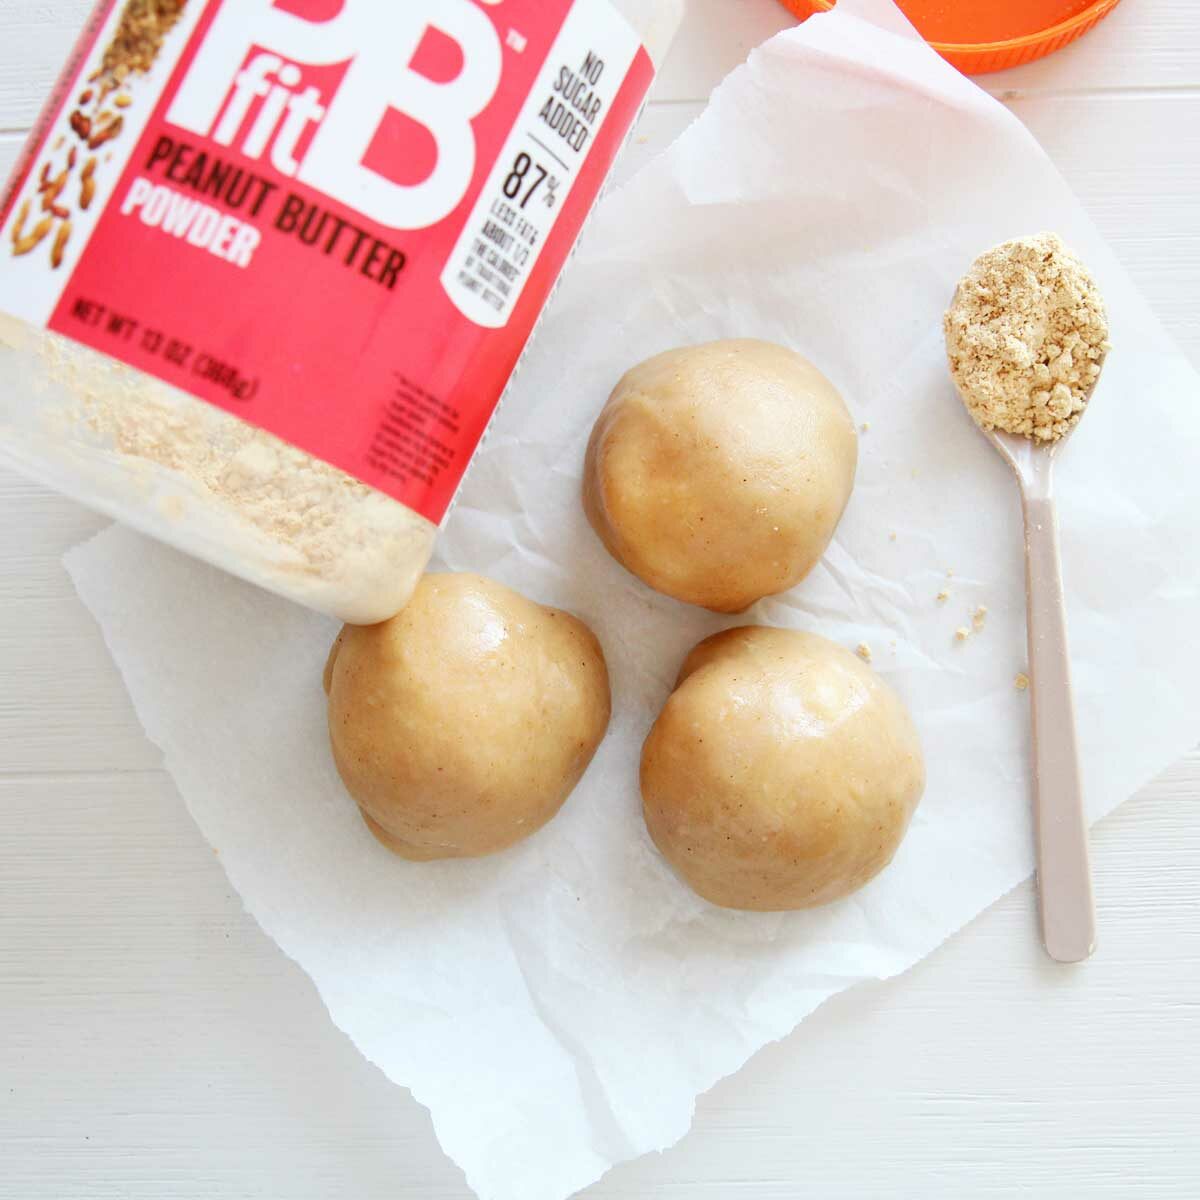
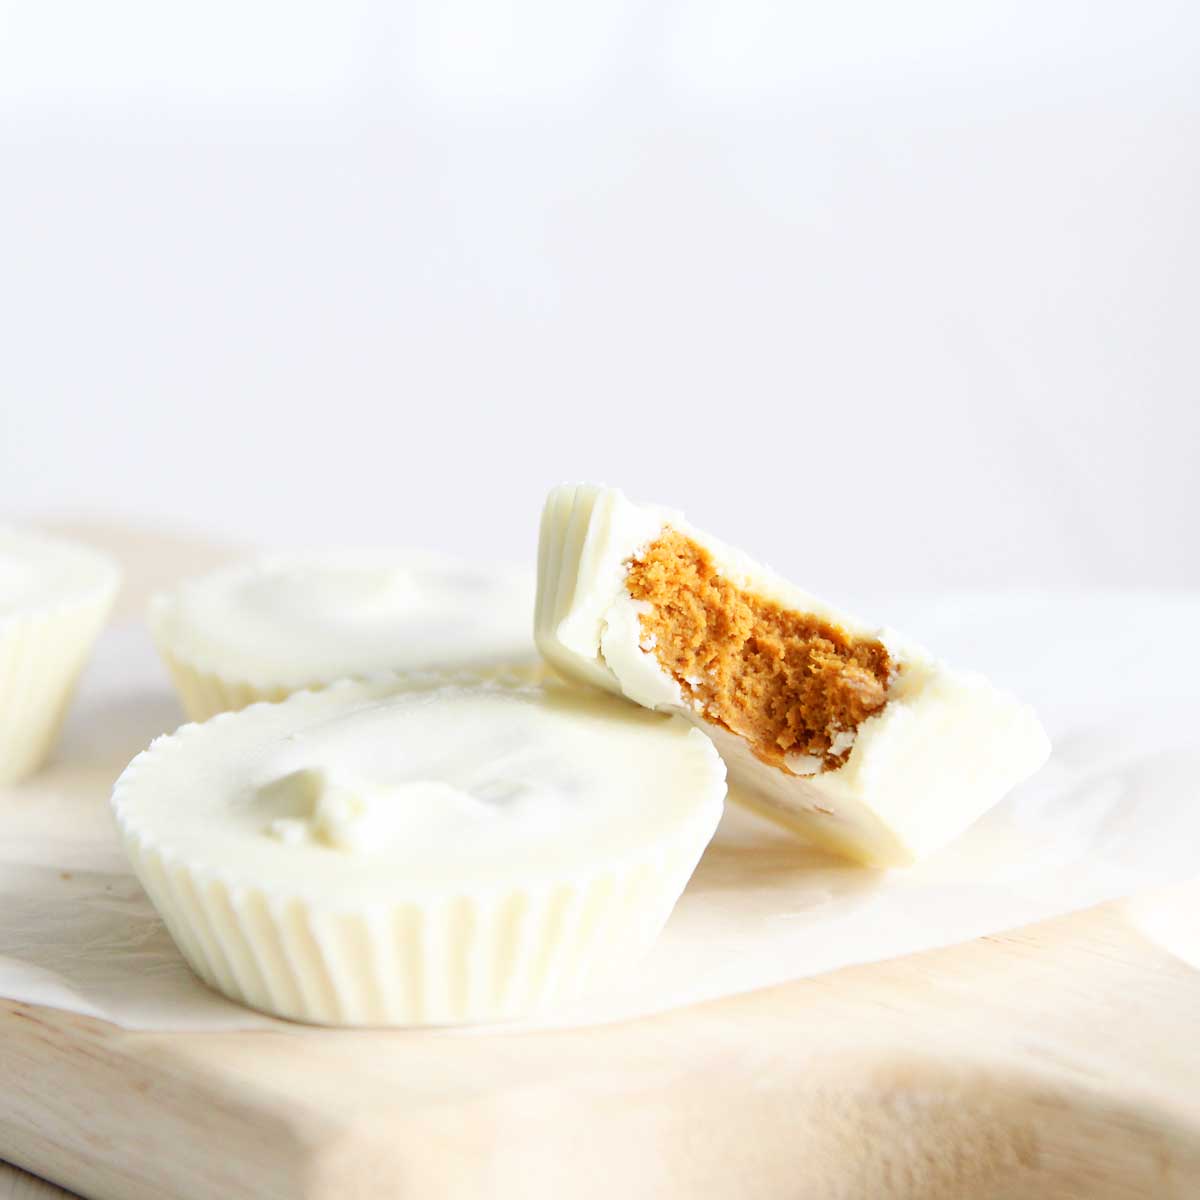
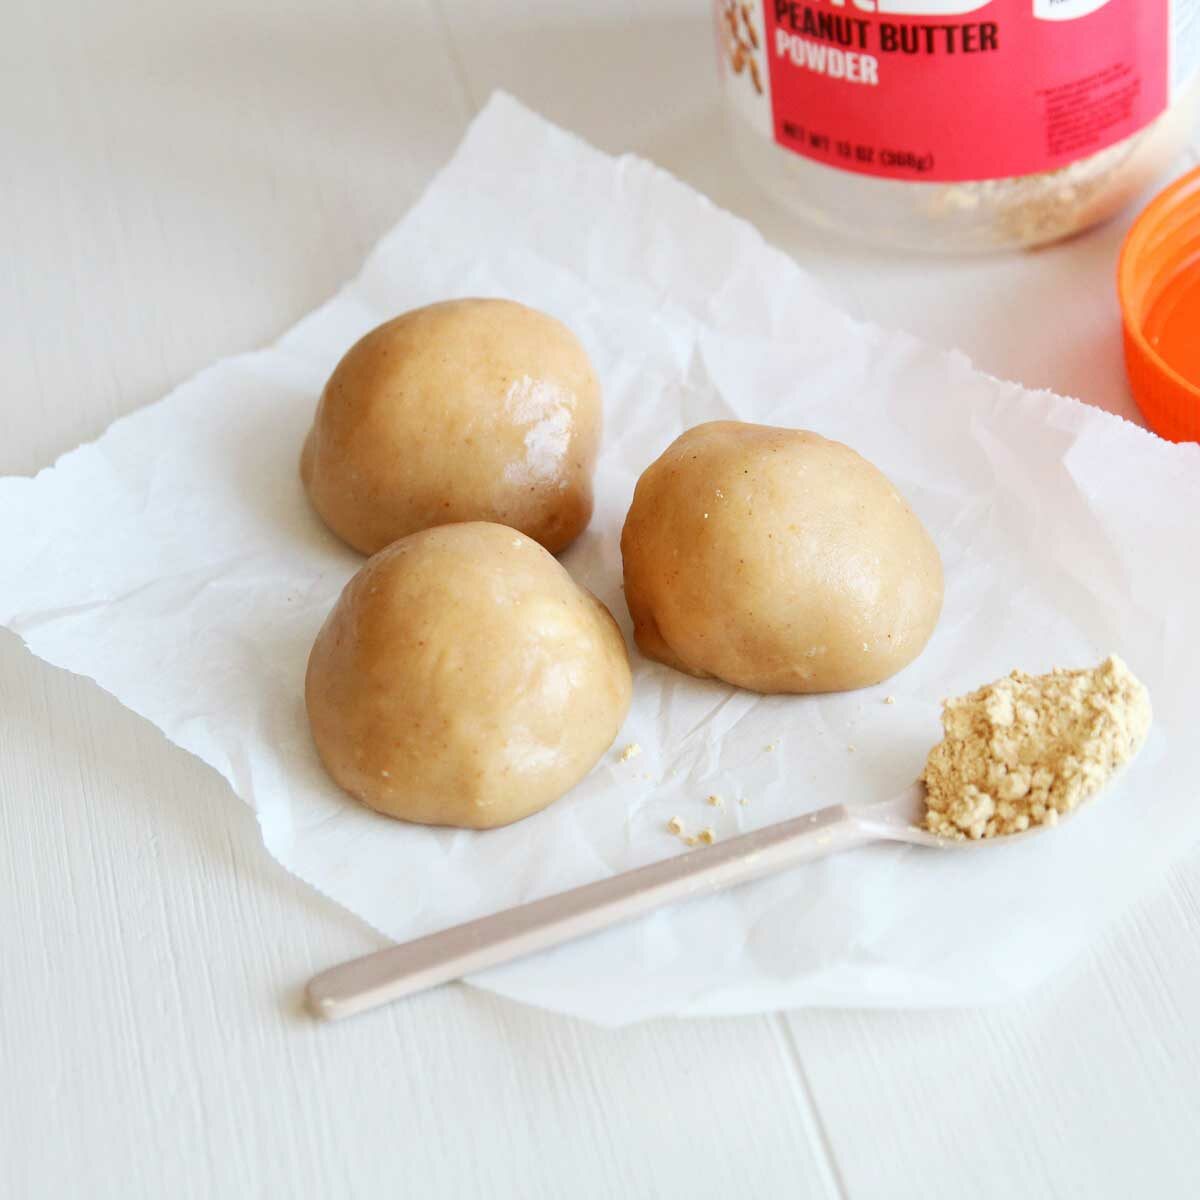
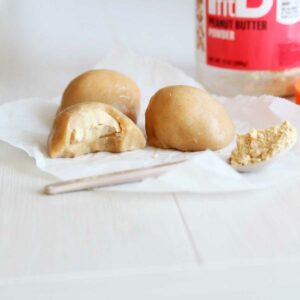
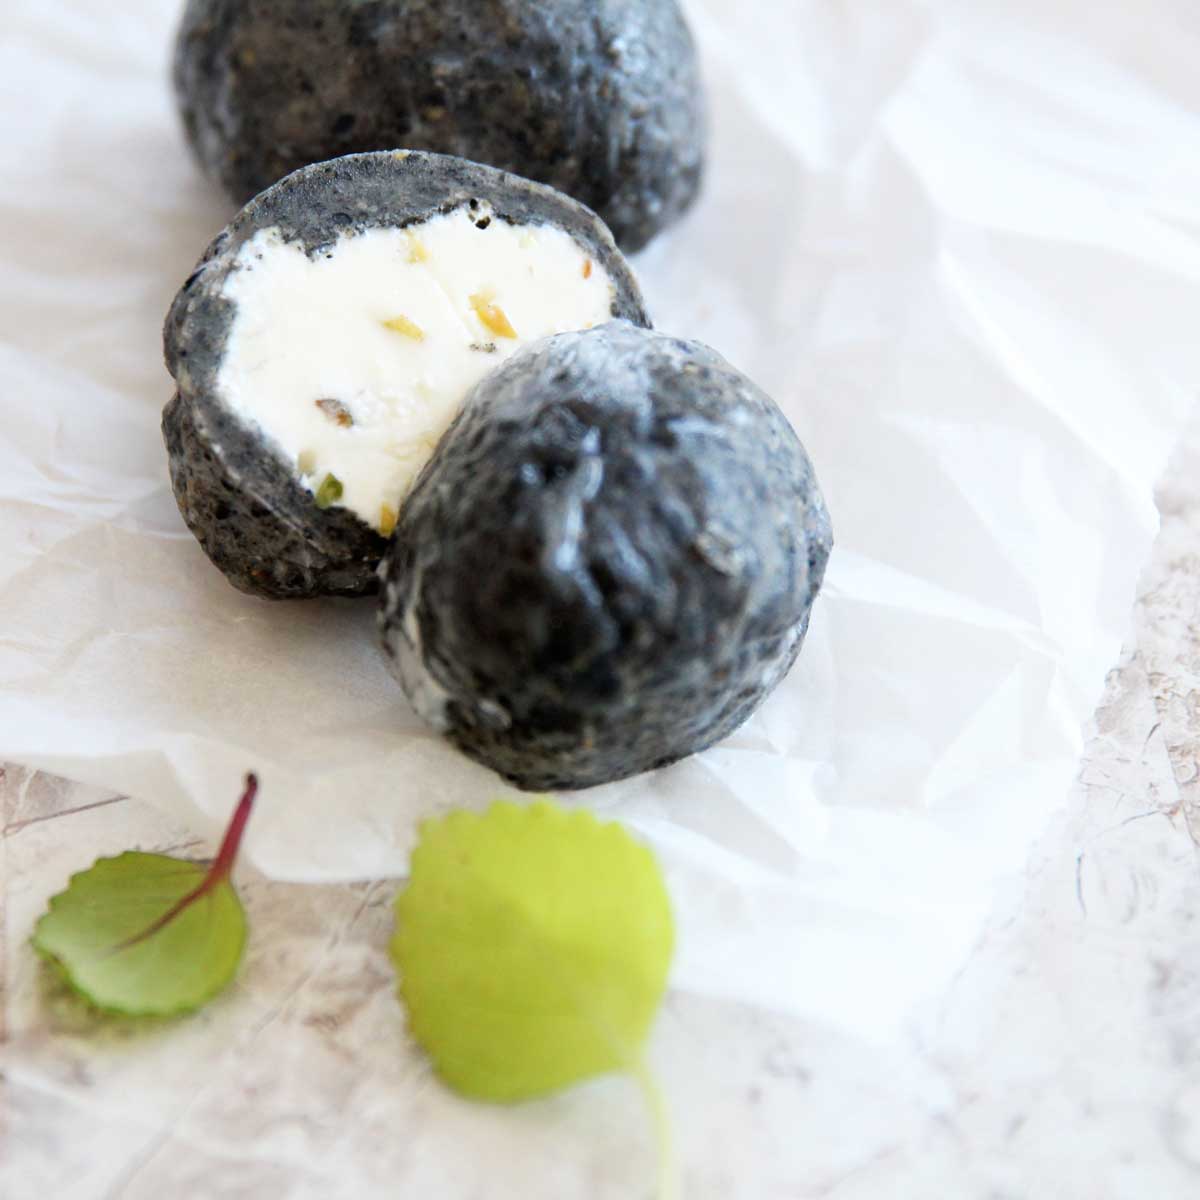
Here's a Low Calorie Pb Fit Mochi made with peanut butter powder! Made with PB Fit, a peanut butter powder that's lower in fat and calories than traditional peanut butter, this recipe is not only lower in carbs, low sugar and gluten-free, but this mochi also just 84 calories each! It's a perfect snack or dessert option for anyone who's looking for a lighter mochi recipe.
Ingredients Used to Make Low Calorie PB Fit Mochi
**I've linked some of these ingredients to amazon.com to give you an idea of what they are, but you should also be able to find them in your local grocery store (usually, the natural & organic food section). They are also affiliate links, which means that I earn a commission as an Amazon Associate if you decide to purchase the items. The price will be the same for you, link or no link 🙂
- Glutinous Rice Flour - this goes by many names. You'll see Glutinous Rice Flour and Mochiko Flour (my favorite brand) in Asian grocery stores, and Sweet White Rice Flour in most other stores. ***Please note that regular white rice flour or brown rice flour is NOT the same thing as glutinous rice flour!!!
- Sugar of Choice – I used monk fruit sweetener in this recipe to keep this recipe low-sugar and low carb, but raw cane sugar, coconut, date, and maple sugars are perfectly acceptable substitutes.
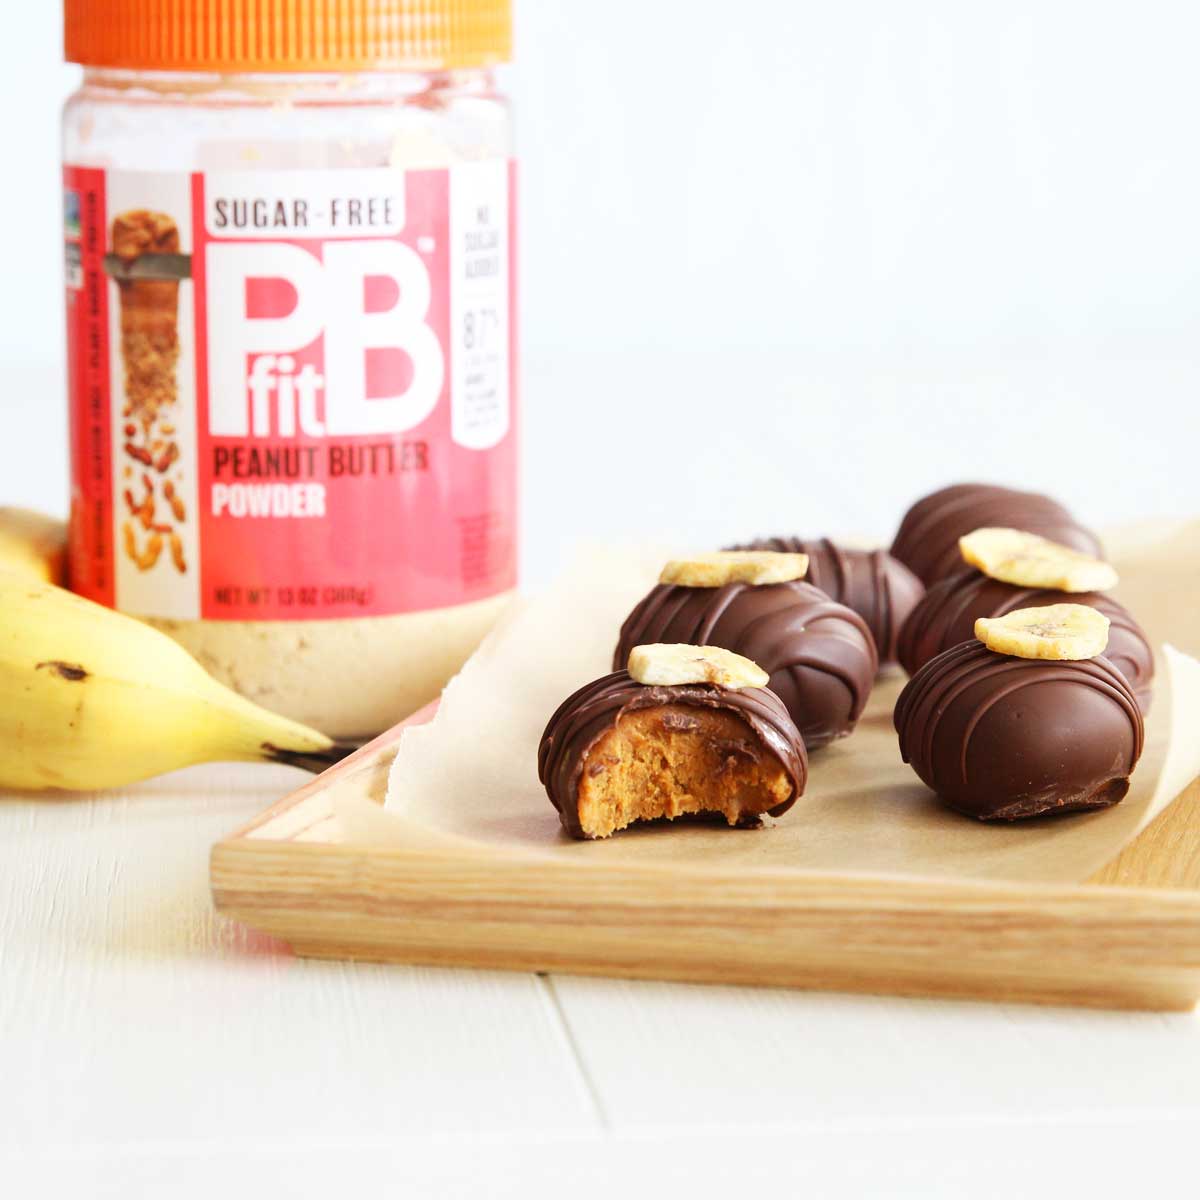
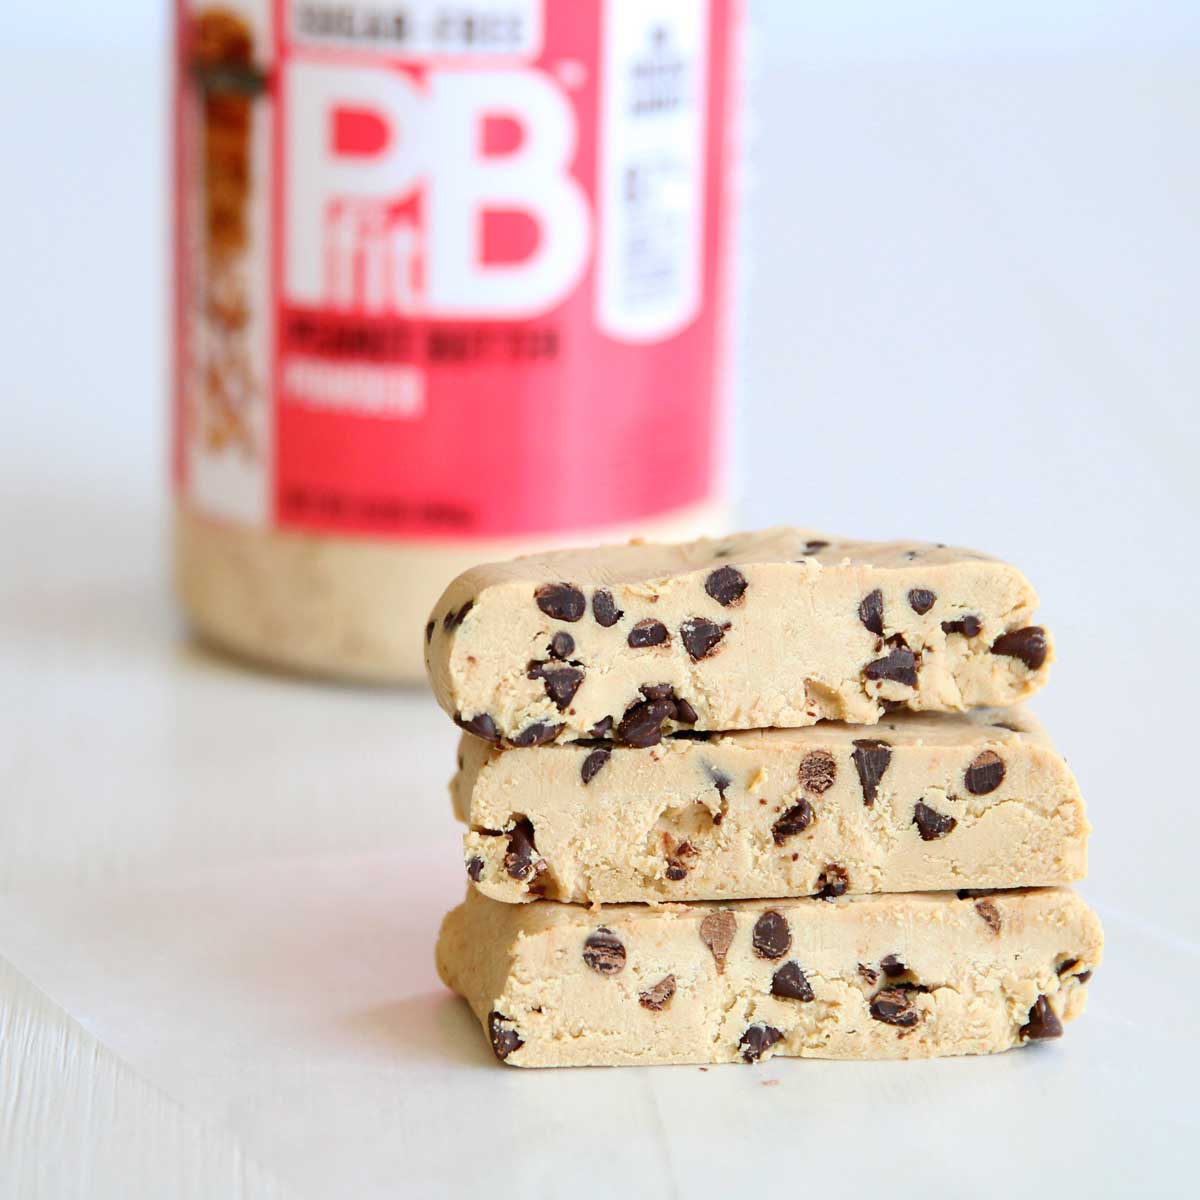
- Peanut Butter Powder - PB powder is made by removing most of the oil from roasted peanuts and grinding them into a fine powder, resulting in a low-fat, high-protein alternative to traditional peanut butter. You can use brands like PB Fit, or PB2. I used a Sugar Free PB FIt powder for this recipe
What I used for Filling
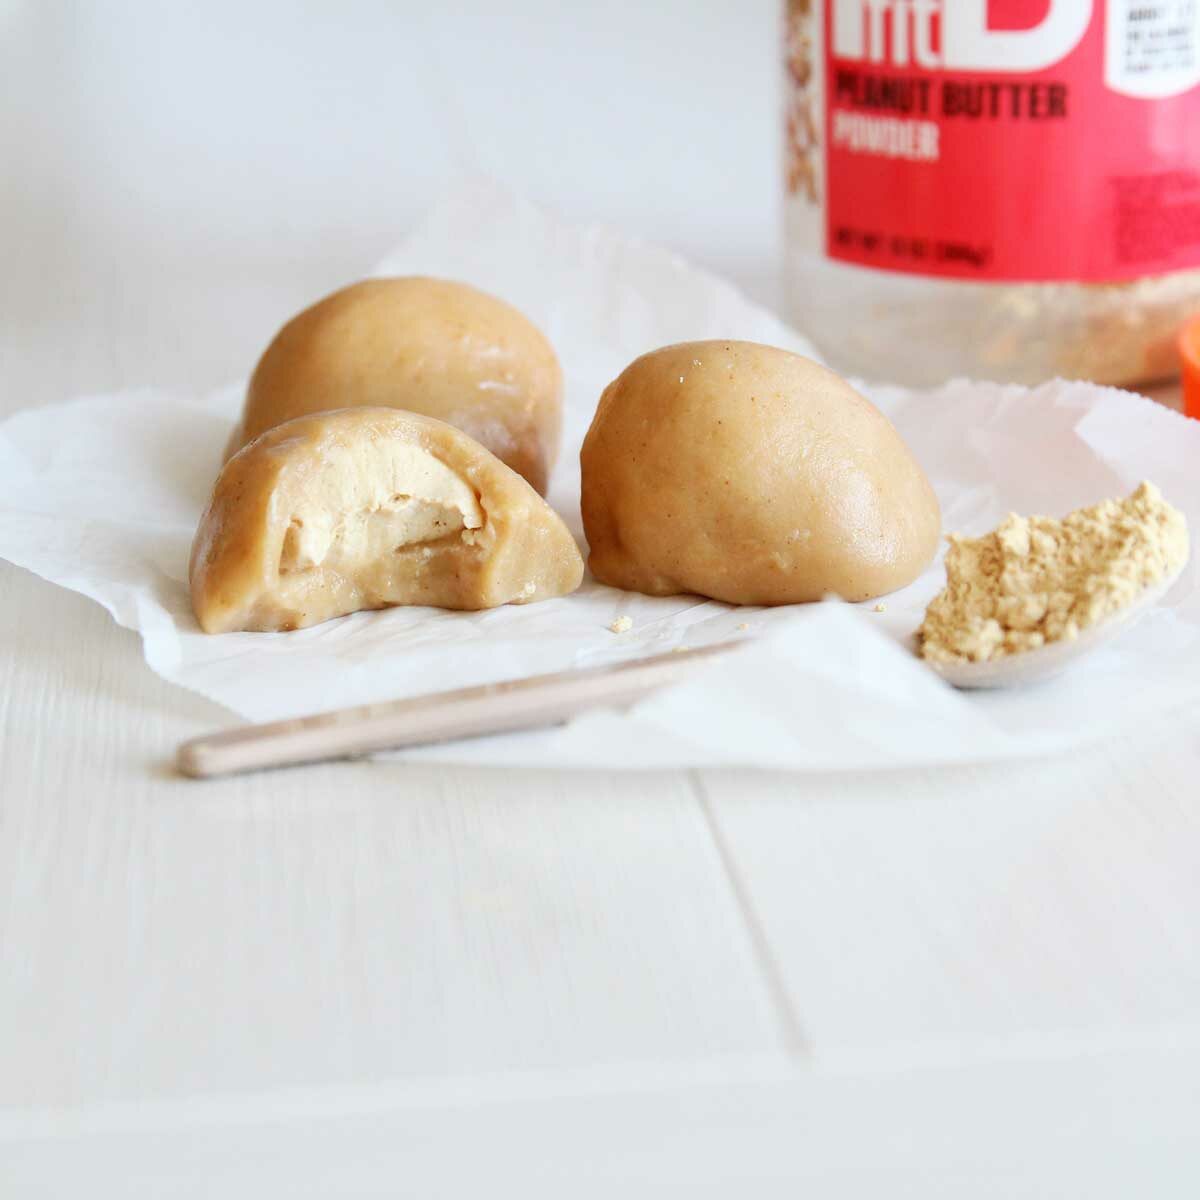
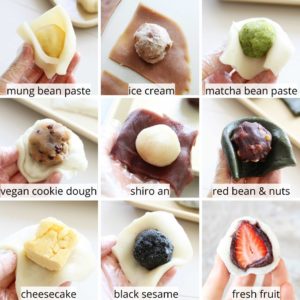
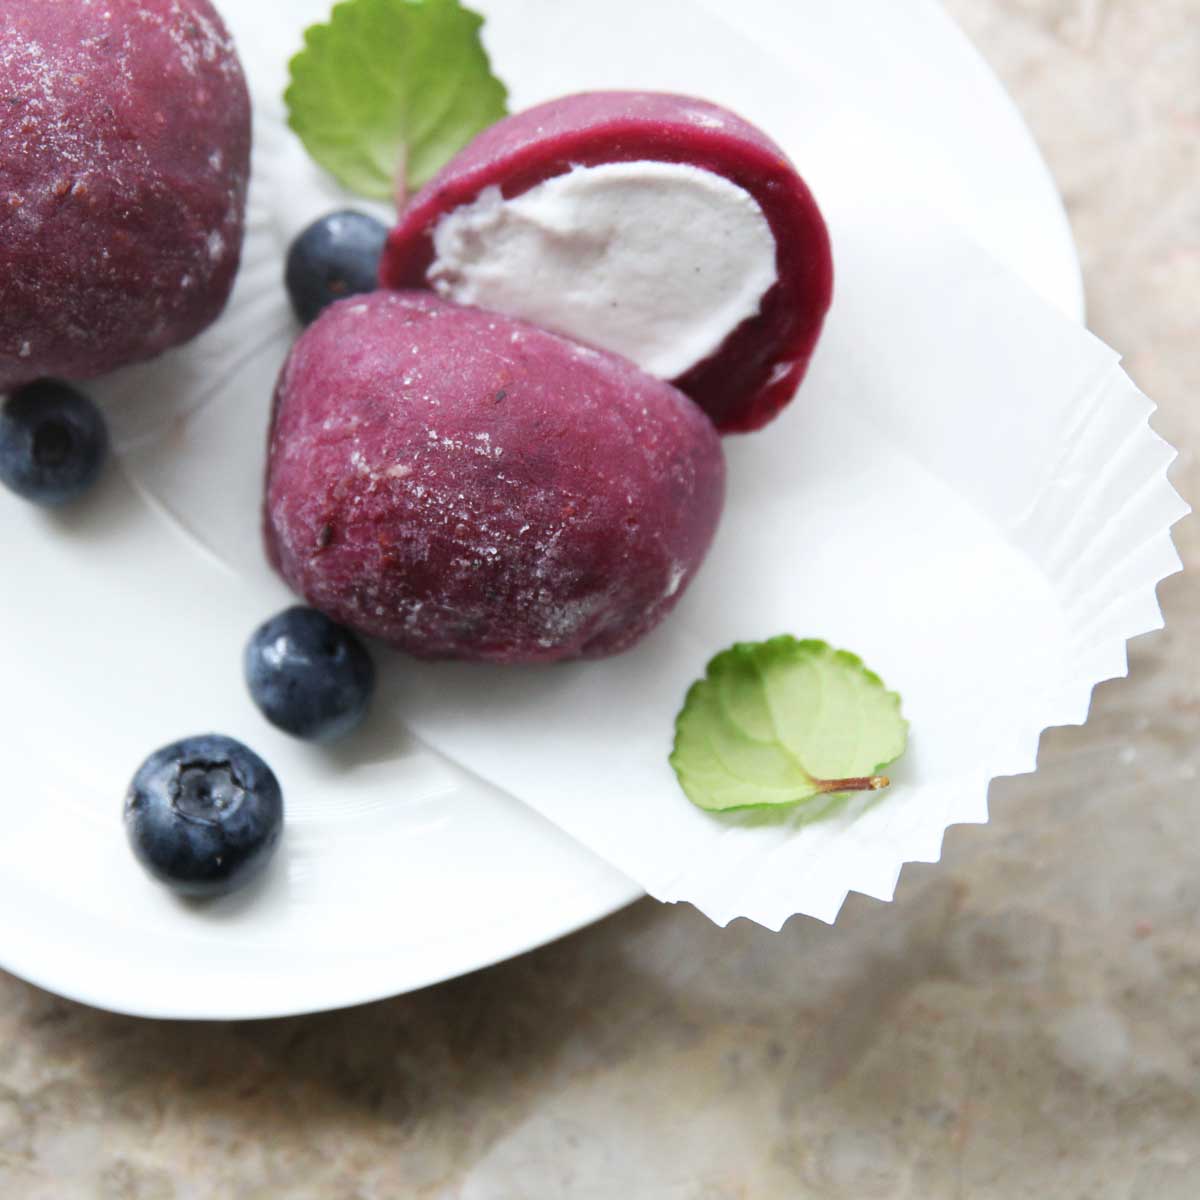
You can use any mochi filling of choice, such as store-bought red bean paste, white bean paste, or homemade mung bean paste.
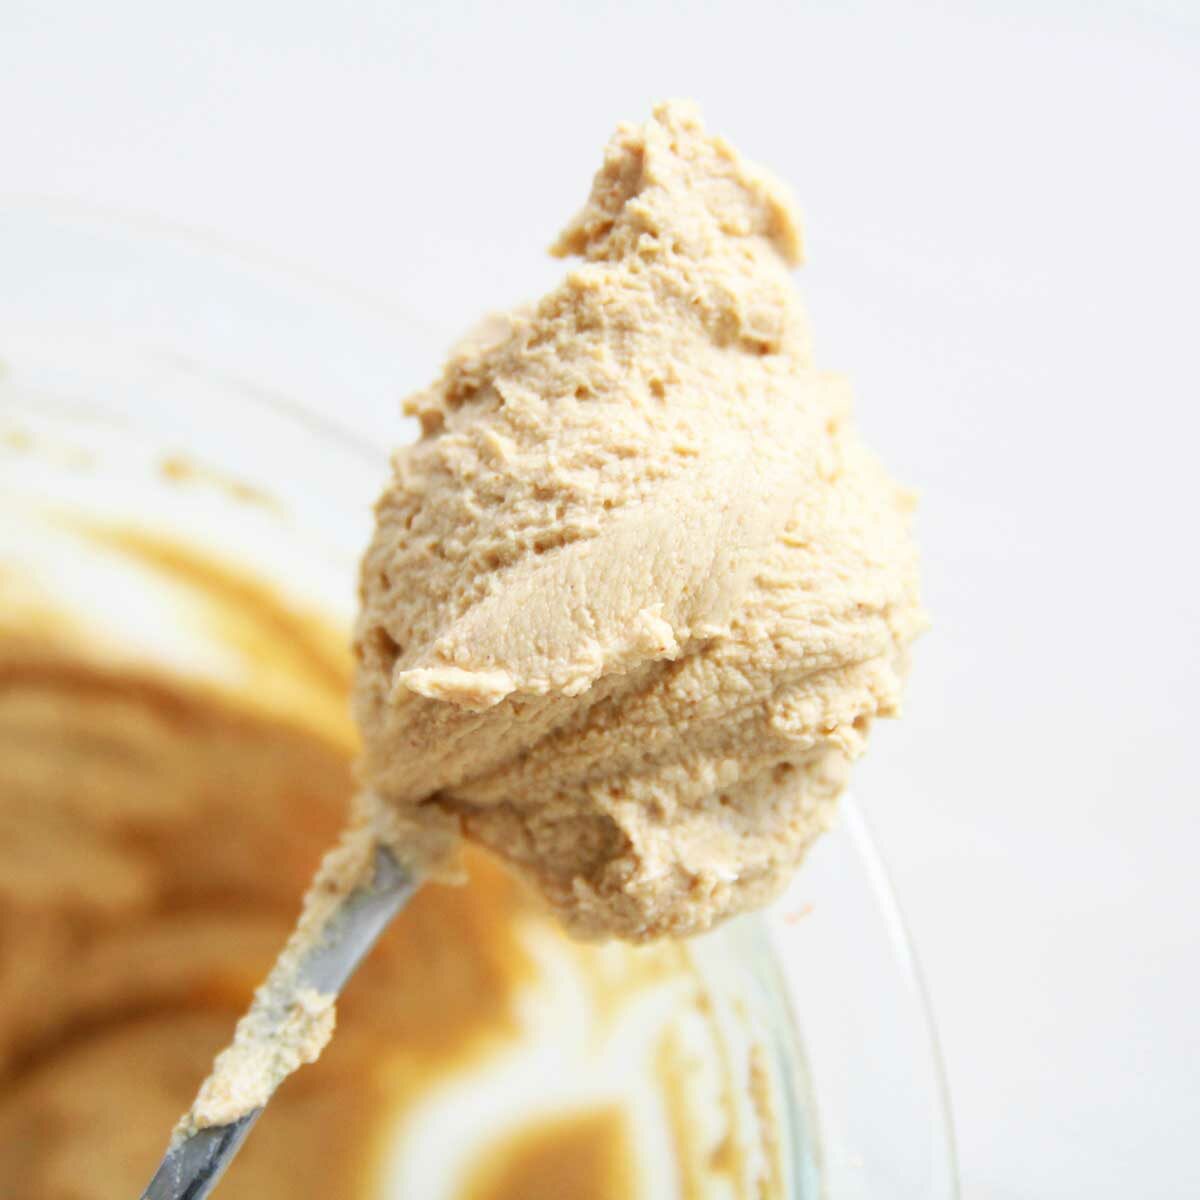
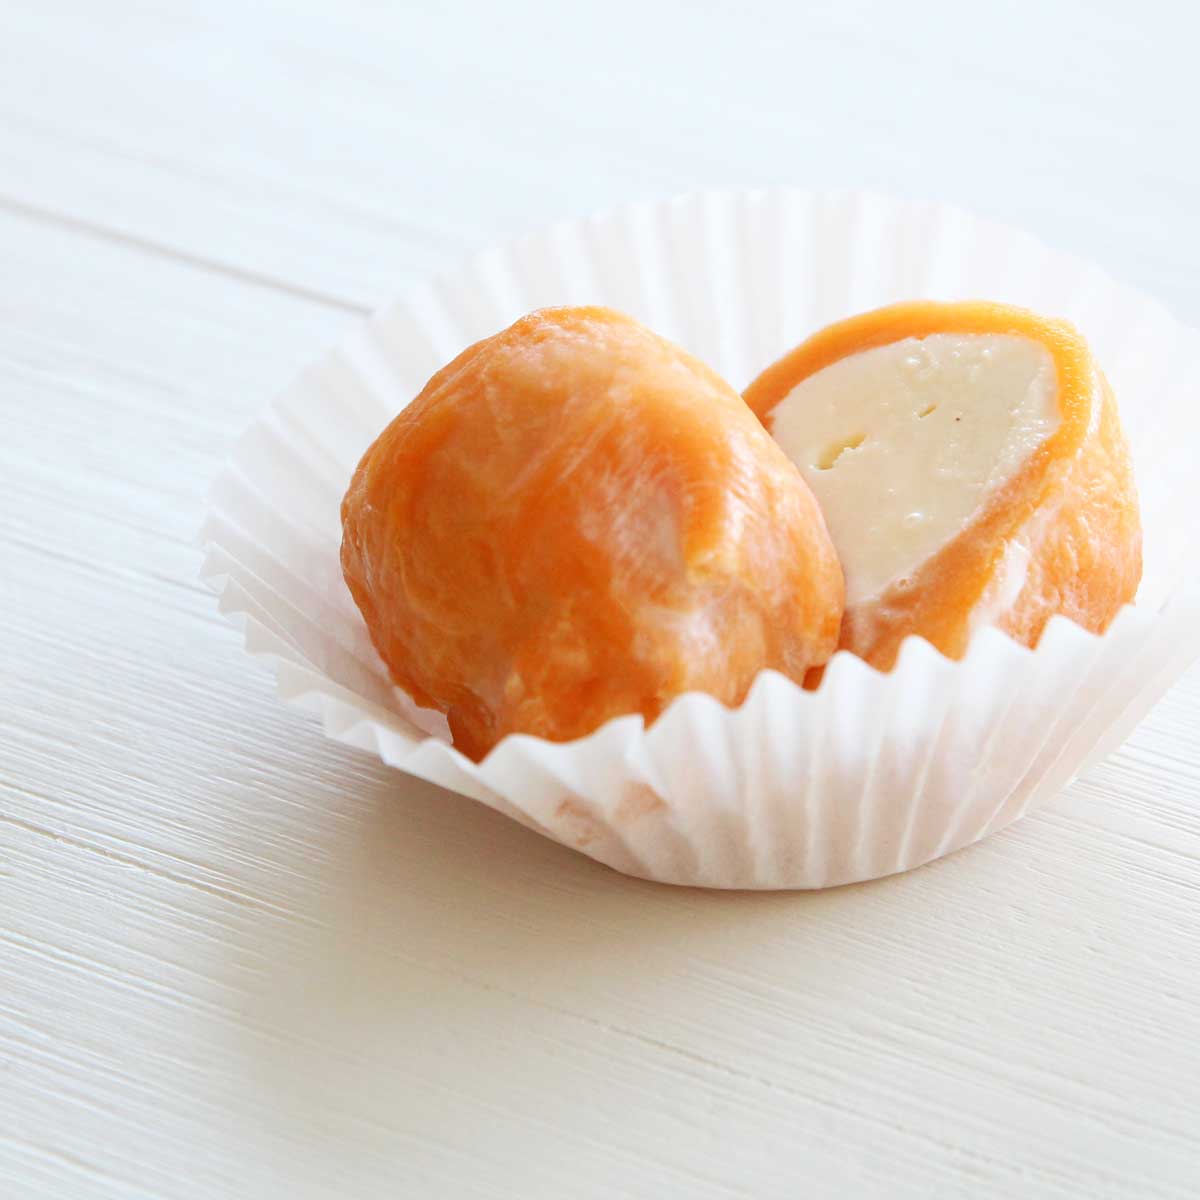
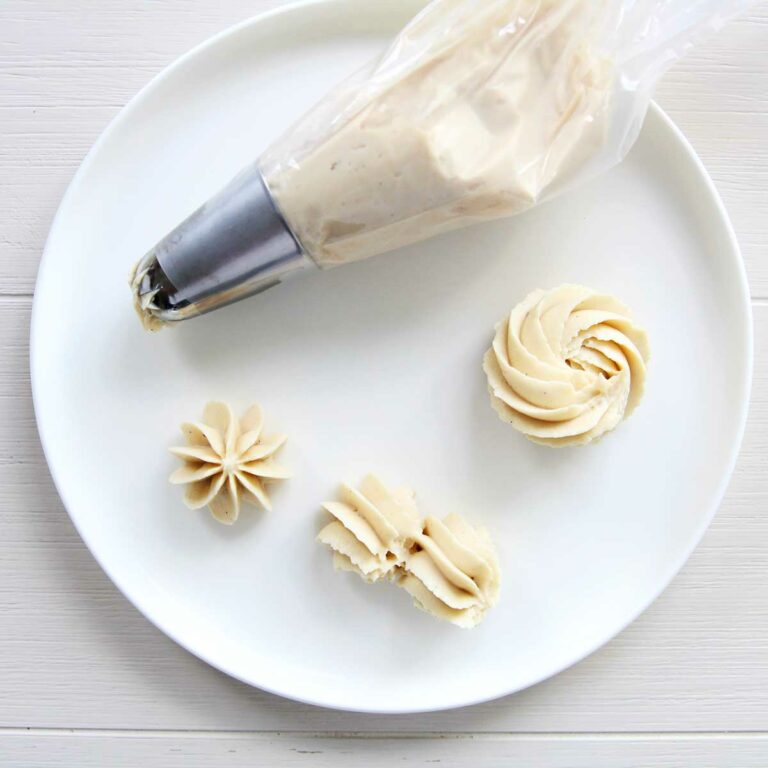
In this recipe, I’m using my Low Fat PB Powder Yogurt "Frosting" Recipe (link here) as my mochi filling. To easily portion out the filling to be used in the mochi, I like to use a small cookie scoop to portion out the filling.
More Powdered Peanut Butter Recipes

Step by Step
How to Make Low Calorie PB Fit Mochi in the Microwave
STEP 1
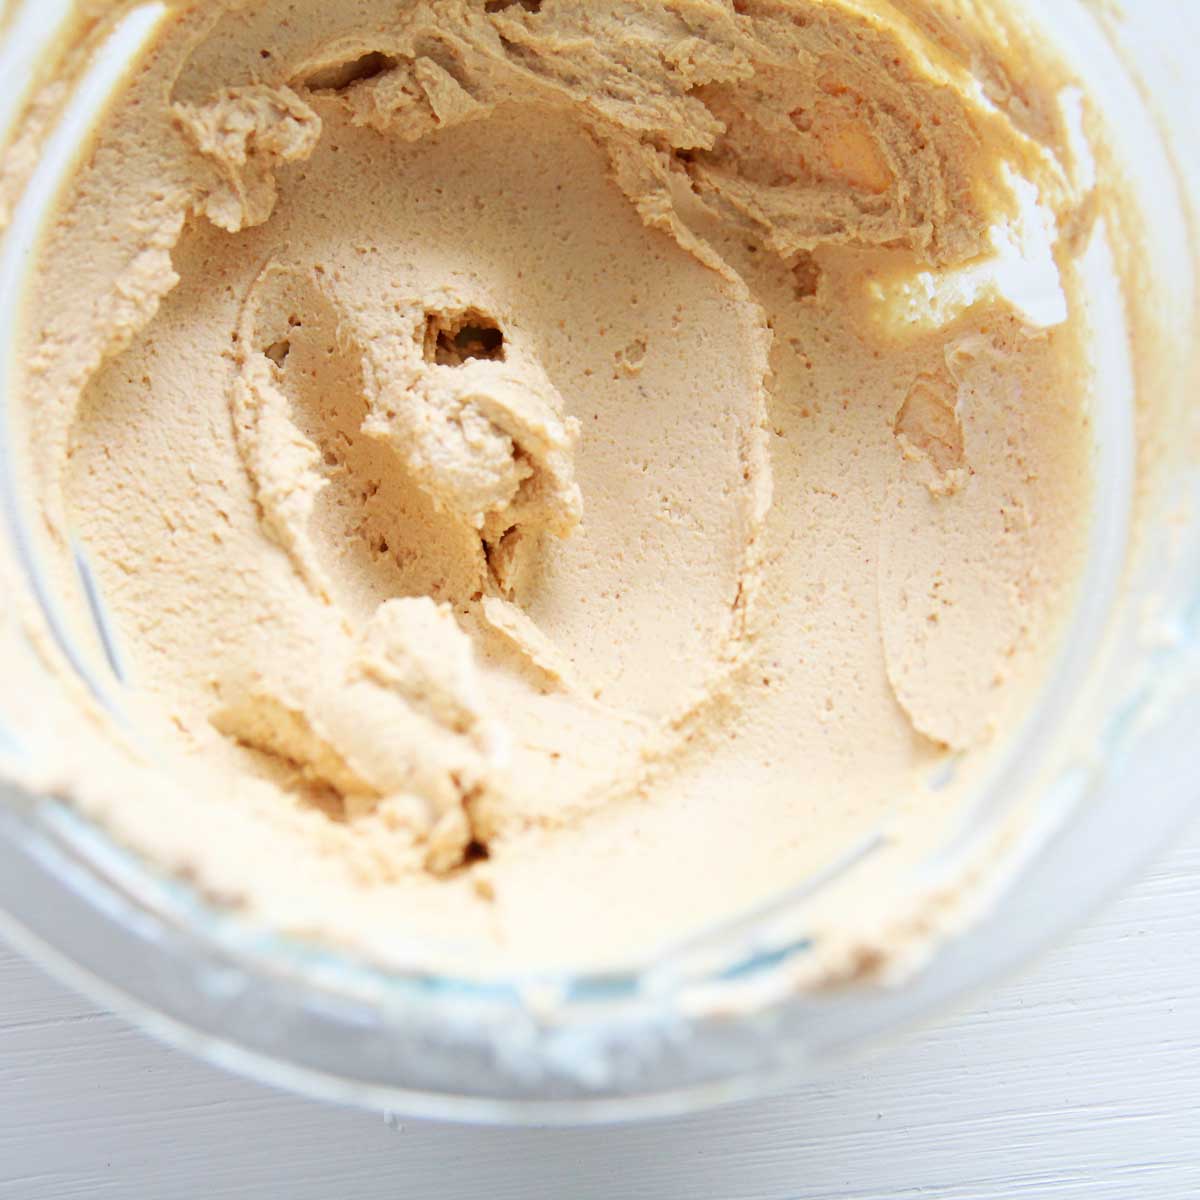
Prepare the PB Fit FIlling by mixing ½ cup Greek (or dairy free) yogurt, ½ cup plus 2 Tbsp Peanut Butter Powder and 2 Tbsp Monk Fruit Sweetener. Full recipe link here Low Fat PB Powder Yogurt Frosting
STEP 2
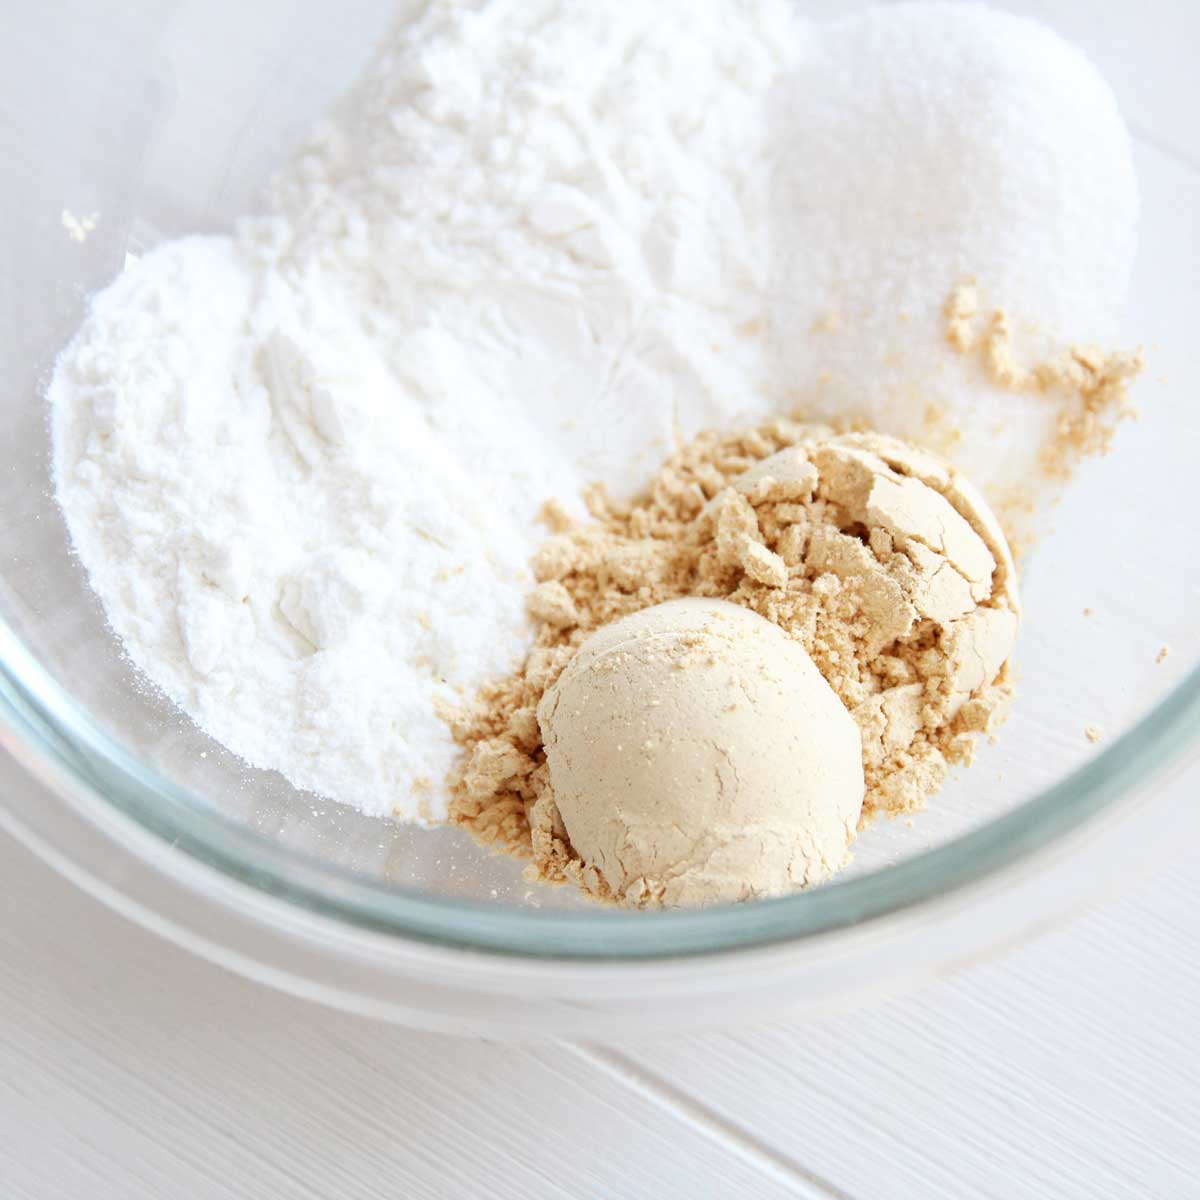
In a microwaveable glass bowl (like Pyrex), mix the glutinous rice flour, monk fruit sweetener, and peanut butter powder.
STEP 3
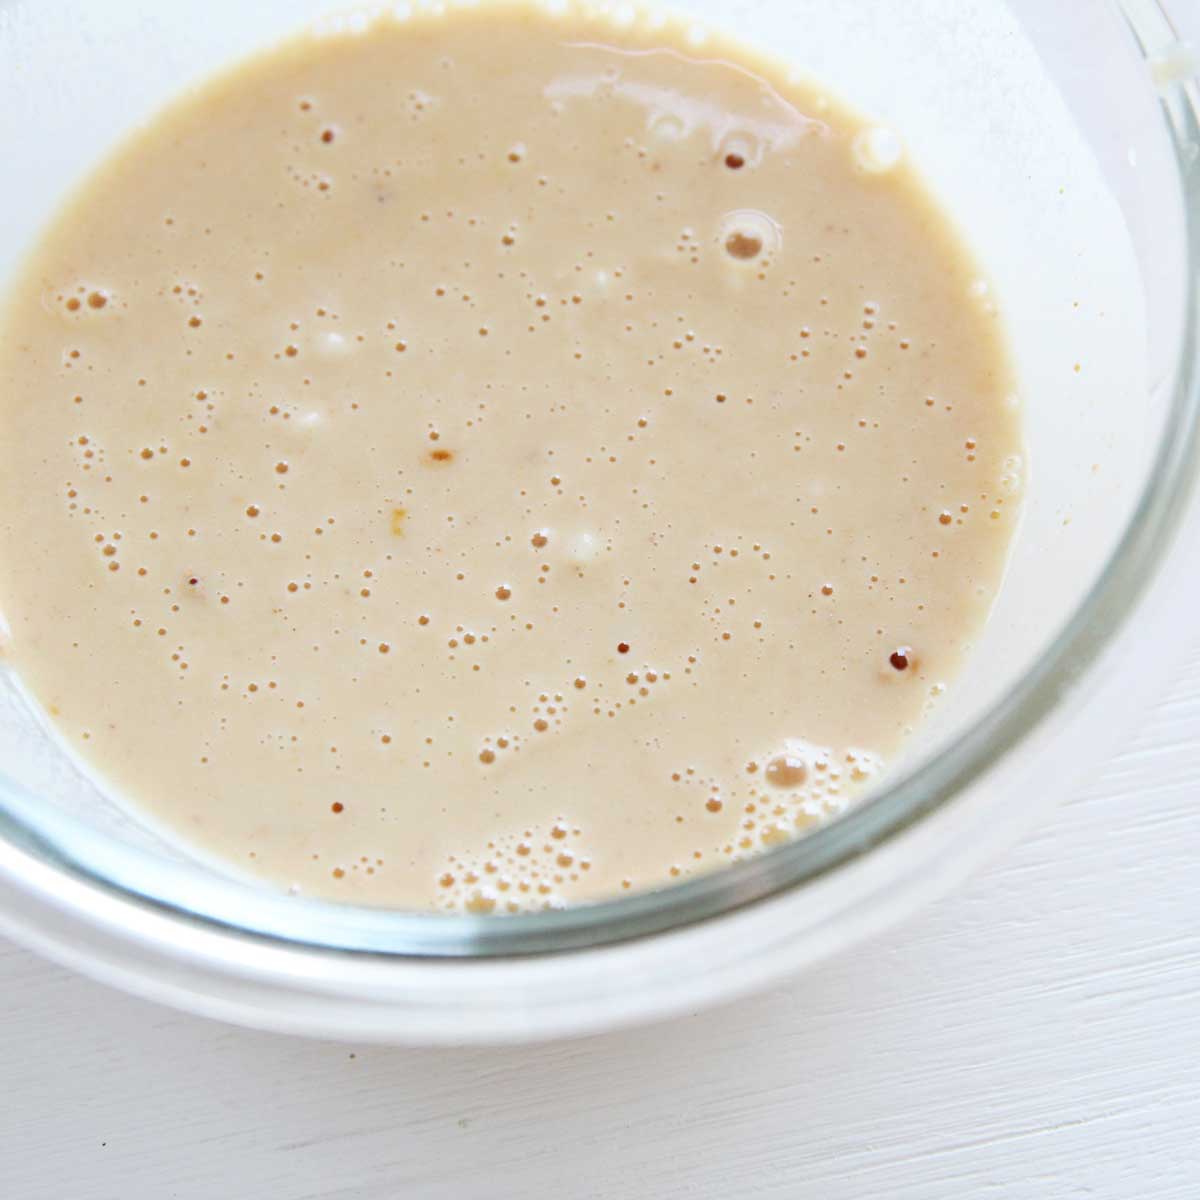
Add water, then microwave the combined dough in the microwave for 90 seconds
STEP 4
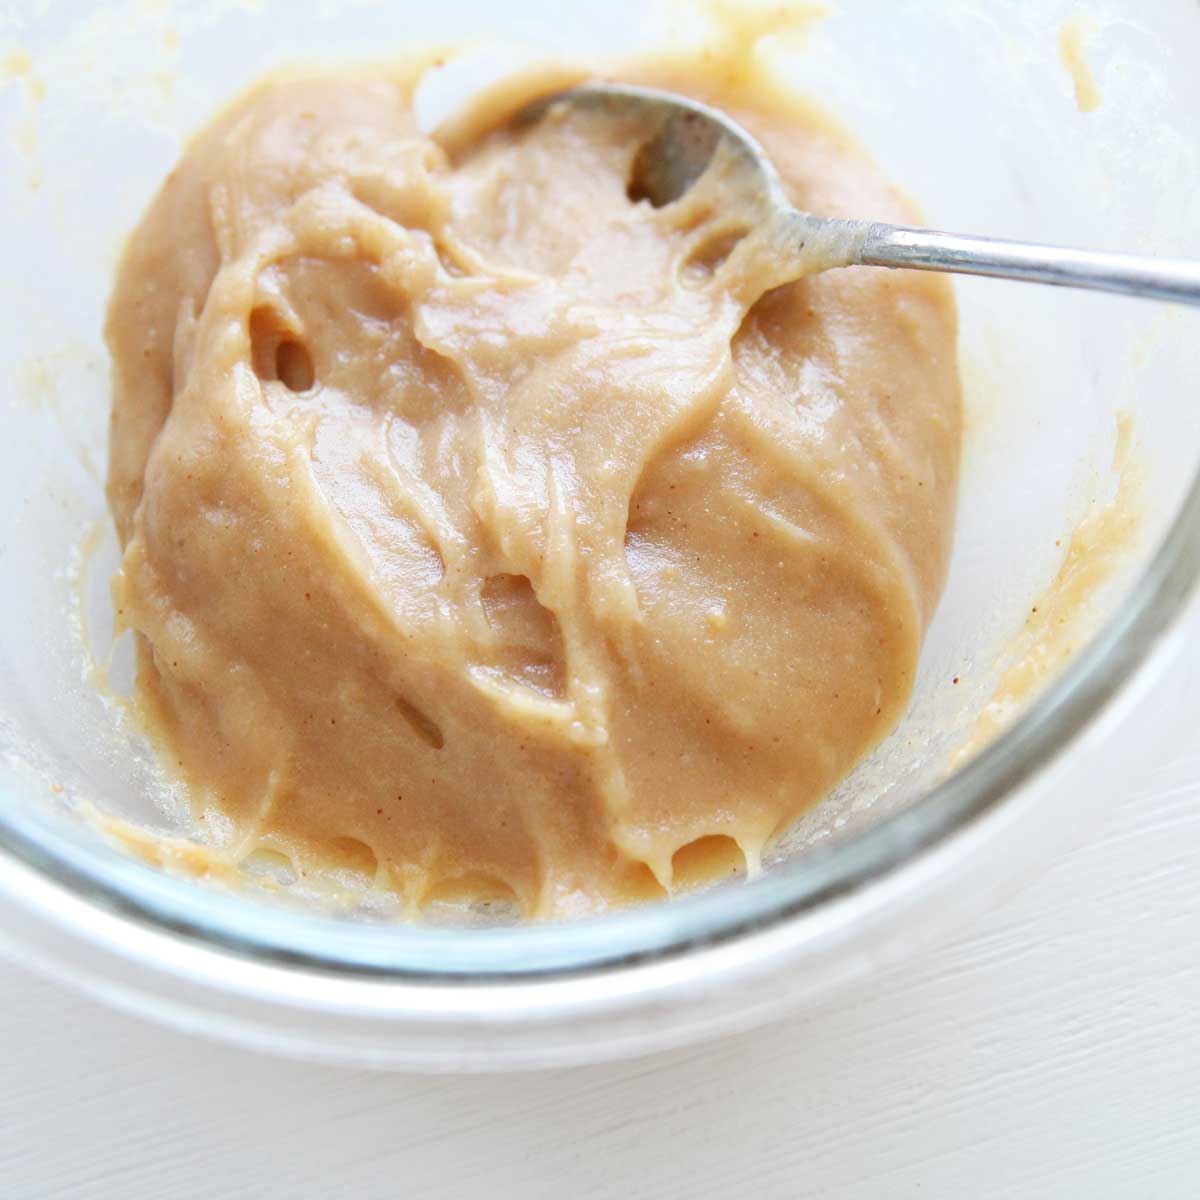
Use a SOLID METAL spoon (wooden spoons might break!) to stir the cooked mochi so that the cooked and uncooked parts are evenly mixed
Return to microwave and heat for additional 1 minute. You'll know when it is ready when the dough is slightly translucent
STEP 5
Scrape the hot mochi dough onto a baking pan greased with olive oil.
NOTE: Handle with care, or use vinyl gloves, as the mochi dough will be HOT. Unfortunately, you have to work quickly to shape the mochi before they cool.
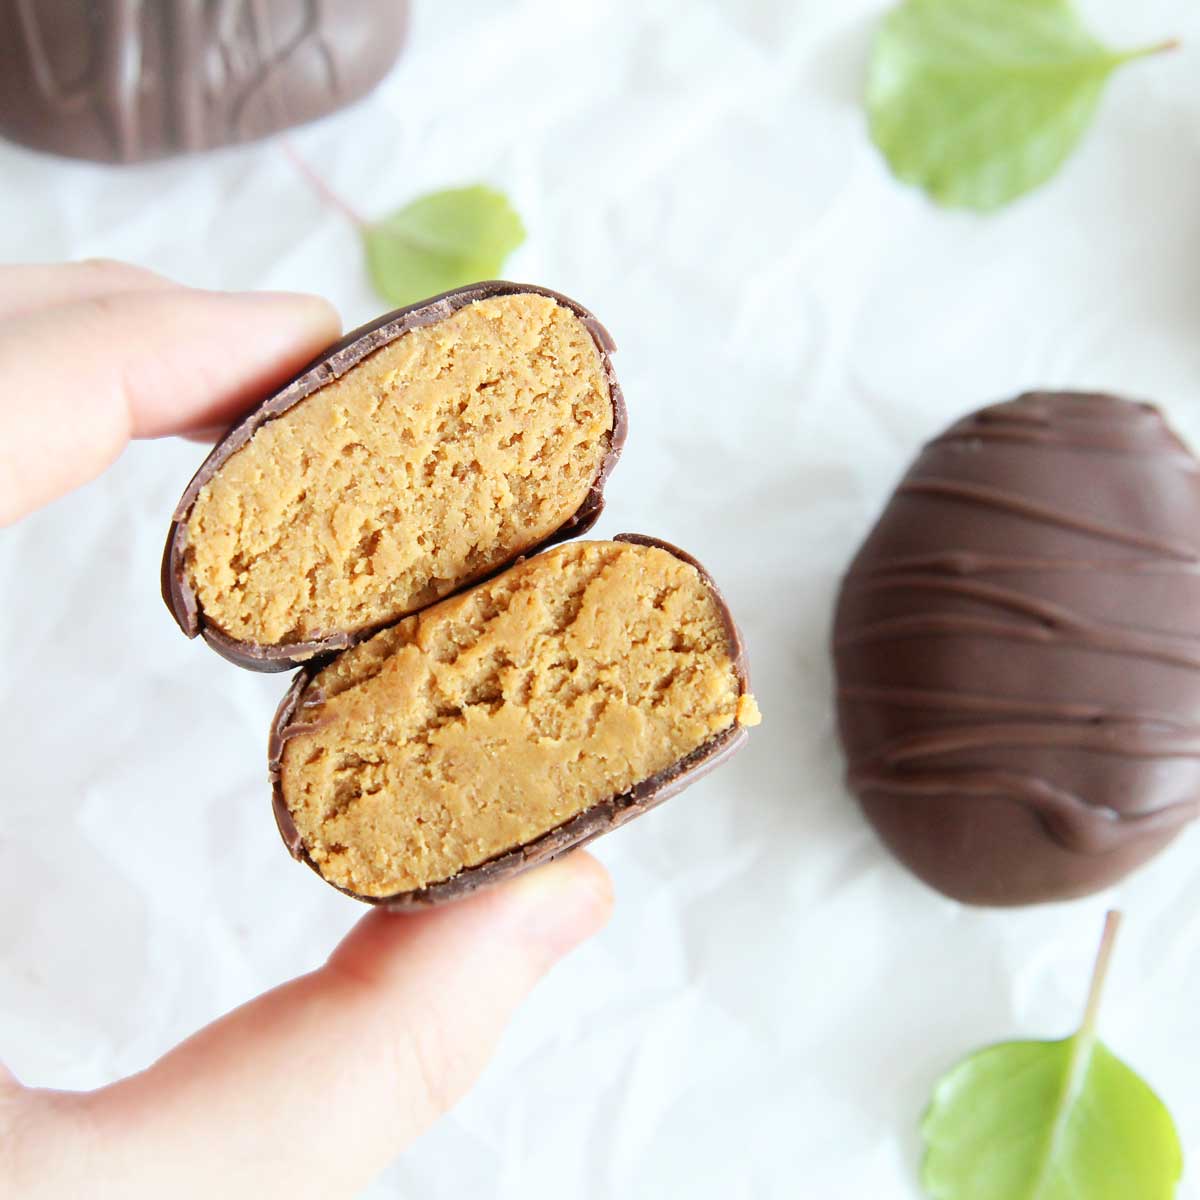
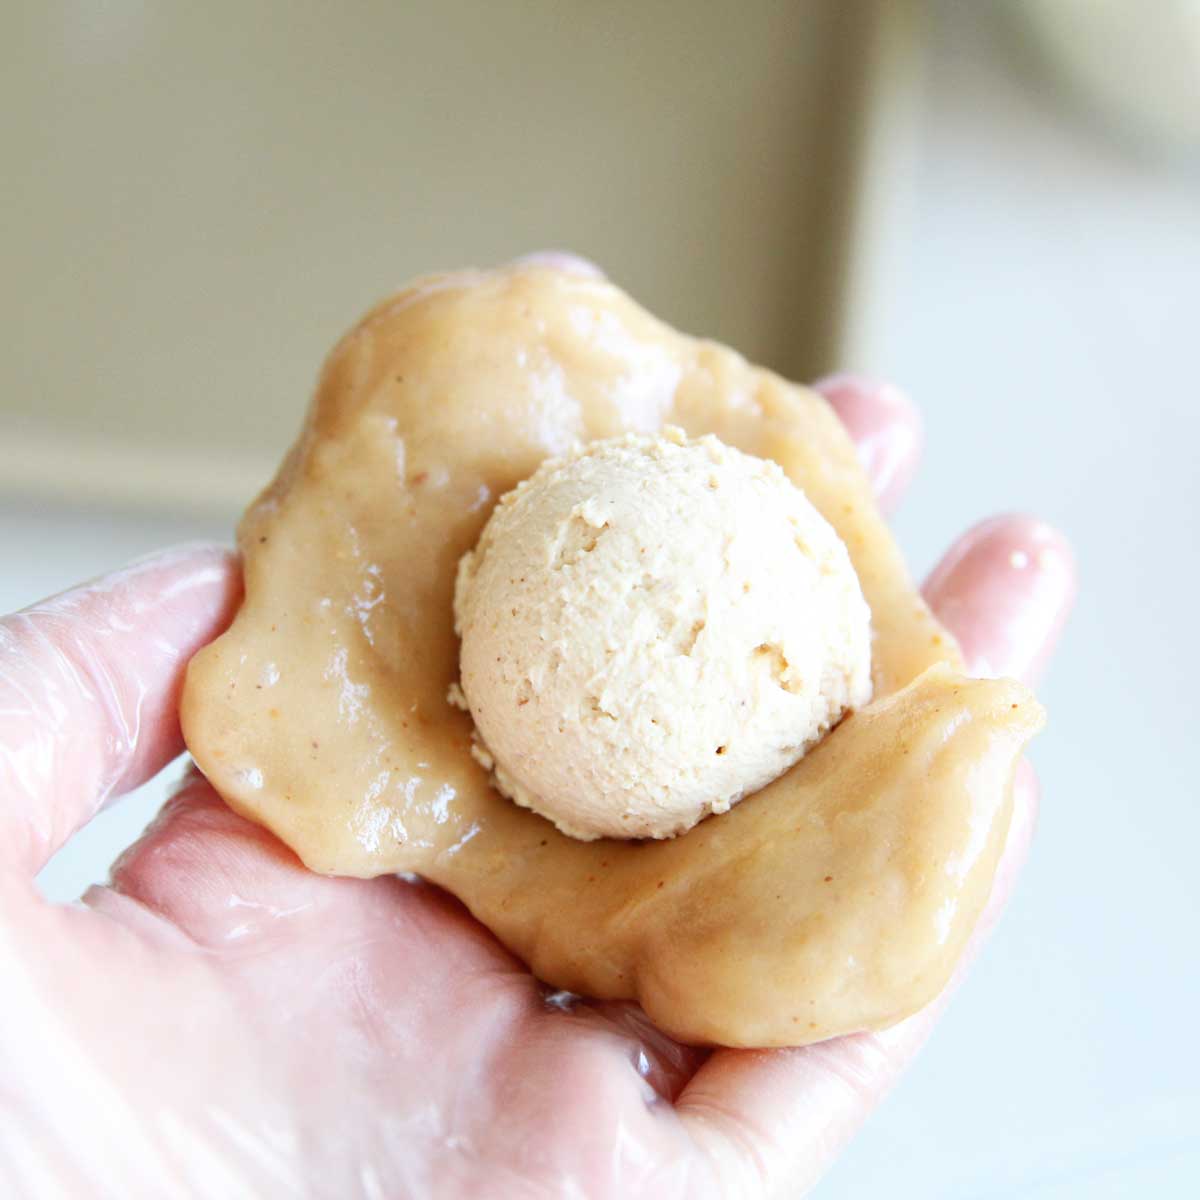
Divide the mochi into 5 pieces, and wrap the mochi dough around the prepared filling.
STEP 6
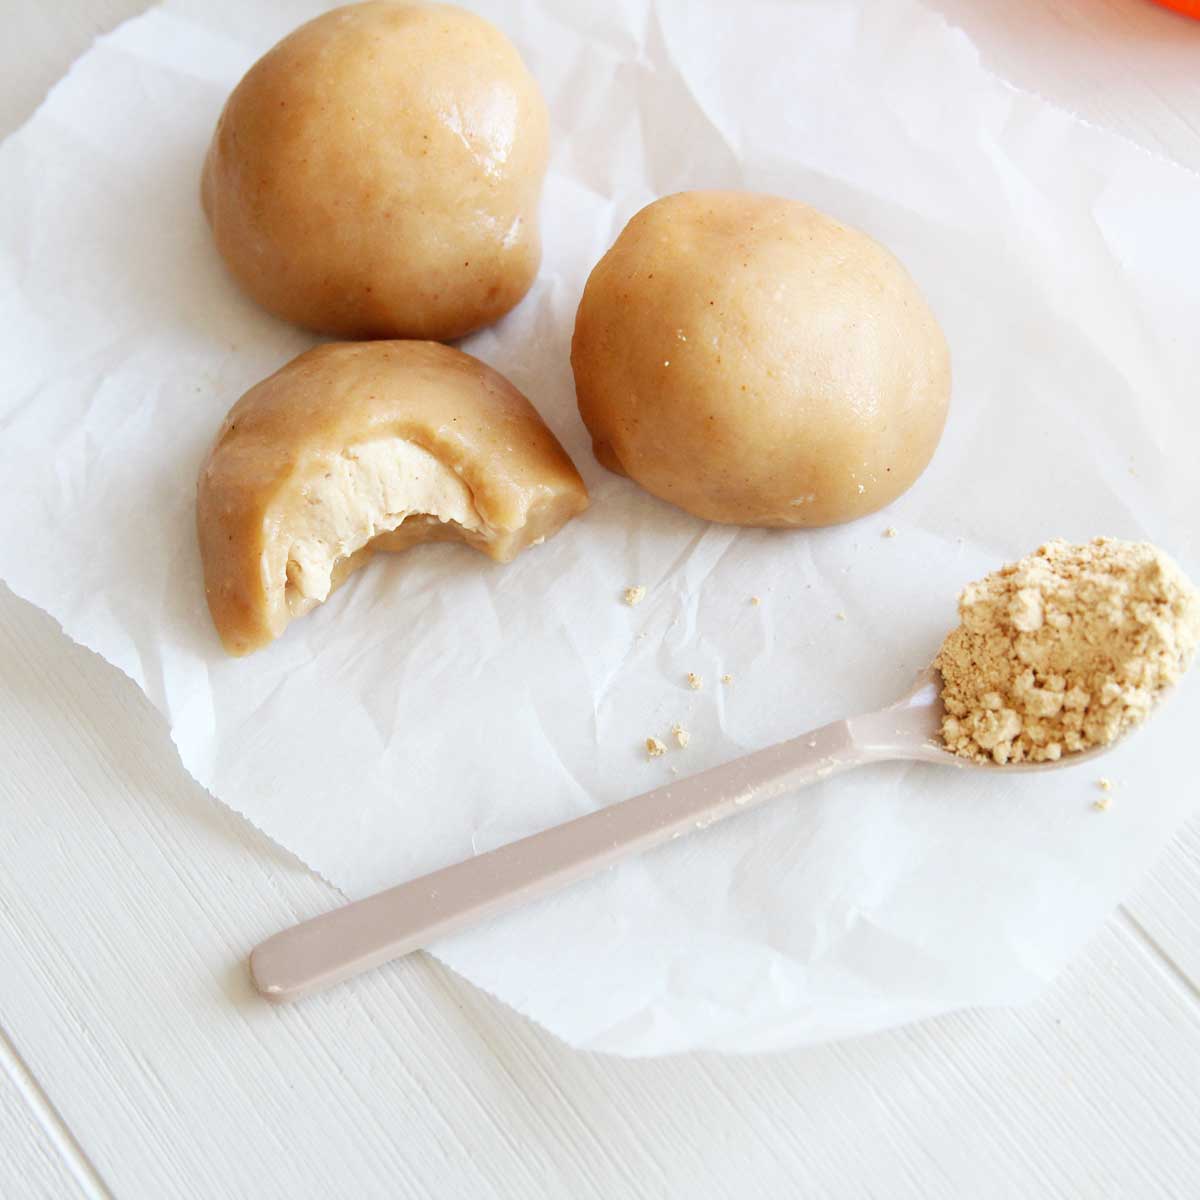
Enjoy!
Recipe Variations and Optional Add Ins:
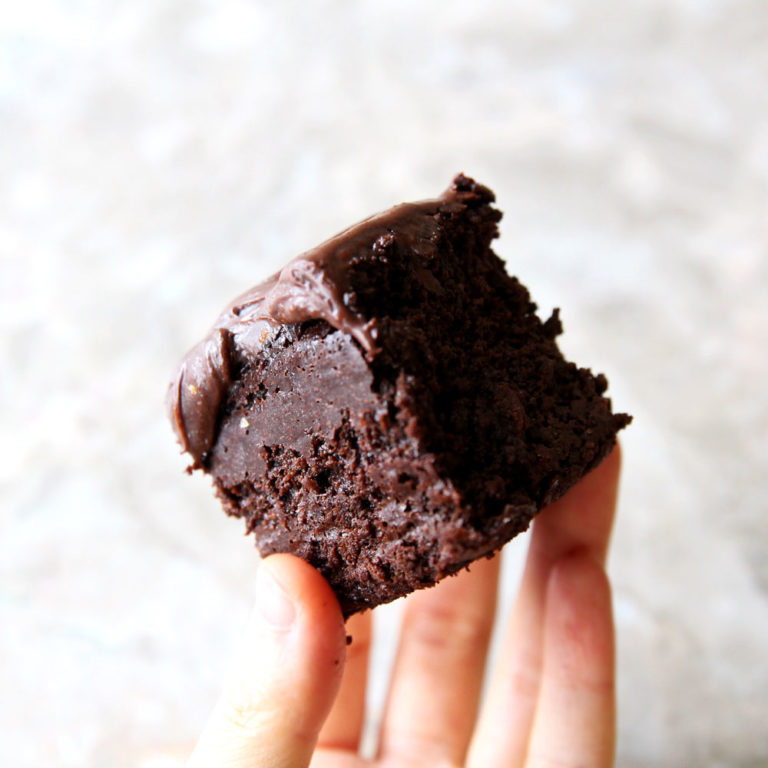
- You can add different flavorings to the mochi dough before cooking. For example, you can add either a teaspoon of coffee extract or espresso powder, cocoa, cinnamon or Cardamom Powder. They're not typically added to a traditional recipe, but you're welcome to experiment!
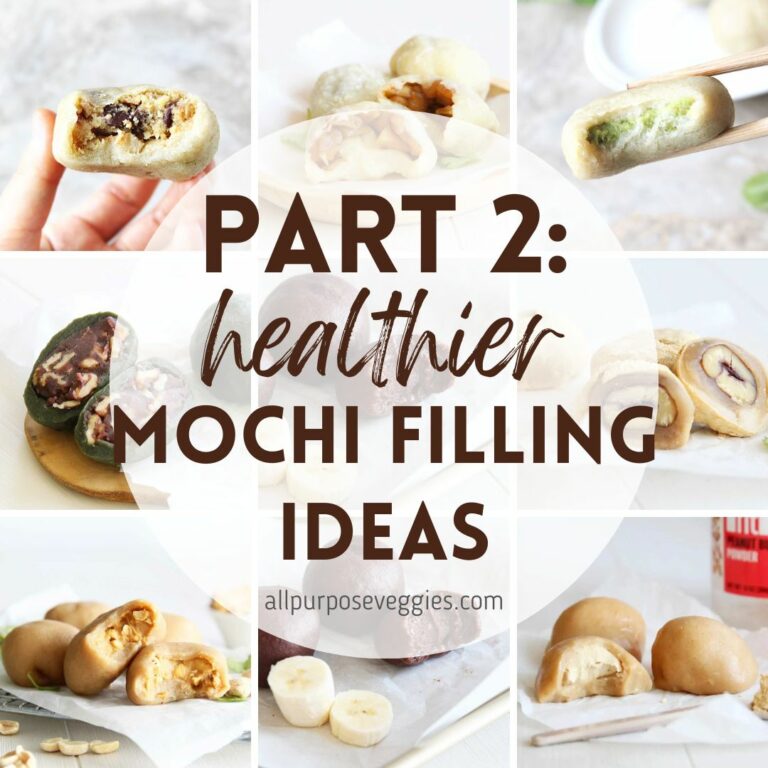
Different Mochi Filling Options
If you want to enjoy mochi with a variety of fillings, there are many fun and delicious mochi filling options to choose from. Here are some ideas!
- Shiro-an (sweetened white bean paste) – on Amazon, here, or here's a Shortcut White Bean Paste Recipe I make when I’ve run out of Shiro An
- Koshi-an (sweetened red bean paste) – on Amazon, here
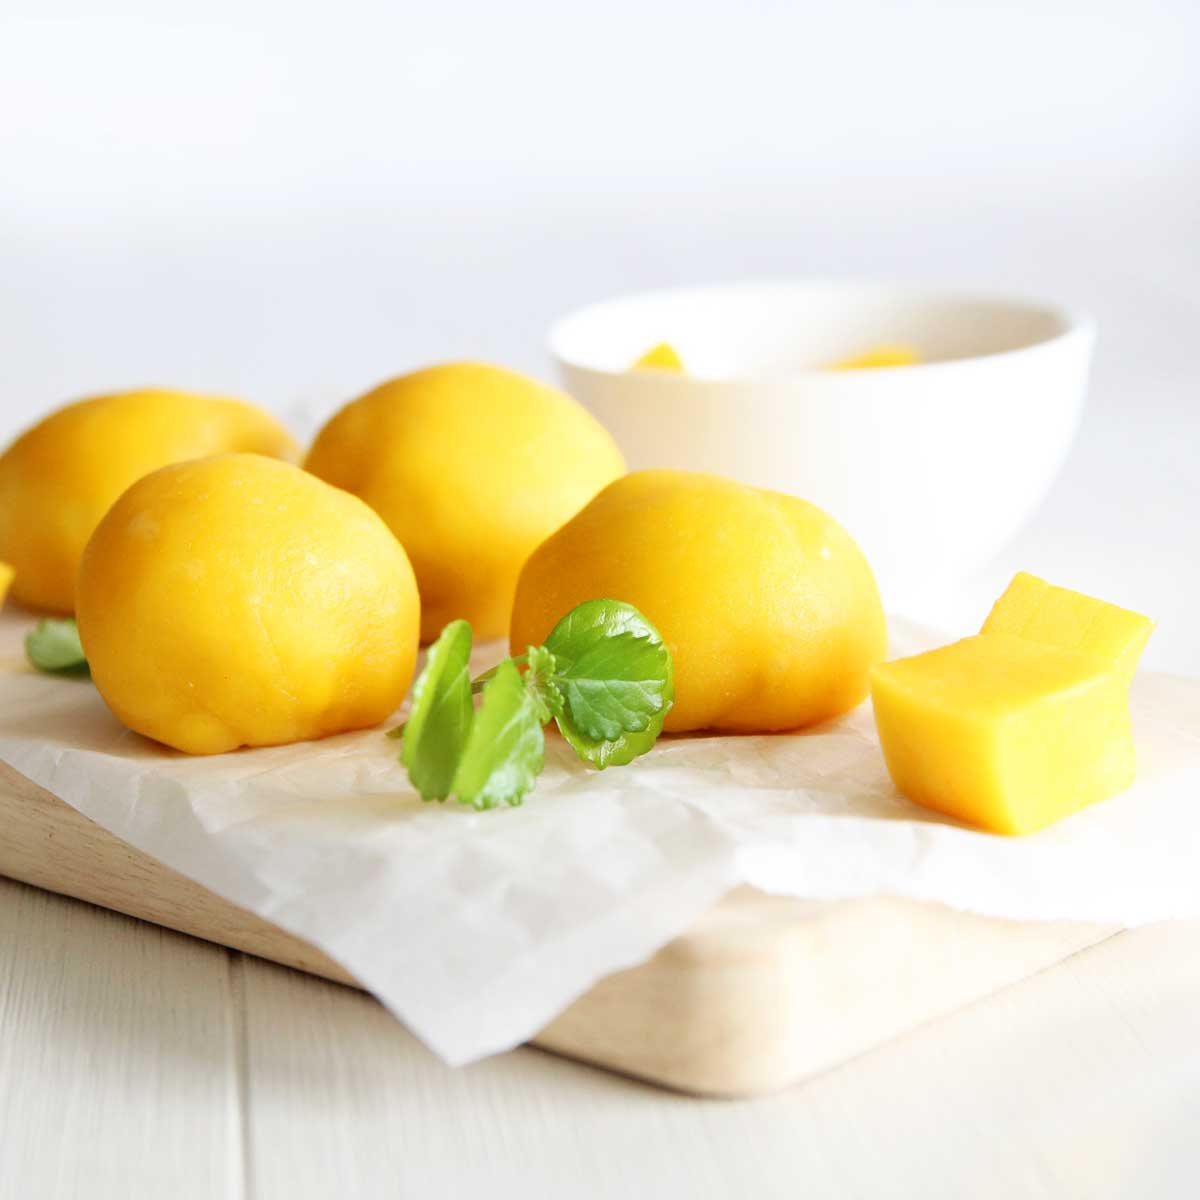
- Mung Bean paste - sweet and delightfully yellow, homemade mung bean paste is a perfect mochi filling for those who are looking for a healthier bean paste alternative. Here's my 2-Ingredient mung bean paste recipe here

How to Store Low Calorie PB Fit Mochi
- The mochi can be kept covered at room temperature for up to 24 hours, or in the fridge for additional 1 day. For longer storage, I would freeze the mochi in a plastic freezer bag or an airtight container, then defrost at room temperature when ready to eat.
- The reason I don't recommend storing them in the fridge long term is that mochi usually tend to develop a weird waxy, hard texture when stored in the fridge. So eat within a day or freeze for best results.
Final Tips
- Use a solid metal spoon (wooden spoons might break!) to stir the cooked mochi mixture so that the cooked and uncooked parts are evenly mixed
- Use a microwave-safe bowl, preferably glass like pyrex

Low Calorie PB Fit Mochi
Ingredients
Mochi Ingredients
- ½ cup mochiko flour, sweet rice or glutinous rice flour about 72 g
- 2 Tbsp monk fruit sweetener , or other sugar free alternative of choice
- ½ cup water
- 2 Tbsp powdered peanut butter , like PB FIt or PB2
Filling
- ⅔ cup Low Fat PB Powder Yogurt Frosting , or other mochi filling of choice (see notes*)
Instructions
Prepare Filling
- Prepare the PB Fit FIlling by mixing ½ cup Greek (or dairy free) yogurt, ½ cup plus 2 Tbsp Peanut Butter Powder and 2 Tbsp Monk Fruit Sweetener. Full recipe link here Low Fat PB Powder Yogurt Frosting
Make the Mochi Dough
- In a microwaveable glass bowl (like Pyrex), mix the glutinous rice flour, monk fruit sweetener, peanut butter powder and water
- Microwave the mochi mixture for 90 seconds.
- Use a SOLID METAL spoon (wooden spoons might break!) to stir the cooked mochi so that the cooked and uncooked parts are evenly mixed
- Microwave the mochi mixture again, this time for 60 seconds.
- Pour the cooked mochi onto the baking pan lightly greased with oil, and flatten using the palm of your hands once it cools enough to handle. NOTE: The mochi dough will be HOT. Either use gloved hands, or wait until it cools enough to handle.
- Cut the mochi into 5 pieces using kitchen shears or scissors
Wrap with Filling
- Use a small cookie scoop to portion out about 1-2 Tablespoon scoops of the mochi filling and wrap the mochi dough around it, pinching the end of the dough with your fingers to seal.TIP: For a mess free experience, it helps to pre-portion out the filling and keep it in the freezer for 1-2 hours before use. The frozen filling is easier to handle and will keep your hands mess-free.
- Enjoy!


Leave a Reply