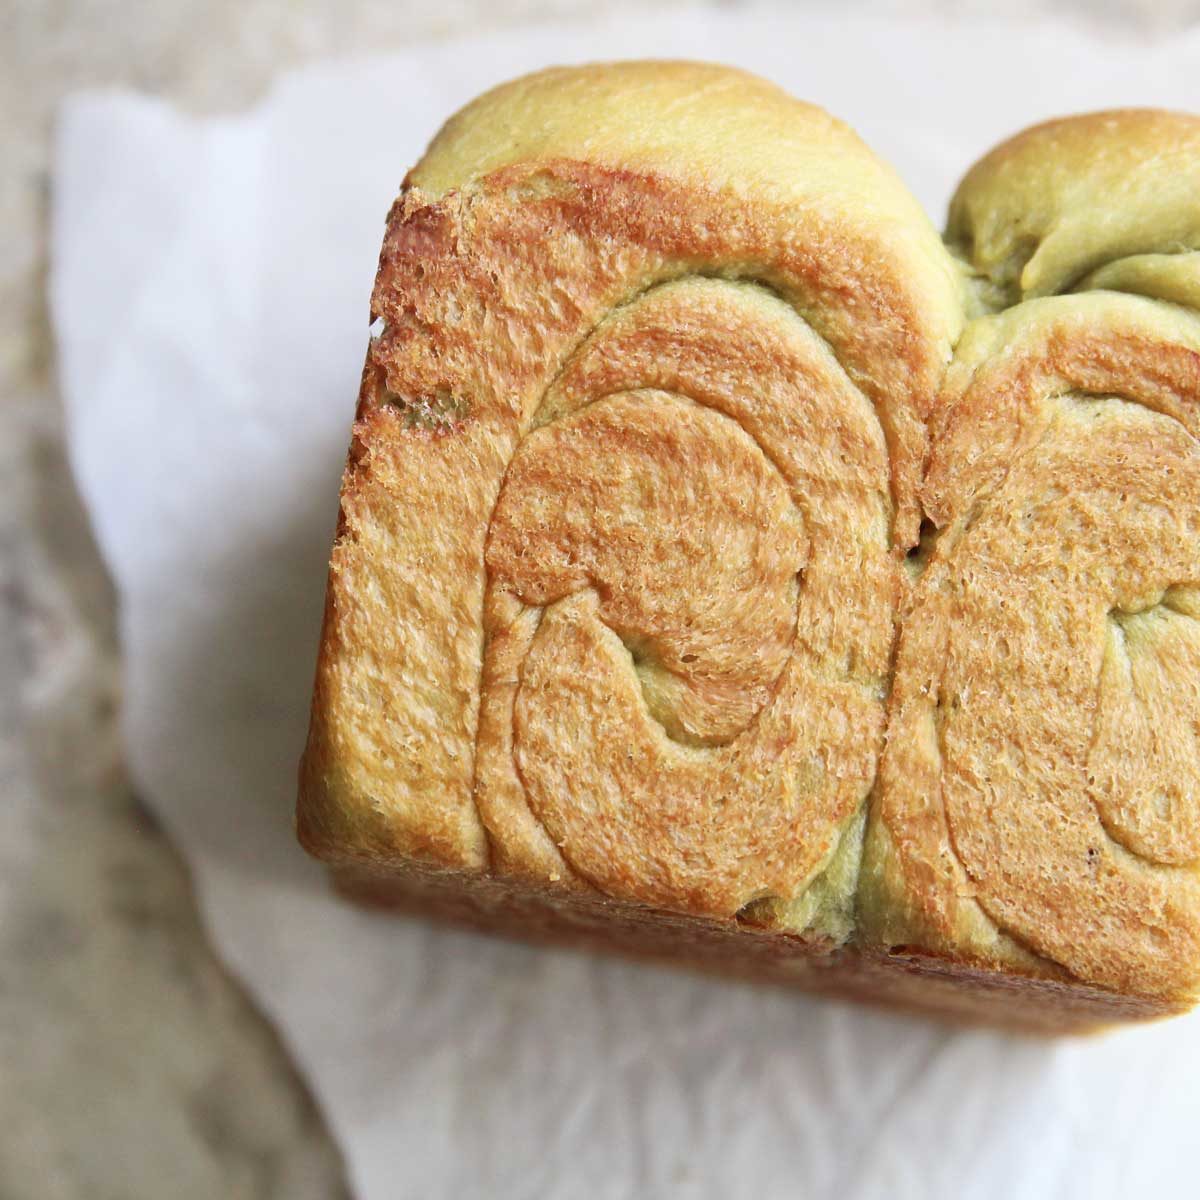
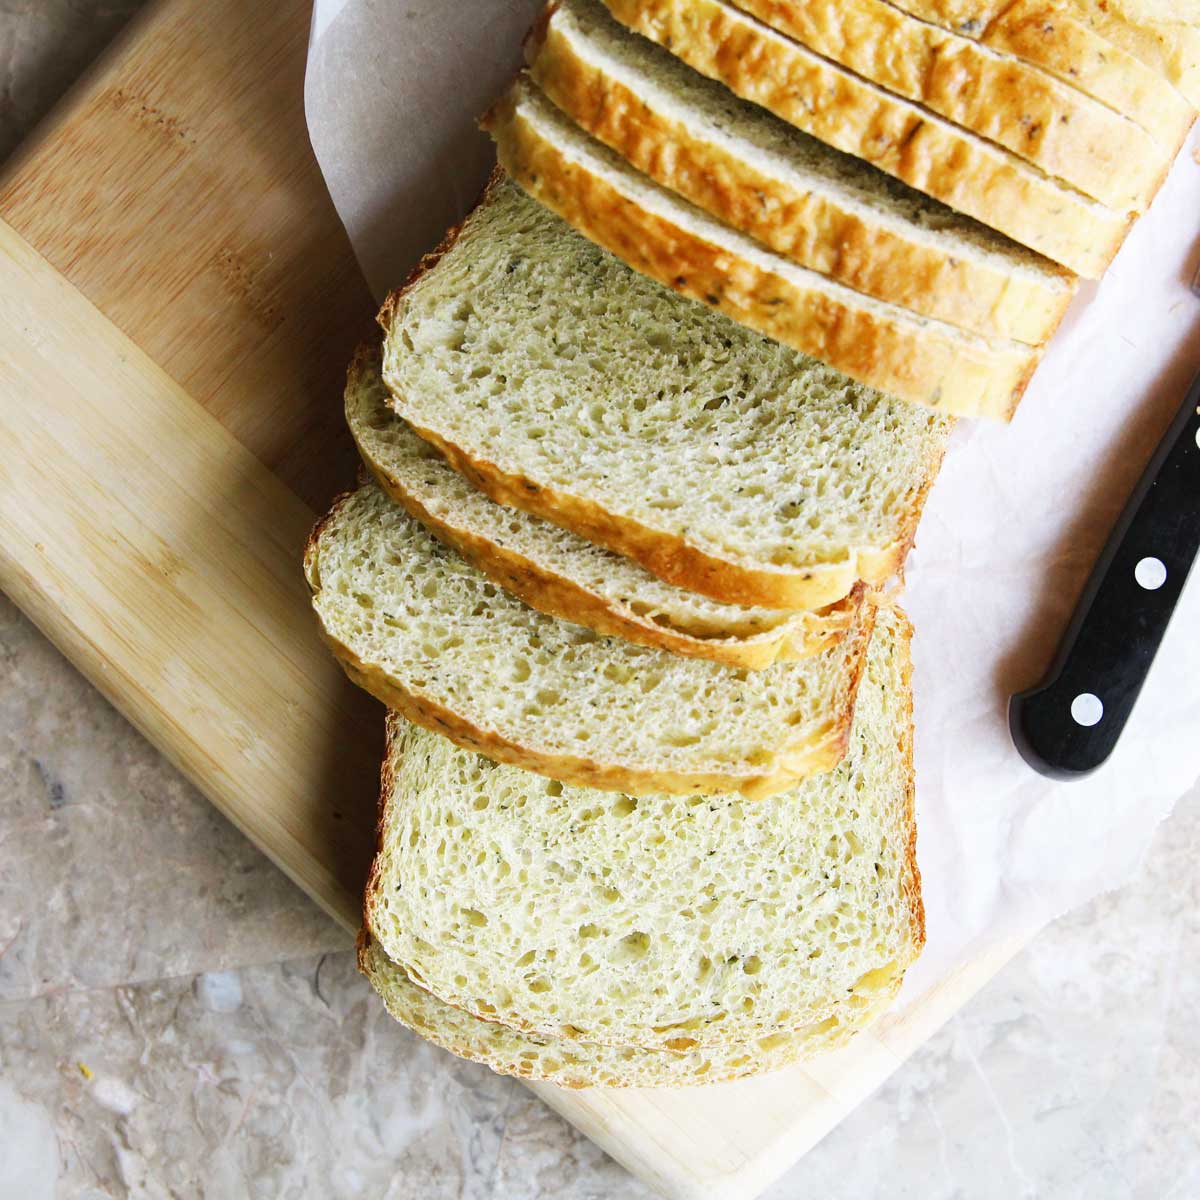
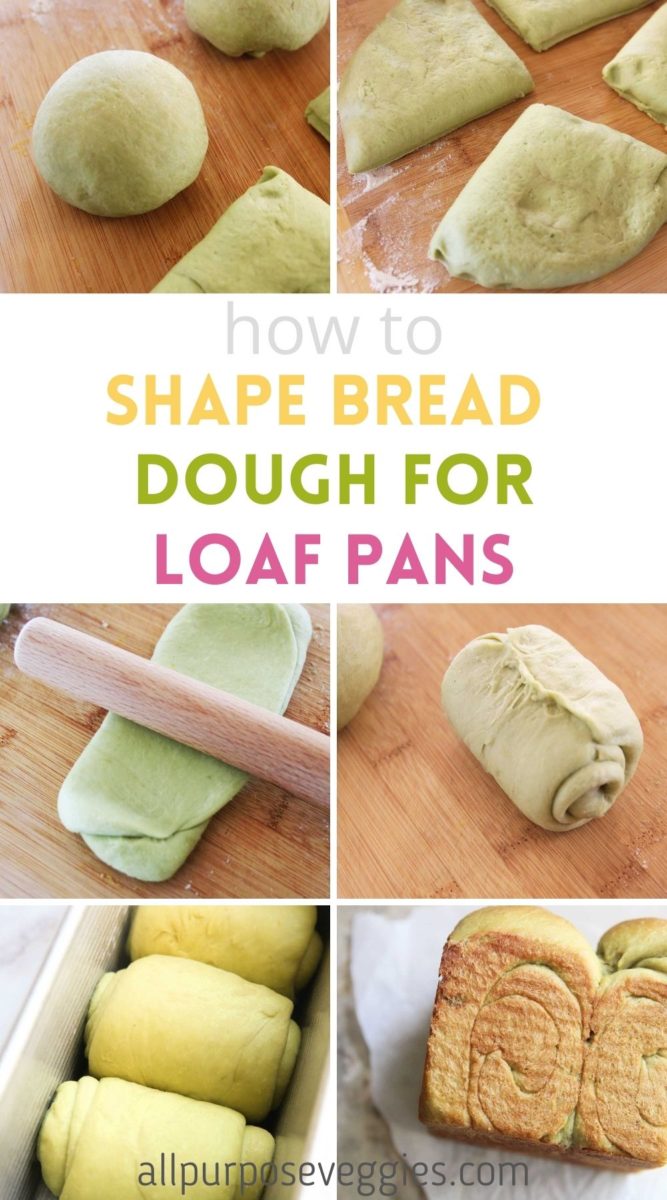
Here's a step by step guide on how I shape bread dough for baking sandwich (yeast bread) loaves. The photos were taken from my yeasted avocado bread post. Here's the recipe link if you're interested!
How to Shape Bread for Loaf Pan
STEP 1
Prepare desired yeast bread recipe. I used my avocado yeast bread recipe (here).
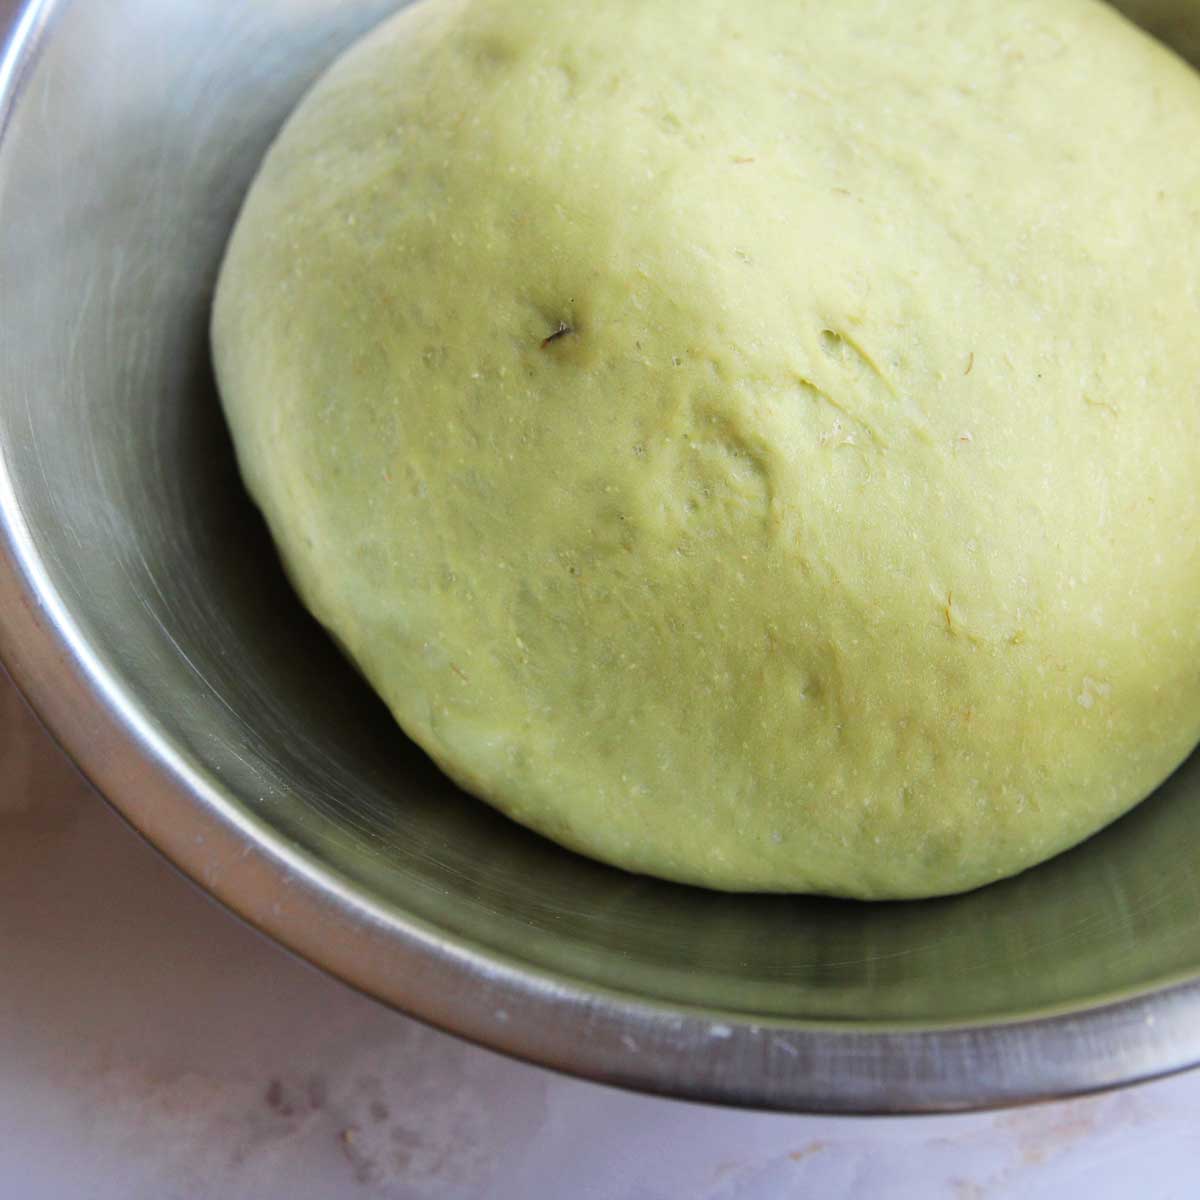
Place the dough in a lightly greased bowl, and let rise until doubled, about 60-90 minutes.
STEP 2
Punch down the dough, then remove from bowl. Place on a generously floured surface and divide into 4 equal-sized pieces.
STEP 3
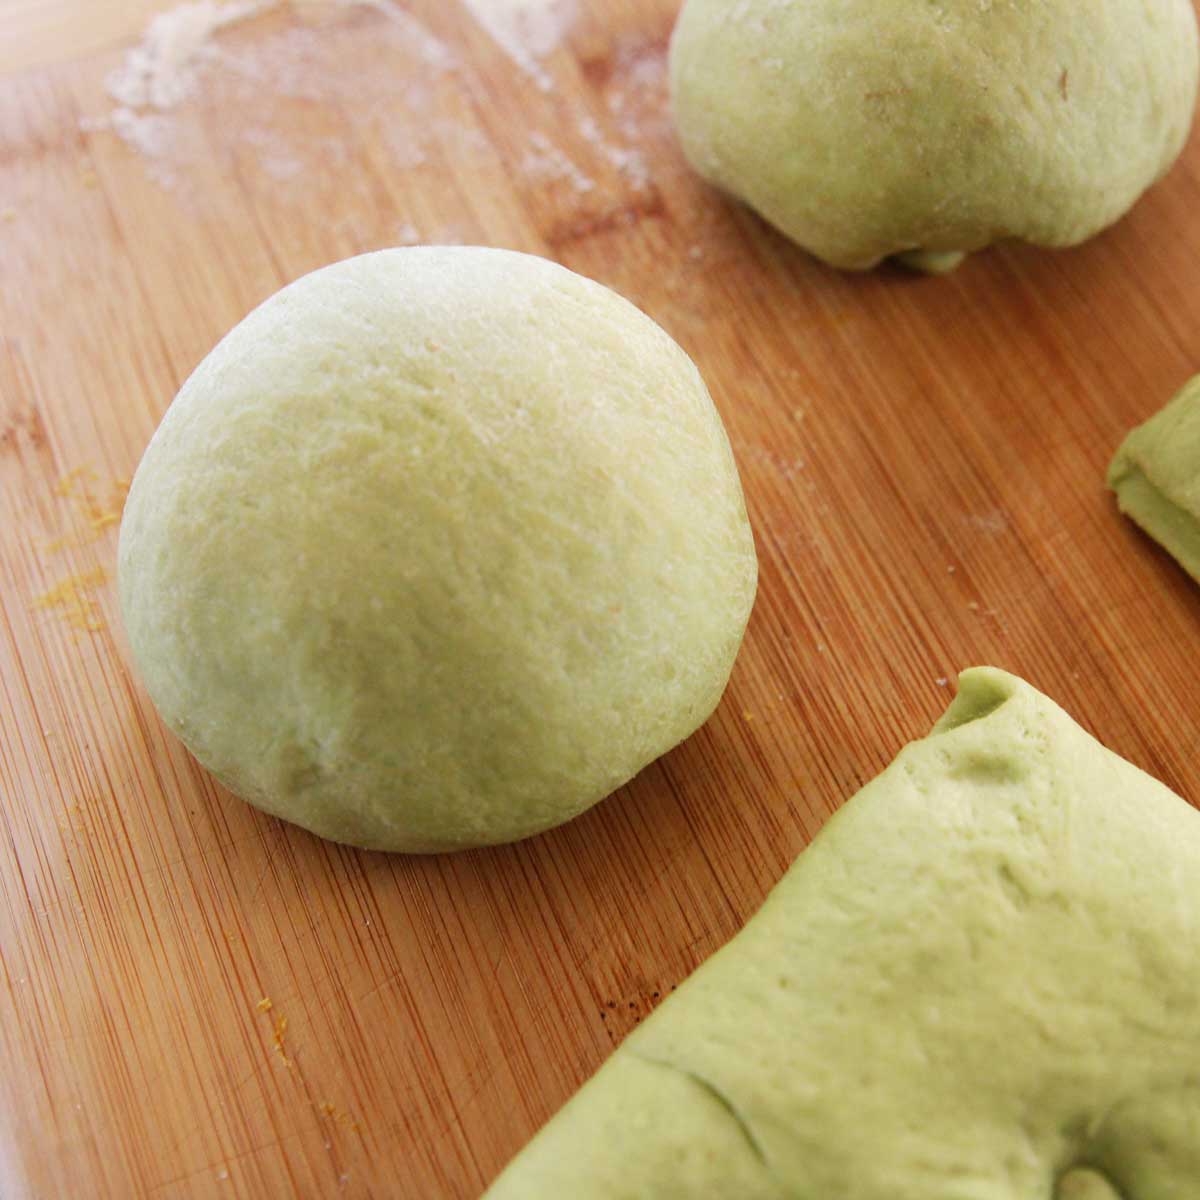
Roll each piece into balls. For best results, cover and let rest for additional 10 minutes. This is not a necessary step, but it allows the dough to expand, which helps the rolling process easier for the next step.
STEP 4
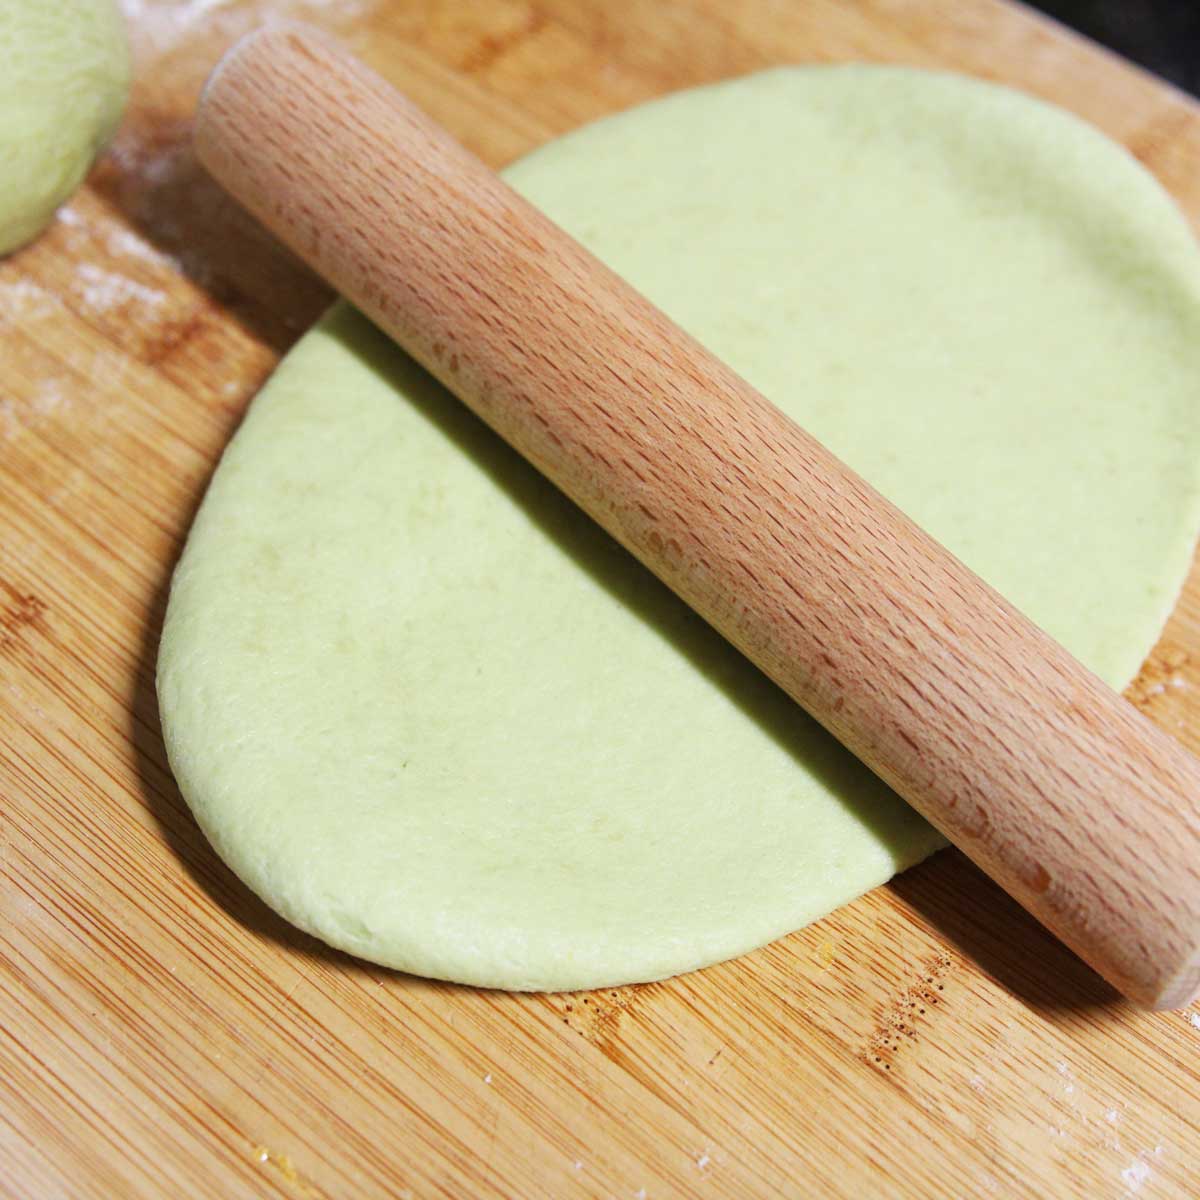
Use a small rolling pin to flatten each piece of dough to about a 6 x 9 inch rectangular shapes.
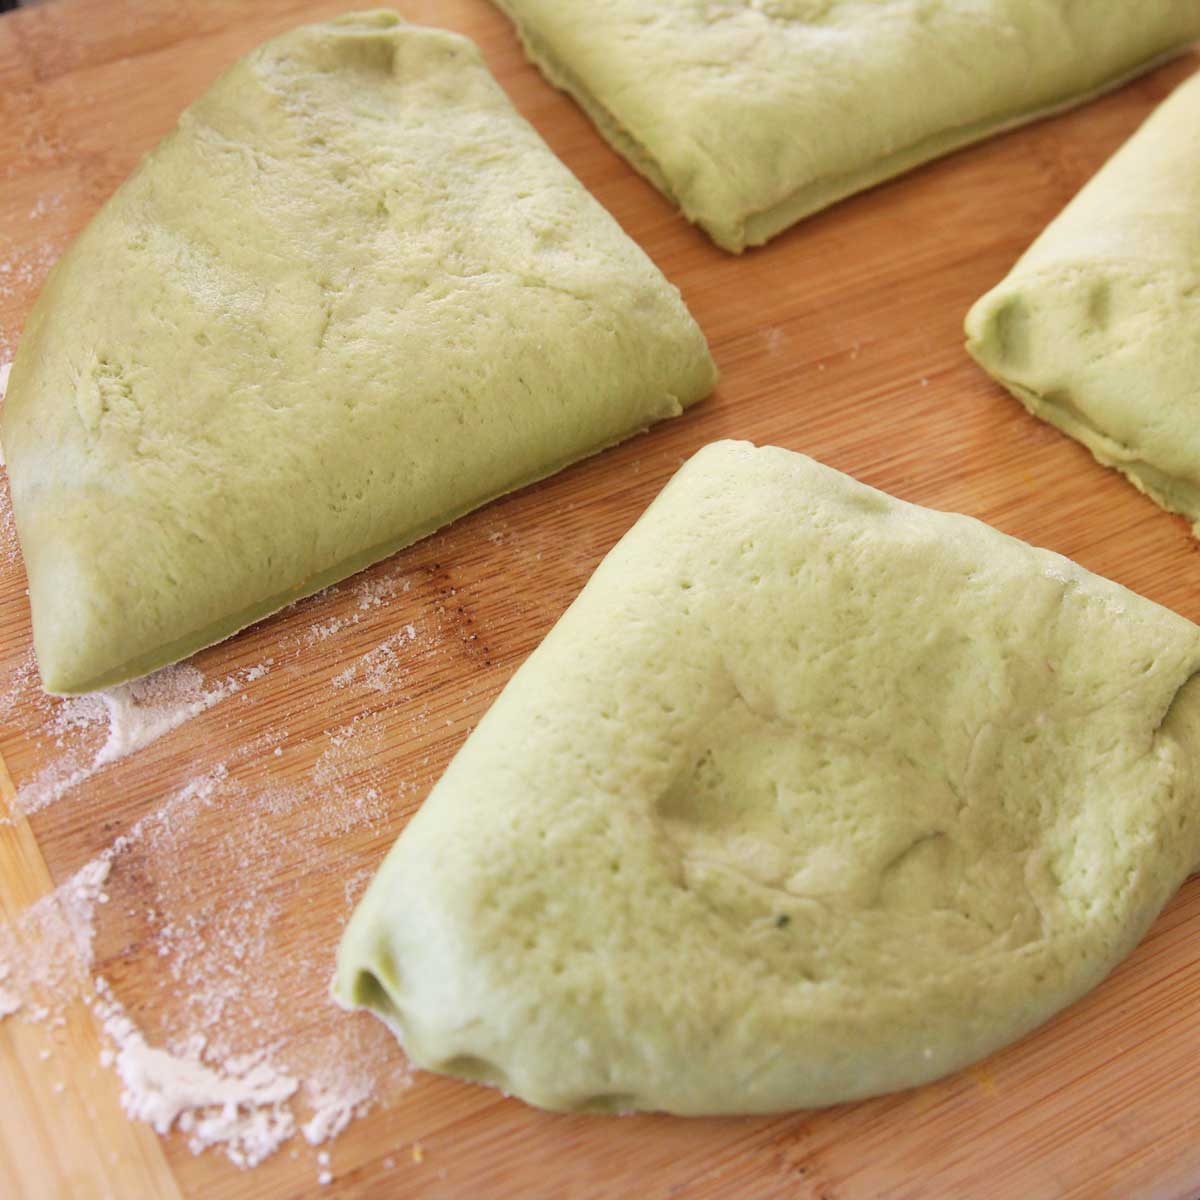
STEP 5
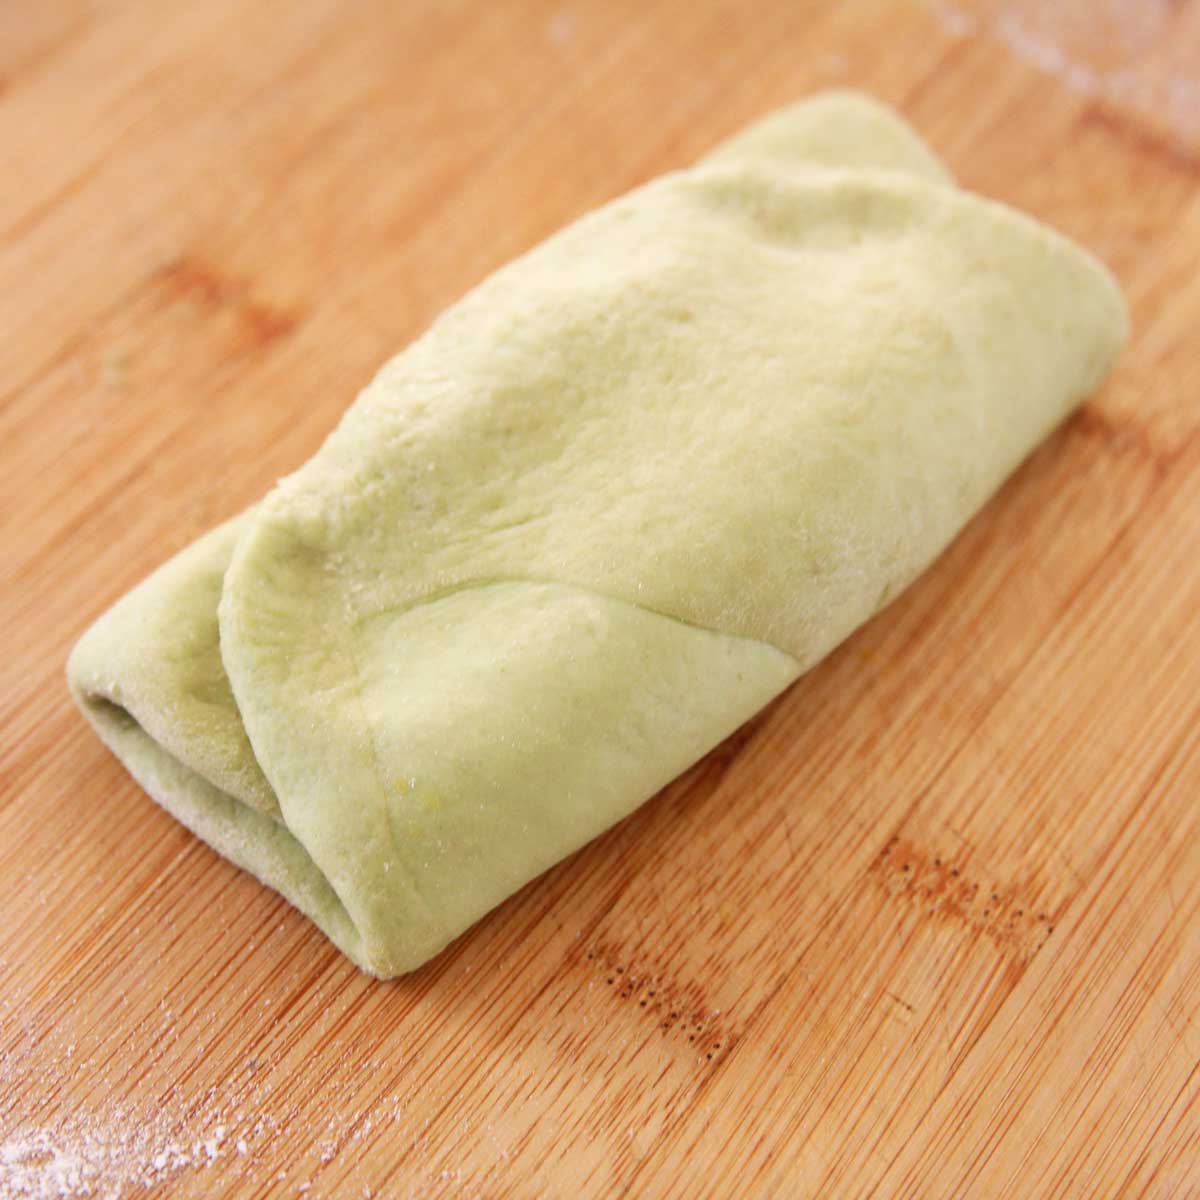
Fold the flattened dough into thirds, about 3 x 6 inches in size
STEP 6
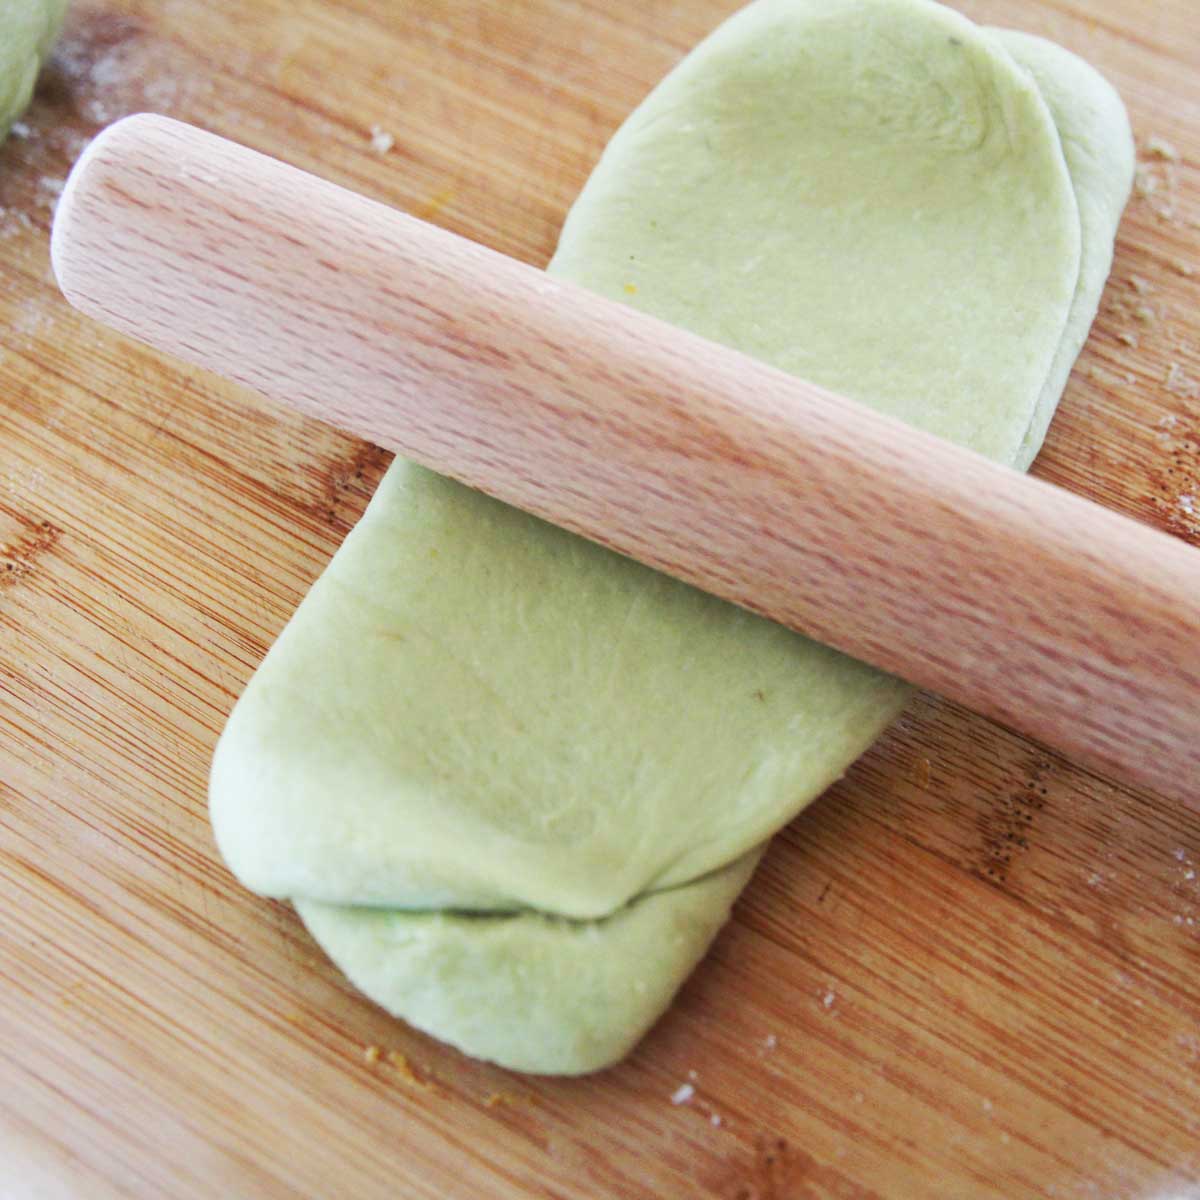
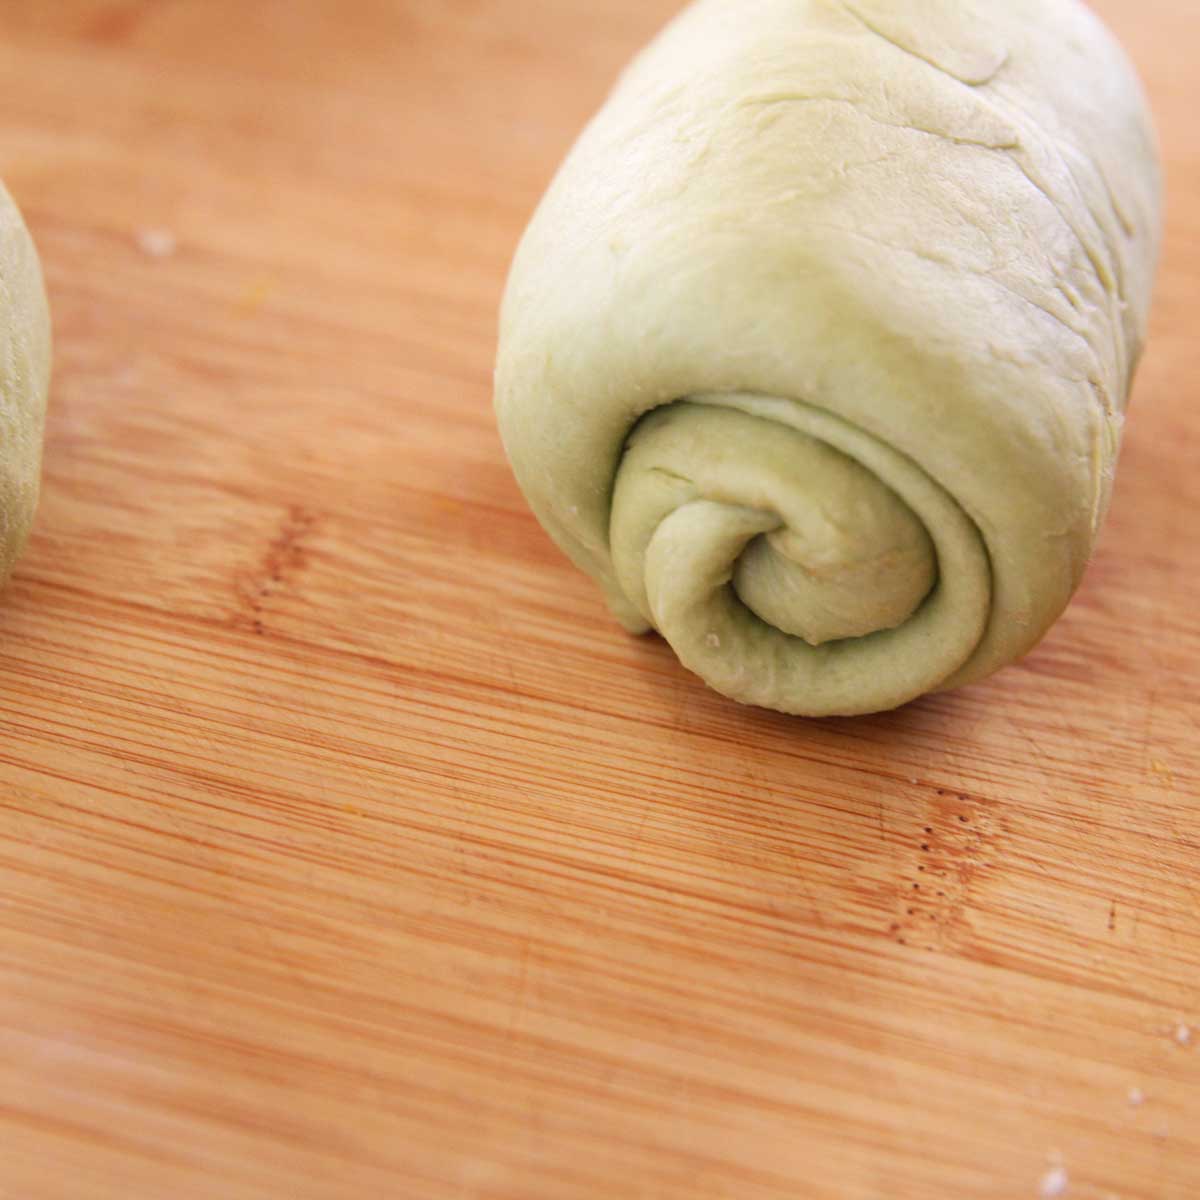
Roll out dough further, to 3 x 8 inch rectangular shapes. Starting from the long side, roll the dough tightly into a tight cylinder (like a sushi roll or cinnamon roll).
STEP 7
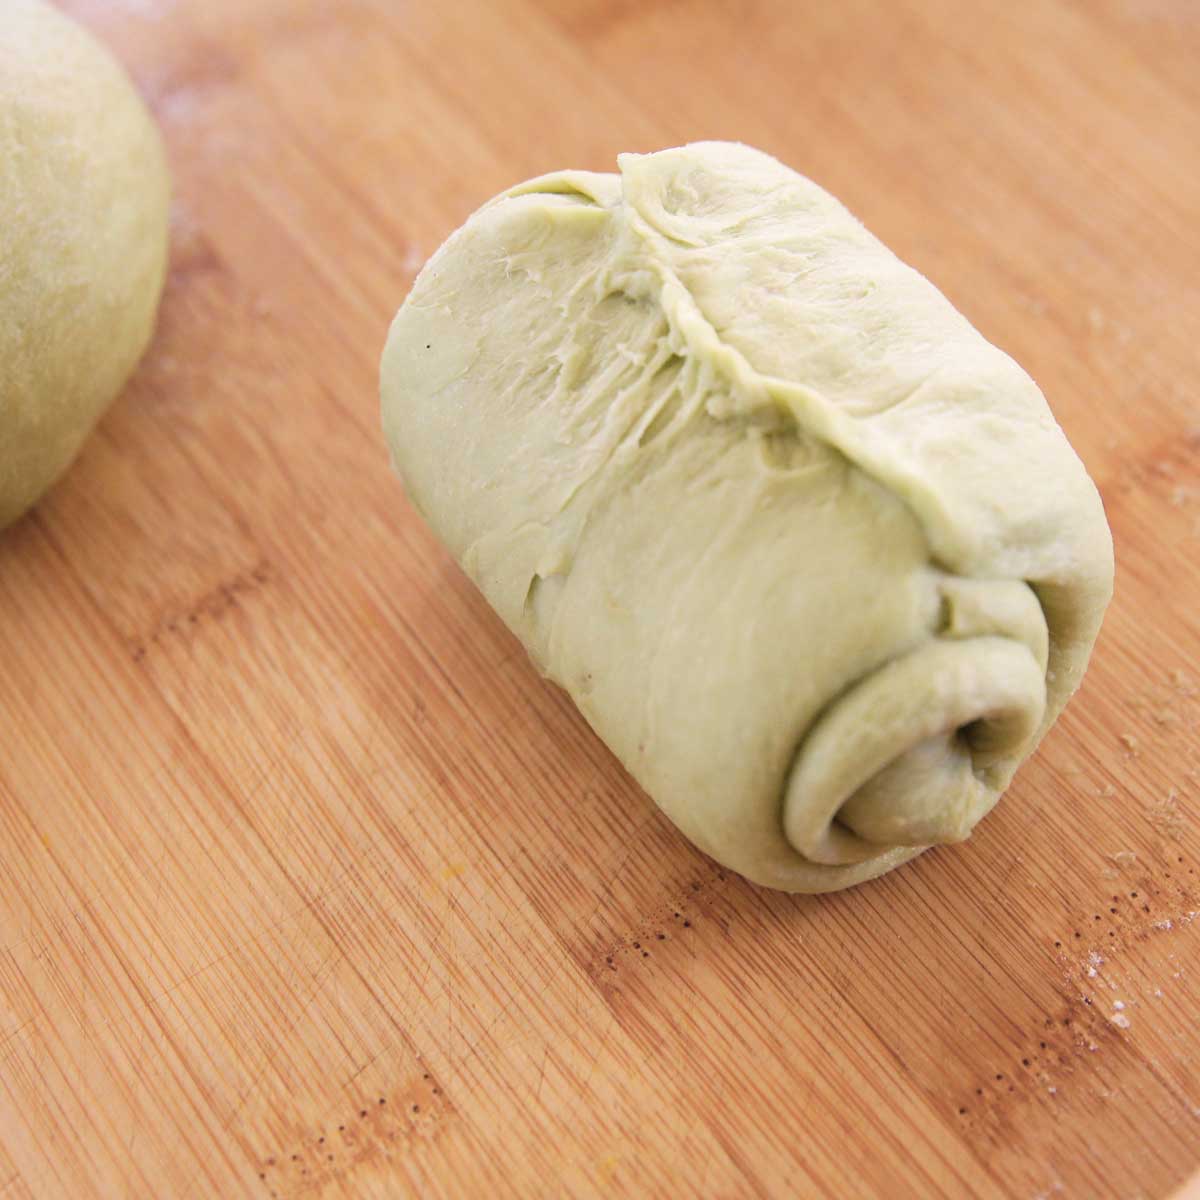
Pinch the fold seams to seal.
STEP 8
Repeat the folding process on the other 3 pieces and place in a well-oiled bread pan.
STEP 9
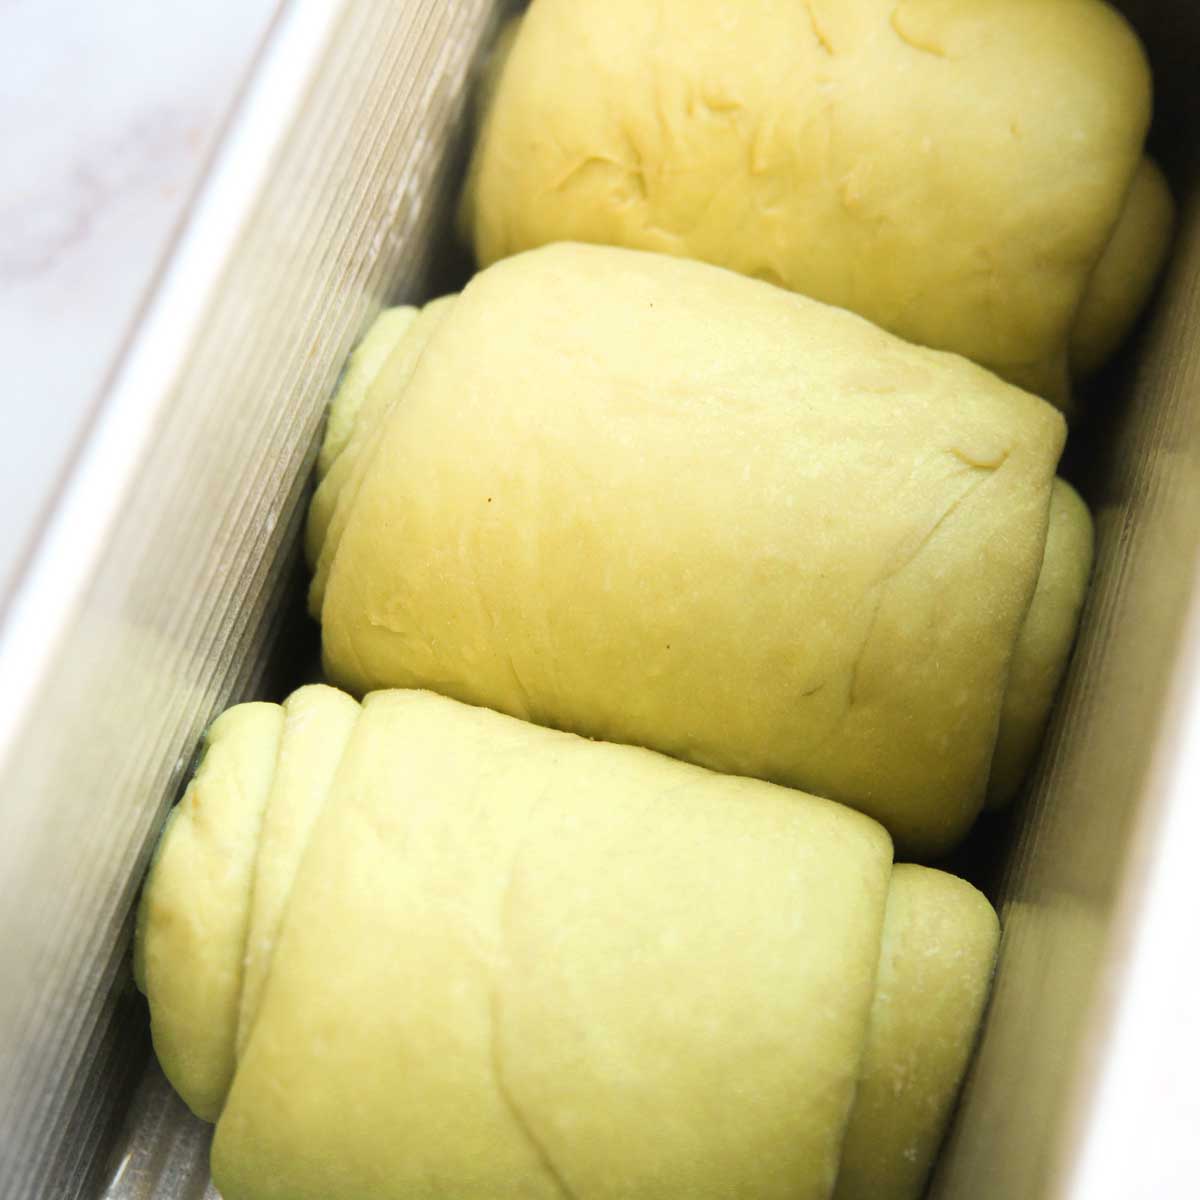
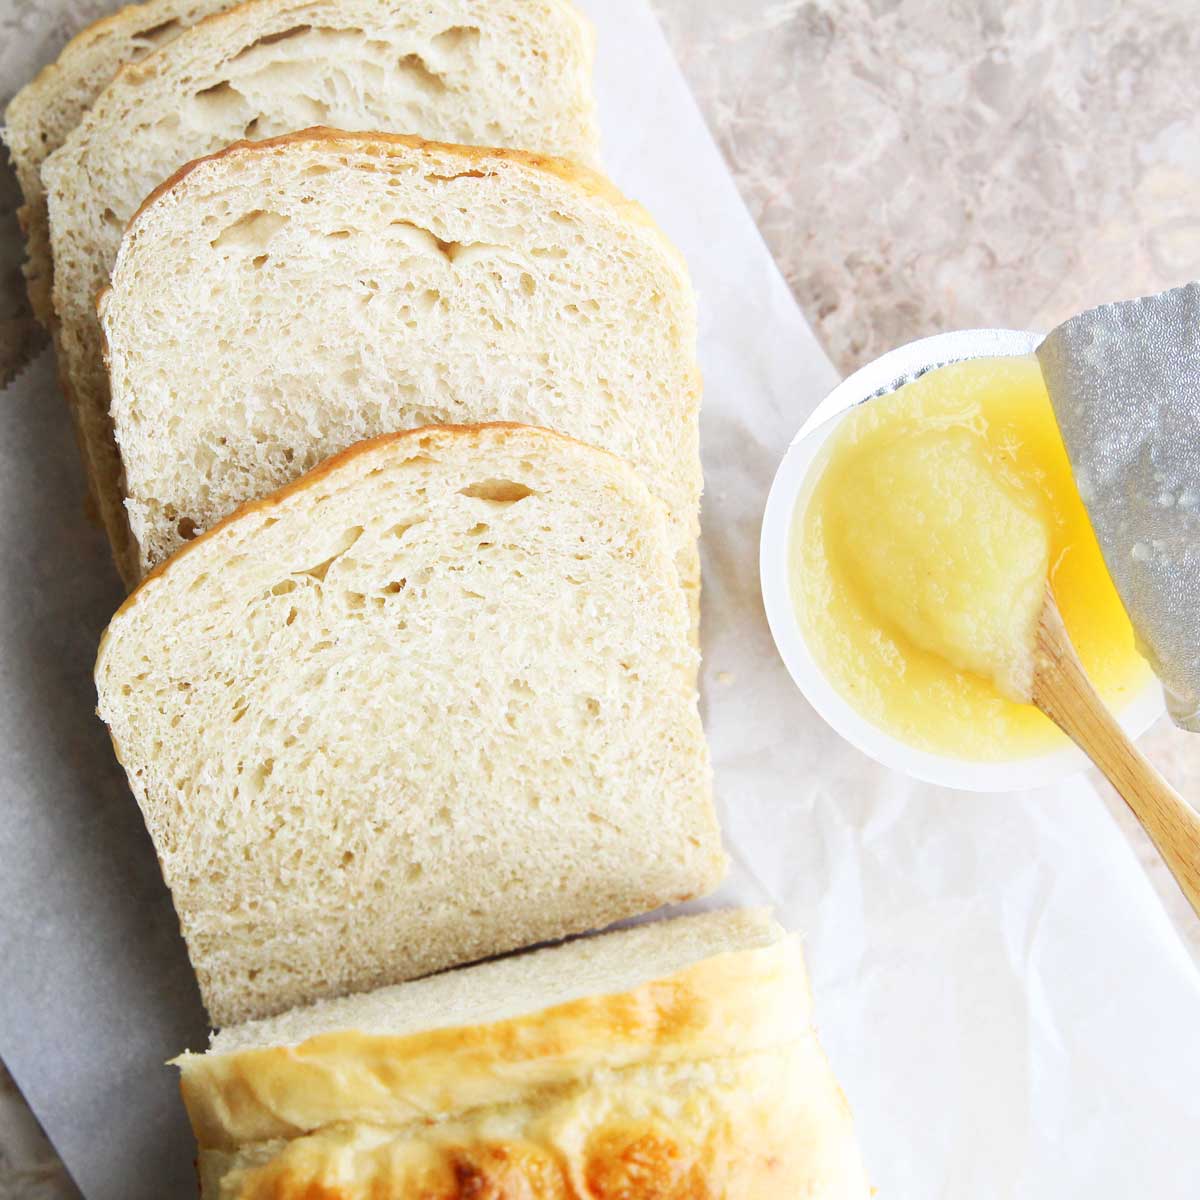
Generously grease the bread loaf pan with neutral flavored cooking oil, such as olive oil, canola oil, avocado oil or grapeseed oil. Butter or coconut oil are also great alternatives.
Place each dough, seam-side down and side by side, in the bread loaf pan.
STEP 10
Let the dough rise again for 40-60 minutes until puffy.
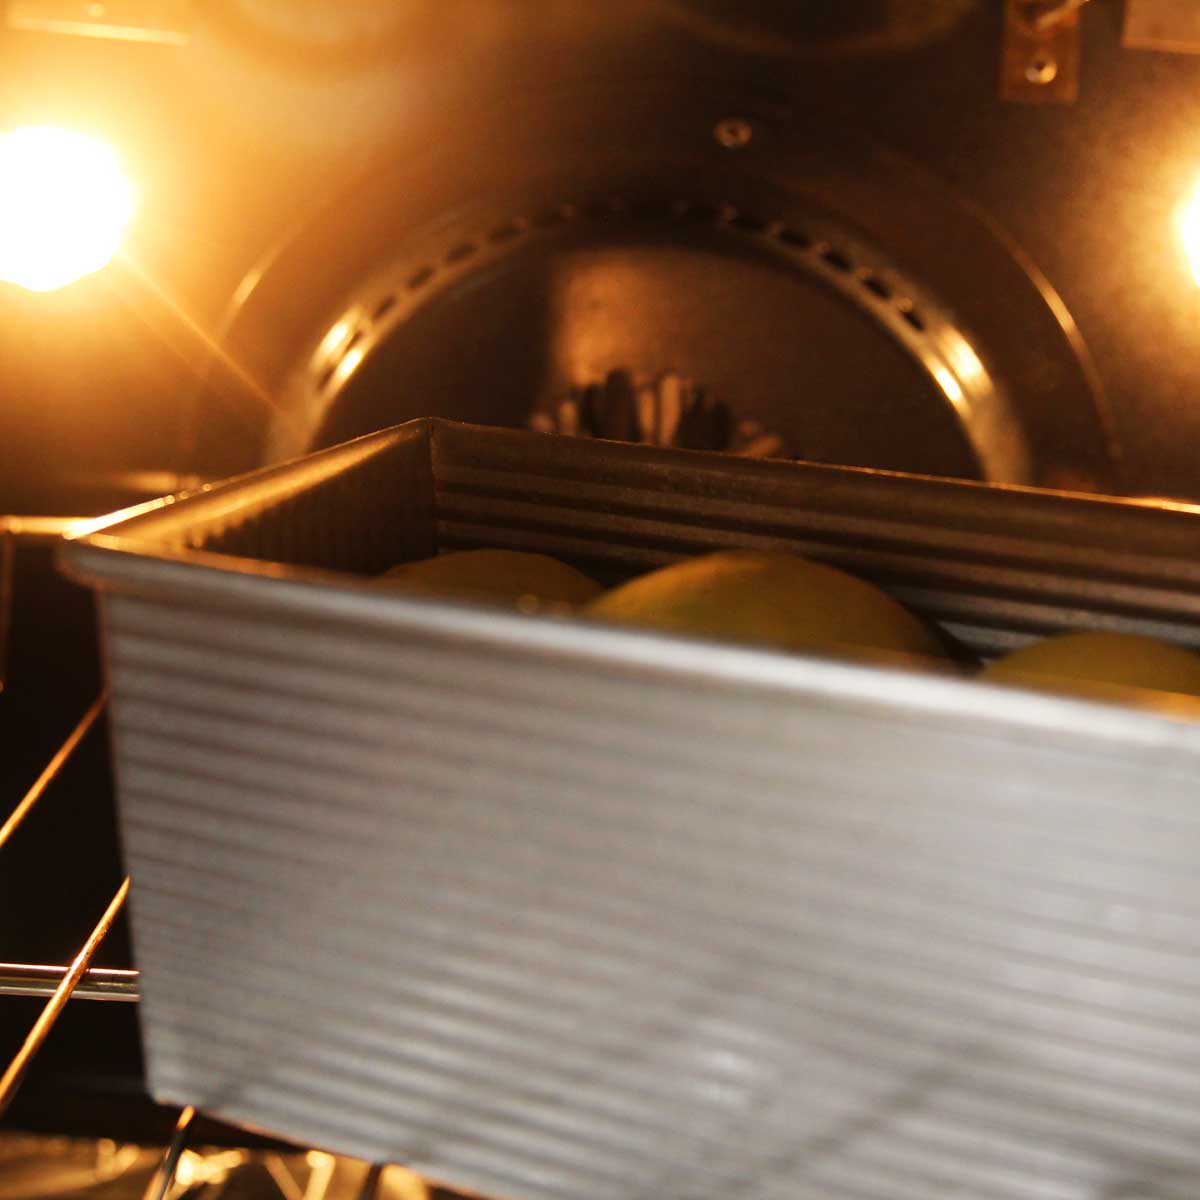
**note: It’s best if the bowl is put in a warm place, and personally, I prefer using the oven that’s been preheated for just a quick 10 seconds and spritzed with some water. The moist and warm conditions are perfect for the yeast bread to rise without it drying out. You can also place a bowl of hot water inside the oven so that the steam helps to maintain the humidity. This is especially useful during the winter months, when the conditions are cold and dry. Just remember to remove the bread from the oven before you preheat the oven for baking!
STEP 11
Bake the bread according to recipe in a preheated oven
STEP 12

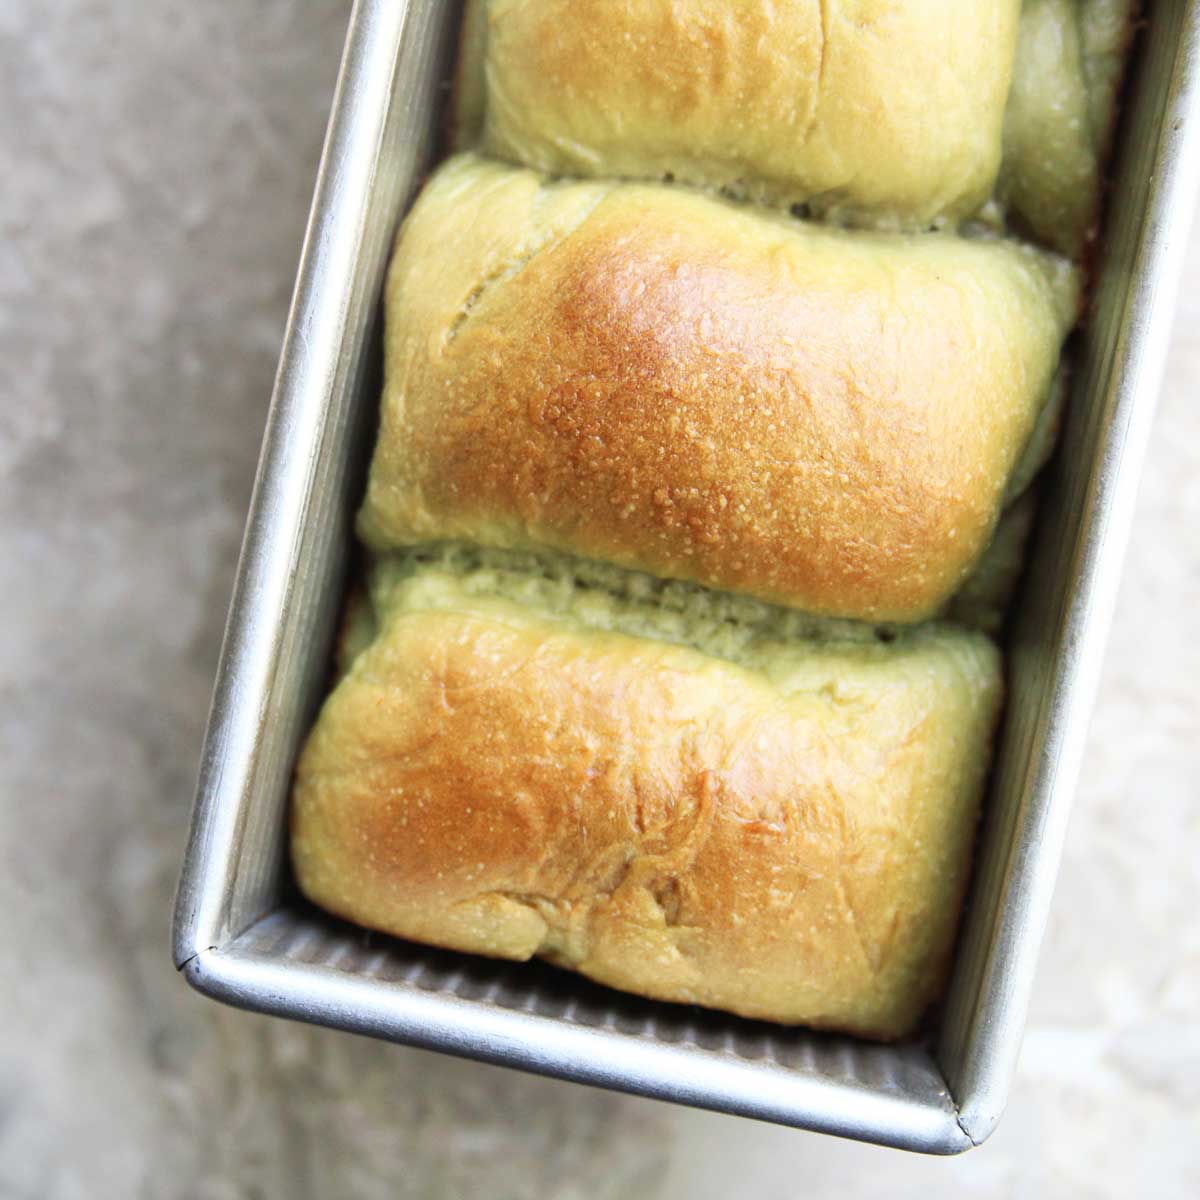
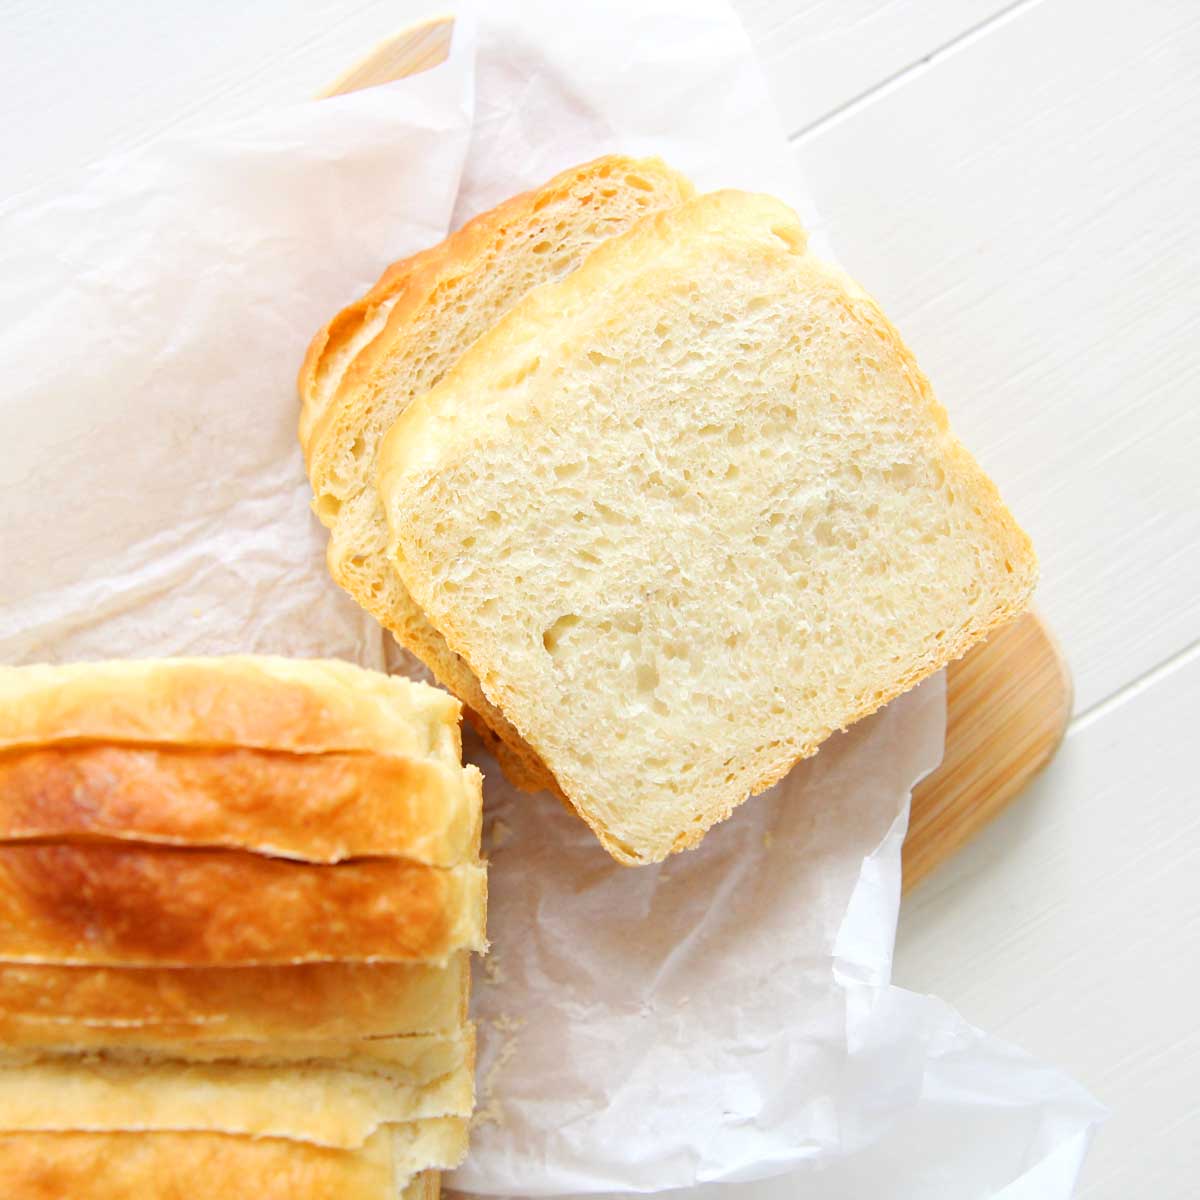
Let the bread cool slightly before removing or slicing
Frequently Asked Questions for Shaping Bread:
Why is bread shaping important?
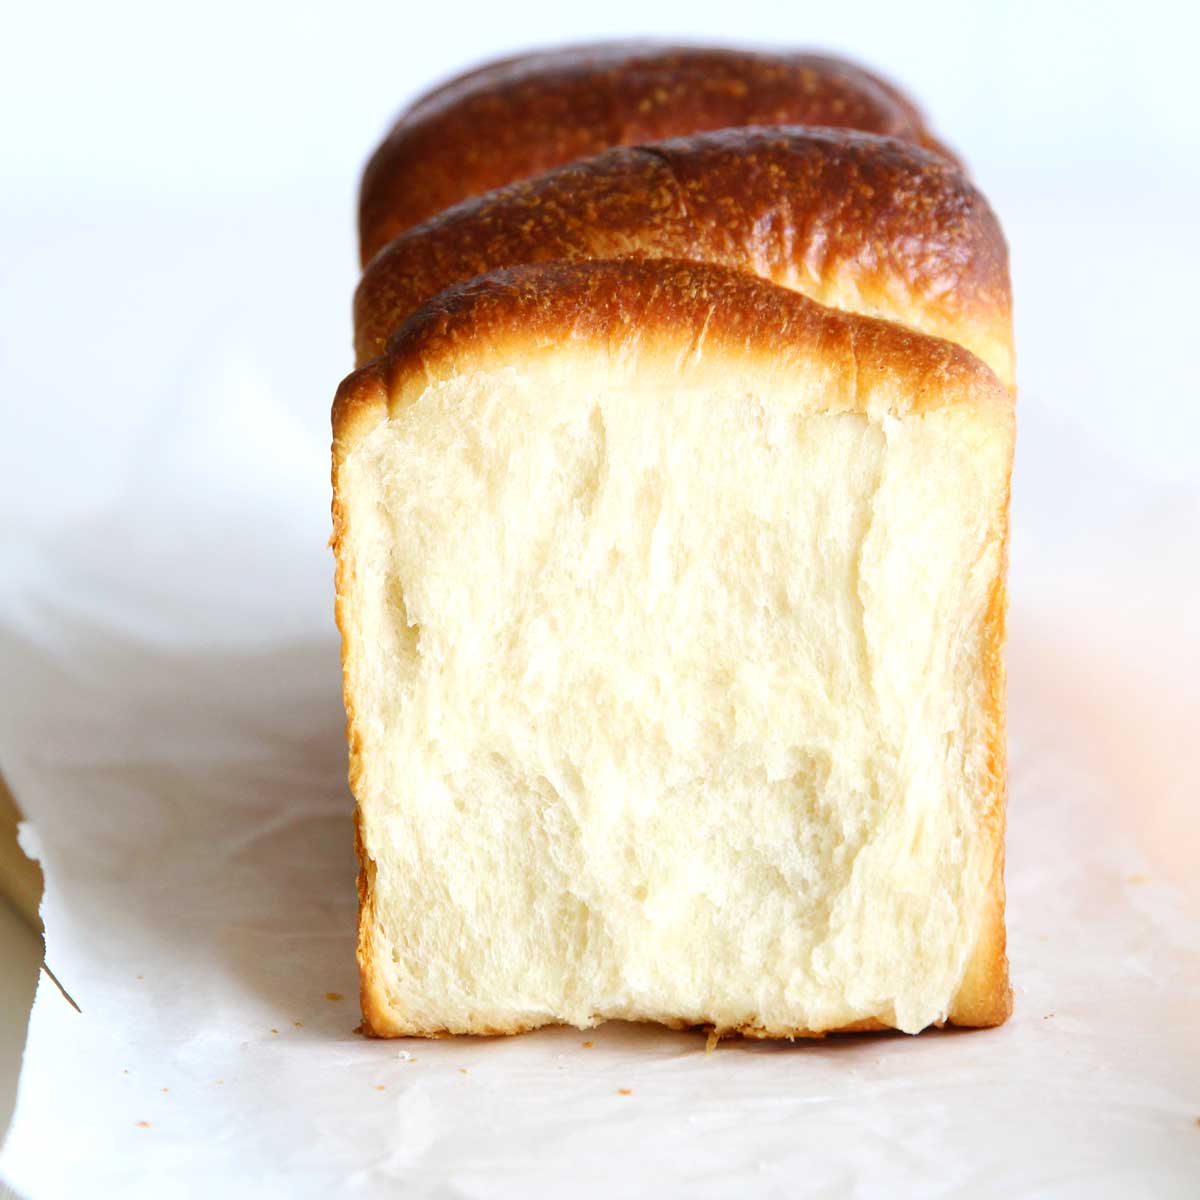
The bread shaping / rolling process helps with the structure of the gluten strands so that your bread rises upwards, rather than spread sideways. This is because when you roll and shape bread dough, you're also shaping and manipulating the structure of the gluten strands that have formed during the kneading process.
Do you need to line a loaf tin for bread?
While it's not required for you to line loaf pans with parchment paper, it's best if you lightly grease the pan before use so that the bread does not stick to the pan after baking. Before using, grease the loaf pan with a neutral flavored cooking oil such has olive, avocado or canola oil. Coconut oil or butter are also great alternatives that help the bread removing process easy.
How long do you cool bread before removing from pan?
The bread is delicate when it's right out of the oven, not to mention too hot to handle. It's best to remove the bread from the pan once it's firmed up and cooled enough to handle, about 5-10 minutes. If the bread pan has been greased well, the bread will slide out of the pan easily. If not, you can use a knife or thin utensil to loosen the bread from the pan.
Should you cover bread while it's cooling?
No. If you cover the bread before it has fully cooled, the moisture that's evaporating from the bread will be trapped and will make the bread crust soggy. You should wrap the bread only after it's cooled completely.
How long should you wait before slicing baked bread?
It's best to wait until the bread has cooled to room temperature before it is cut, which is about 2 hours for loaf breads (sometimes longer). The extra time also allows the bread to develop better flavors, and the firmer bread will help you get even slices when you cut into them.
More Bread Recipes (HERE)

How to Shape Bread Dough for Loaf Pans (Step by Step Guide)
Equipment
- one 9 x 4 x 4 inch Pullman Pan, or a large 9 x 4 inch loaf pan
- Small wooden rolling pin
- Dough cutter
Ingredients
- 1 recipe yeast bread
Instructions
- Prepare desired yeast bread recipe. I used my avocado yeast bread recipe (here).
- Place the dough in a lightly greased bowl, and let rise until doubled, about 60-90 minutes.
- Punch down the dough, then remove from bowl. Place on a generously floured surface and divide into 4 equal-sized pieces.
- Roll each piece into balls. For best results, cover and let rest for additional 10 minutes. This is not a necessary step, but it allows the dough to expand, which helps the rolling process easier for the next step.
- Use a small rolling pin to flatten each piece of dough to about a 6 x 9 inch rectangular shapes.
- Fold the flattened dough into thirds, about 3 x 6 inches in size
- Roll out dough further, to 3 x 8 inch rectangular shapes. Starting from the long side, roll the dough tightly into a tight cylinder (like a sushi roll or cinnamon roll).
- Pinch the fold seams to seal.
- Repeat the folding process on the other 3 pieces and place in a well-oiled bread pan.
- Generously grease the bread loaf pan with neutral flavored cooking oil, such as olive oil, canola oil, avocado oil or grapeseed oil. Butter or coconut oil are also great alternatives.
- Place each dough, seam-side down and side by side, in the bread loaf pan.
- Let the dough rise again for 40-60 minutes until puffy.
- Bake the bread according to recipe in a preheated oven
- Let the bread cool slightly before removing.


julia says
The recipe is easy to follow and the bread comes out just as pictured- however the bread has a very strong yeast flavor. (It could be too much yeast and not enough fermenting time).
All Purpose Veggies says
Hi Julia, thanks so much for trying and sharing your thoughts on this recipe! I personally didn't find the yeast flavor too overpowering, but I realize it could be just the yeast that I am using. Please feel free to adjust the yeast amount or fermenting time to suit your taste in future batches. Like you suggested, using less yeast and allowing for more fermentation time can result in even better-tasting bread!