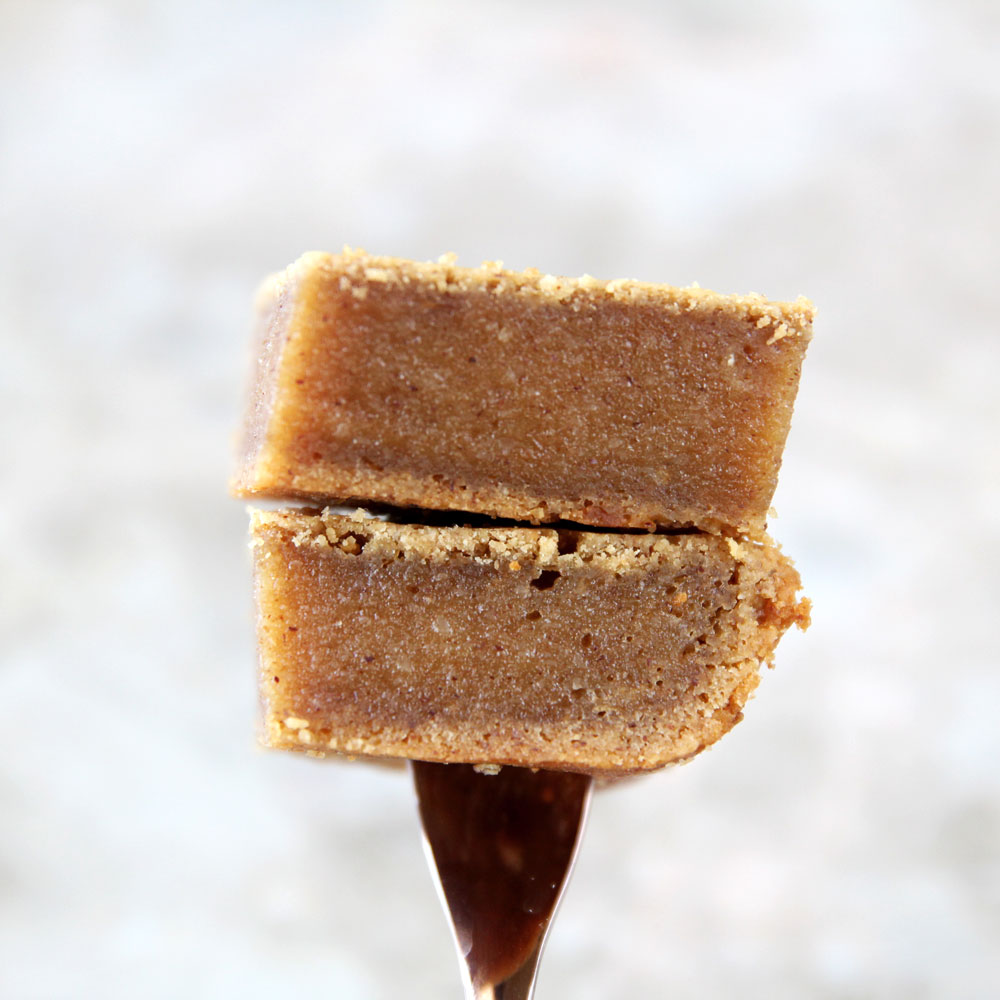
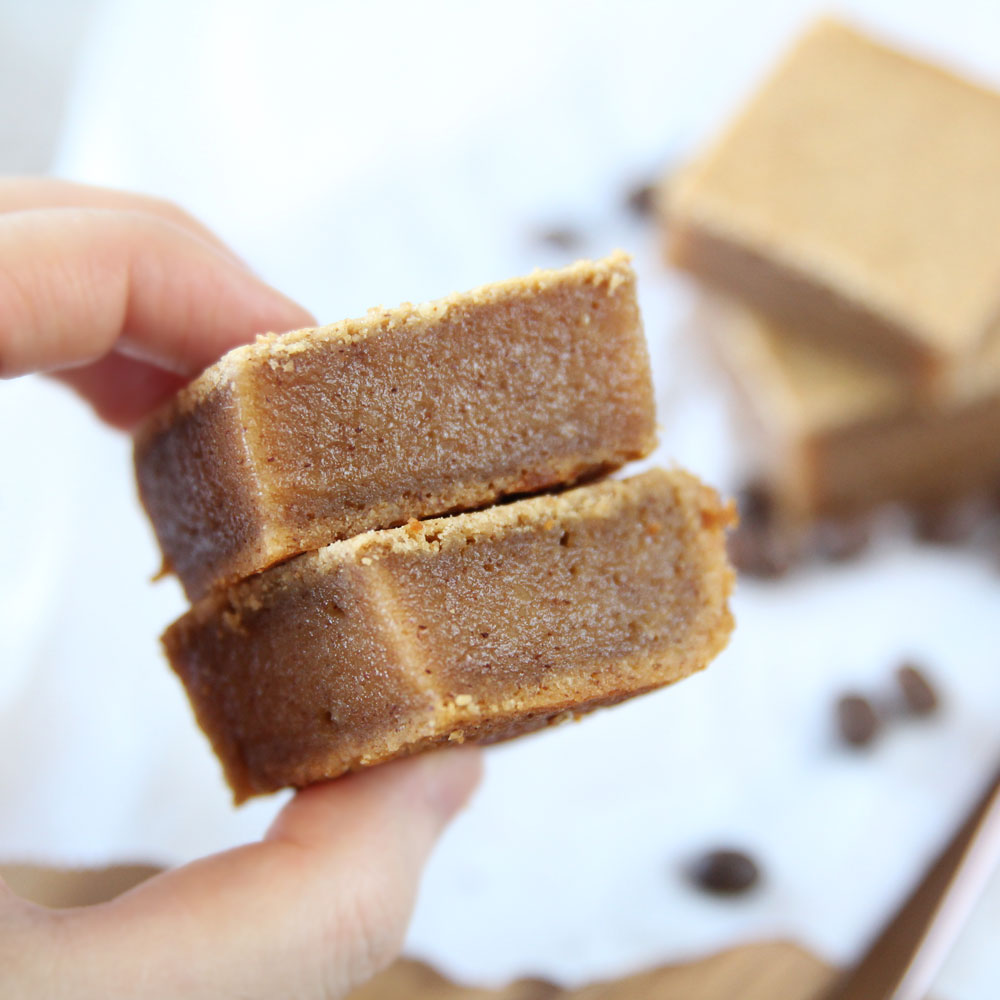
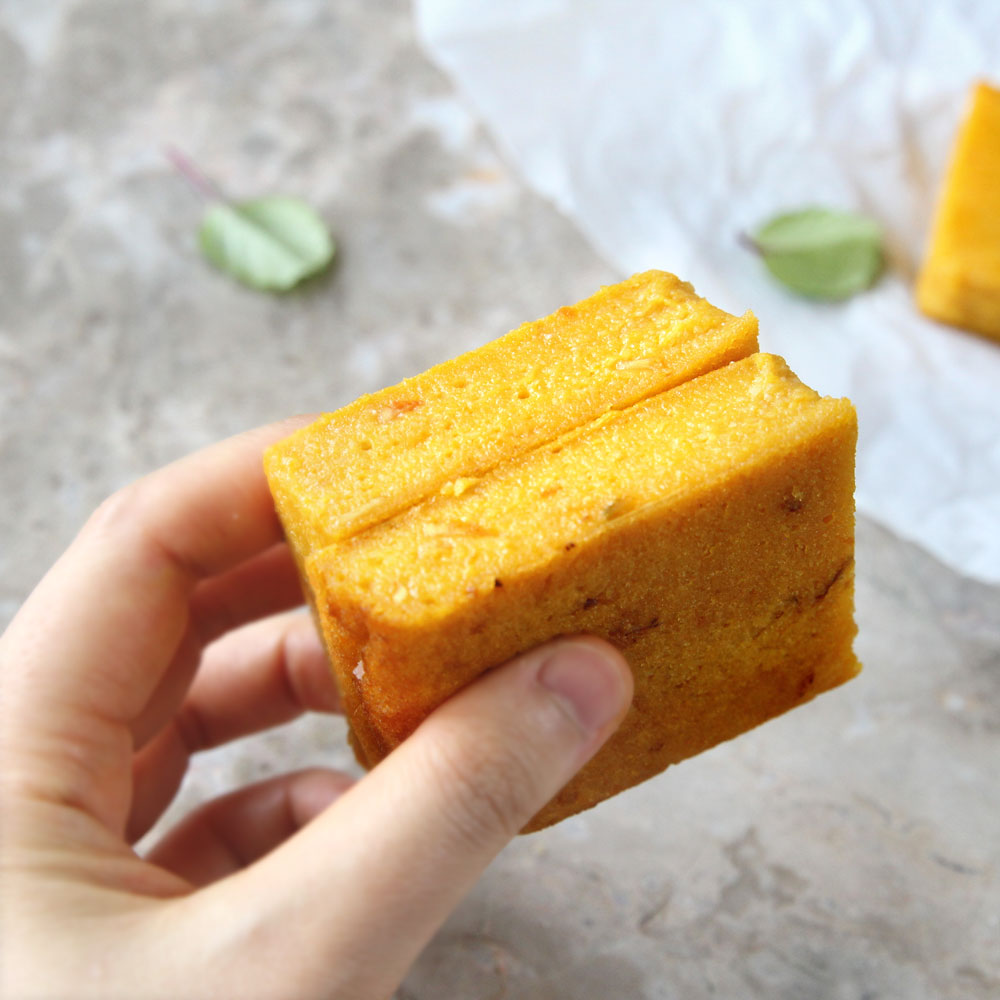
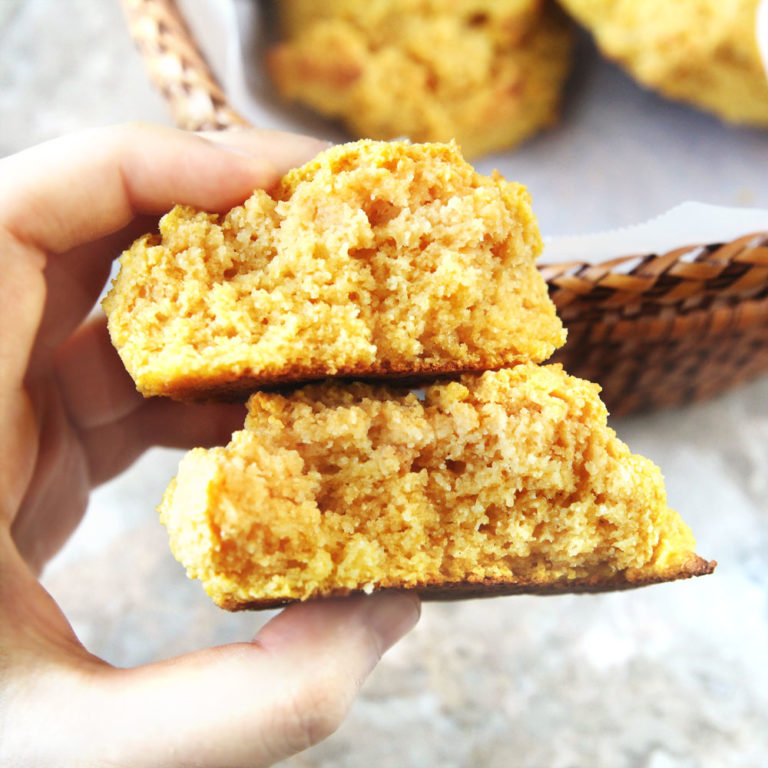
Want to know the secret to making extra chewy and glutinous mochi blondies WITHOUT using eggs? Here's a vegan version of my popular almond butter mochi blondie recipe that's springy, mochi-mochi and flavored with coffee. Keep reading to find out~

Ingredients used to make this coffee mochi blondies
**I've linked some of these ingredients to amazon.com to give you an idea of what they are, but you should also be able to find them in your local grocery store (usually, the natural & organic food section). They are also affiliate links, which means that I earn a commission as an Amazon Associate if you decide to purchase the items. The price will be the same for you, link or no link 🙂
- Glutinous Rice Flour - this goes by many names. You'll see Glutinous Rice Flour and Mochiko Flour (my favorite) in Asian grocery stores, and Sweet White Rice Flour in most other stores. ***Please note that regular white rice flour or brown rice flour is NOT the same thing as glutinous rice flour!!!
- Almond flour – I used blanched almond flour. But you can also make your own by blending raw or blanched, slivered almonds in the food processor and sifting them through a sieve.
- Almond Butter - like this one. You can also use other natural nut butters like pecan butter, walnut butter, cashew butter, mixed nut butter, or even seed butter like sunflower. So many choices!
- Salt – Pink Himalayan salt is what I have at home, so it’s what I use, but you can use any kind for this recipe.
- Coconut Sugar – You can use any granulated sugar of your choice, but coconut, date and maple sugars are less processed sugars I would recommend. For keto options, you could also use stevia (but be sure to convert according to package instructions).
- Coffee- strong brewed coffee goes in this recipe, but the secret to extra chewy and glutinous mochi blondies is using HOT (boiling) COFFEE. You can also use warm or cold coffee, but the mochi won't have that glossy sheen you see in the photos.

How does boiling water help mochi textures?
Mochiko flour (sweet rice flour) is naturally high in amylopectin, a starch component that absorbs water and becomes gelatinous when heated. It's thanks to amylopectin that mochi has such a unique sticky, stretchy and chewy texture. Adding the boiling water to the mochi ingredients before baking is a way to cook the rice flour and activate this mochi-superpower. In addition to making mochi extra bouncy and squishy, this extra step also gives mochi a glossy finish! You're welcome to try this method in any of my other vegan mochi recipes. Please note that the boiling water method is not suitable for mochi recipes that use eggs, since the eggs could end up scrambled.
Want more mochi science? Here's a great website that helped me learn more about mochi here
How to Make
Vegan Coffee Mochi Blondies
STEP 1

In a clean bowl, mix all the ingredients together. Heat almond butter in the microwave for 15 seconds before using.
STEP 2

Stir the ingredients together until well incorporated and the batter is smooth. Pour into a well greased loaf pan or small cake pan (**for 8x8 pan, DOUBLE the recipe)
STEP 3

Let cool before slicing
Recipe Variations and Optional Add Ins:
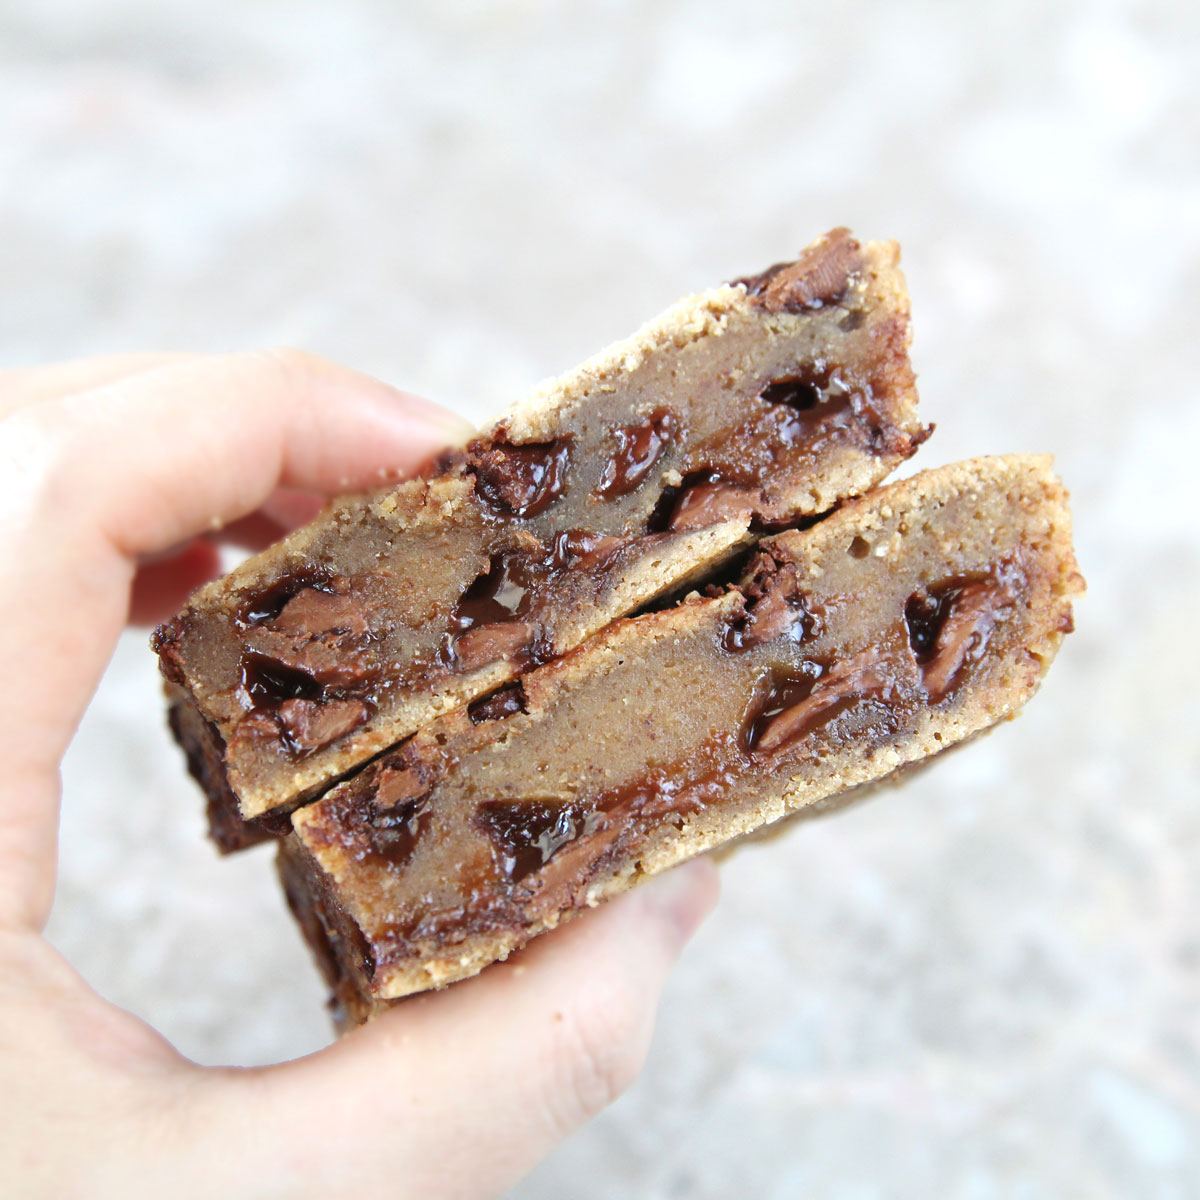
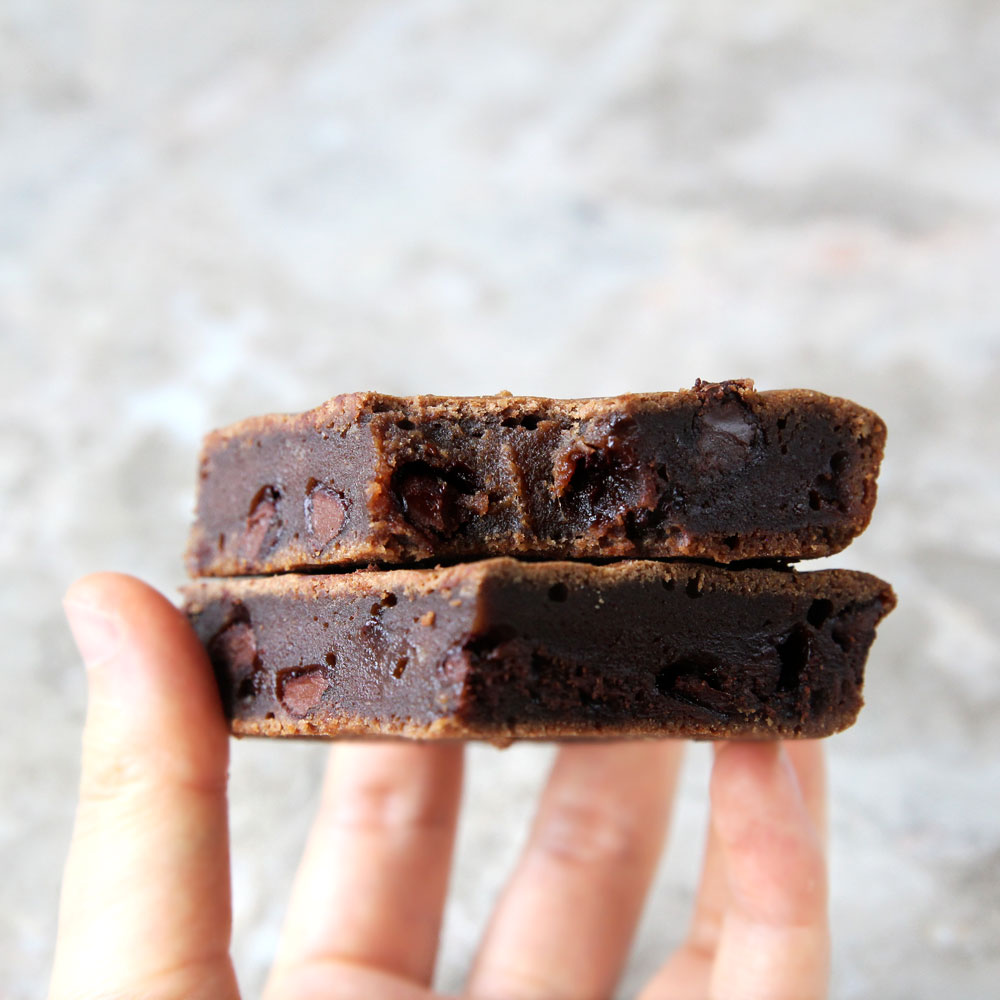
- Add some nuts, dried fruits or white chocolate chips to keep this mochi recipe interesting.
- With natural flavoring / extracts. Feel free to add a teaspoon of vanilla extract (I didn’t feel like it was essential so I left it out in this recipe), or other flavorings or extracts, such as such as caramel flavoring, hazelnut extract or almond extract.
- Feel free to experiment on using different nut butters. Instead of almond butter you can also use pecan butter, walnut butter, cashew butter, mixed nut butter, or seed butter like sunflower or pumpkin seed butter.
- You can also bake this in a muffin pan instead of a cake or loaf pan.

How to Make this Healthier
- Add a Tablespoon of ground flaxseed or coconut flour to increase fiber
- You can also reduce the sugar by half (to make this less sweet), or substitute the sugar with a sugar-free substitute.
What are some ways you can eat these?
- Plain and warm
- With a scoop of vanilla icecream on top!
- Frosted with my 2-Ingredient Almond Butter Frosting , or this Healthy Powdered Peanut Butter Chocolate Frosting
- Drizzled with honey, maple syrup, caramel or chocolate syrup
- Dusted with powdered sugar or sugar-free powdered sugar. Just make sure you use a sieve to sift the sugar on top!
How to Store
- You can store these vegan mochi blondies covered at room temperature for up to 24 hours. For longer storage, I would freeze the slices in a plastic freezer storage bag or an airtight container, then defrost them at room temperature or microwave before eating.
- The reason I don’t recommend storing them in the fridge is that mochi (most rice flours) tend to develop a weird waxy, hard texture when stored in the fridge. A bit like how cold, refrigerated rice tastes like? But you can always microwave the mochi for 30 seconds on high before eating if they've been cooled.
More Brownie / Blondie Recipes
Final Tips
- Be sure to use a microwave-safe bowl (preferably glass, like this one) when melting the almond butter.
- Baking time (as well as serving size) will vary based on the size of your cake pan, and the material (silicone vs metal) of the pan. Bake the mochi until the color is golden-brown on the top, or until a toothpick comes out clean/dry when poked into the middle.
- Lastly, please do be careful when handling hot coffee


Vegan Almond Butter Mochi Blondies (Gluten-Free)
Ingredients
- ½ cup mochiko flour, sweet rice or glutinous rice flour
- ½ cup almond flour
- ¼ cup granulated sugar of choice*
- 1 pinch salt
- ¼ cup almond butter, warmed
- ½ cup strong brewed coffee, HOT**
Instructions
- Mix mochiko flour, almond flour, sugar and salt together in a bowl
- Add the almond butter and hot (strong brewed) coffee
- Stir the ingredients together until well incorporated and the batter is smooth.
- Pour batter into a well-greased loaf or small cake pan ***
- Bake 350F for 30-40 minutes, or until a toothpick inserted comes out clean.
Notes


Leave a Reply