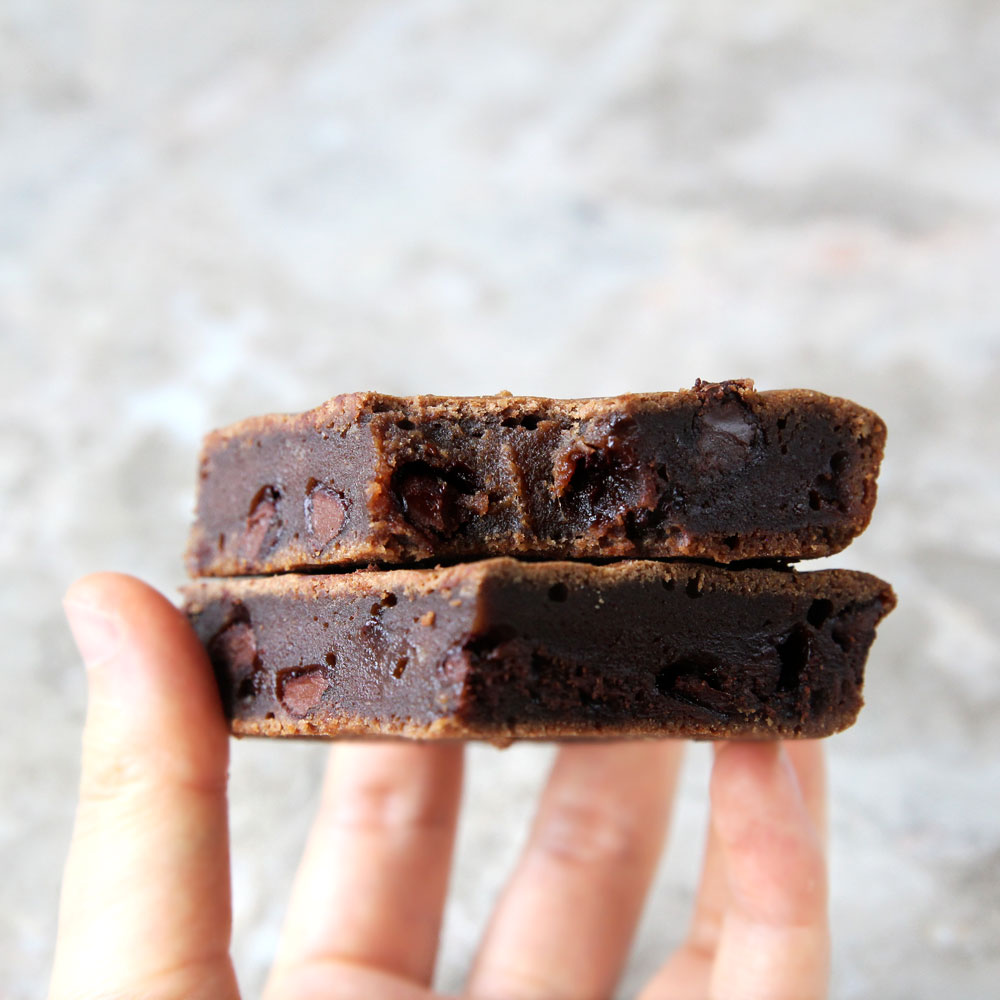
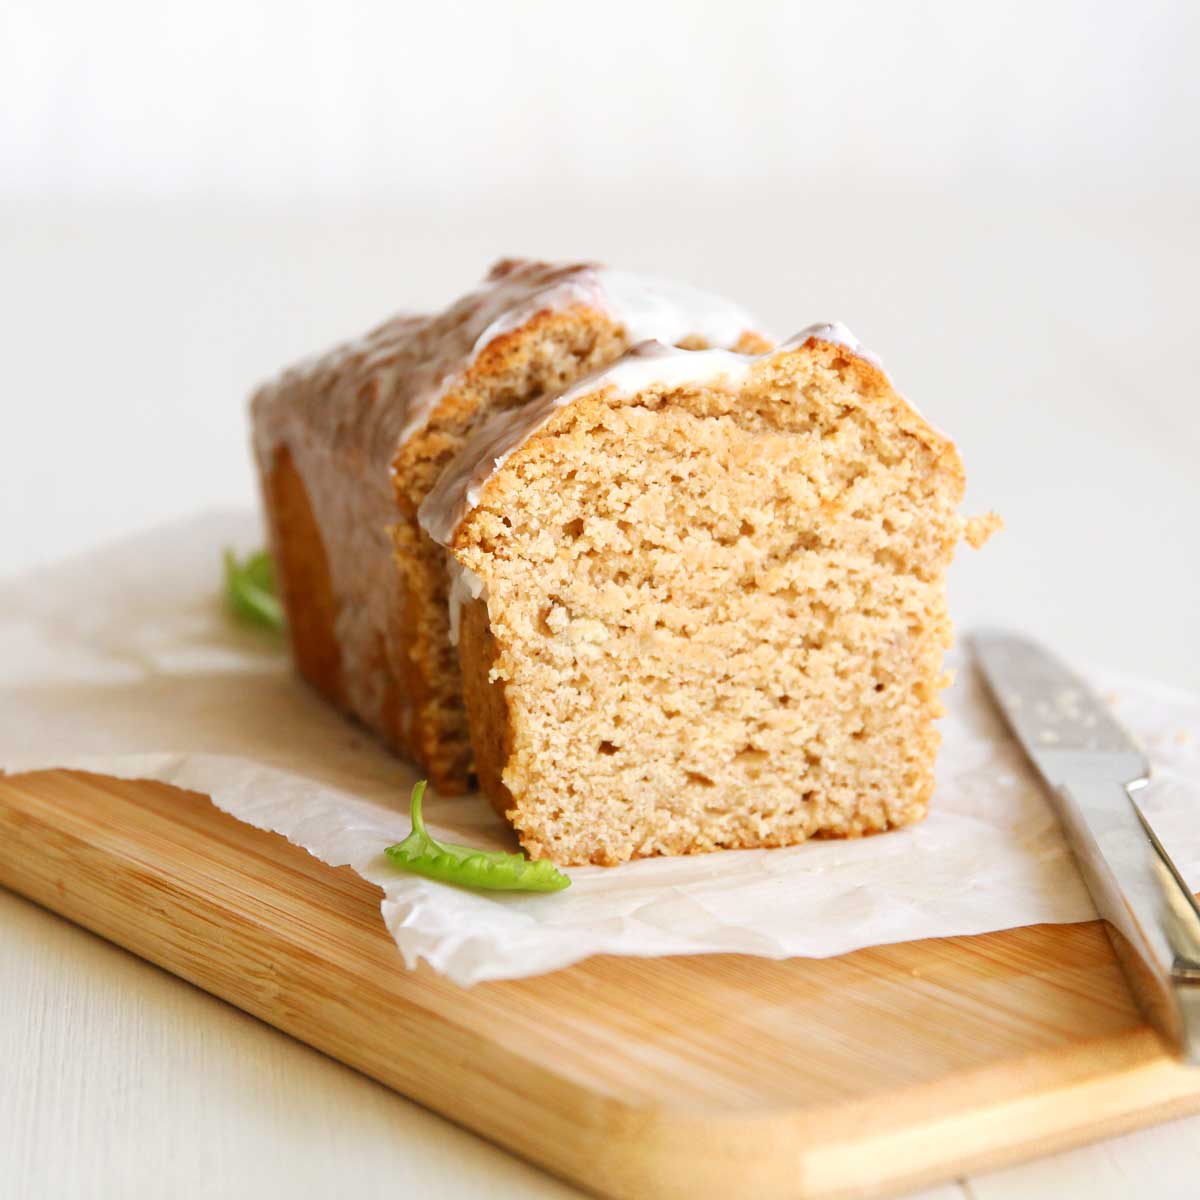
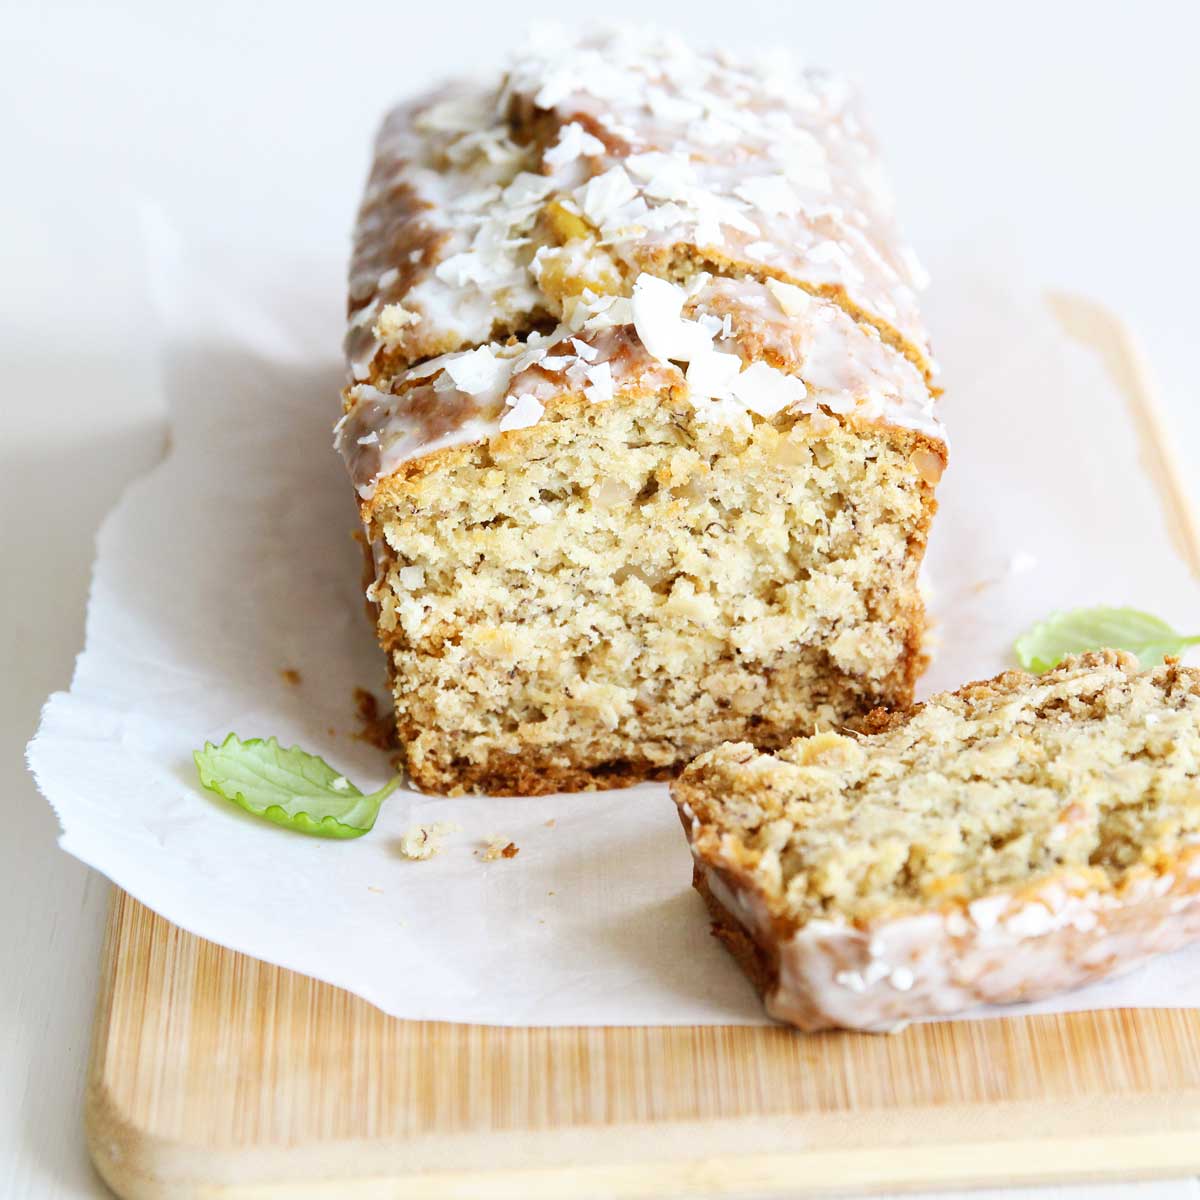
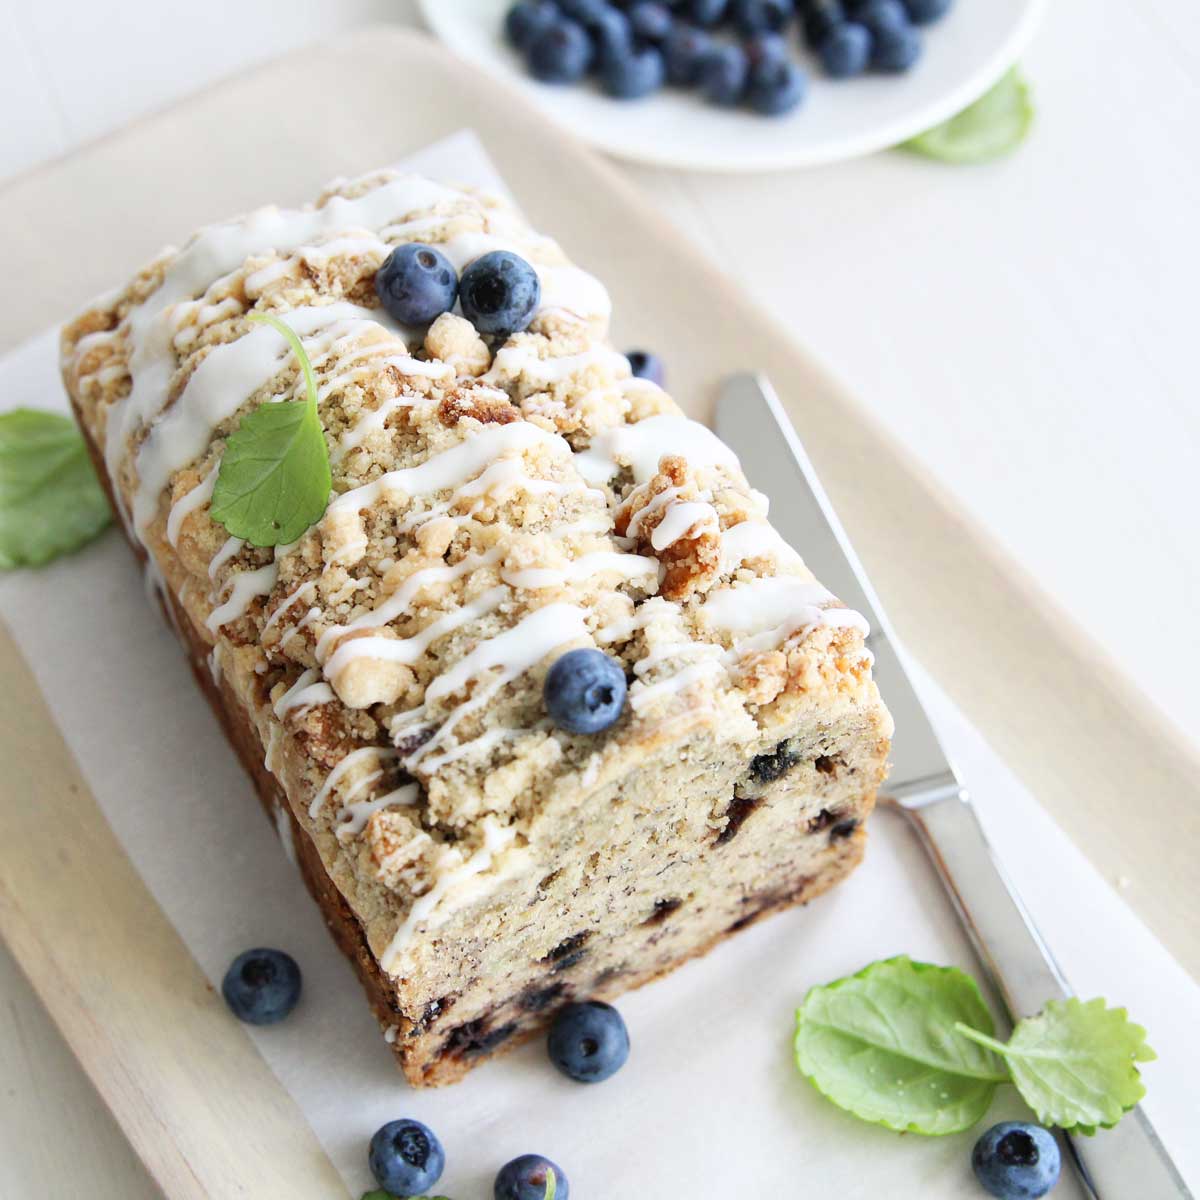
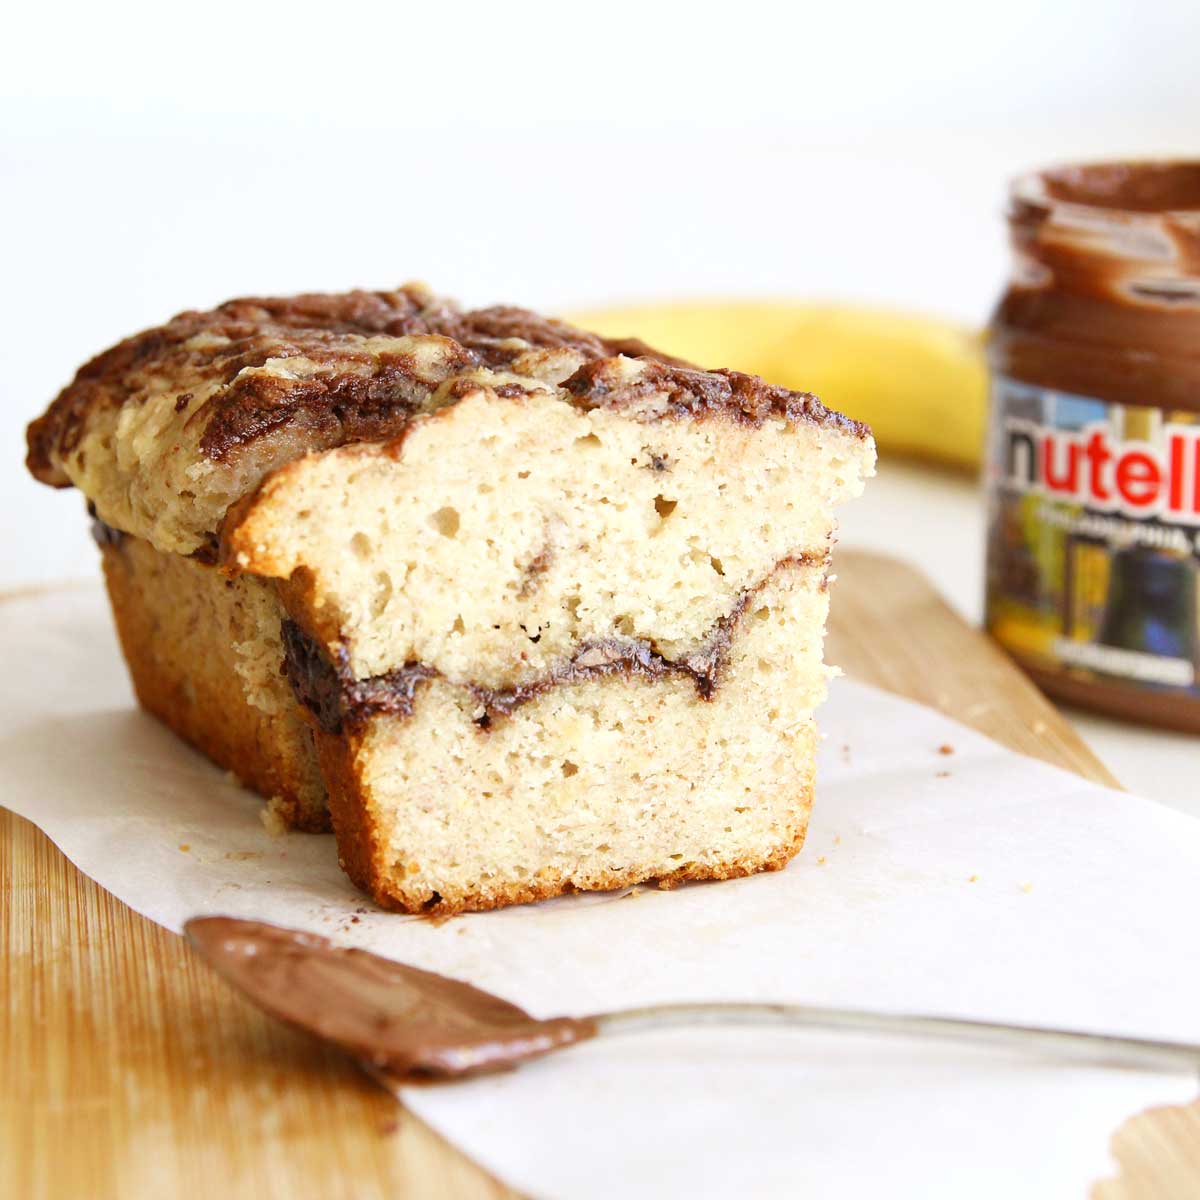
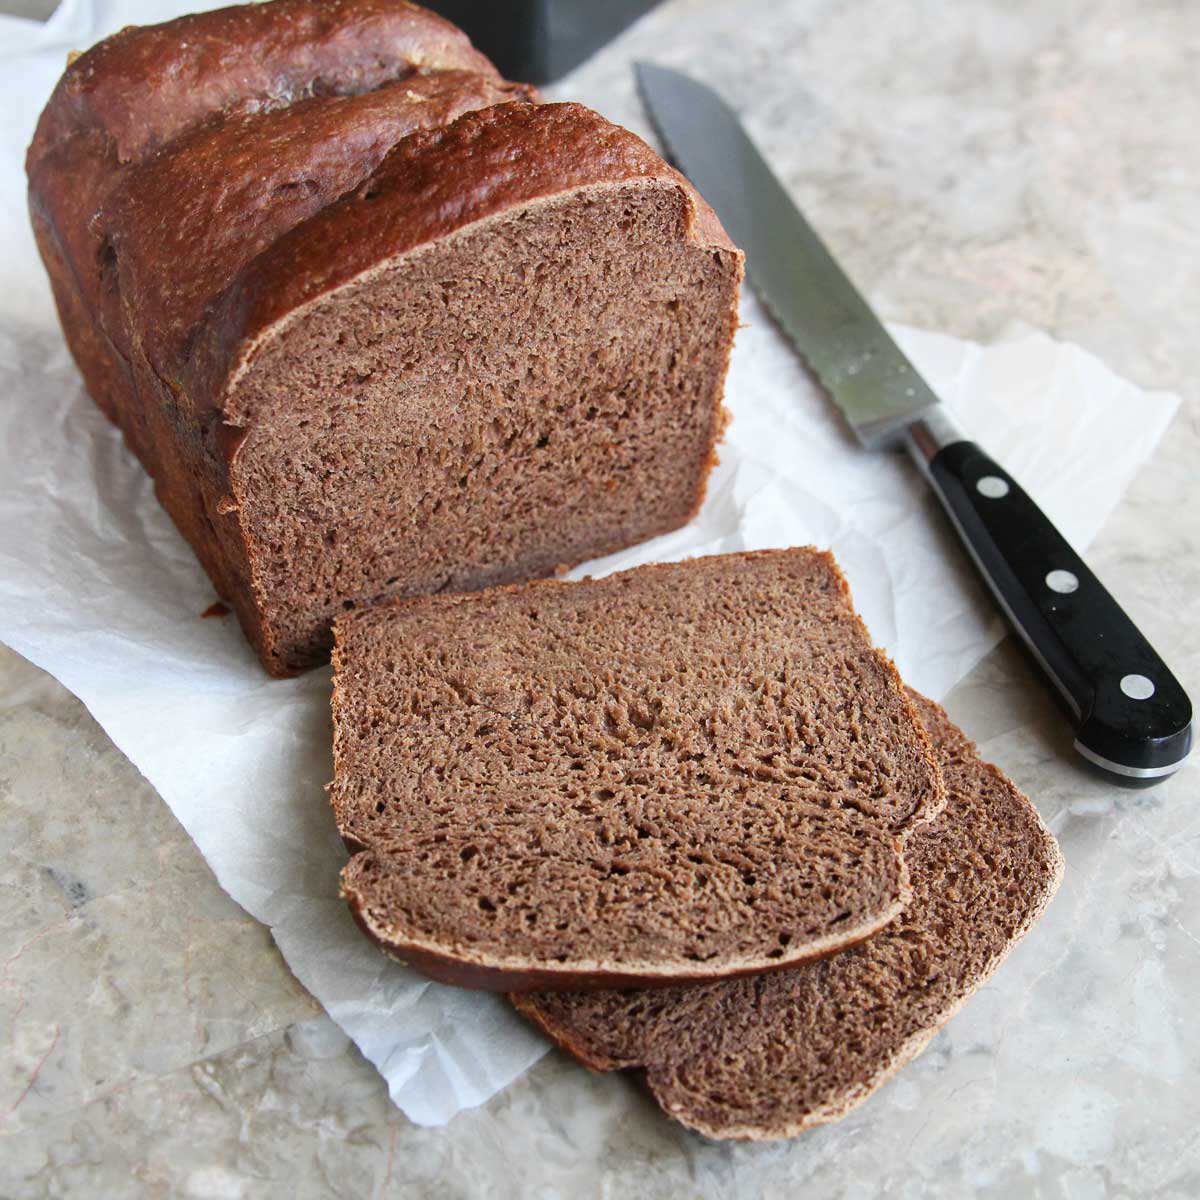
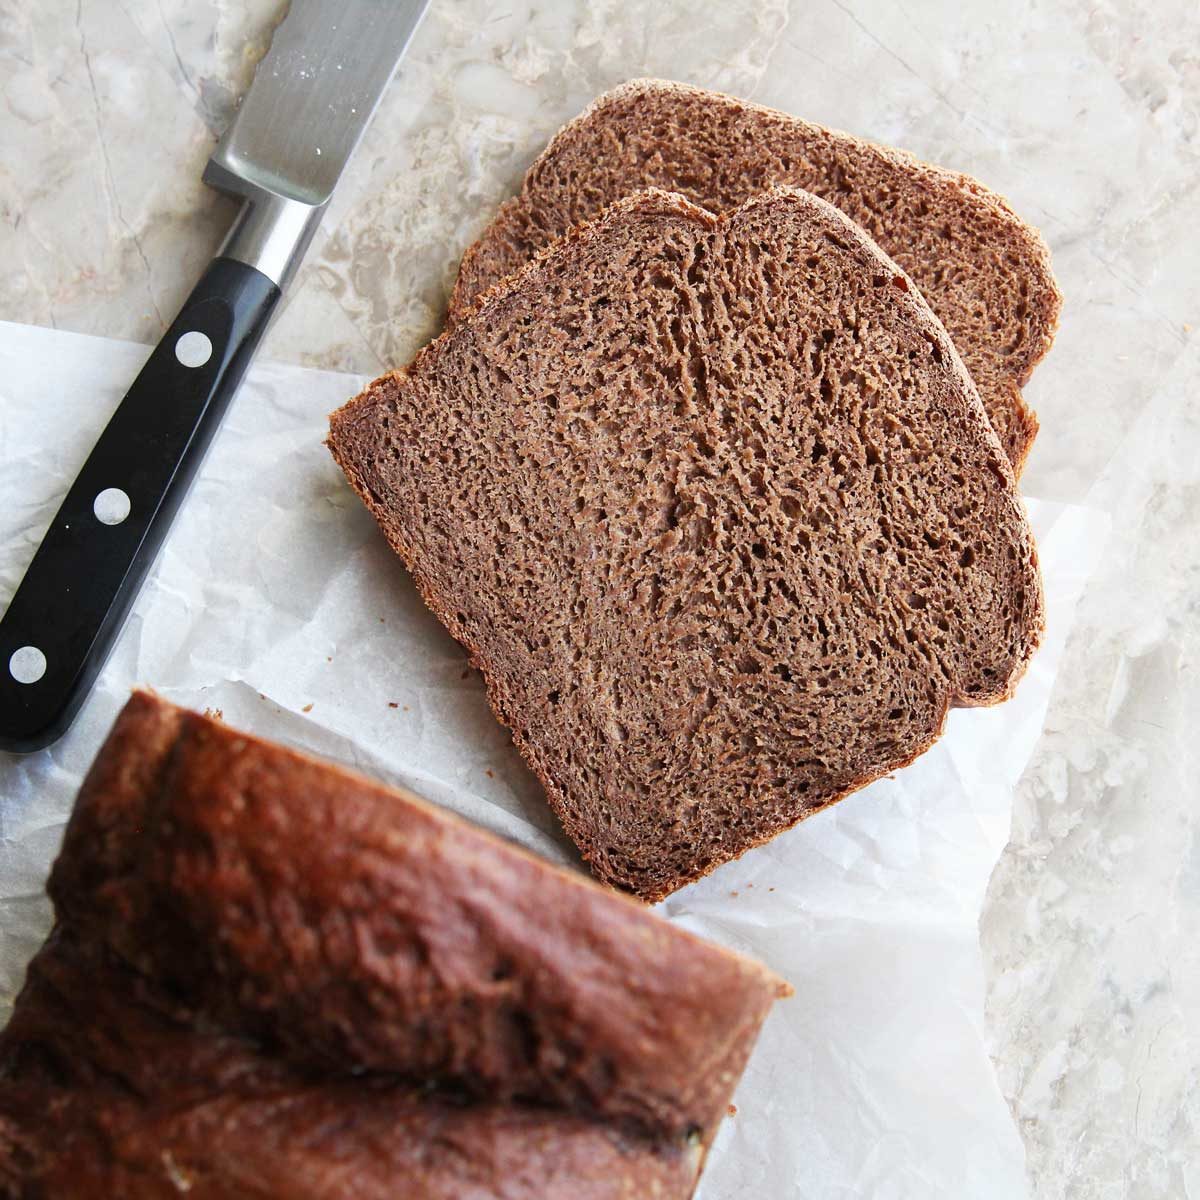
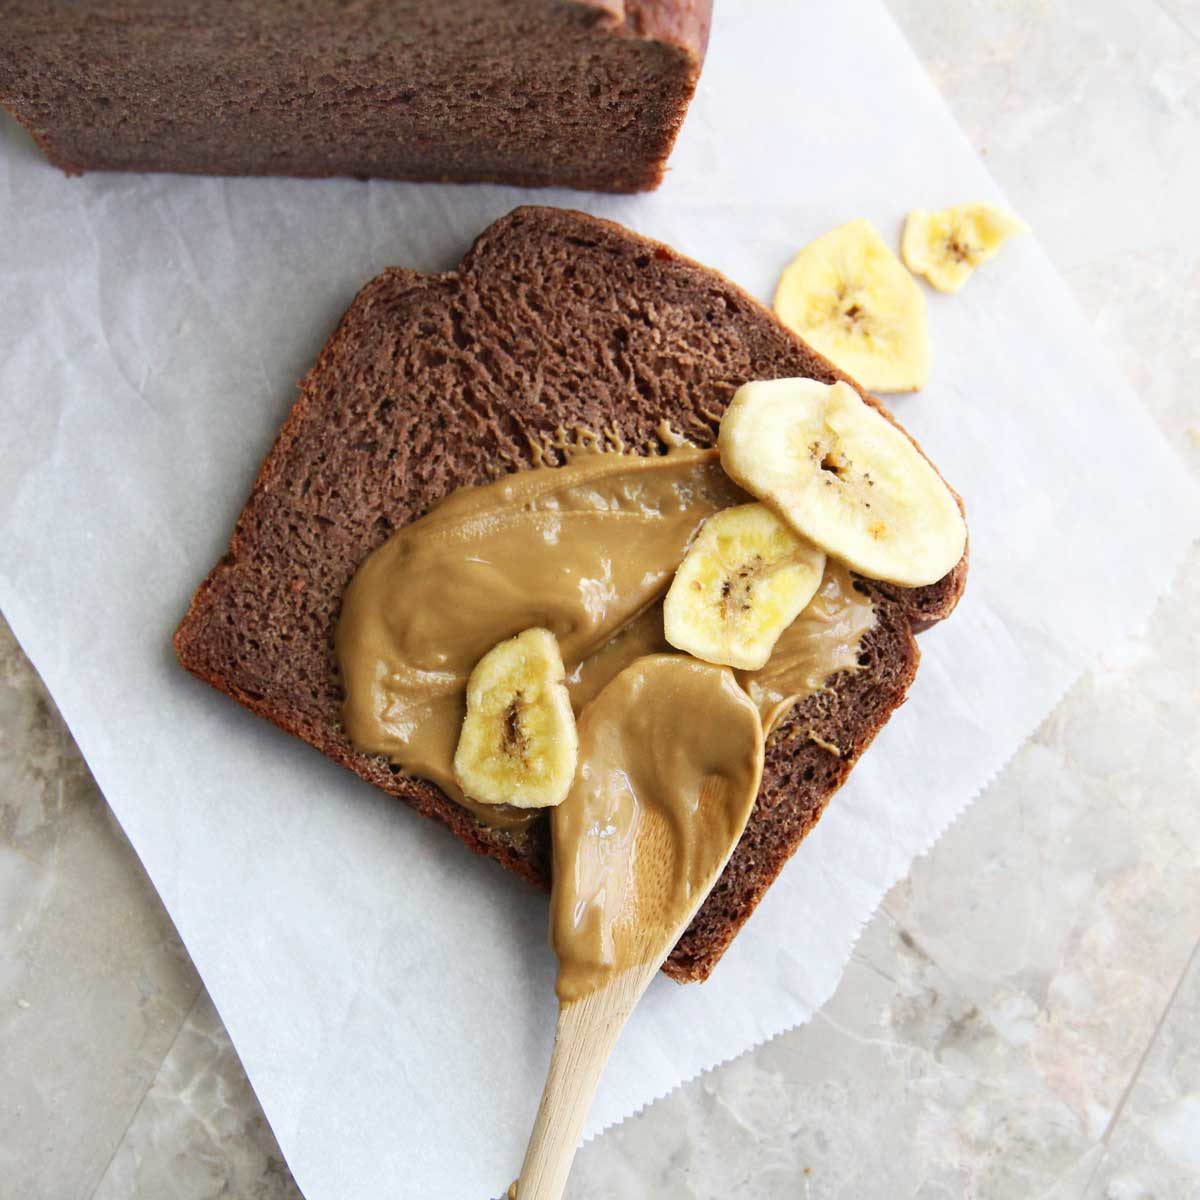
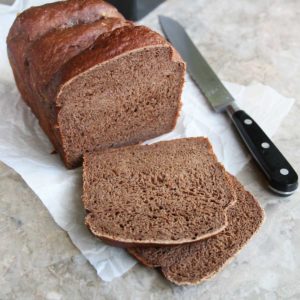
This yeasted Banana Bread with Chocolate Chips is a tasty way to start the day. If you enjoy chocolate, bananas or both, this is the bread for you. This chocolatey loaf yields a firm, hearty crumb that reminds you of cake, the kind that melts in your mouth. As for the flavor, you get the best of two worlds — the tropical taste of ripe bananas and the warmth of comfy chocolate. By the way, did I mention that no eggs, milk or butter is required in this recipe?
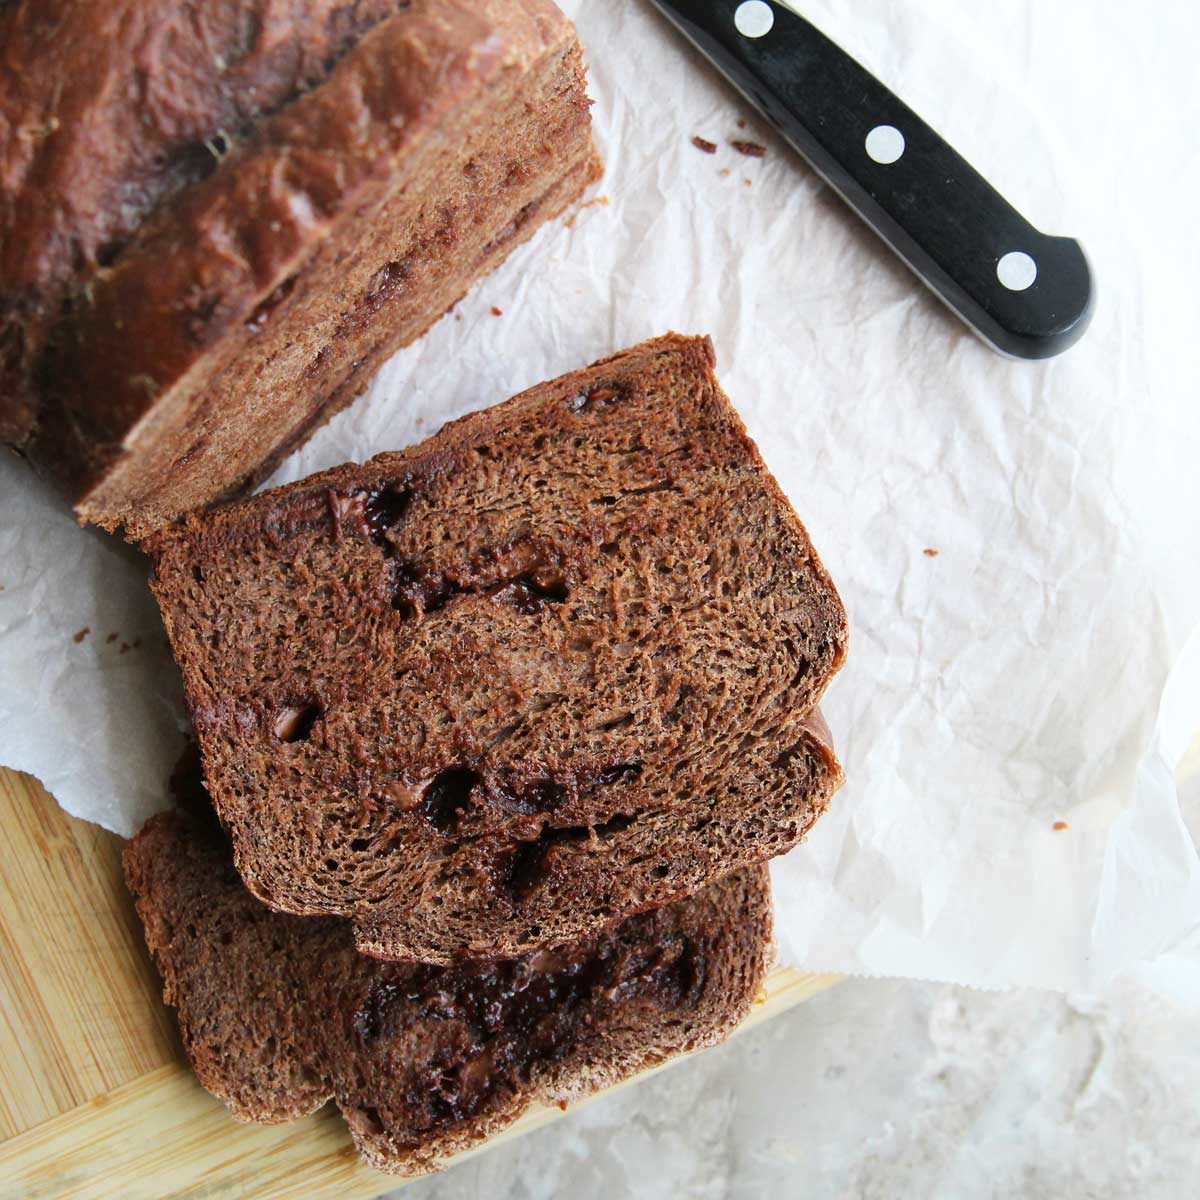
Banana bread is fun and all, but there’s always room for improvement. Our cherished tropical-scented bread is deliciously moist and starchy, so how to make it even more exciting? Although the combination of bananas and chocolate is not what you’d call traditional, it works, and it works marvelously.
To make this amped-up version of everyone’s favorite tropical bread, you’ll need bread flour, yeast, olive oil, sugar and salt — the usual suspects. You’ll also need mashed bananas; the riper, the better.
This chocolate yeasted banana bread recipe makes the nicest tanned bread, one particularly compatible with breakfast. Think of a delicate chocolaty French toast, or top a slice with a nutty spread and seasonal fruit — strawberries and almond butter are my ultimate pick for banana bread toppings; what are yours?

Here's why I love this recipe
- easy to prepare
- more nutritious than white bread
- my favorite way to get rid of leftover bananas
Ingredients Used to Make This Chocolate Yeasted Banana Bread Recipe
**I've linked some of these ingredients to amazon.com to give you an idea of what they are, but you should also be able to find them in your local grocery store (usually, the baking aisle, or the natural & organic food section). They are also affiliate links, which means that I earn a commission as an Amazon Associate if you decide to purchase the items. The price will be the same for you, link or no link 🙂
- Bread Flour - Bread flour is highly recommended for this recipe for the best texture and structure. I used King Arthur Bread Flour. Please read the note on the substitution section below if using other flours.
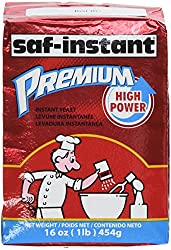
- Instant Yeast - you can find instant yeast in the baking section near the flours. My favorite is SAF Instant Premium Yeast, which works quickly and always produces consistent results. I recommend using instant yeast over active yeast for this recipe since active yeast (unlike instant yeast) needs to be activated in water (or milk) before using.
- Sugar - I used raw cane sugar, but you can use regular granulated white sugar, or healthier alternatives like coconut, date, or maple sugars which are less processed and more natural. I also sometimes like to use honey powder. For yeasted breads, I would not recommend using sugar-free substitutes such as monk fruit sweetener or stevia powder. However, you're welcome to leave out the sugar if you prefer a lower sugar recipe.
- Salt - Pink Himalayan salt is what I have at home, so it’s what I use, but you can use any kind for this recipe.
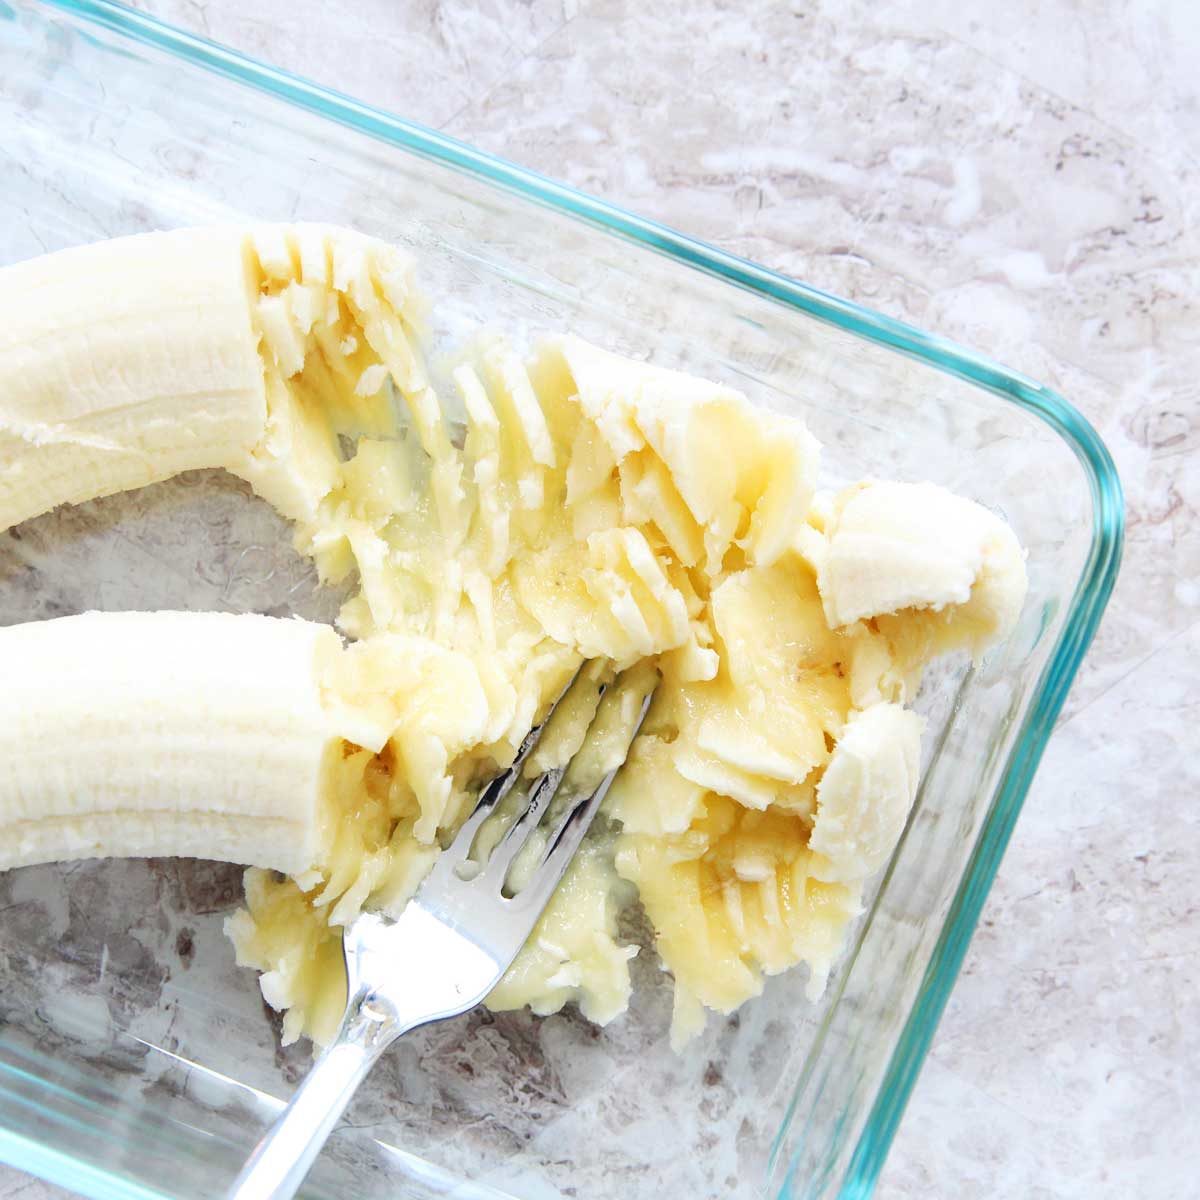
- Mashed Bananas - we'll need 1 ⅔ cups of mashed bananas, which for me took about 3 medium sized bananas.
- Olive Oil - I like using light olive oil since it has a neutral flavor, but you can also use softened butter (or plant-based butter), coconut oil, or avocado oil instead
- Cocoa Powder of choice
Optional Fill Ins
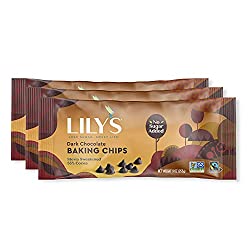
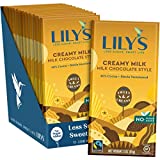
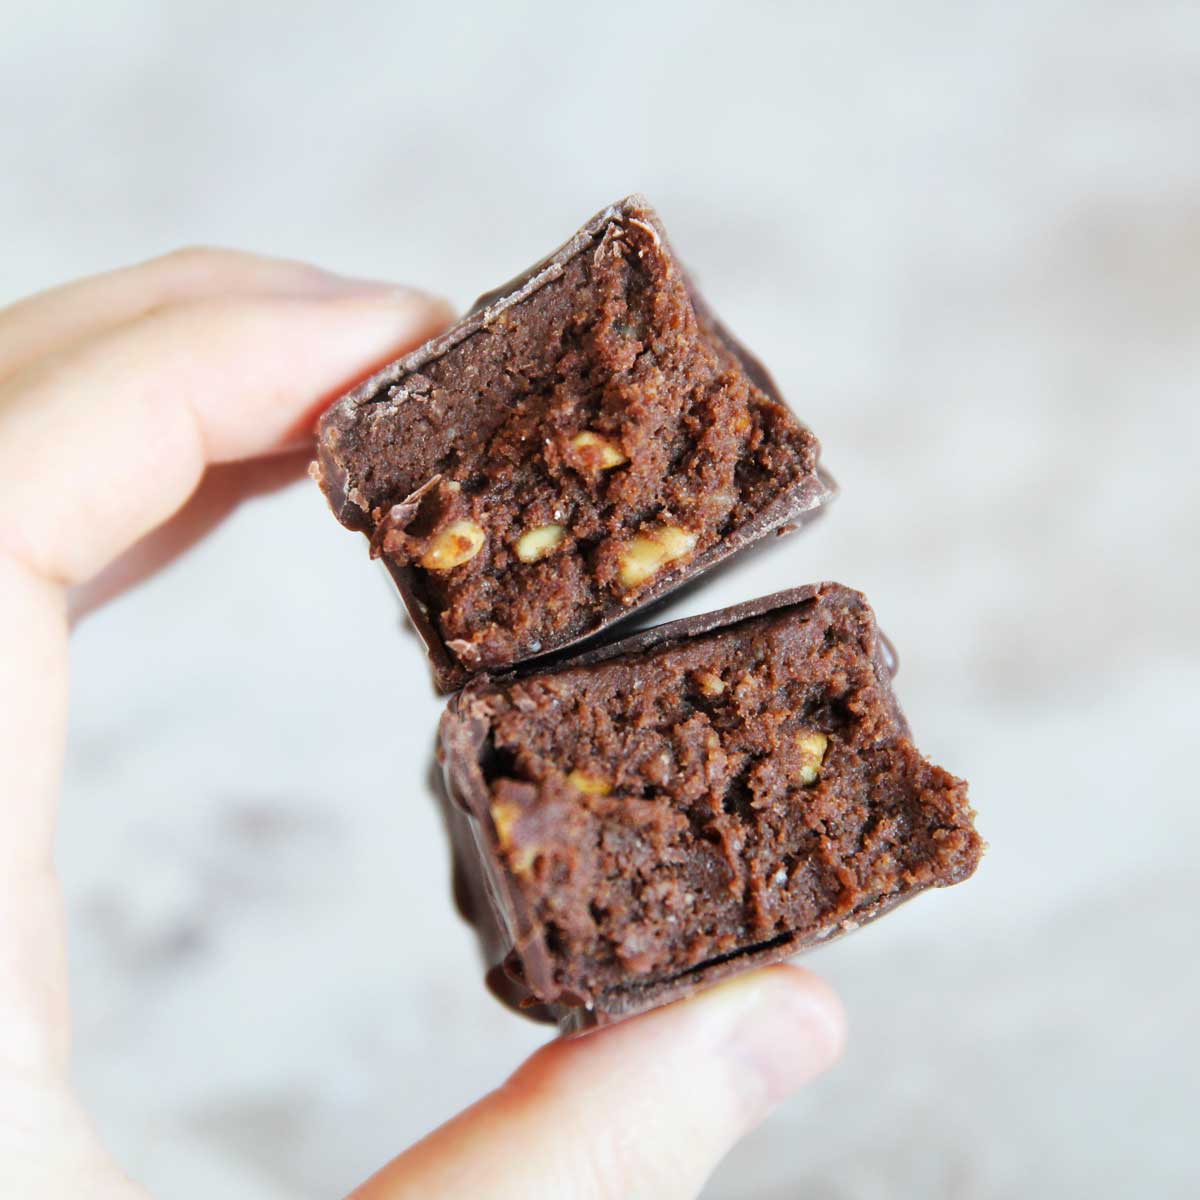
- Chocolate Chips - you can use any chocolate chips (or chopped chocolate) in this recipe. I like this lower sugar, stevia-sweetened brand. If you want, you can also use unsweetened chocolate.
Equipment
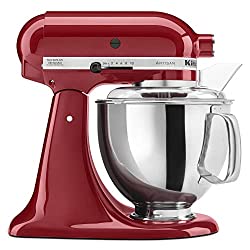
- I used a KitchenAid Stand Mixer with a dough hook to knead the dough. You're also welcome to use a bread machine, or knead the dough by hand.
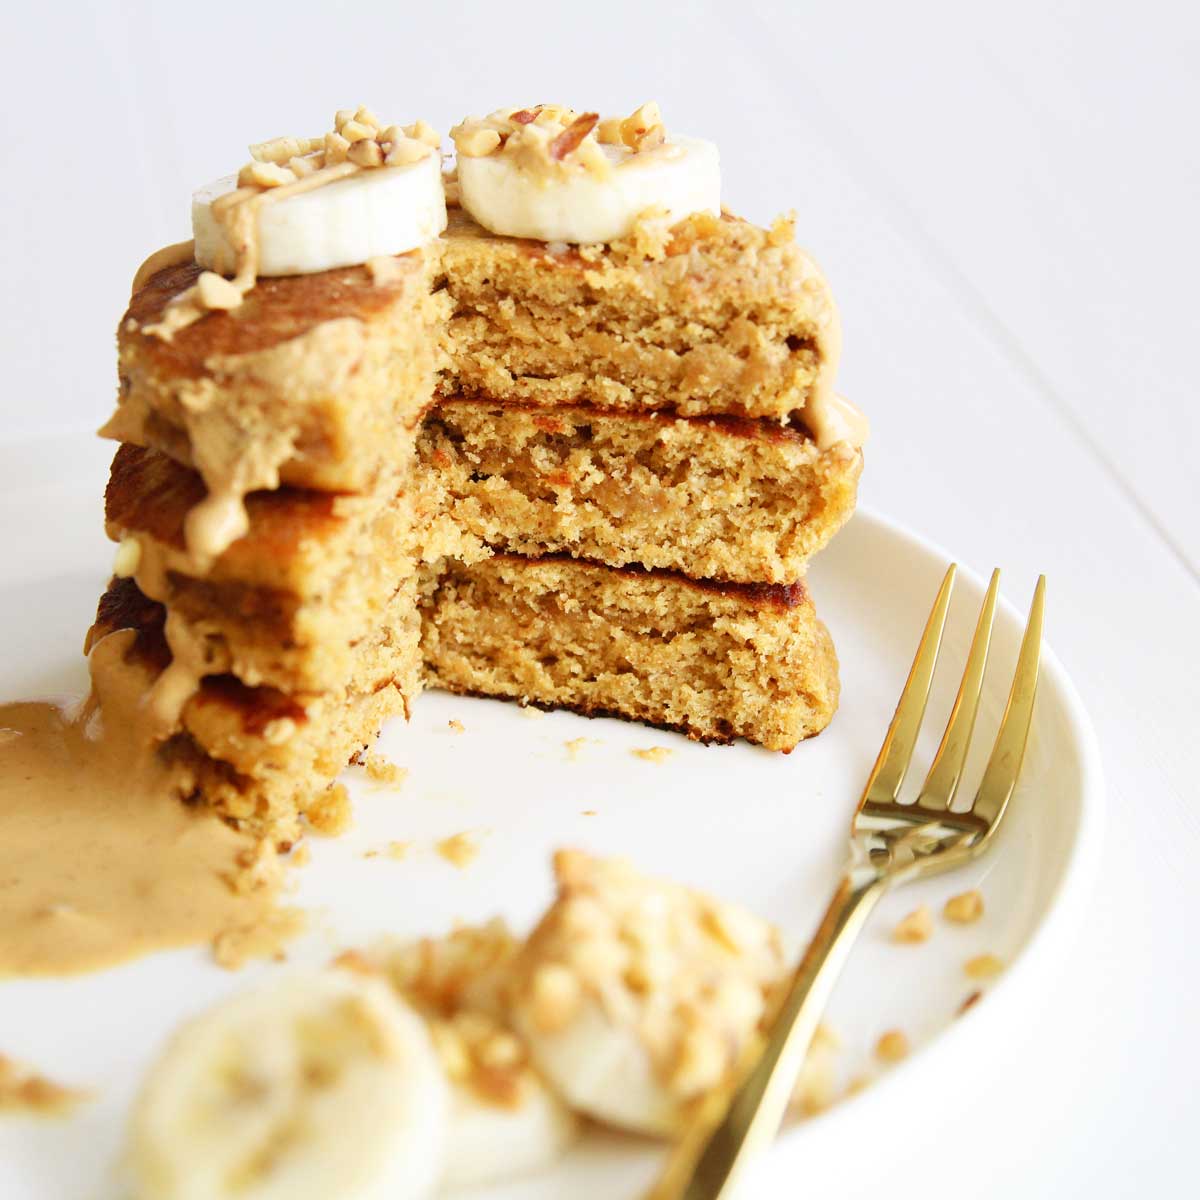
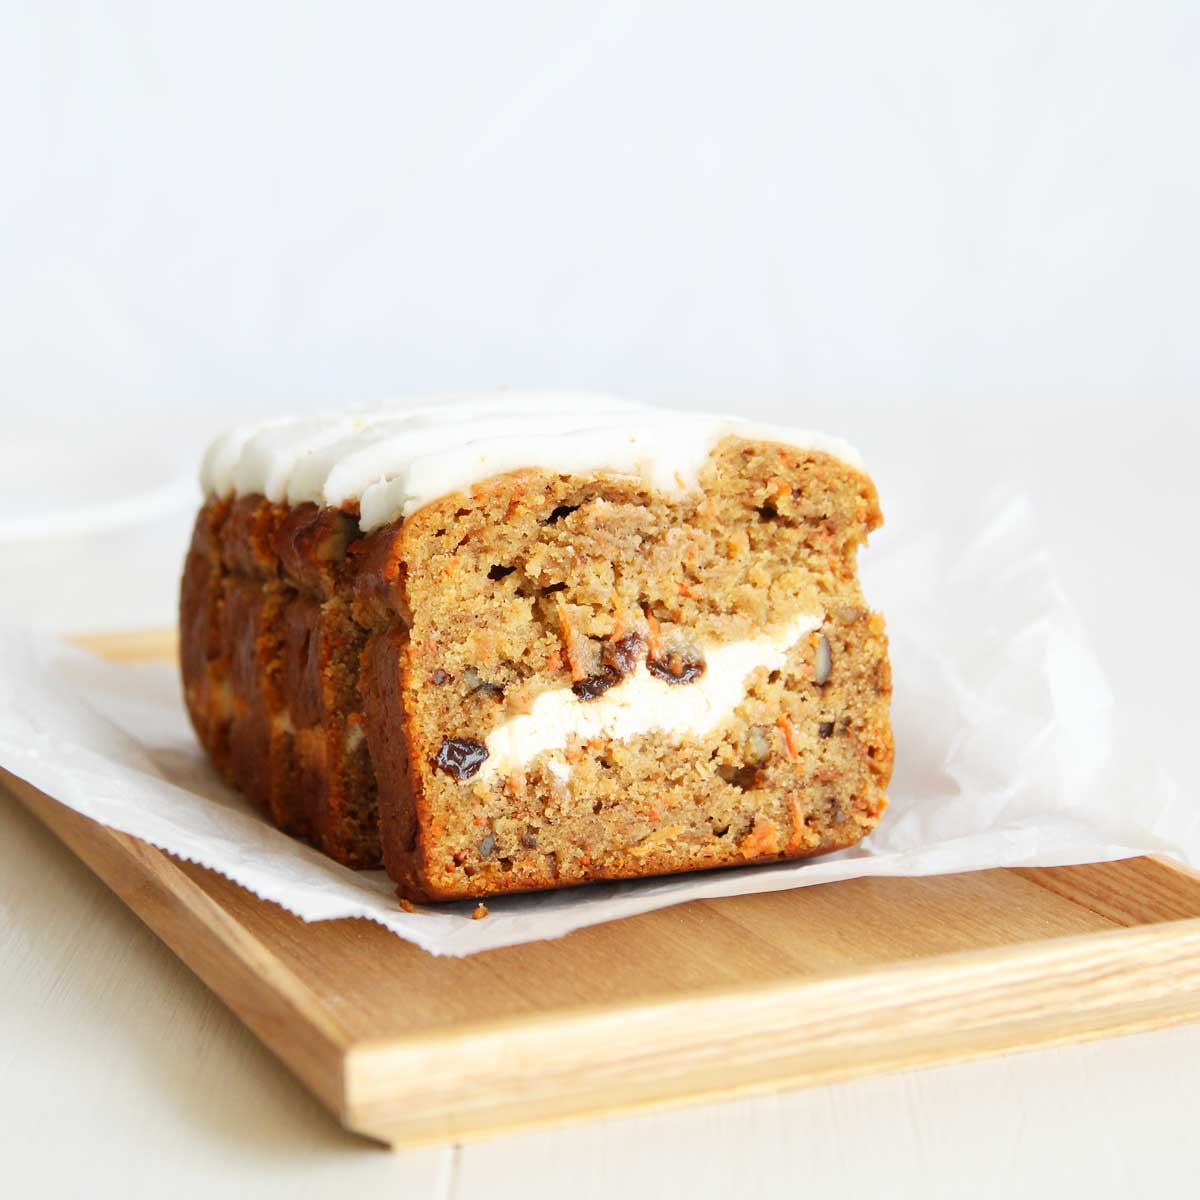
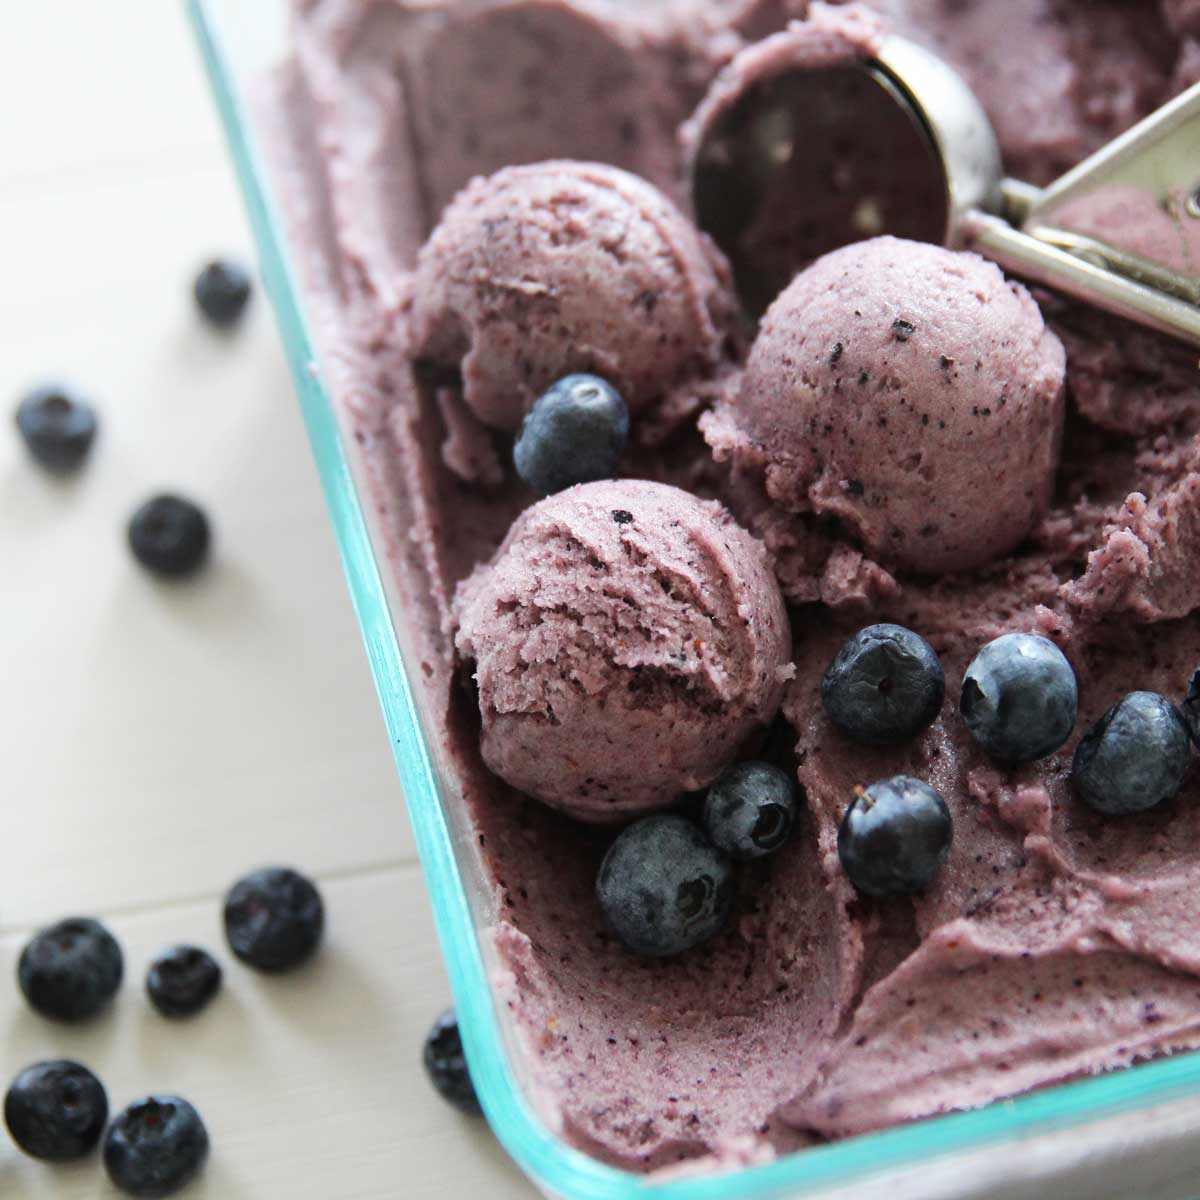
More Banana Recipes (HERE)


How to Make
Chocolate Banana Yeast Bread with Chocolate Chips
STEP 1
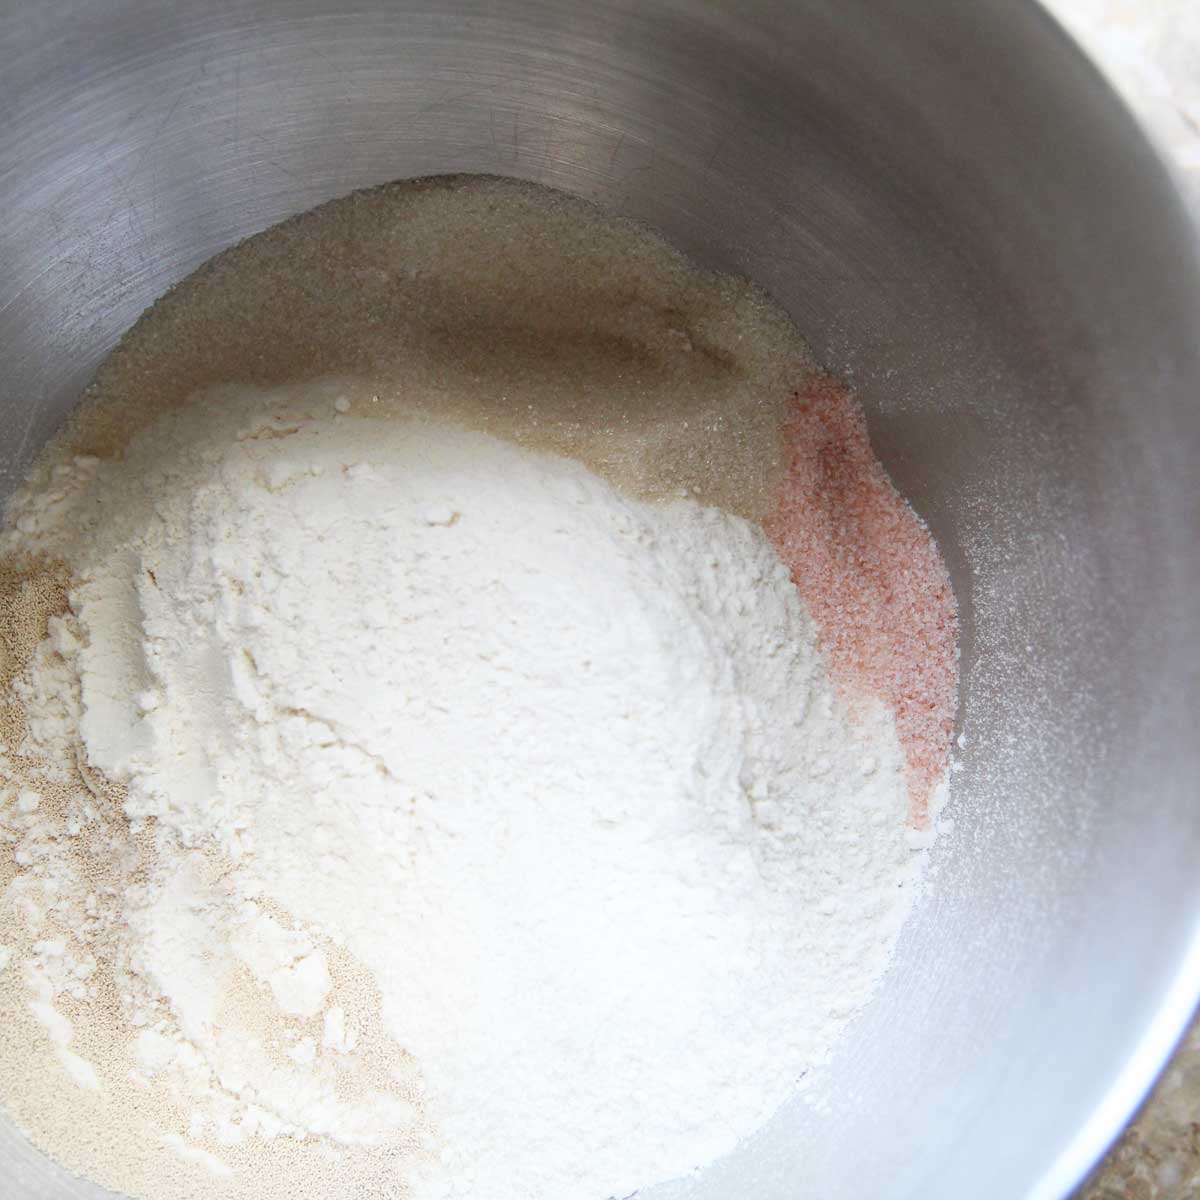
Mix together the flour and yeast into the bowl of the stand mixer. Add sugar, salt and cocoa powder.
STEP 2
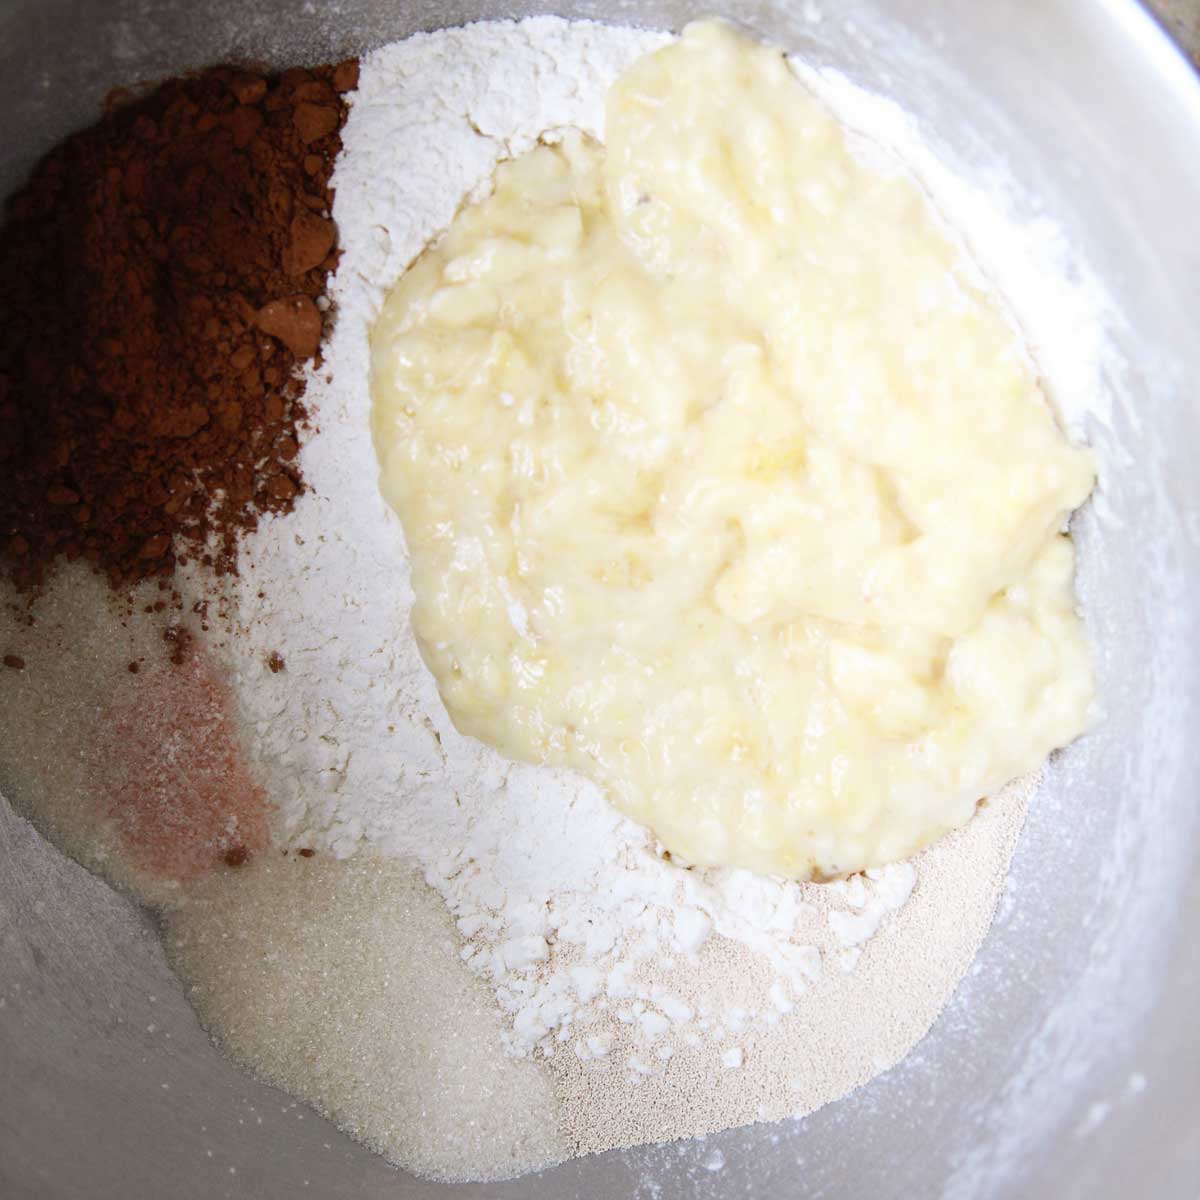
Add the mashed bananas. Start to knead the dough at a low setting (speed 2) for about half a minute.
**note on the pic: I had all the ingredients showing together in a bowl since I was taking photos, but I highly recommend that you mix all the dry ingredients together first BEFORE you add the bananas and water.
STEP 3
Add water a little at a time*, until all the ingredients are just barely combined, with no dry ingredients remaining.
*I used ½ cup of water, but more may be needed depending on the protein content of the flour, the ripeness of the bananas, as well as the humidity and temperature of the kitchen. Add one tablespoon of water at a time, so you don’t overhydrate the dough.
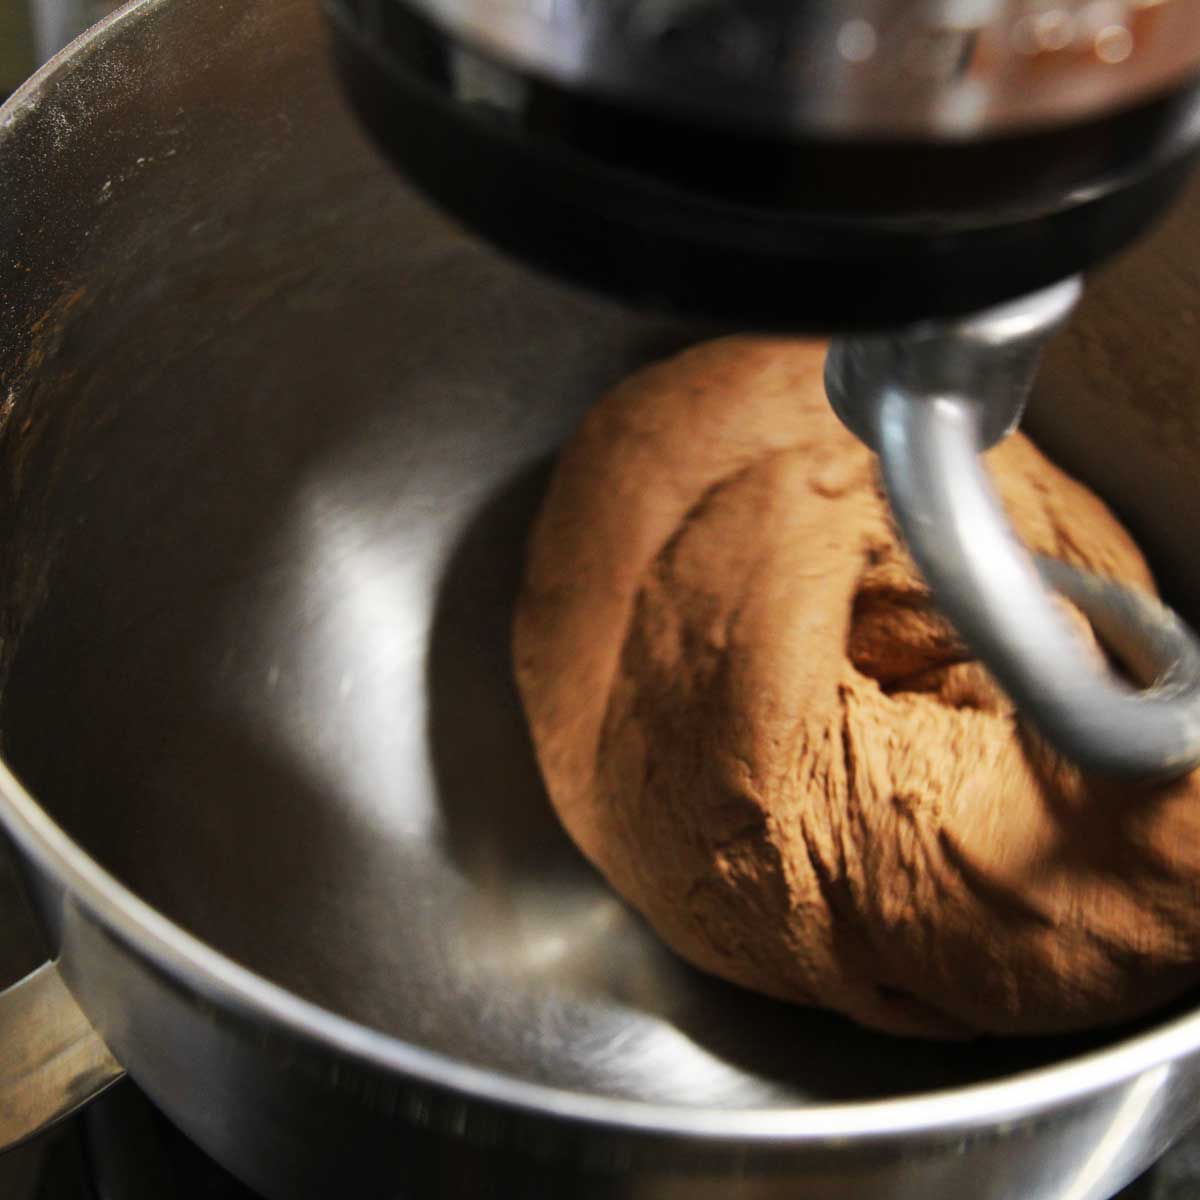
Once there are no dry ingredients in the bowl, you can now add the olive oil, and continue to knead for about 8 to 10 minutes, or until the dough pulls away from the bowl and forms a smooth, supple ball.
STEP 4
Remove the finished dough from the mixer bowl and place it inside a lightly greased bowl.
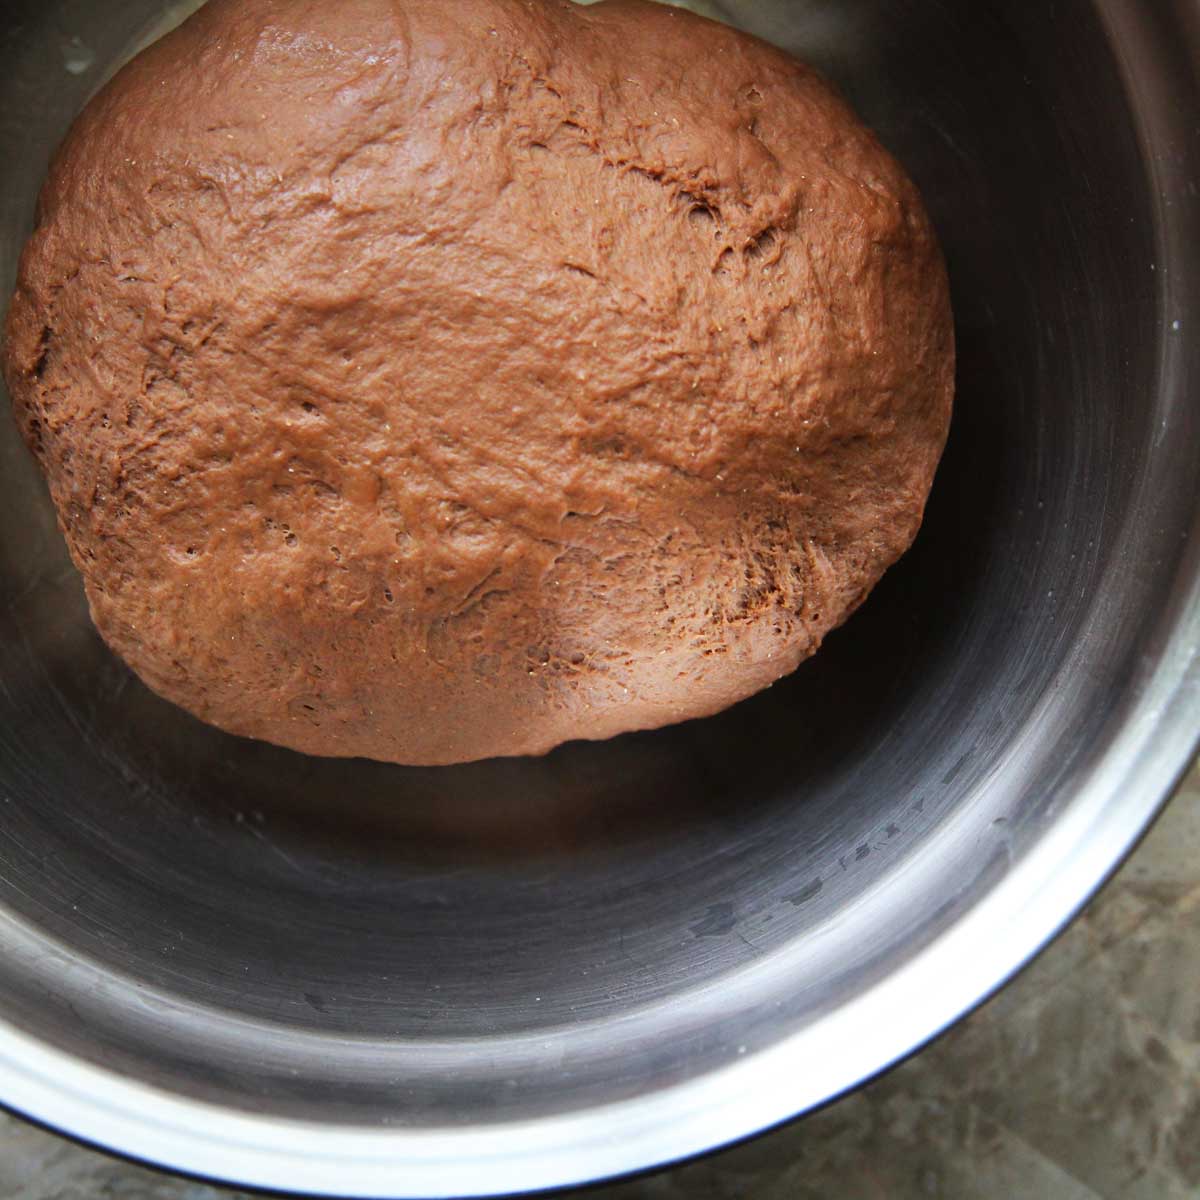
STEP 5
Cover and let rise until doubled, about 60-90 minutes.
***note: It's best if the bowl is put in a warm place, and personally, I prefer using the oven that's been preheated for just a quick 10 seconds and spritzed with some water. The moist and warm conditions are perfect for the yeast bread to rise without it drying out. You can also place a bowl of hot water inside the oven so that the steam helps to maintain the humidity. This is especially useful during the winter months, when the conditions are cold and dry.
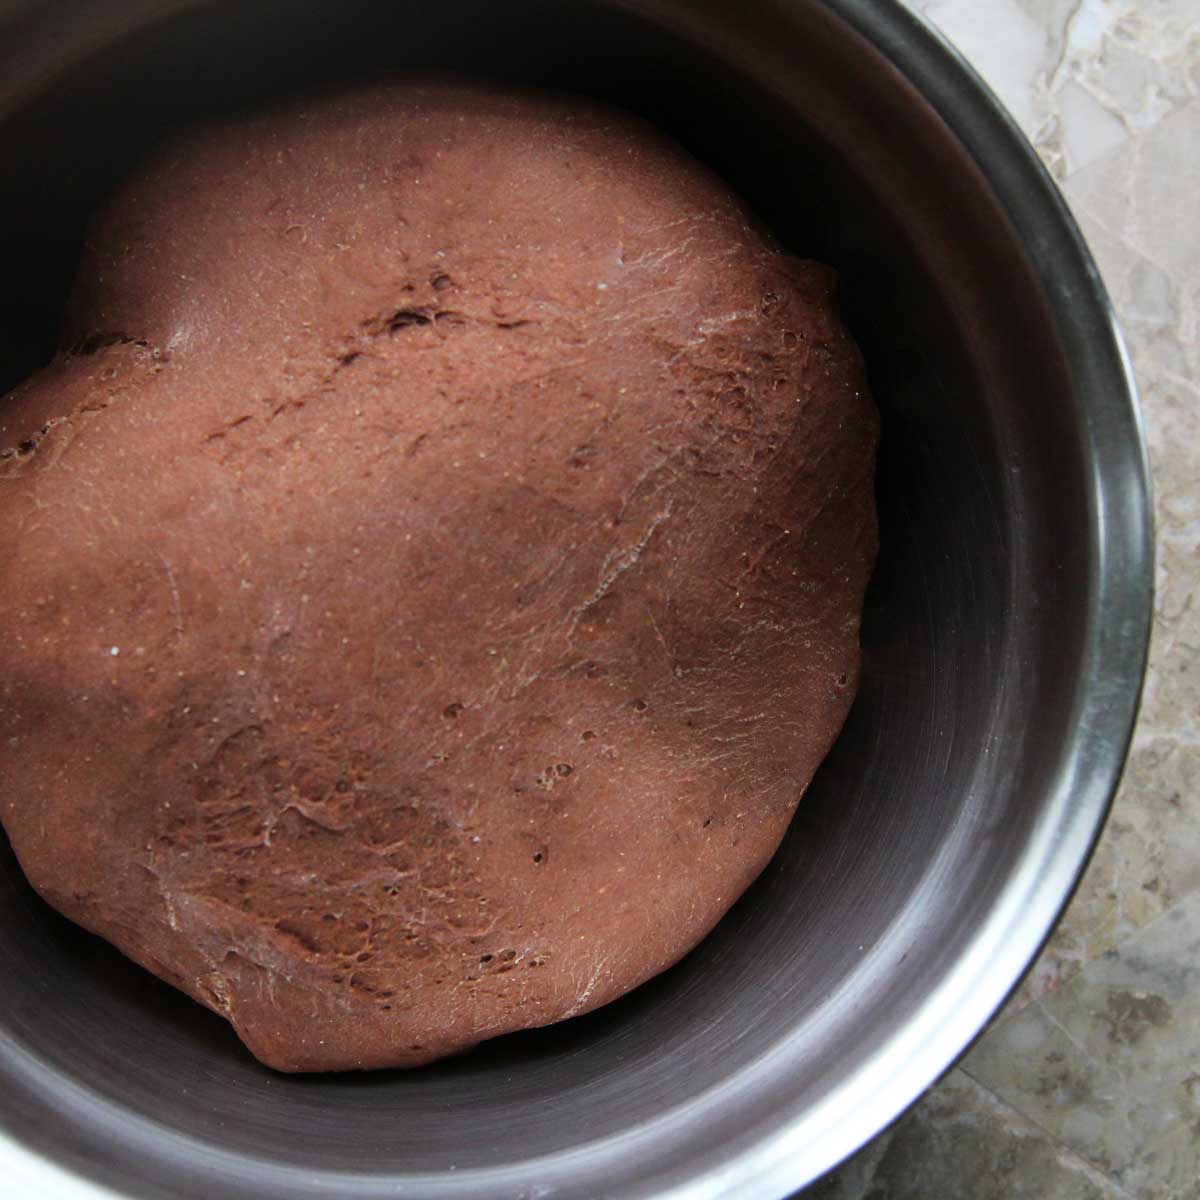
STEP 6
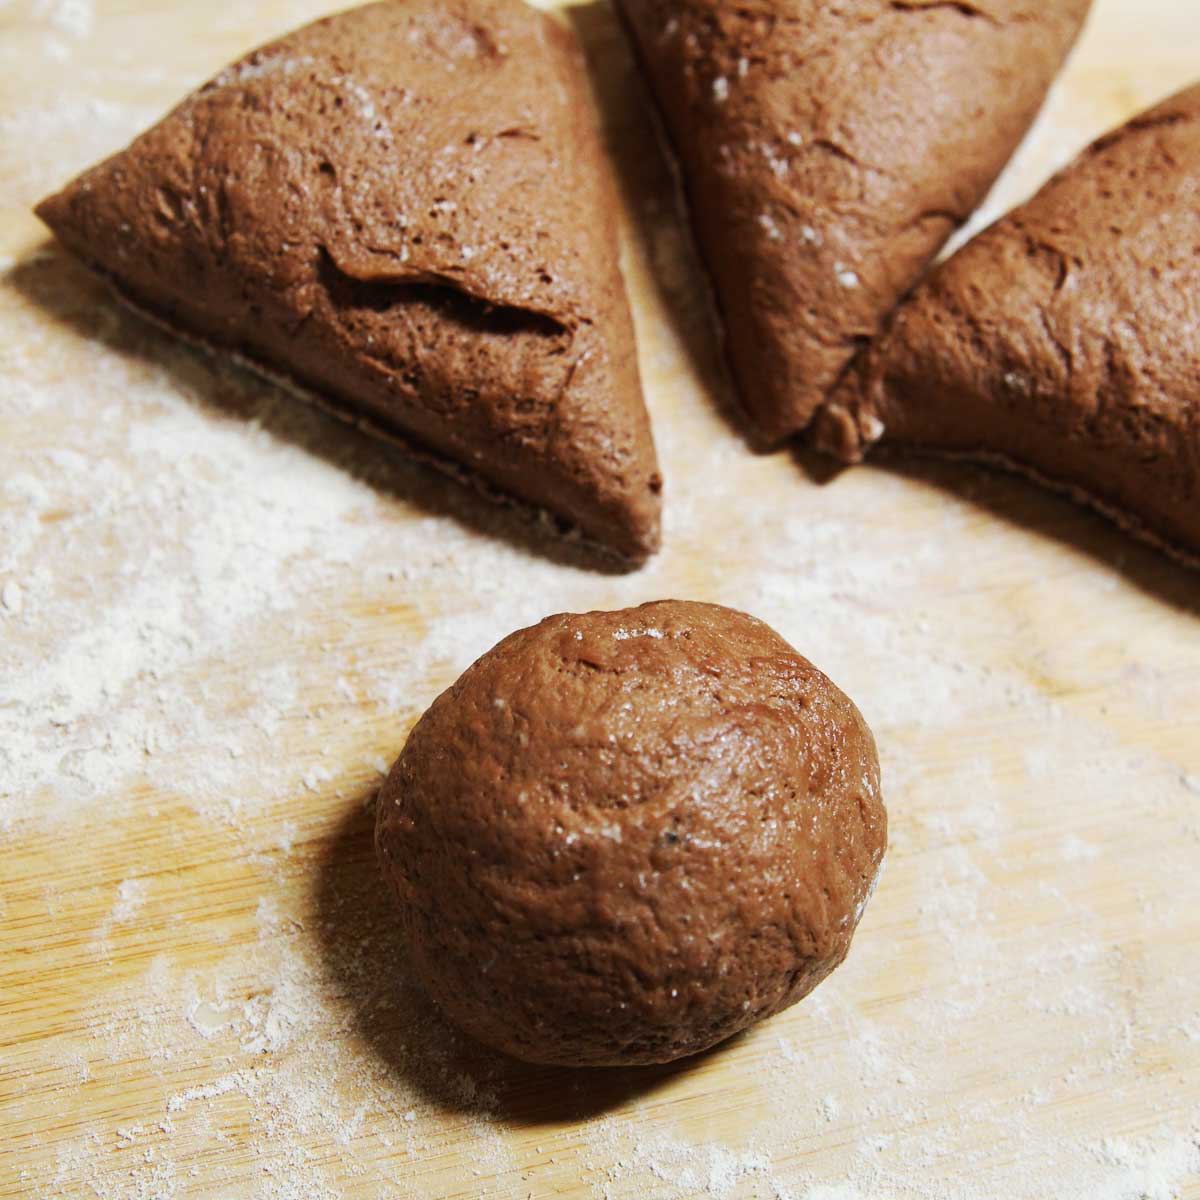
Punch down the dough, then remove dough from bowl. Place on a generously floured surface and divide into 4 equal-sized pieces.
STEP 7
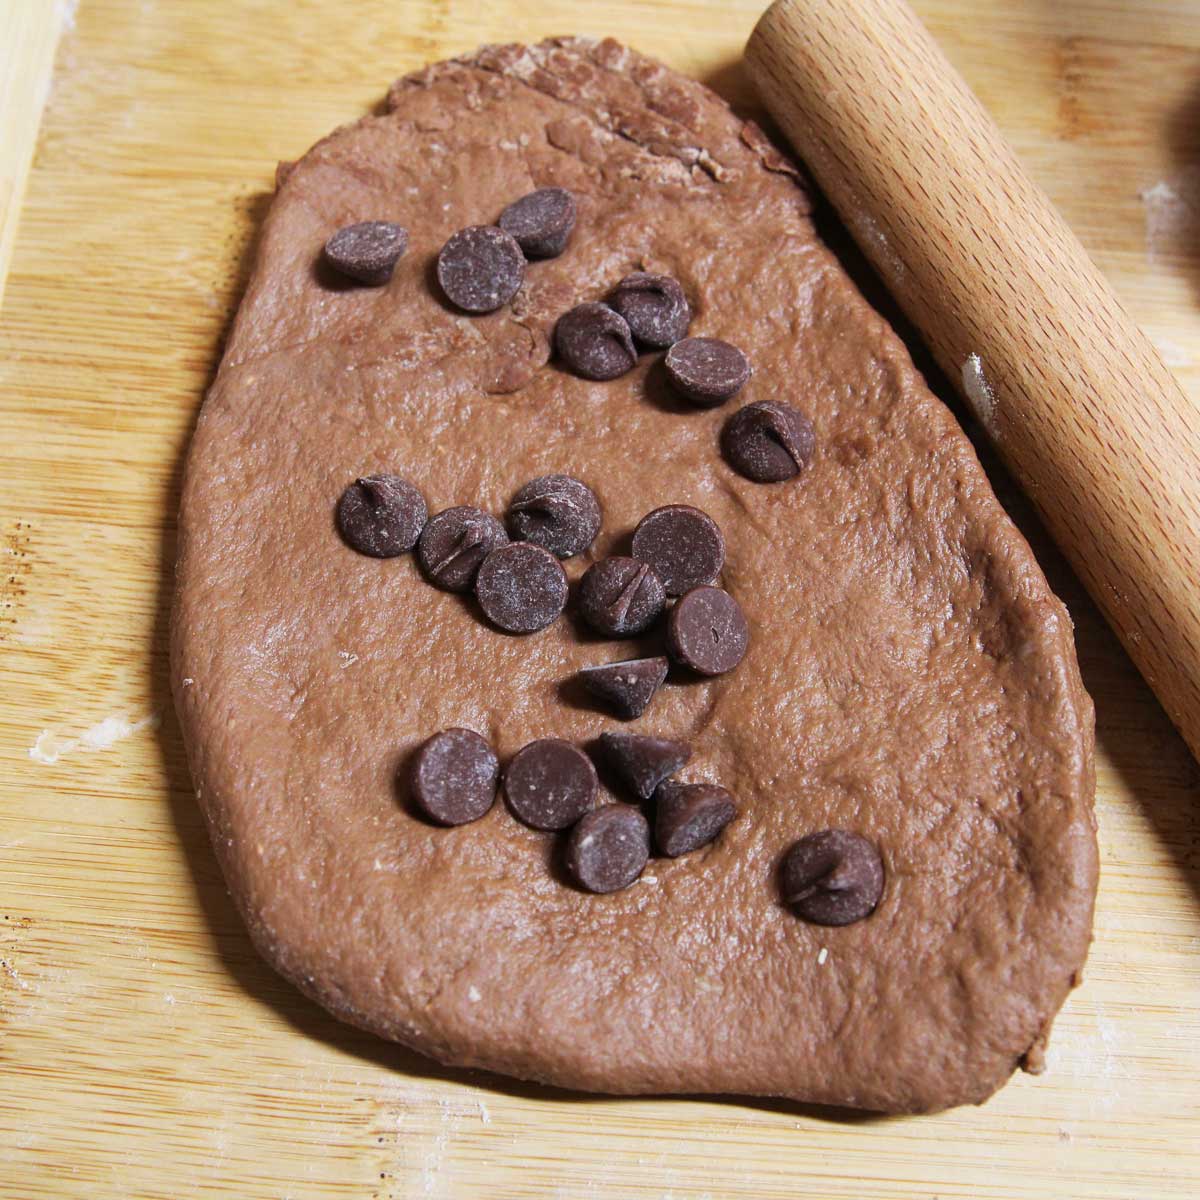
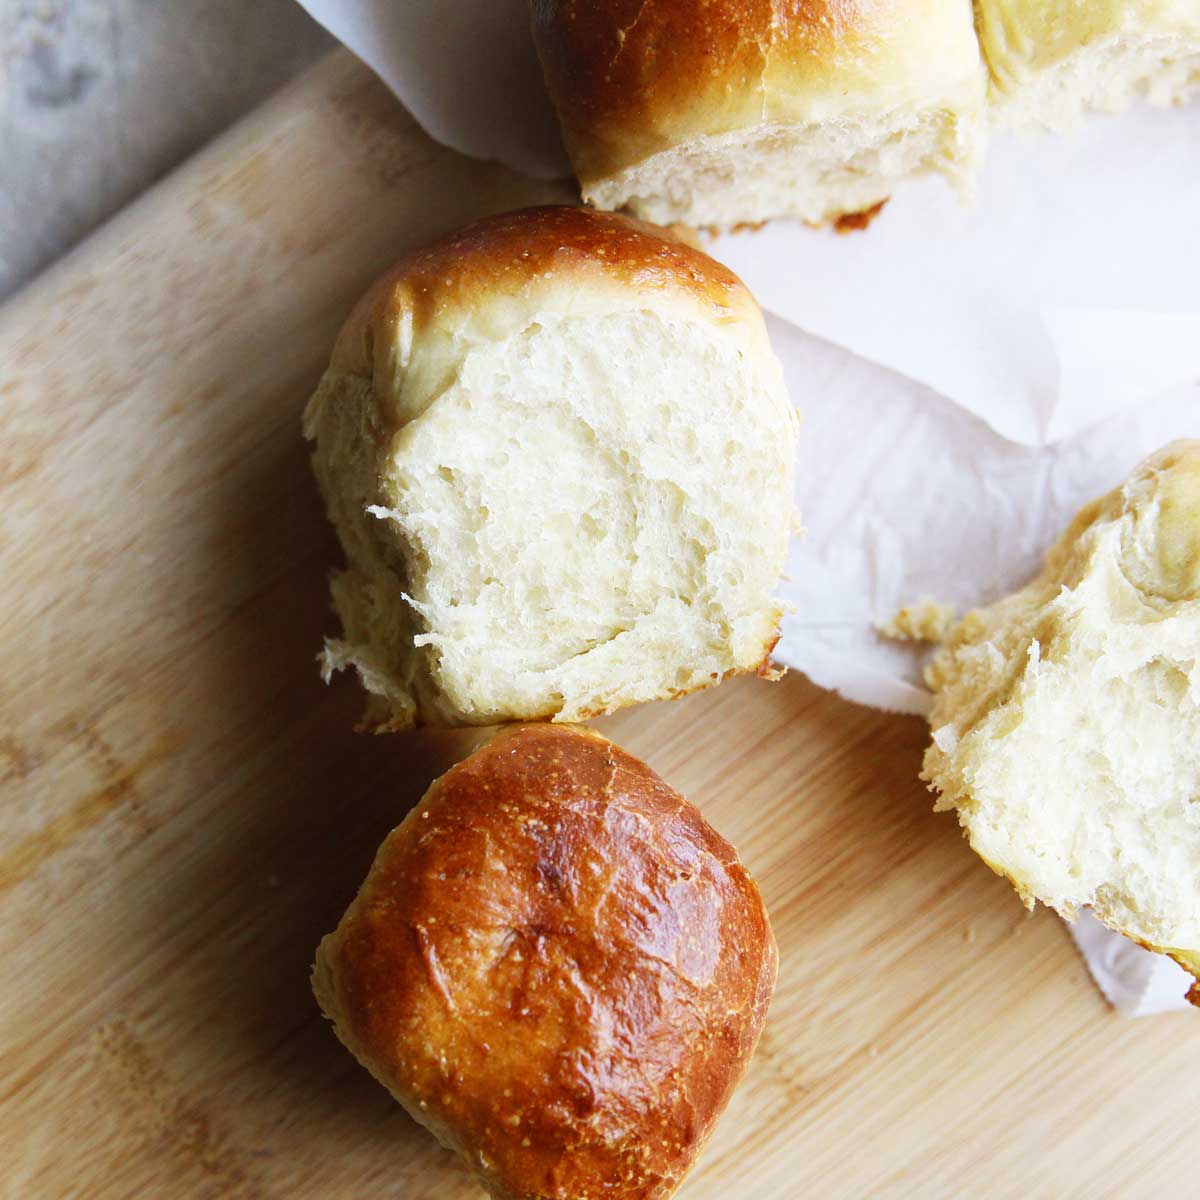
Use a small rolling pin to flatten each piece into a 6 x 9 inch rectangles, stuff with chocolate chips, then fold into thirds. Starting from the long side, roll the dough tightly into a tight cylinder (like a sushi roll or cinnamon roll). Pinch the ends to seal. Repeat with the other 3 pieces and place in a well oiled bread pan.
STEP 8
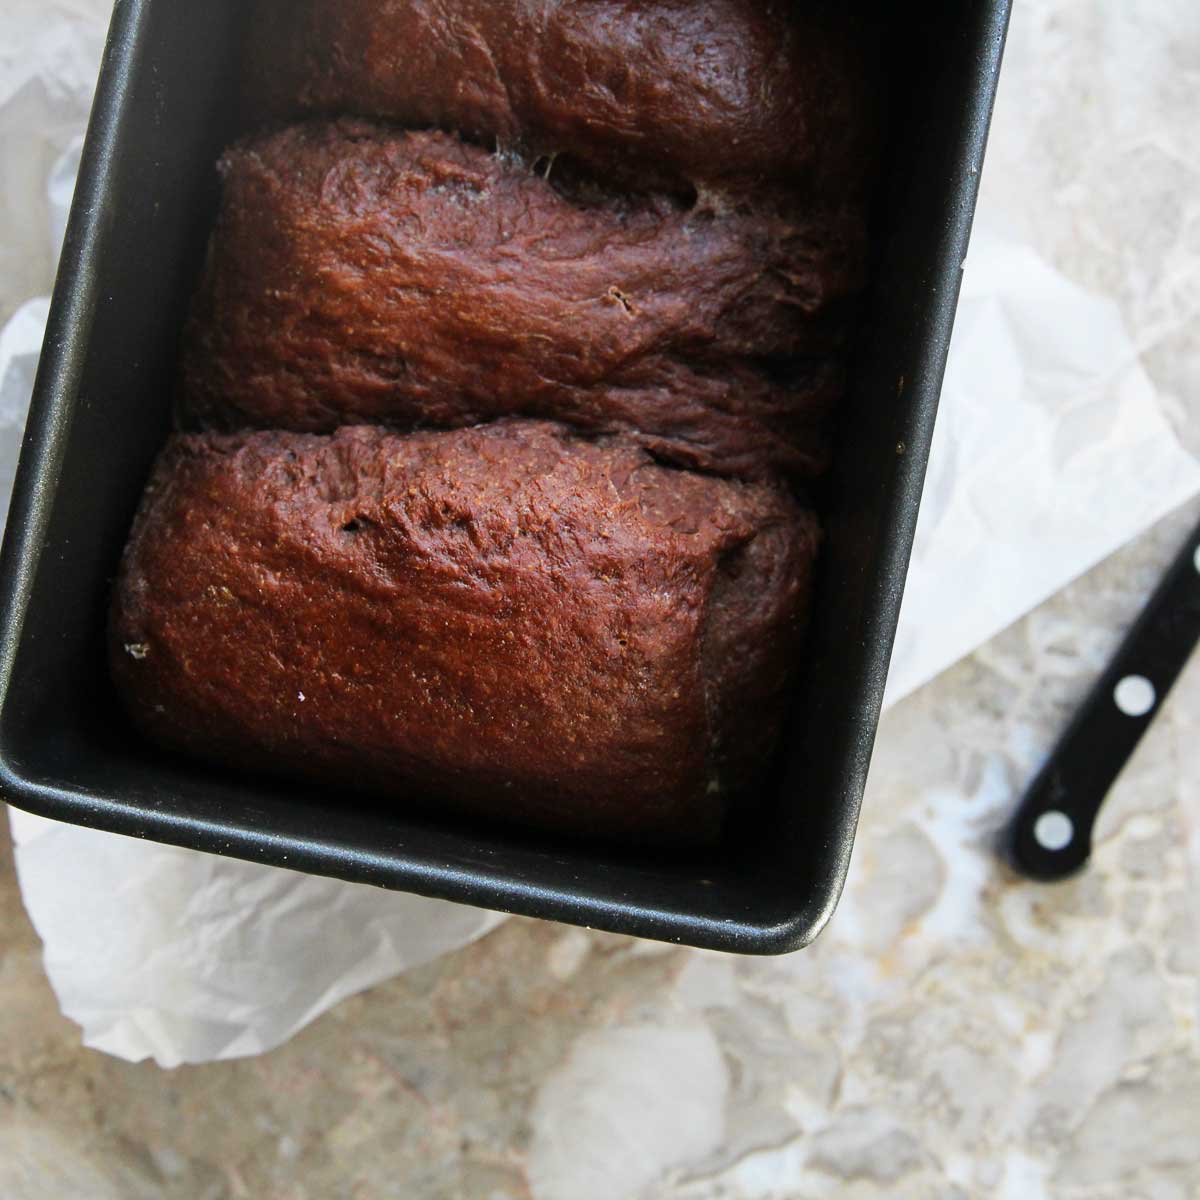
Let the dough rise again for 40-60 minutes until puffy. Toward the end of the rise time, preheat the oven to 350F / 180C.
Bake the bread for 15 minutes, then cover / tent the bread with aluminum foil to prevent over-browning, and bake an additional 10 to 15 minutes, or until the interior of the bread reaches 190°F.
STEP 9

Take the bread out of the oven, turn it out on a rack, and cool it slightly before slicing.
STEP 10
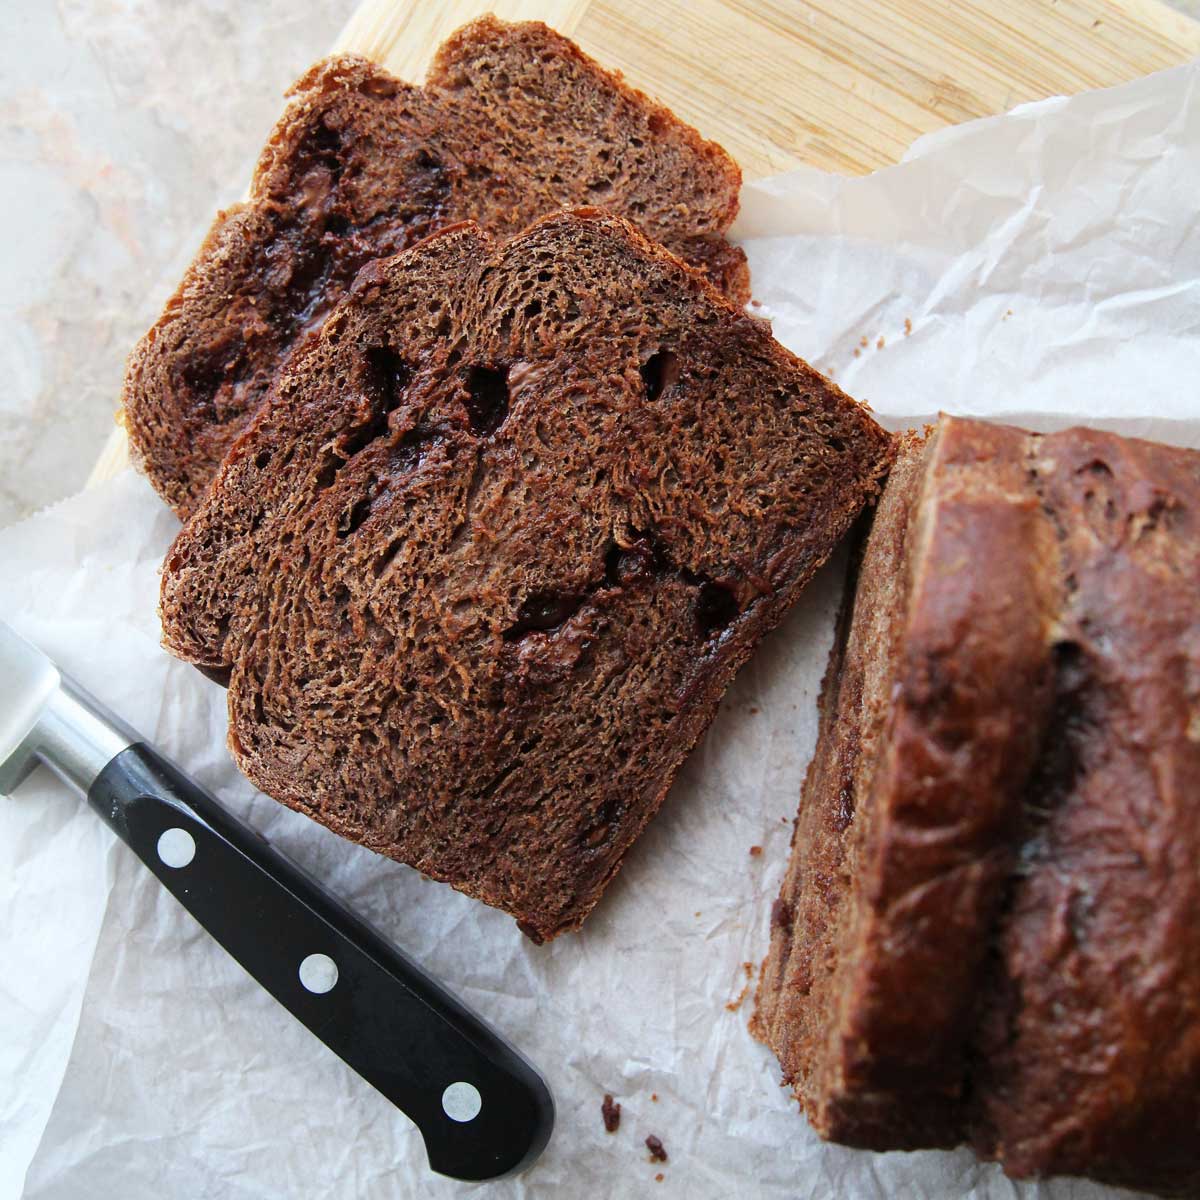
Enjoy!
Recipe Variations and Optional Add Ins:
I made this bread recipe as basic and neutral flavored as possible so that people can customize it to fit their own tastes. Here are some awesome ways you can make this bread your own 🙂
- Add more flavor! If you want a sweeter version, you can add an additional 3 Tablespoons of sugar (or healthier alternatives like coconut sugar), then some flavorings like cinnamon powder or cocoa powder.
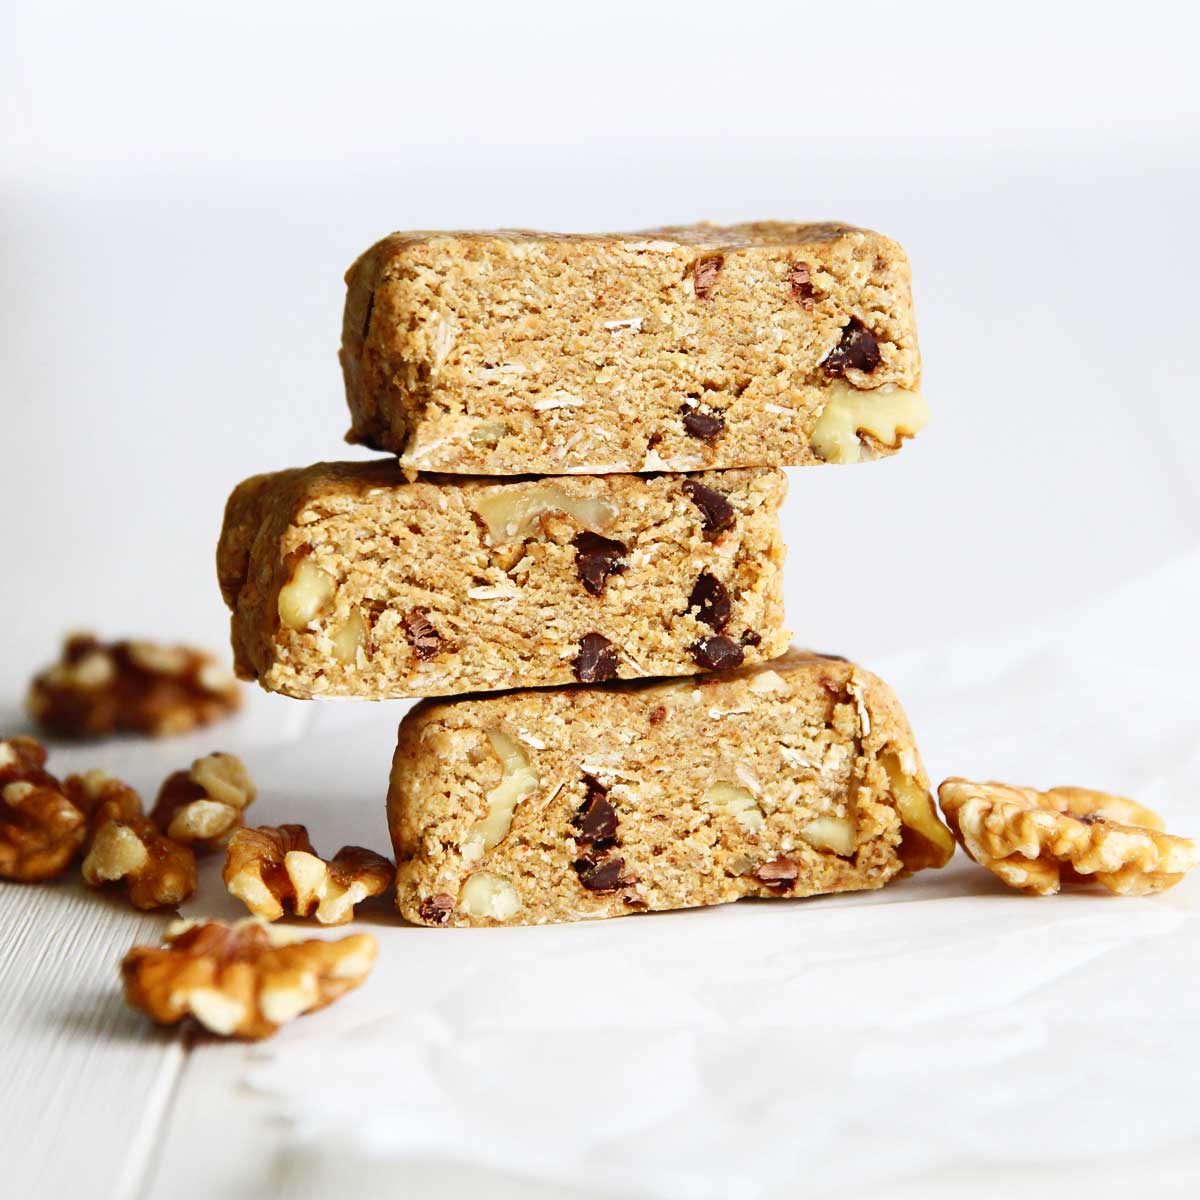
- Add more texture! Adding chopped nuts, seeds, or dried fruits or oats is a fantastic way to increase the nutrition and flavor in breads. If you're feeling indulgent, you can also add chocolate chips.
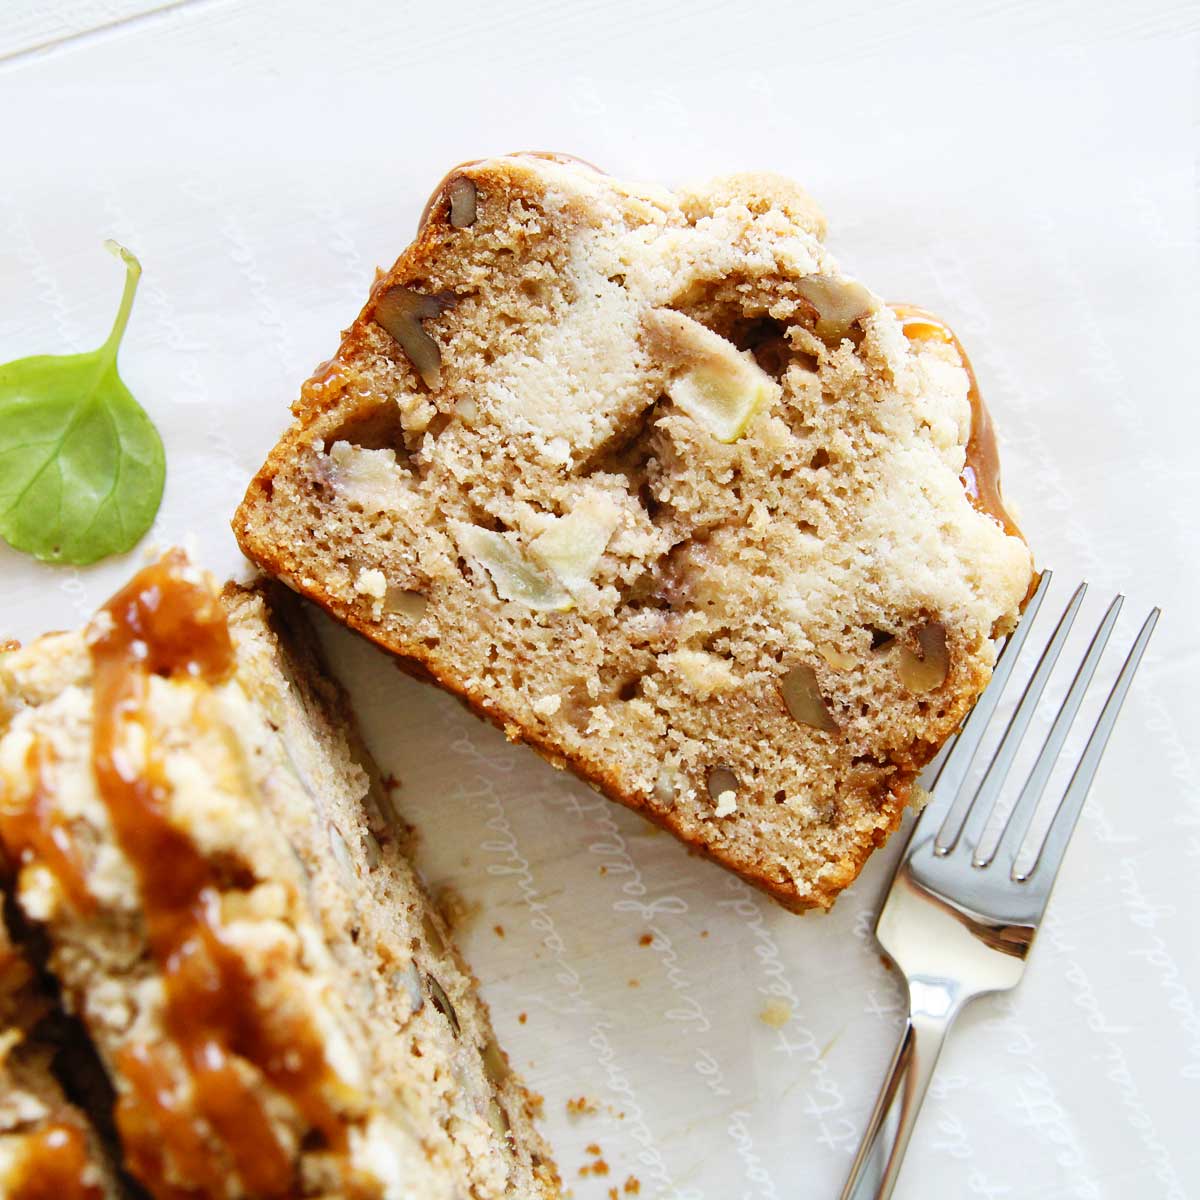
- Turn them into rolls or "cinnamon rolls" - instead of baking this recipe in a loaf pan, divide the dough into 12 pieces, shape them into rolls. You'll have to adjust the baking time (about 15 minutes for the batch).

How to Make this Banana Yeast Bread Recipe Healthier
- Leave out the chocolate chips. It's still chocolatey and has plenty of flavor!
- Make this even healthier by adding a handful of nuts, seeds and old-fashioned oats to add texture and nutrition. Here are some ideas
- Nuts - chopped walnuts, pecans, cashews
- Seeds - poppy seeds, pumpkin seeds, sunflower seeds, sesame seeds, flaxseeds or chiaseeds
- Dried Fruit - chopped apricot, raisins, cranberries, dried cherries, candied ginger, citrus zests, etc.
- Want to add more fiber? Substitute white whole wheat flour for up to half of the bread flour called for in this recipe. You'll need to add a few more tablespoons of water to adjust the hydration since whole wheat flour absorbs more water than white flour.
Note on Substitutions
- Unfortunately, gluten-free flours cannot be substituted for bread flour in this recipe.
- While bread flour is highly recommended, all-purpose flour can be used instead with 1 tsp of vital wheat gluten for every cup of flour.
- Liquid sweeteners such as maple syrup, honey or molasses can replace all of the sugar in this recipe, but it makes the dough softer and more difficult to handle since it contributes additional moisture. Increase flour by 1-2 Tablespoons to adjust.
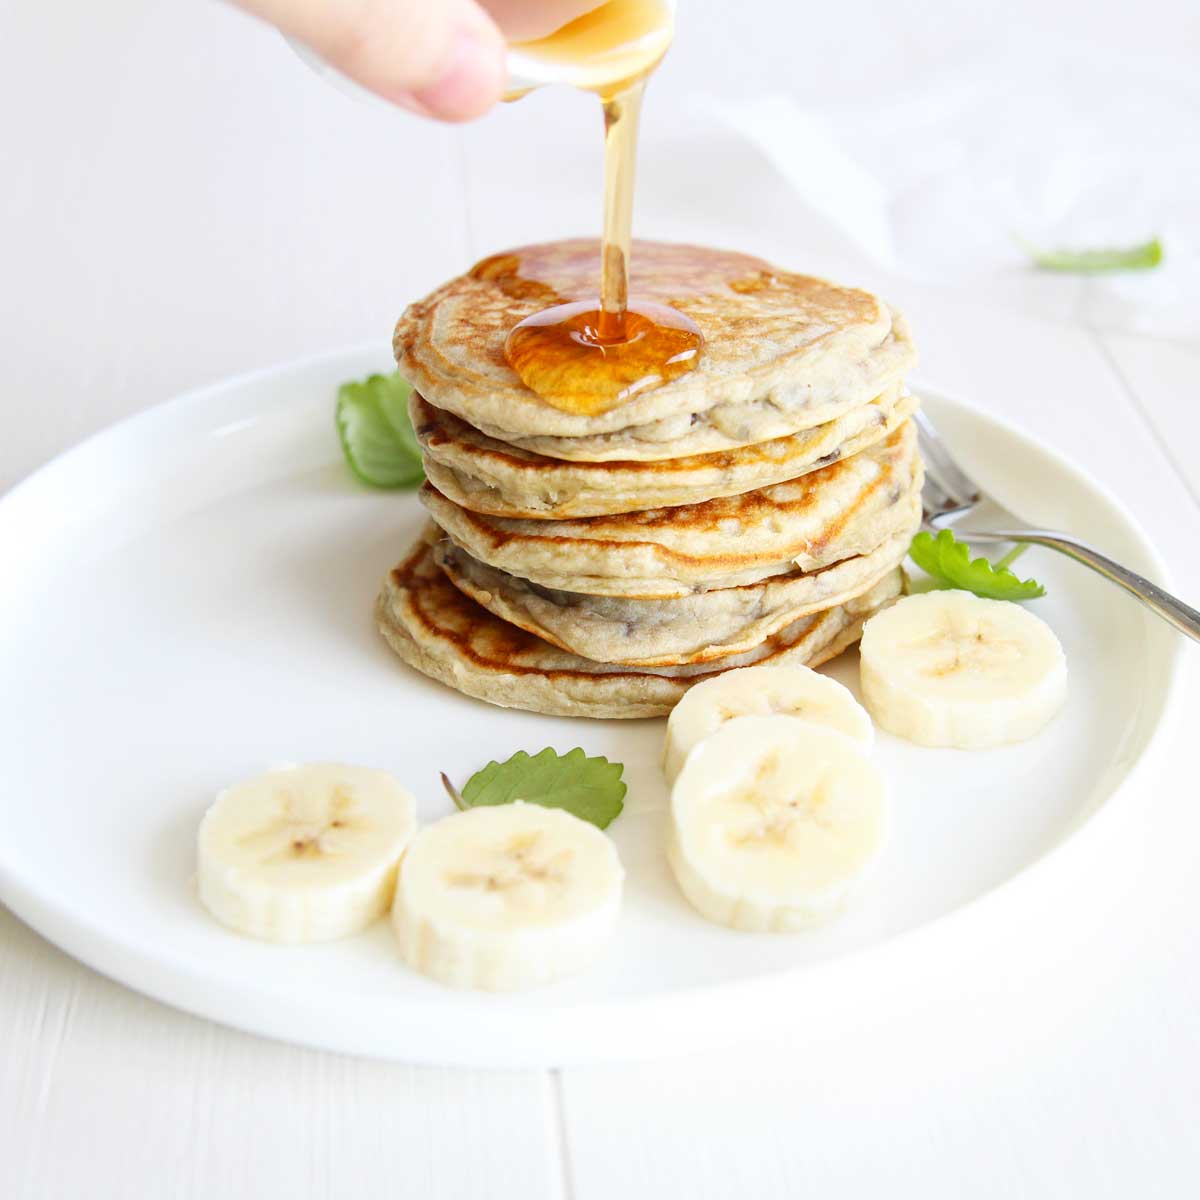
What are some ways you can eat and serve this Yeasted Banana Bread?
- Plain and warm, right out of the oven
- Toasted the next day, served with jam, marmalade, honey or butter
- Sliced and use for any sandwich.
- And if you do get any leftovers or stale bread left, use it for french toasts or grilled cheese.
More Bread Recipes (HERE)


How to Store
- You can store this bread loaf, well wrapped, at room temperature for up to 3-4 days.
- For longer storage, you can place them in a plastic freezer bag or airtight container and freeze up to 3 months, then defrost them at room temperature or microwave before eating.
Final Tips
- Weigh your flour for the best results. 1 cup of bread flour = 120 grams / 4.23 oz. This is recommended since scooping the flour directly from the bag can can pack the flour into the measuring cup, and this means you'll end up with more flour than what's called for in the recipe. If you don't have a kitchen scale, you can measure the flour by spooning pre-sifted flour into the measuring cup, then using the straight end of the spoon to level the flour across the top to sweep off the excess.
- Baking time (as well as serving size) will vary based on the size of your baking pan, the material (silicone vs metal) of the pan. If you're not sure whether the bread is ready, you can insert a quick read thermometer into the bread - a finished loaf will register 190 F (or 88 C).
- To make this recipe in the bread machine: add all the dry ingredients into the machine, stir briefly before adding the wet ingredients. The machine can be set for basic. Check the dough for consistency and adjust by adding additional water (or flour) before the end of the first kneading cycle. If you want to add additional nuts or dried fruits, leave them aside, and only them 3 minutes before the end of the second kneading cycle.

Chocolate Banana Yeast Bread
Equipment
- 9 x 5 inch bread pan
Ingredients
- 4 cups bread flour (480 g) sifted and leveled*
- 2 tsp instant yeast
- 3 Tbsp sugar**
- 1 ½ tsp salt
- ¼ cup cocoa powder
- 1 ⅔ cups mashed bananas about 3 medium
- ½ cup water , room temperature or warm
- 2 Tbsp light olive oil melted coconut oil or avocado oil
Add ins (optional)
Instructions
- Add the flour and yeast into the the bowl of the stand mixer. Add sugar, salt and cocoa powder
- Add the mashed bananas and water next.
- Start to knead the dough at a low setting (speed 2) for about half a minute.
- Add water a little at a time*, until all the ingredients are just barely combined, with no dry ingredients remaining.*I used ½ cup of water, but more or less may be needed depending on the protein content of the flour, the water content in the bananas, as well as the humidity and temperature of the kitchen. Once the dough starts to combine, add one tablespoon of water at a time, so you don’t overhydrate the dough.
- Add the olive oil and continue to knead until the dough pulls away from the bowl and forms a smooth, supple ball, about 8-10 minutes.
- Remove the finished dough from the mixer bowl and place in a lightly greased bowl.
- Cover and let rise until doubled, about 60-90 minutes***
- Punch down the dough, then remove from bowl. Place on a generously floured surface and divide into 4 equal sized pieces.
- Use a small rolling pin to flatten each piece into a 6 x 9 inch rectangle, and fold into thirds. Starting from the long side, roll the dough tightly into a tight cylinder (like a sushi roll or cinnamon roll). Pinch the ends to seal. Repeat with the other 3 pieces and place in a well oiled bread pan.
- Let the dough rise again for 40-60 minutes until puffy. Toward the end of the rise time, preheat the oven to 350F / 180C
- Optional: To add some color and shine to the bread as it bakes, gently brush the tops of the bread with 1 Tbsp of non-dairy milk mixed with 1 Tbsp of maple syrup. (Regular milk or egg wash also works).
- Bake the bread for 15 minutes, then cover / tent the bread with aluminum foil, and bake an additional 10 to 15 minutes, or until the interior of the bread reaches 190°F.
- Take the bread out of the oven, turn it out on a rack, and cool it slightly before slicing.
- You can store this bread loaf, well wrapped, at room temperature for up to 3-4 days. For longer storage, you can place them in a plastic freezer bag or airtight container and freeze up to 3 months, then defrost them at room temperature or microwave before eating.


Leave a Reply