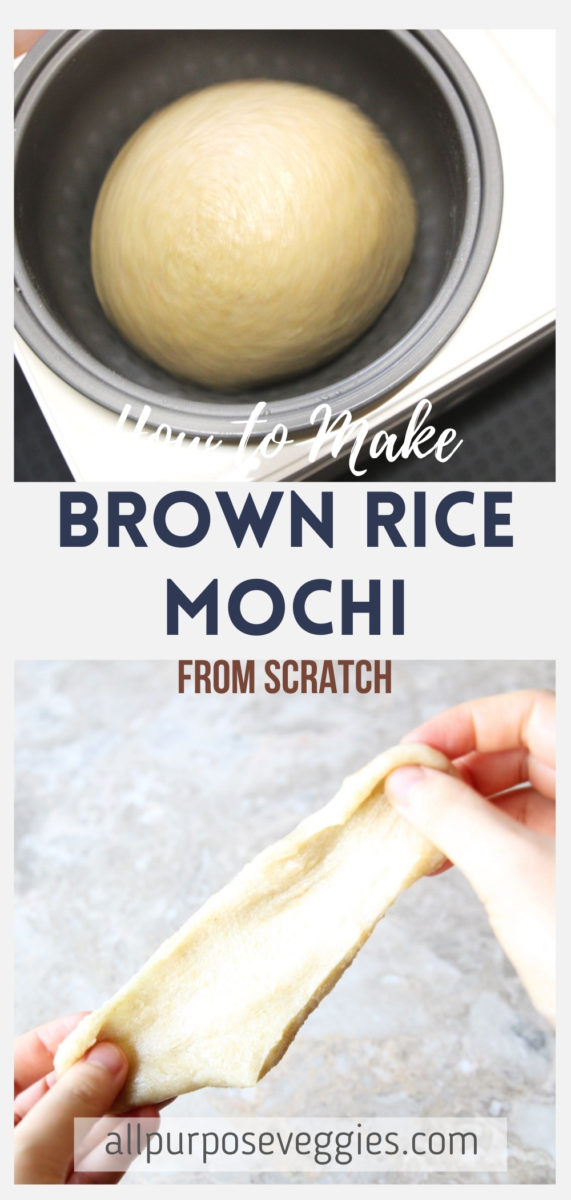
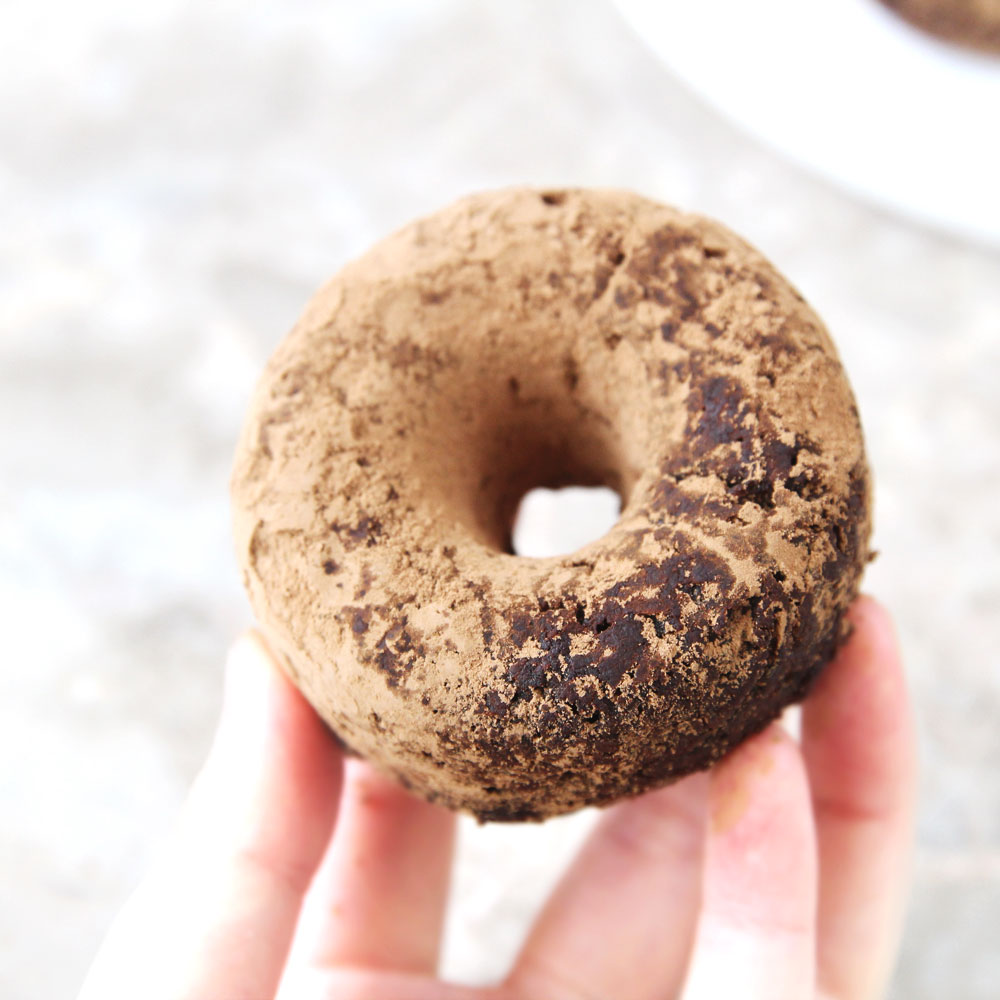
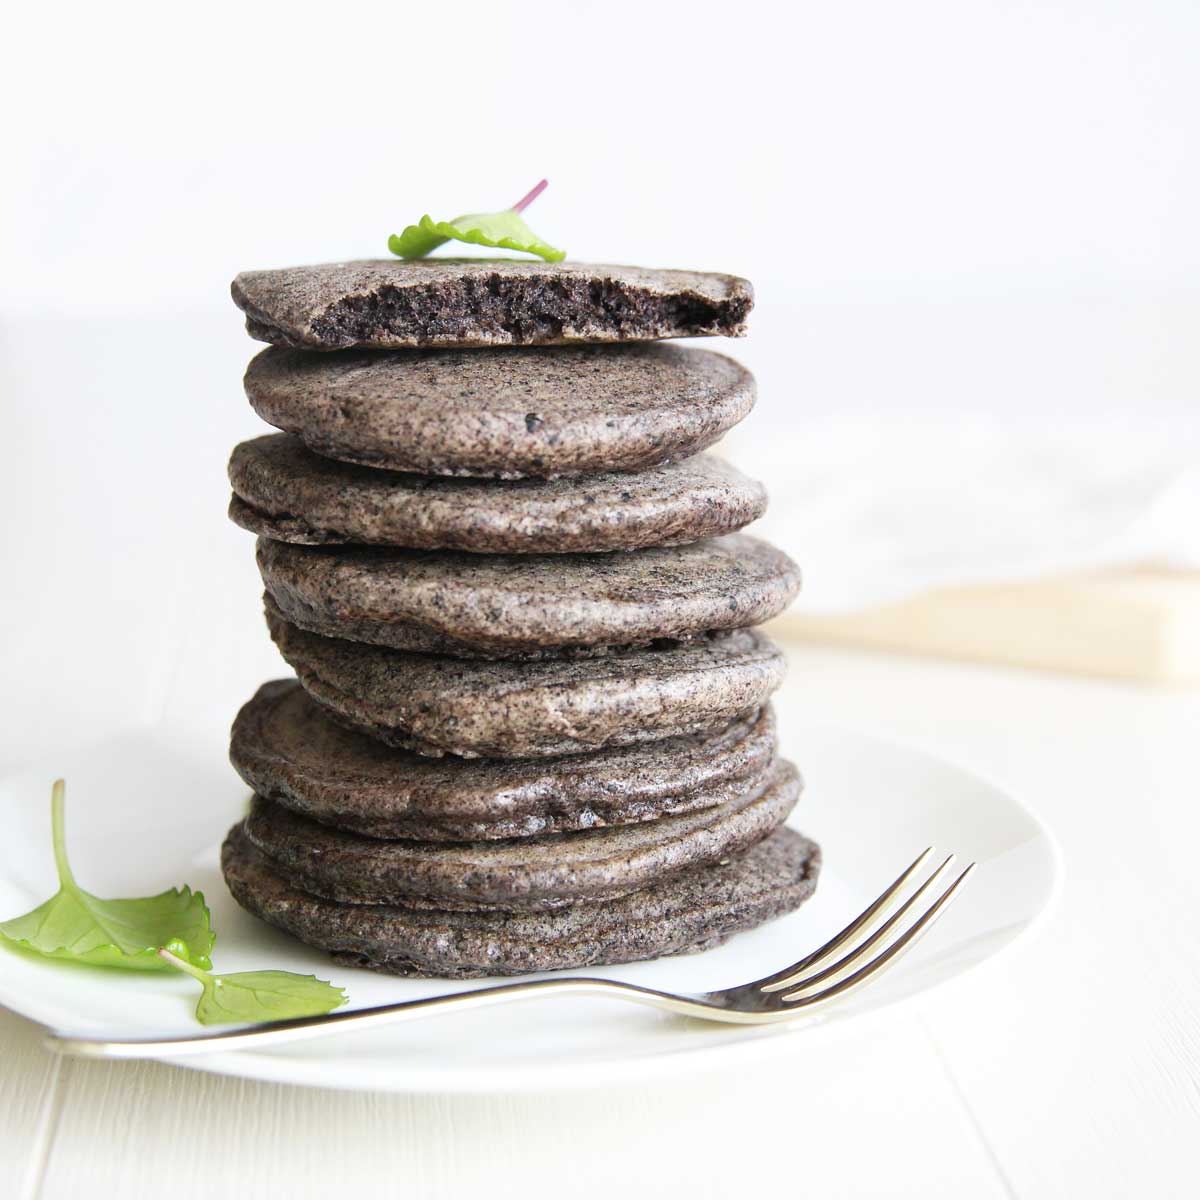
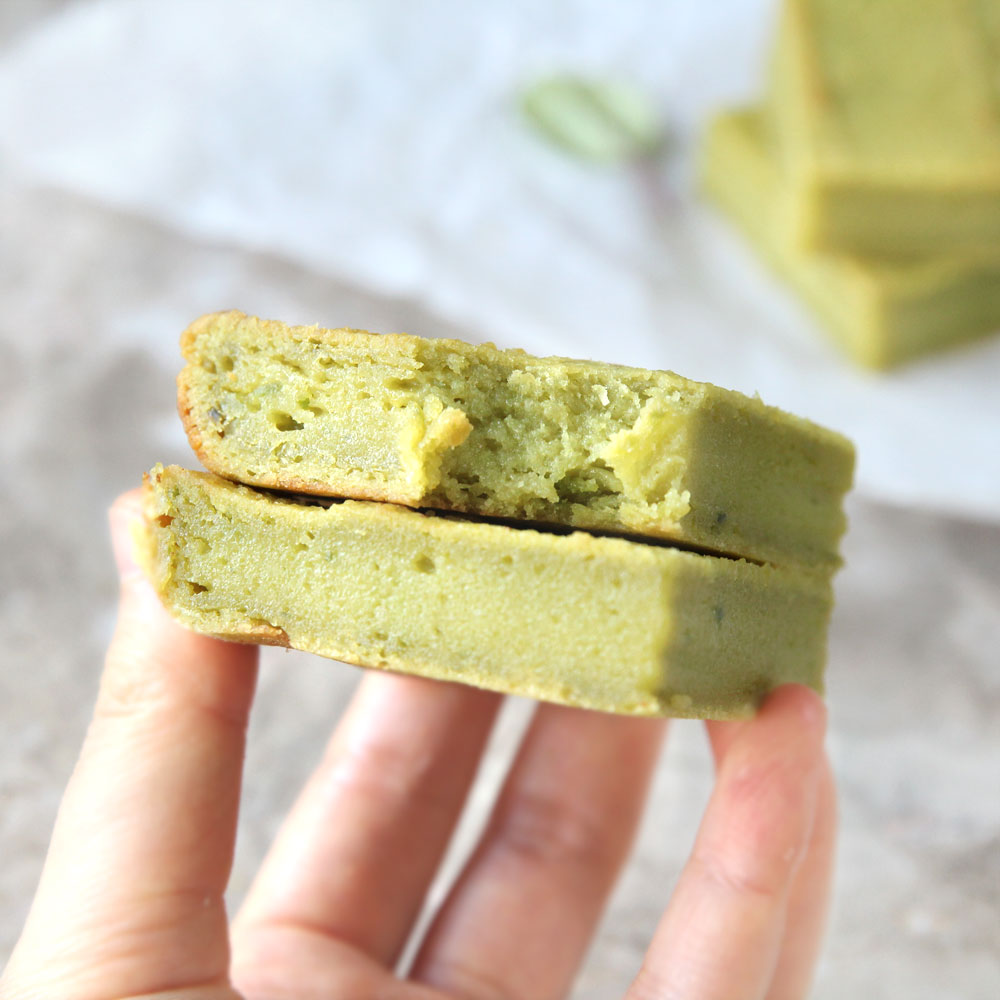
Did you know you can also make mochi using BROWN rice? Here's how my family makes healthy, WHOLE GRAIN brown rice mochi from scratch using a mochi maker. Please note sweet brown rice mochi is prepared DIFFERENTLY from sweet white rice (refer to this post here)!
Ingredients & Equipment
**I’ve linked some of these ingredients and equipment to amazon.com to give you an idea of what they are, but you should also be able to find them in your local grocery store (usually, the natural & organic food section). They are also affiliate links, which means that I earn a commission as an Amazon Associate if you decide to purchase the items. The price will be the same for you, link or no link 🙂
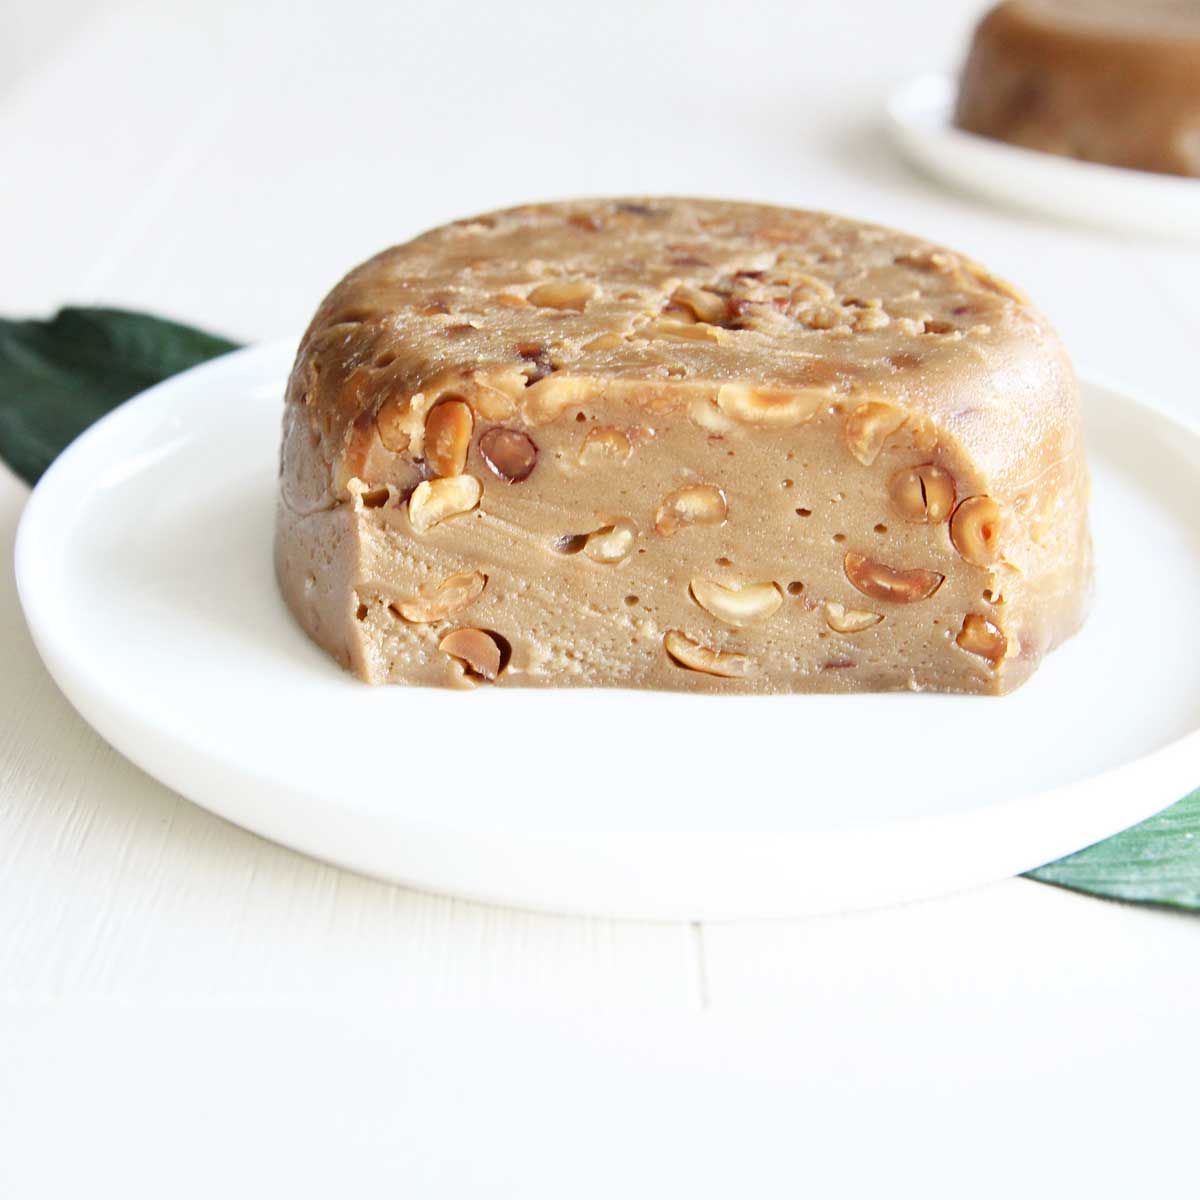
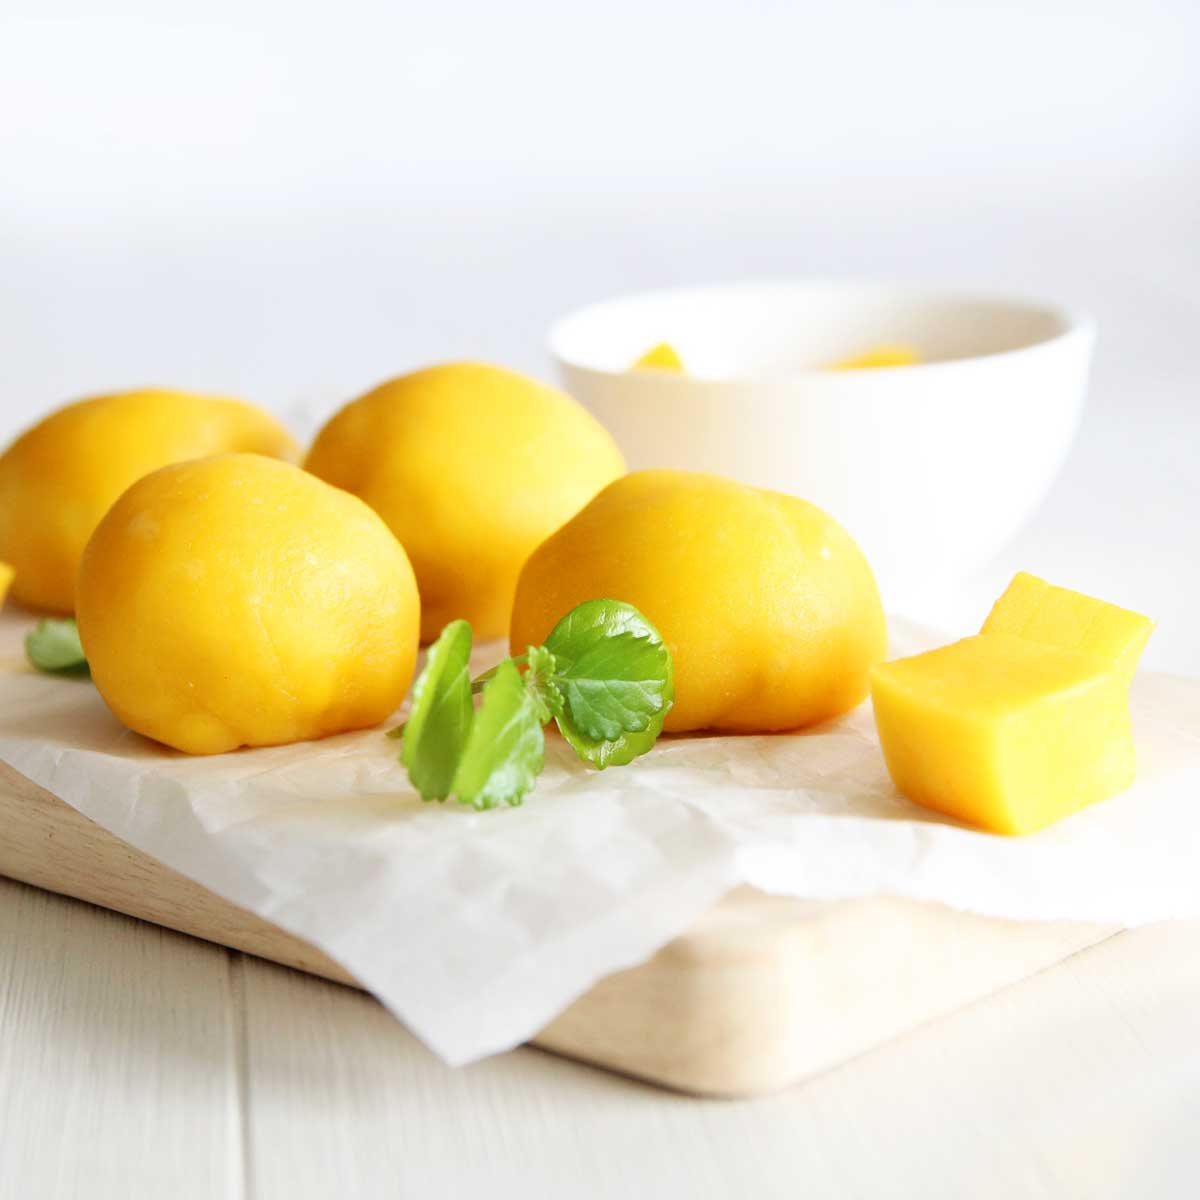
- Glutinous Brown Rice (also called sweet brown rice) – glutinous rice is different from regular rice in that it has a sticky, supple, chewy texture when cooked. When steamed and pounded, it becomes the “mochi” or “sweet rice cake” (as we Koreans call it) that is popularly sold in East Asian dessert shops or stores. Here are some brands of Glutinous Brown Rice that do work: here and here. You can also use Glutinous White Rice or Sweet White Rice (on separate post).
Do PLEASE note that the results will BE VERY DIFFERENT AND NOT THE SAME when using regular brown, long, medium, short grain or sushi rice. So double-check and make sure you’re using Glutinous or Sweet Brown Rice when making mochi.
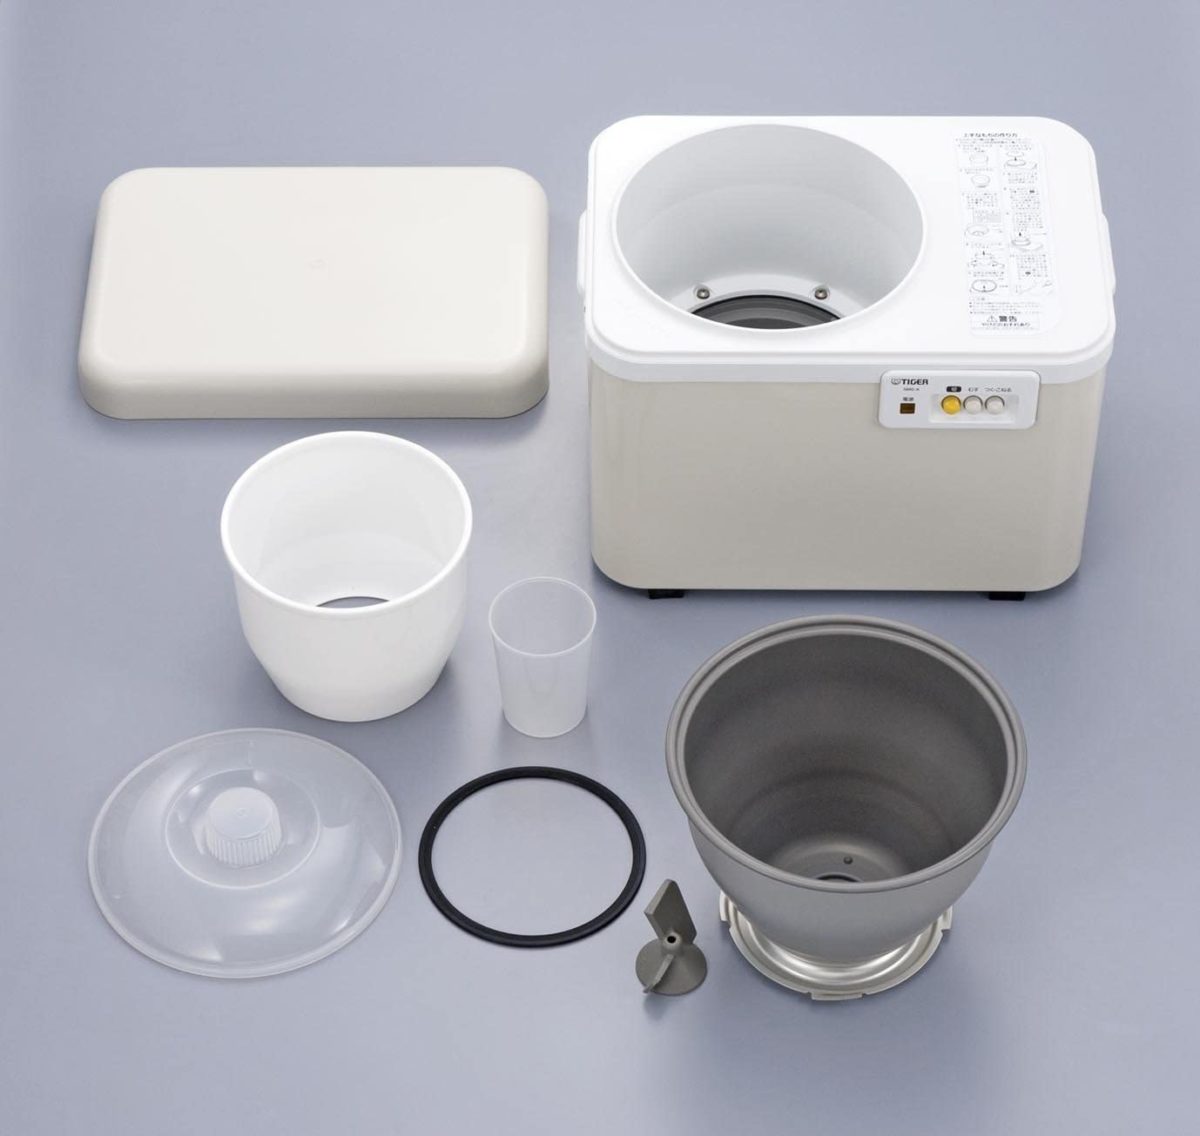
- Mochi Maker- A mochi maker lets you easily turn rice into mochi. I guess it’s sort of an equivalent to bread makers for us Asians? The big two brands are Tiger and Zojirushi. You put the raw (uncooked), soaked rice into the mochi maker and let it steam and pound the rice into mochi! It’s a handy appliance to have at home if you like mochi and intend to make them regularly, and I like it better than making mochi from rice flour since
- the whole grain rice is less processed than rice flour
- cost-saving (since rice is usually cheaper than the flour) **but the machine is expensive so this is true only if you make and eat a lot of mochi!**
- makes less of a mess and easier to clean
Is "Glutinous" Rice Gluten-Free?
Yes, it is! The word "glutinous" refers to the sticky, glutinous texture / consistency of the rice, not the "gluten" that's found in most wheat products. That's why rice is a terrific choice for those following a gluten-free diet.
Other Mochi Maker Recipes
How Brown Rice Mochi is Made
(Bold font shows how glutinous brown rice is prepared differently than glutinous white rice)
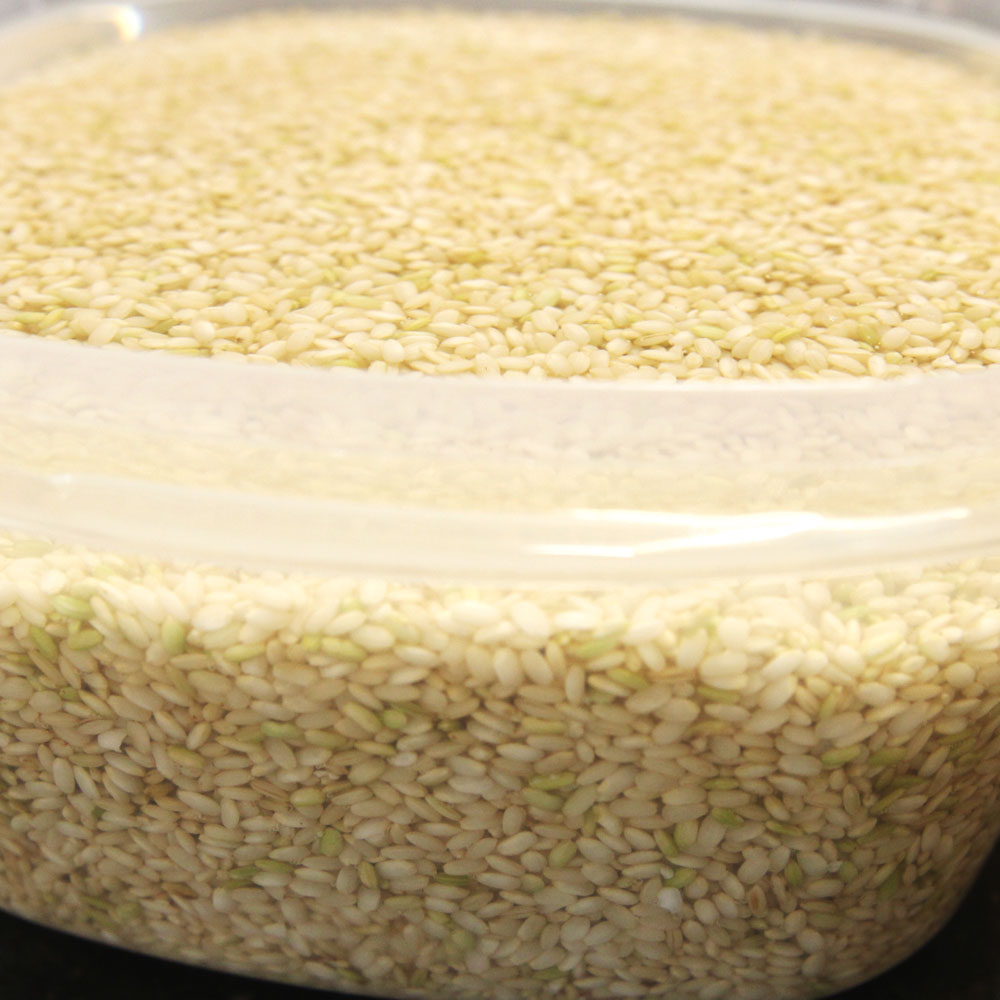
- Wash and rinse the glutinous brown rice until the water is no longer cloudy.
- Soak the glutinous brown rice in water (2 cups of water per 1 cup of rice) in a bowl or large container overnight, about 12 hours. Then drain the rice and refill the water so that it’s above the rice. Cover the bowl or container and place in the fridge for another 36 hours (so that's 48 hours in total) to let the brown rice absorb the water and become more tender. With sweet WHITE rice the soaking process is much shorter, just 8-12 hours.
**UPDATE: If you're short on time, you can soak the brown rice for a total of 24 hours at room temperature. Unfortunately, the result is less tender than when the rice has been soaked for 48 hours.
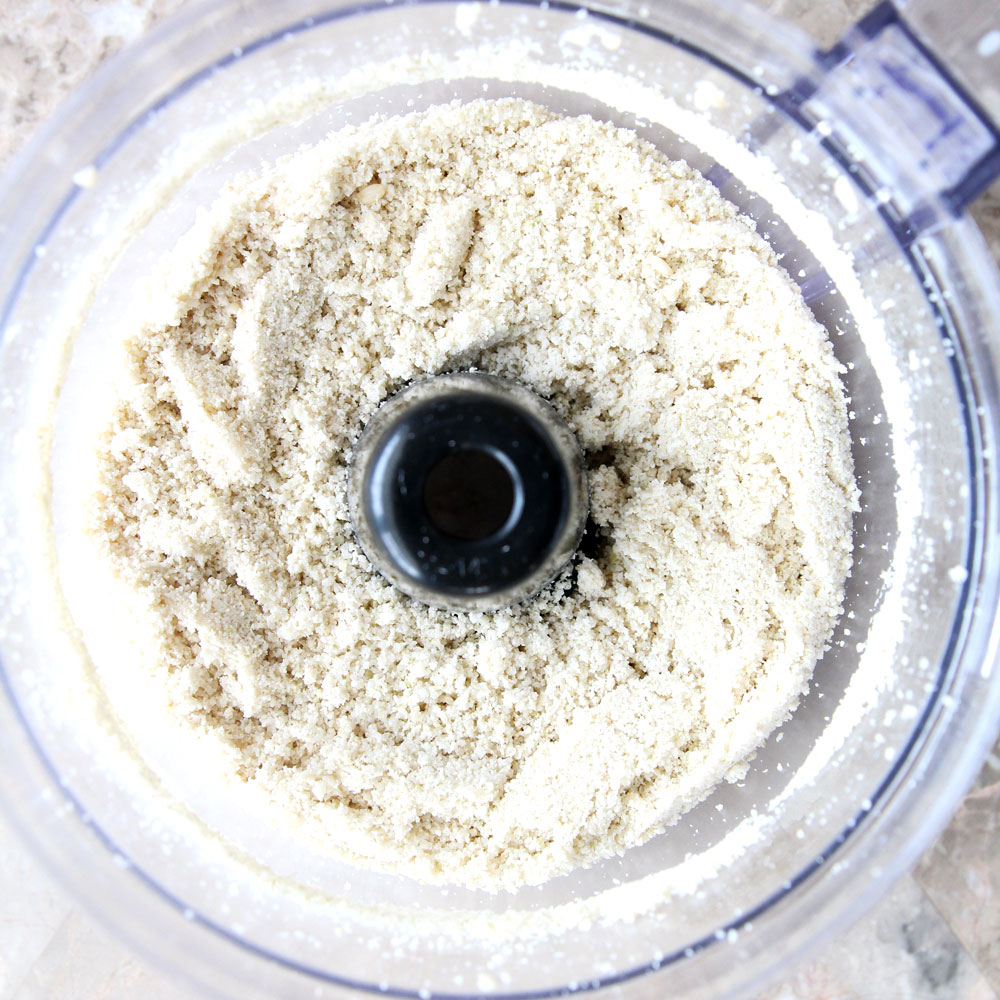
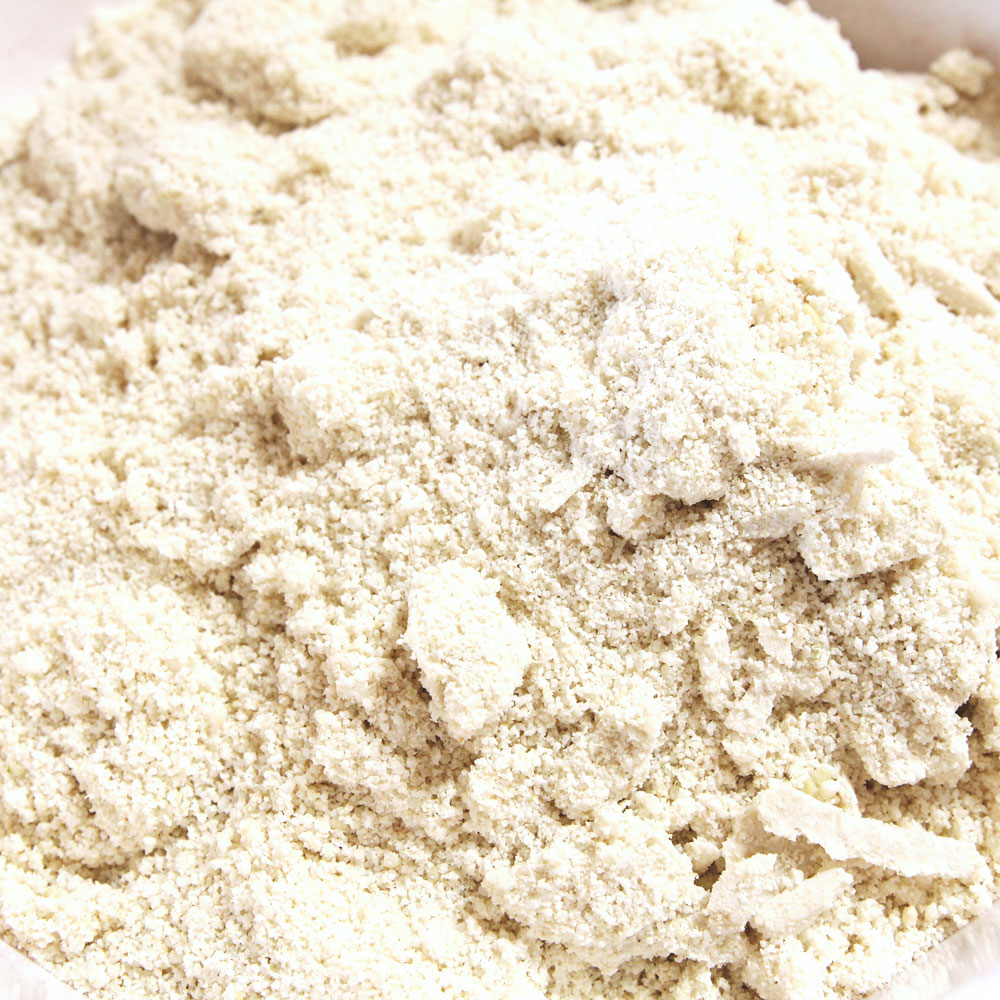
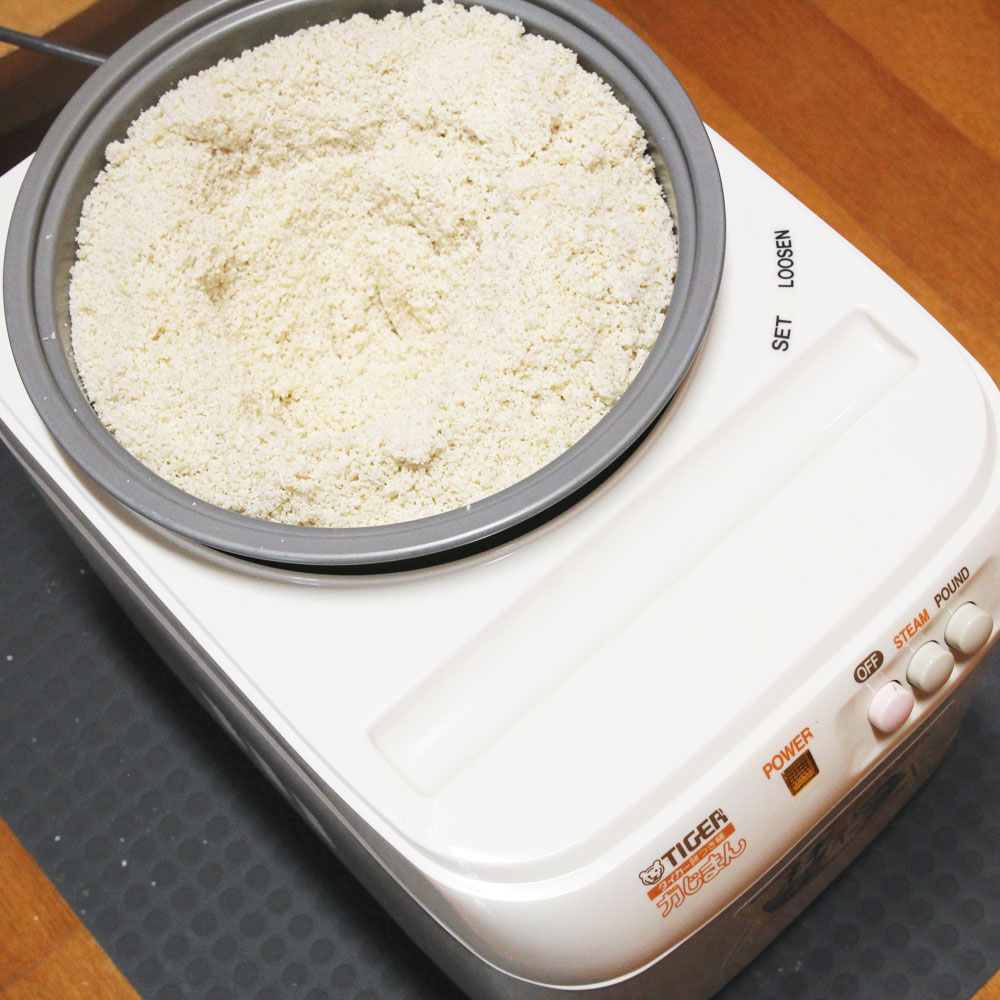
3. After soaking, drain and grind the brown rice in a food processor until you get a flour that resembles coarse sand. Transfer the ground rice to the steamer bowl. While this step is optional, this step breaks down the rough outer husk of the brown rice (which has been removed in the white rice) and helps ensure that the brown rice mochi is smooth.
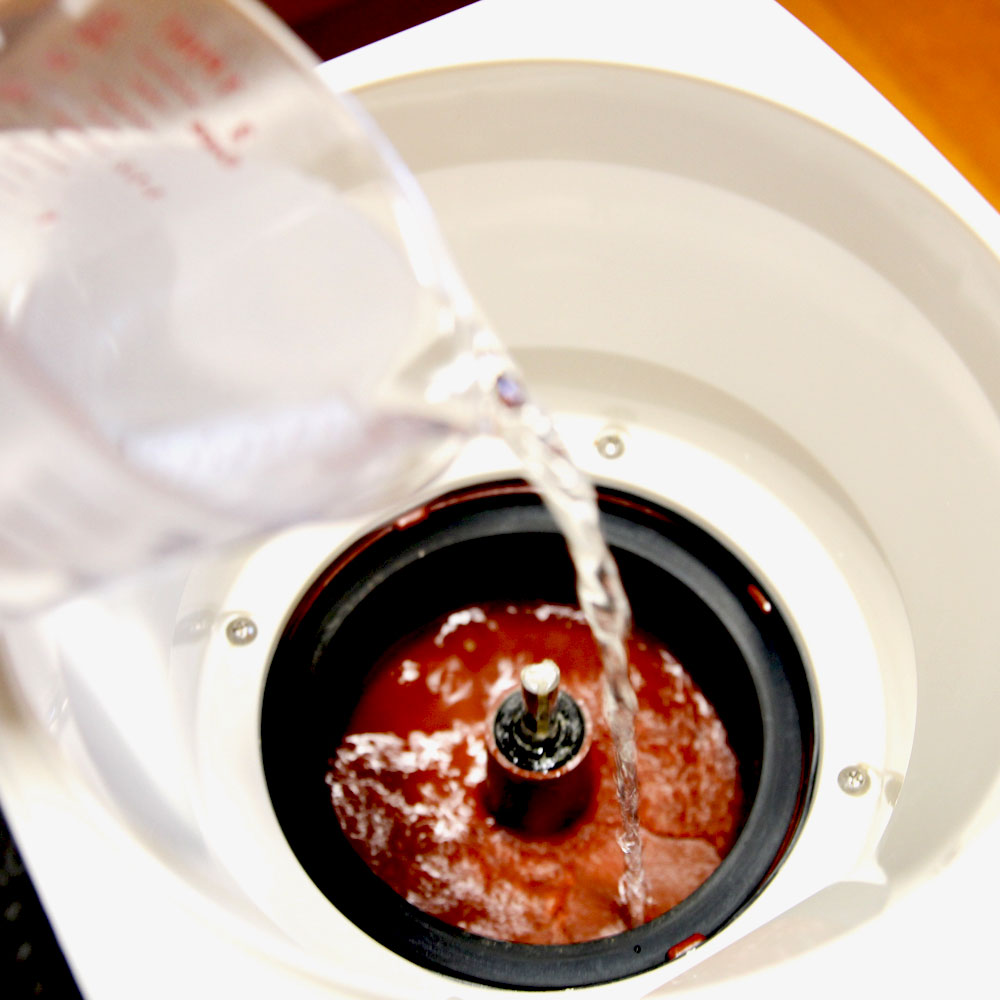
4. Prepare the mochi maker by filling it with 2 cups of water (there is a separate area for this, right below where the steamer bowl should be placed).
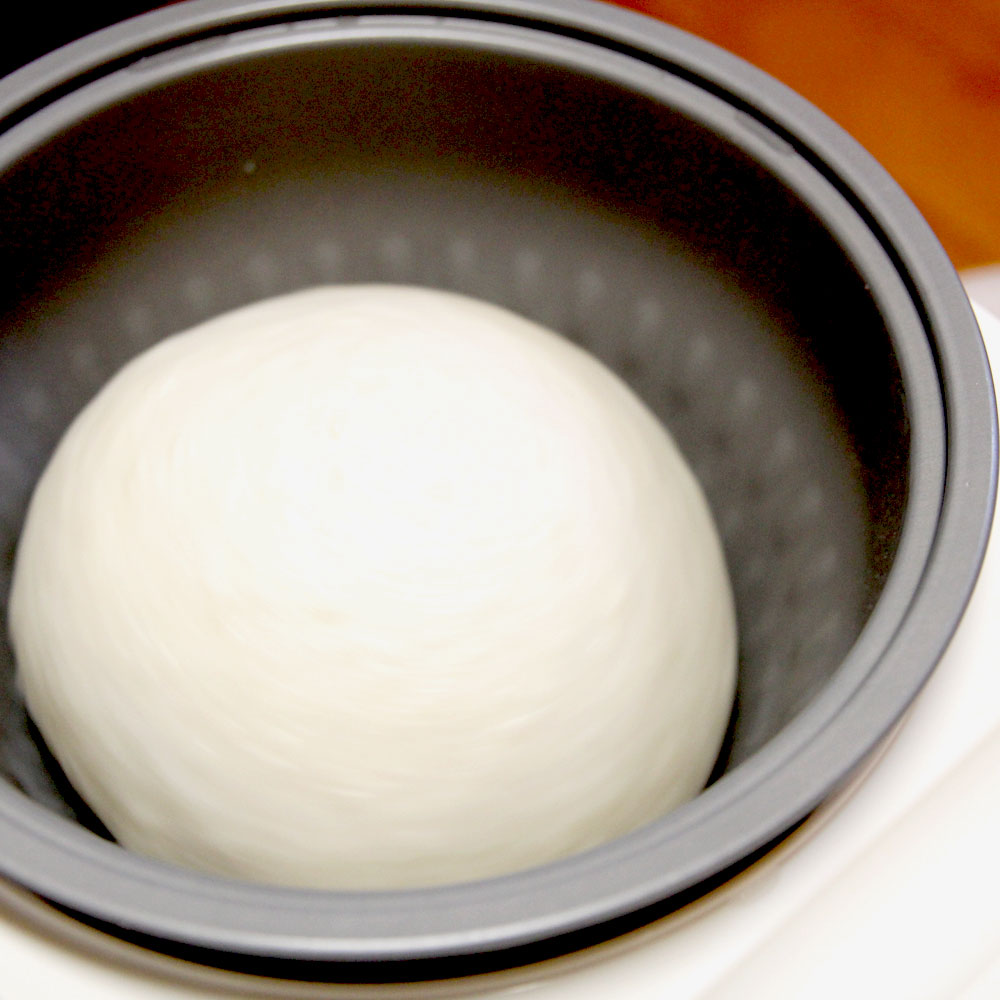
5. Fit the steamer bowl into the machine, then fill with the ground glutinous brown rice
6. Close the lid and press STEAM (an alarm will go off when it’s done, about 30 minutes)
7. Open lid and press POUND when the machine is done steaming the rice.
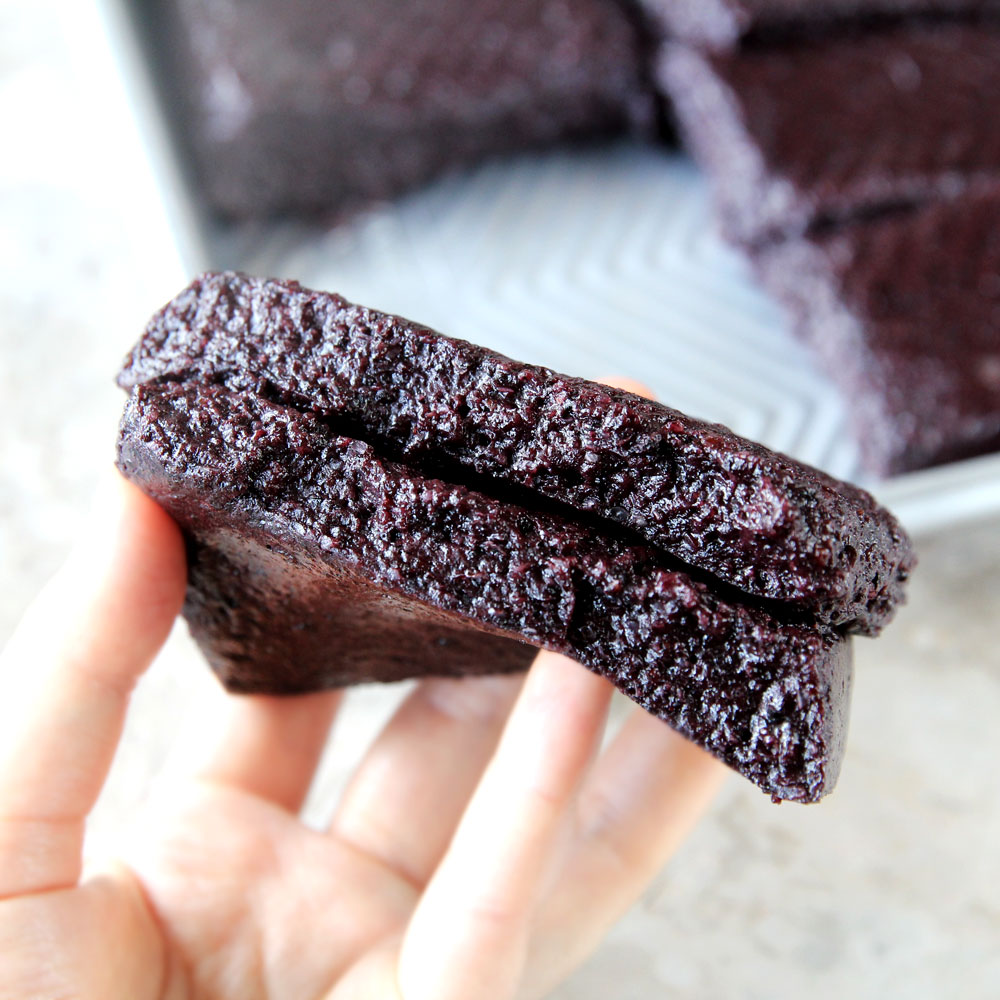
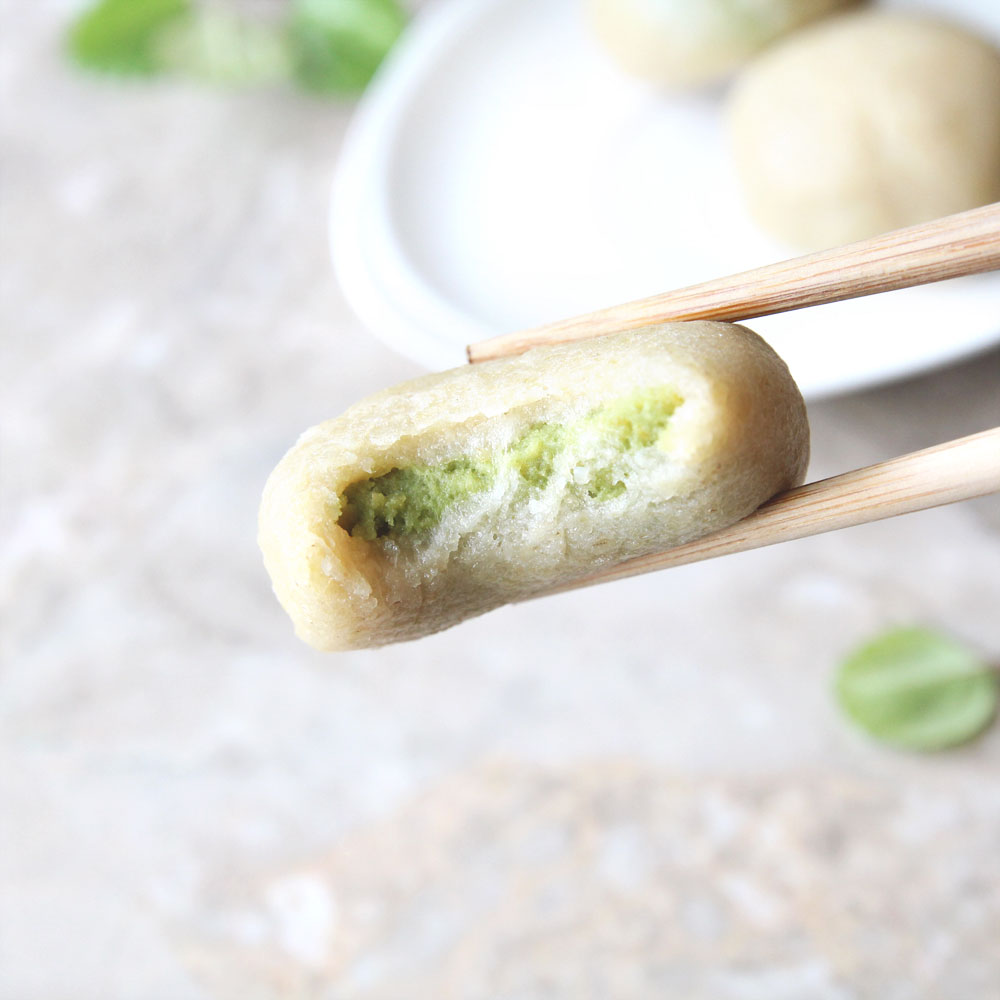
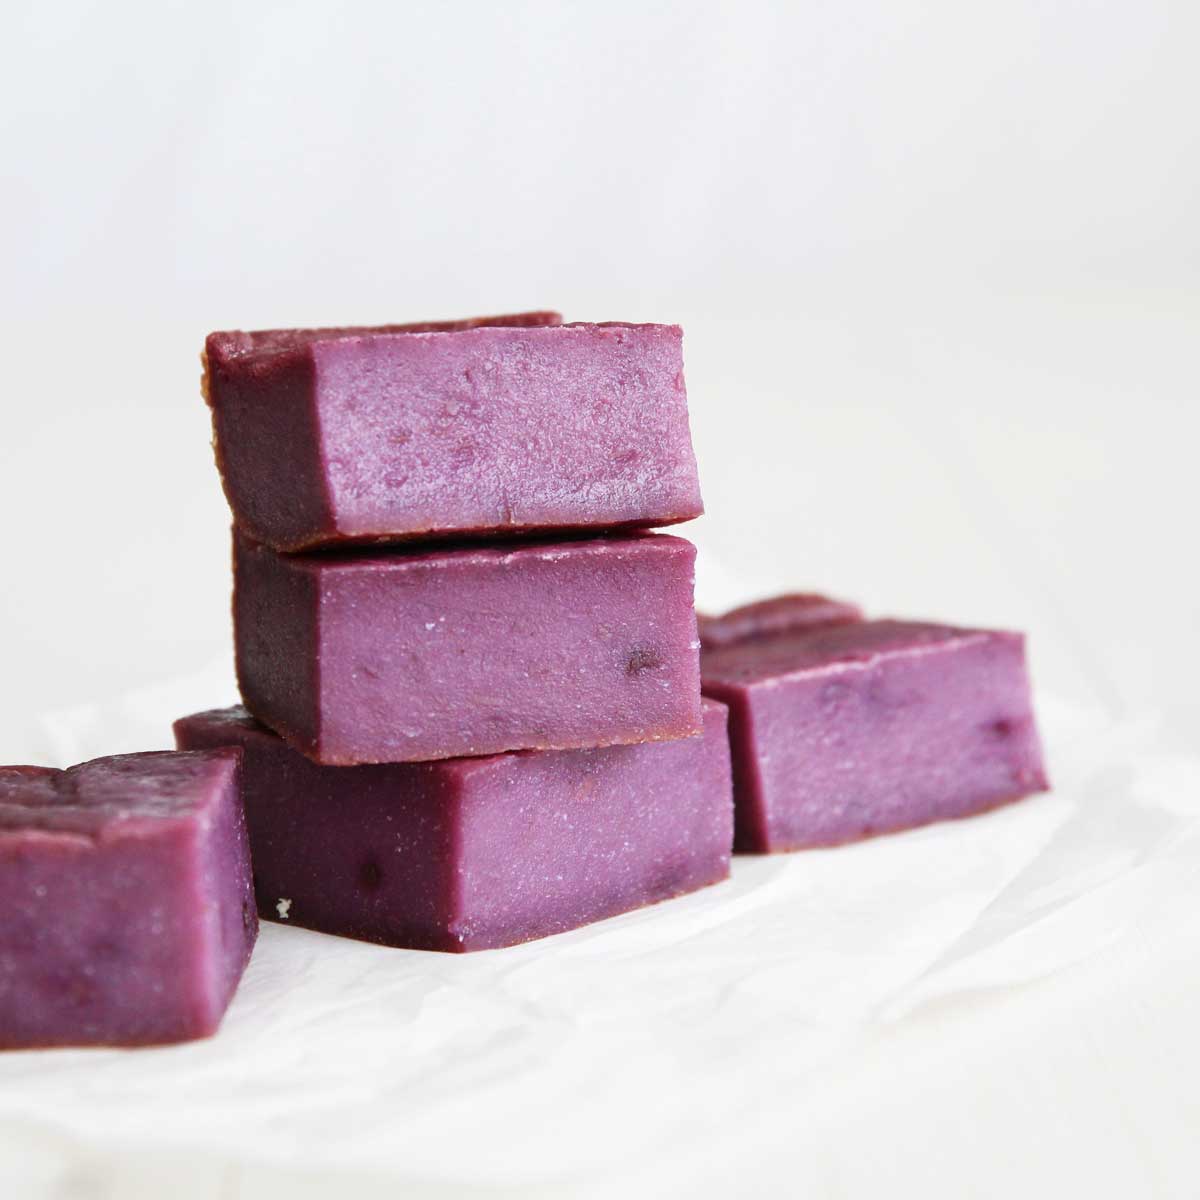
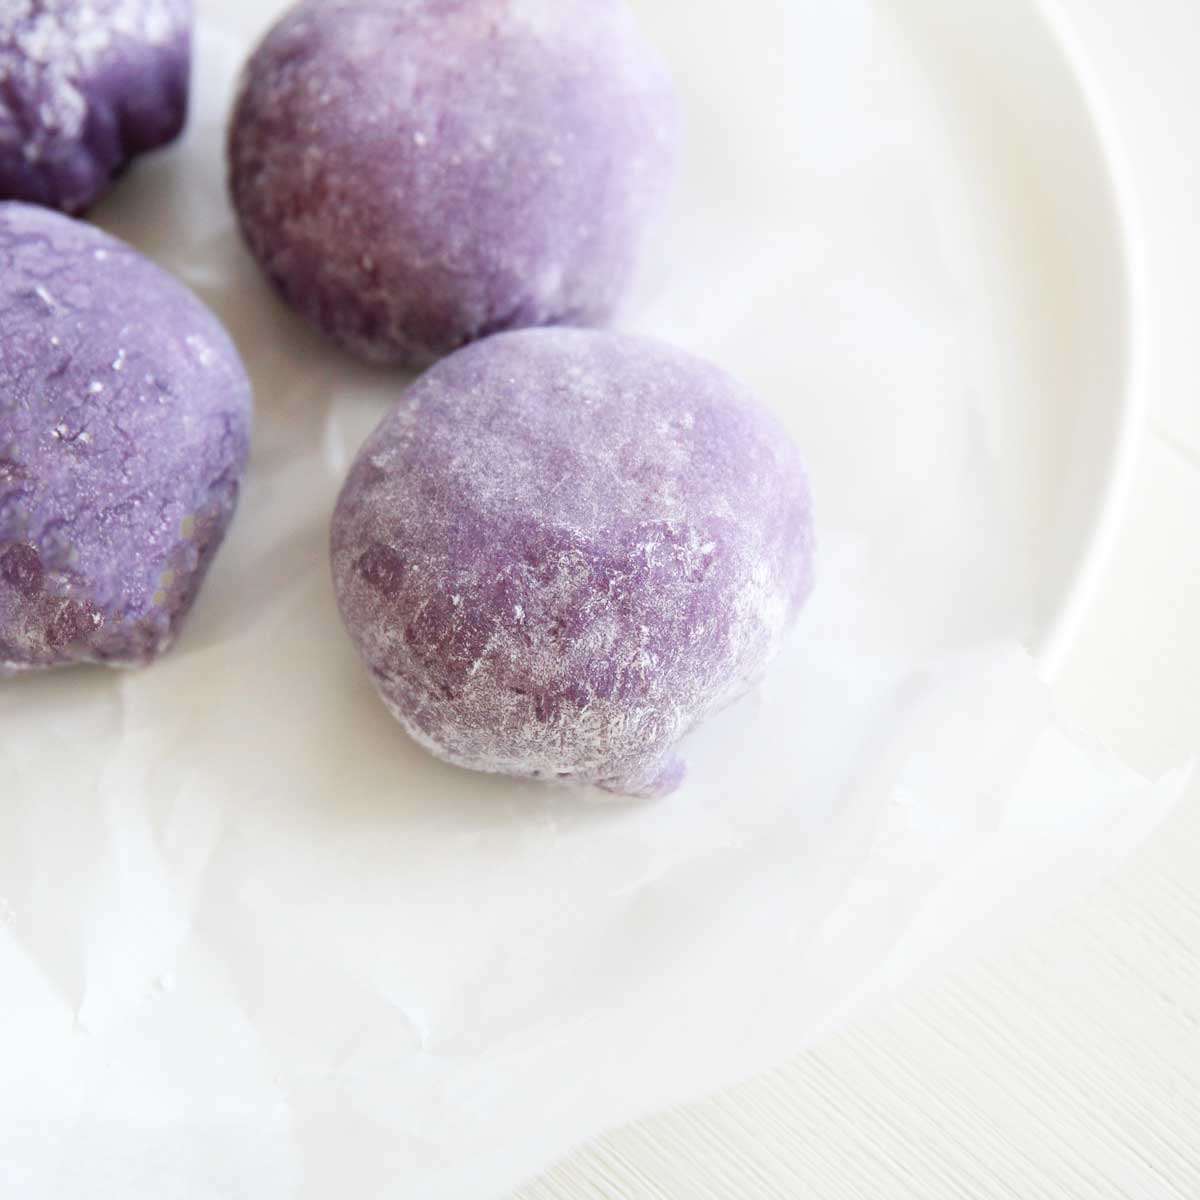
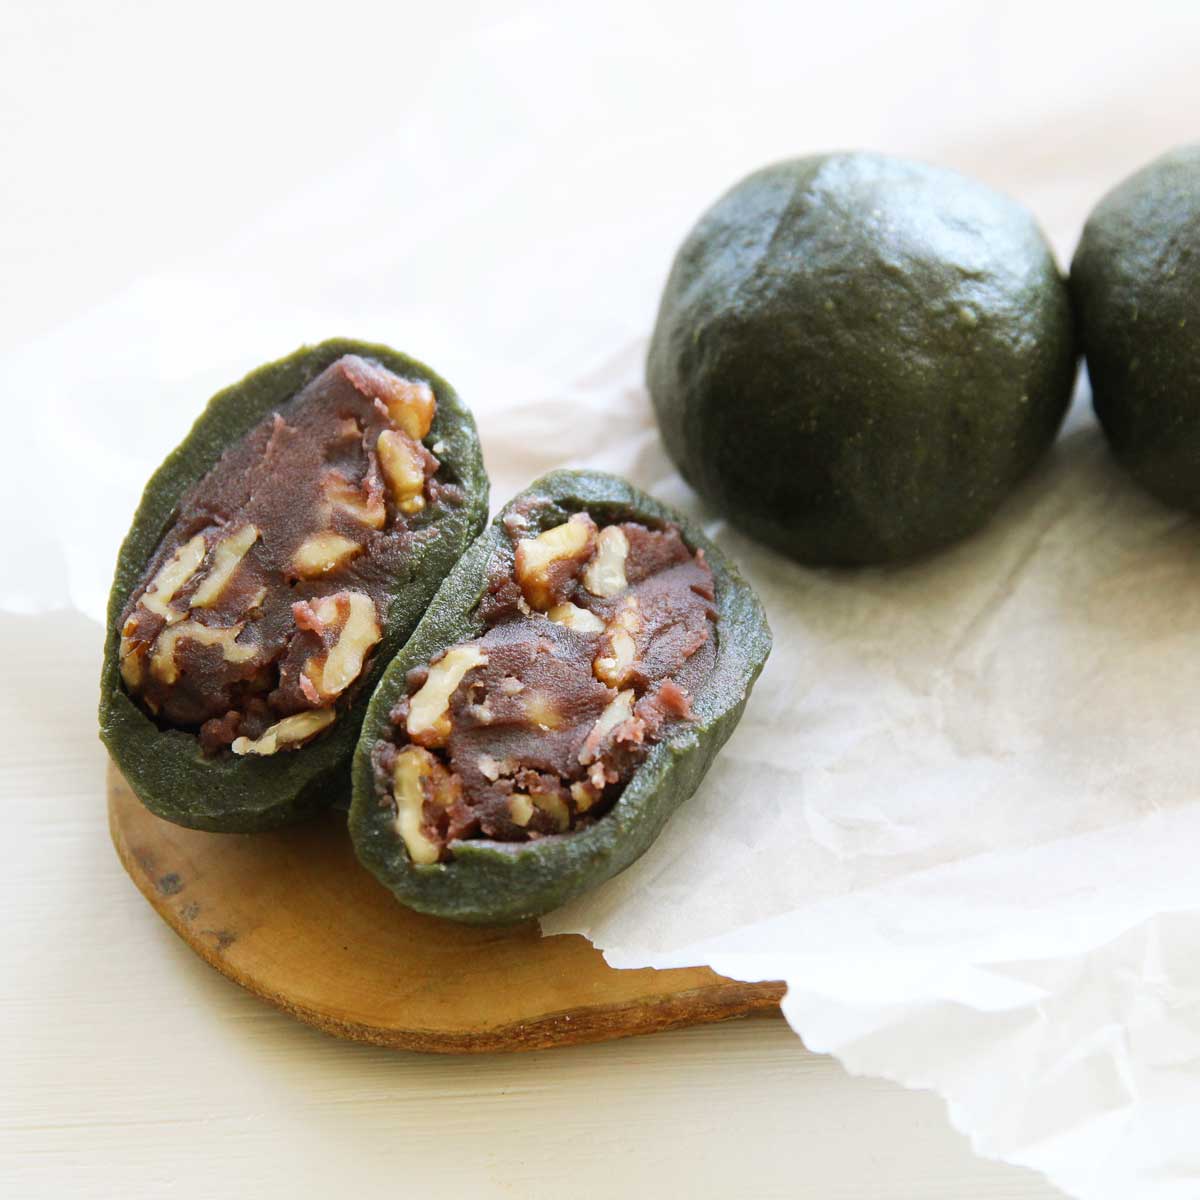
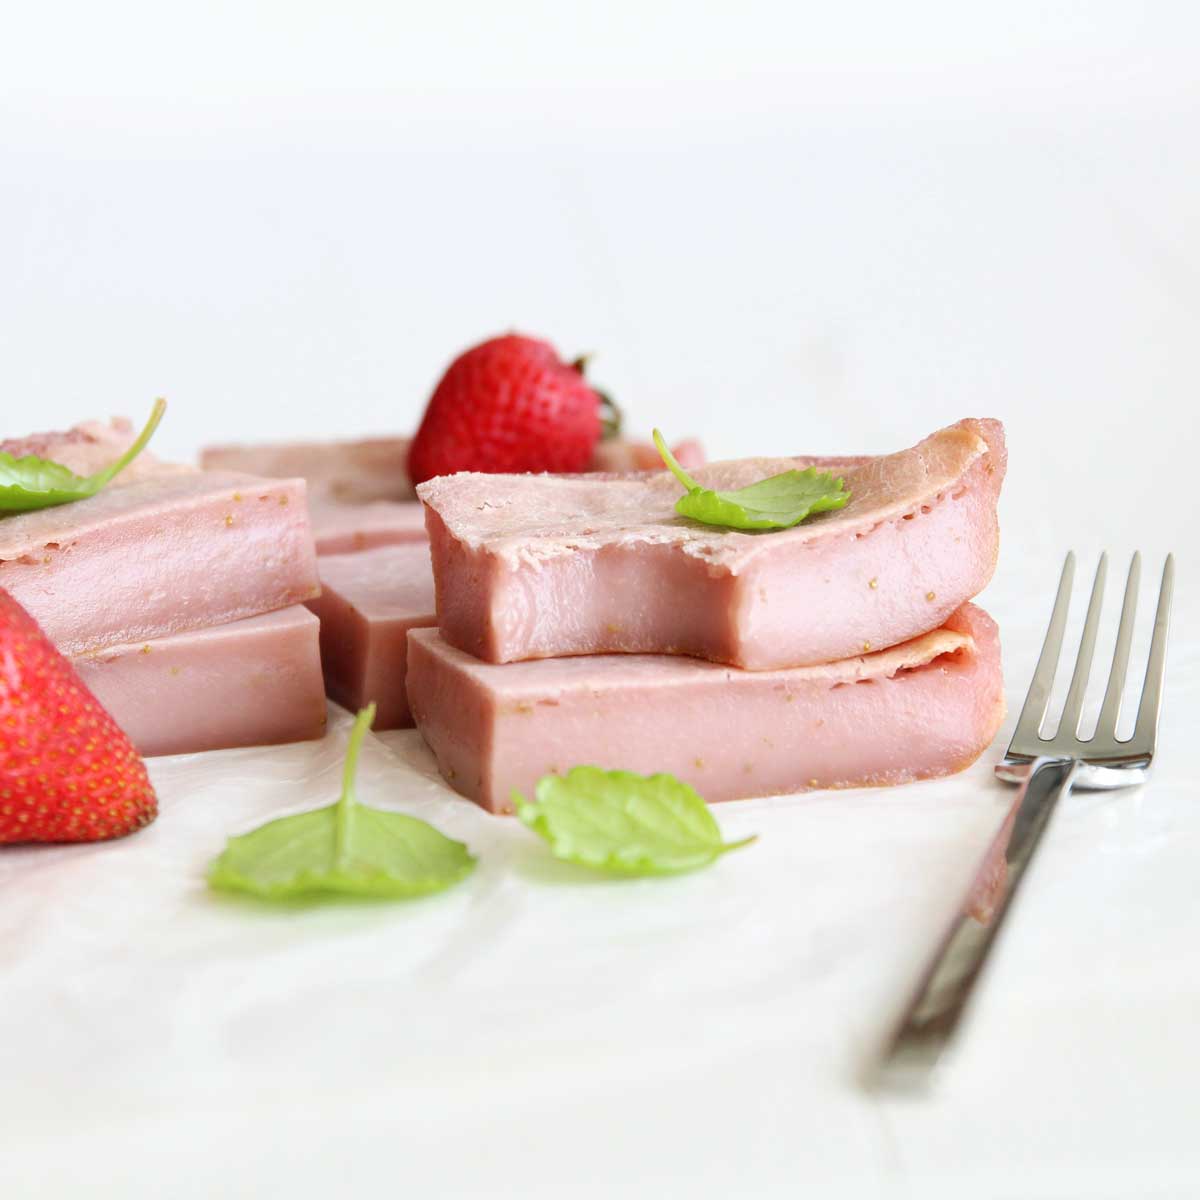
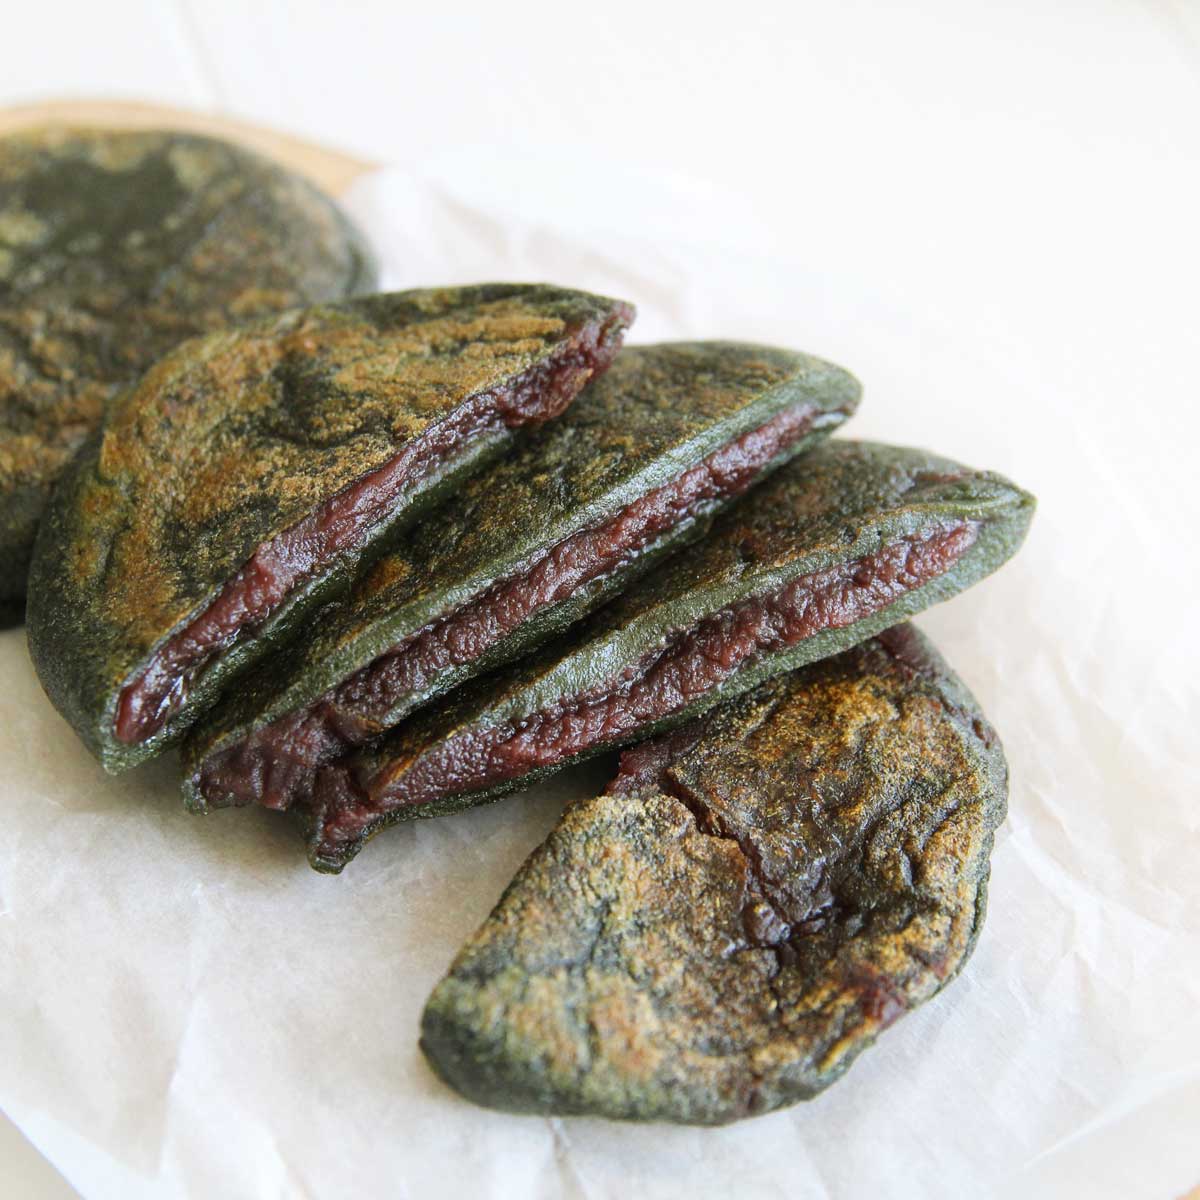
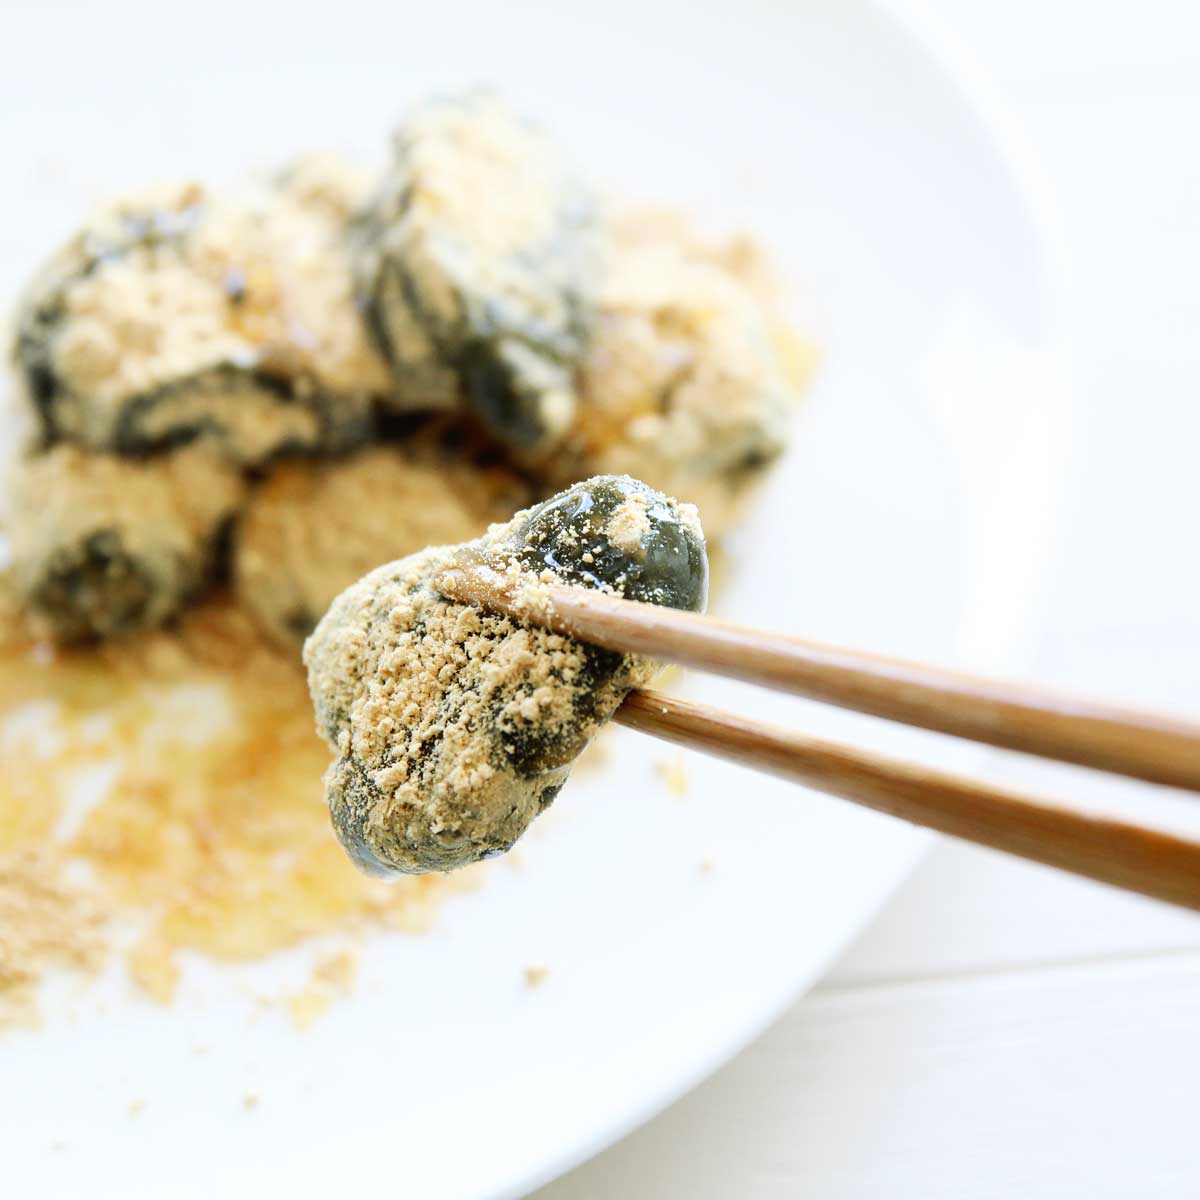
8. Add the salt, sugar and water as the rice starts mixing. Use ⅓ cup water for a chewier mochi, or ½ cup water for a softer, more flexible mochi. You can also add food coloring or powders (matcha powder, purple sweet potato powder, etc.) to color the mochi.
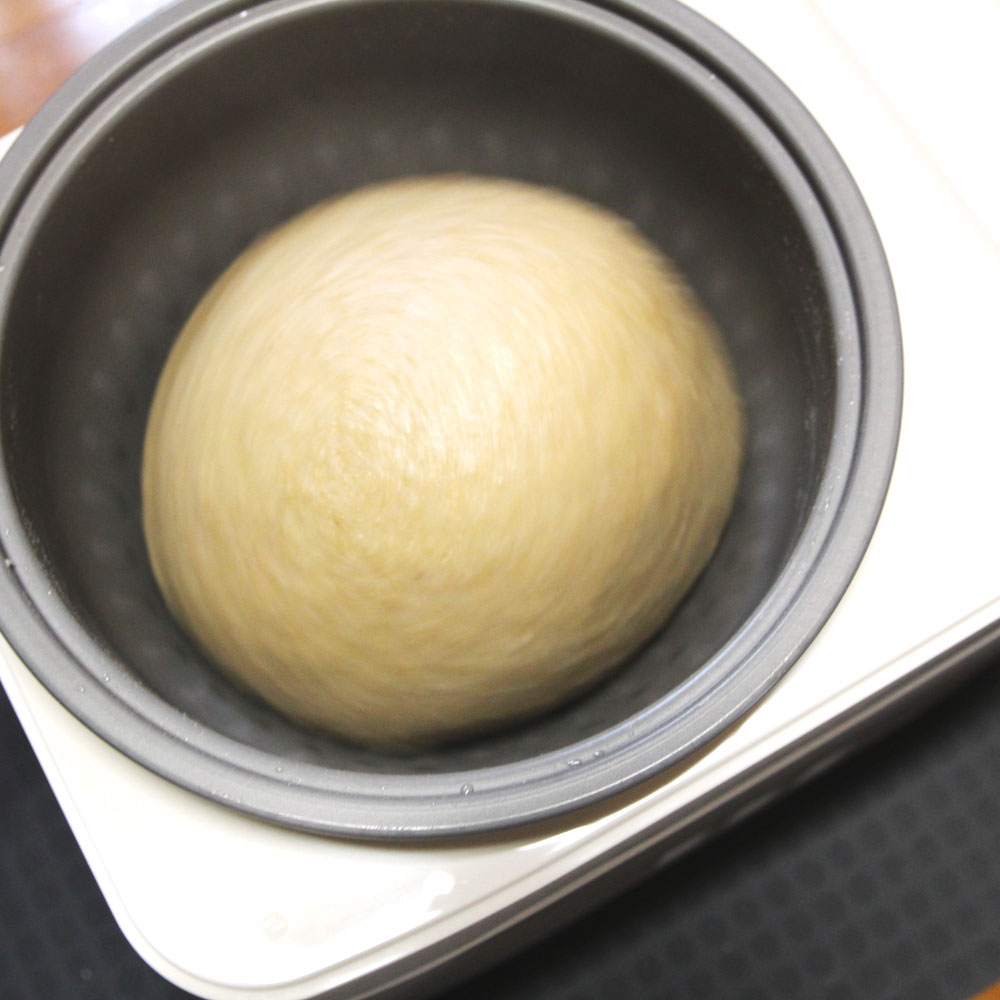
9. There isn’t an alarm for when the mochi is finished pounding so you’ll have to eyeball it and stop the machine when the mochi looks smooth and supple (after about 15-20 minutes of pounding).
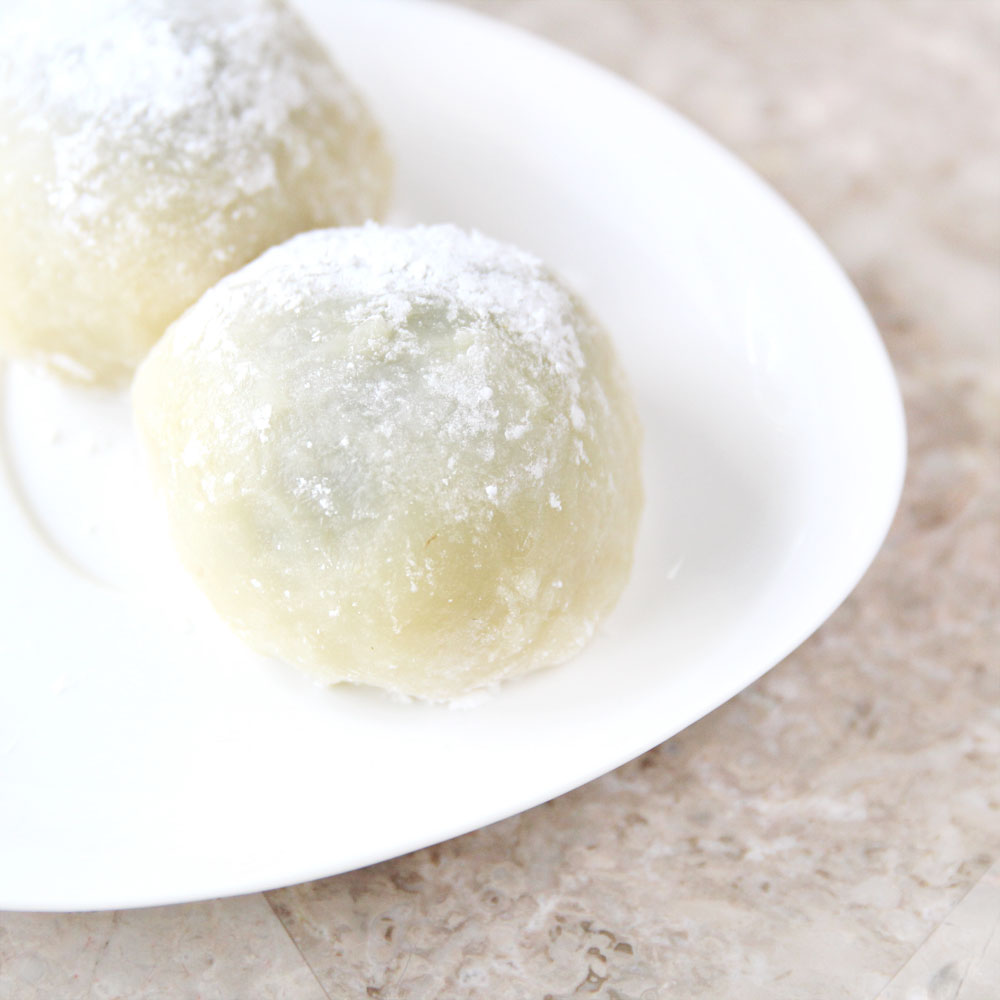
10. Turn over the mochi onto a a tray greased with sesame oil
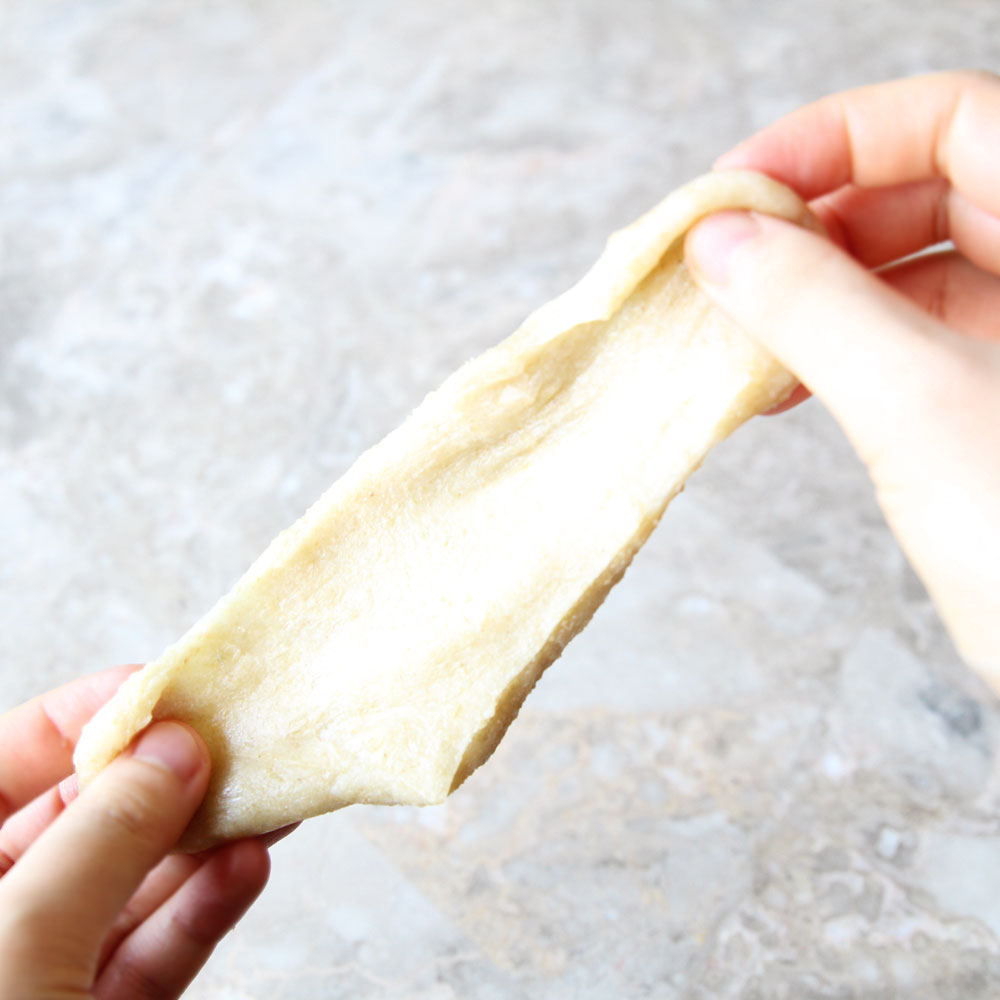
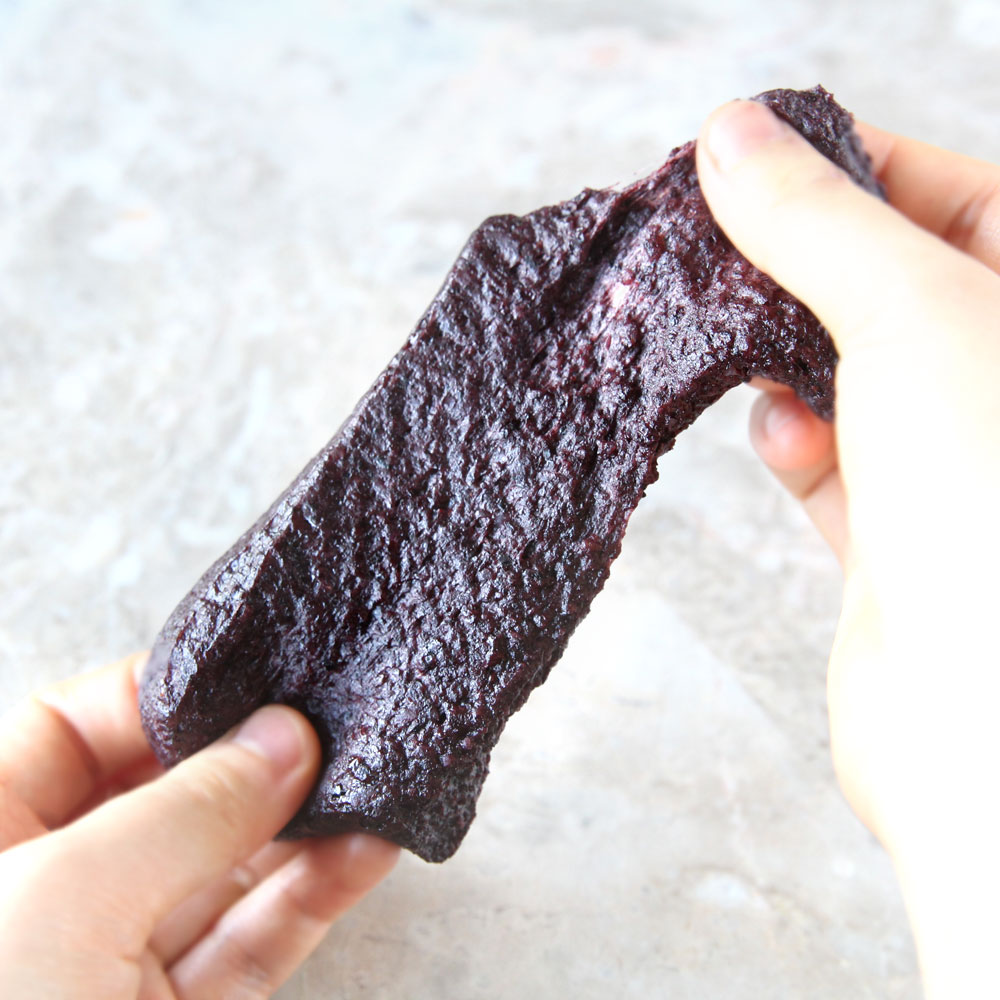
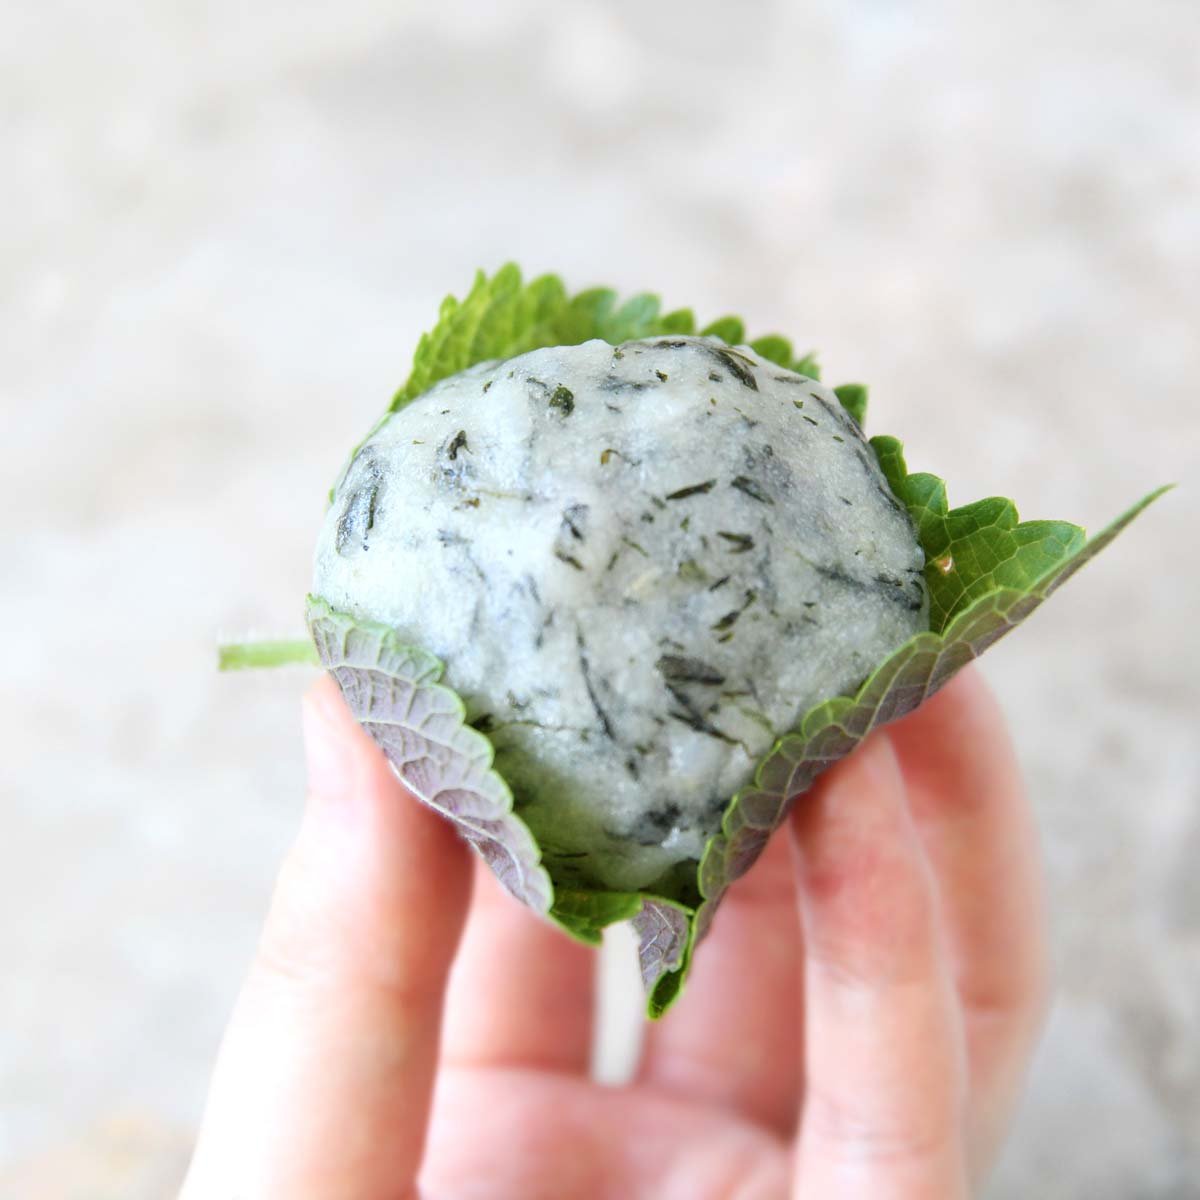
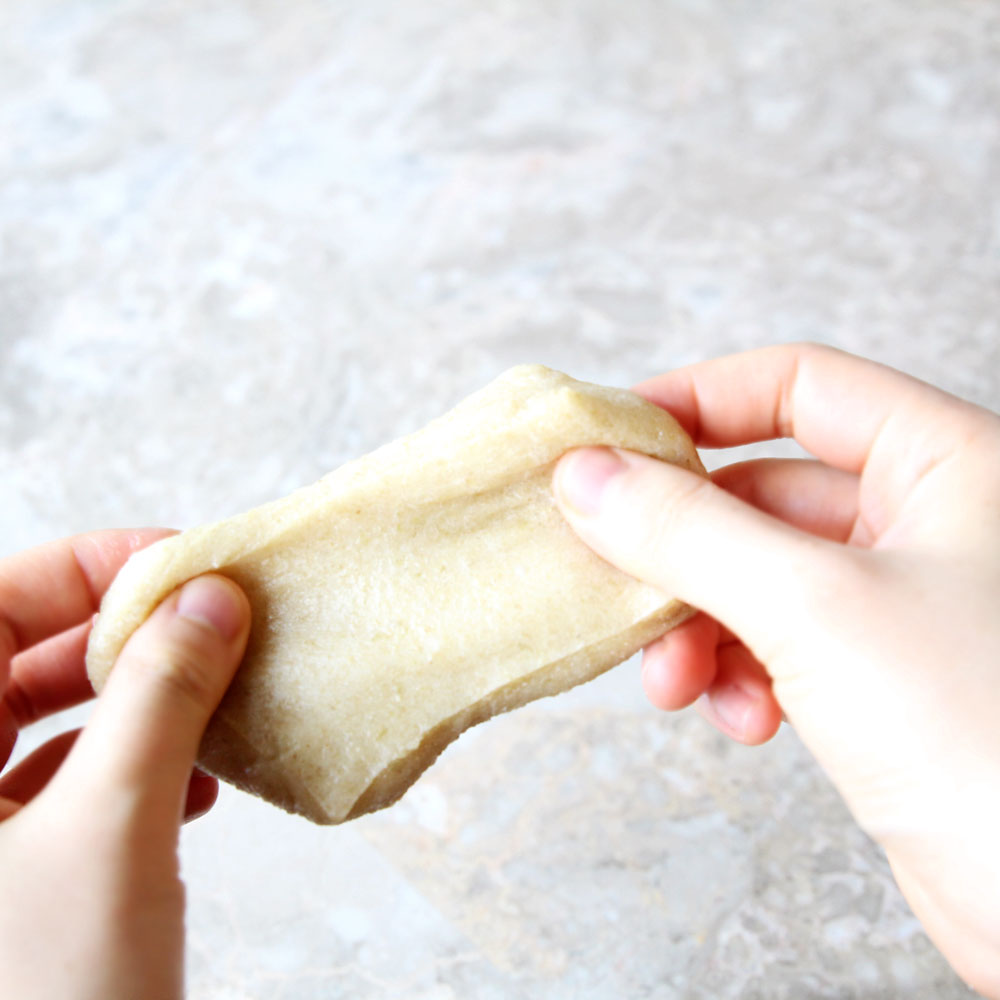
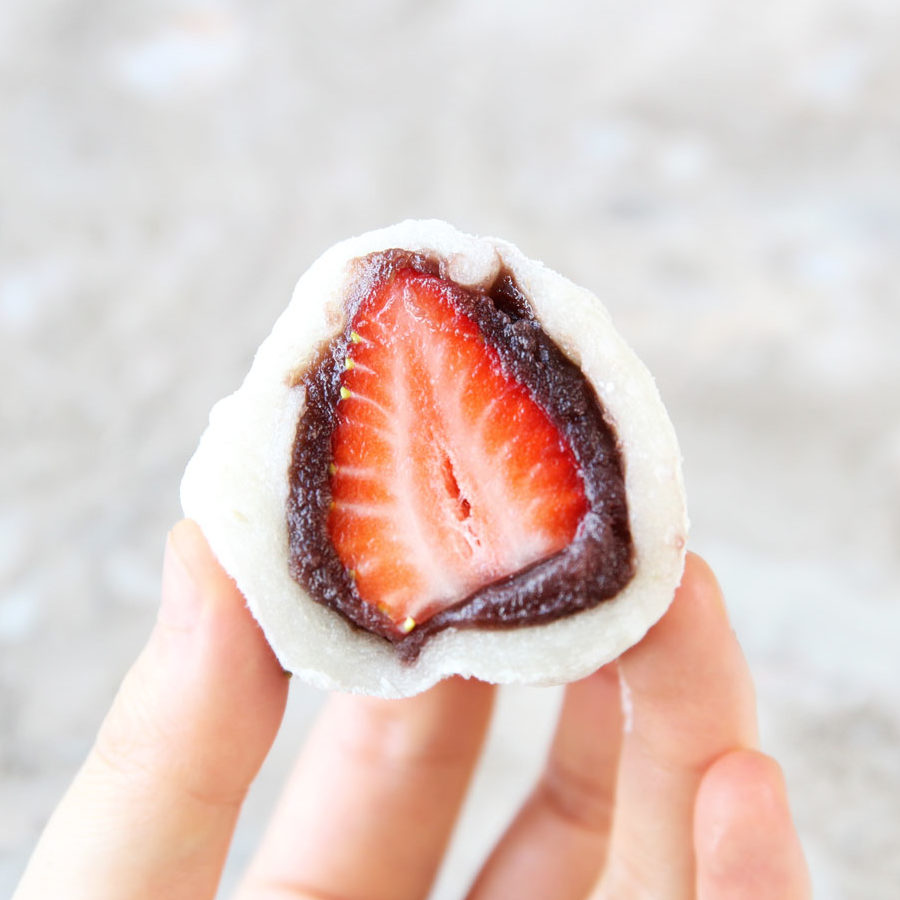
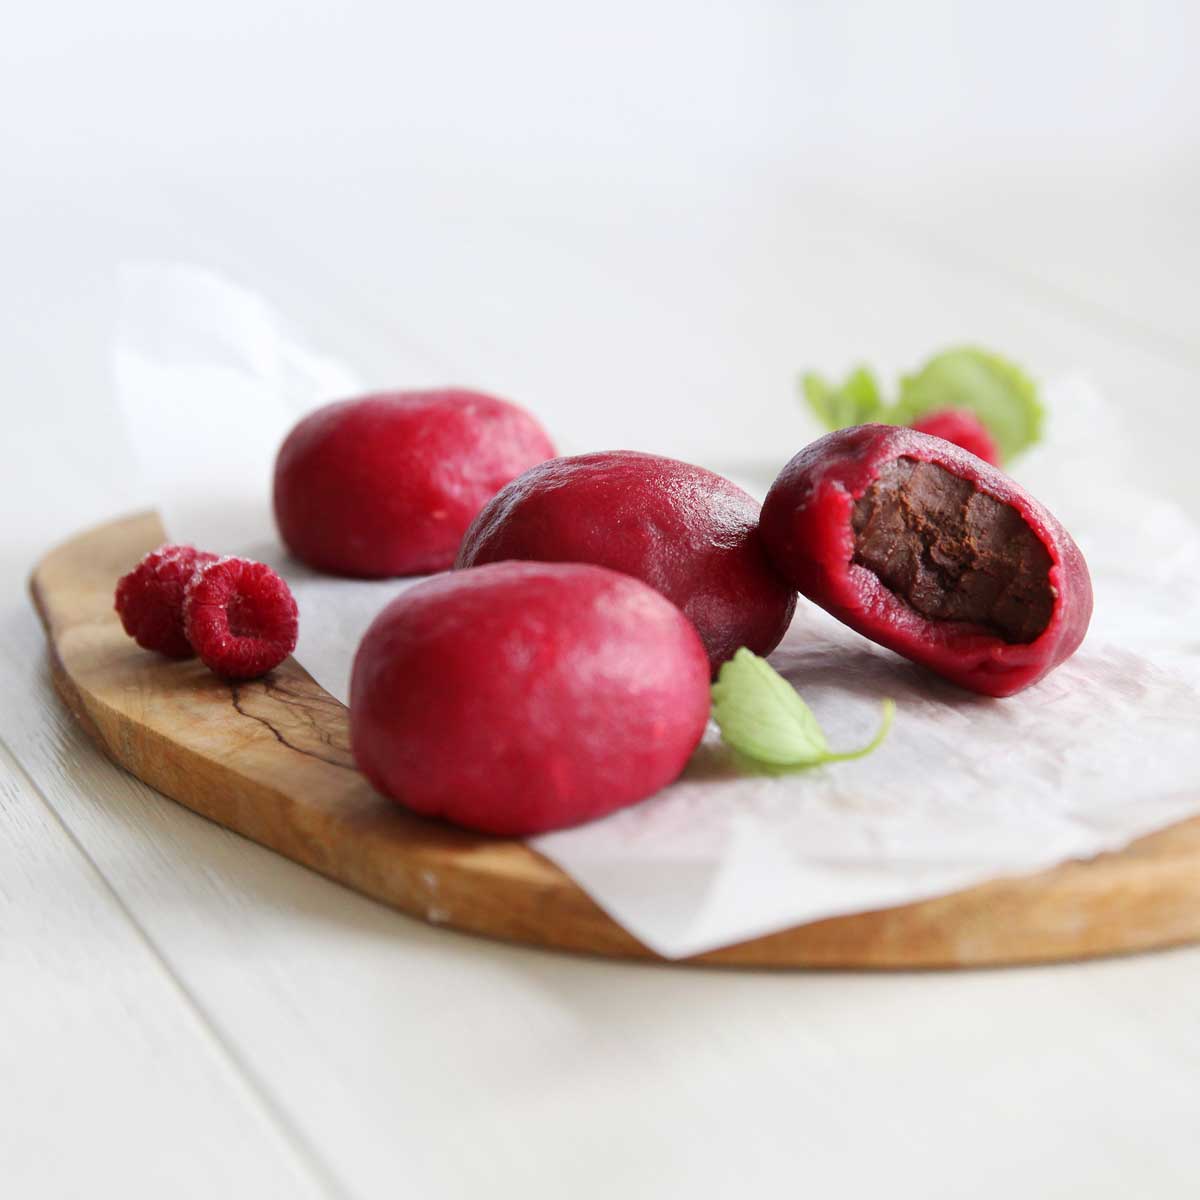
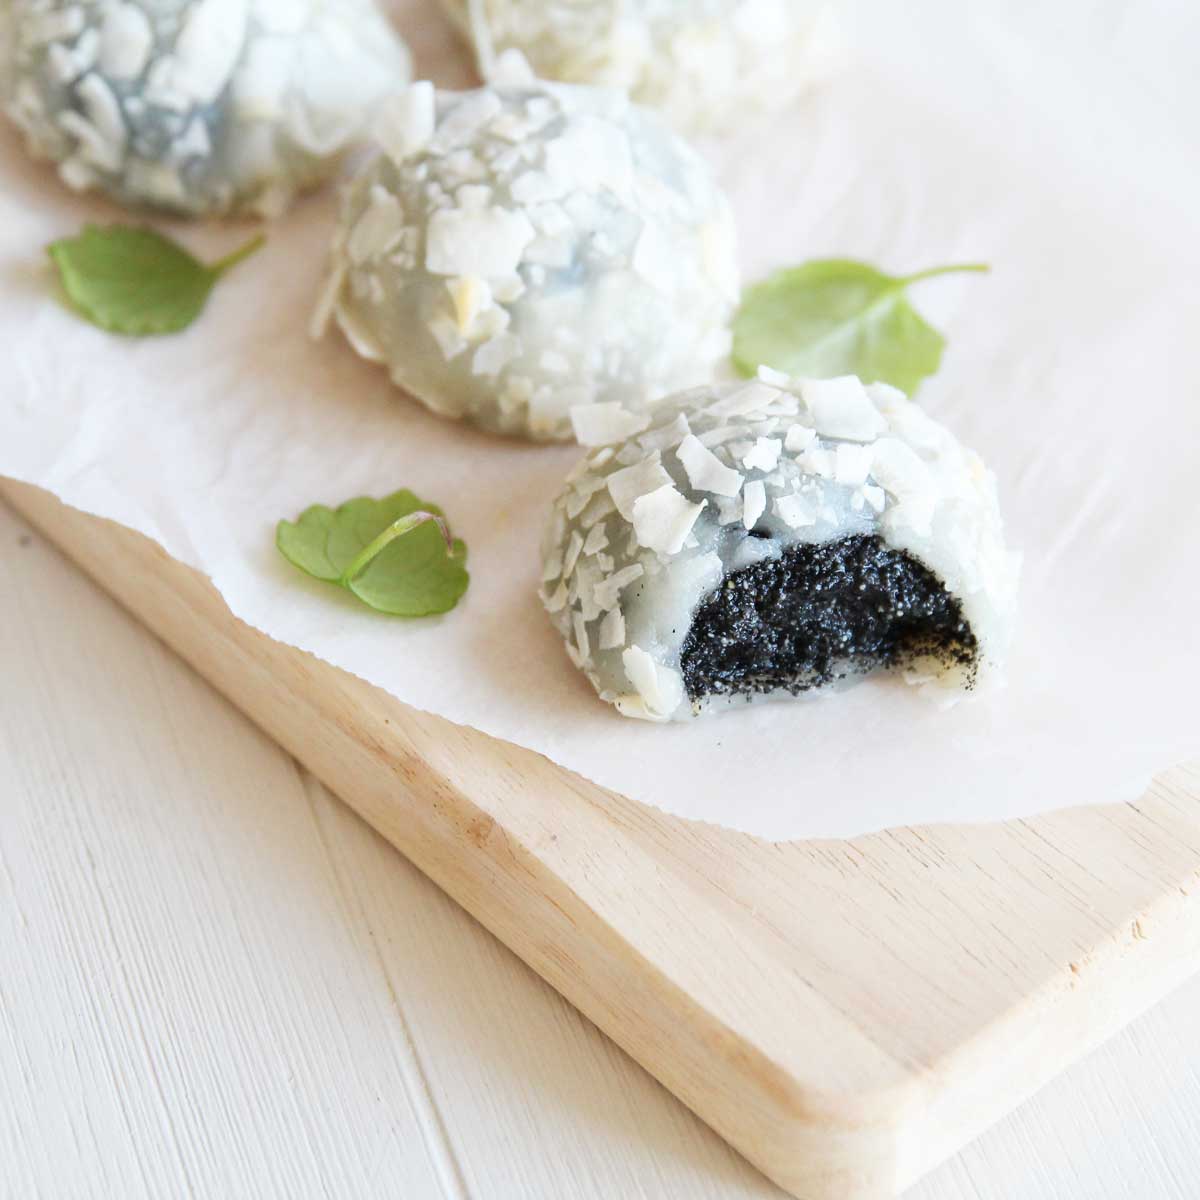
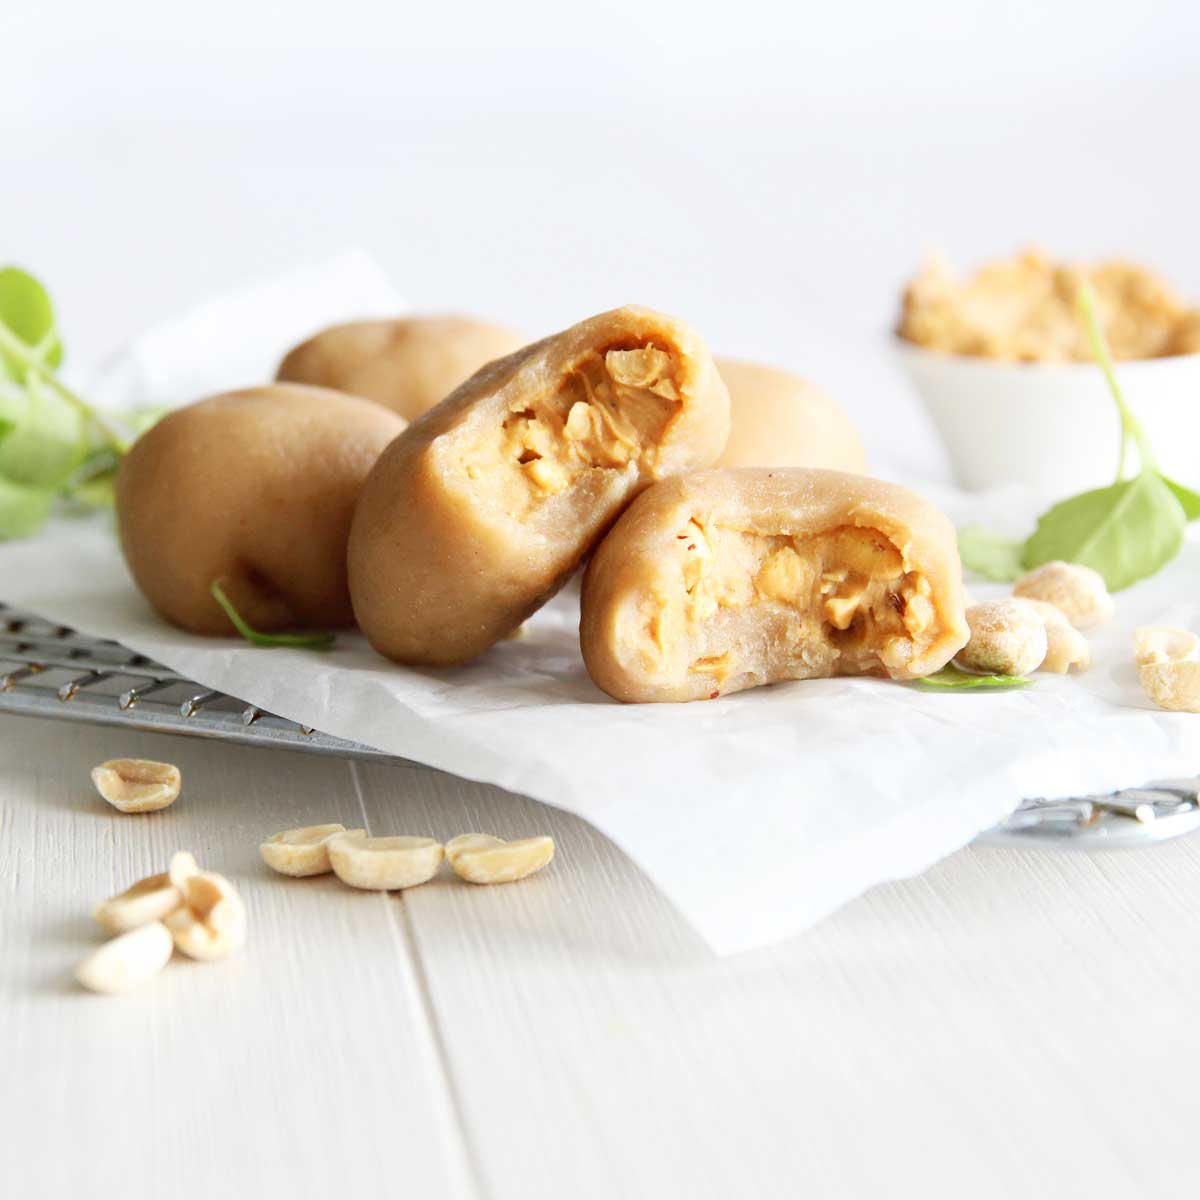
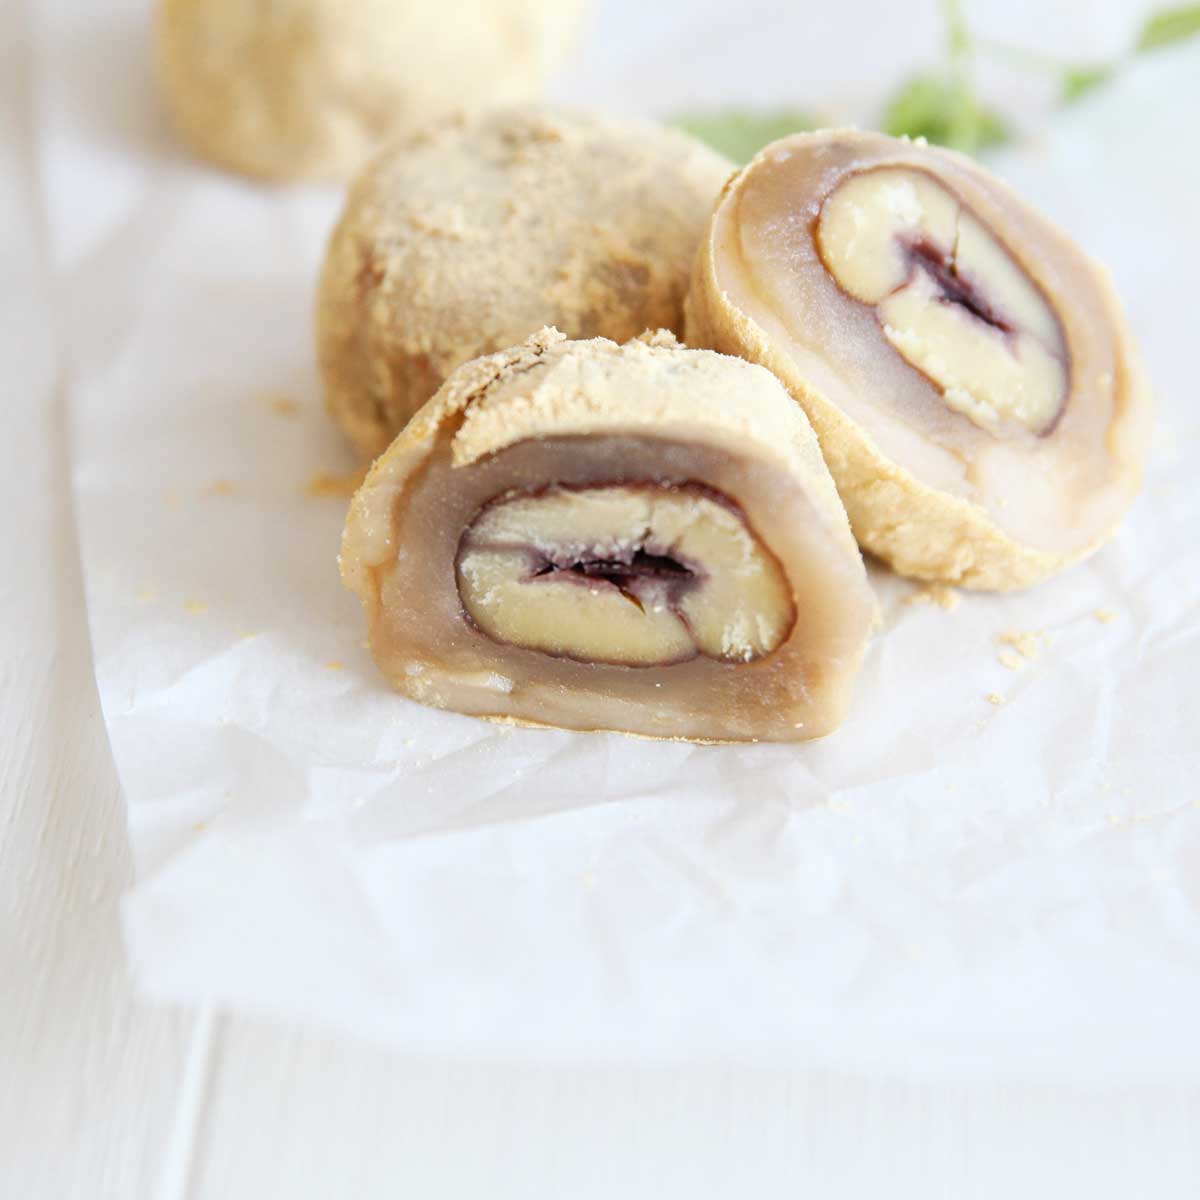
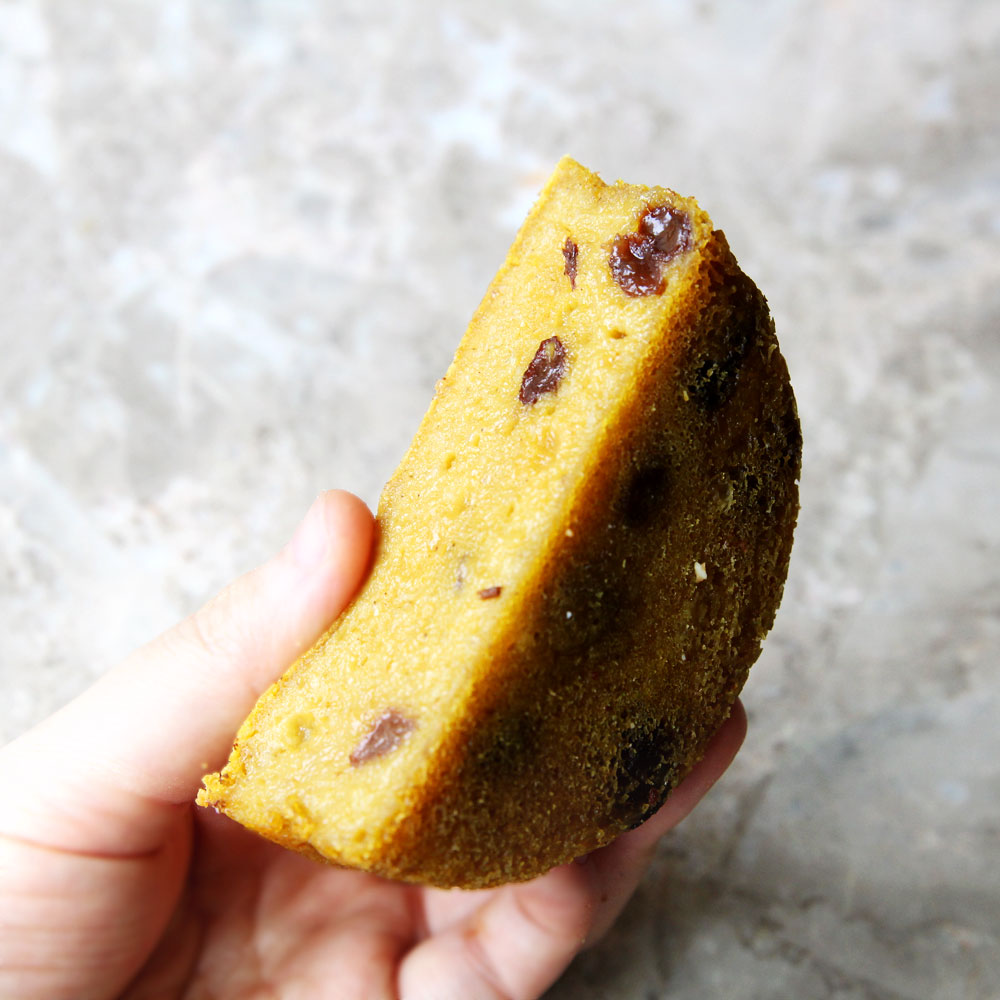
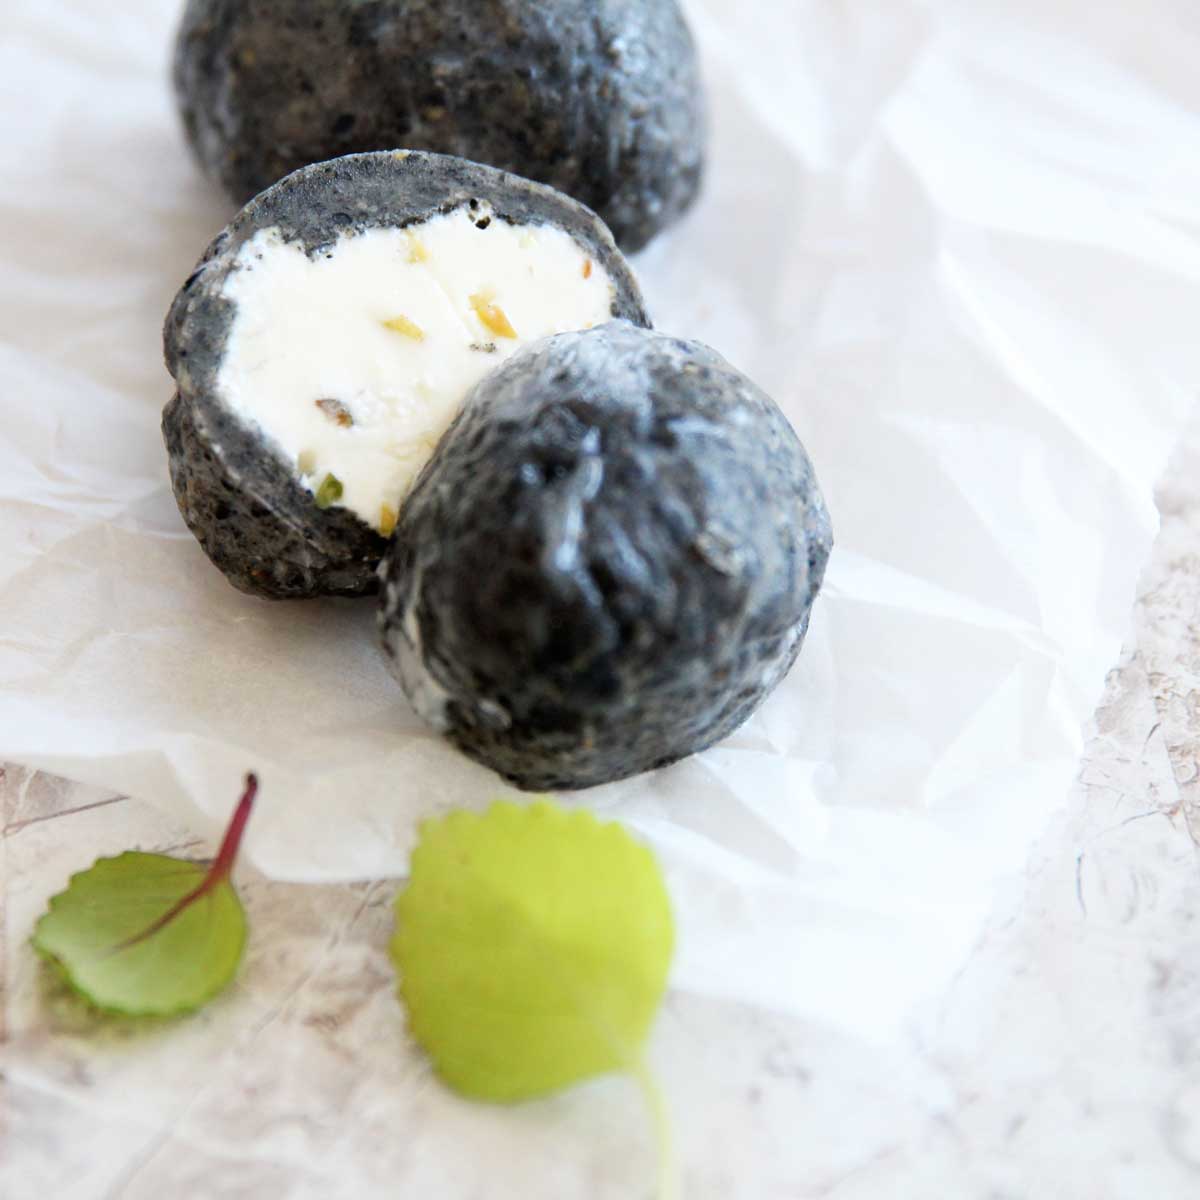
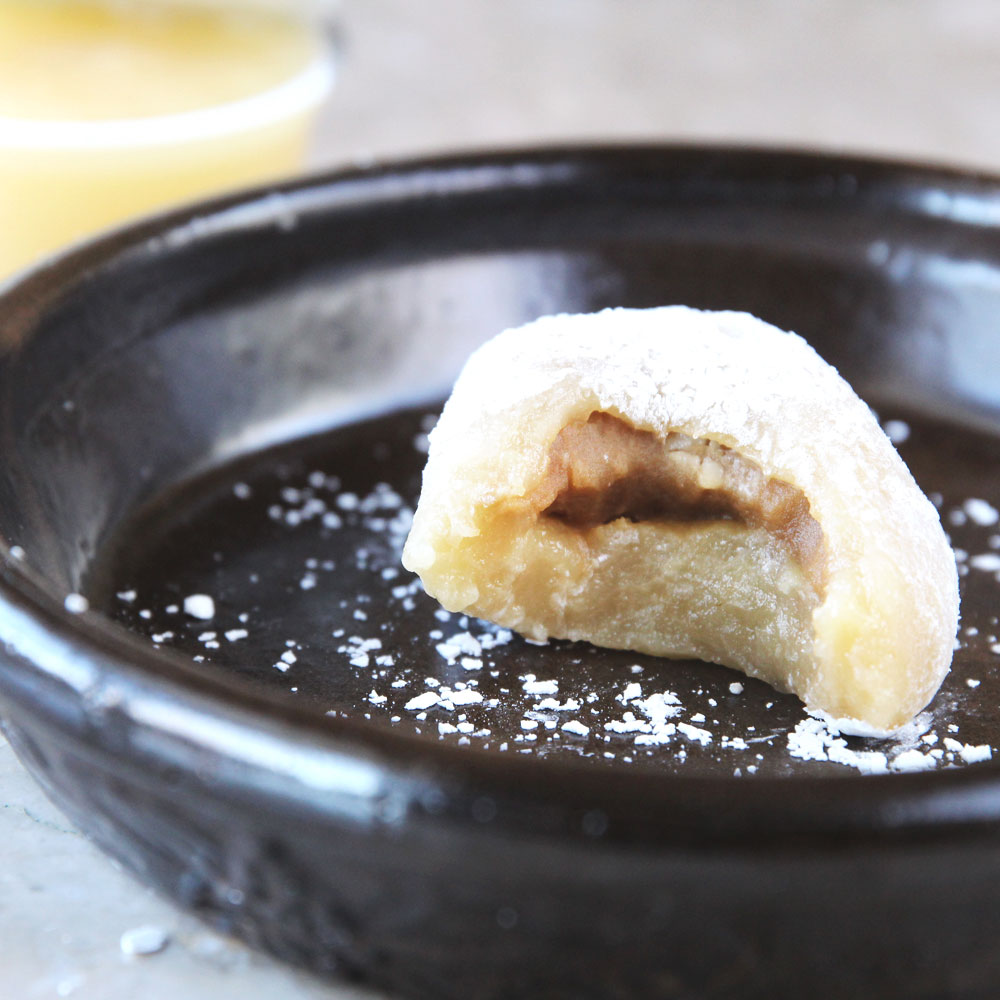
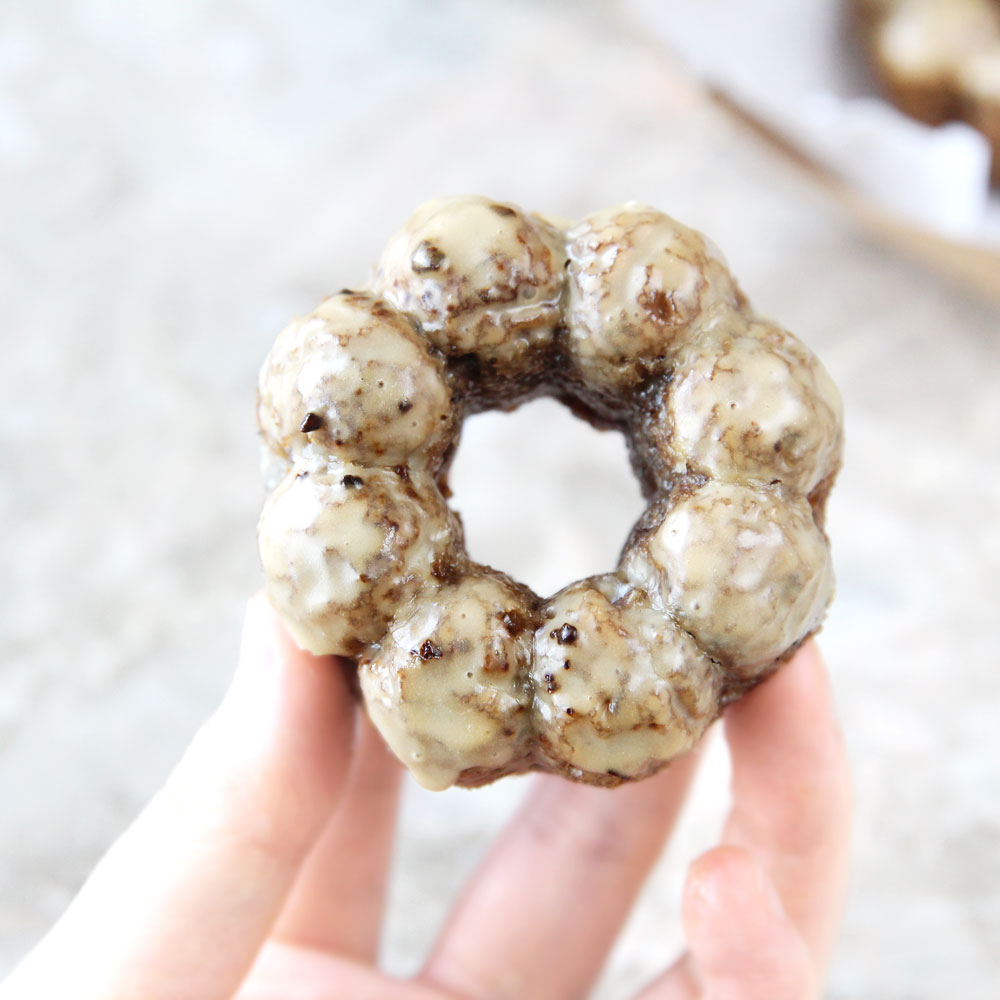
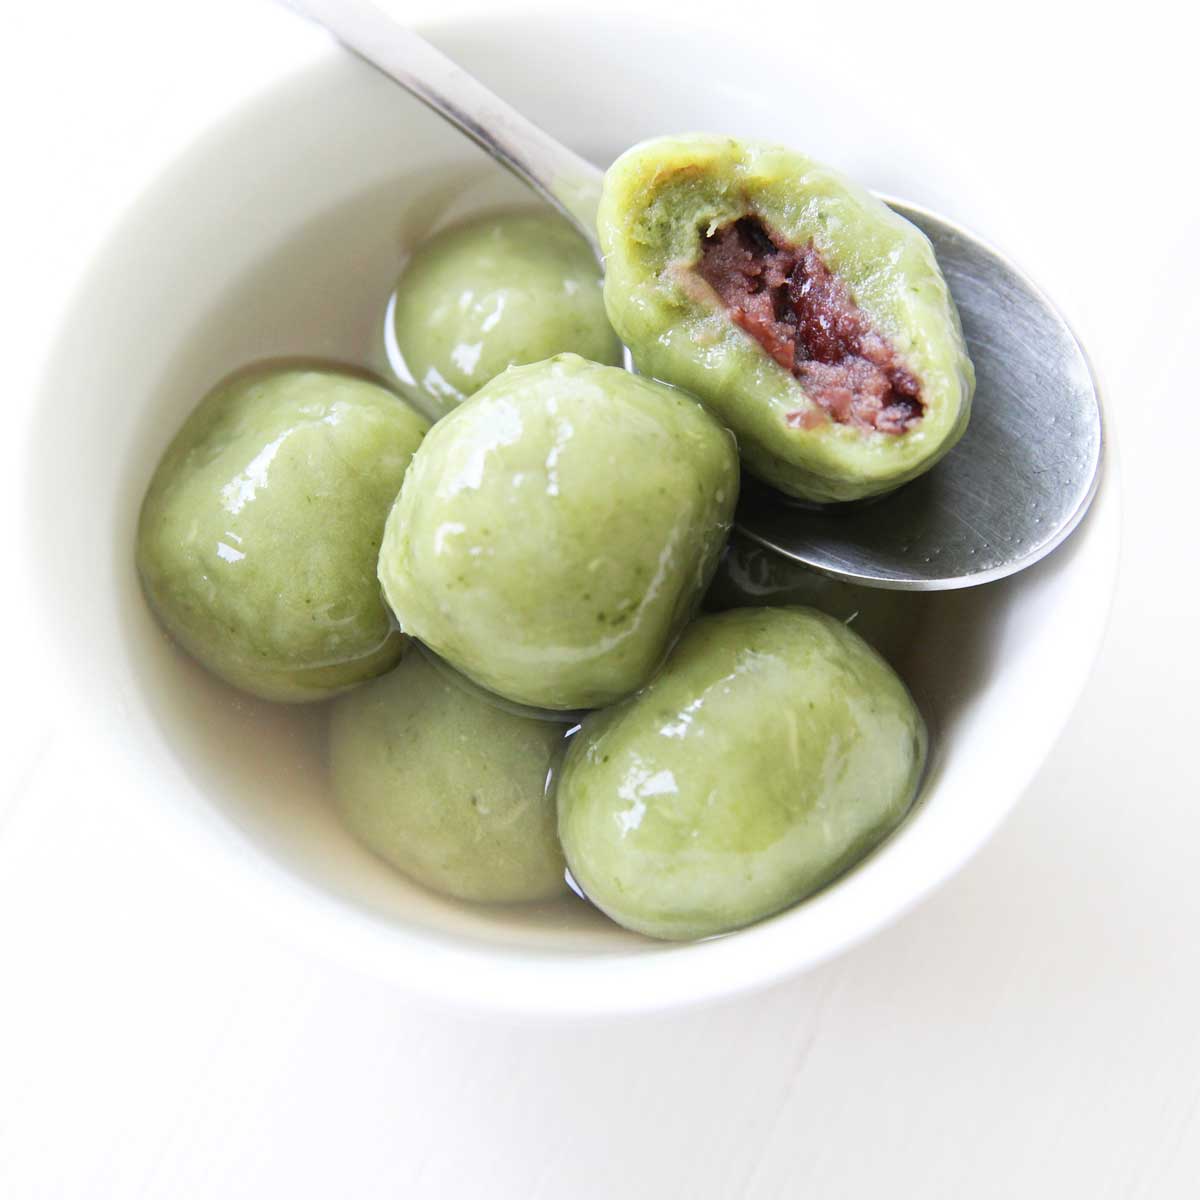
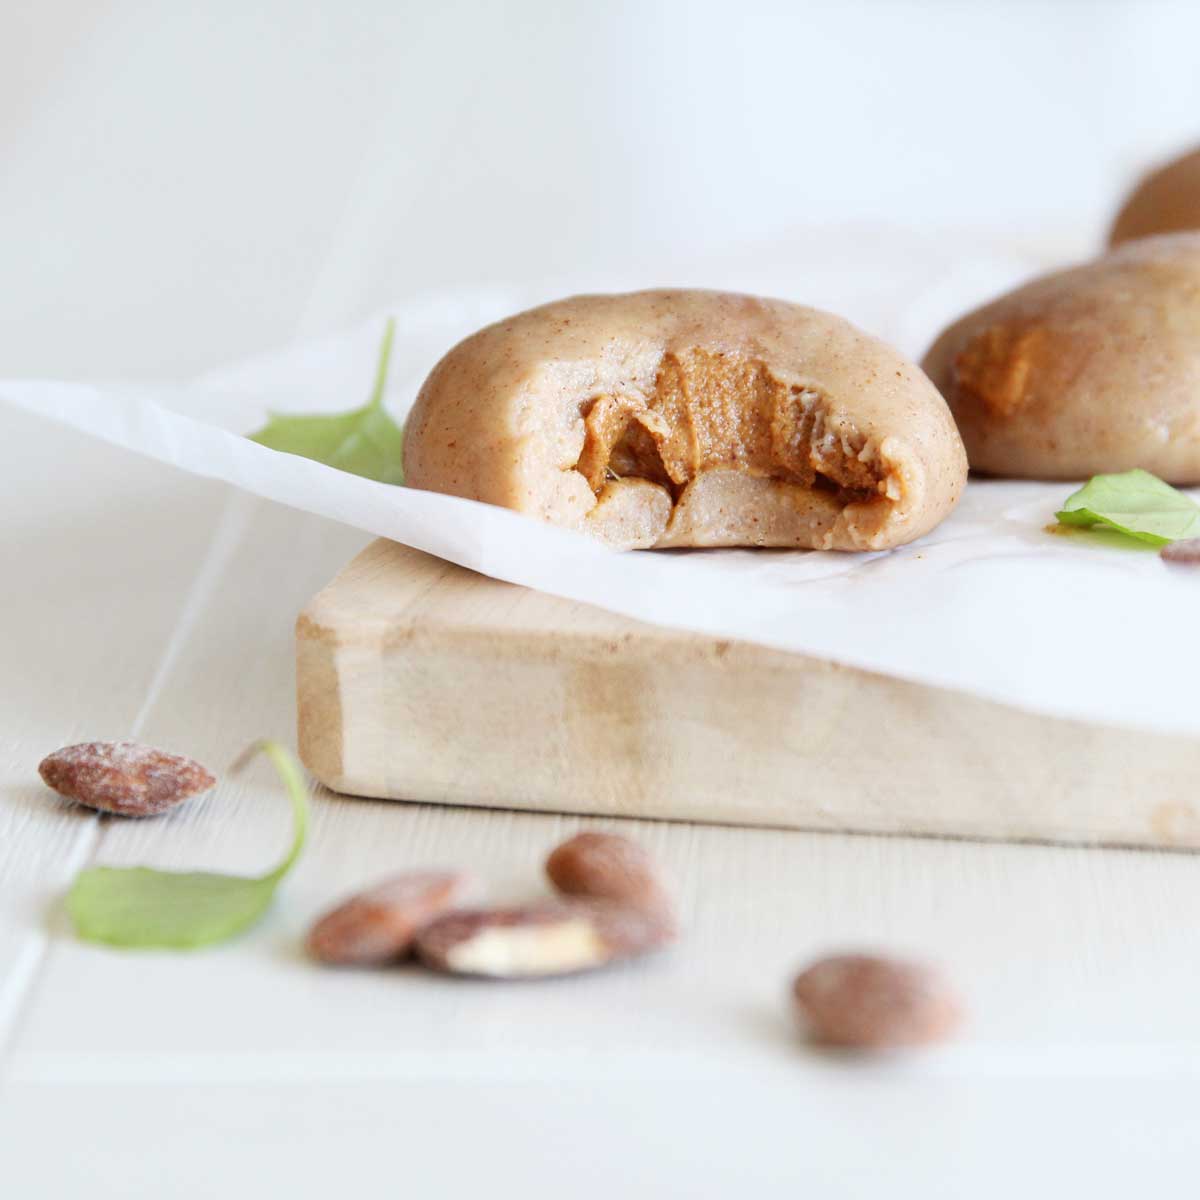
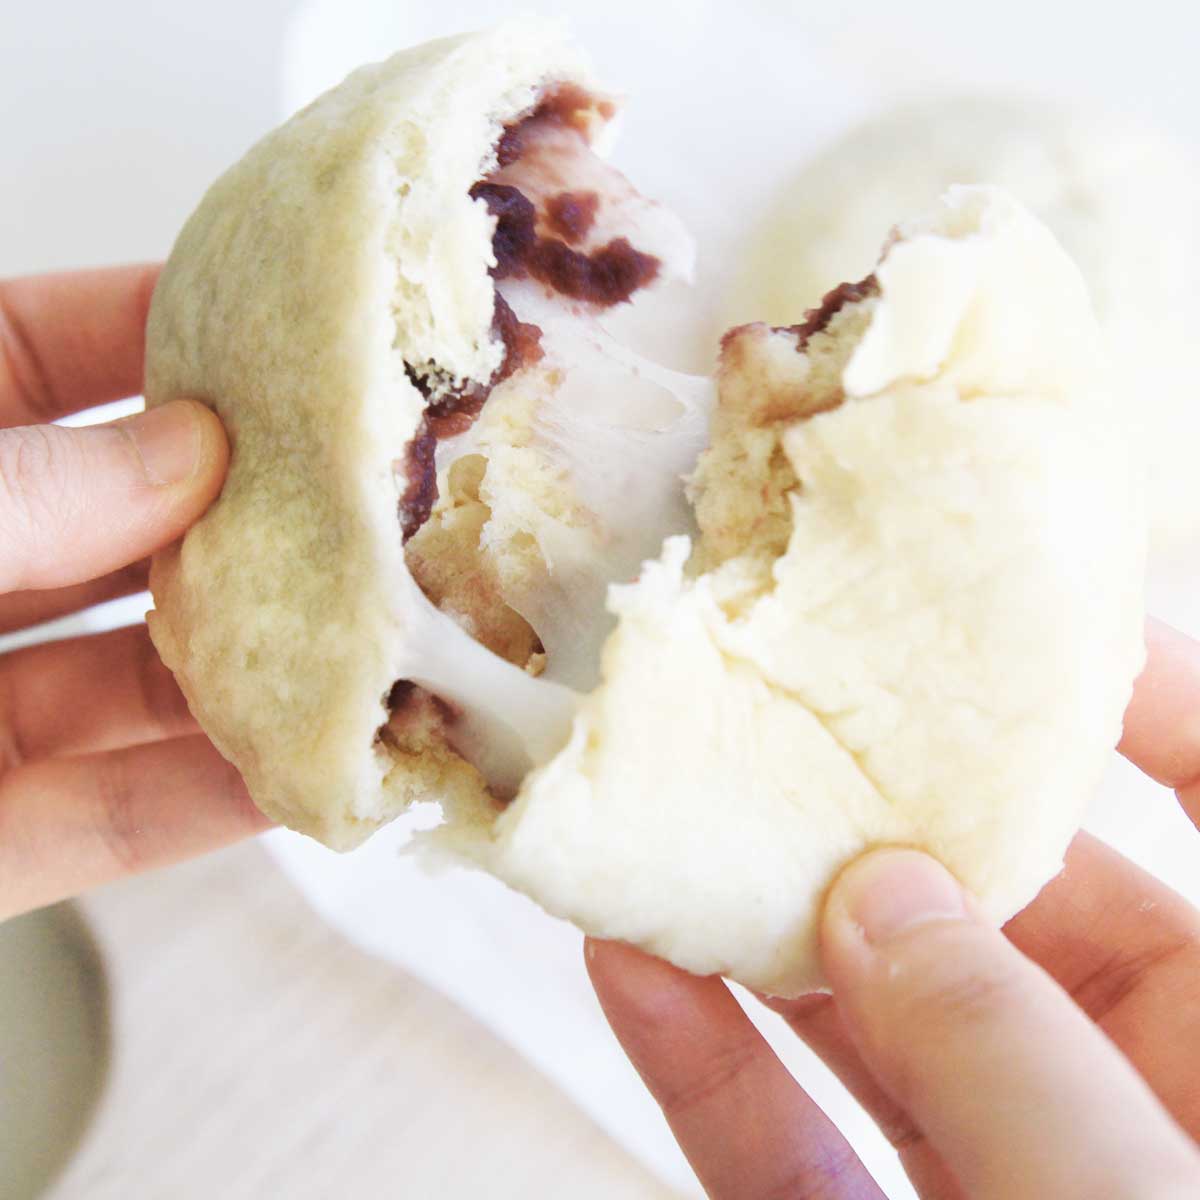
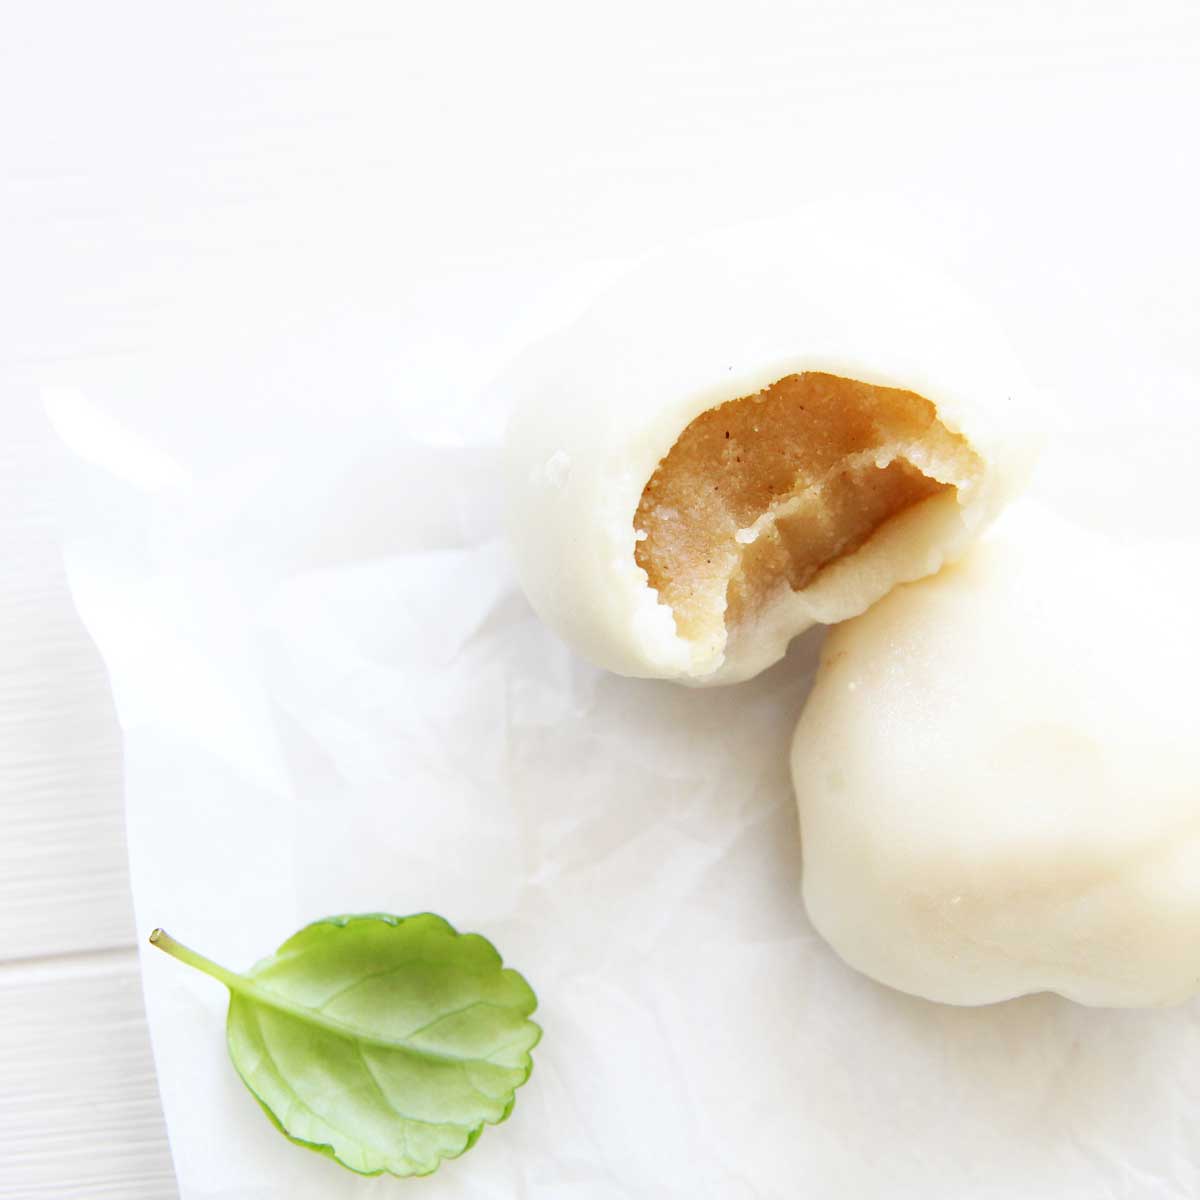
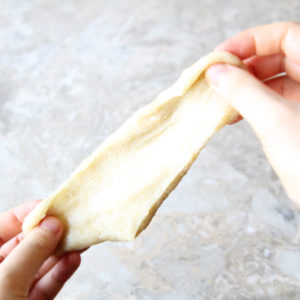
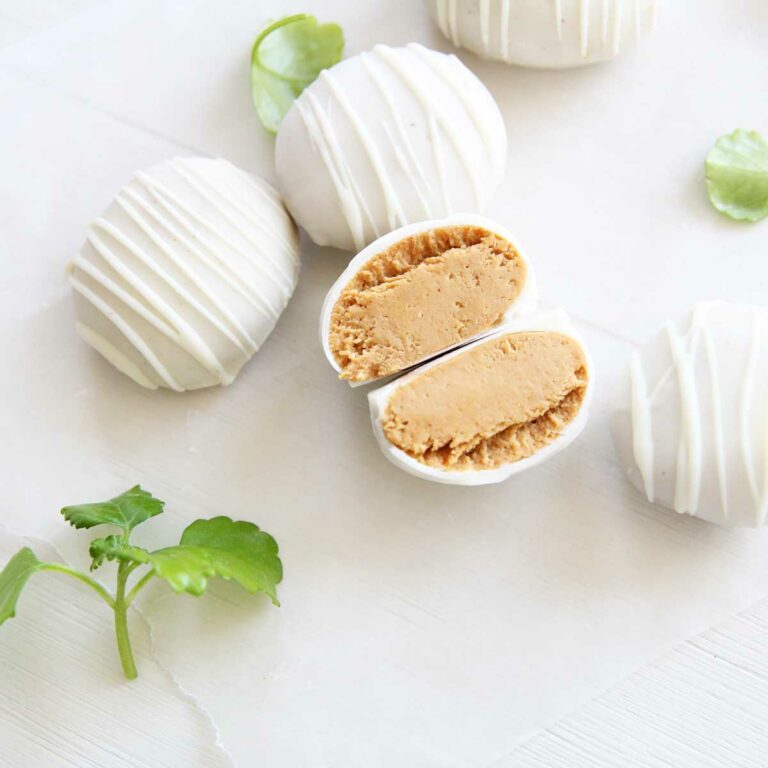
11. You can either tear off a few pieces of this mochi dough and make mochi filled with sweetened red bean paste, like this one.
IMPORTANT: it’s difficult to work with mochi once it’s cooled, so work quickly or microwave the mochi in between shaping.
OR
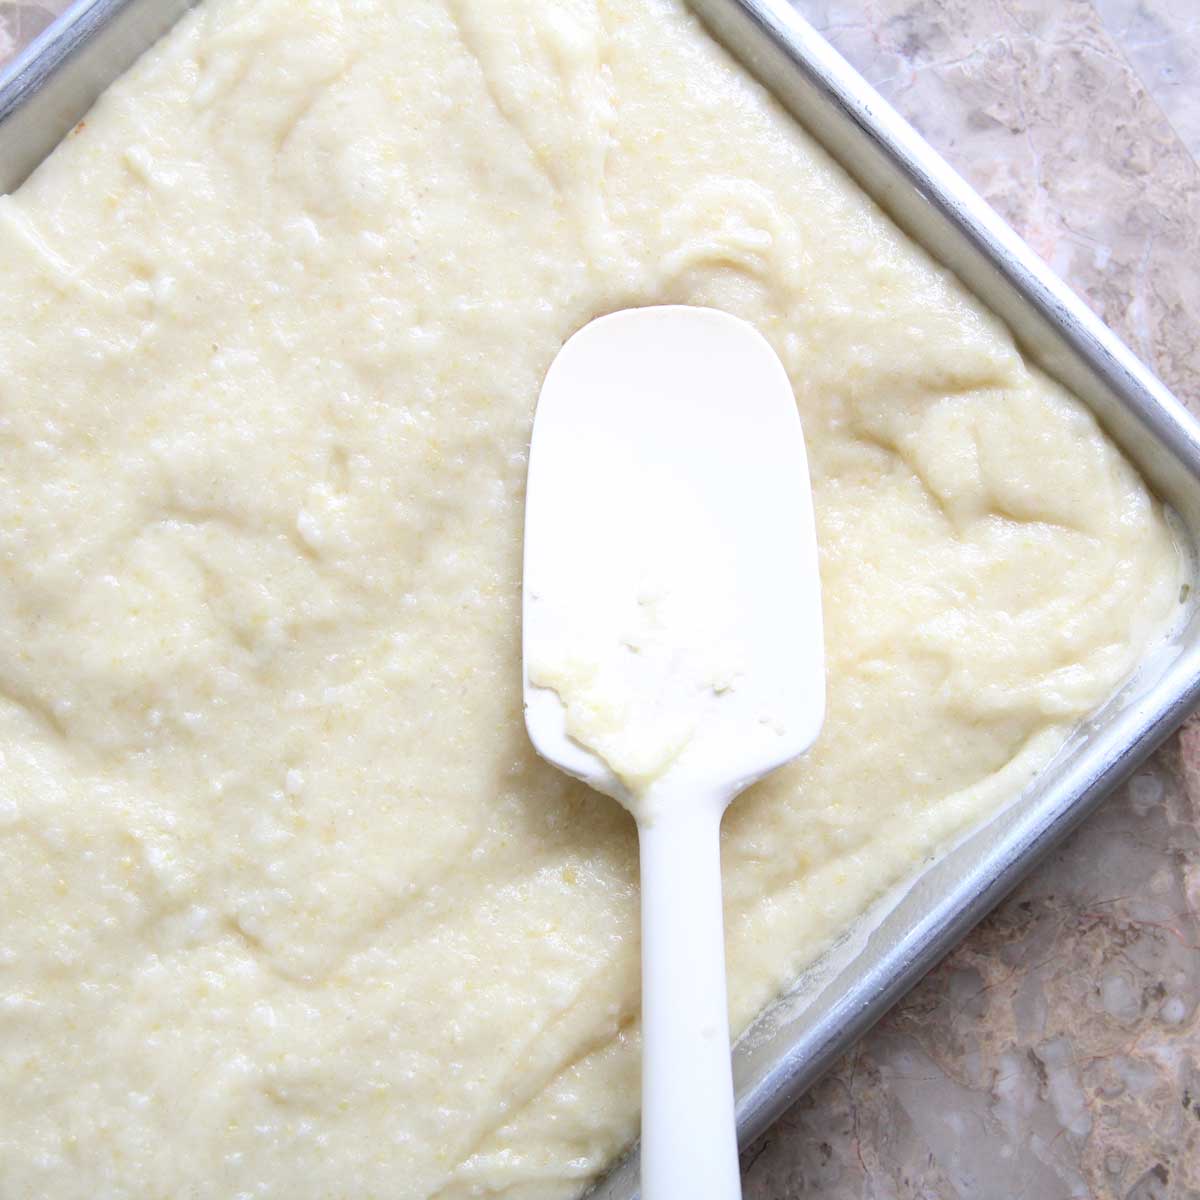
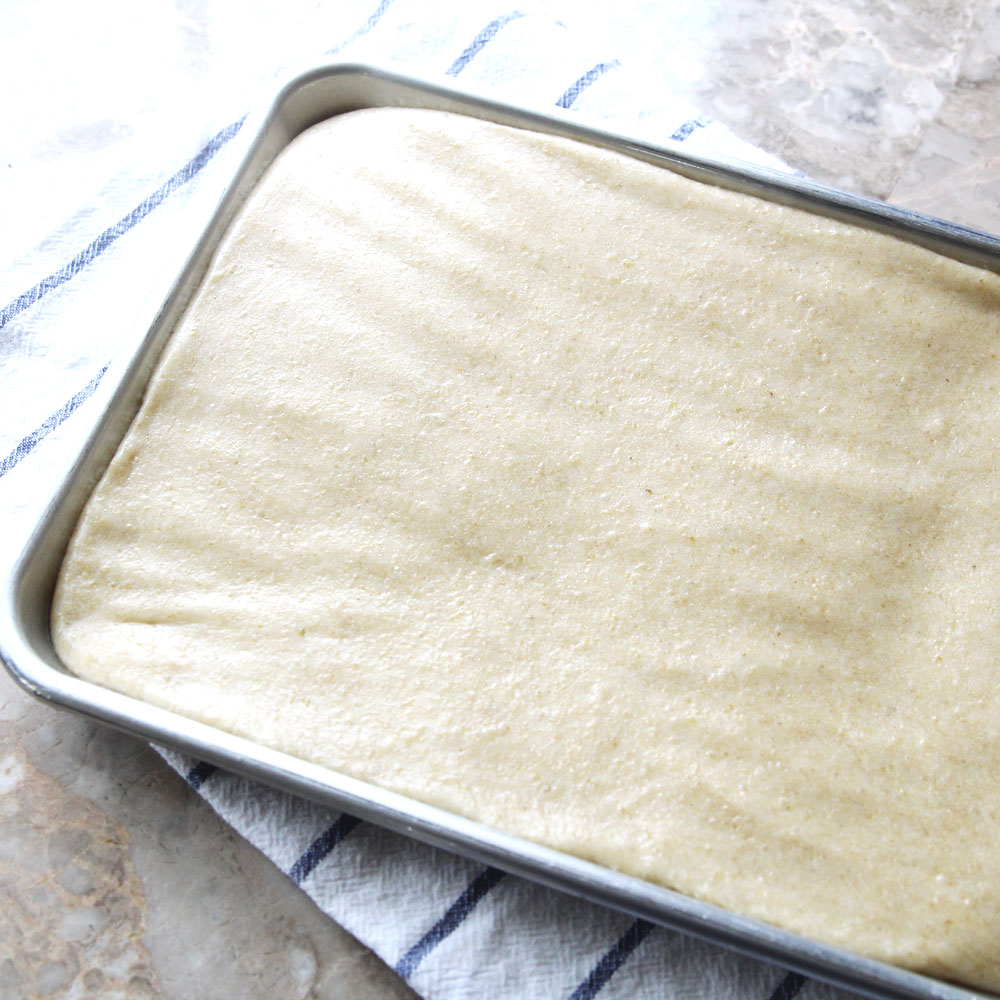
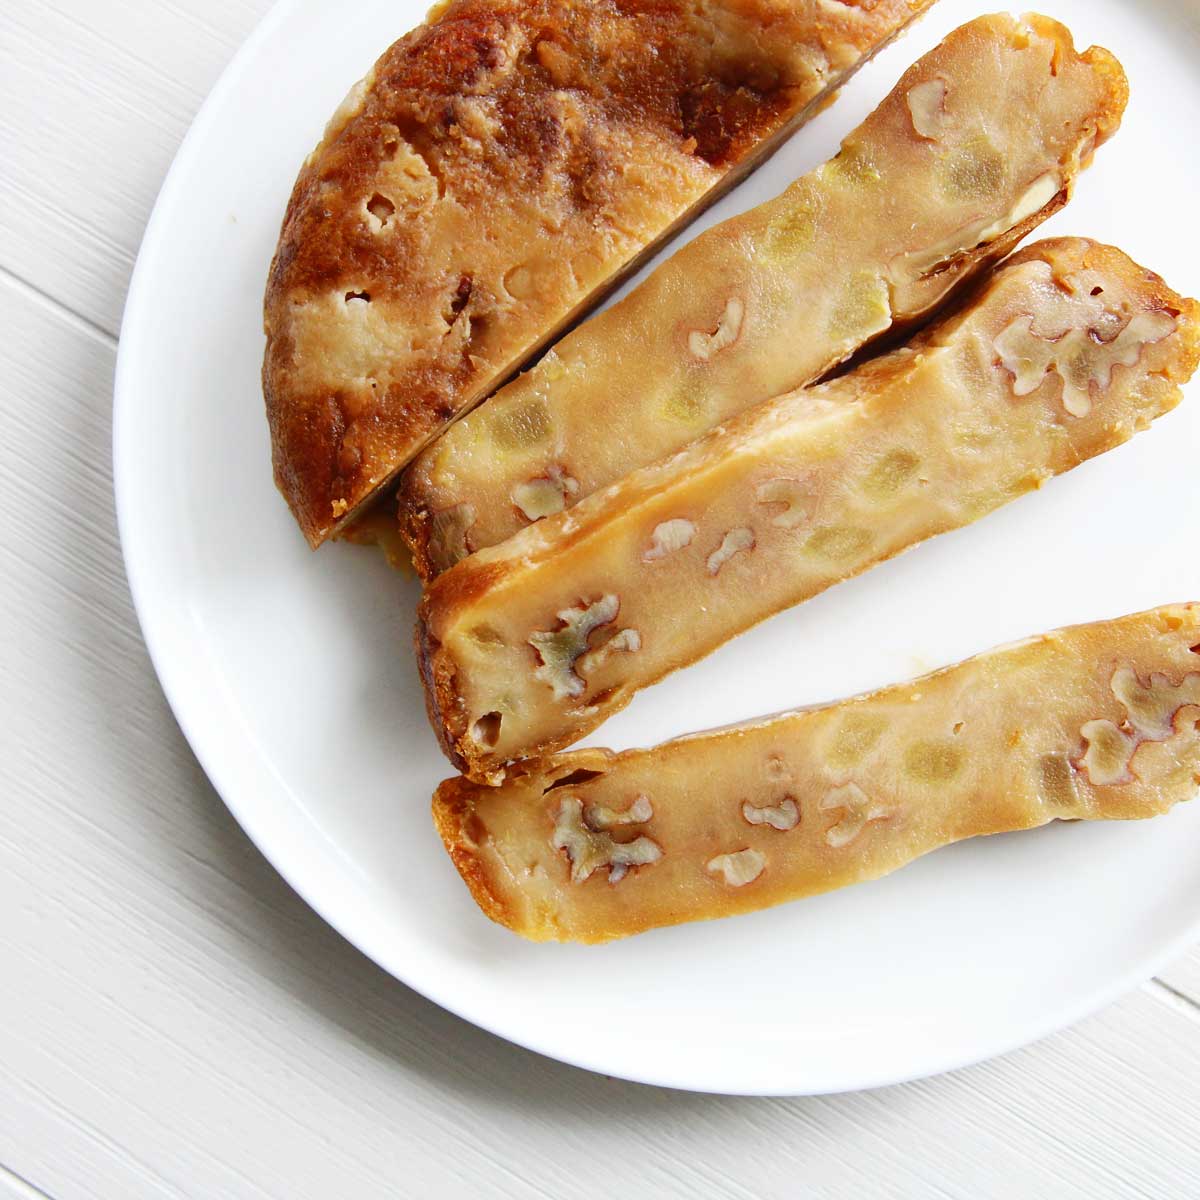
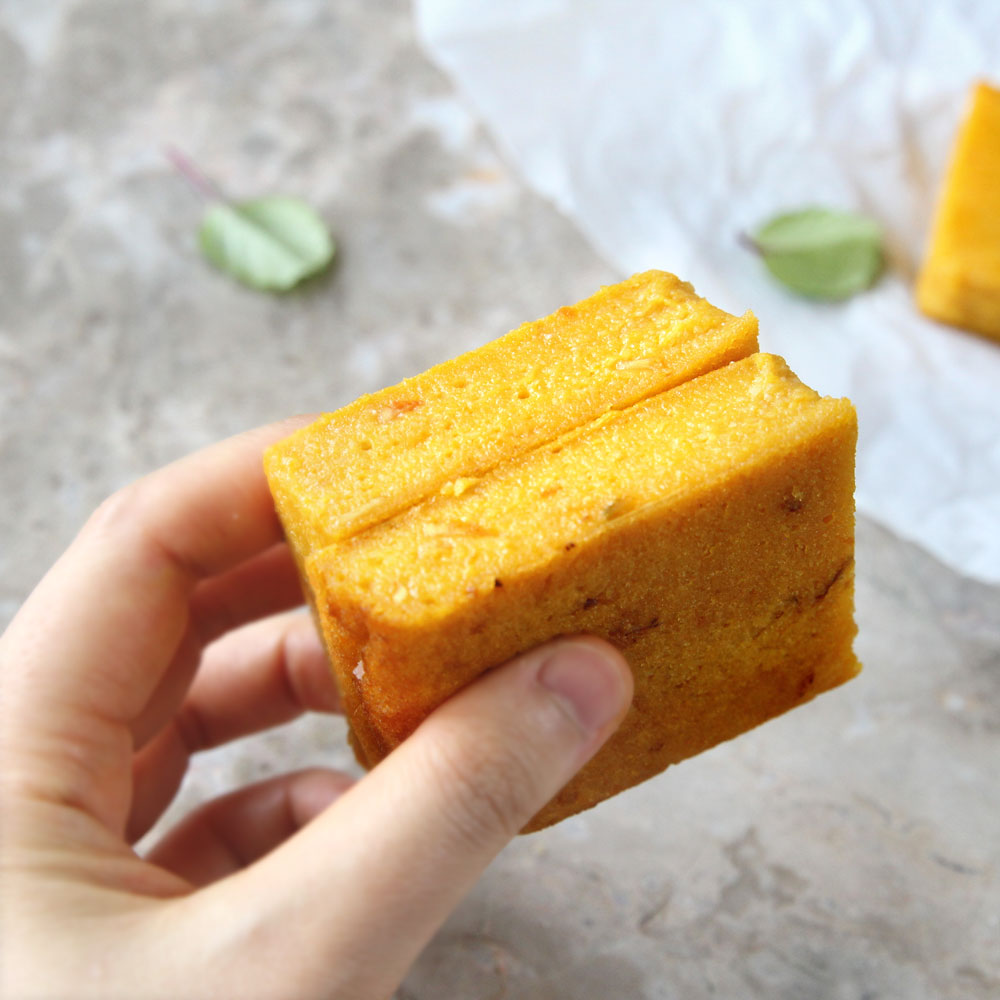
12. Use a silicone spatula or wet/oiled fingers to press the mochi dough into the pan.
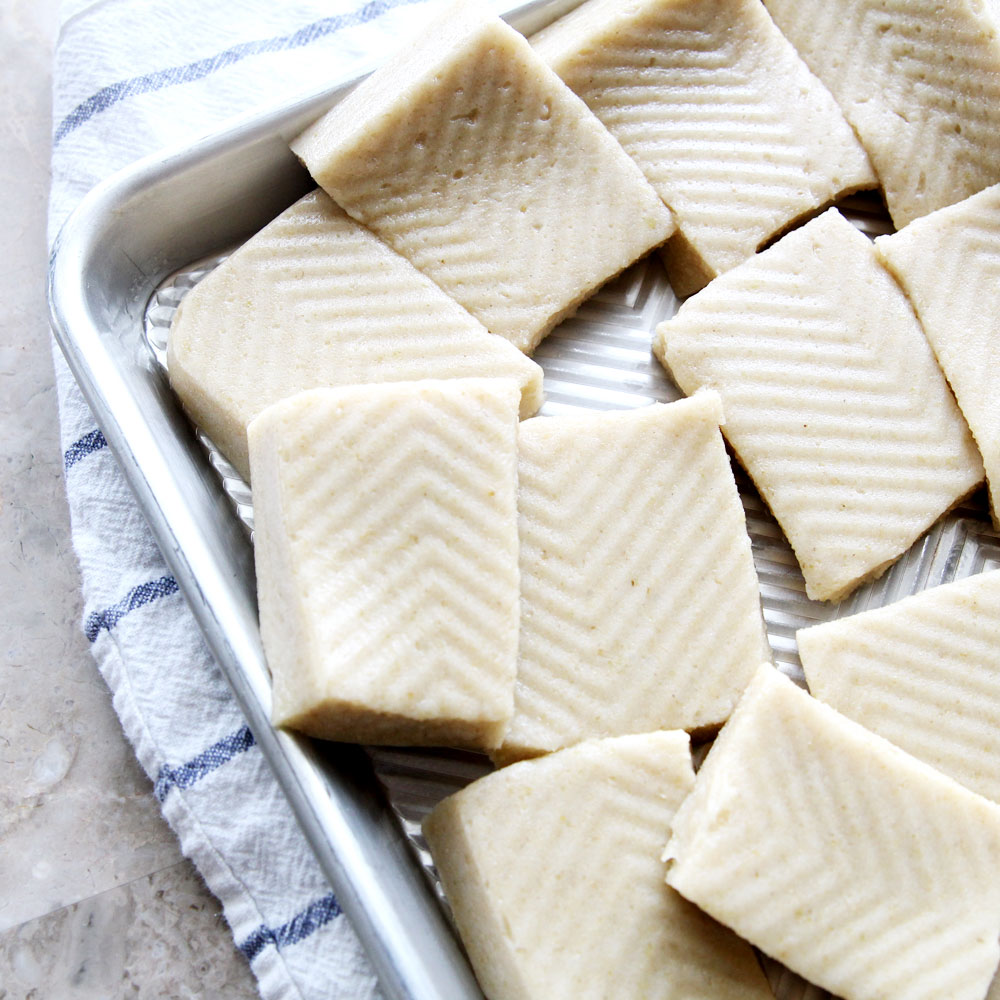
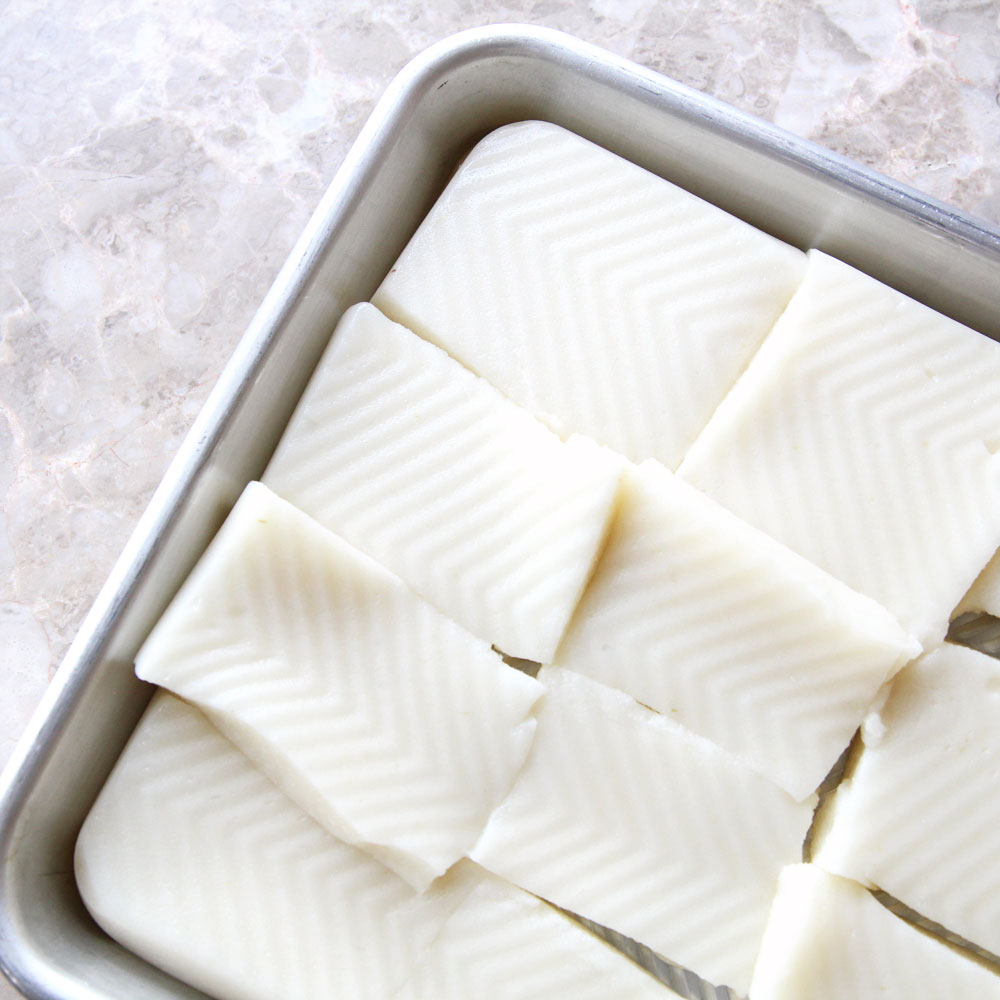
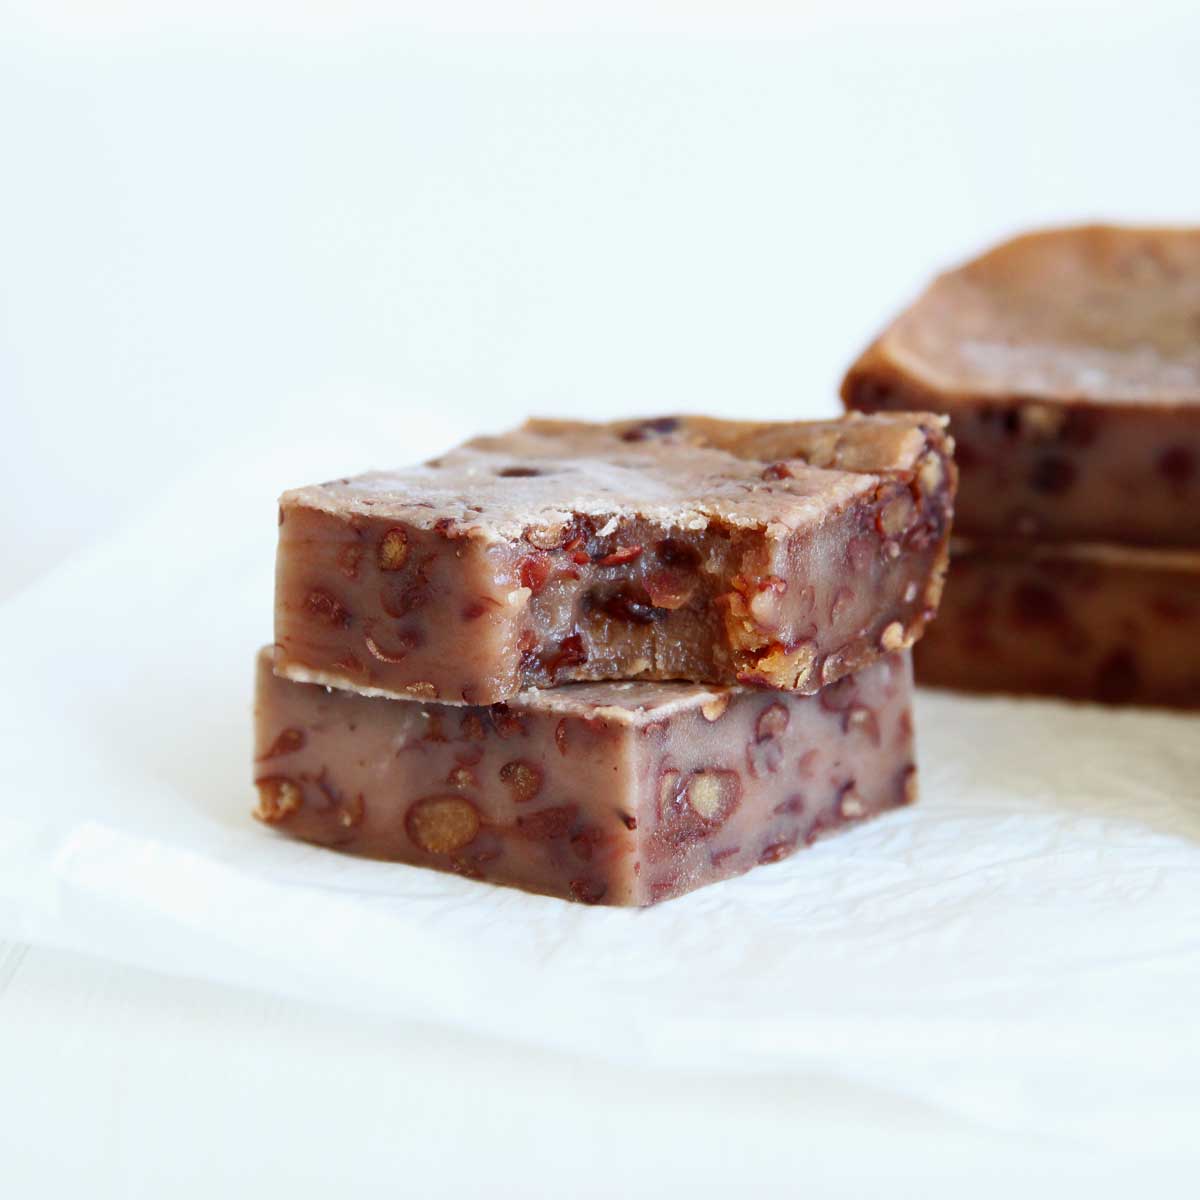
14. Turn over the mochi once cooled, and use scissors to cut into squares
14. Eat as is, or save for later by freezing them in one layer inside a large gallon Ziploc bag. Defrost at room temperature or microwave when ready to eat.
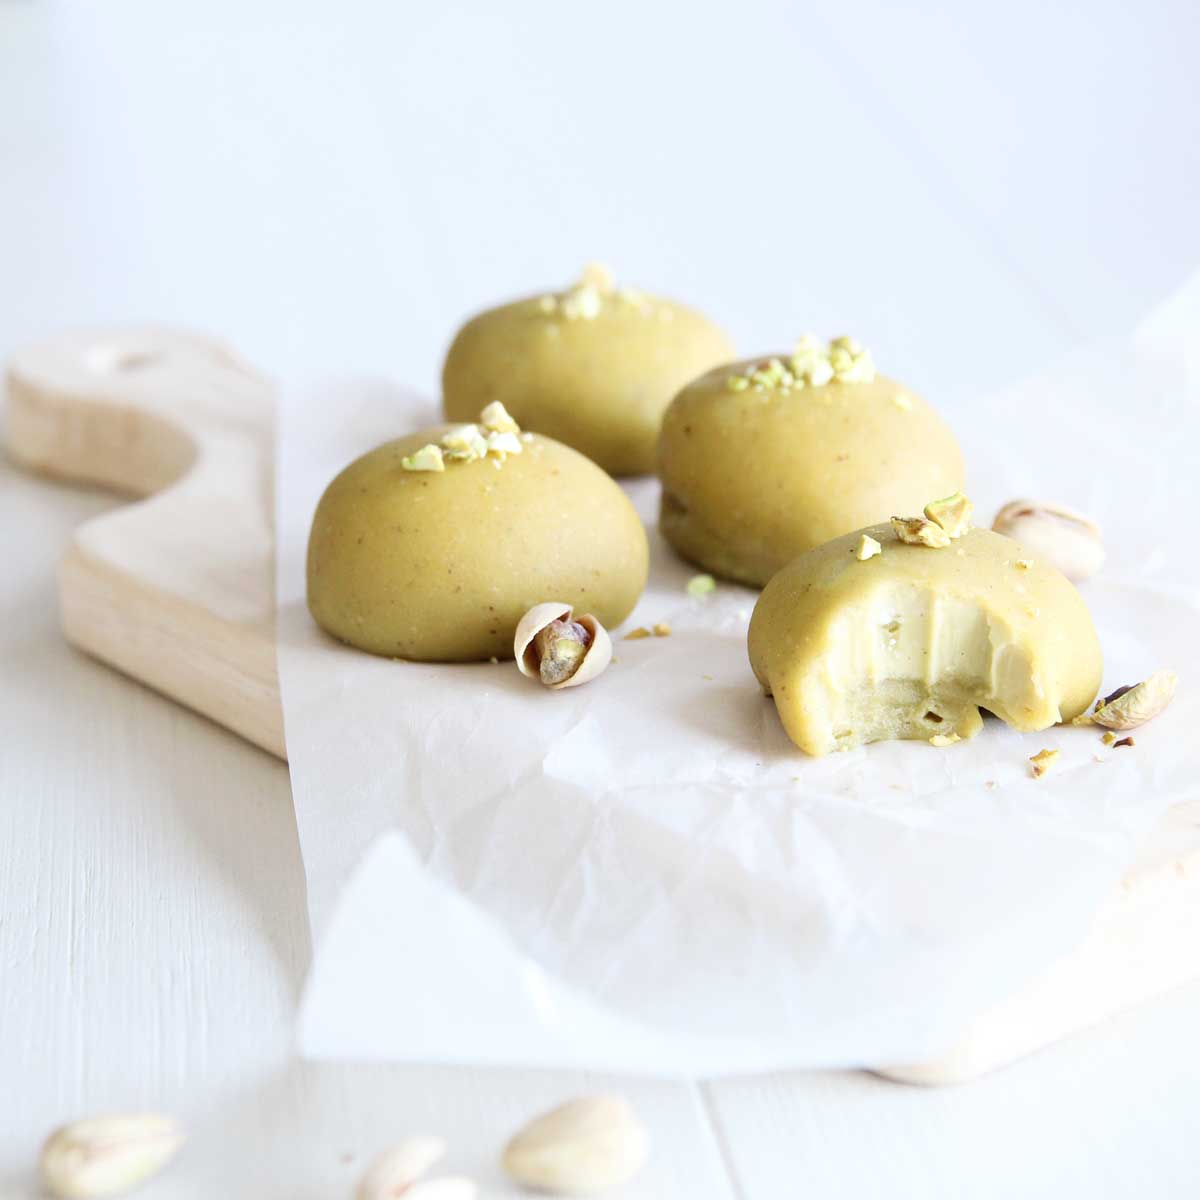
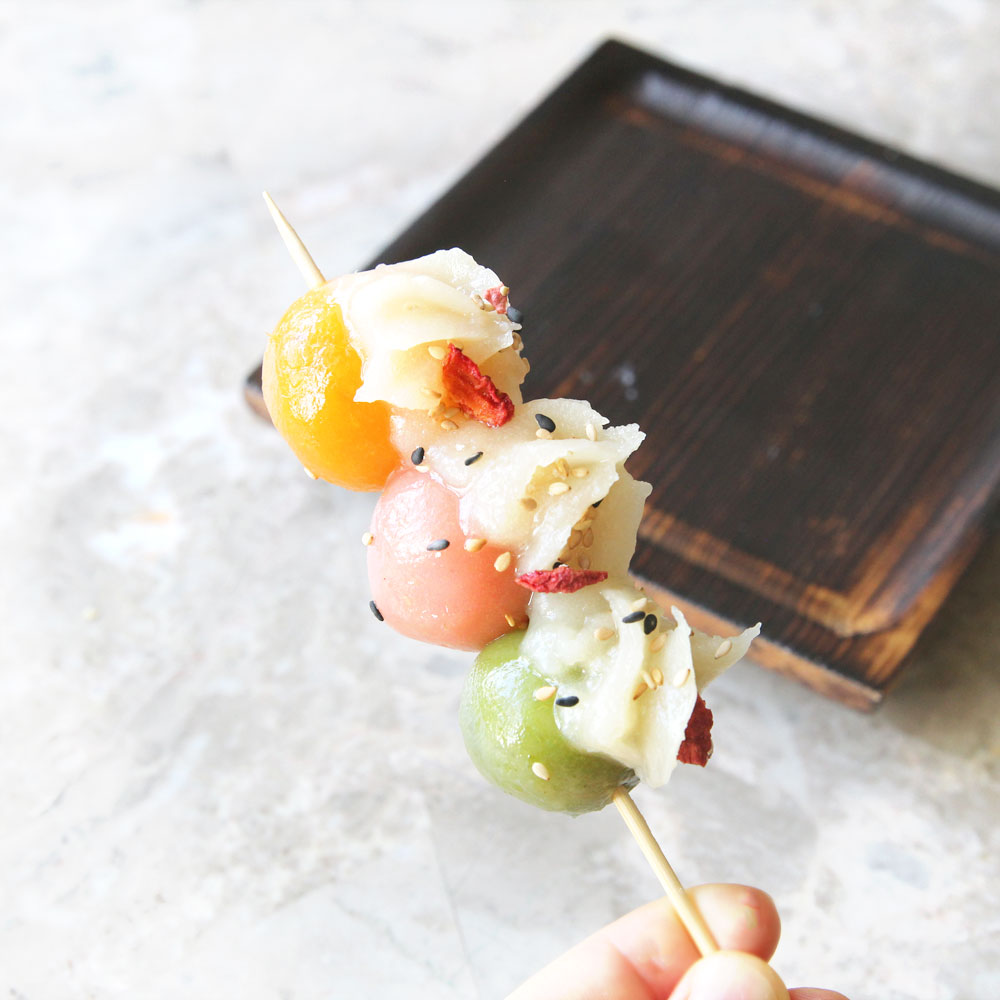
Variations / Other Ways You Can Enjoy Mochi
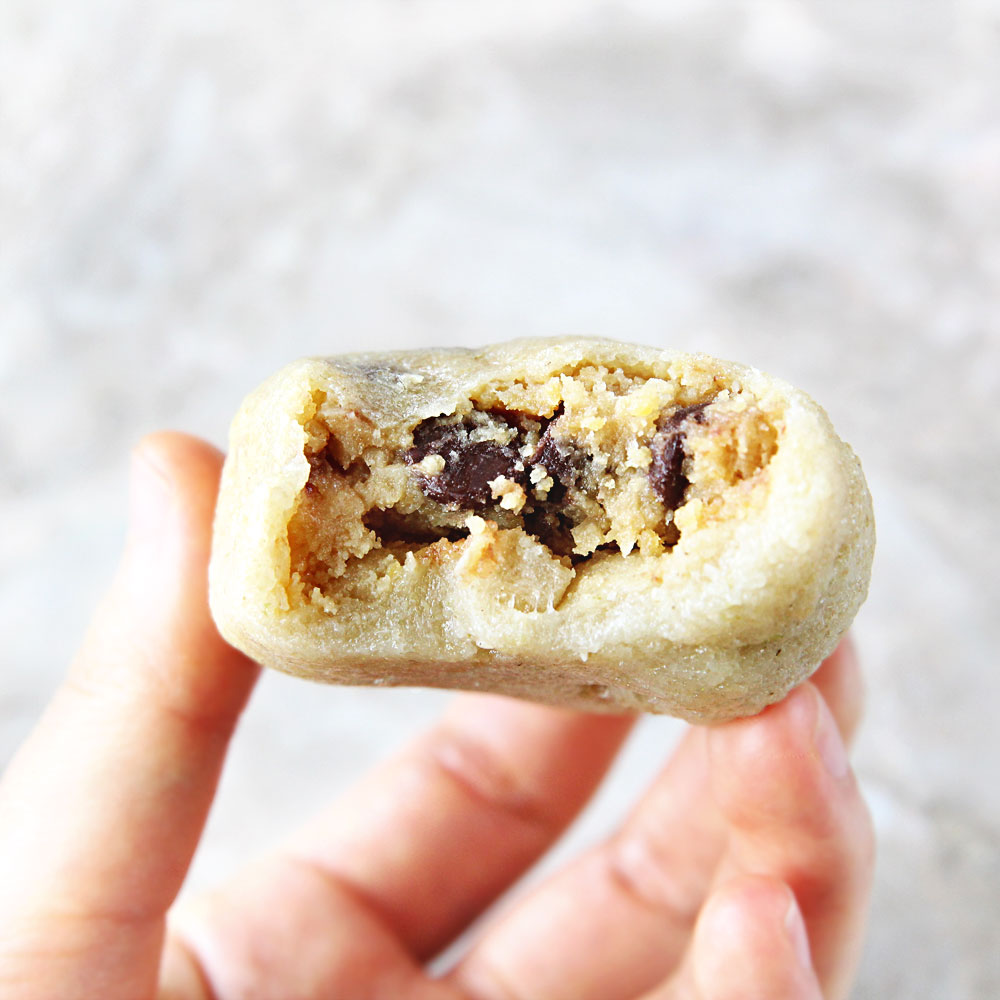
1. STUFFING IDEAS
- Sweetened Red Bean Paste (a.k.a. Koshi An): I eat this stuff by spoonfuls! It's a versatile ingredient that goes inside my sweet rice mochi recipe as well my tofu mochi recipe, but it's also used as fillings inside sweet breads, pancakes, cookies and more. You can find Sweetened Red Bean paste in most Asian grocery stores, and online (Amazon).
- Sweetened White Bean Paste (a.k.a. Shiro An)
- Icecream
- Check out more recipes below

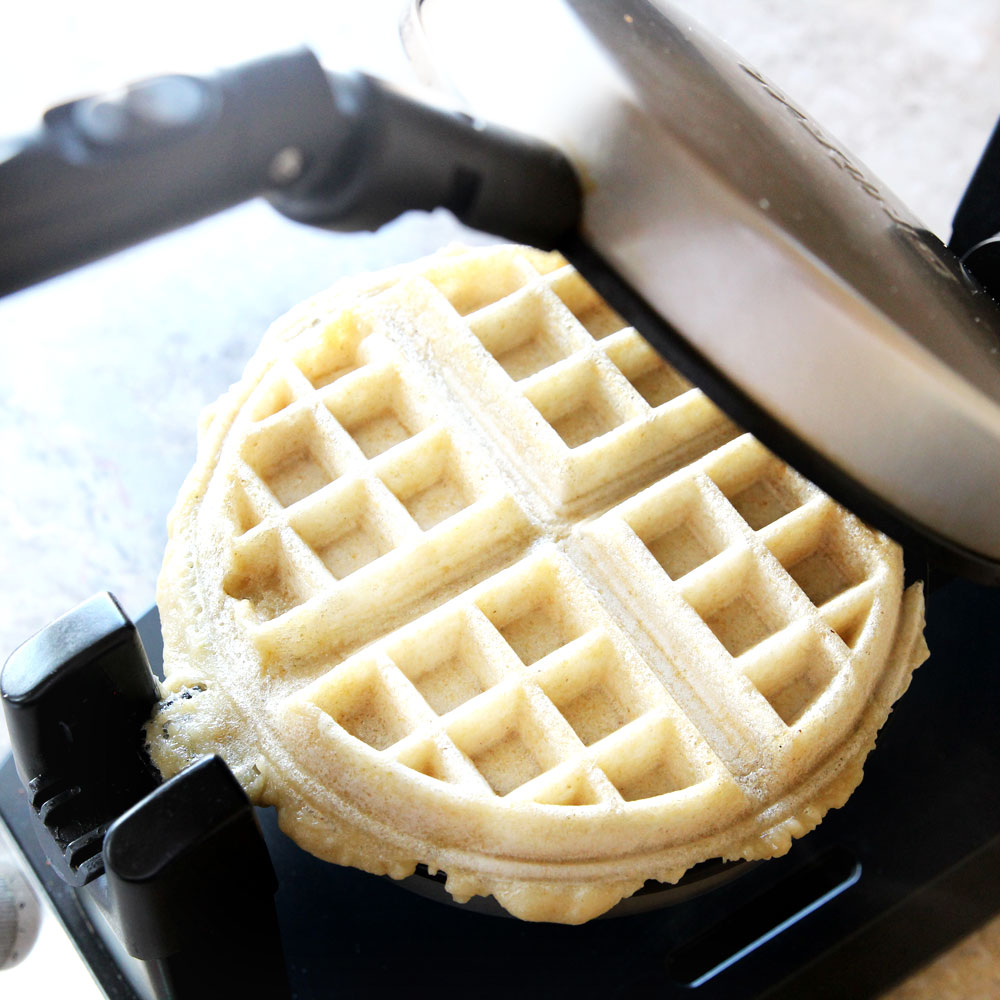
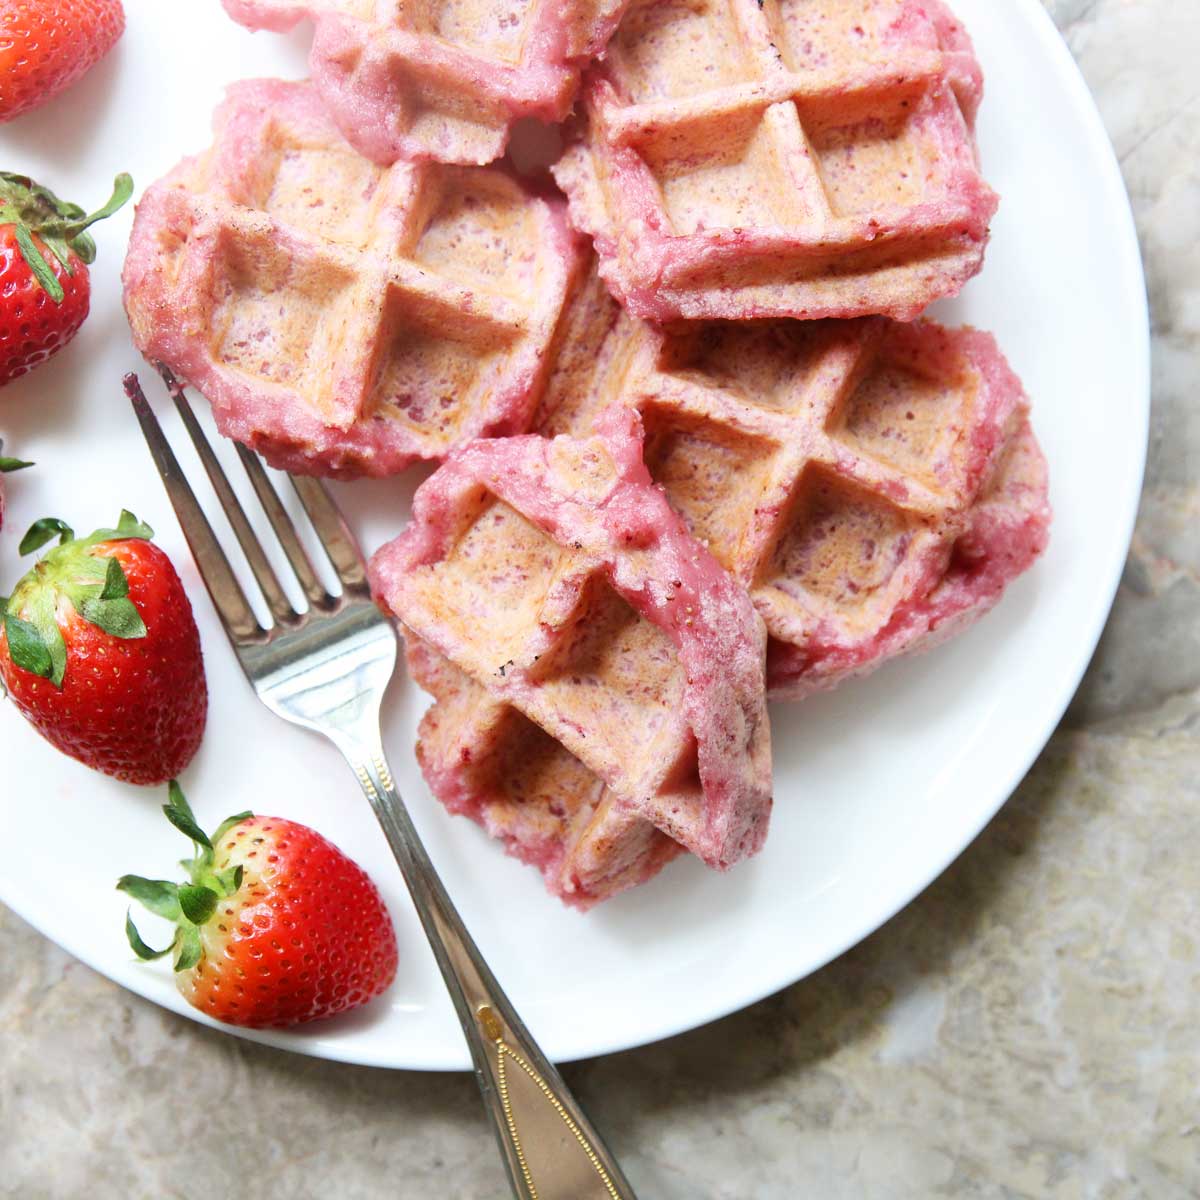
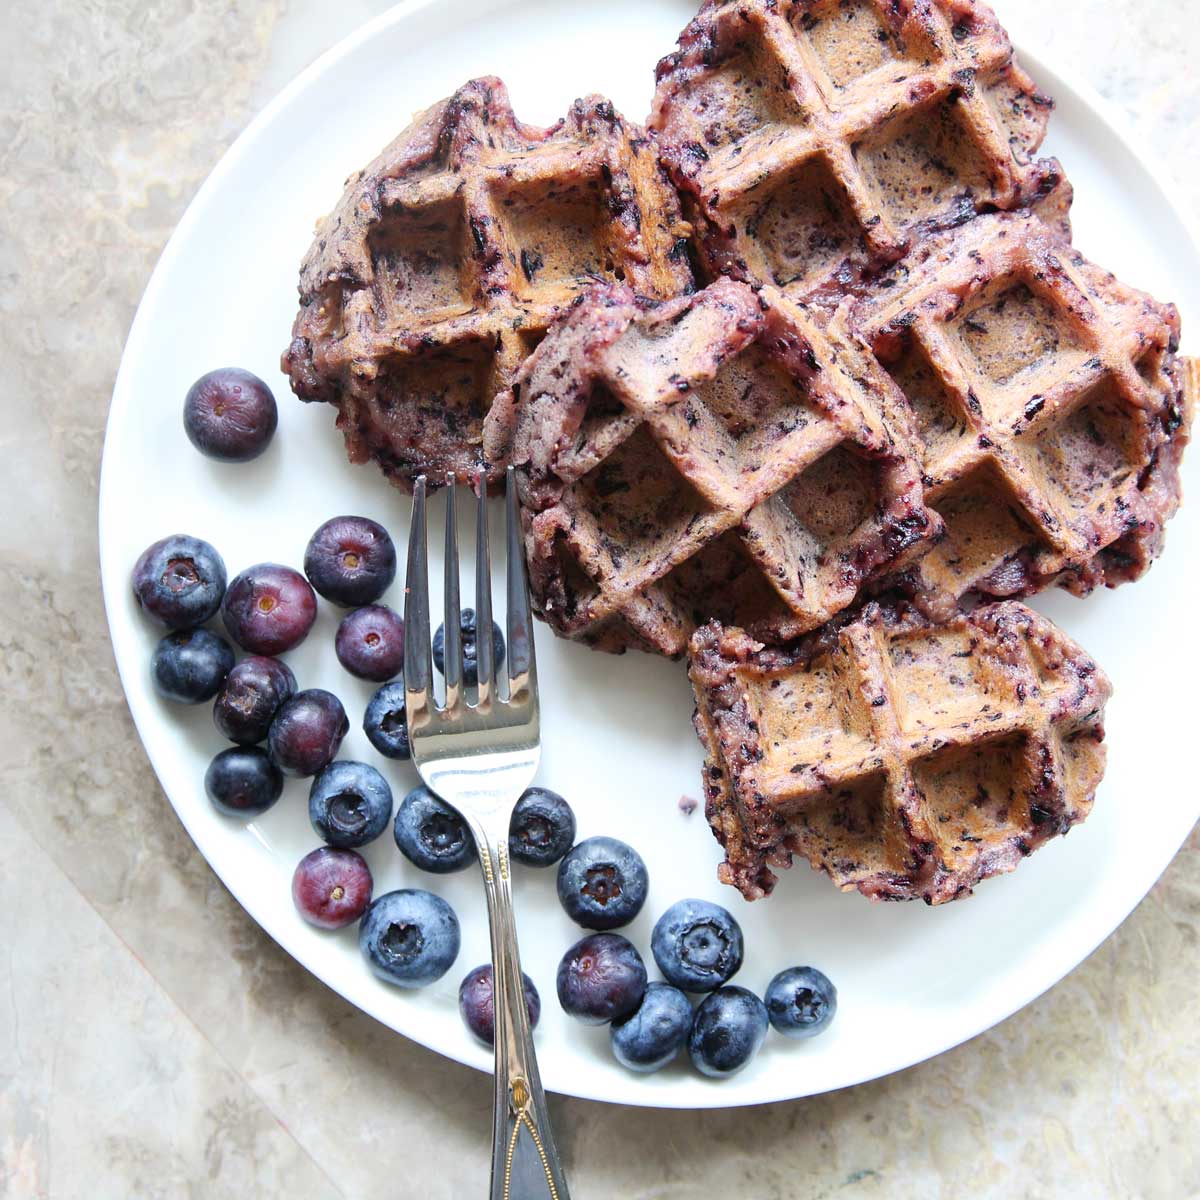
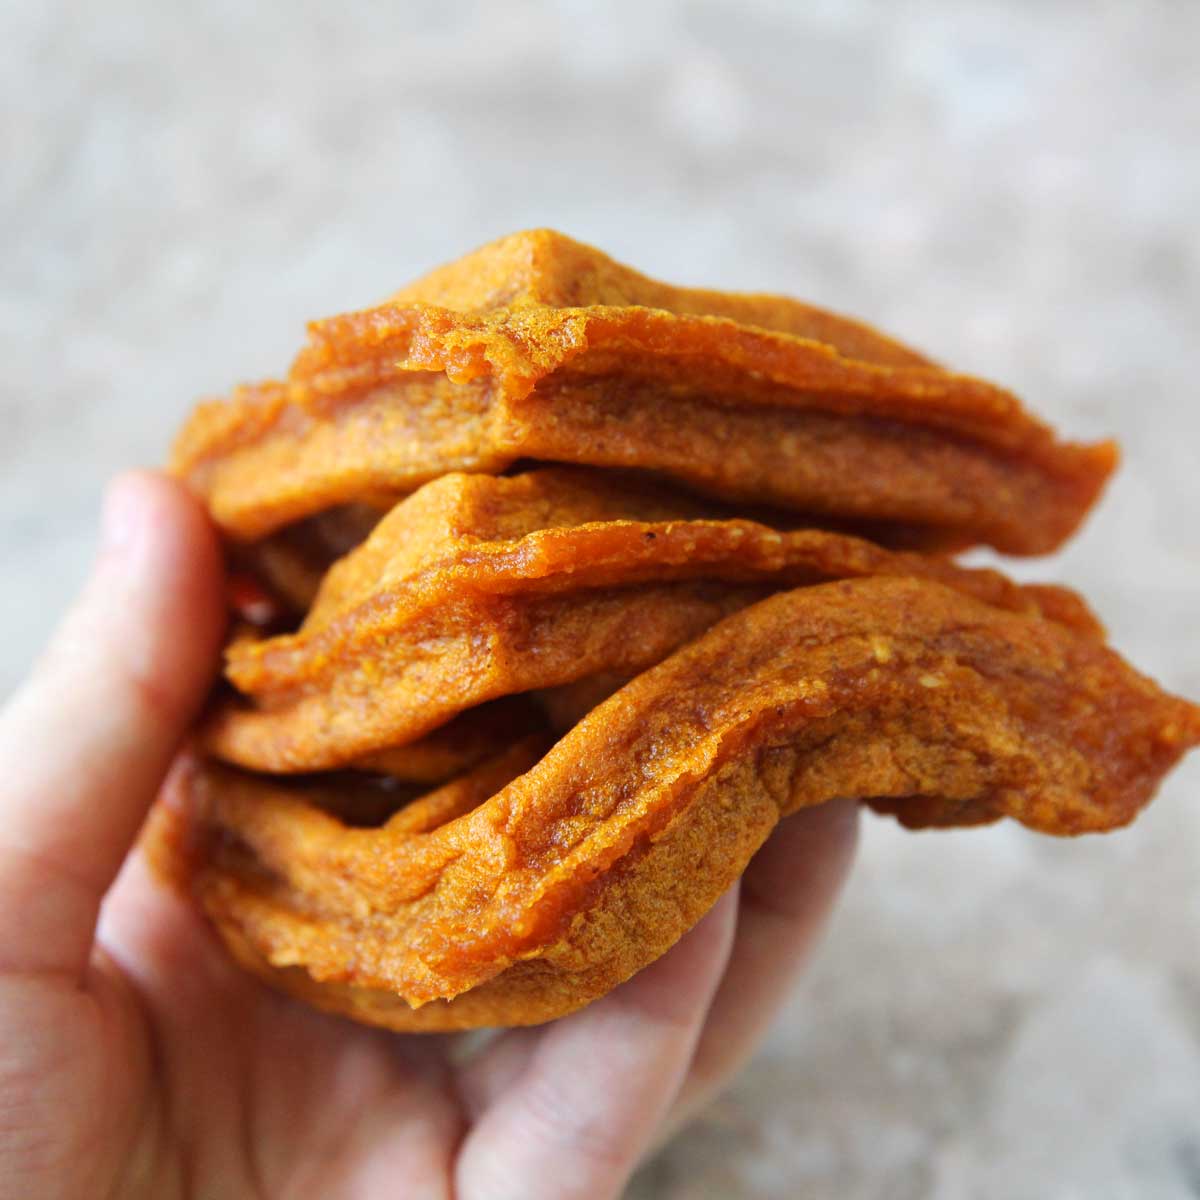
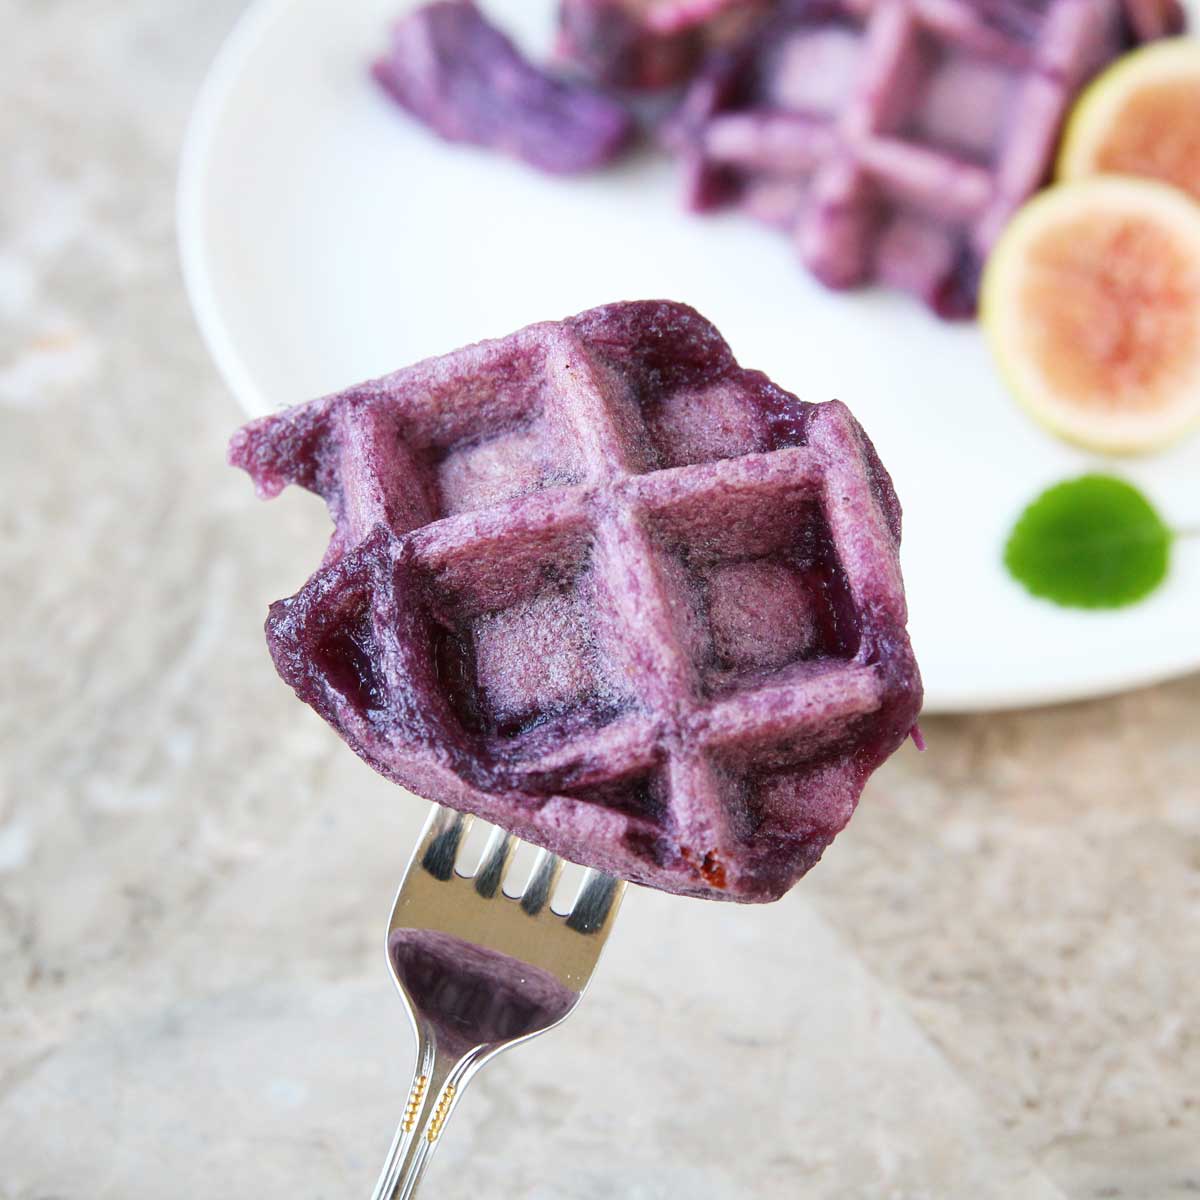
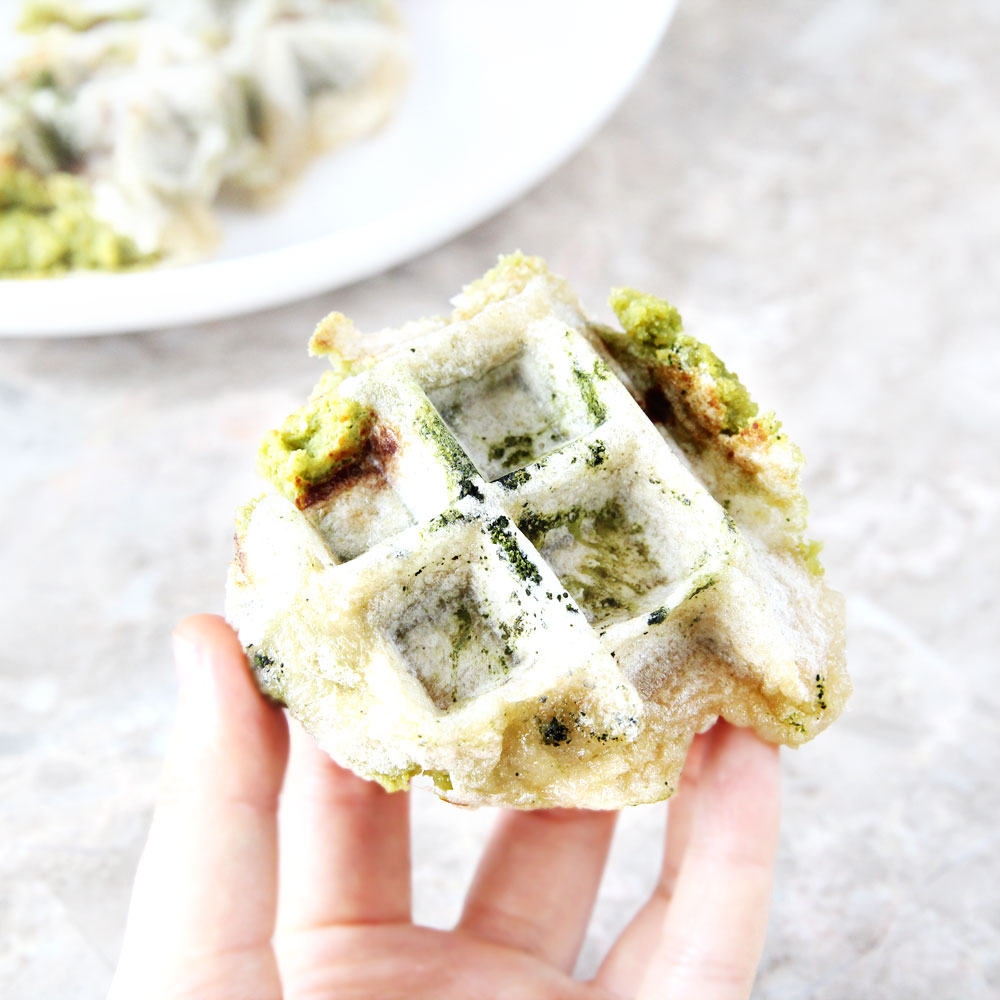
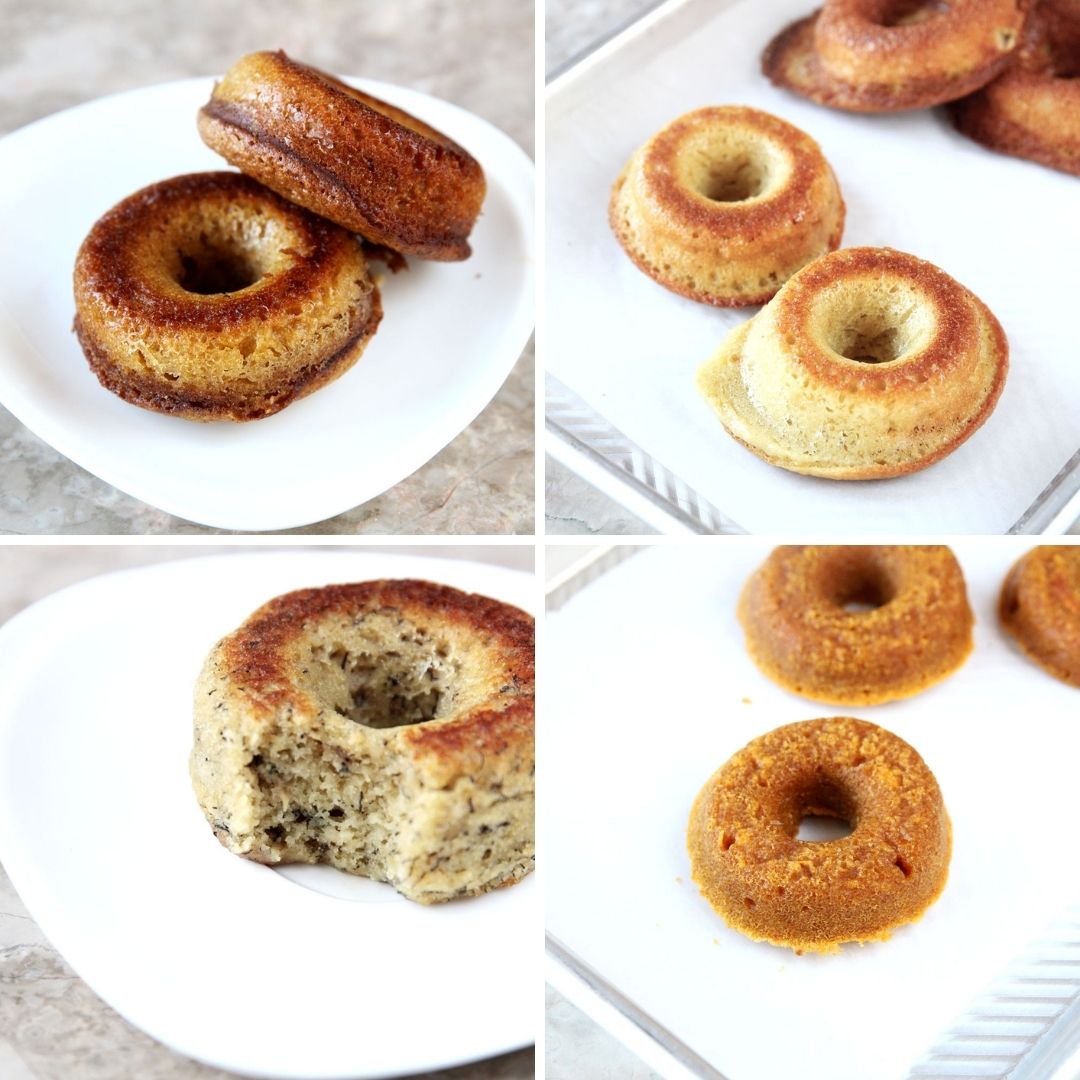
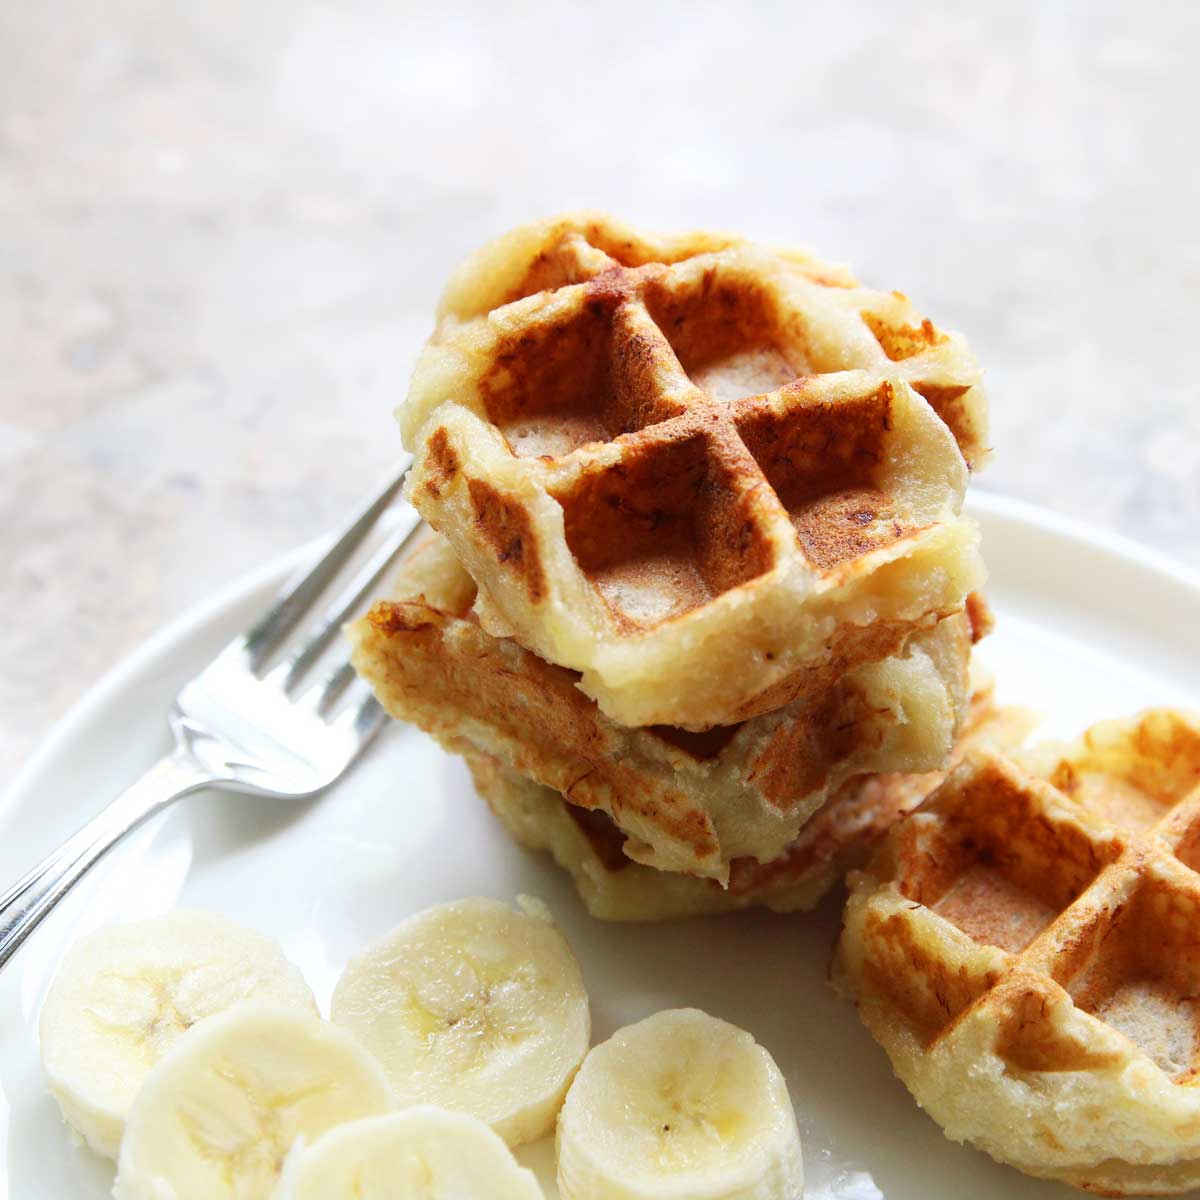
2. Waffled!
Lay the mochi squares on a pre-heated waffle iron, cook for about 3 minutes and watch it puff up! See the full recipe here
Tips:
- Be sure to use glutinous brown rice (sweet brown rice)
- Soak the rice to ensure the softest consistency

You Might Also Like these Mochi Posts


Brown Rice Mochi (Using a Mochi Maker)
Ingredients
SOAK THE RICE IN WATER OVERNIGHT
- 5 cups glutinous brown rice uncooked, whole grain
- enough water for soaking
ADD TO THE STEAMER
- 2 cups of water
ADD DURING THE POUNDING PROCESS
- 1 tsp salt
- 3 Tbsp granulated sugar of choice optional
- ¼ to ½ cups of water optional
USE AFTER THE MOCHI IS OUT OF THE MACHINE
- oli of choice such as olive, canola or vegetable oil
- mochi filling of choice
Instructions
- Wash, rinse then soak the 5 cups of glutinous brown rice in 8-10 cups of water in a bowl or large container overnight (about 8-12 hours), at room temperature
- Drain the rice and refill the water so that it's above the rice.
- Cover the bowl or container and this time place in the fridge for another 36 hours (so 48 hours of soaking time in total) to let the brown rice absorb the water and become more tender.* (READ NOTE FOR SOAKING TIME)
- After soaking, drain and grind the brown rice in a food processor until you get a flour that resembles coarse sand. Transfer the ground rice to the steamer bowl.
- Prepare the mochi maker by filling it with 2 cups of water (there is a separate area for this, right below where the steamer bowl should be placed).
- Fit the steamer bowl (with the ground rice) into the machine.
- Close the lid and press STEAM (an alarm will go off when it's done)
- Press POUND when the machine is done steaming the rice.
- Open the lid and sprinkle in the salt and sugar. Add the water, along with the optional coloring.
- Allow the mochi to pound for 15-20 minutes and stop the machine. Pour into a well greased pan and let cool.
- Use scissors or a sharp knife to slice and portion the mochi. Enjoy!
Notes


Anonymous says
Nice
All Purpose Veggies says
Thank you 🙂
O. Sees says
Wish I had a Mochi maker to make this
All Purpose Veggies says
I know what you mean! It's a big purchase and probably not worth it if you don't intend to make mochi regularly. Here's a mochi recipe that you can make using the microwave https://allpurposeveggies.com/4368/tofu-mochi-in-the-microwave/
Yunjin says
OMG I have been waiting for a recipe like this! I have a mochi maker I haven't used in ages! So what would happen if I just used regular, non sweet / glutinous brown rice?
All Purpose Veggies says
Hey Yunjin, I just tried using regular non-glutinous white rice (that's been soaked overnight and ground into powder) to see how it would turn out and it was a mess. The rice was clumpy and rock solid once it was steamed, so the mochi maker just could not pound it into mochi! My guess is that regular brown rice would end up the same way, if not worse. Hope I wasn't too late in answering your question!
Ben says
Hi. I’m excited to try this recipe! But I’m a little confused. The first step of the instructions says to soak the rice overnight and then for “another 36”. Does that mean another 36 hours? 3-6 hours? 36 minutes? It’s unclear.
All Purpose Veggies says
Hi Ben, thanks for pointing this out! It's 36 more hours (so 48 hours in total) and I've updated this section so that it's clearer.
Daly says
Oh wow!! Here in Germany you just have one option for mochigome rice if you want to have it organic and that's the brown rice version. I have tried a it a few times with slow progress. But with your hints on soaking for 48 hours and the water measurements I successfully could make mochi with my Kenwood Chef and Sage grinder machines! Thanks a lot Bora!!