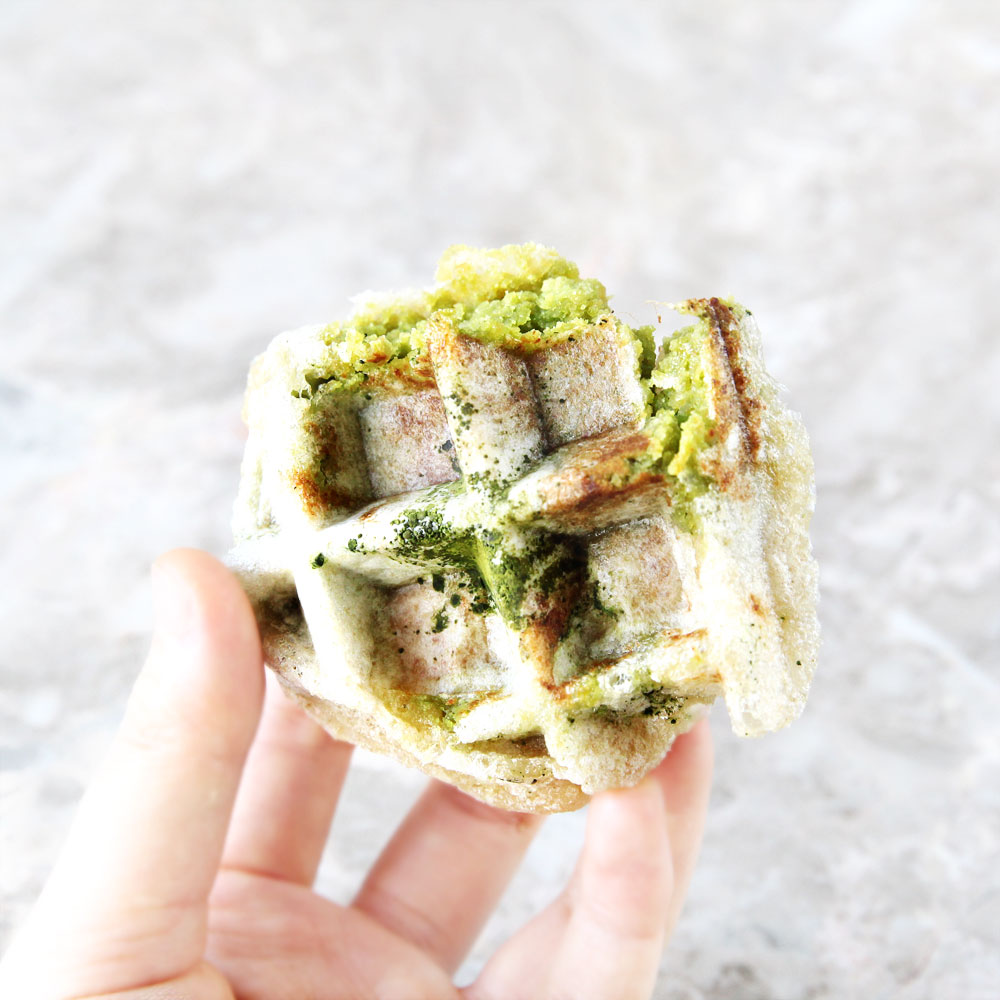
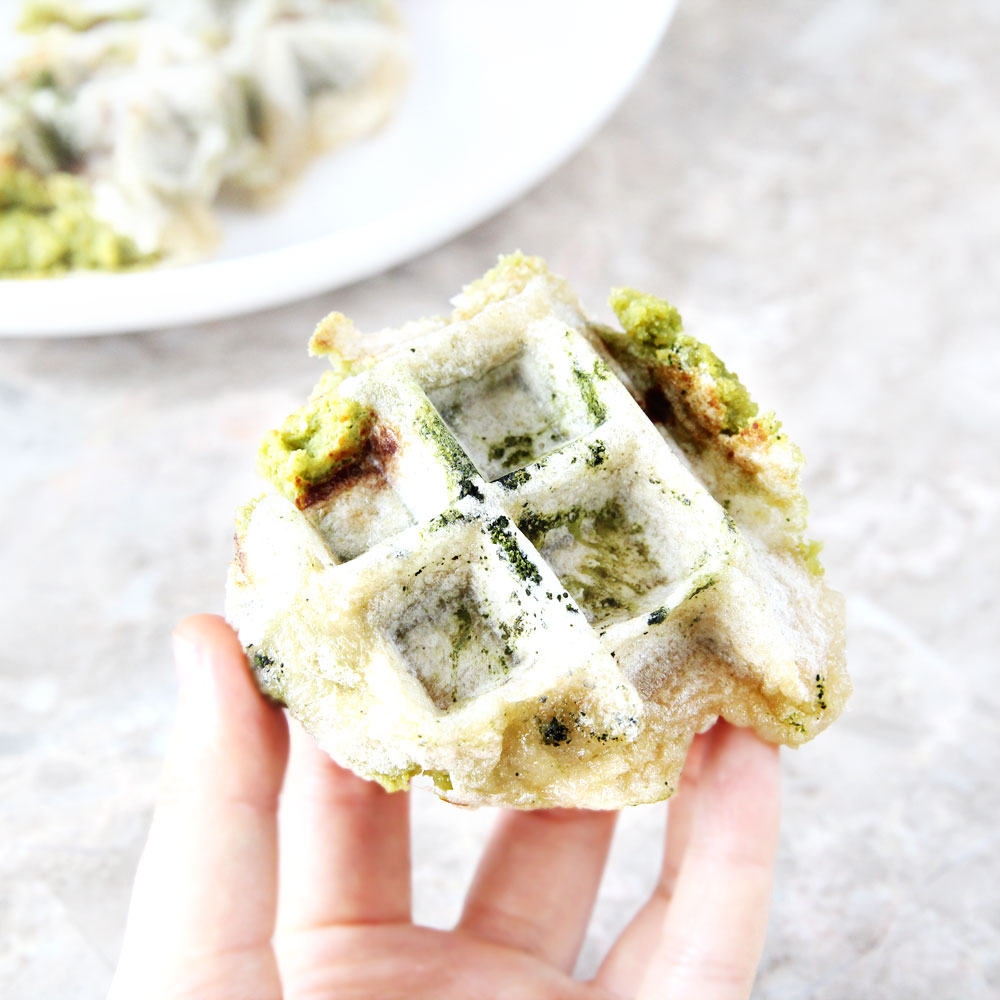
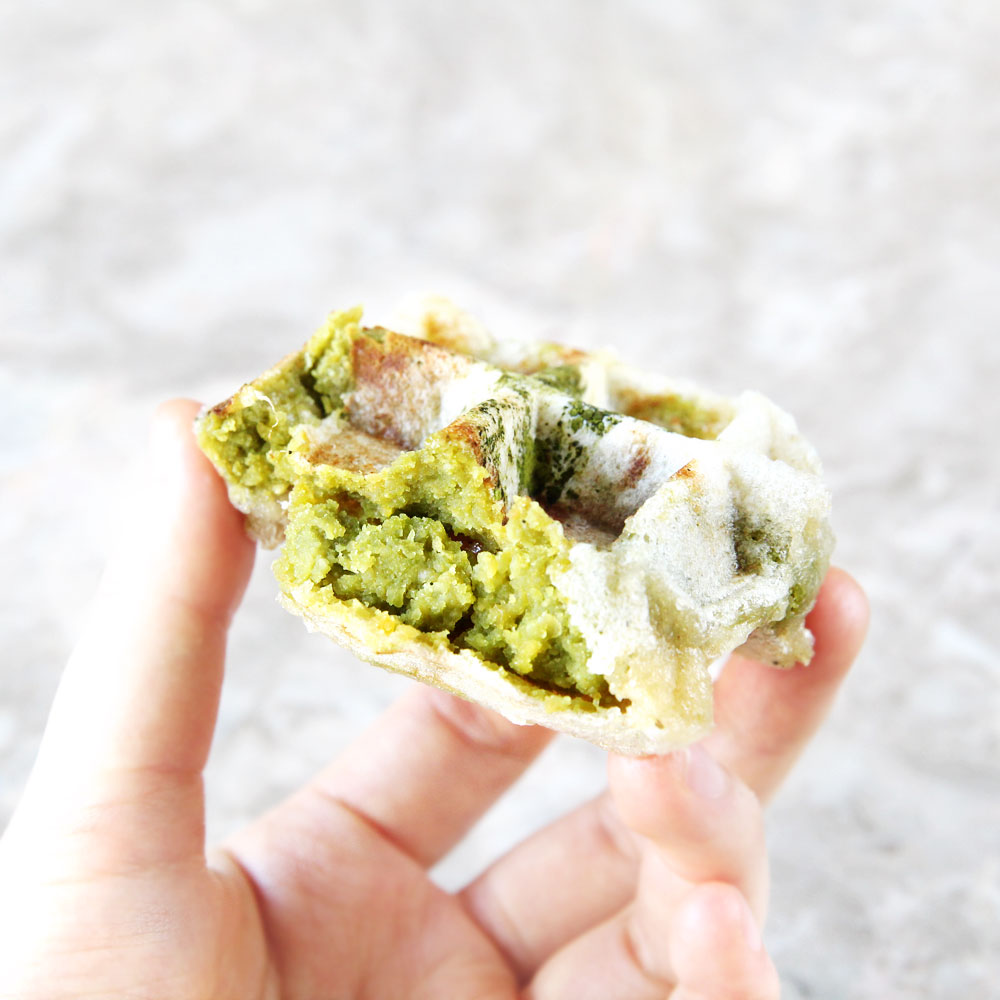
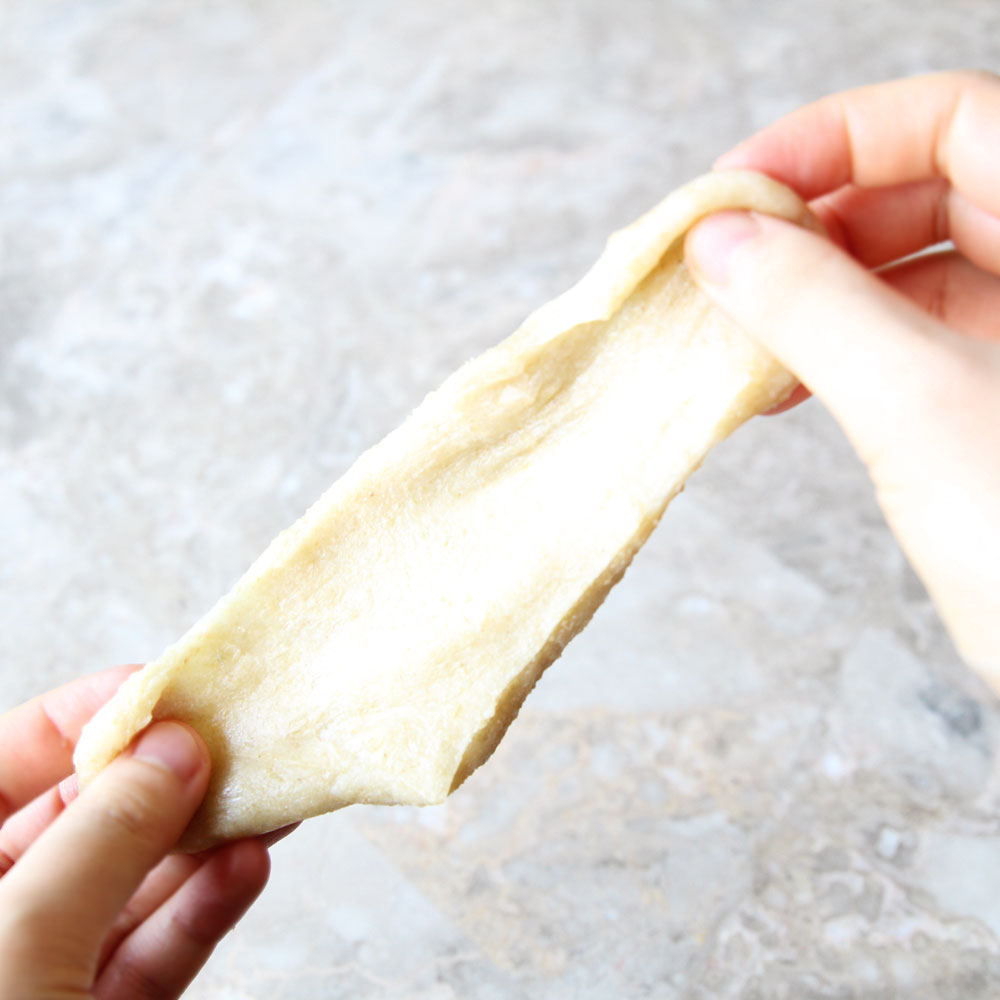
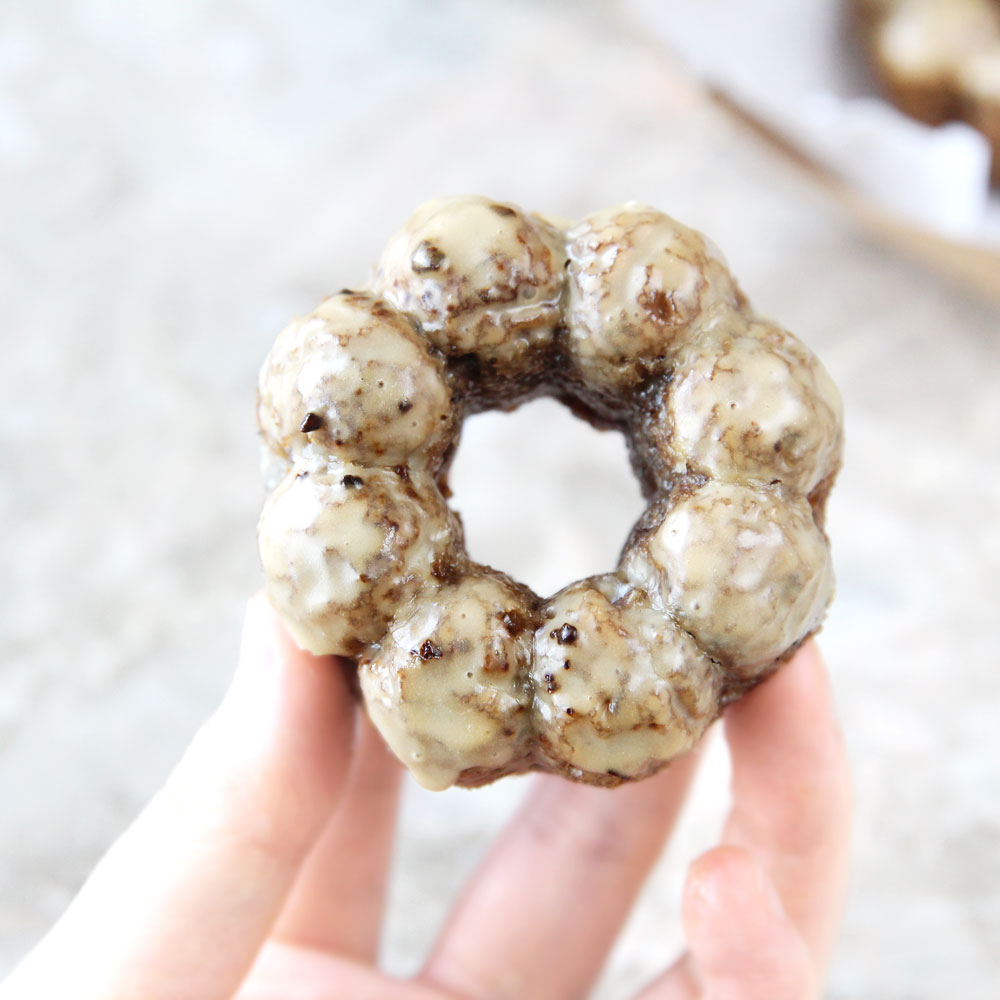
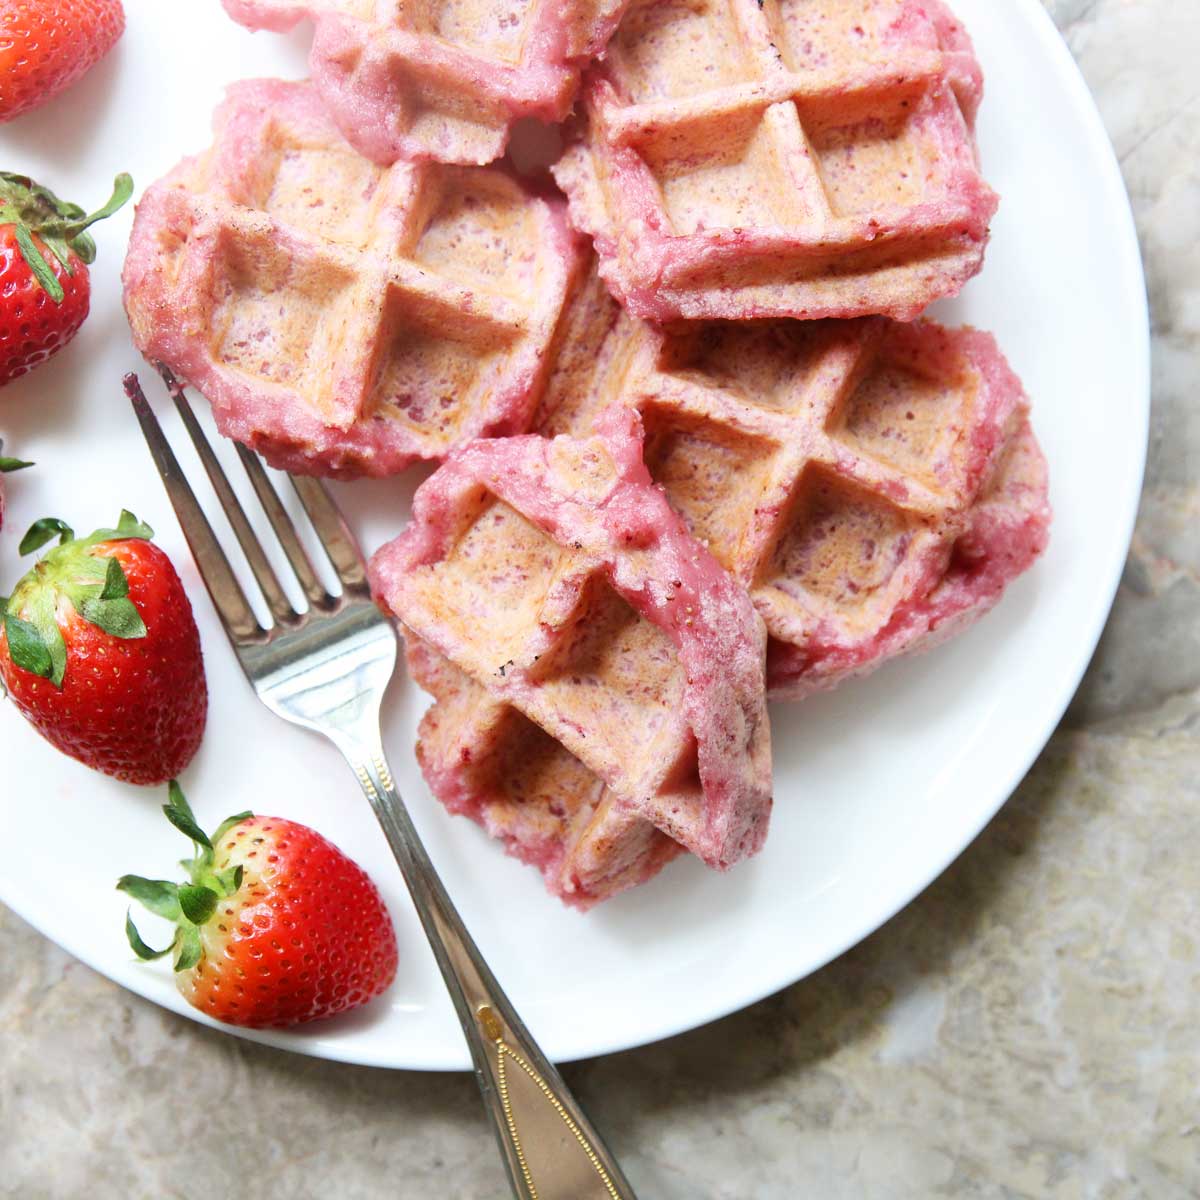
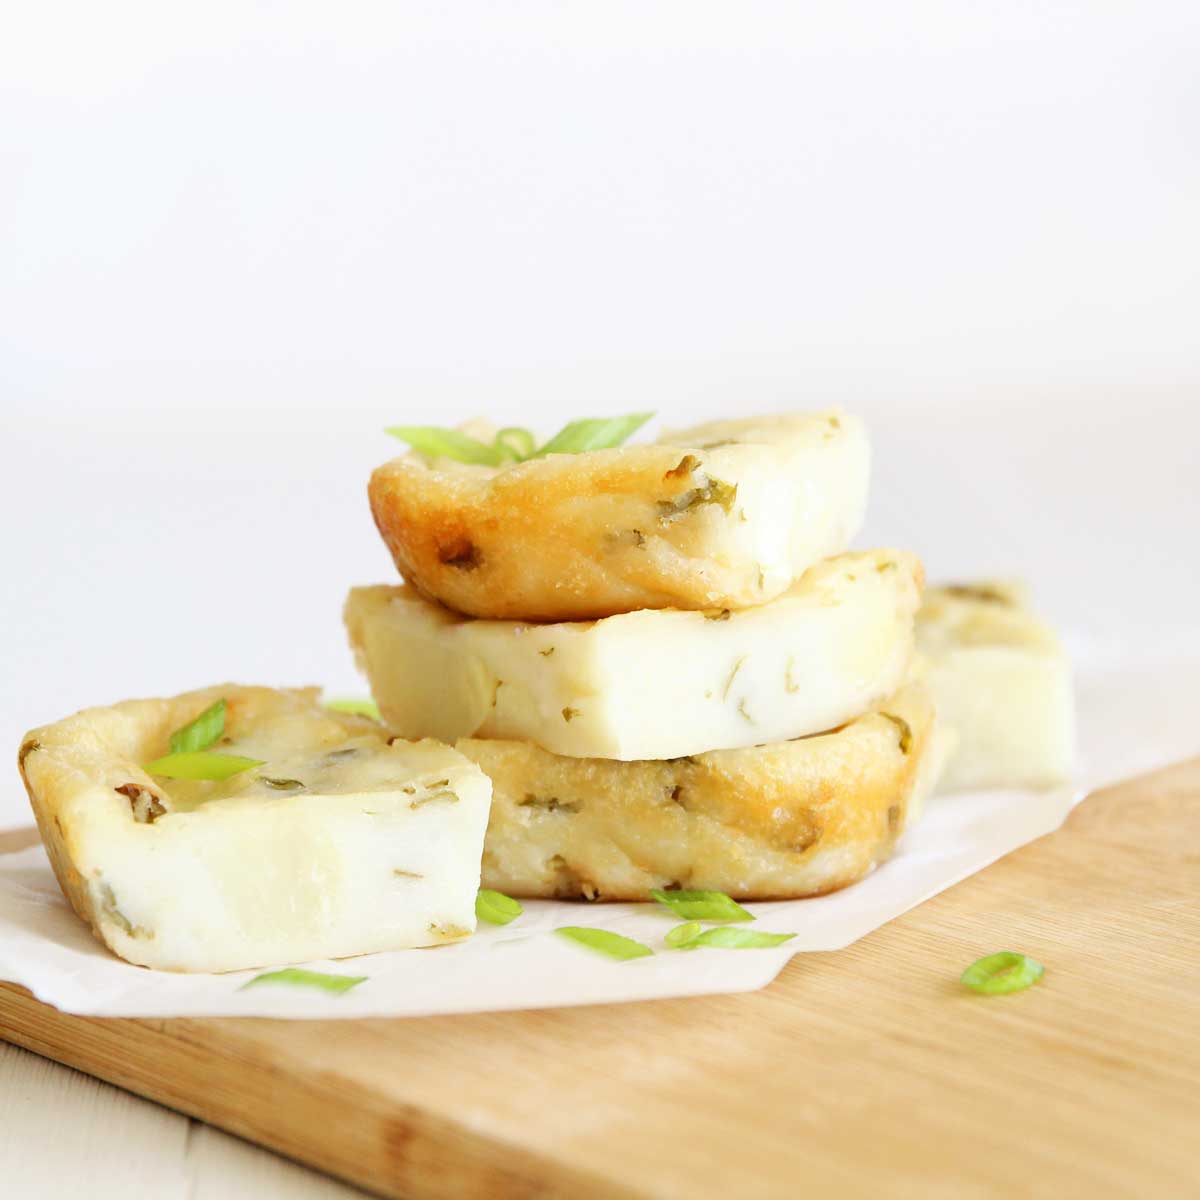
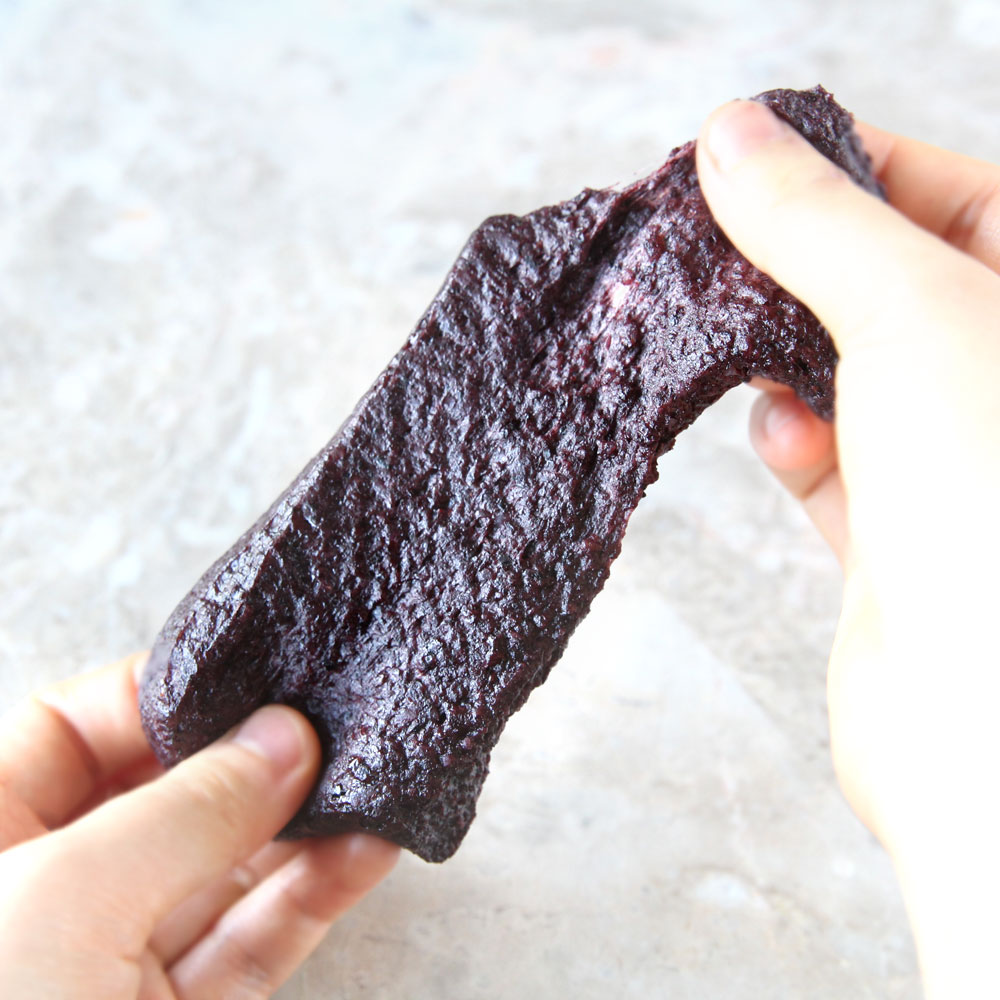
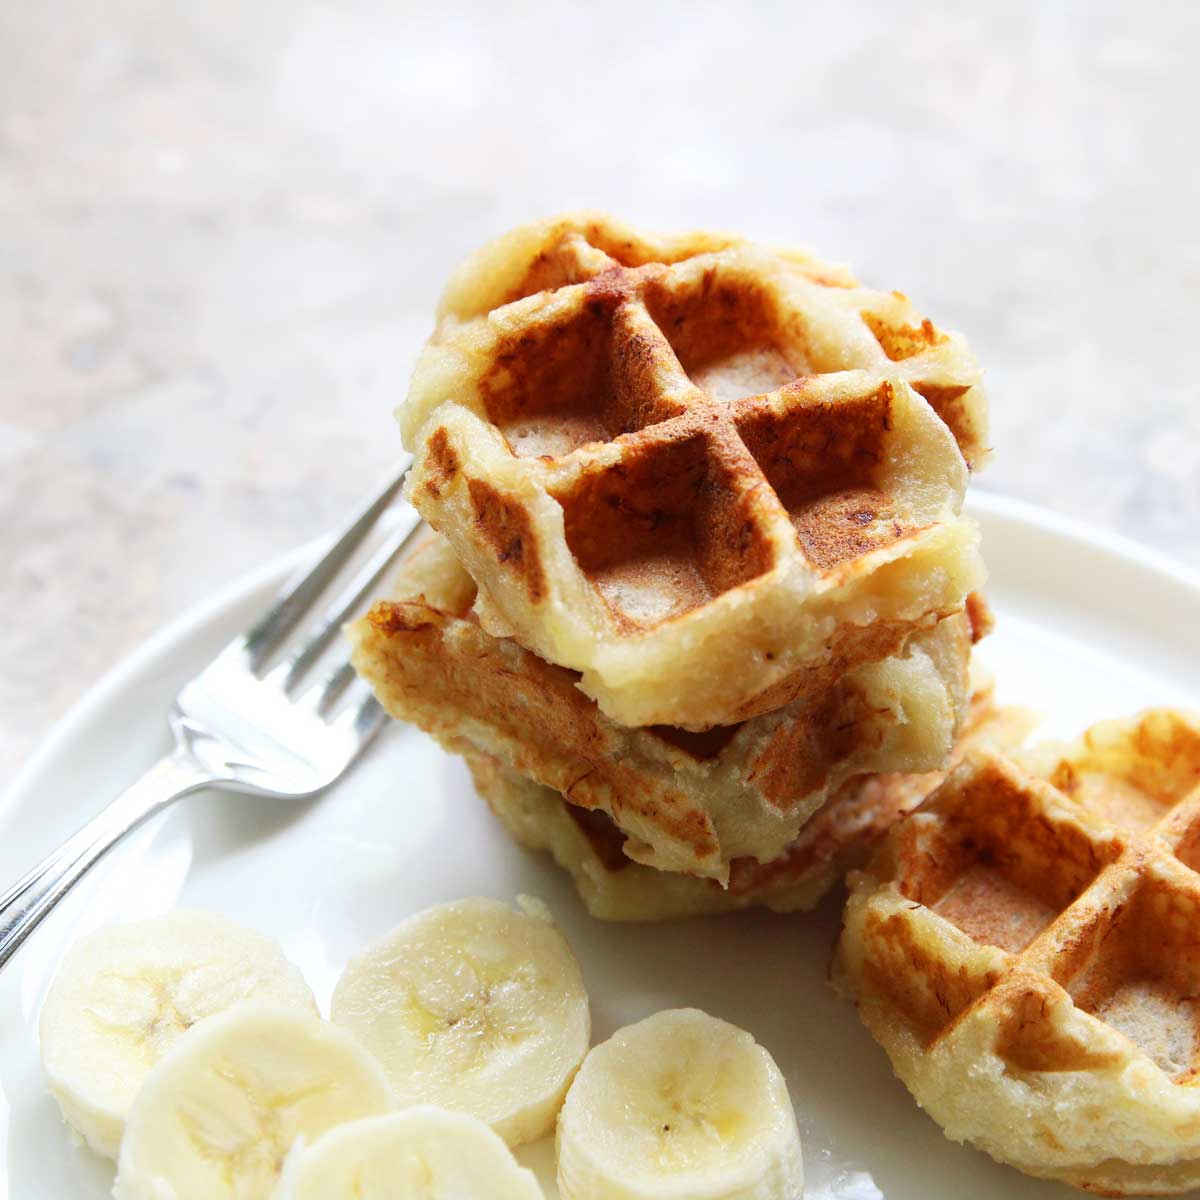
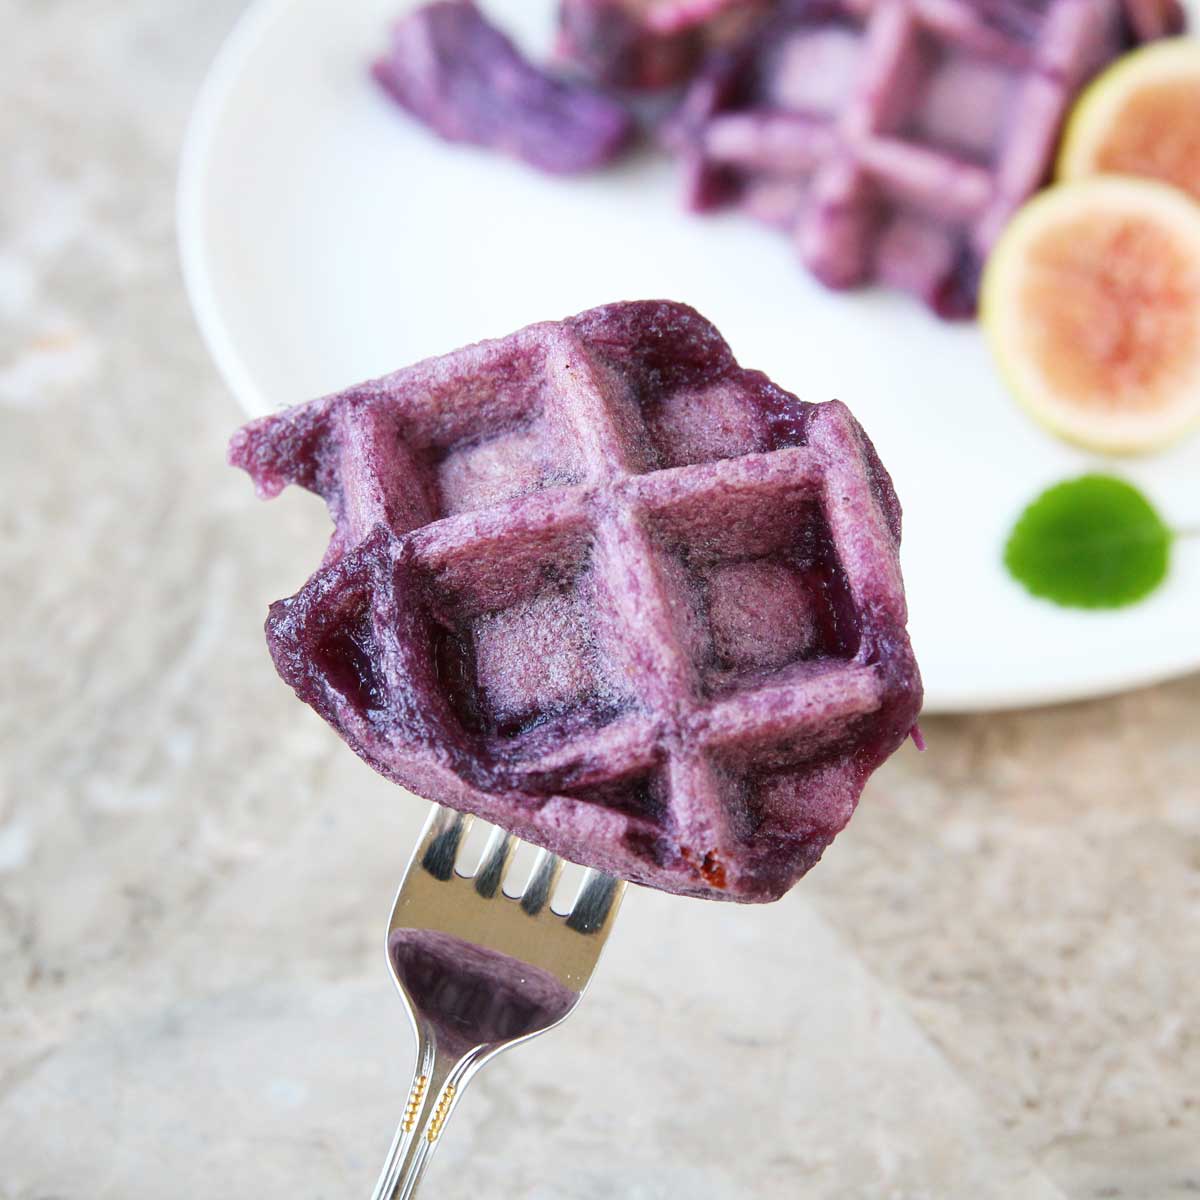
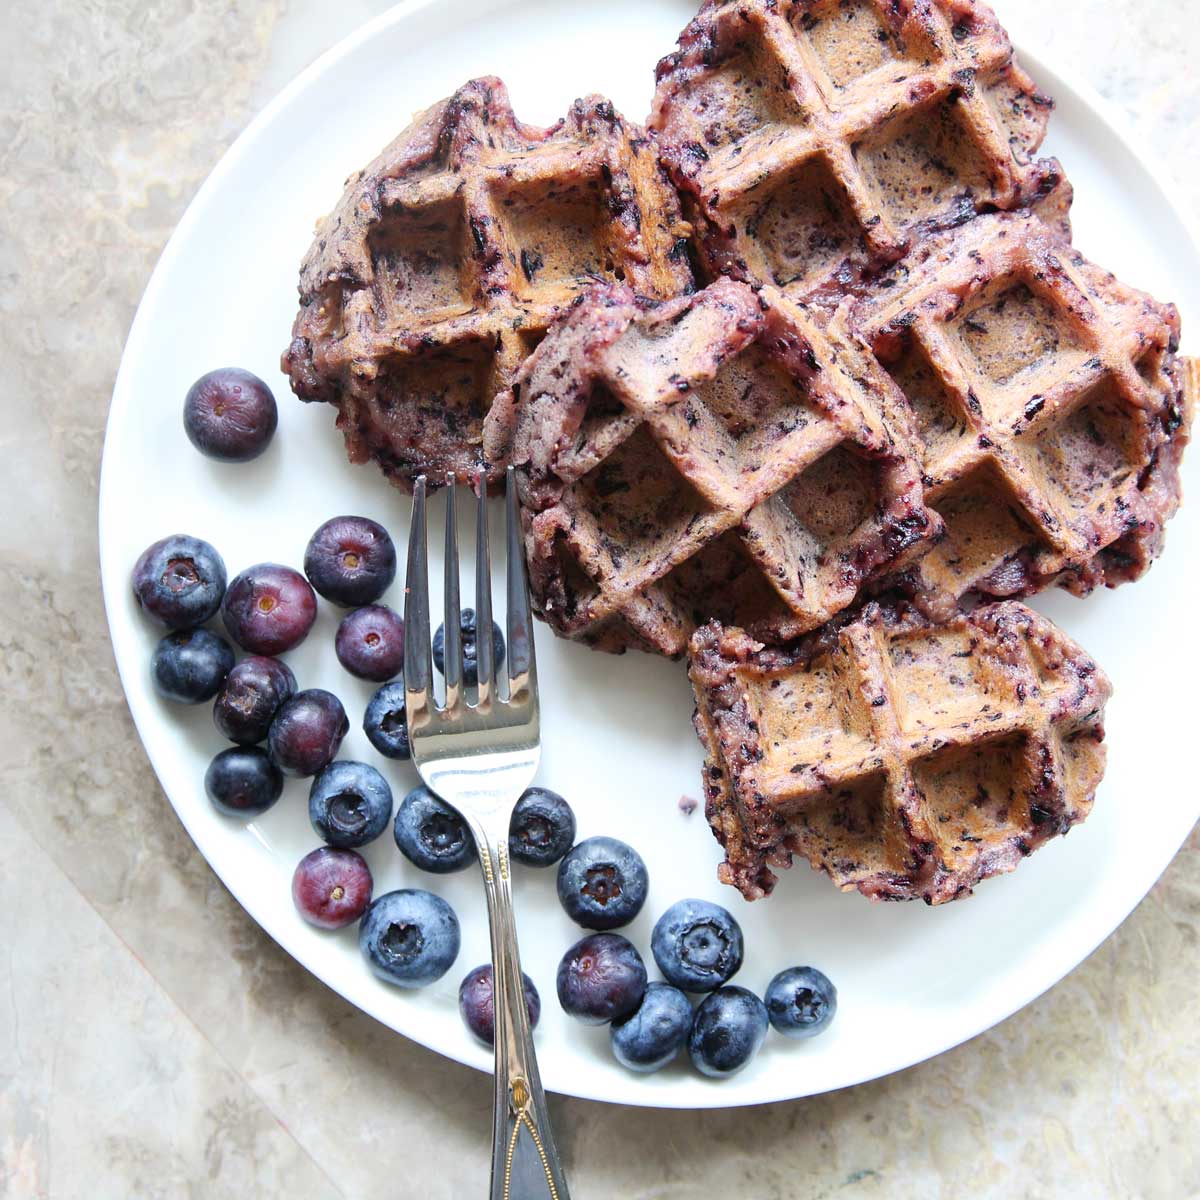
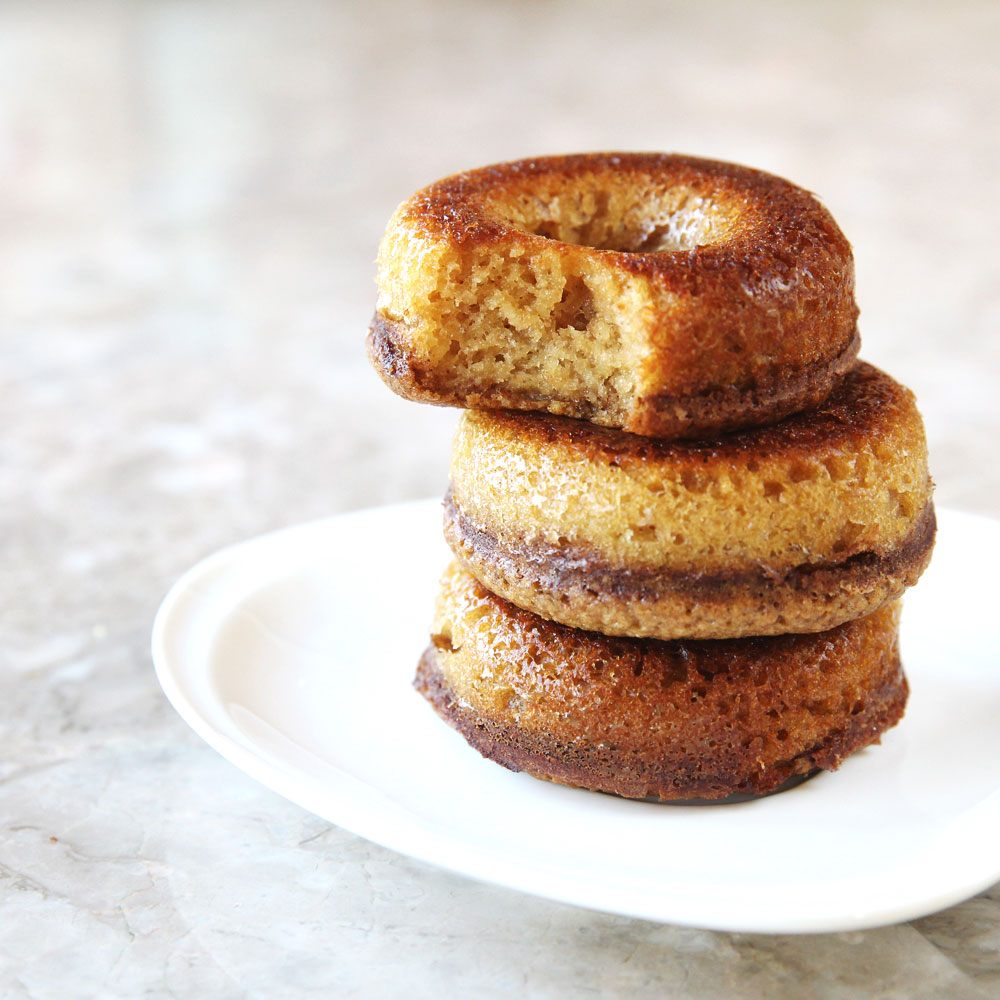
Crispy, chewy with an addicting crunchy crust, waffled mochi is so easy to make and takes less than 3 minutes to make.
It’s gotten pretty cold where I live and I’ve been craving warm, comforting snacks during the day. And you probably guessed by now, one of those snacks is mochi, or as my family calls it, rice cakes.
The pain about mochi though is that it doesn’t store very well in the fridge or at room temperature for more than a day. If you’ve had cold refrigerated rice, you’ll know what I mean. Mochi turns into this waxy, inedible texture that makes you think you’re chewing on candle wax. So is there a way to revive it?
YES! And the best way to do that is to Waffle Iron it.
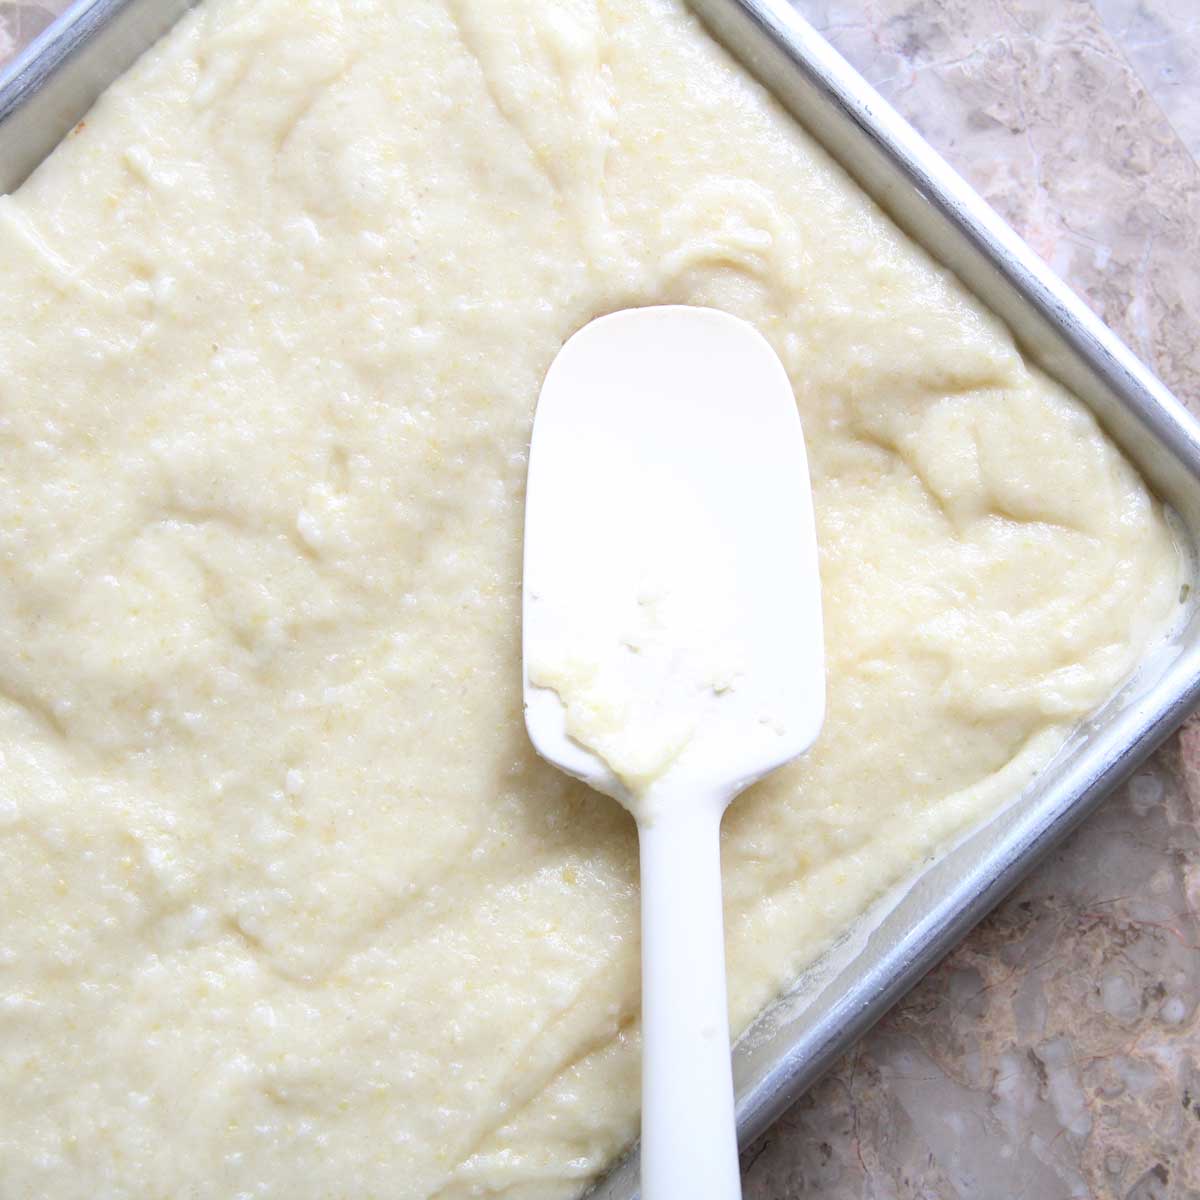
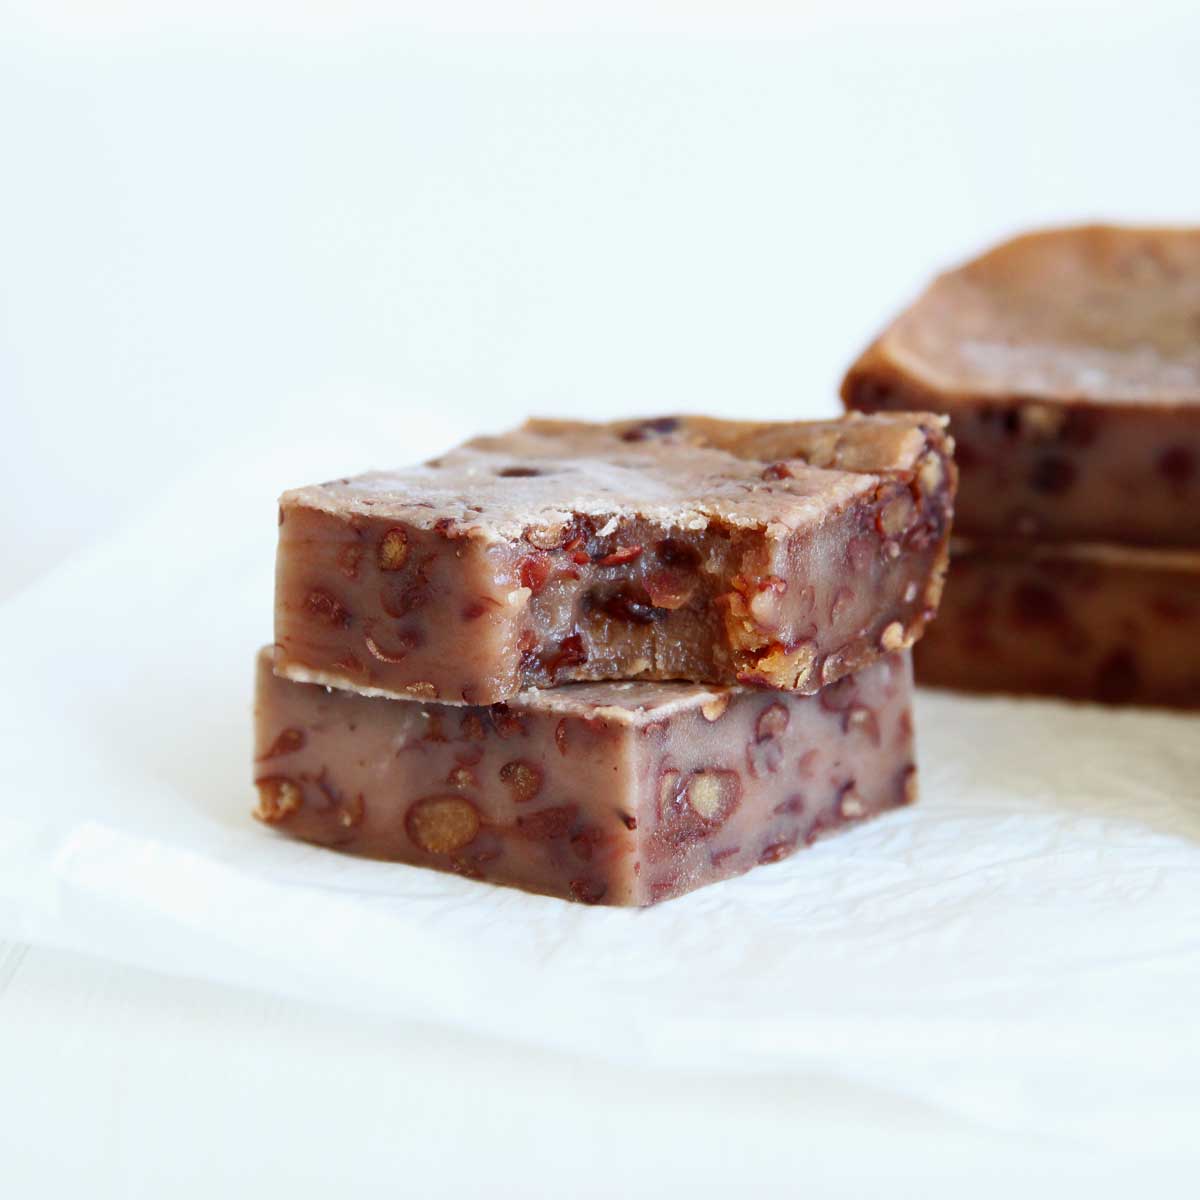
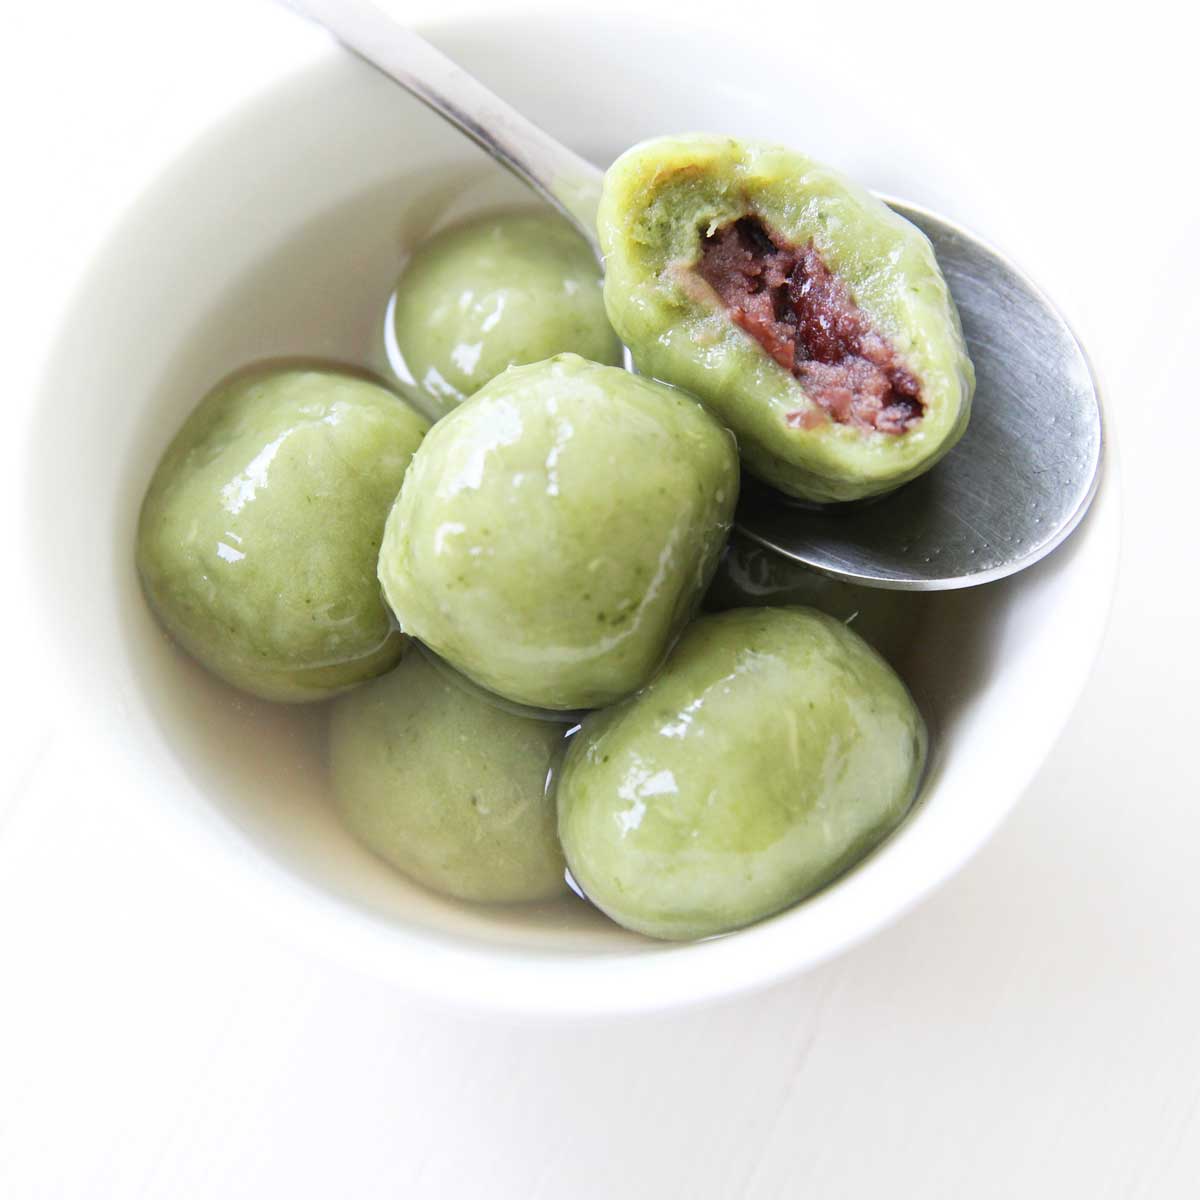
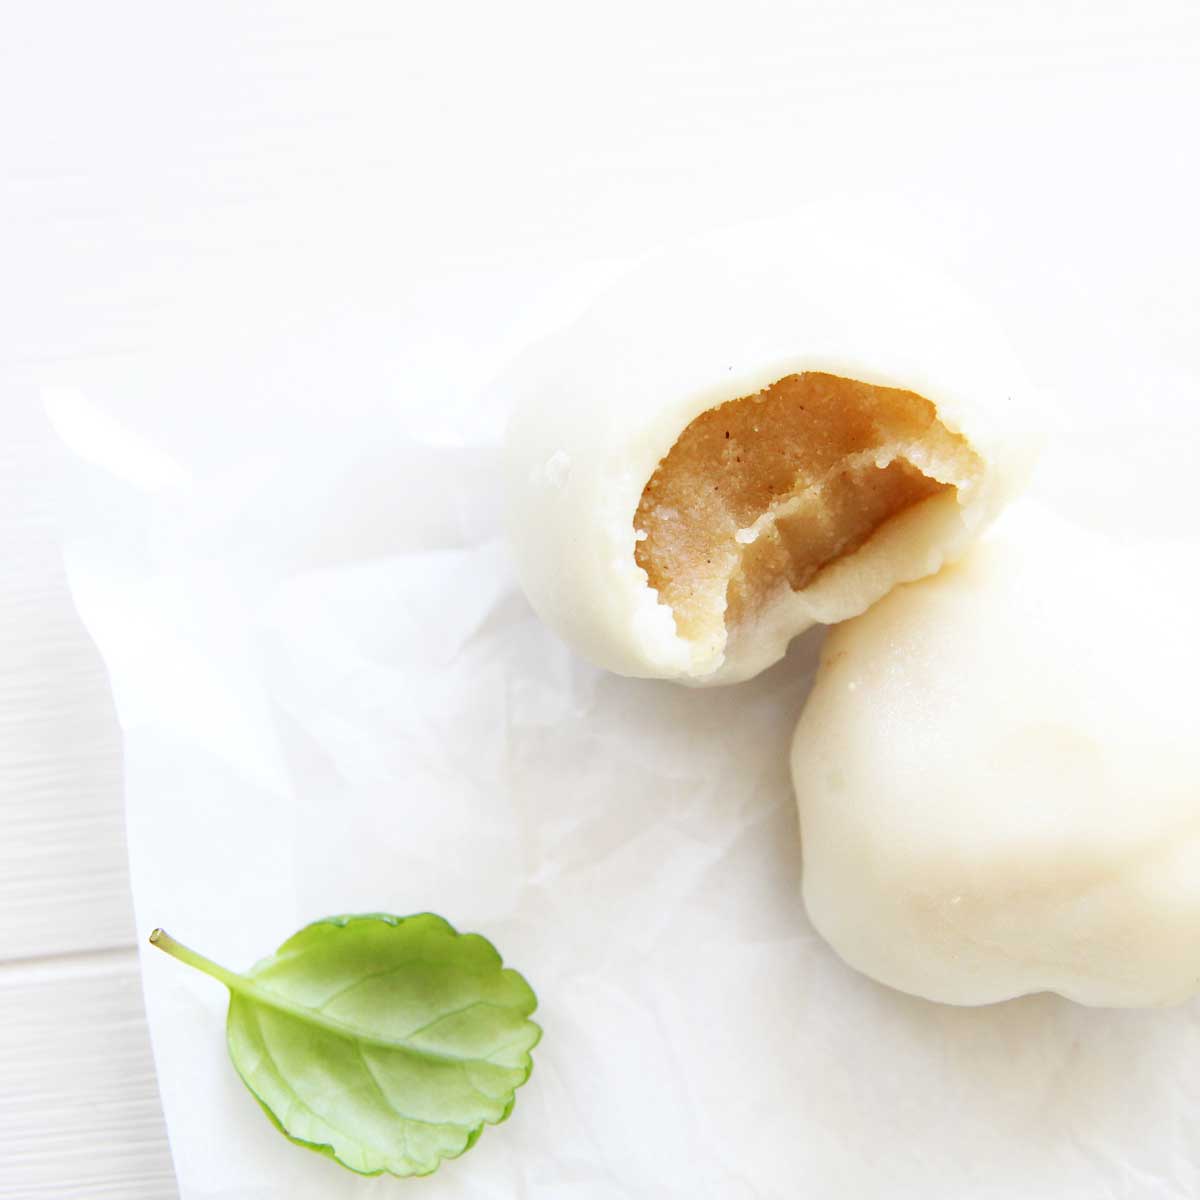
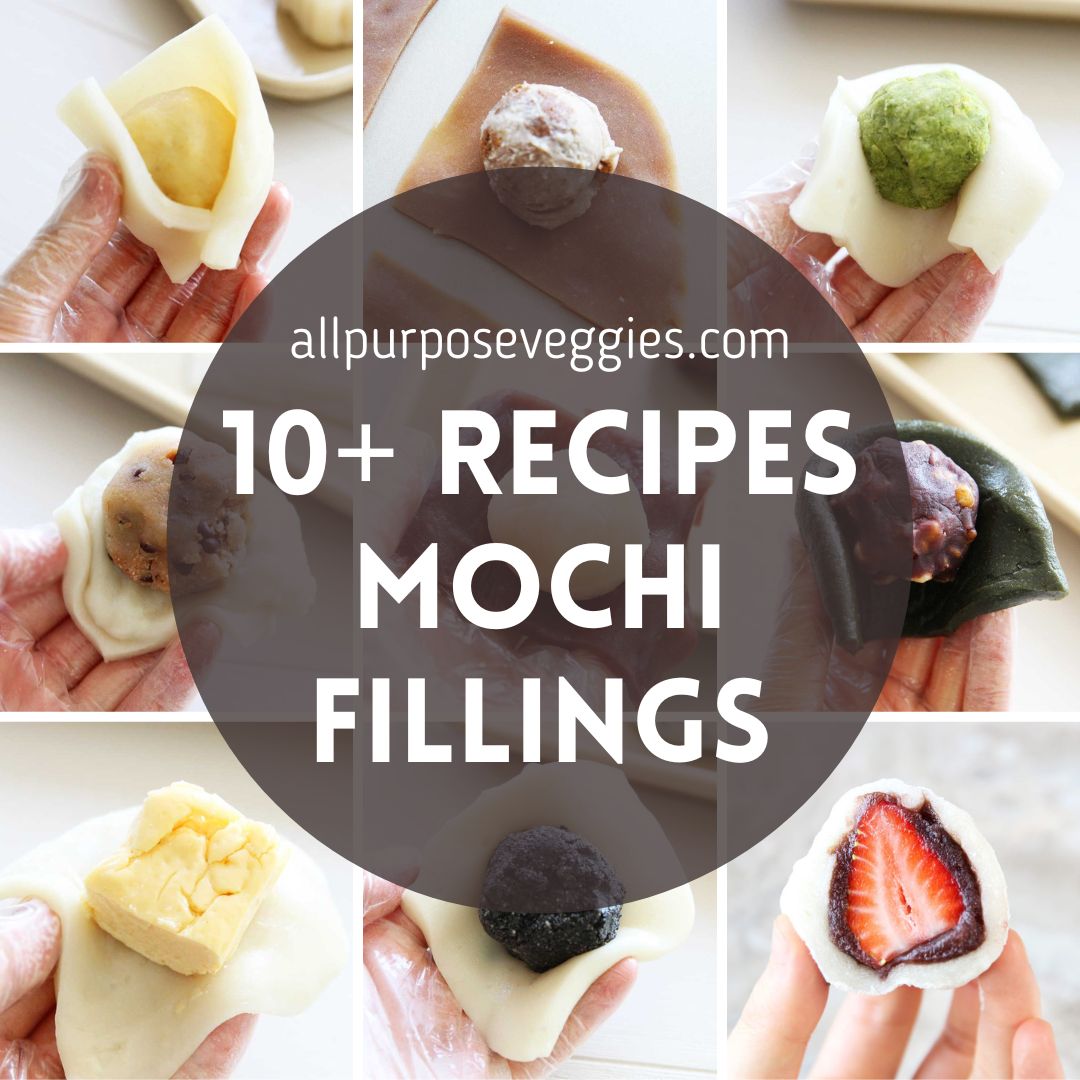
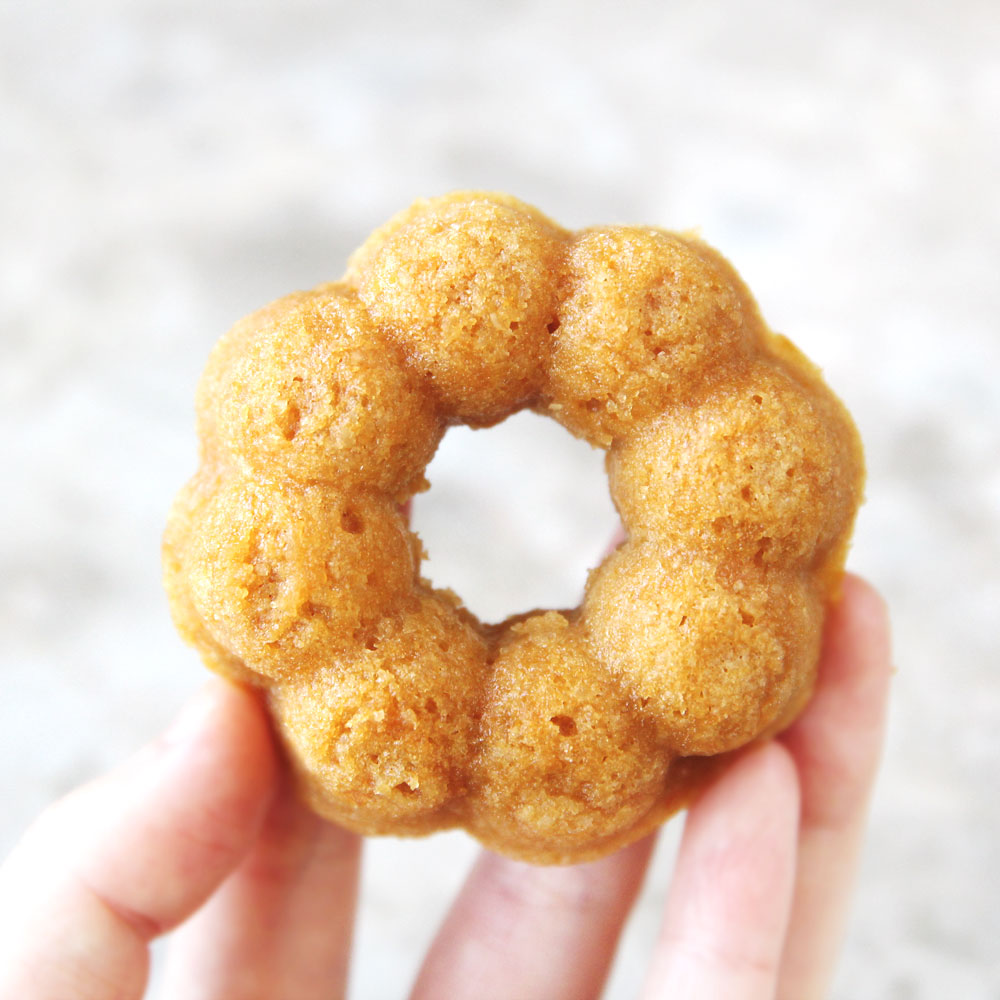
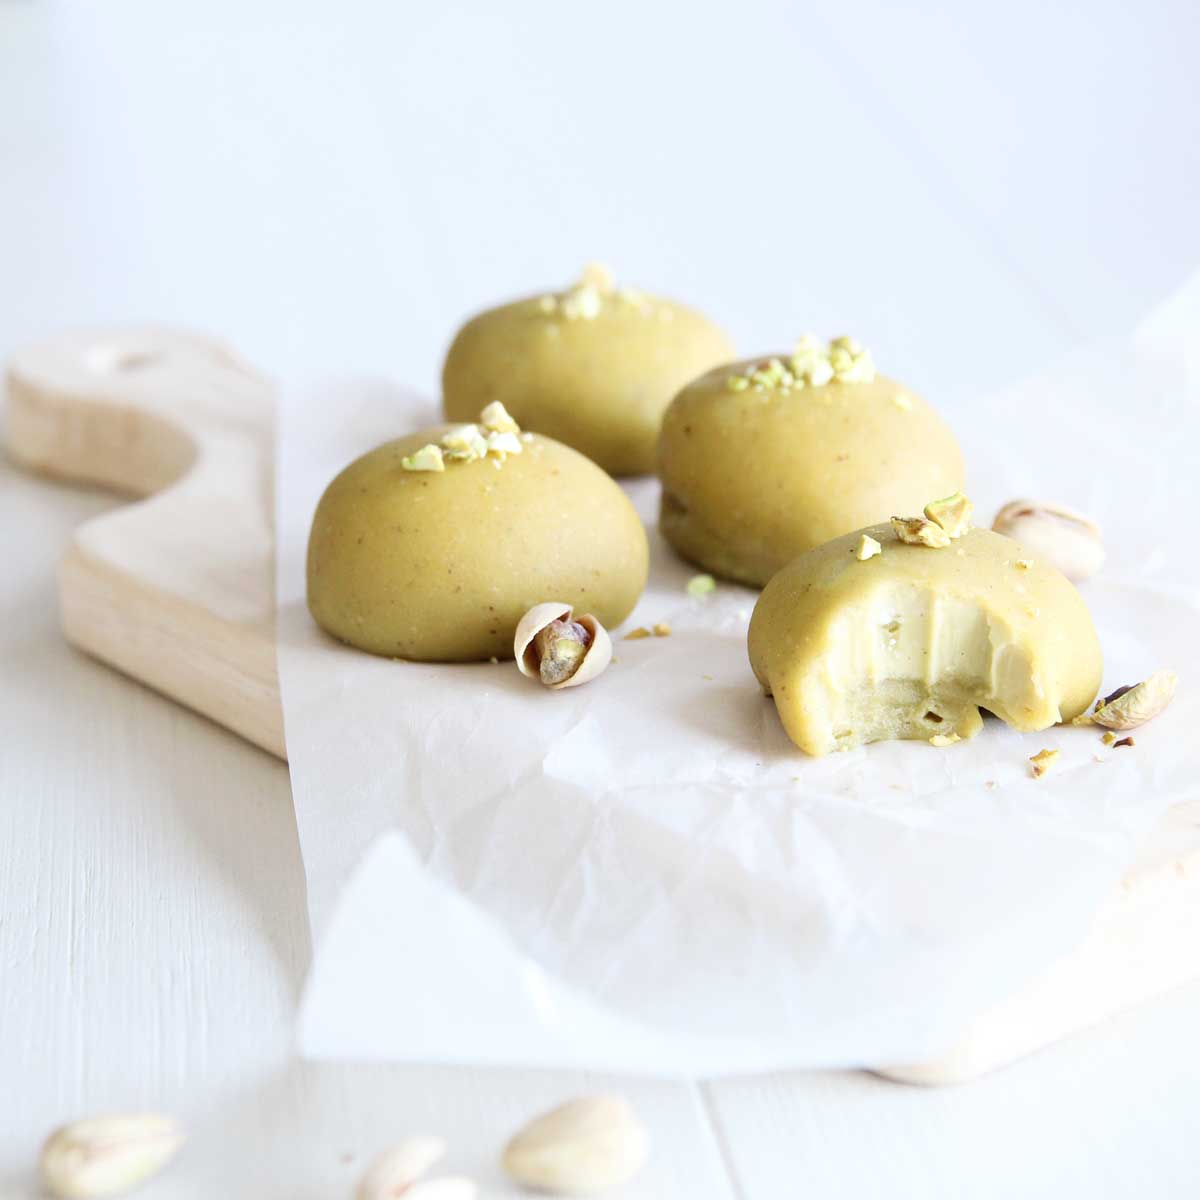
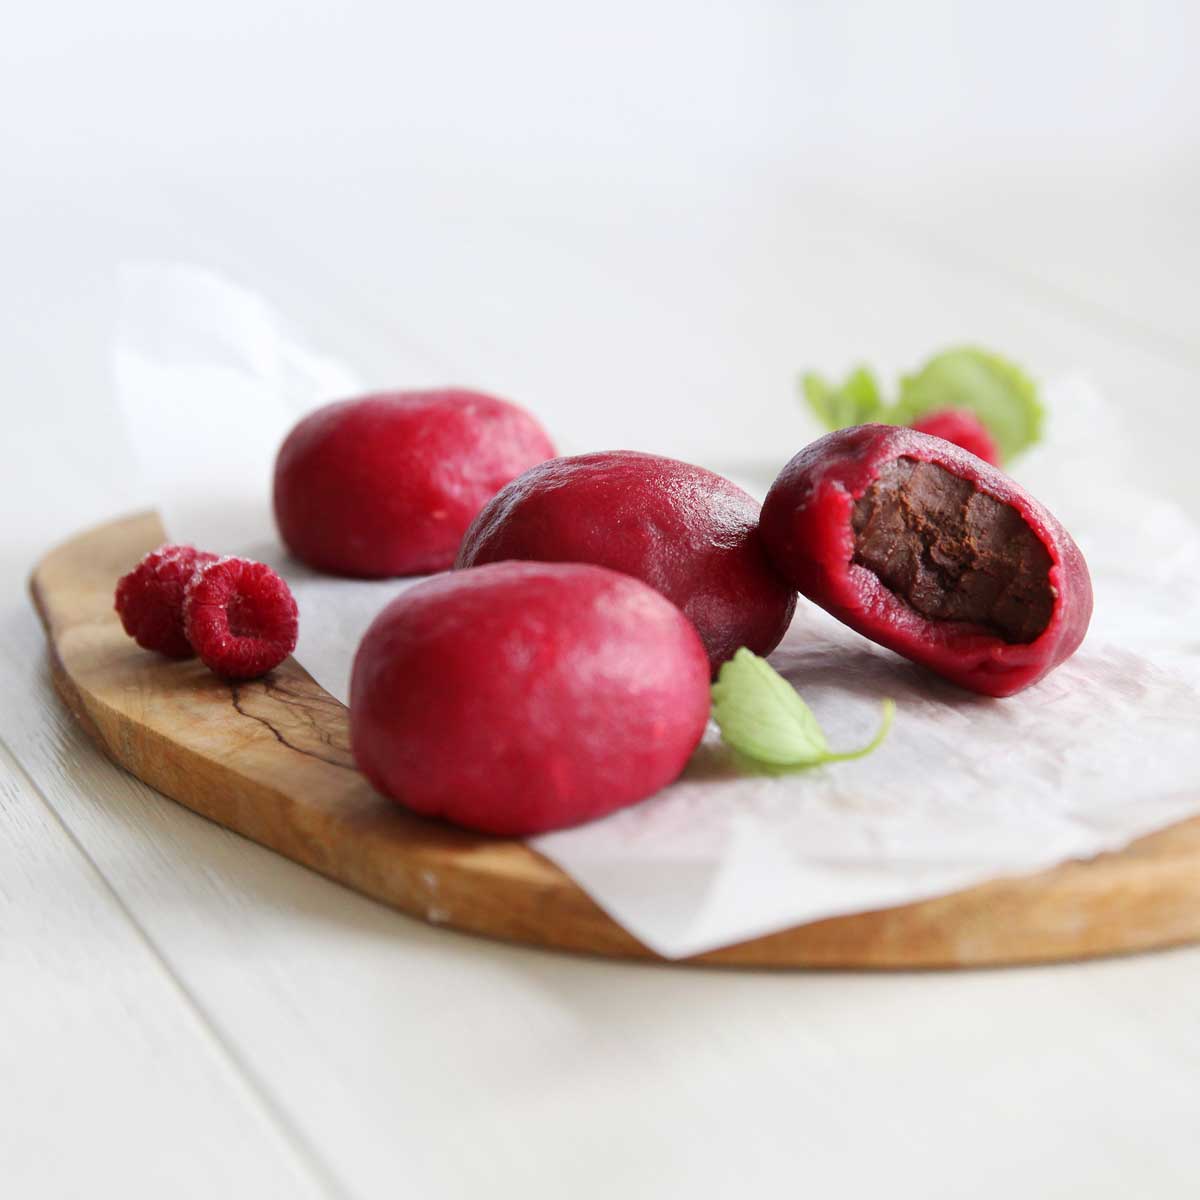
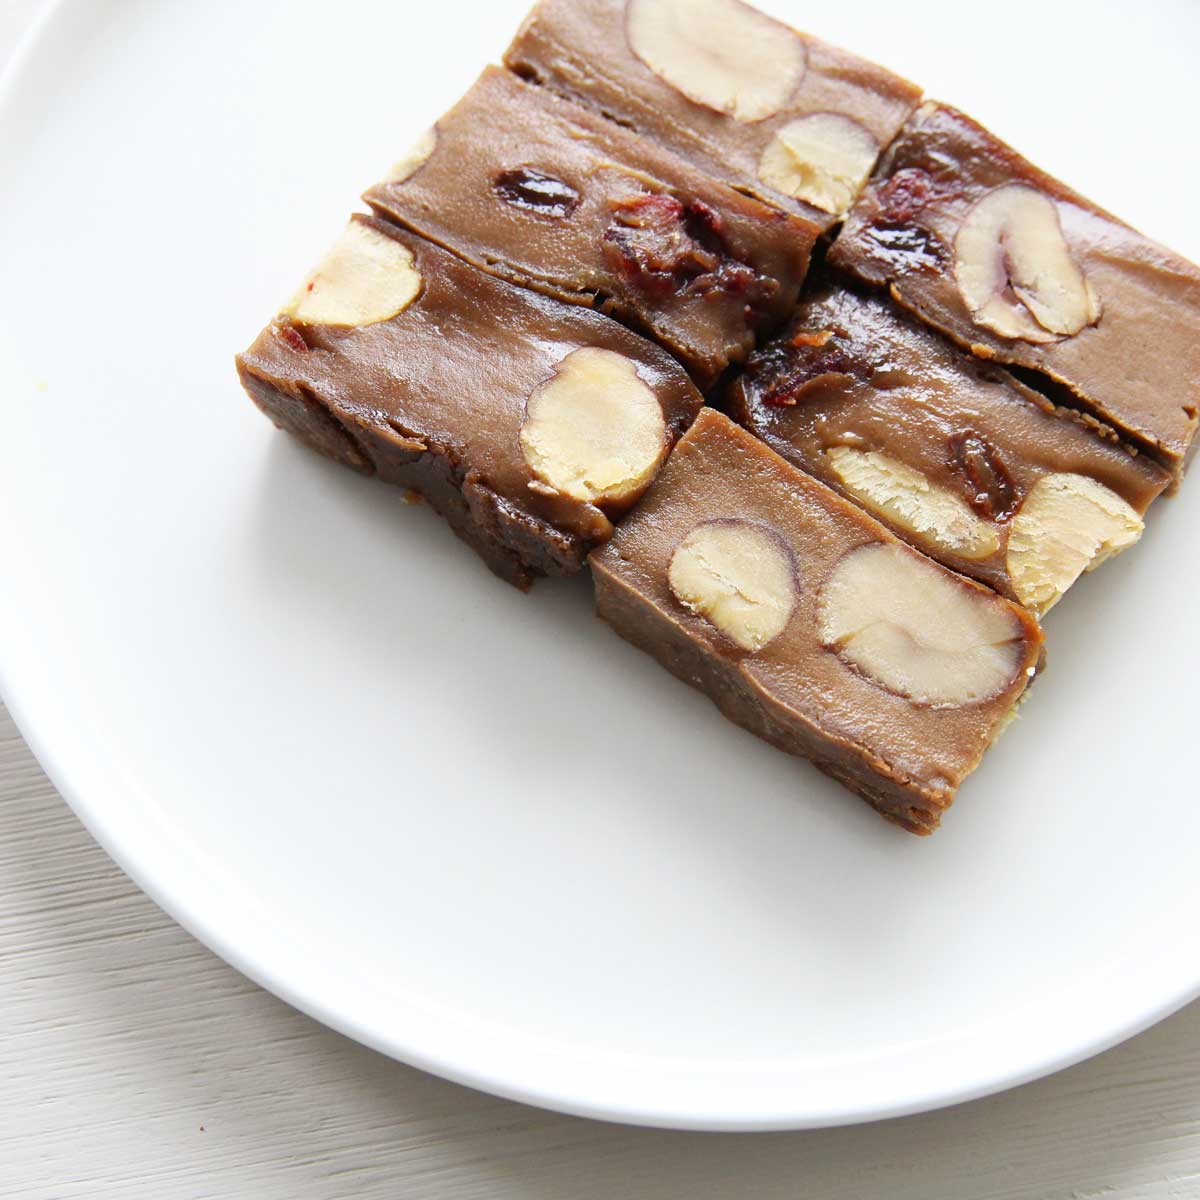
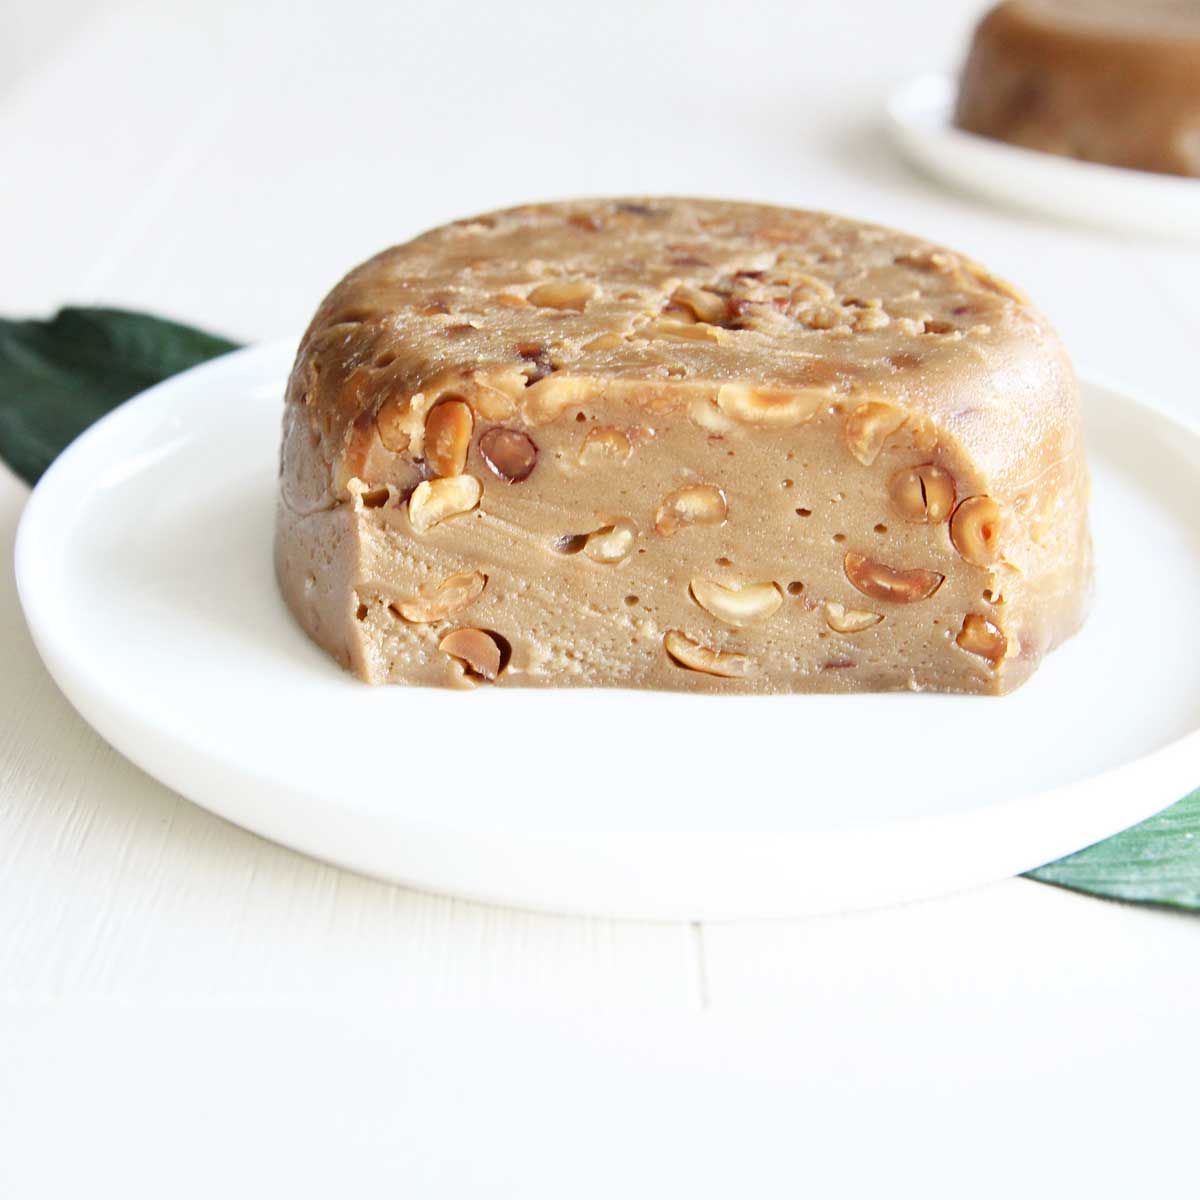
First, you'll need one of these recipes:
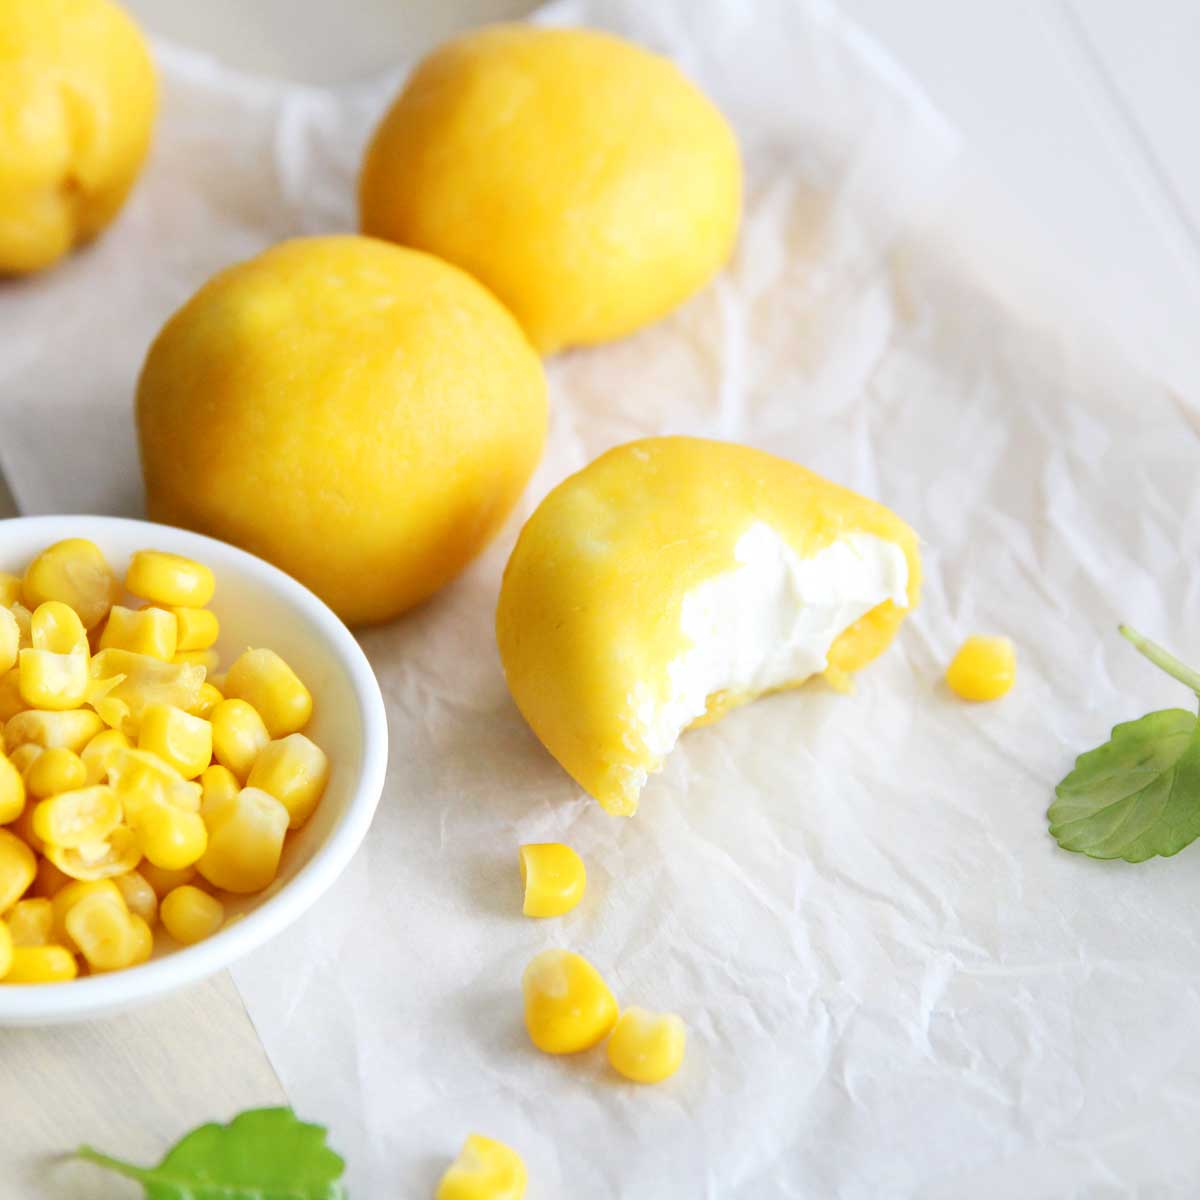
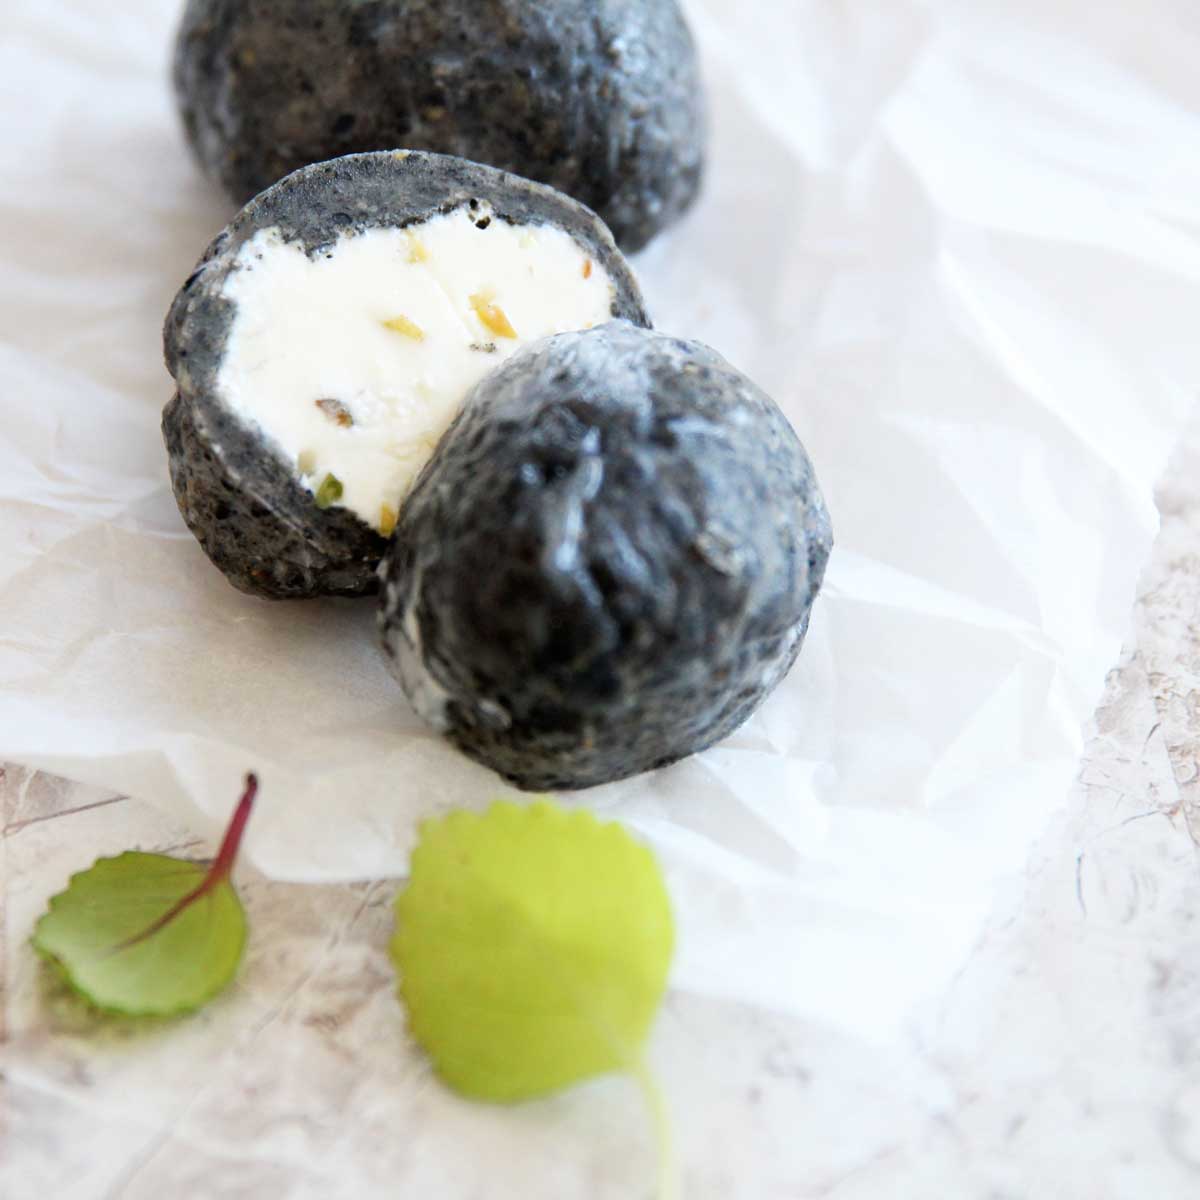
What if you don't have homemade mochi?
**I've linked some of these ingredients to amazon.com to give you an idea of what they are, but you should also be able to find them in your local grocery store (usually, the natural & organic food section). They are also affiliate links, which means that I earn a commission as an Amazon Associate if you decide to purchase the items. The price will be the same for you, link or no link 🙂
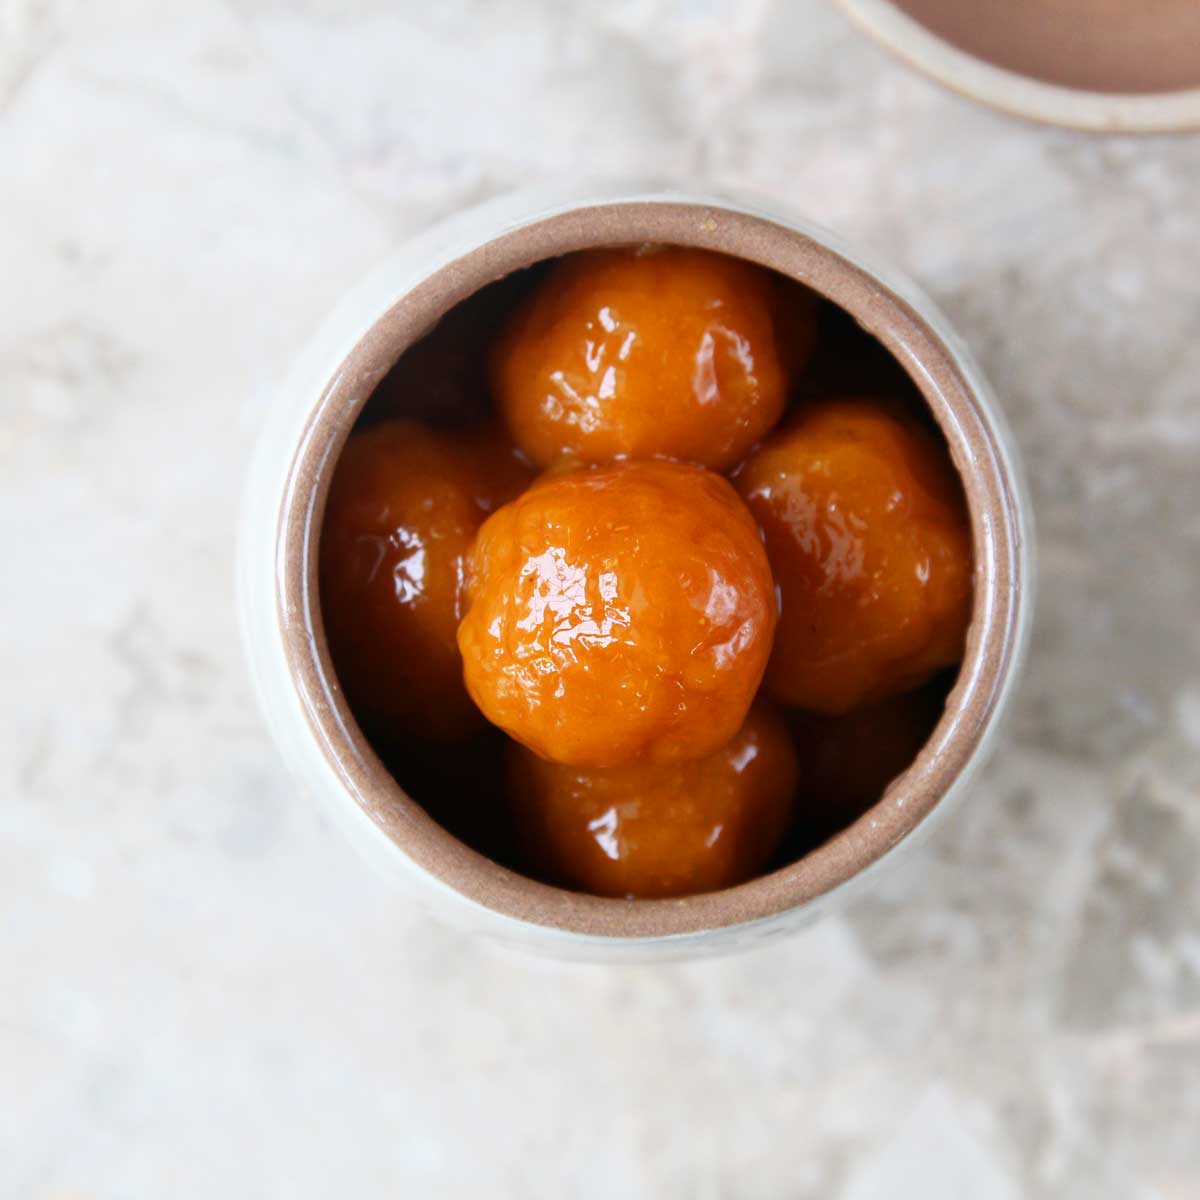
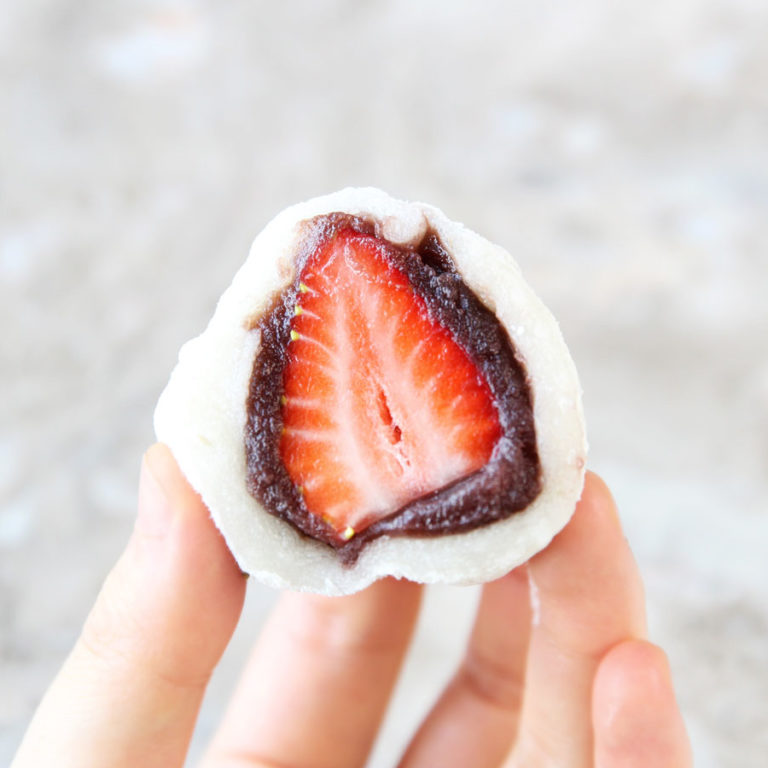
You can use storebought mochi if you don't have homemade. You also have the option of using kirimochi - precut, shelf-stable mochi that comes in individual packages. You can buy them in Asian grocery stores or in Amaazon.
How to Make
How to Make Waffled Mochi
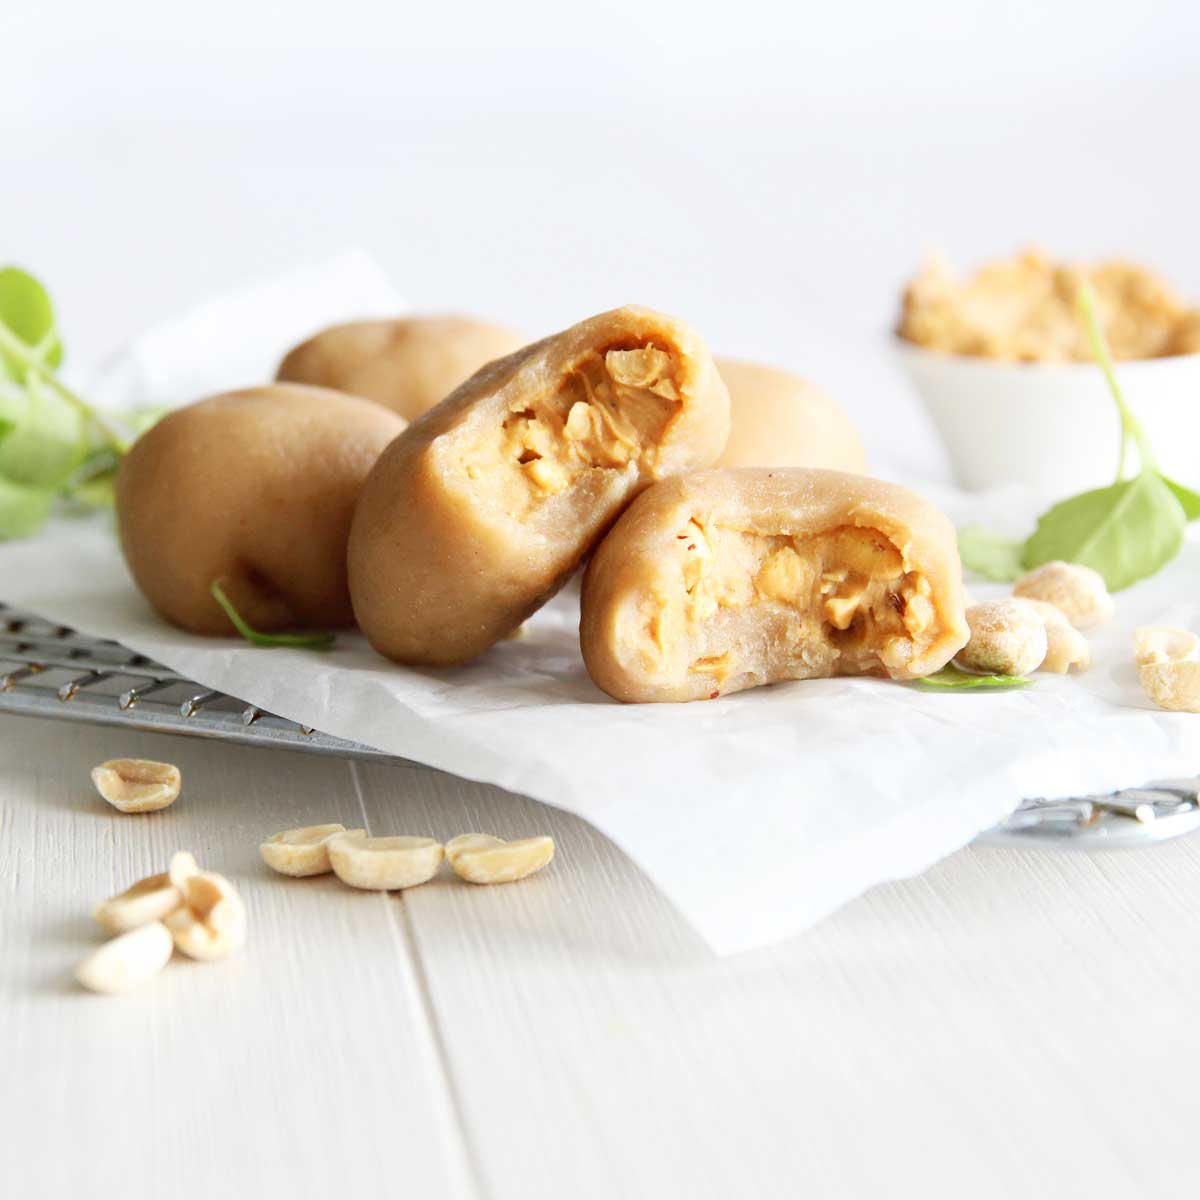
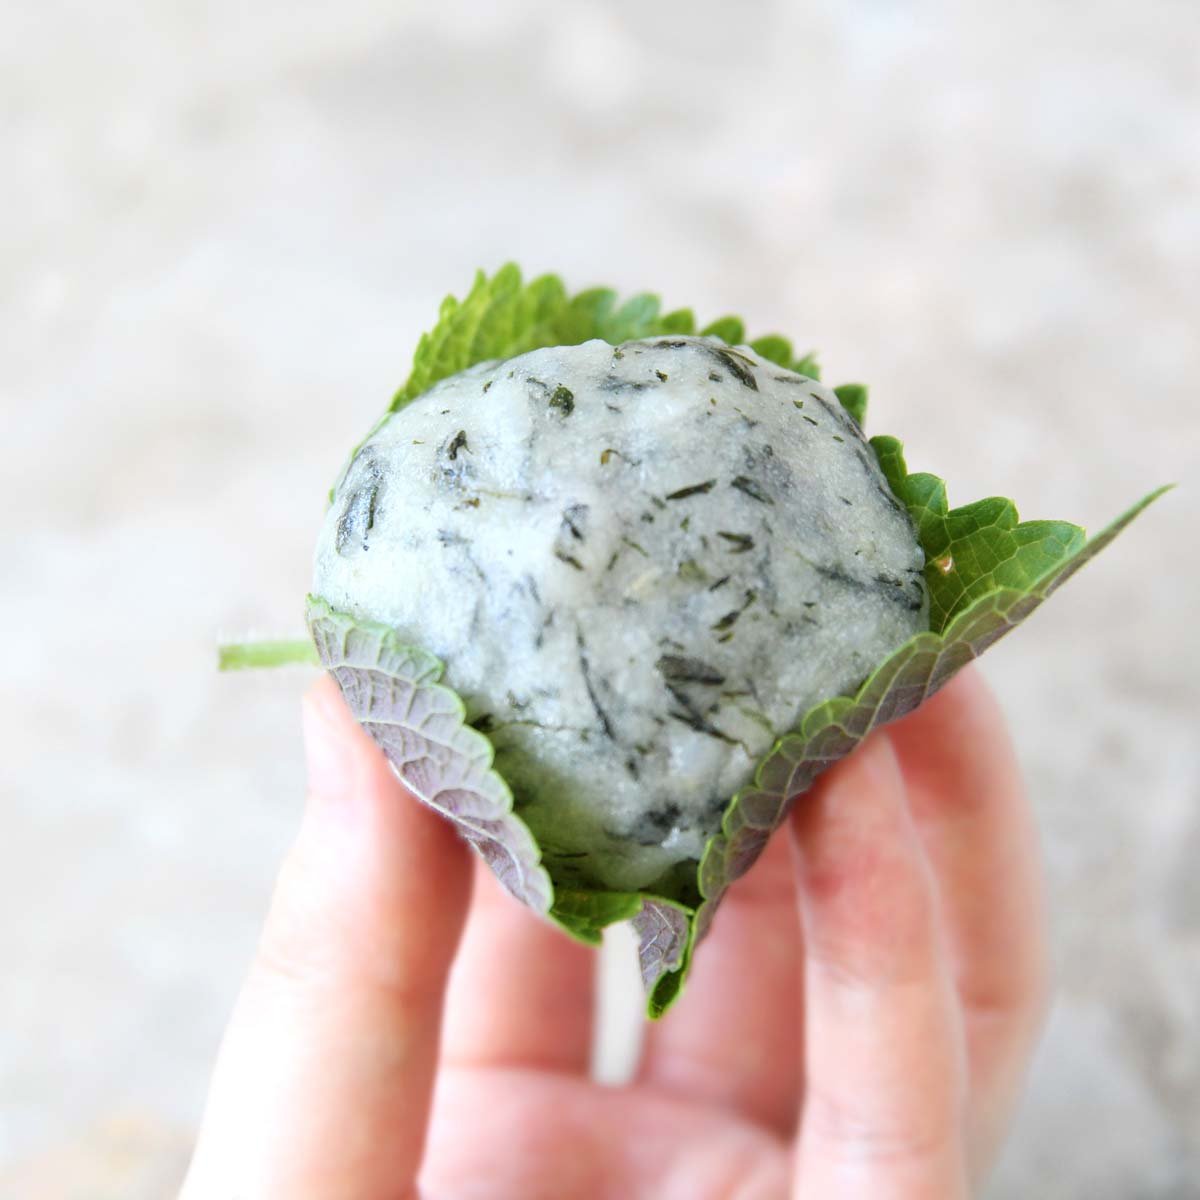
STEP 1
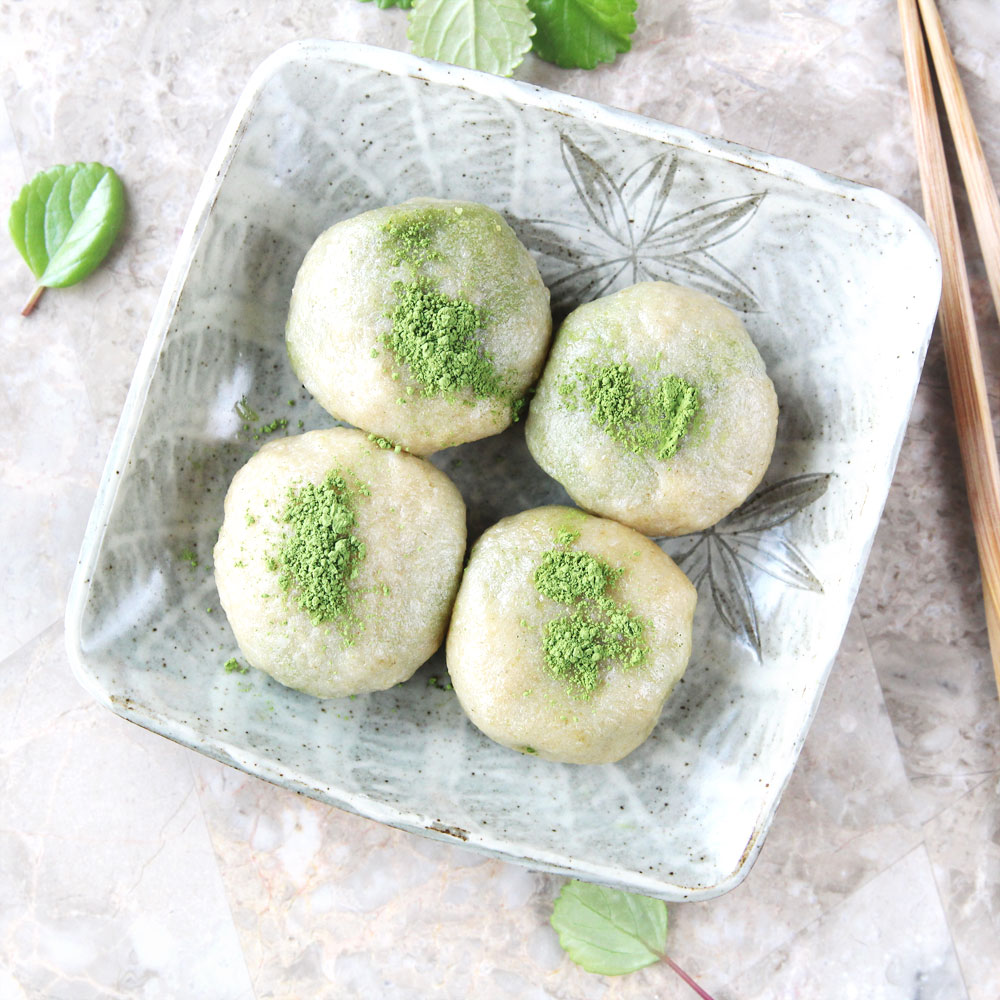
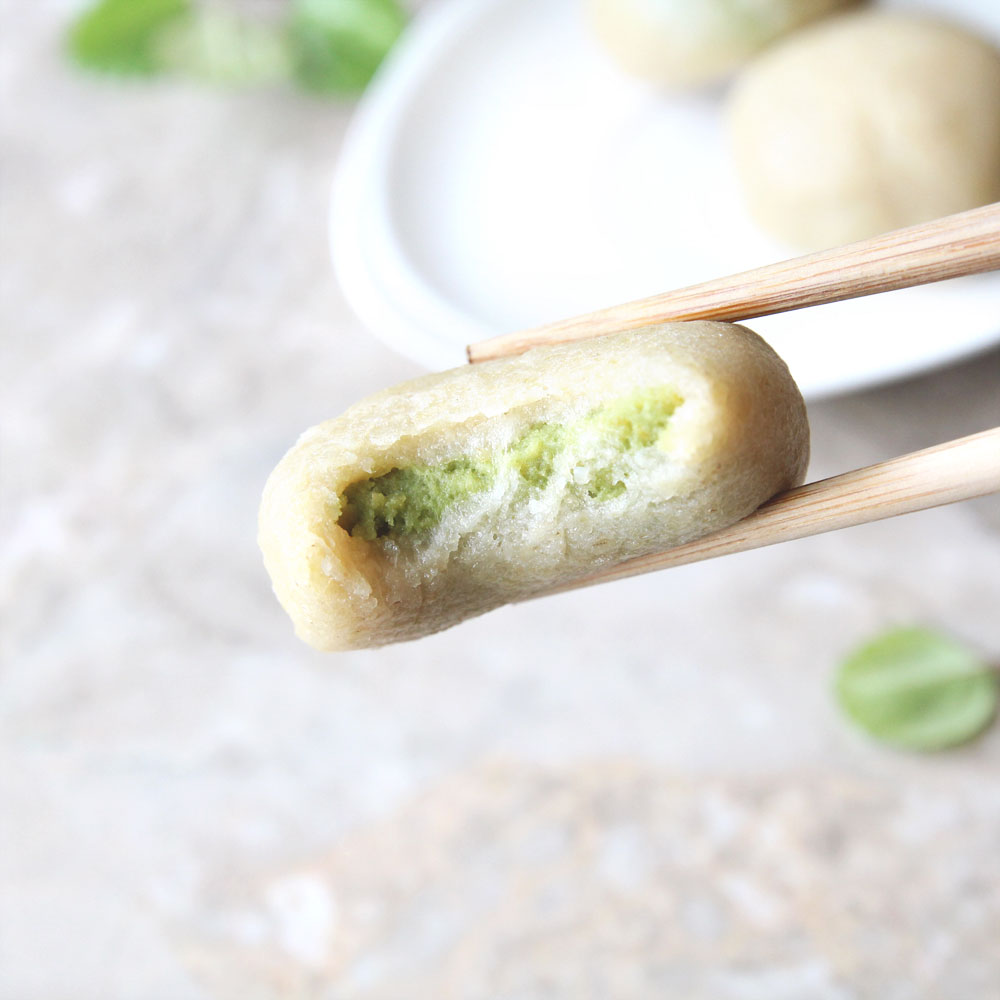
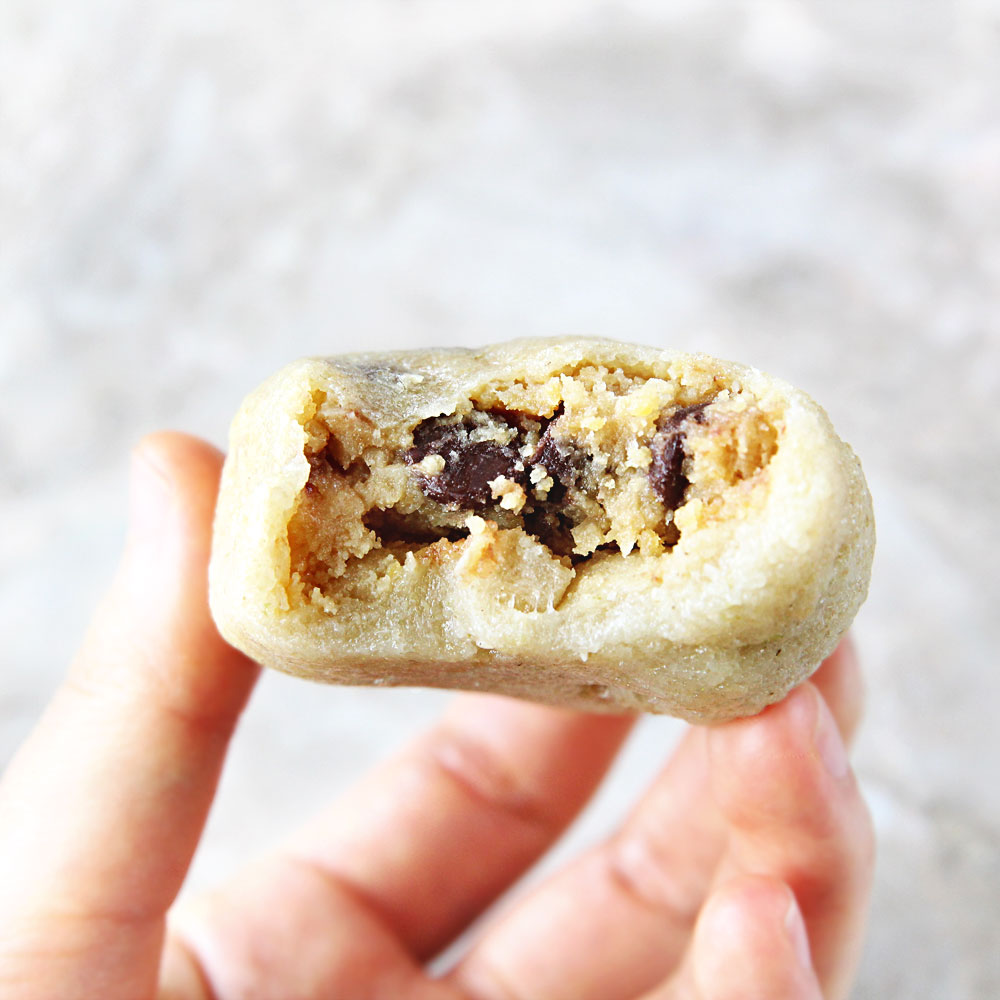
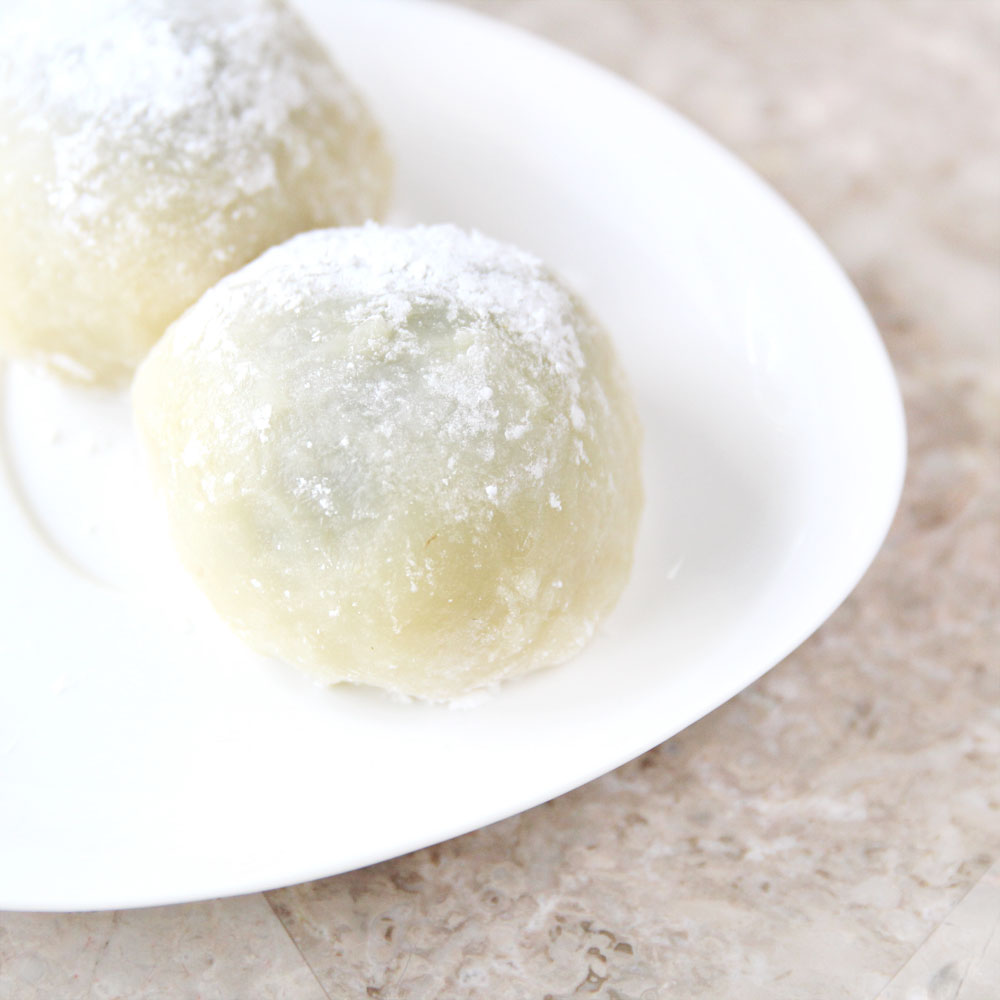
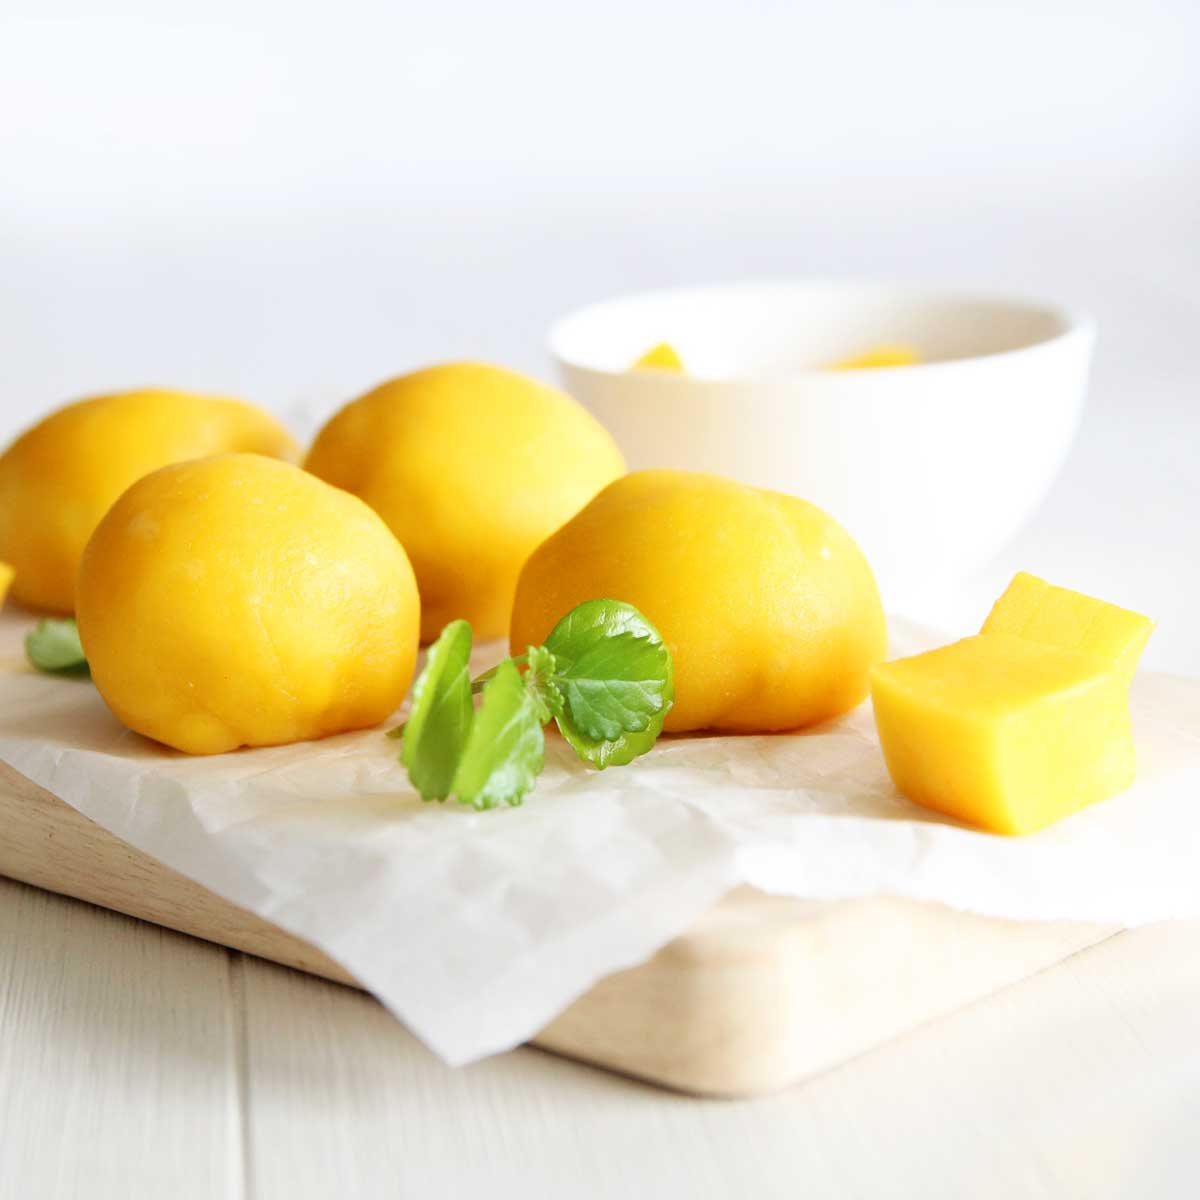
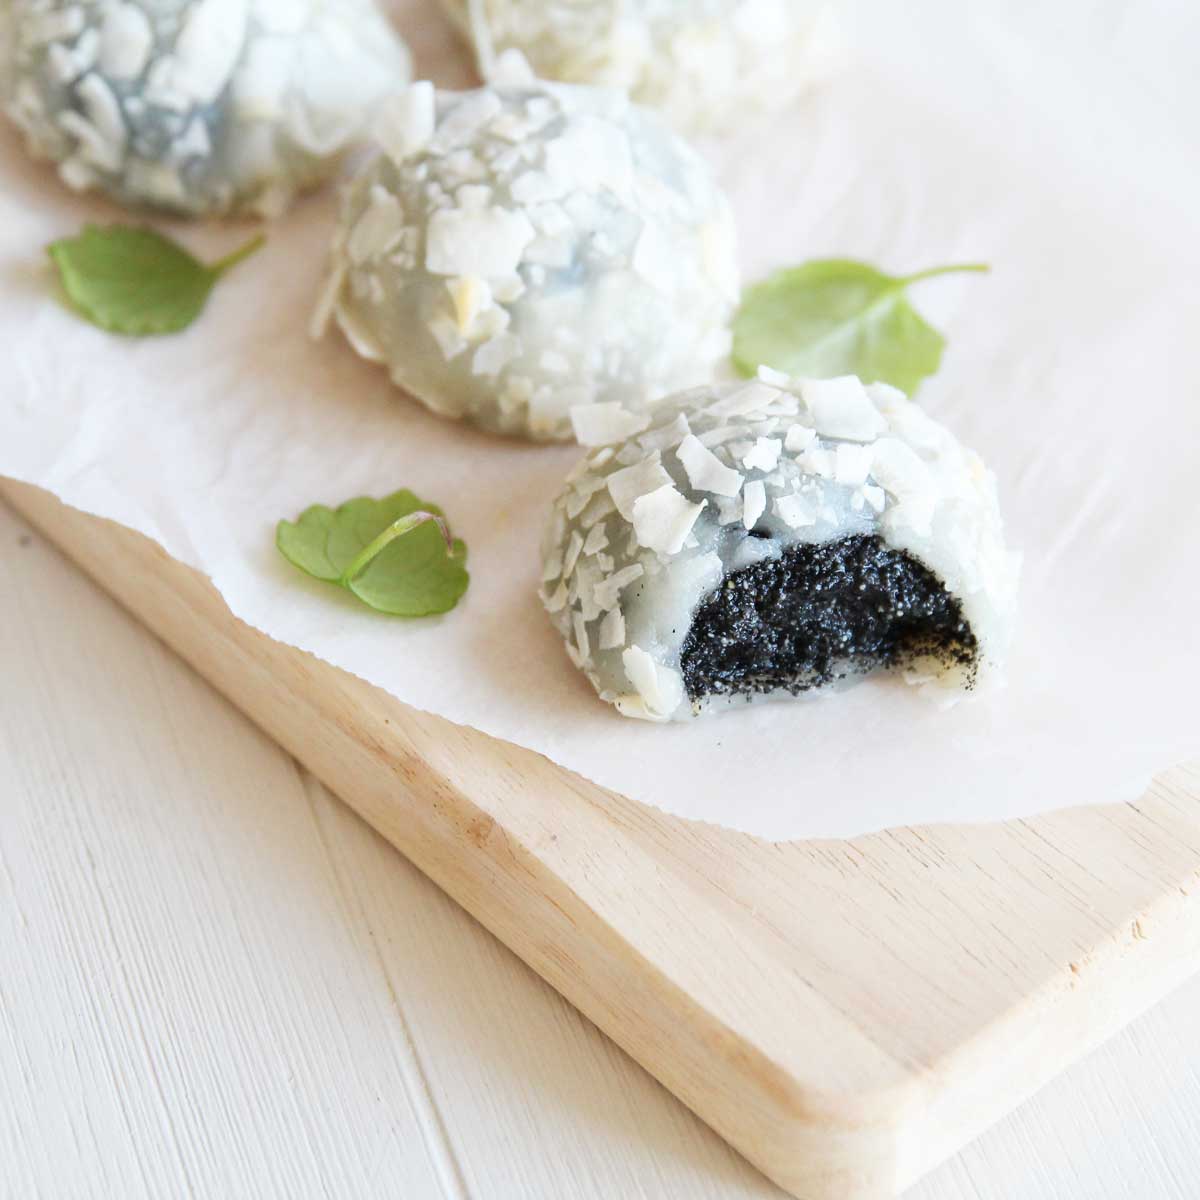
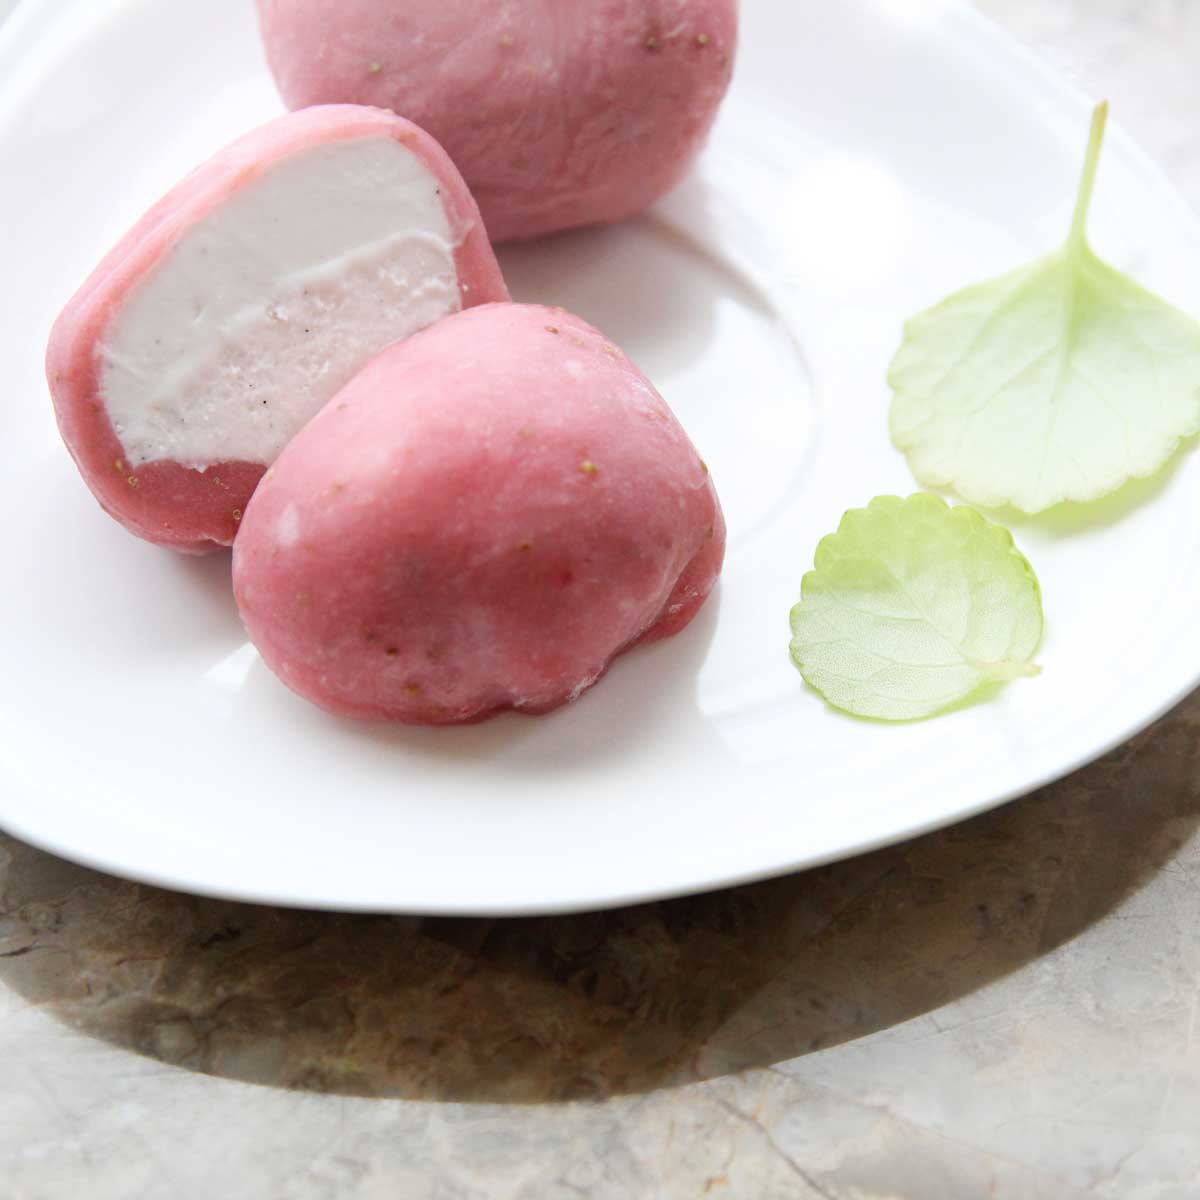
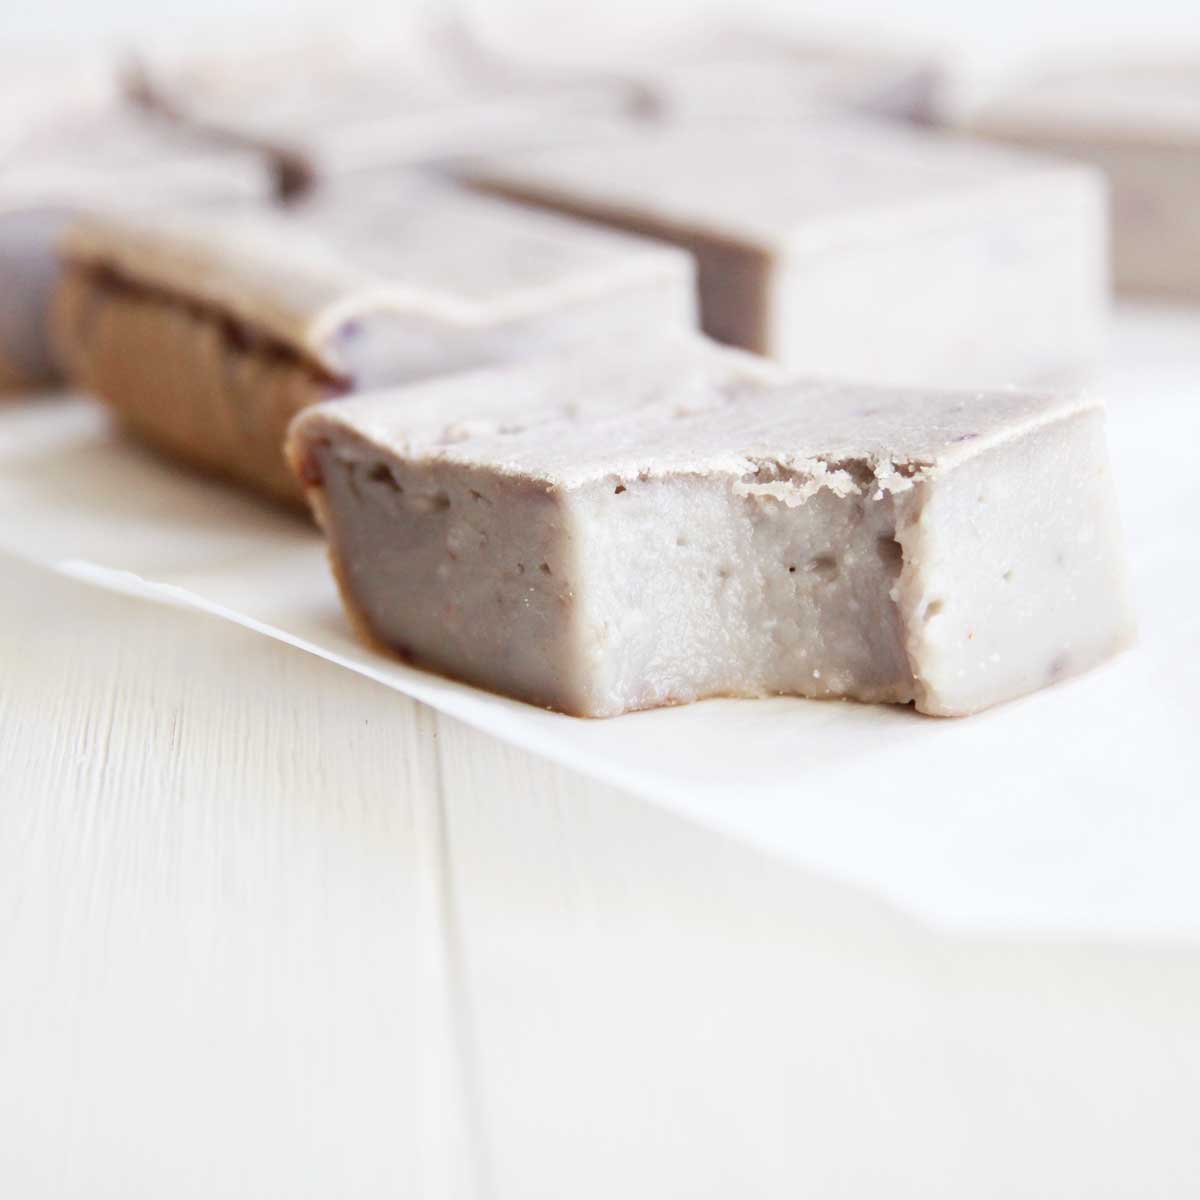
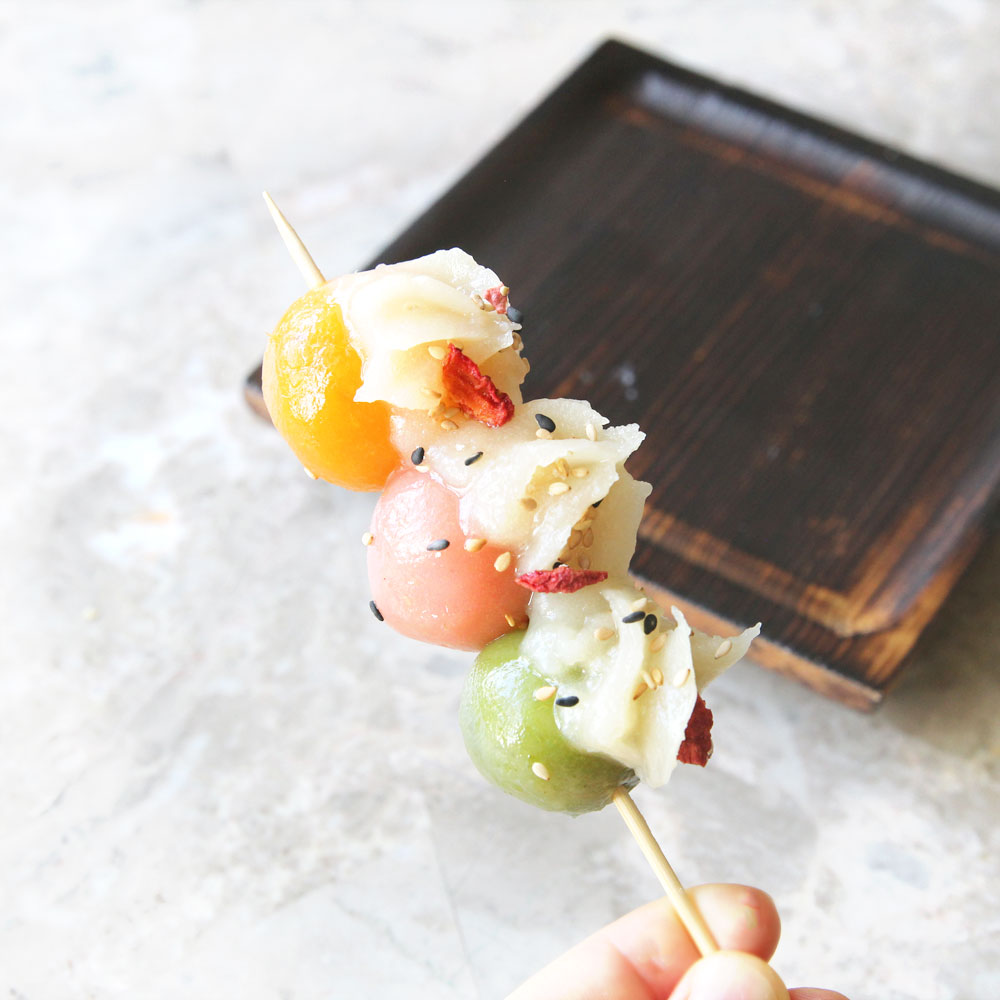
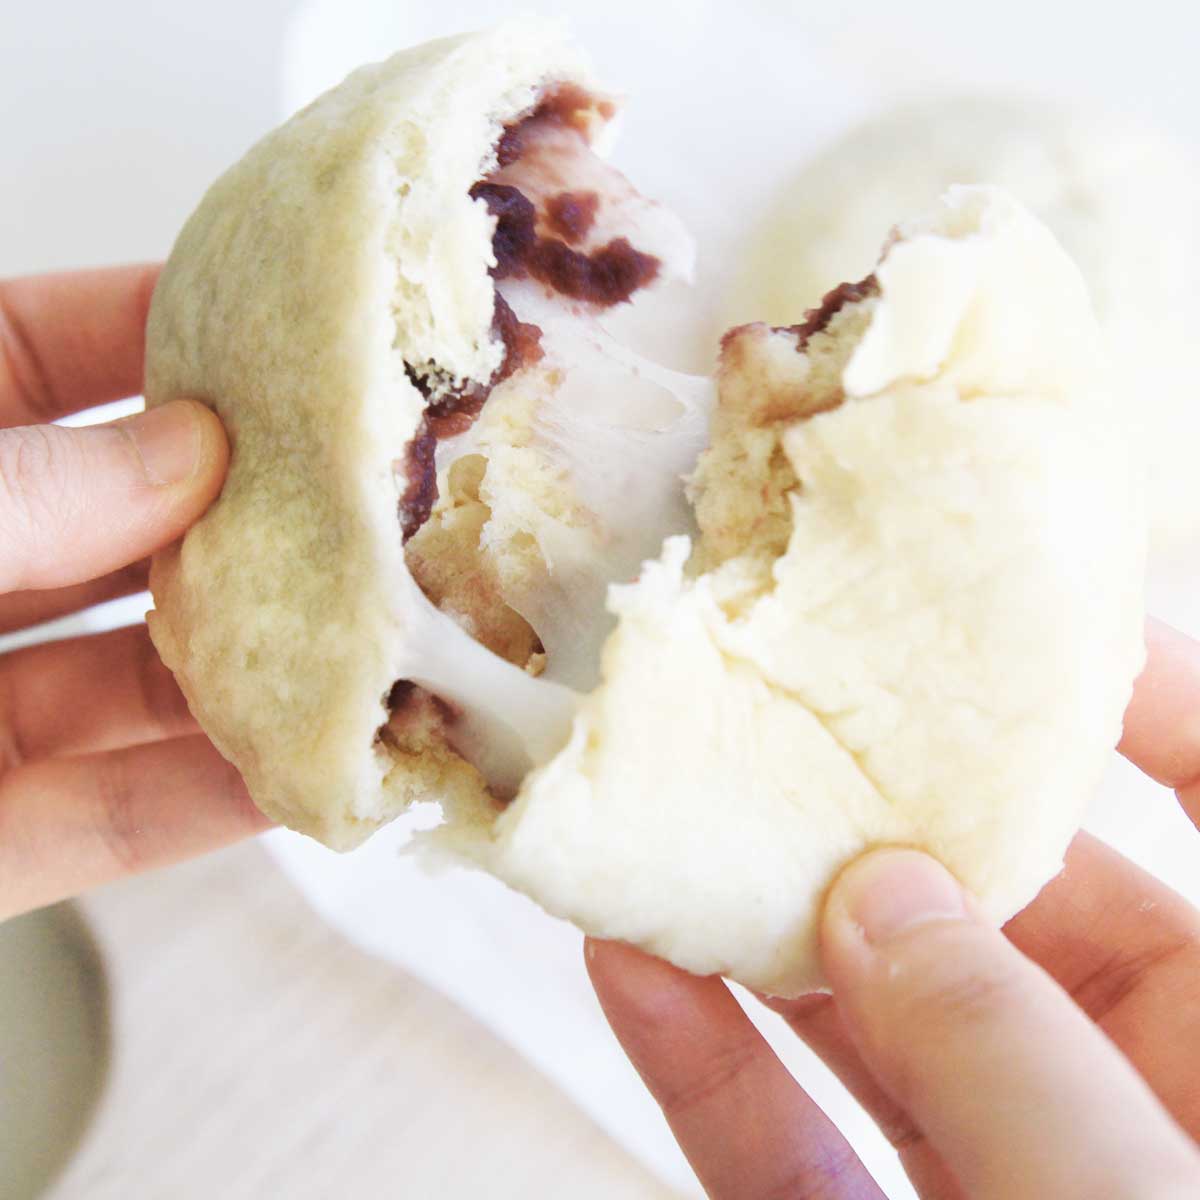
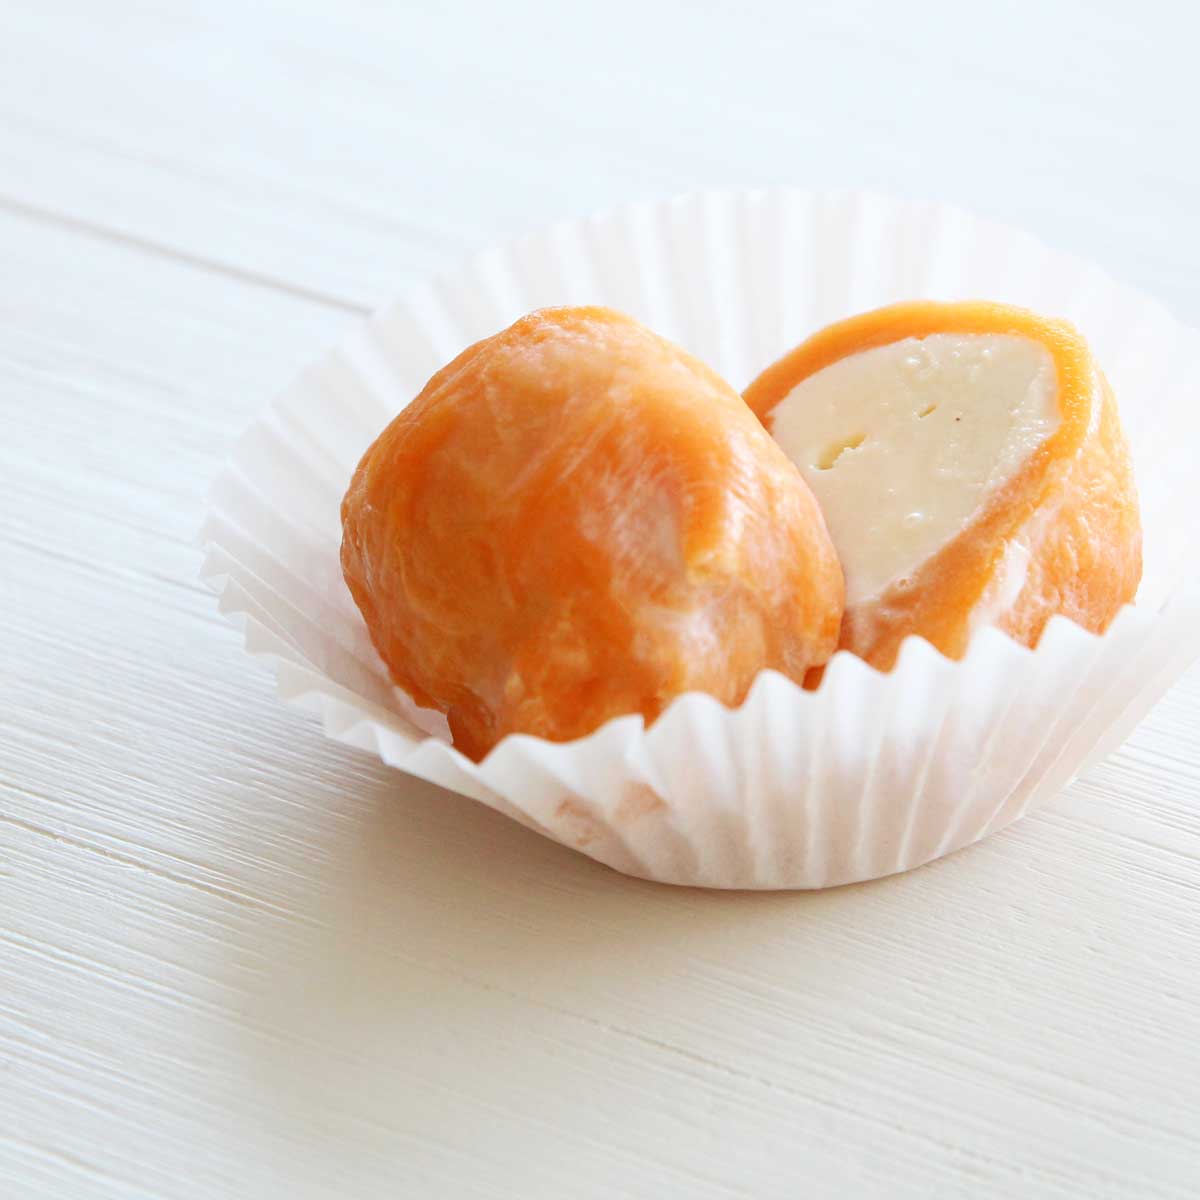
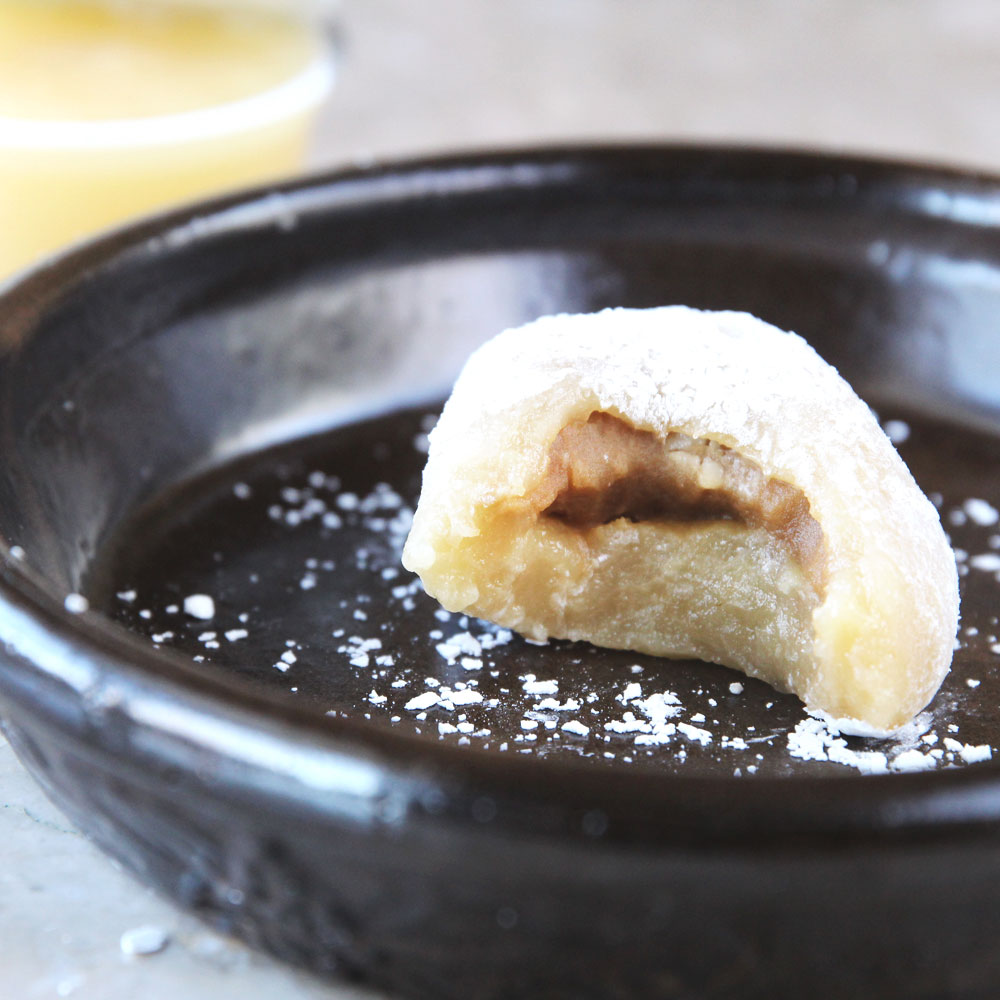
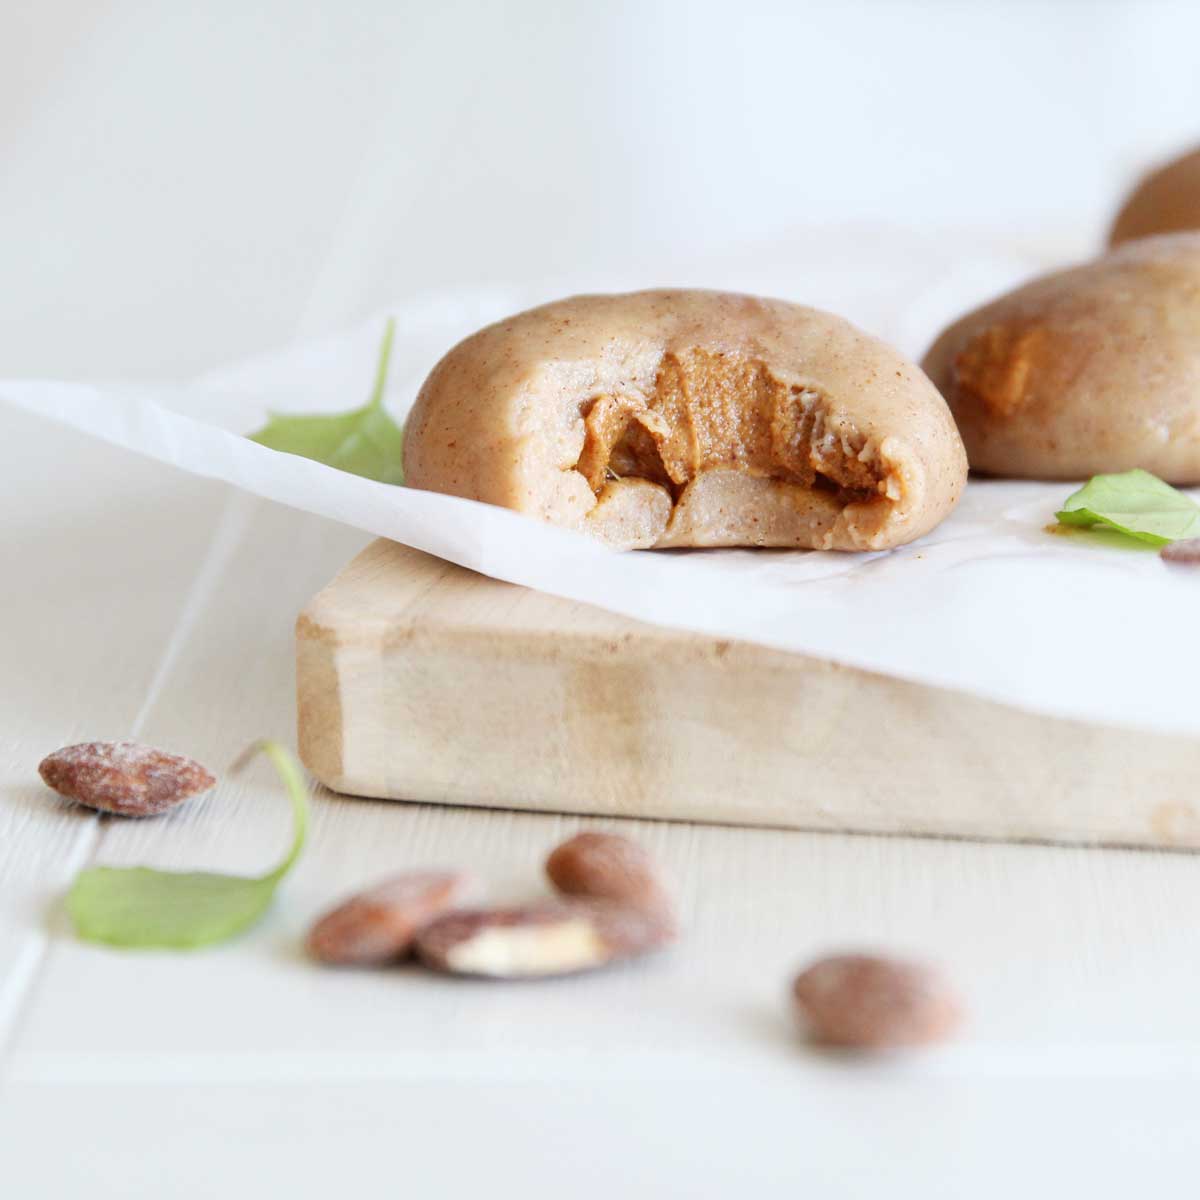
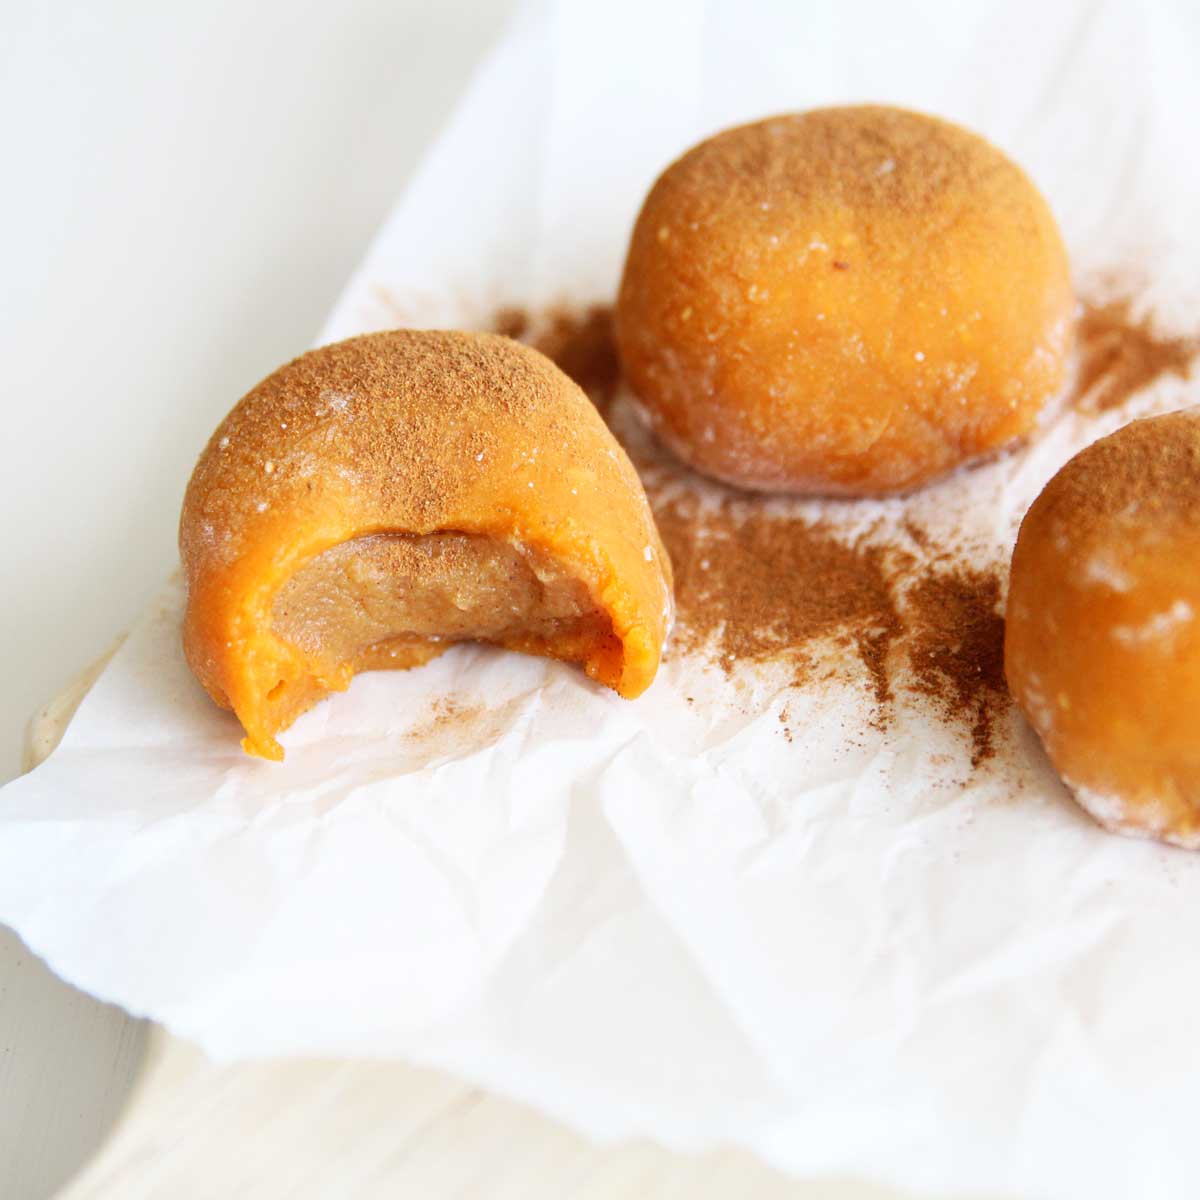
Prepare stuffed mochi, mochi squares or kirimochi
STEP 2
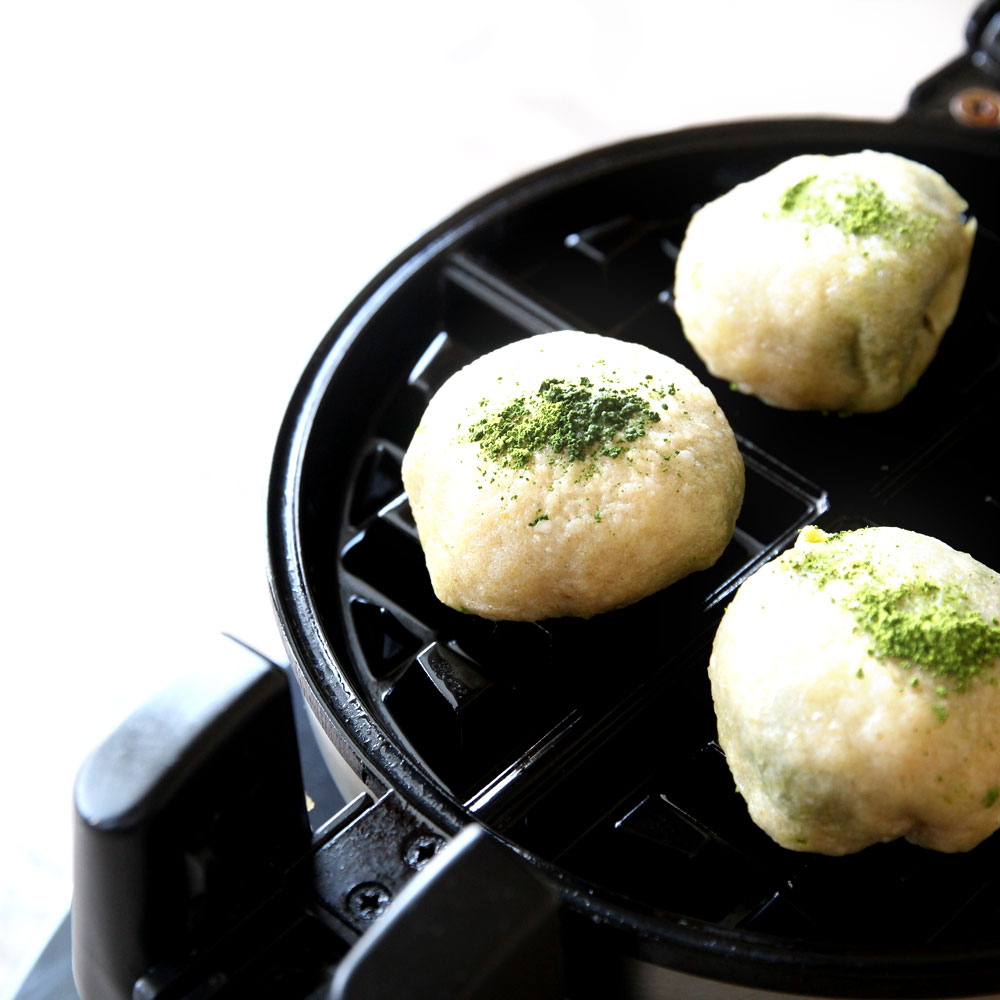
place in a well greased waffle maker ( I used spray olive oil)
STEP 3
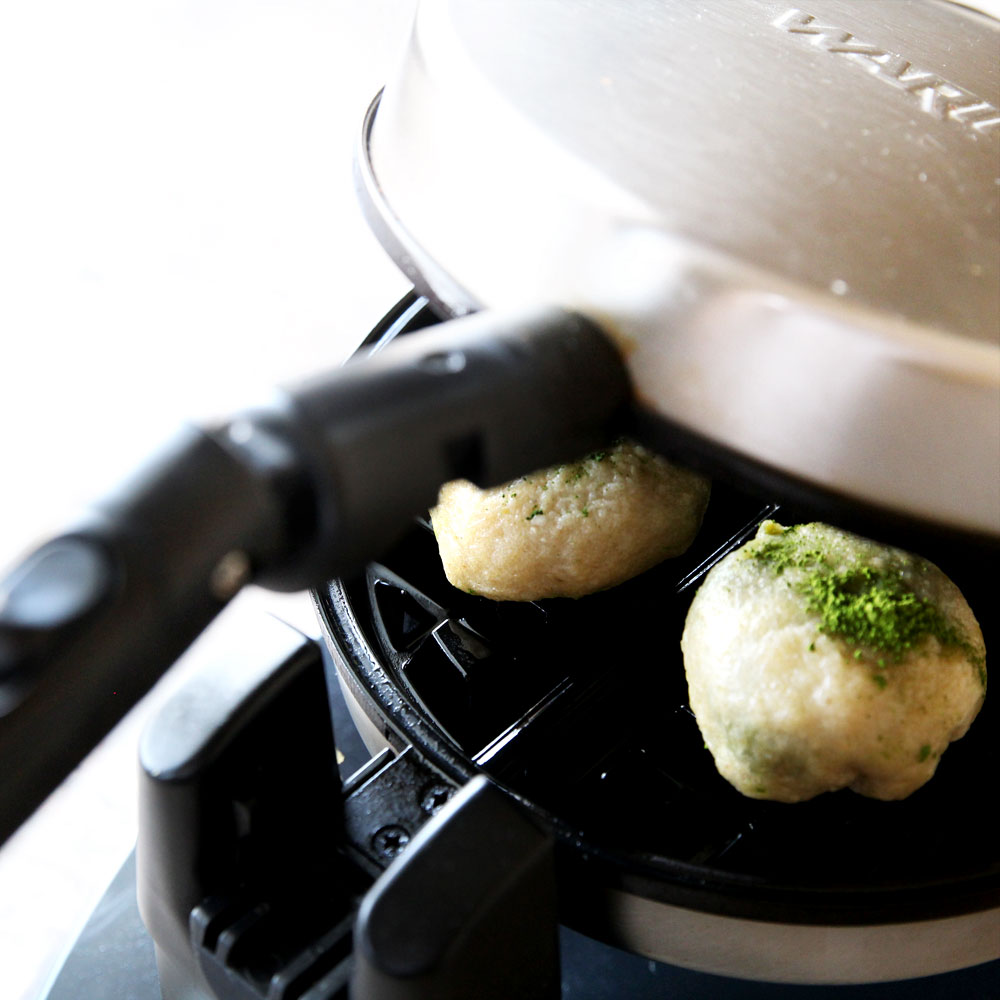
Press
STEP 4
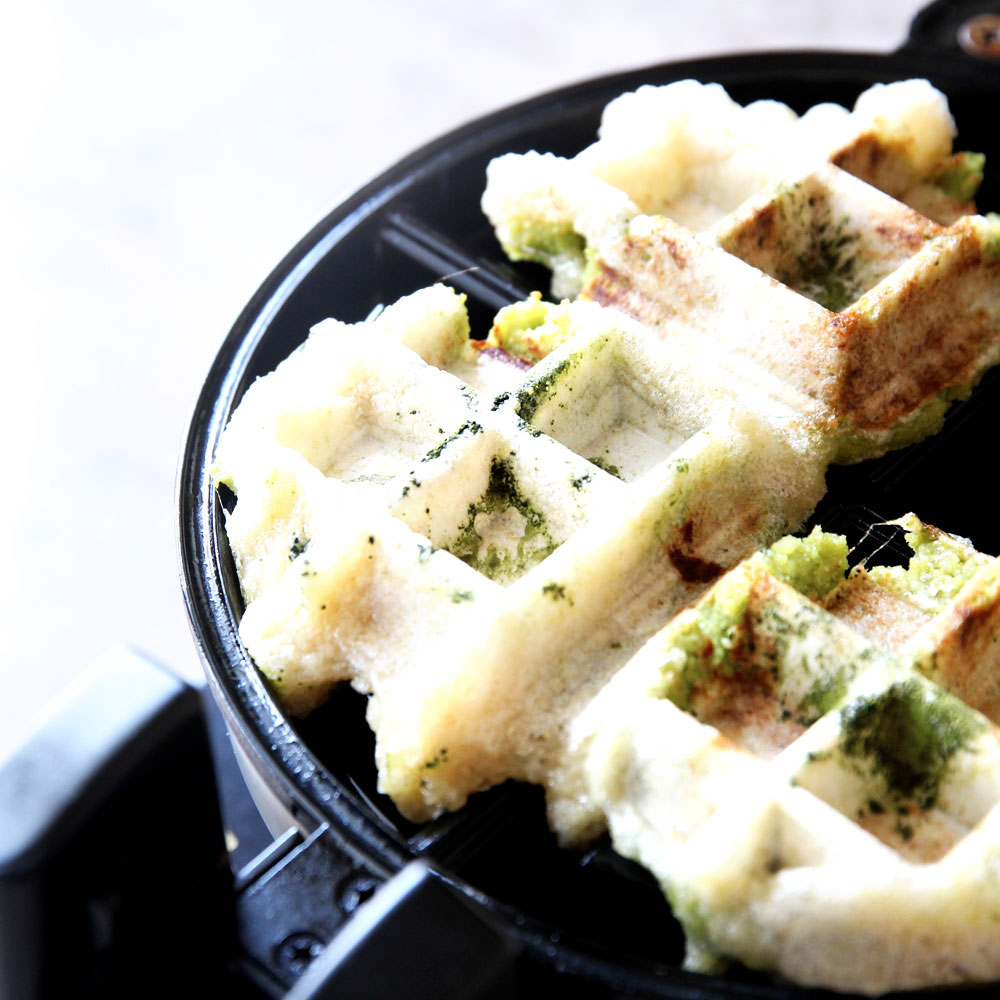
Let cook for 2-3 minutes, or more if you want them crispier
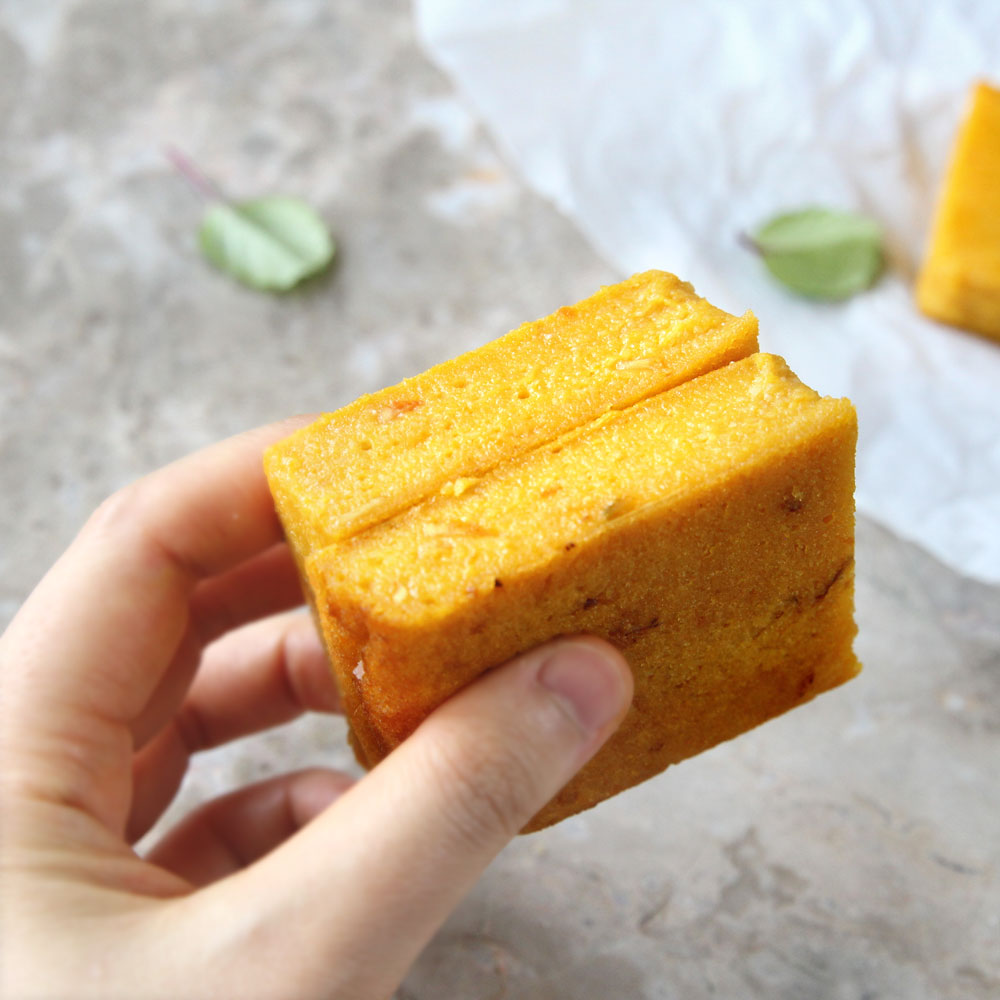
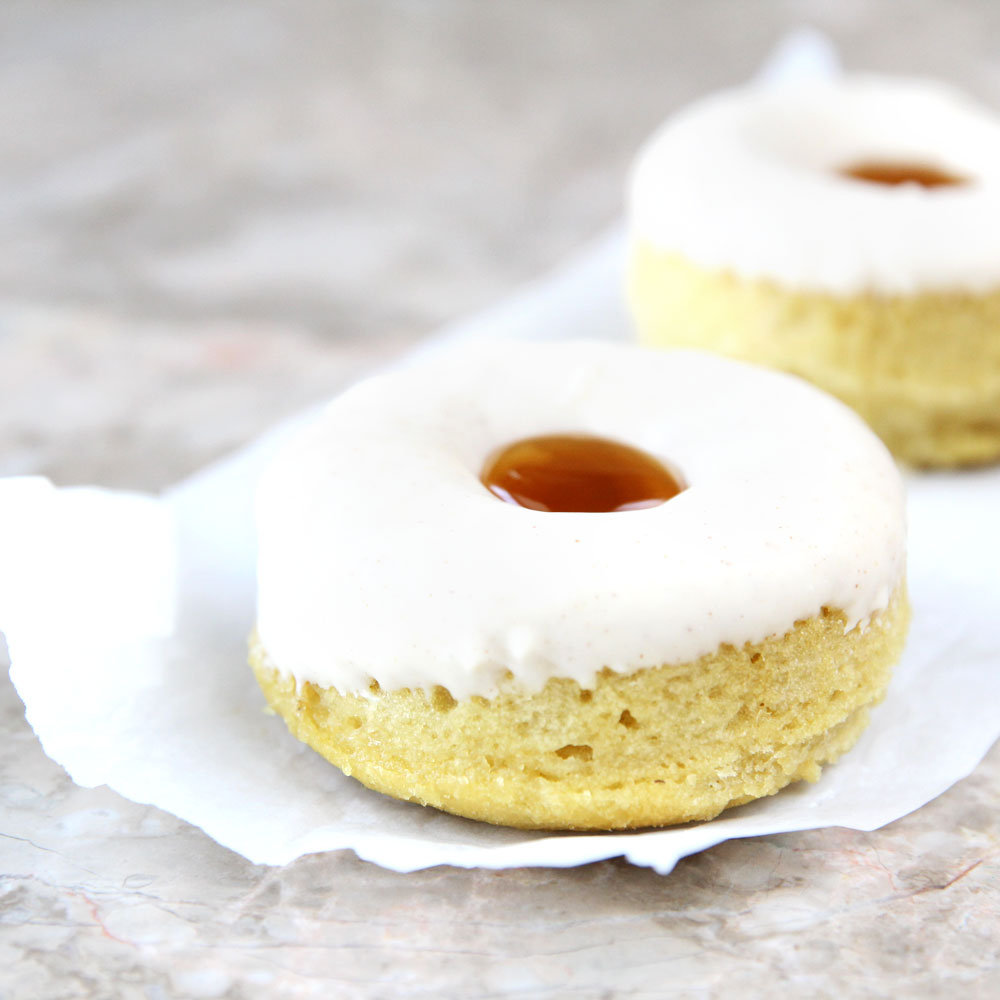
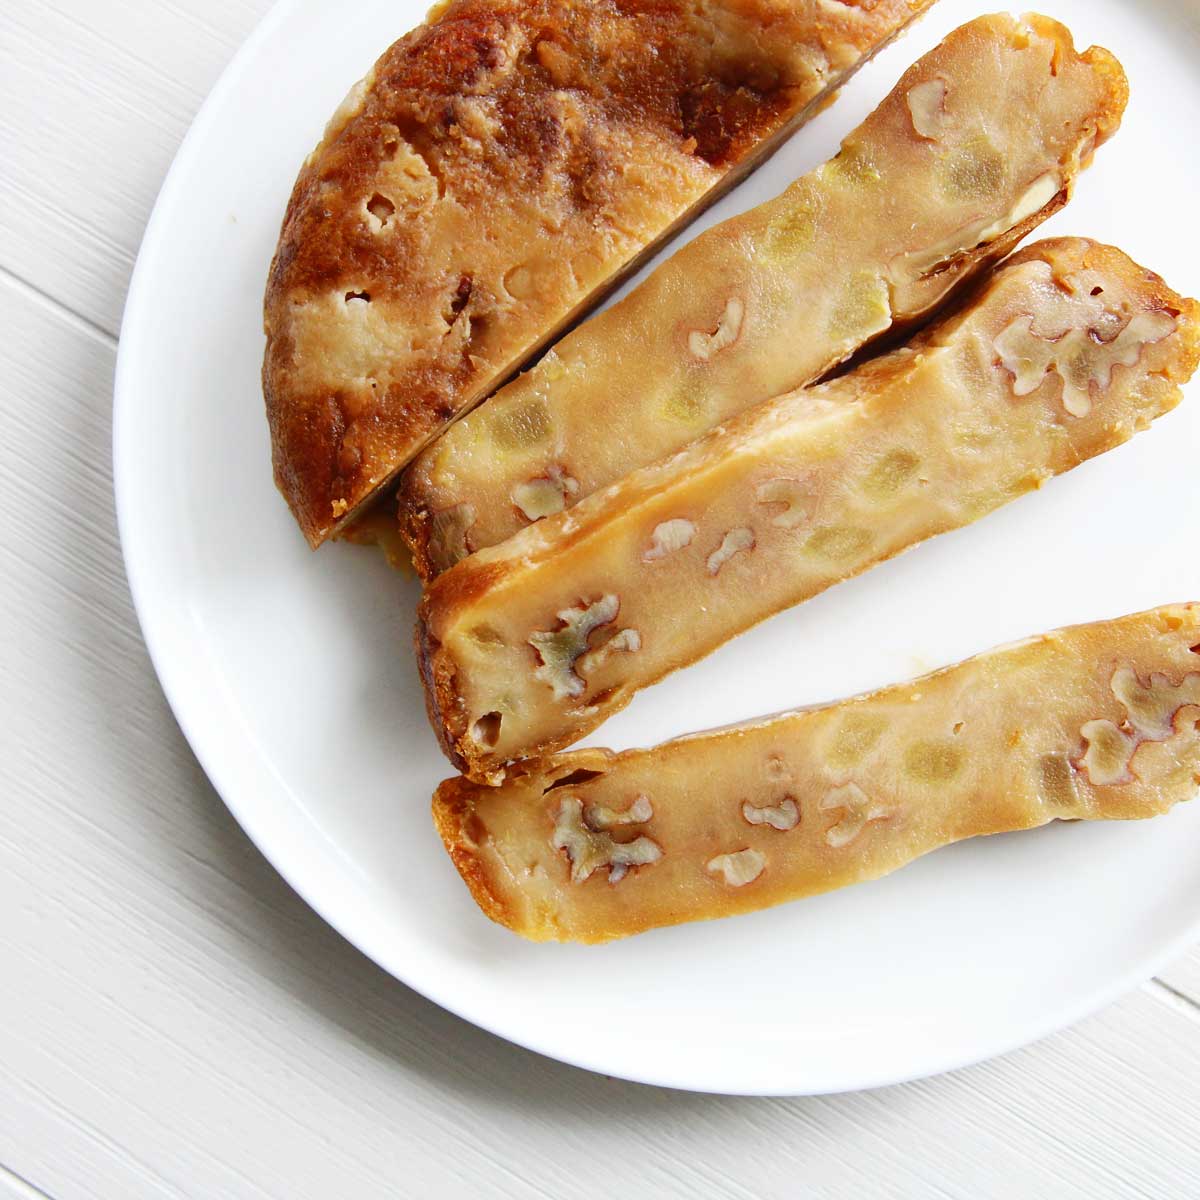
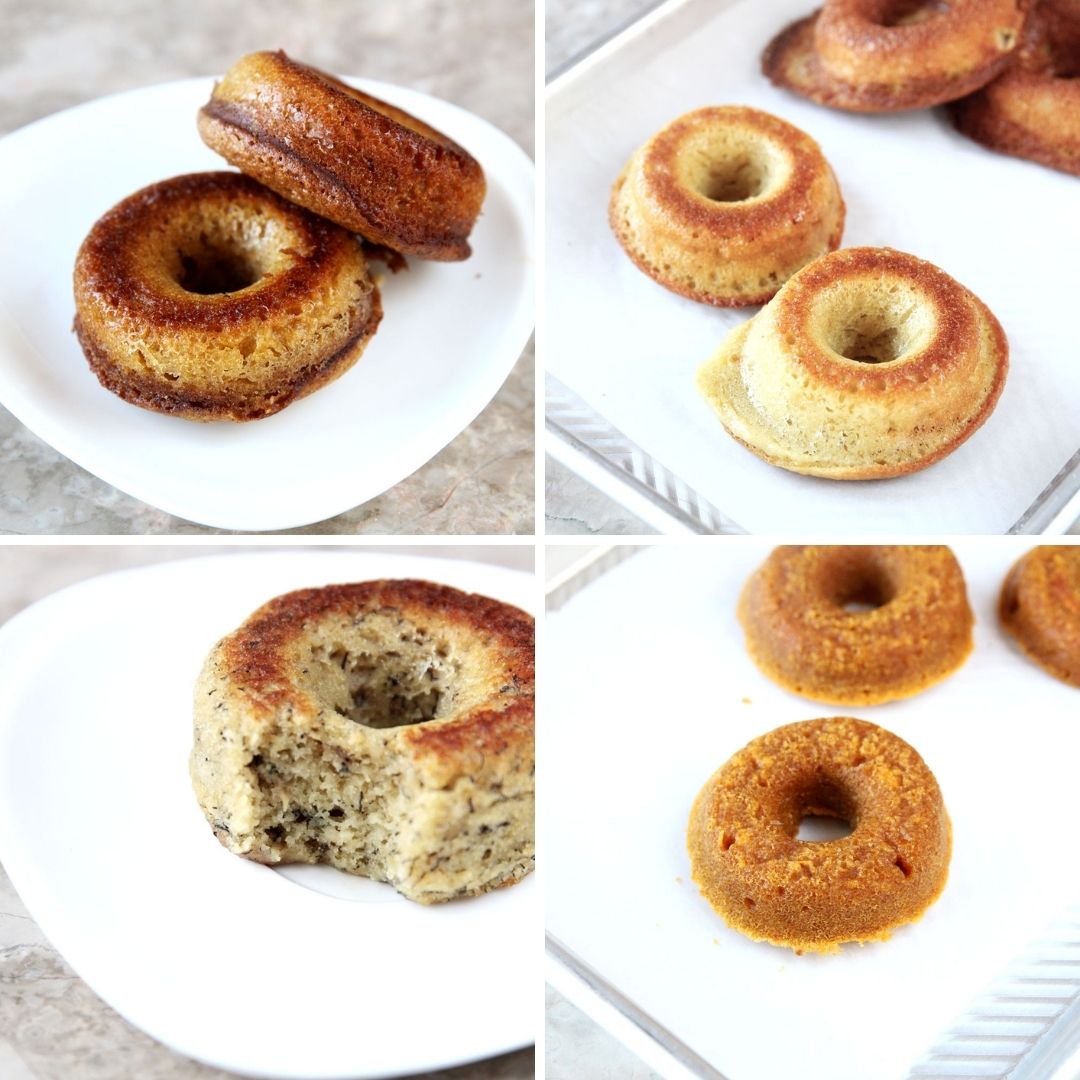
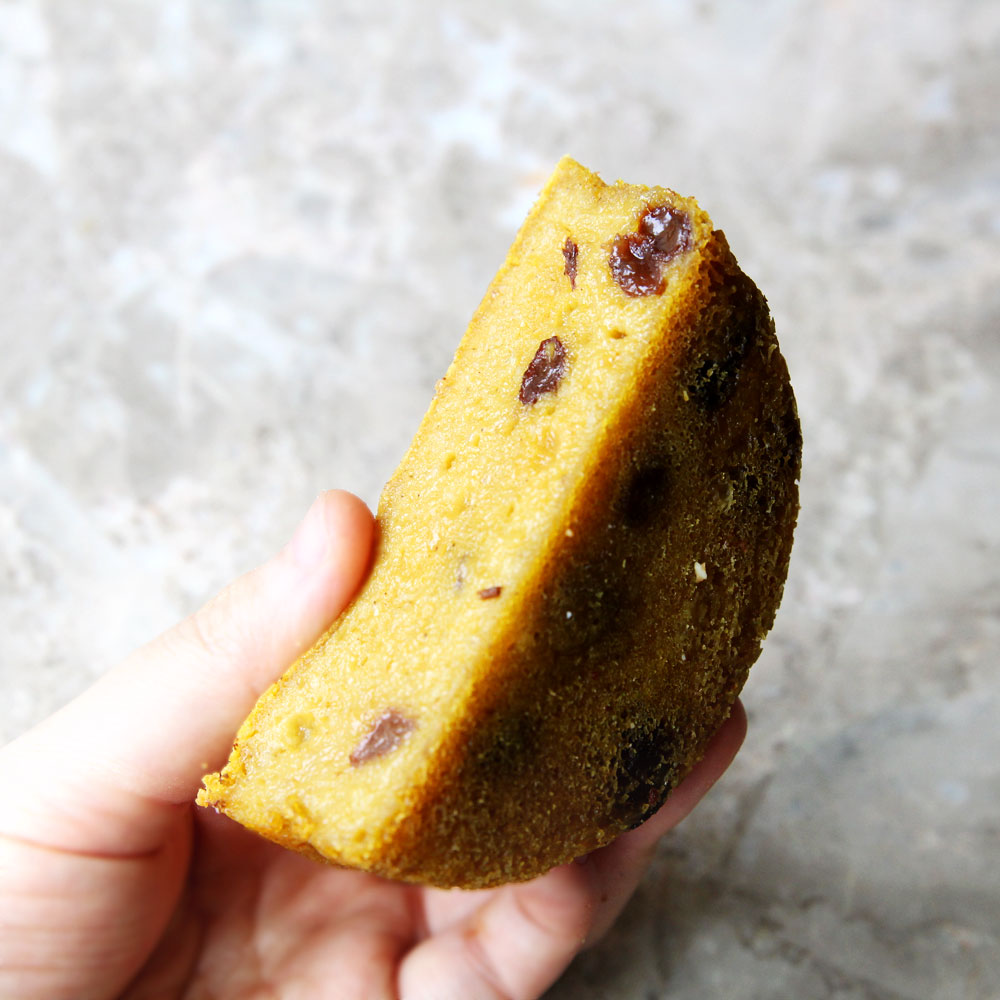
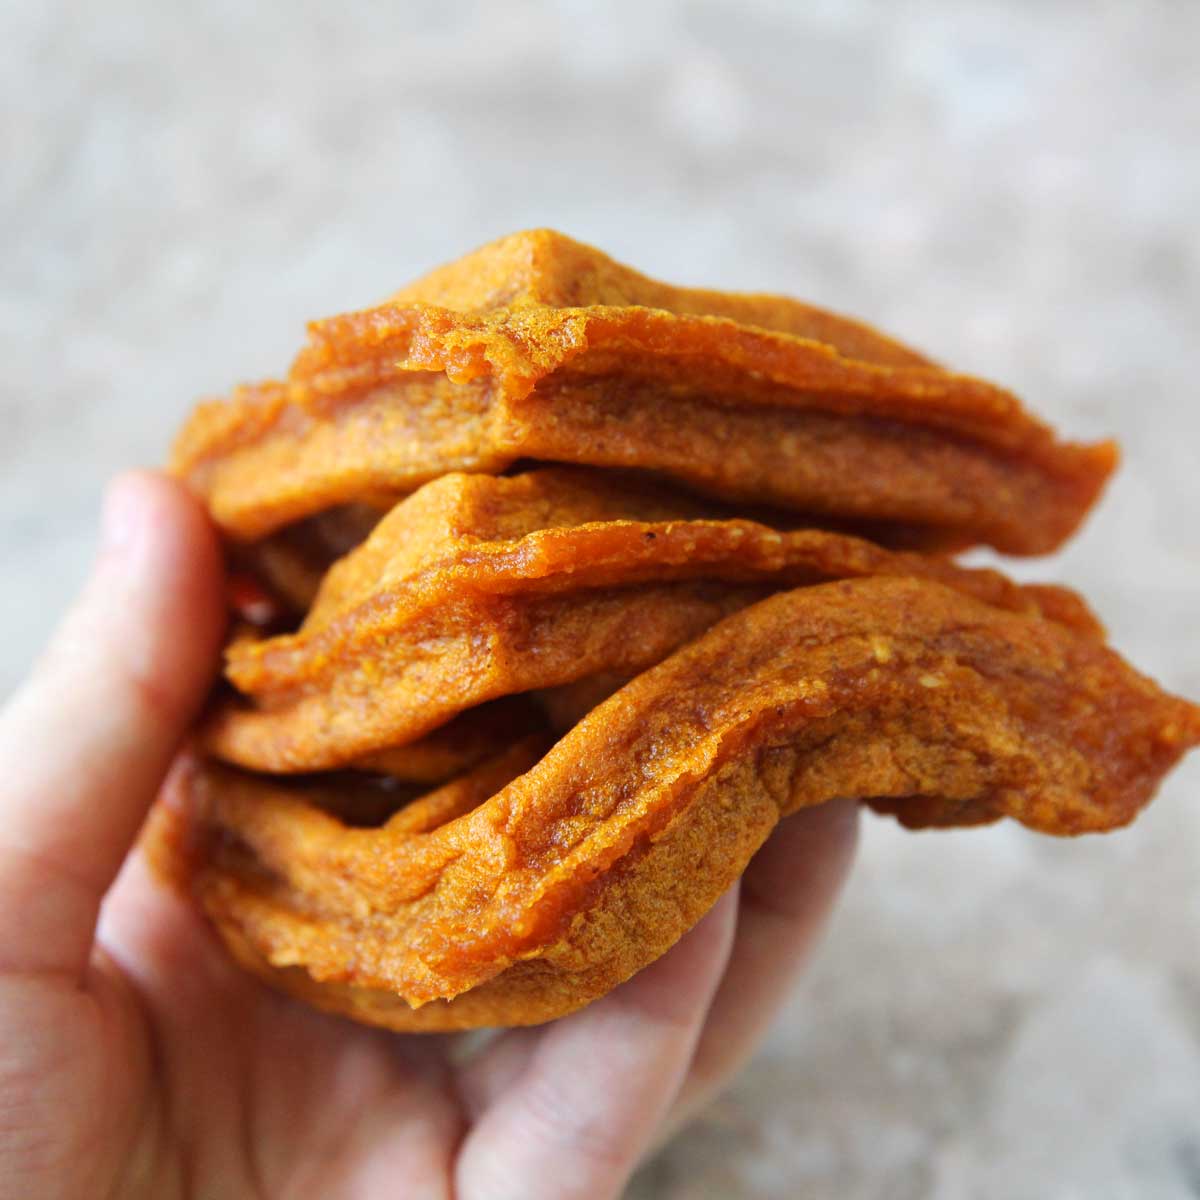
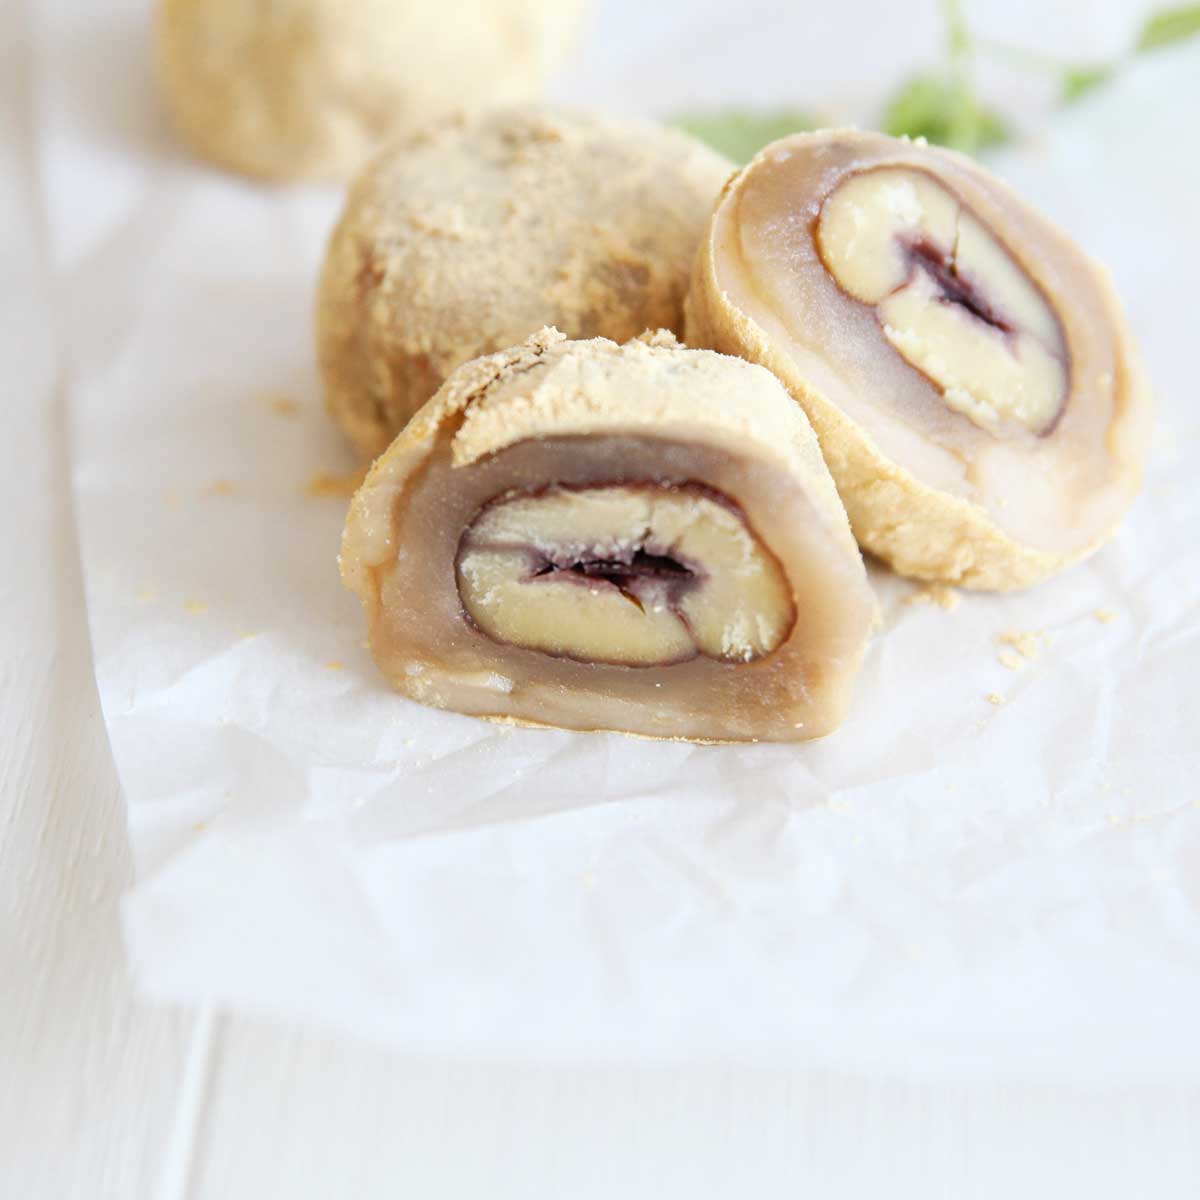
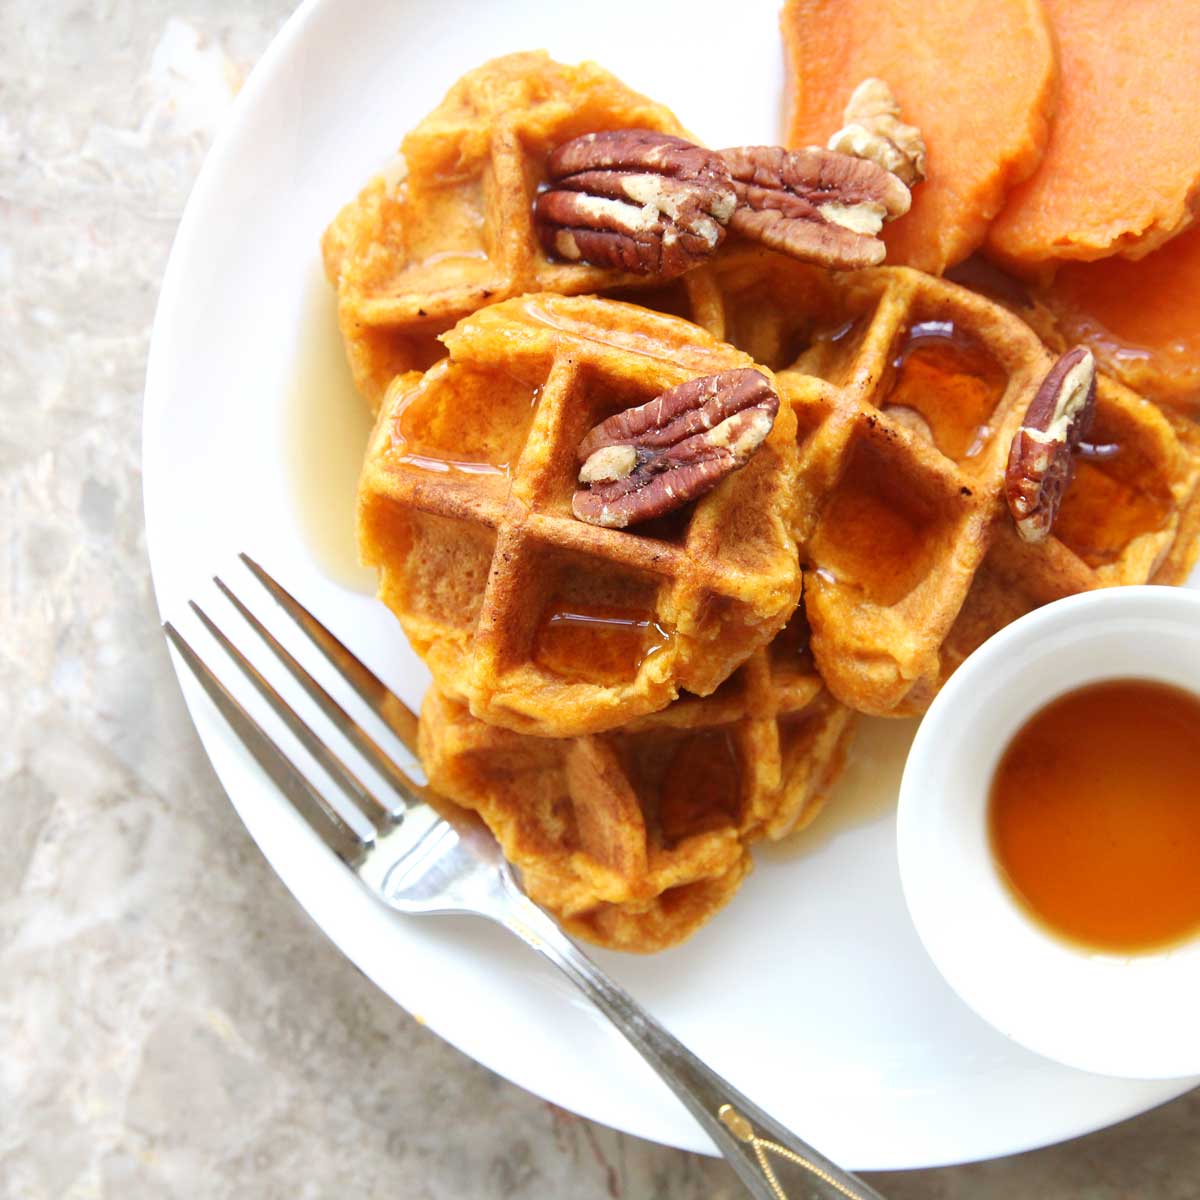
How Does Waffled Mochi Taste like?
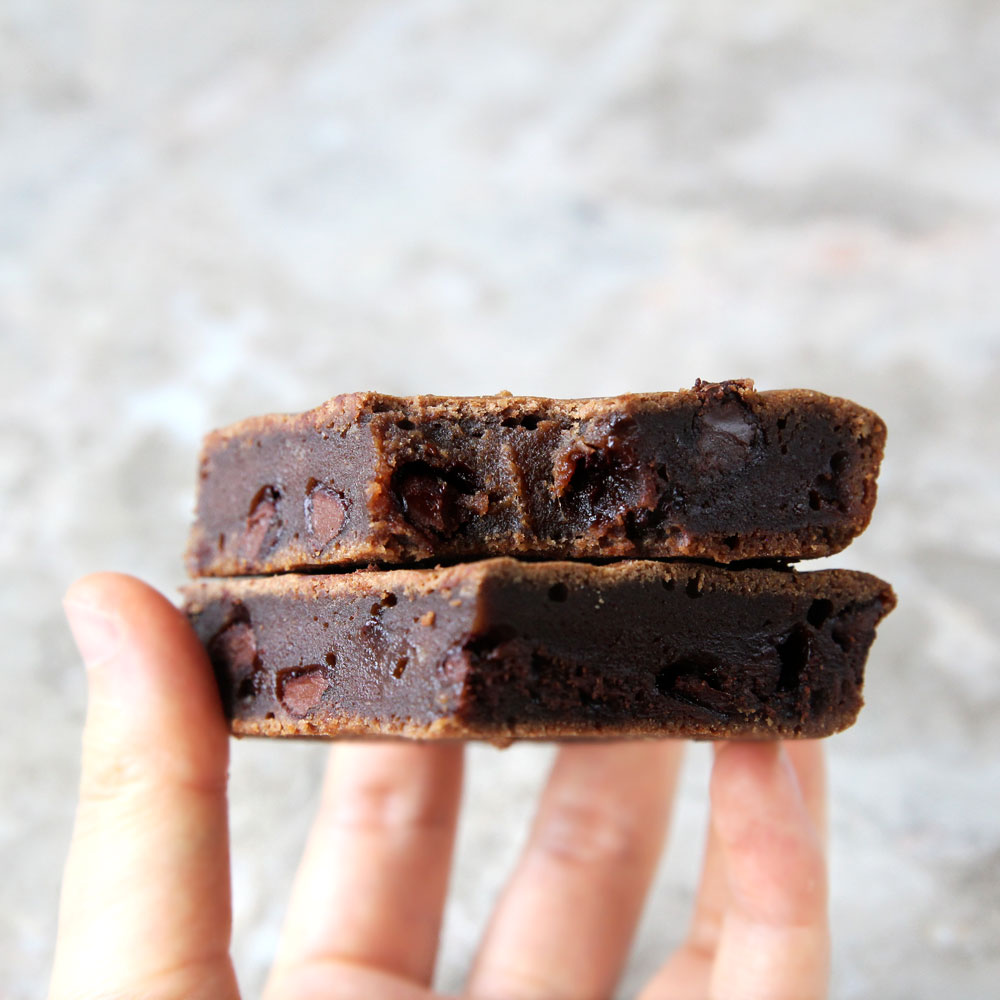
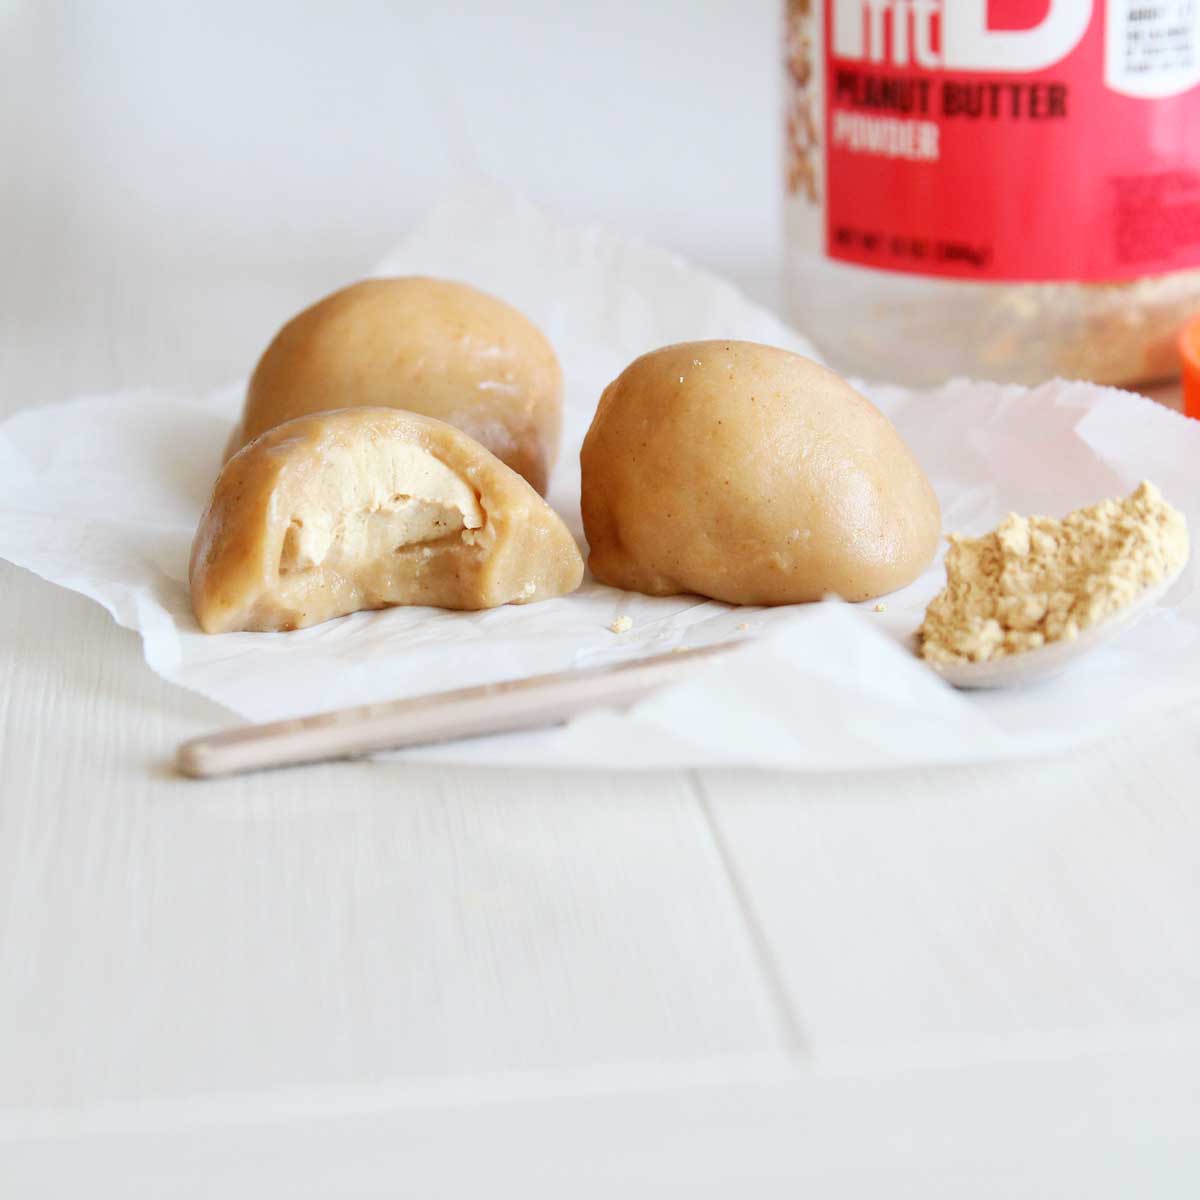
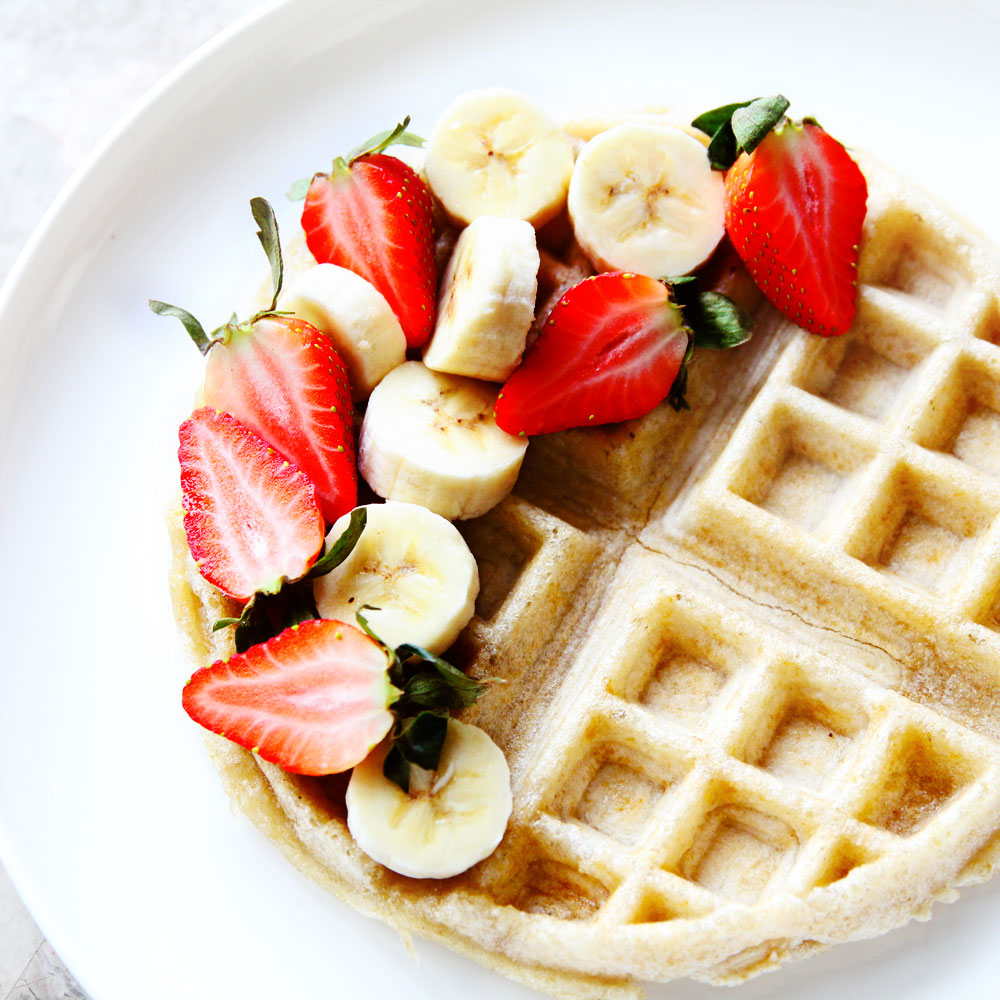
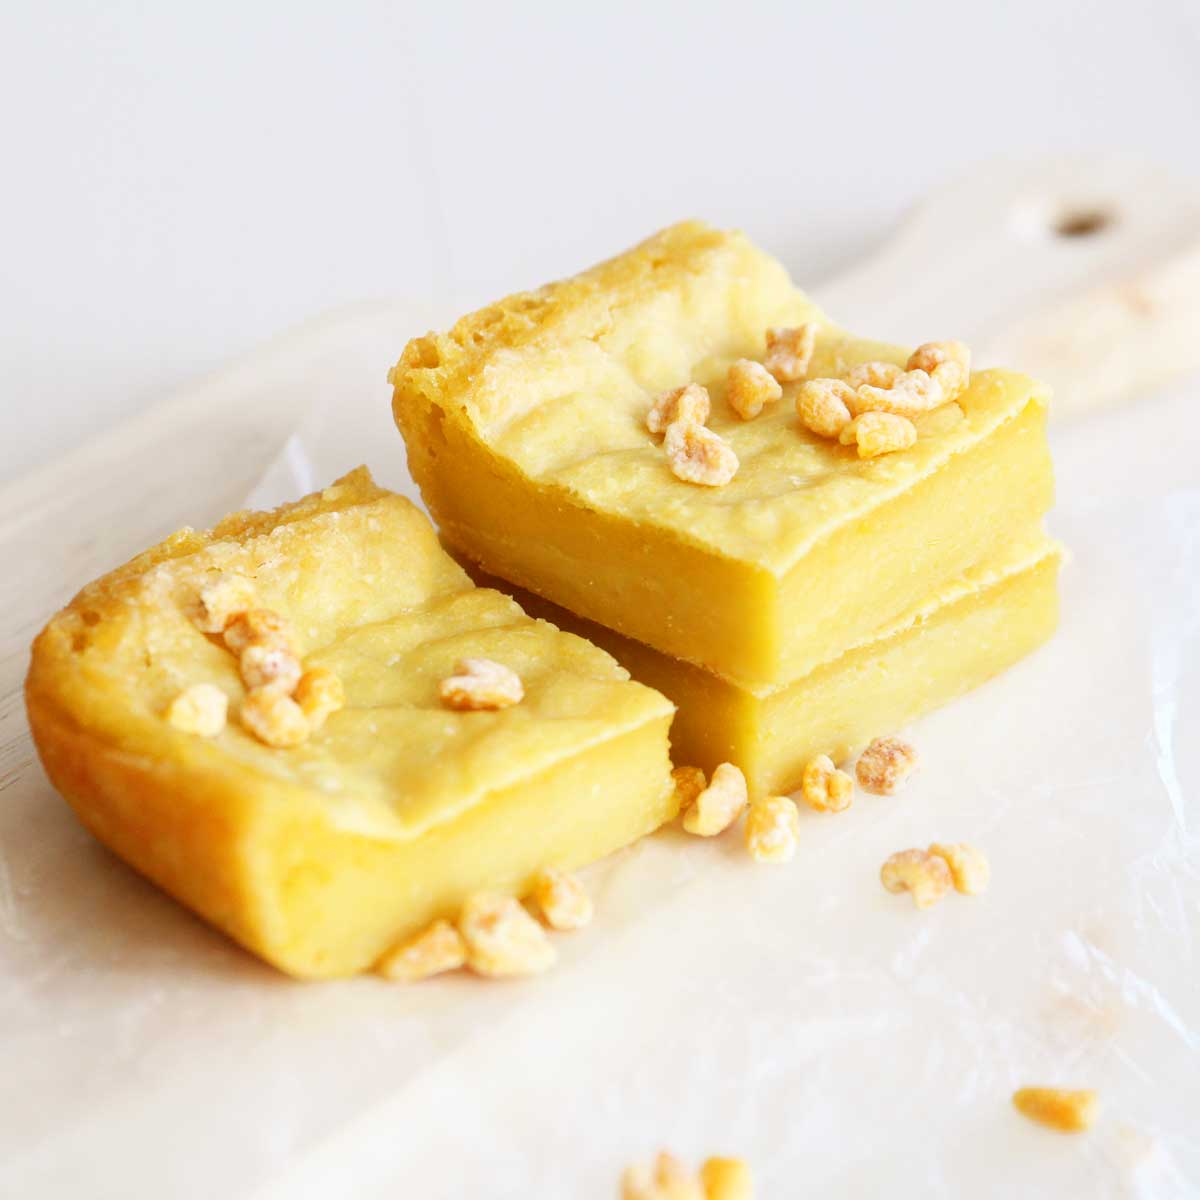
Crispy, chewy, sweet and absolutely delicious. A crunchy crust forms as the waffled mochi cooks in the waffle iron, while the filling stays inside, forming a creamy layer in between the crispy crust.
No Waffle Maker?
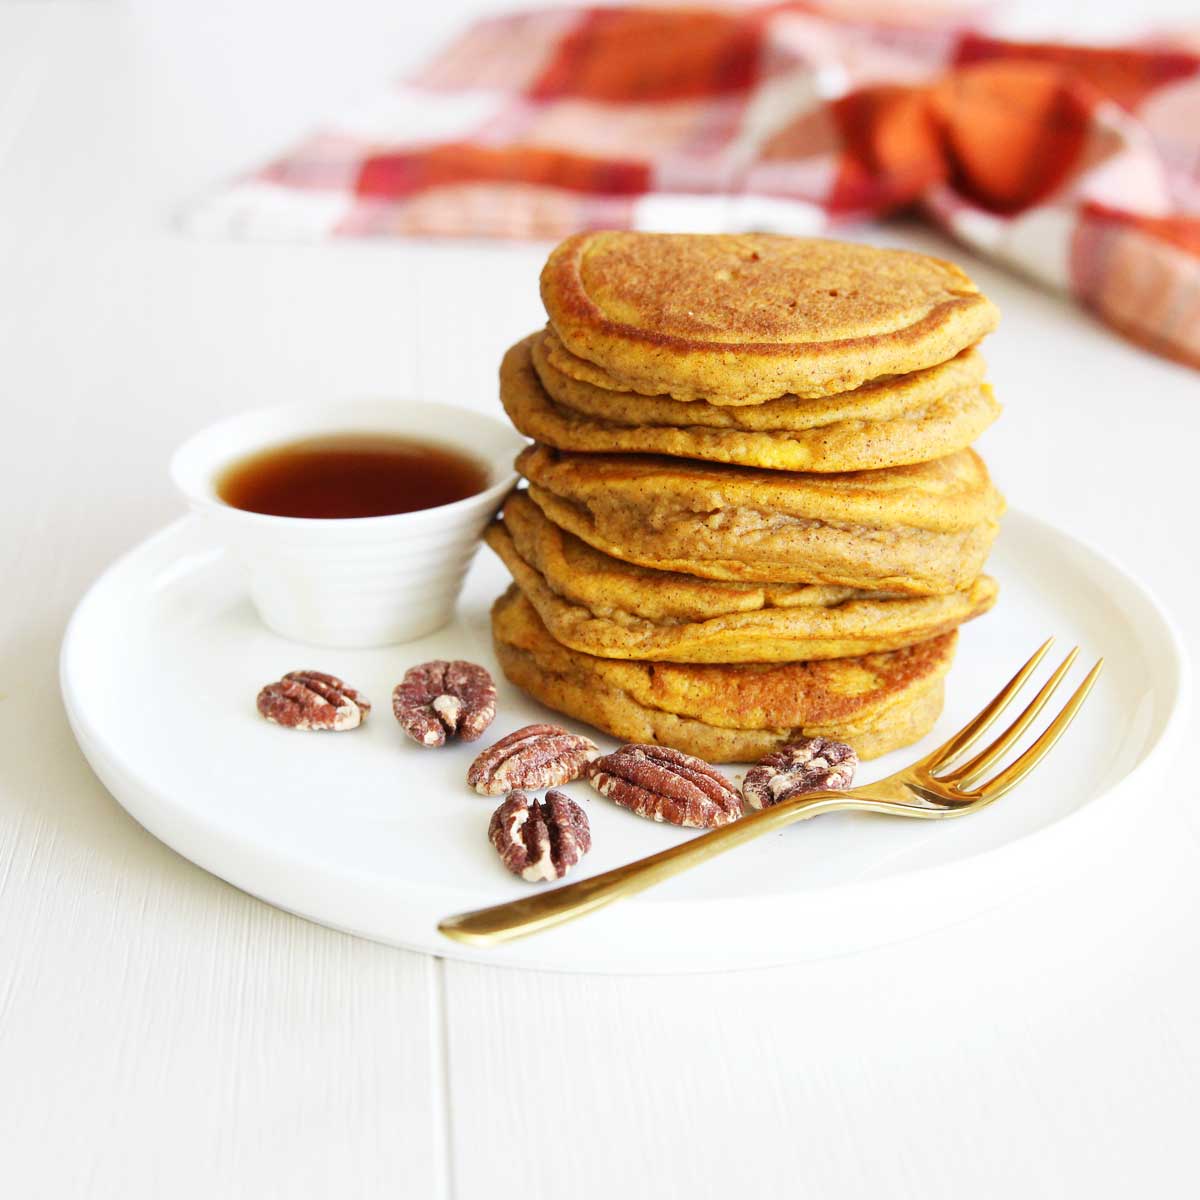
- If the waffle iron works, so does the frying pan. There is something called a "hodduk" in Korea which is basically sugar stuffed pan-fried mochi pancakes. Transfer the mochi to a well-greased frying pan and use a cast iron or other heavy hamburger or grill press to "press" and flatten the mochi into a thinner pancake. A Panini Press also works. Enjoy!
- Grilled mochi? Yes, that's also an option, too.
How to Store Waffled Mochi
- You can store this waffled mochi covered at room temperature for up to 12-16 hours. For longer storage, I would arrange them in a plastic freezer storage bag or an airtight container and freeze them which will keep them good for up to 4 months. When ready to eat, just defrost them at room temperature or microwave 30-60 seconds until just hot.
- The reason I wouldn't recommend storing waffled mochi in the fridge is that mochi (most rice flours) tend to develop a weird waxy, hard texture when stored in the fridge. A bit like how cold, refrigerated rice tastes like?


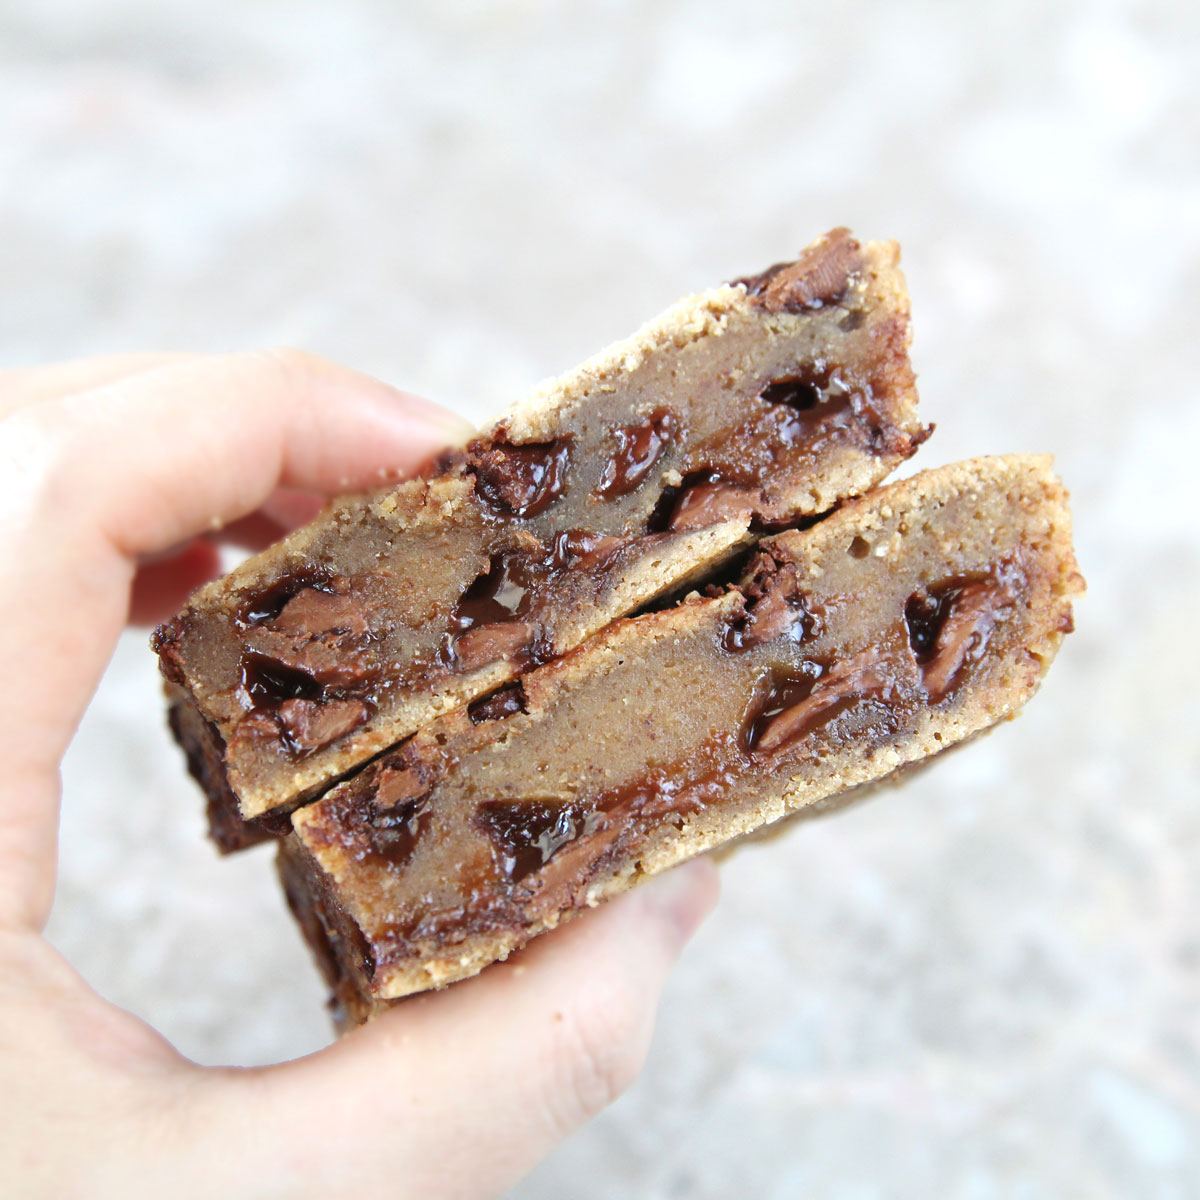
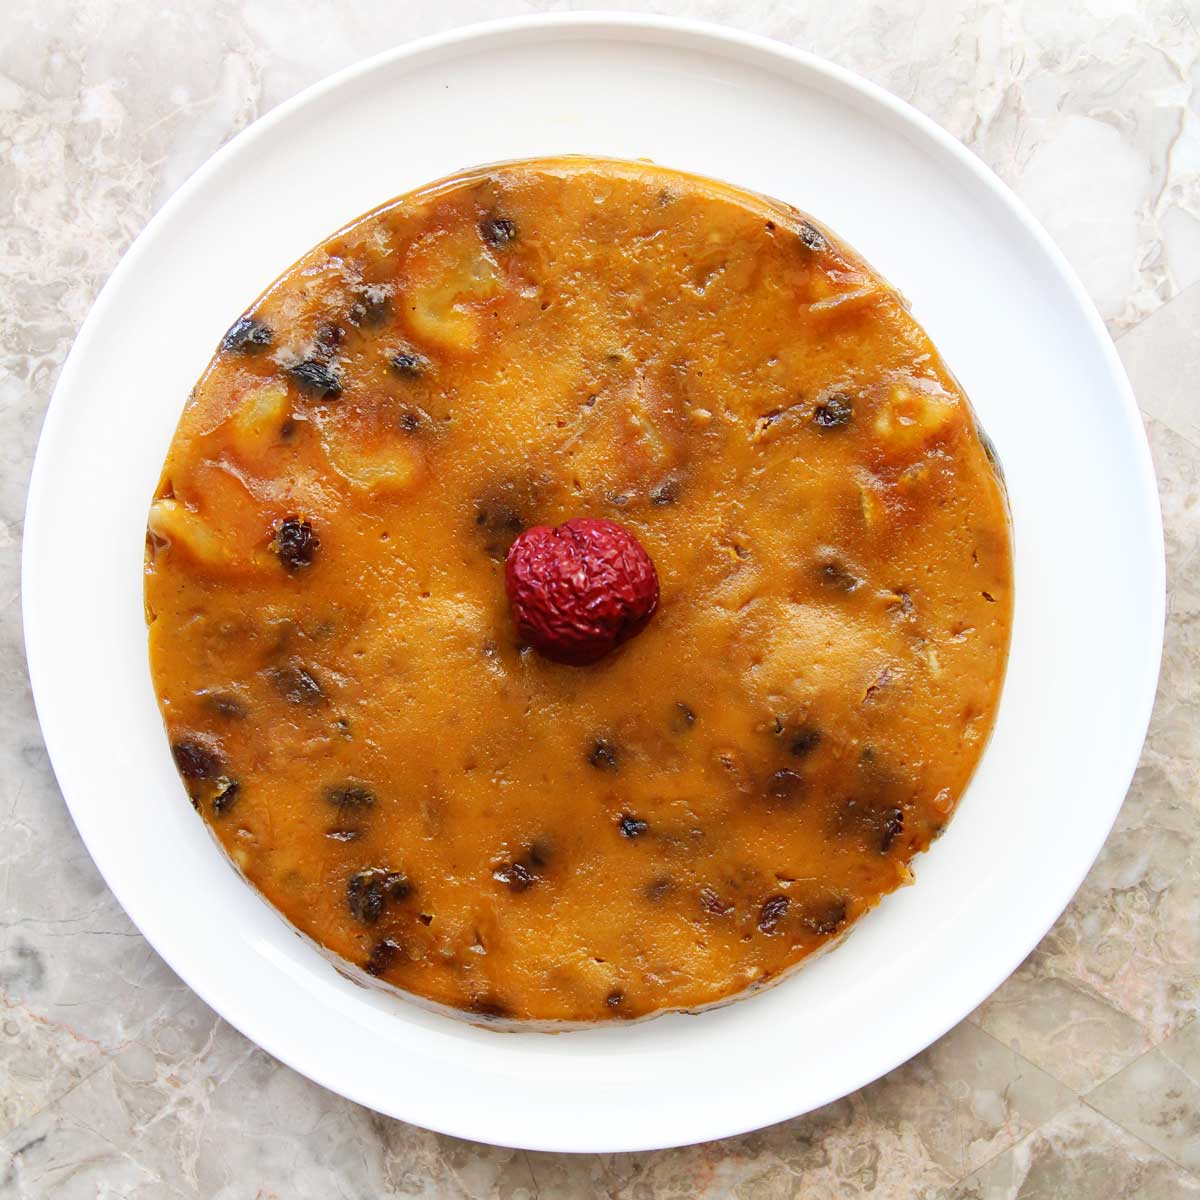
You Might Also Like these Mochi Recipes


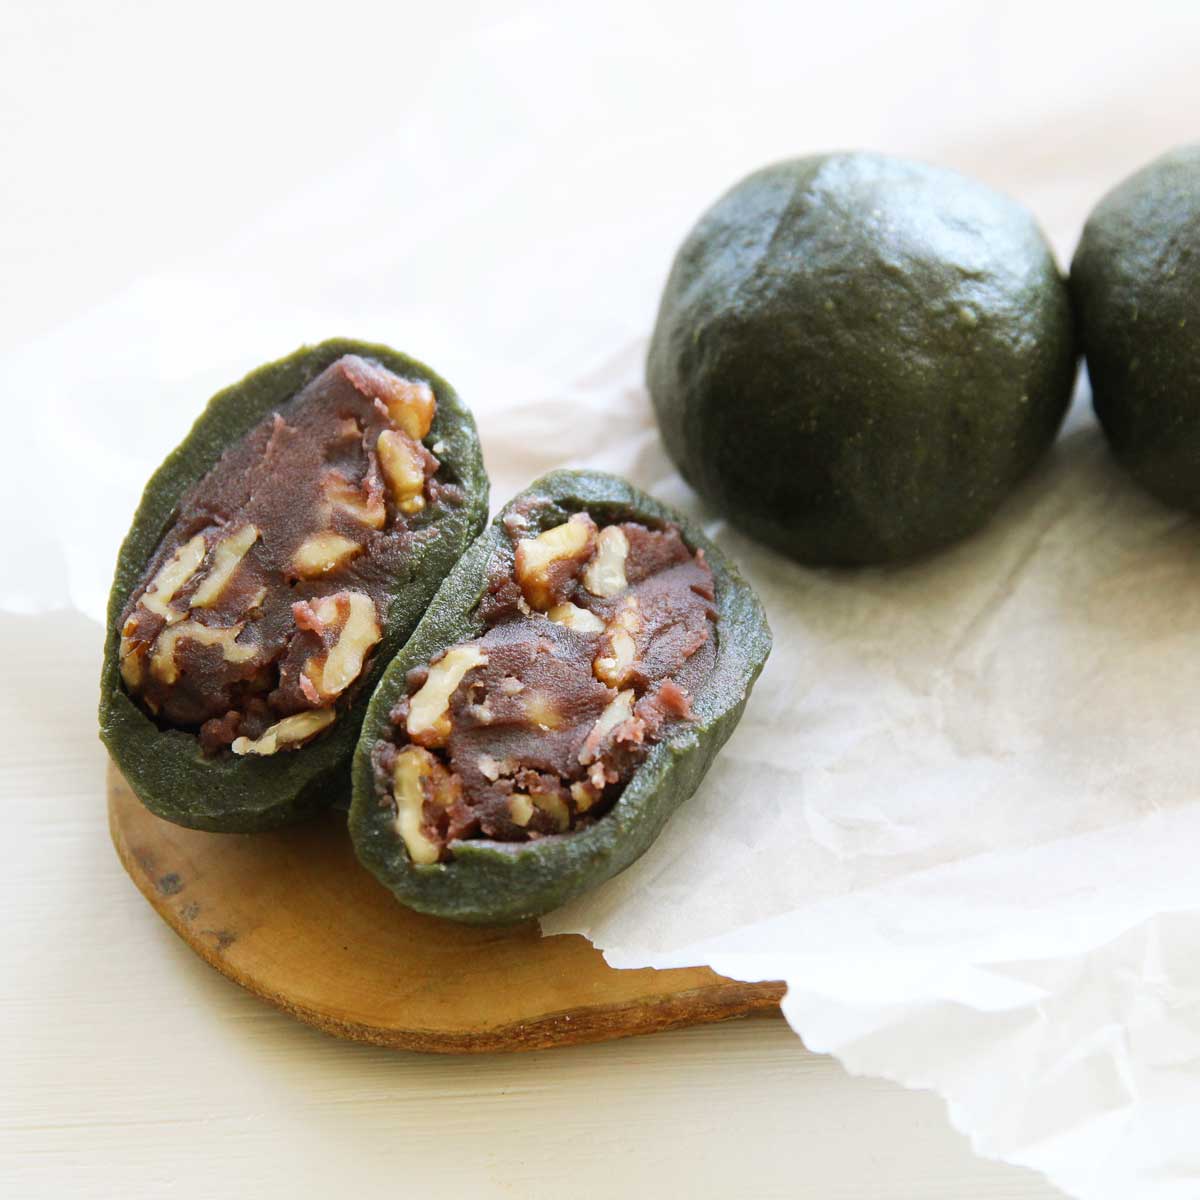


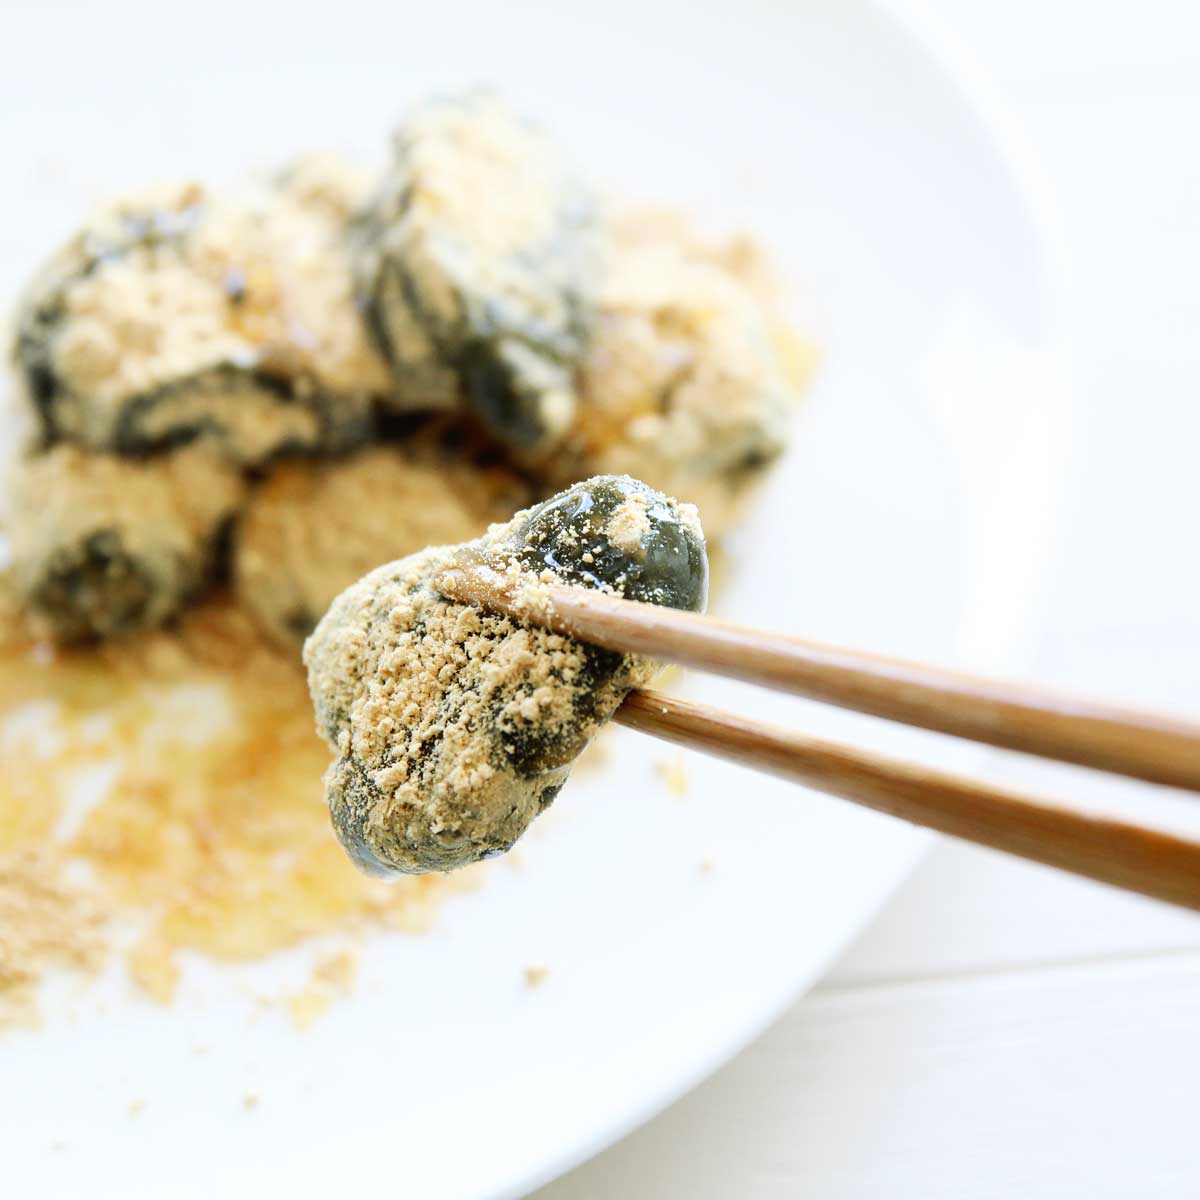

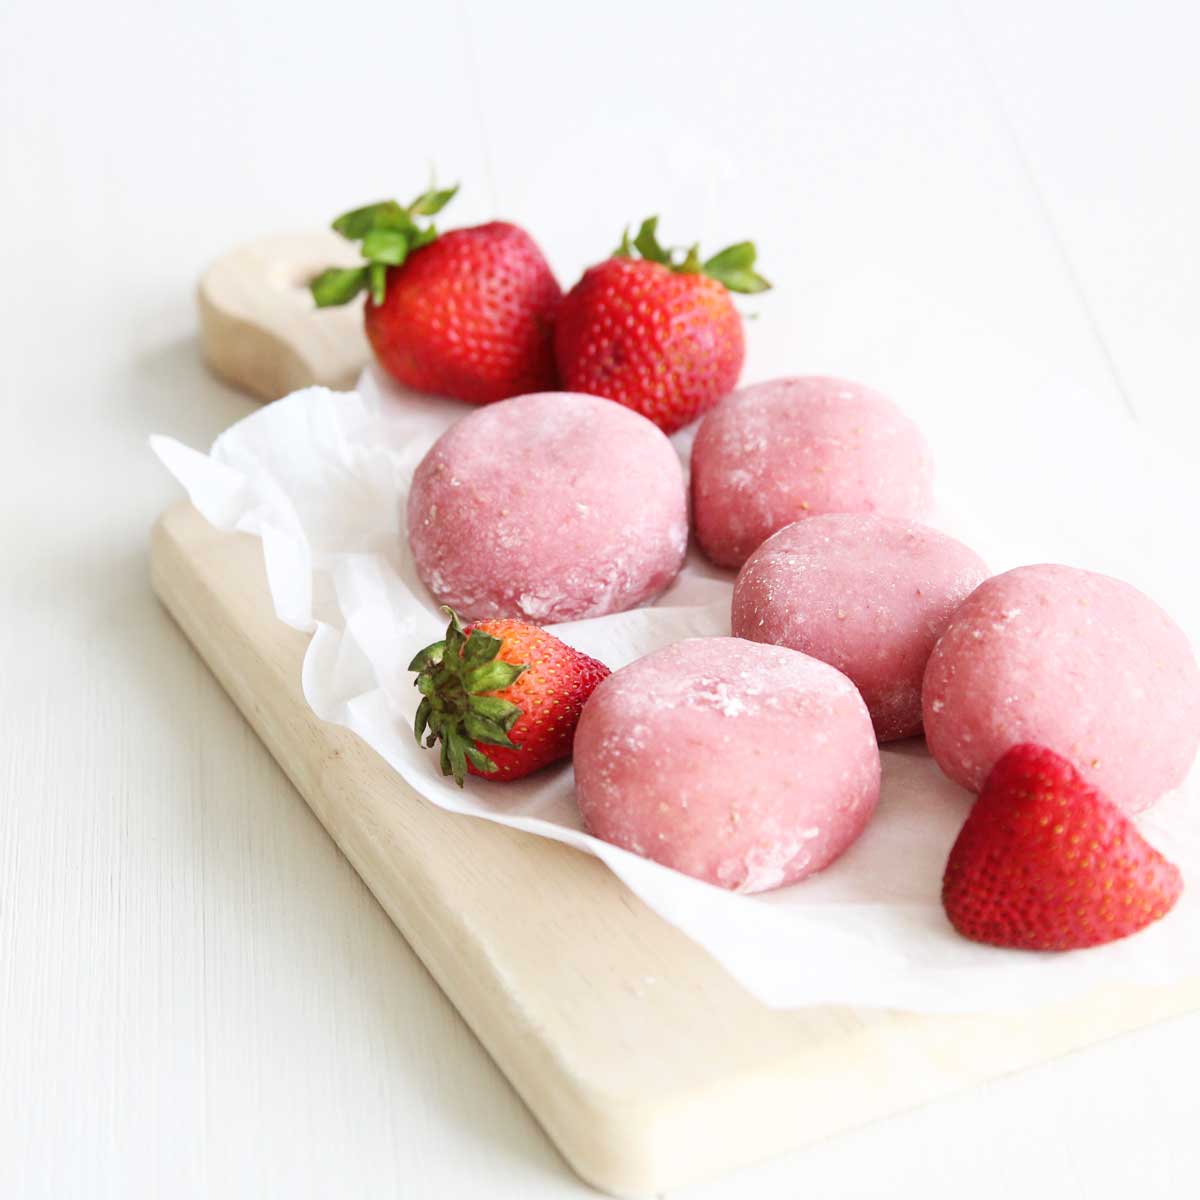


Stuffed Waffle Mochi
Equipment
- Waffle maker
Ingredients
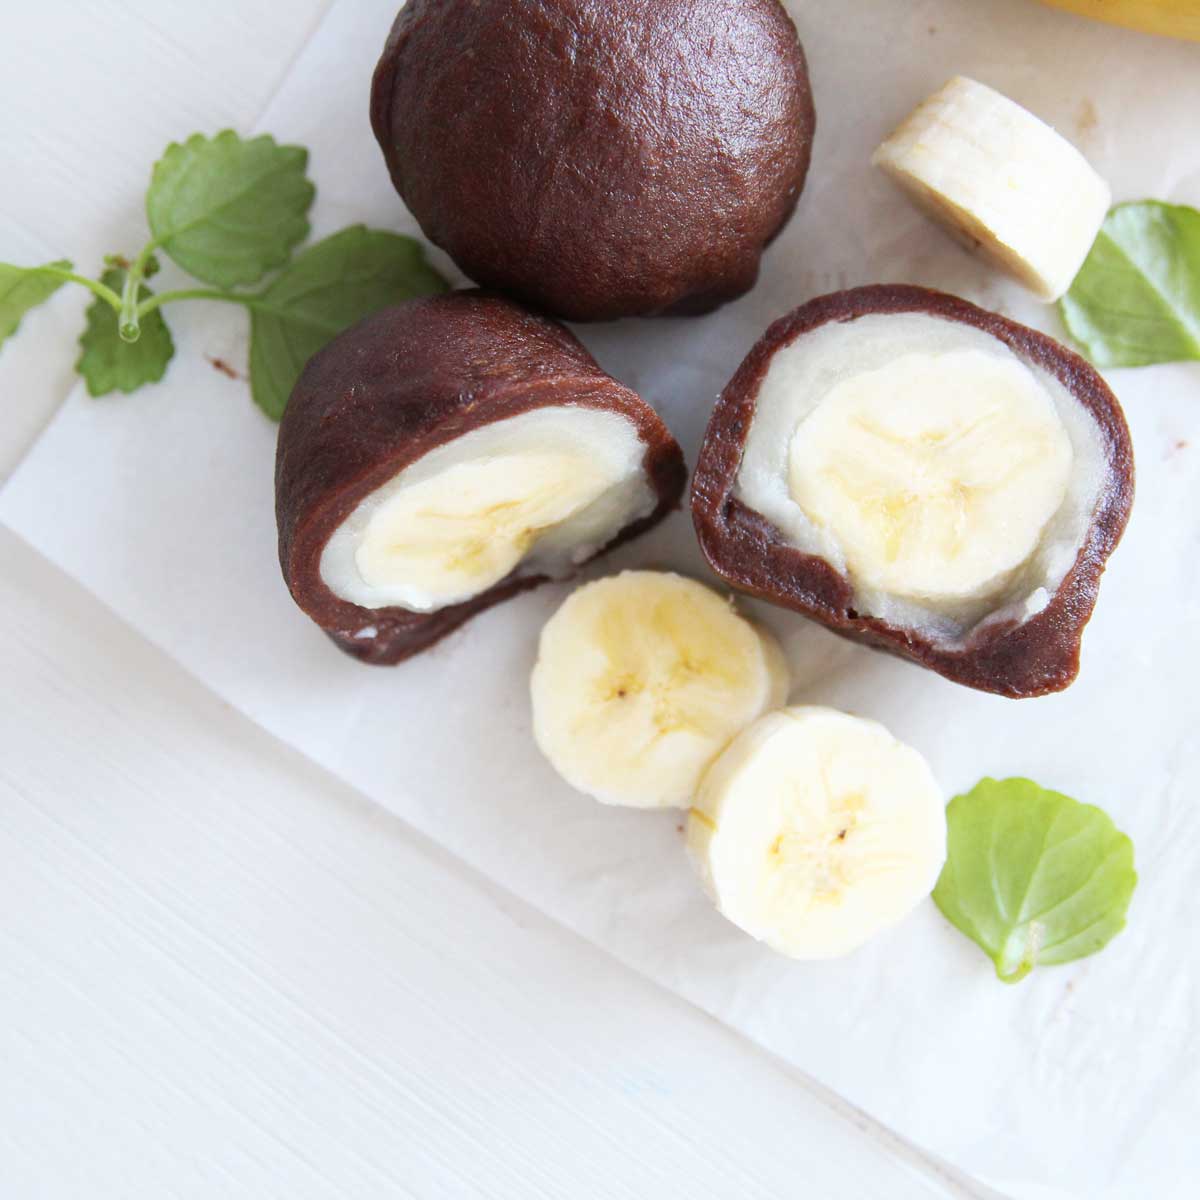
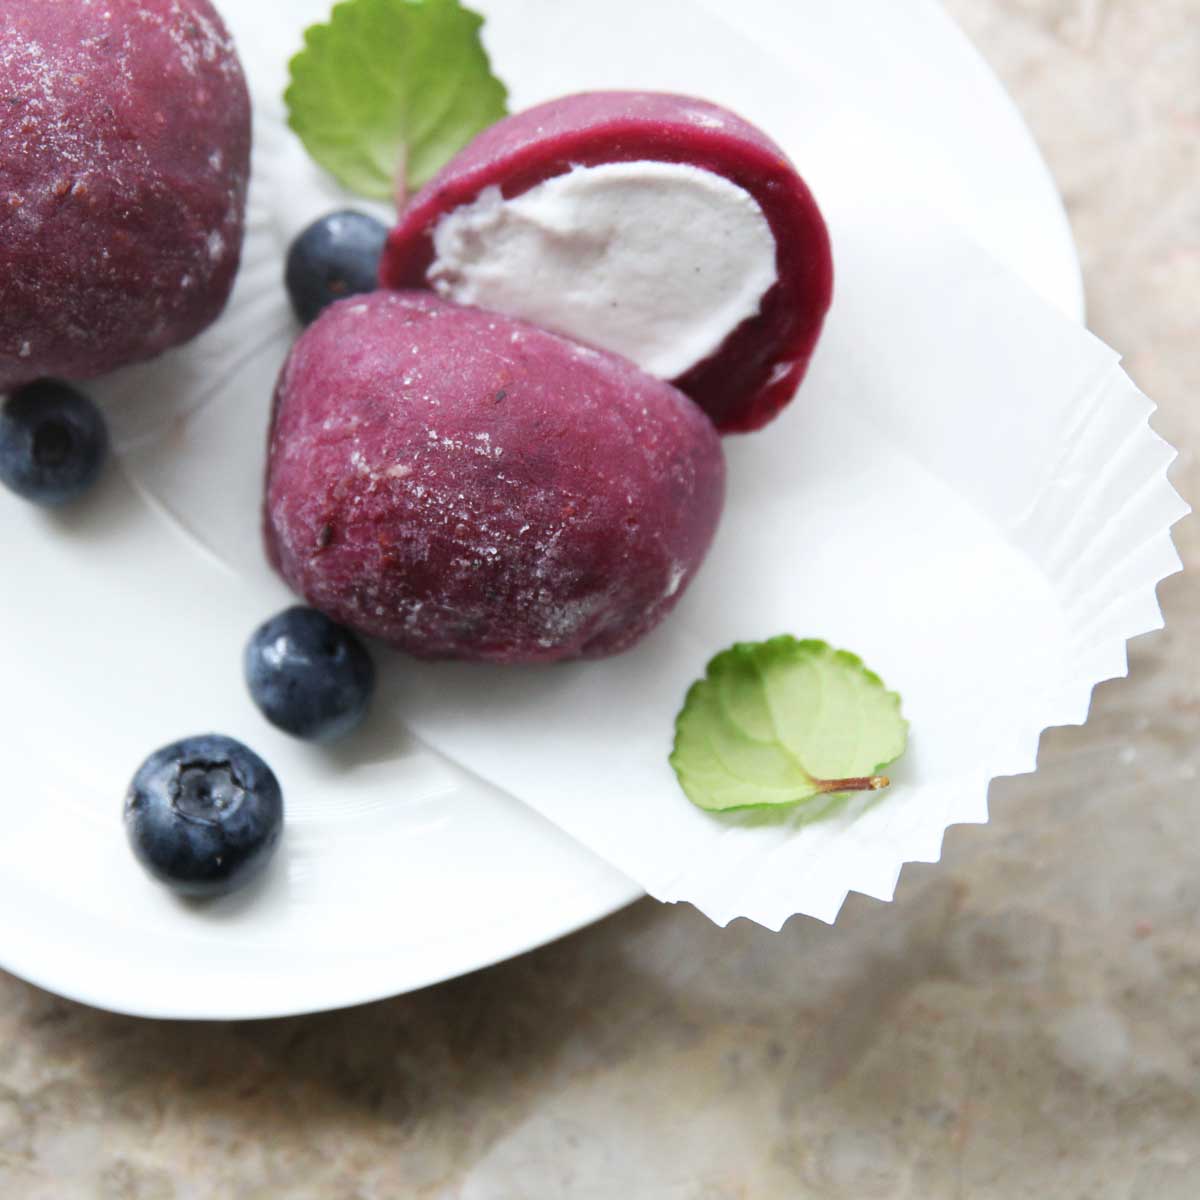
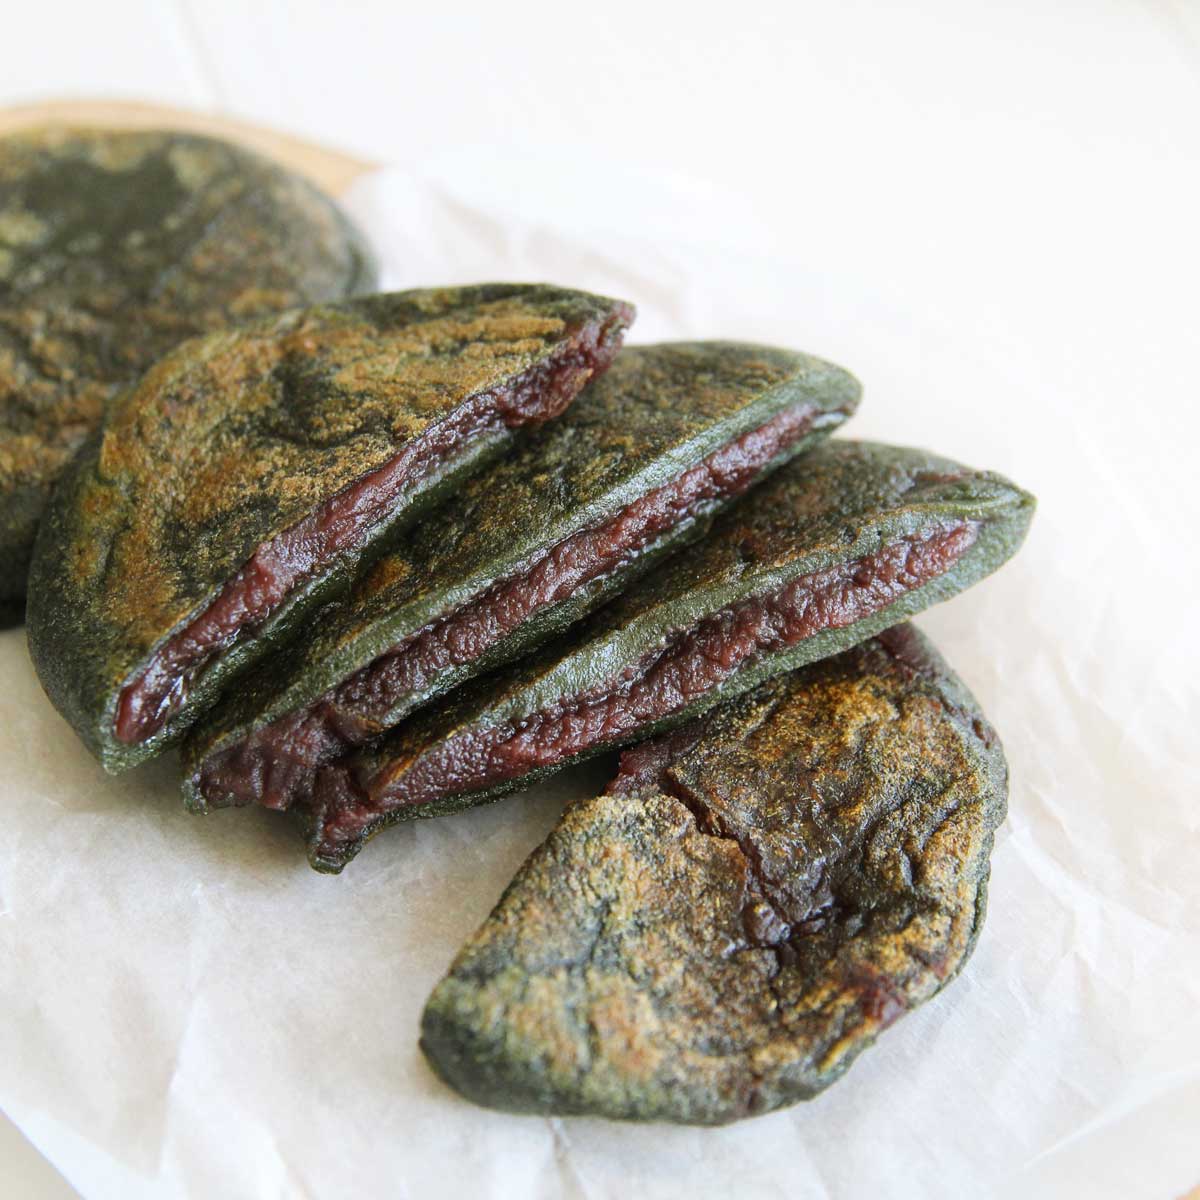
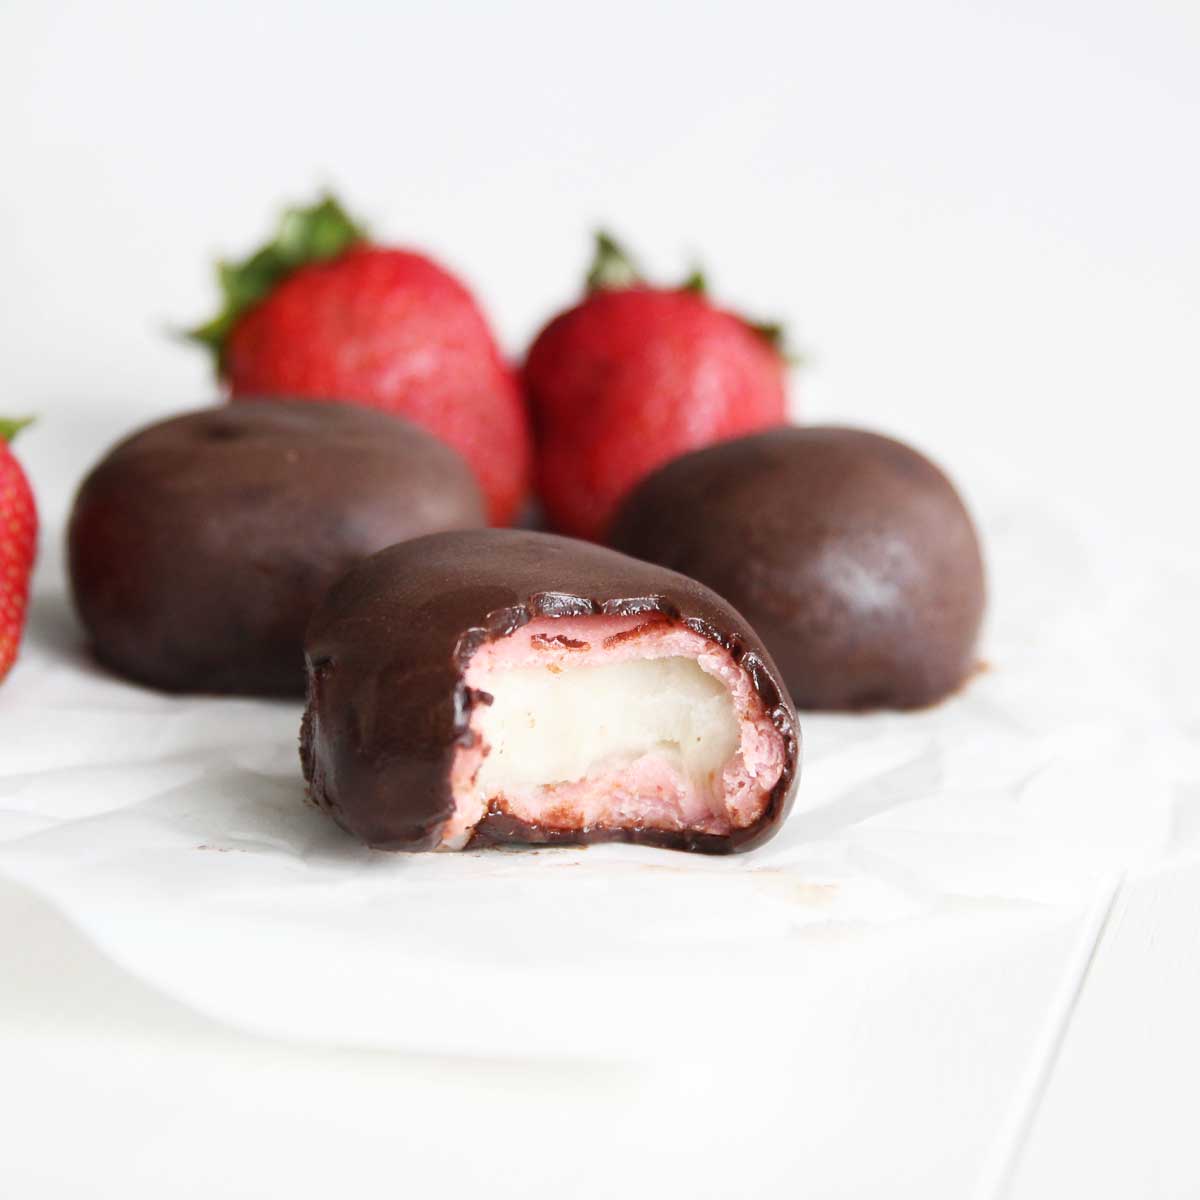
- 4 stuffed mochi, mochi squares or kirimochi storebought or homemade
Instructions
- Prepare stuffed mochi, mochi squares or kirimochi
- Spread out the mochi in a well greased waffle maker ( I used spray olive oil)
- Press and let cook for 2-3 minutes, or more if you want them crispier
Notes
Nutrition


Kristen says
I think this was worth the try! I tried it with a sesame seed mochi and the outside stuck to the waffle pan because the filling came out. Next time I’ll grease the waffle pan with some coconut oil.
All Purpose Veggies says
Greasing the waffle pan is important 🙂 Thanks Kristen!