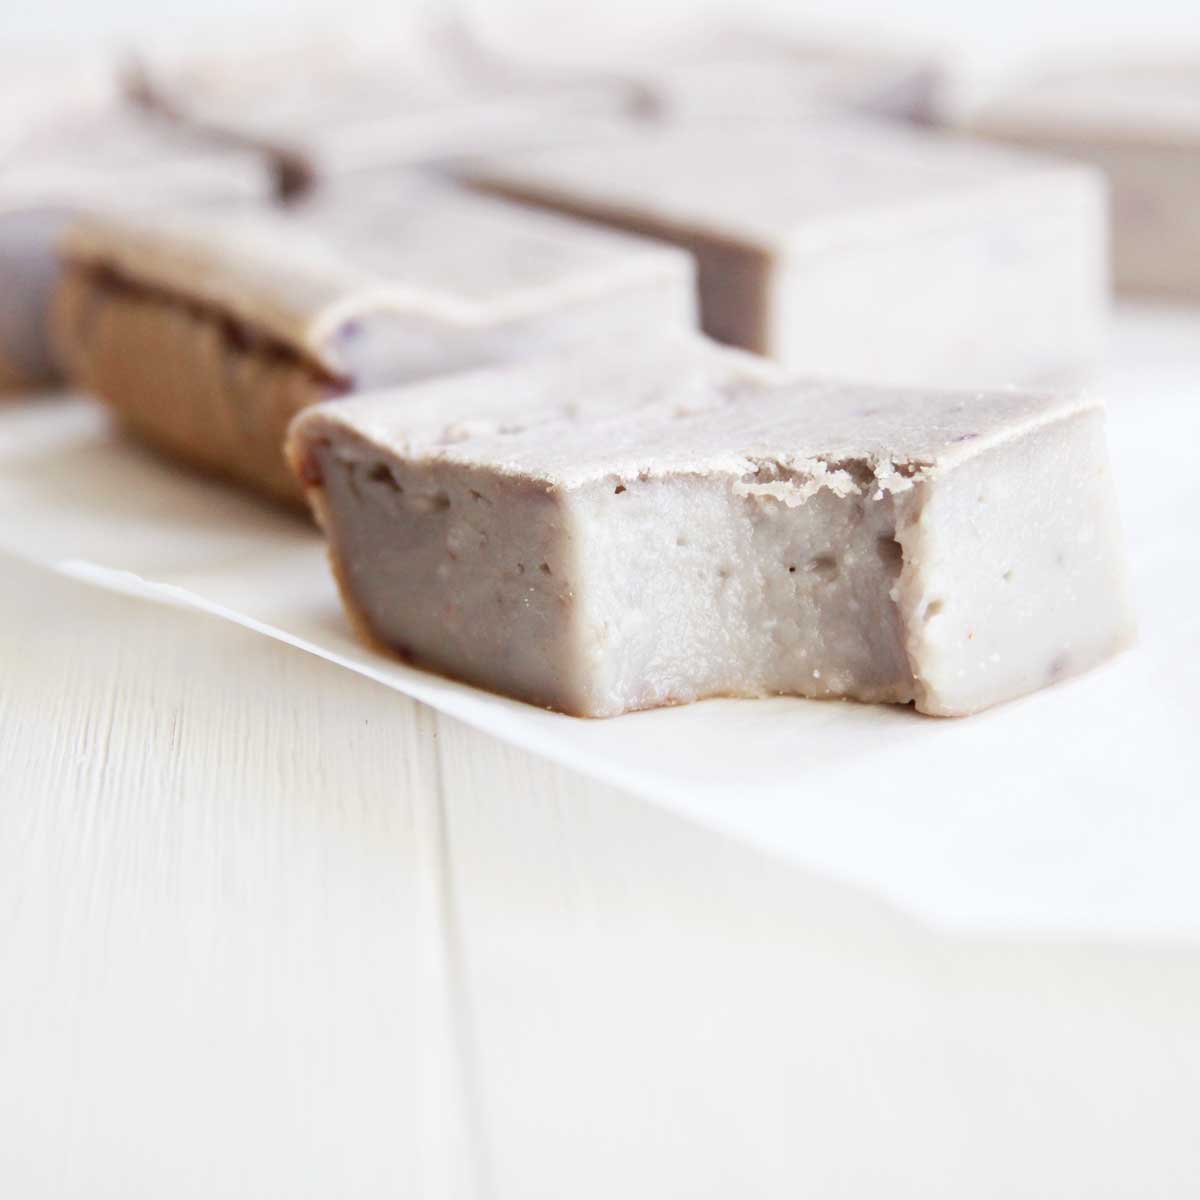
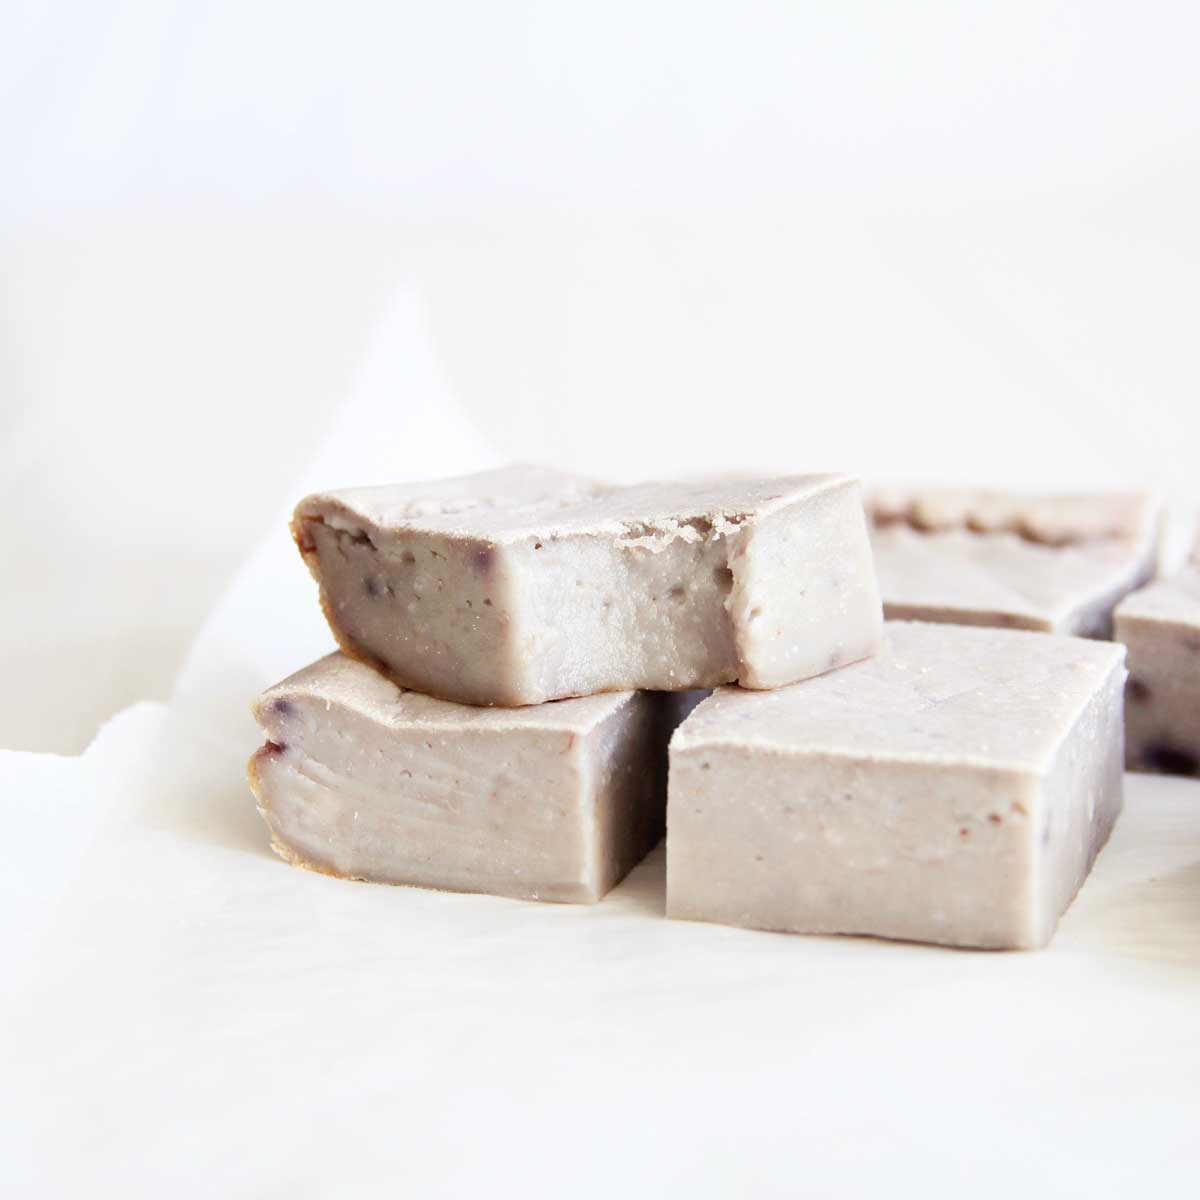
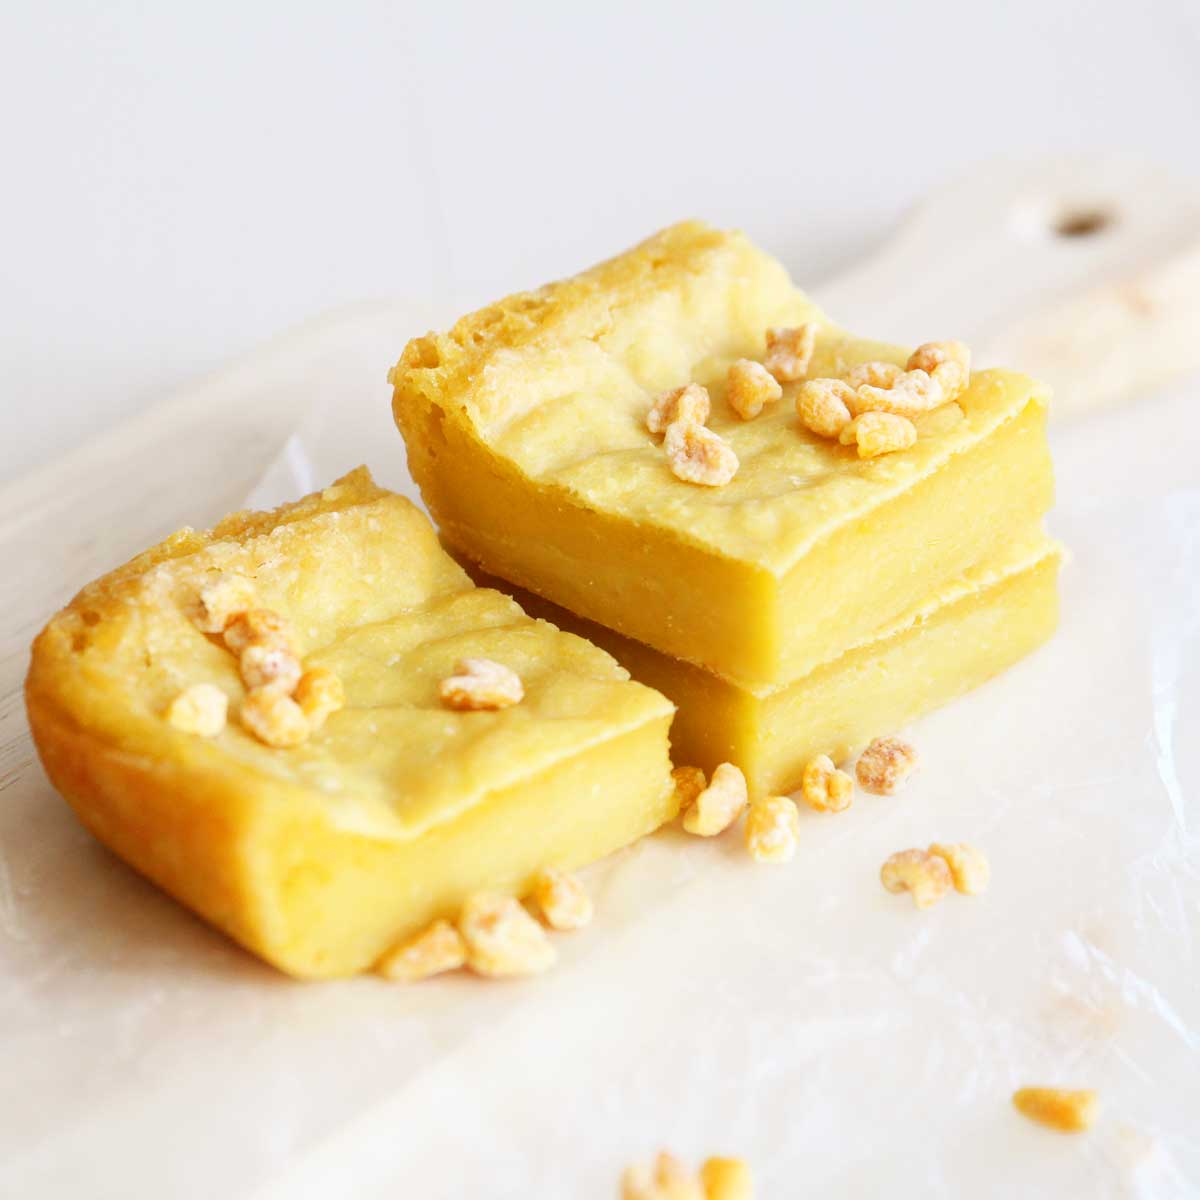
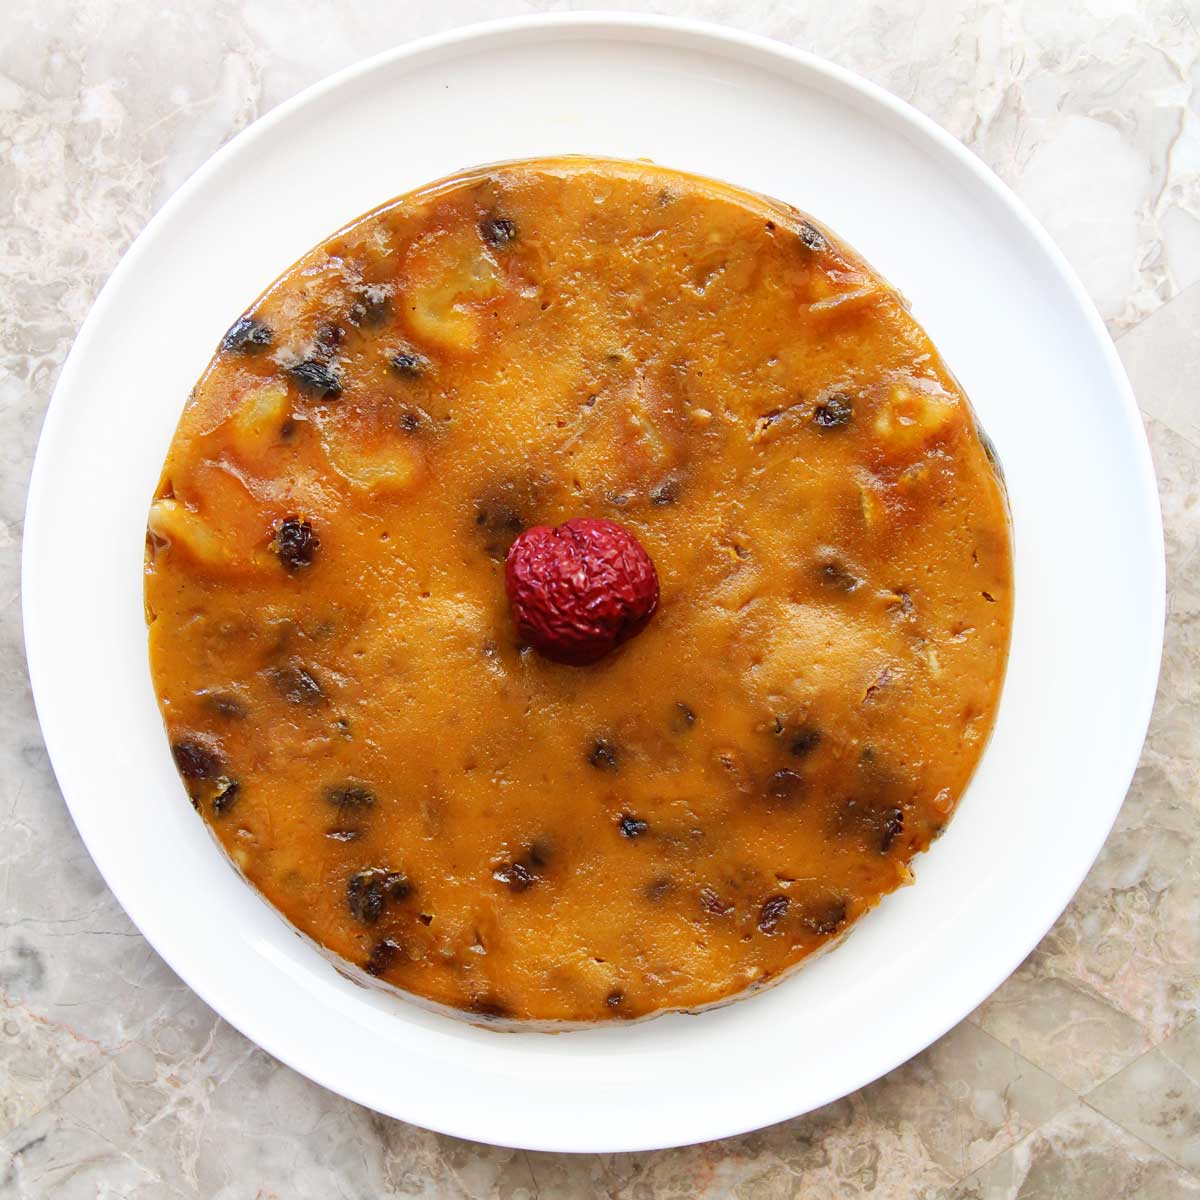
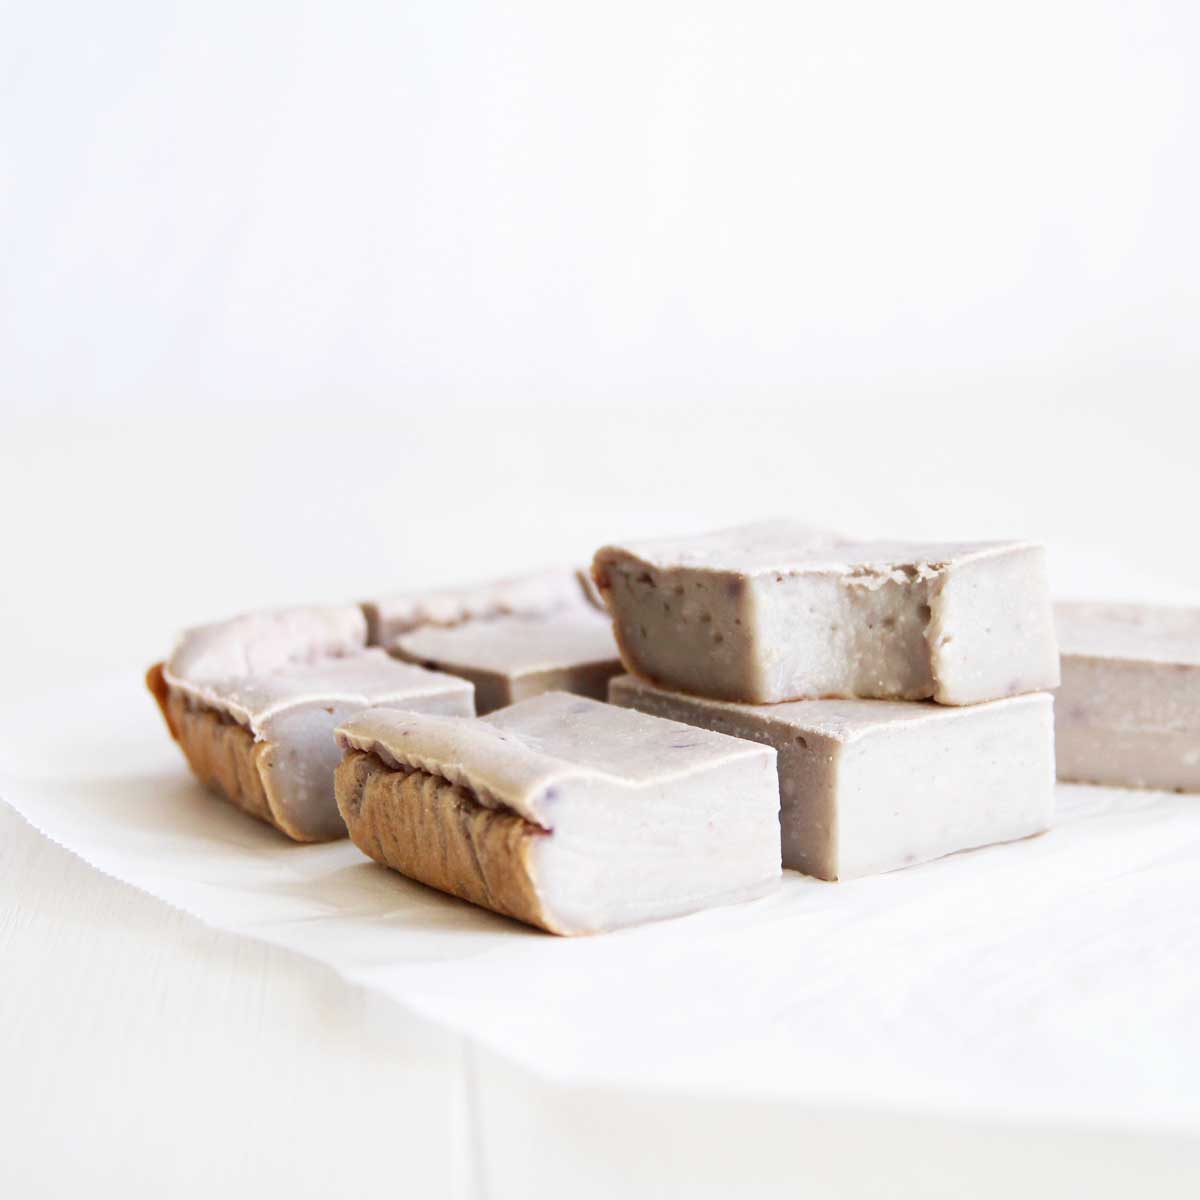
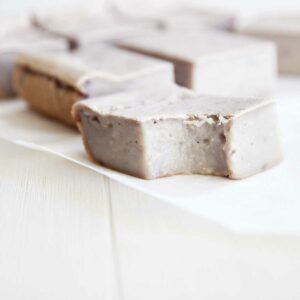
Perfectly baked to perfection, this gluten-free baked Taro Nian Gao recipe is a delightful twist on the beloved Chinese Lunar New Year dessert. Sweet, sticky and blended with mashed cooked taro, you'll love the earthy, subtly sweet flavors of taro that comes through each delectable bite
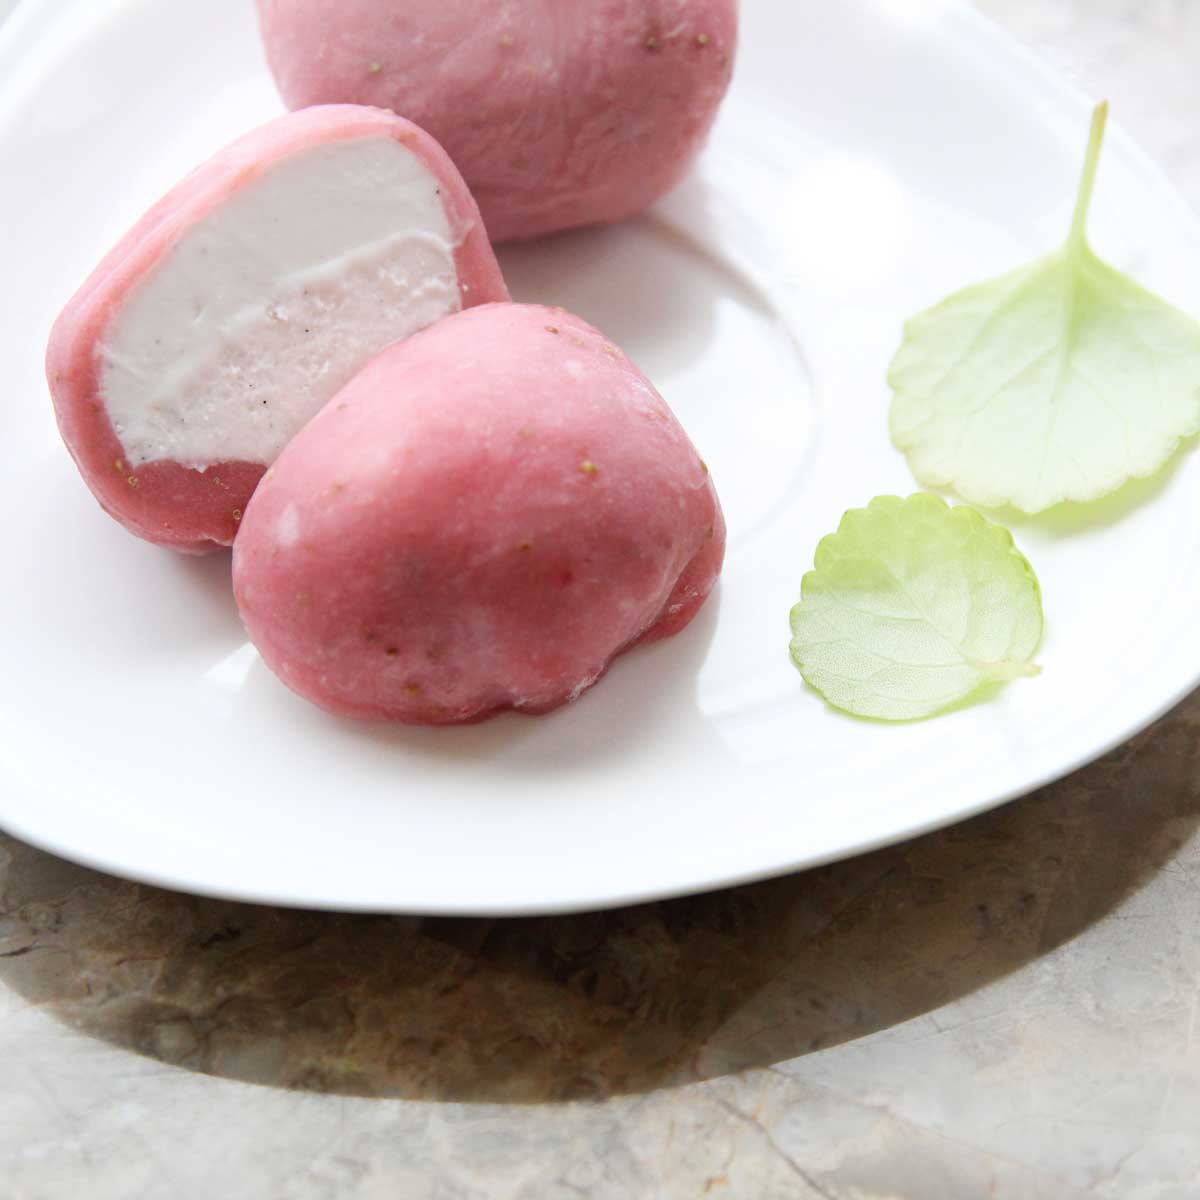
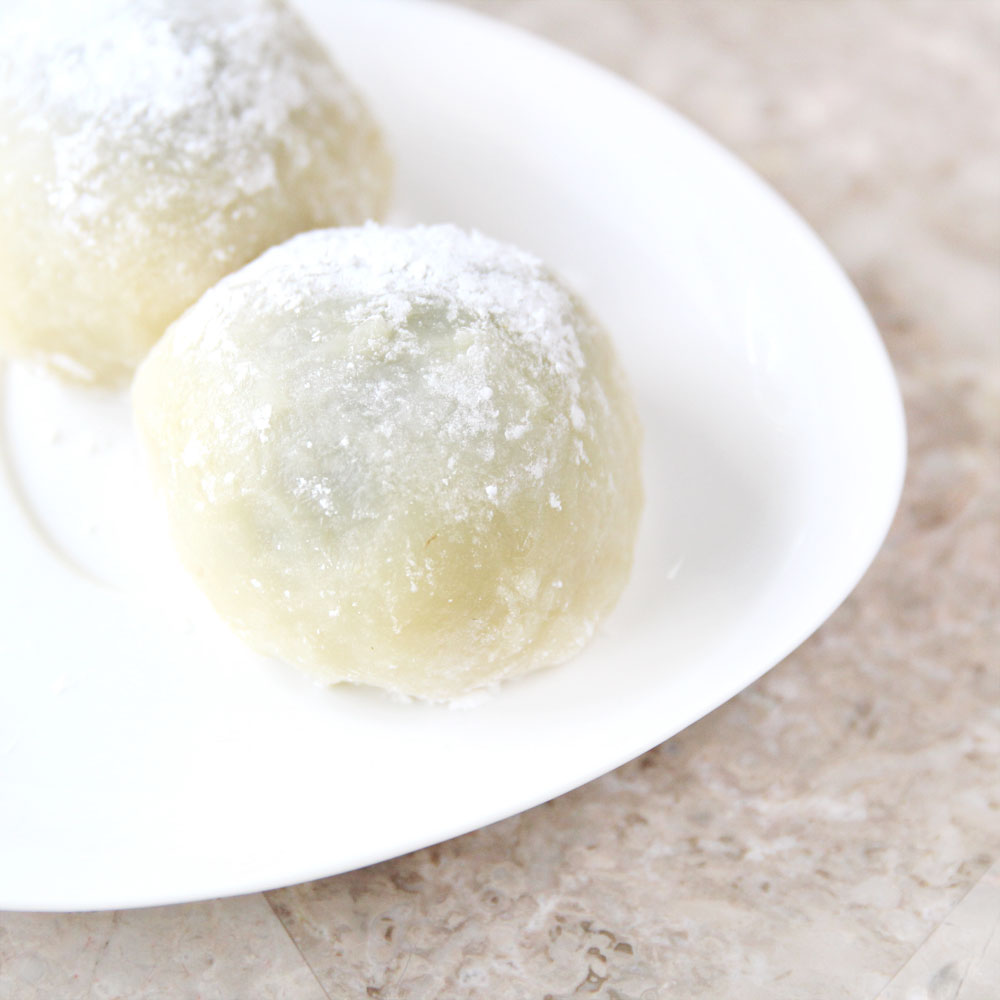
You can also make it into a delightful dessert duo by pairing Taro Nian Gao with a scoop of creamy coconut or taro ice cream.
Ingredients Used to Make Baked Taro Nian Gao (Mochi Cake)
**I've linked some of these ingredients to amazon.com to give you an idea of what they are, but you should also be able to find them in your local grocery store (usually, the natural & organic food section). They are also affiliate links, which means that I earn a commission as an Amazon Associate if you decide to purchase the items. The price will be the same for you, link or no link 🙂
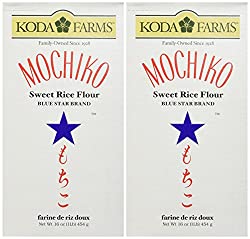
- Glutinous Rice Flour - this goes by many names. You'll see Glutinous Rice Flour and Mochiko Flour (my favorite brand) in Asian grocery stores, and Sweet White Rice Flour in most other stores. ***Please note that regular white rice flour or brown rice flour is NOT the same thing as glutinous rice flour!!!
- Taro - Taro is a root vegetable with a creamy, light flavor and white (sometimes lavender) flesh on the inside. When cooked and mashed, taro becomes soft and slightly sweet, making it a perfect addition to our mochi cake.
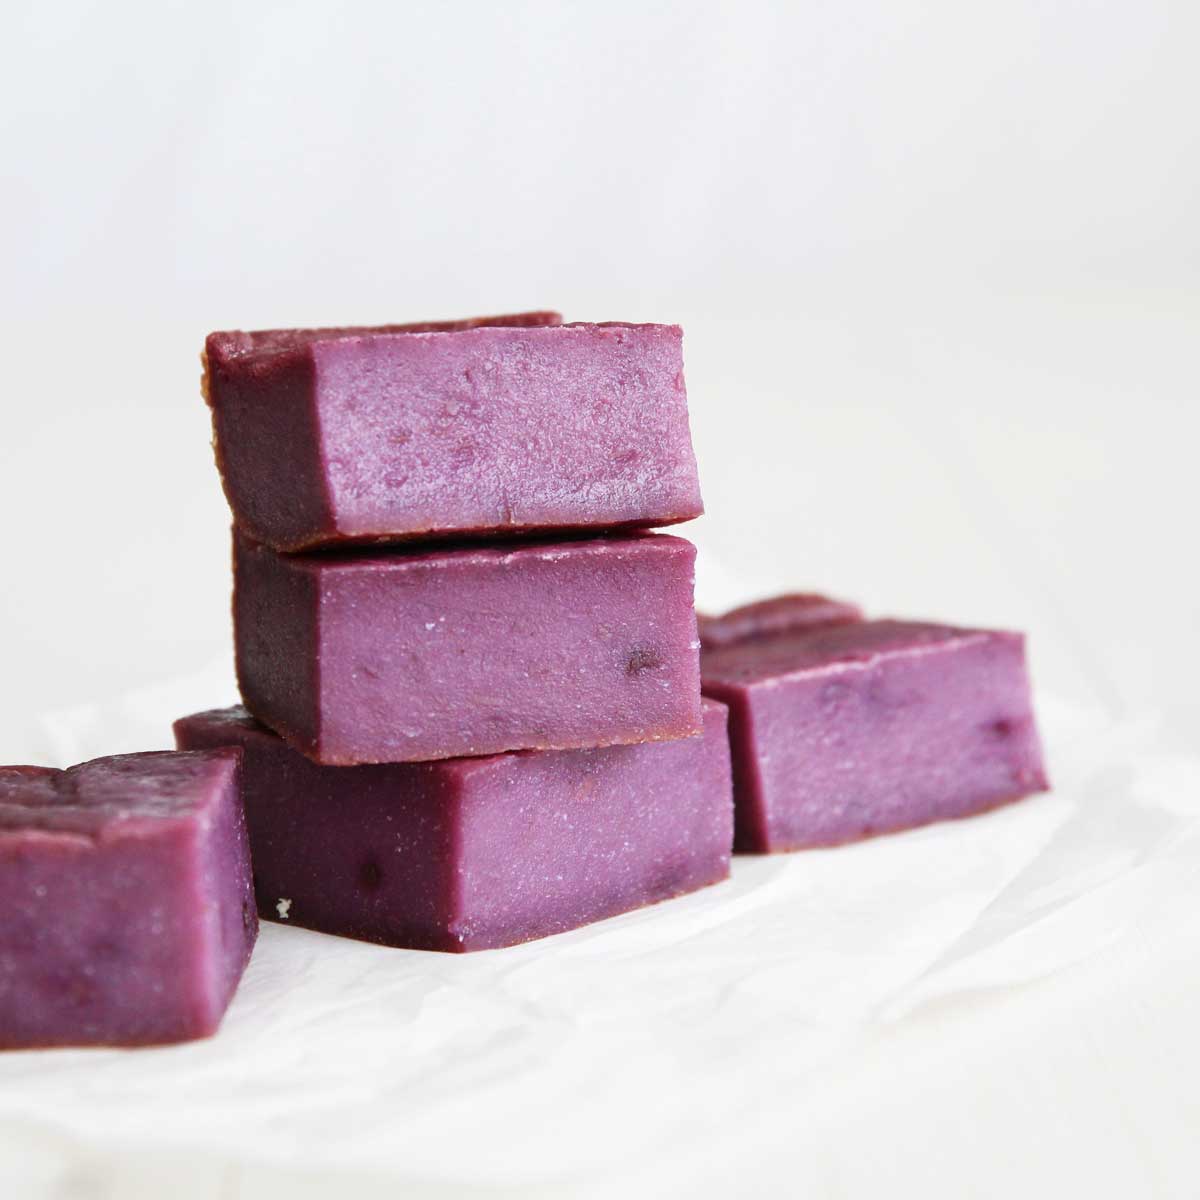
- Purple Sweet Potato - since taro by itself doesn't give us that pretty lavender color we see in taro bubble teas and other taro desserts, I added a bit of mashed purple sweet potato (can also use ube) to add color without using artificial food coloring. For a convenient alternative, you can also opt for taro bubble tea powder, or if desired, a drop of purple food coloring.
Note: While I used the steaming method to cook the taro and purple sweet potatoes, you can also use the microwave to cook them in just about 10 minutes! Here's the shortcut microwave method.
- Sugar of choice – you can use granulated white, or raw cane sugar in this recipe. You can also use sugar-free substitutes such as monk fruit sweetener in this recipe for a slightly lower-sugar / lower-carb option.
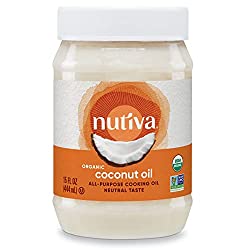
- Coconut Oil - You can use regular coconut oil, or refined coconut oil, like this one, which has a neutral scent and flavor (this is great for people who do not like the distinct smell and flavor of coconut. You can also use other oils in this recipe such as light olive oil, avocado oil, or regular canola oil. You can also use plant-based, dairy-free butter or regular butter instead.
- Milk of Choice – I used unsweetened almond milk, but any milk (dairy or dairy free) works in this recipe.
See All My Mochi Cake Recipes (HERE)

Step-by-Step Guide
How to Make Taro Nian Gao (Mochi Cake)
STEP 1

Wash, peel, and steam the taro and purple sweet potatoes for 30-40 minutes until easily pierced with a toothpick; then, while still warm, mash it with a potato masher or fork until smooth and chunk-free.
STEP 2
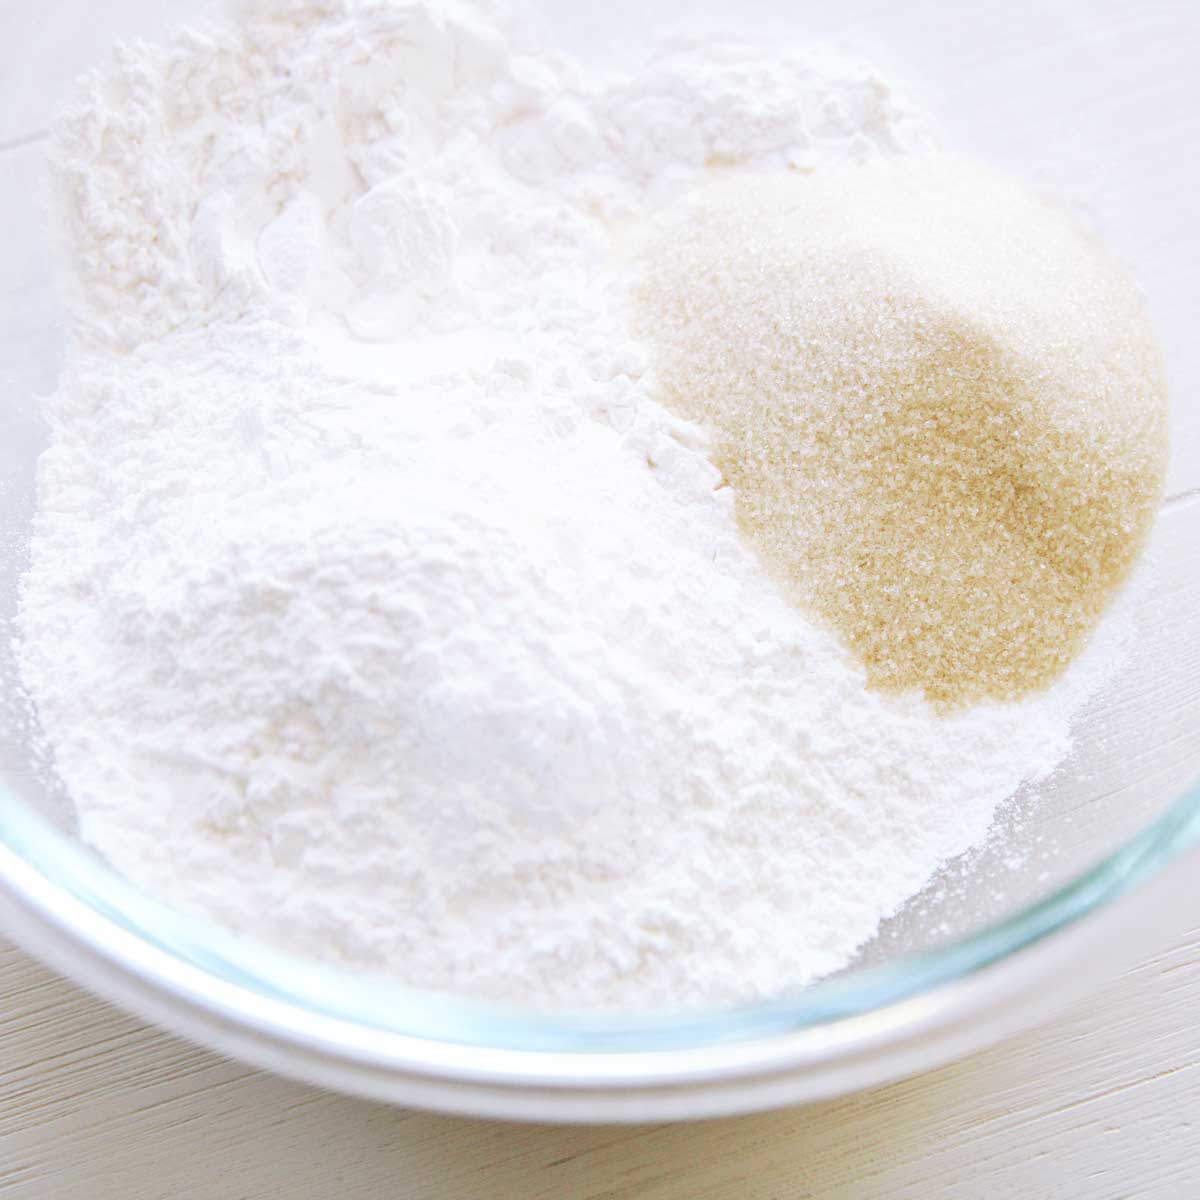
In a clean bowl, mix glutinous rice flour (mochiko flour) with tapioca flour and sugar.
STEP 3
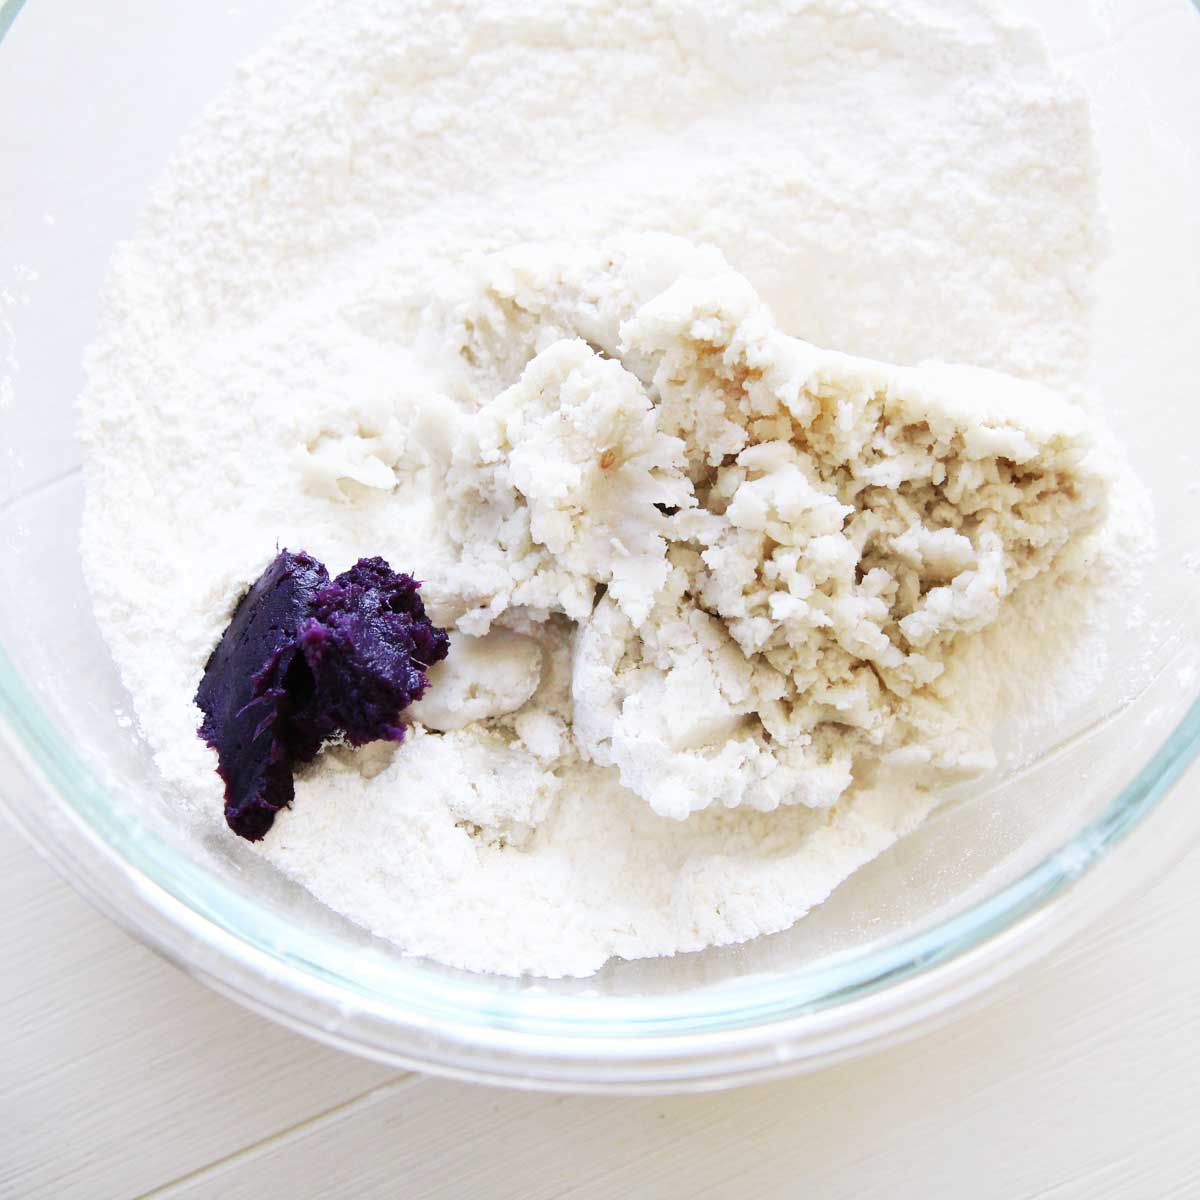
Knead the cooked taro and purple sweet potato into the dry ingredients best you can, so that they are well incorporated with the flour.
STEP 4
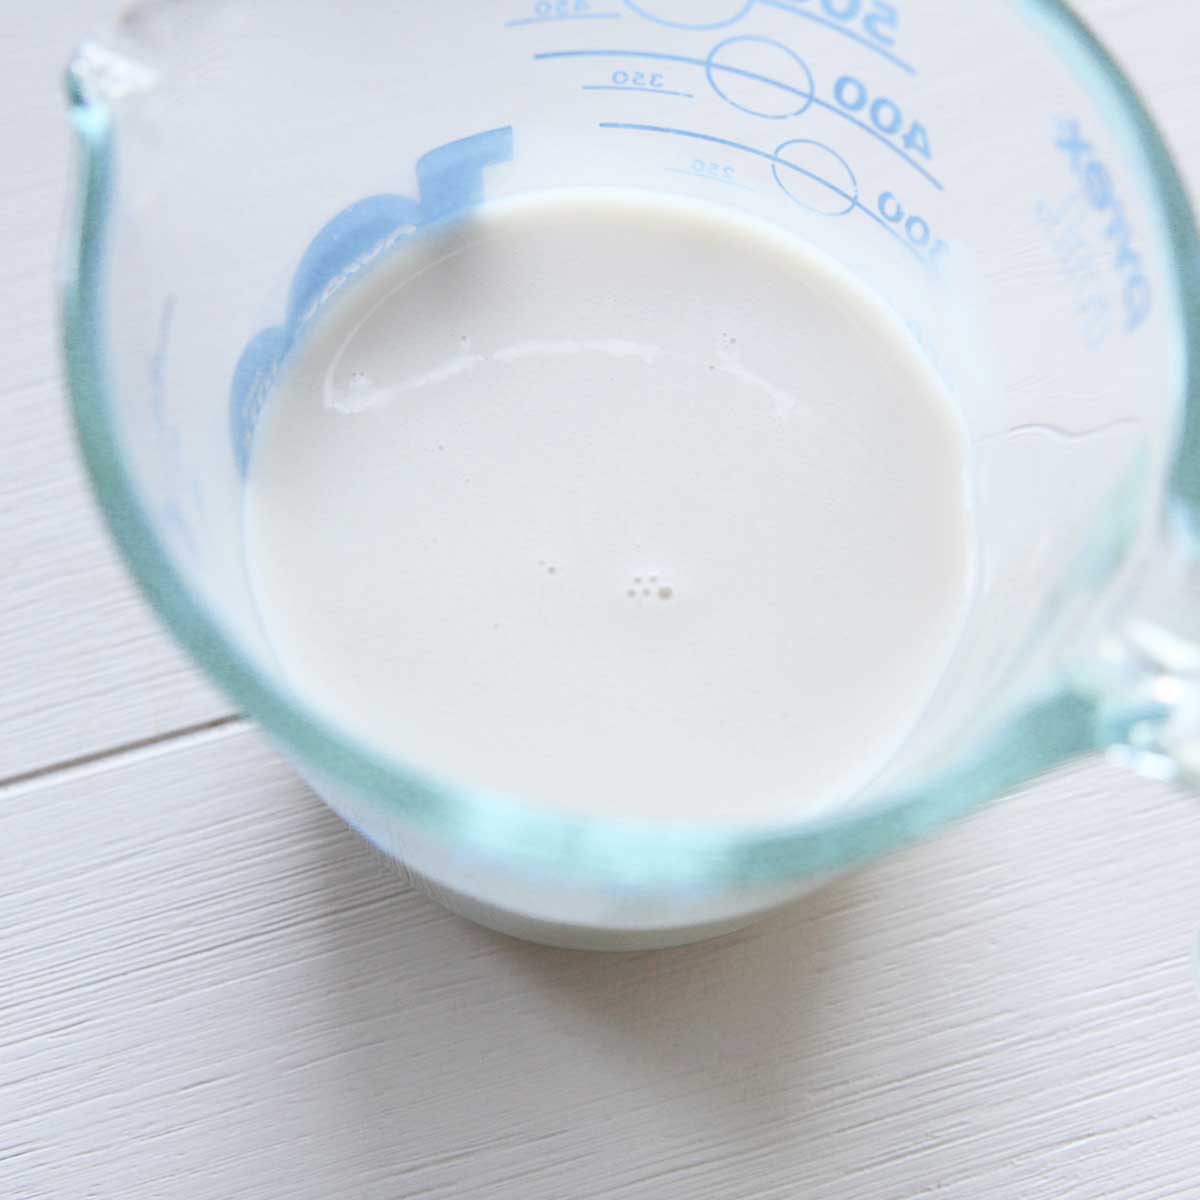
In another bowl, heat almond milk in a microwave safe bowl or glass measuring cup until hot, about 2 minutes.
STEP 5
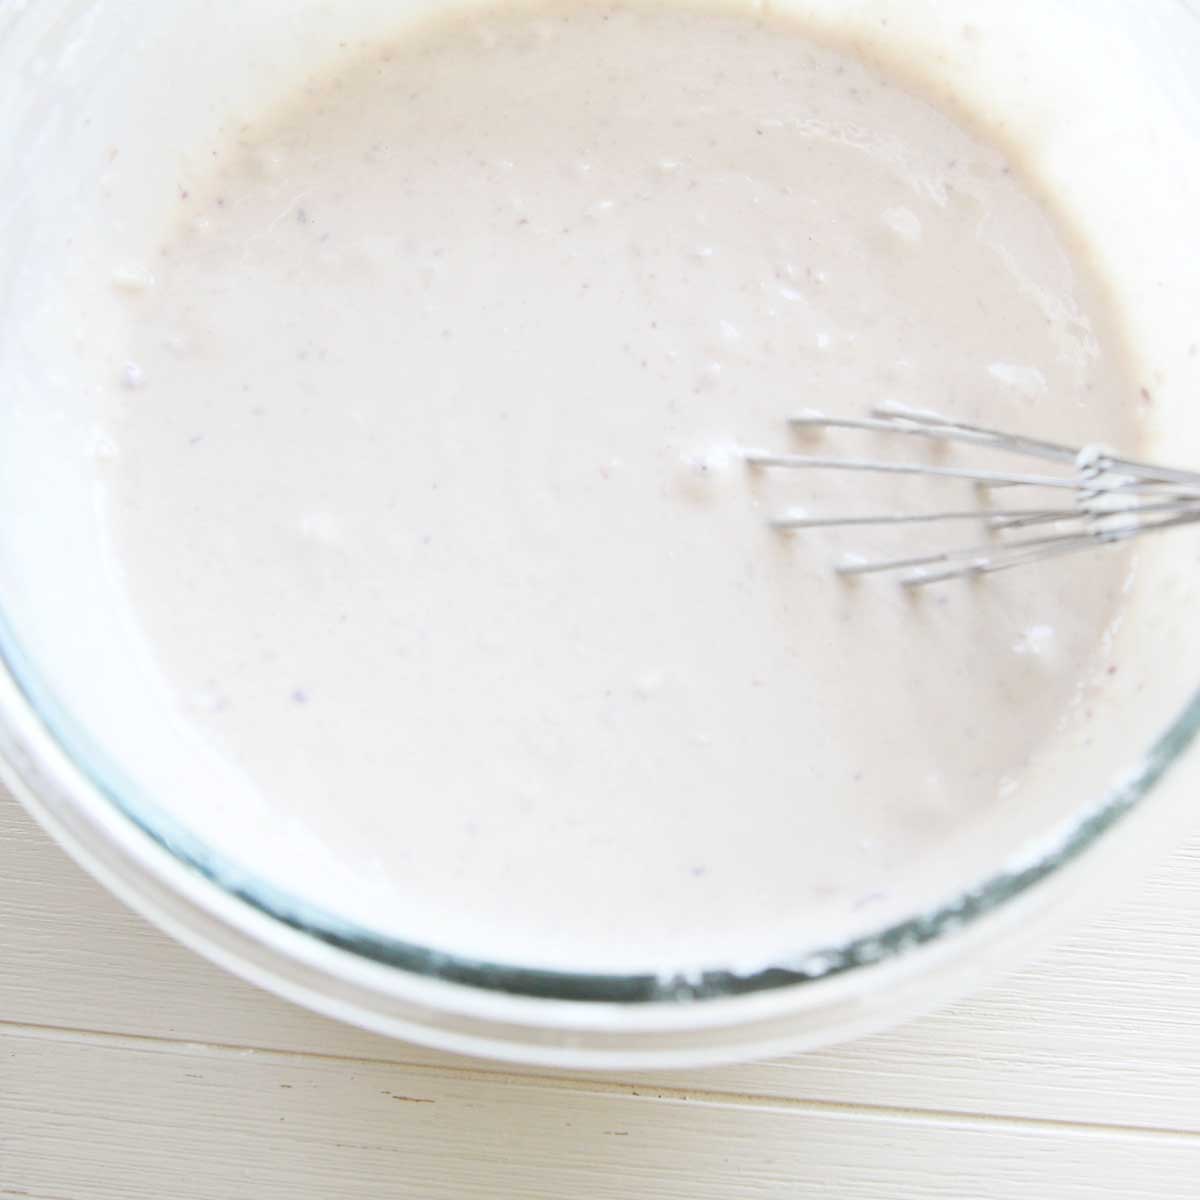
In another bowl, heat almond milk in a microwave safe bowl or glass measuring cup until hot, about 2 minutes. Pour the hot almond milk, and coconut oil into the flour mixture and use a whisk to mix well.
STEP 6
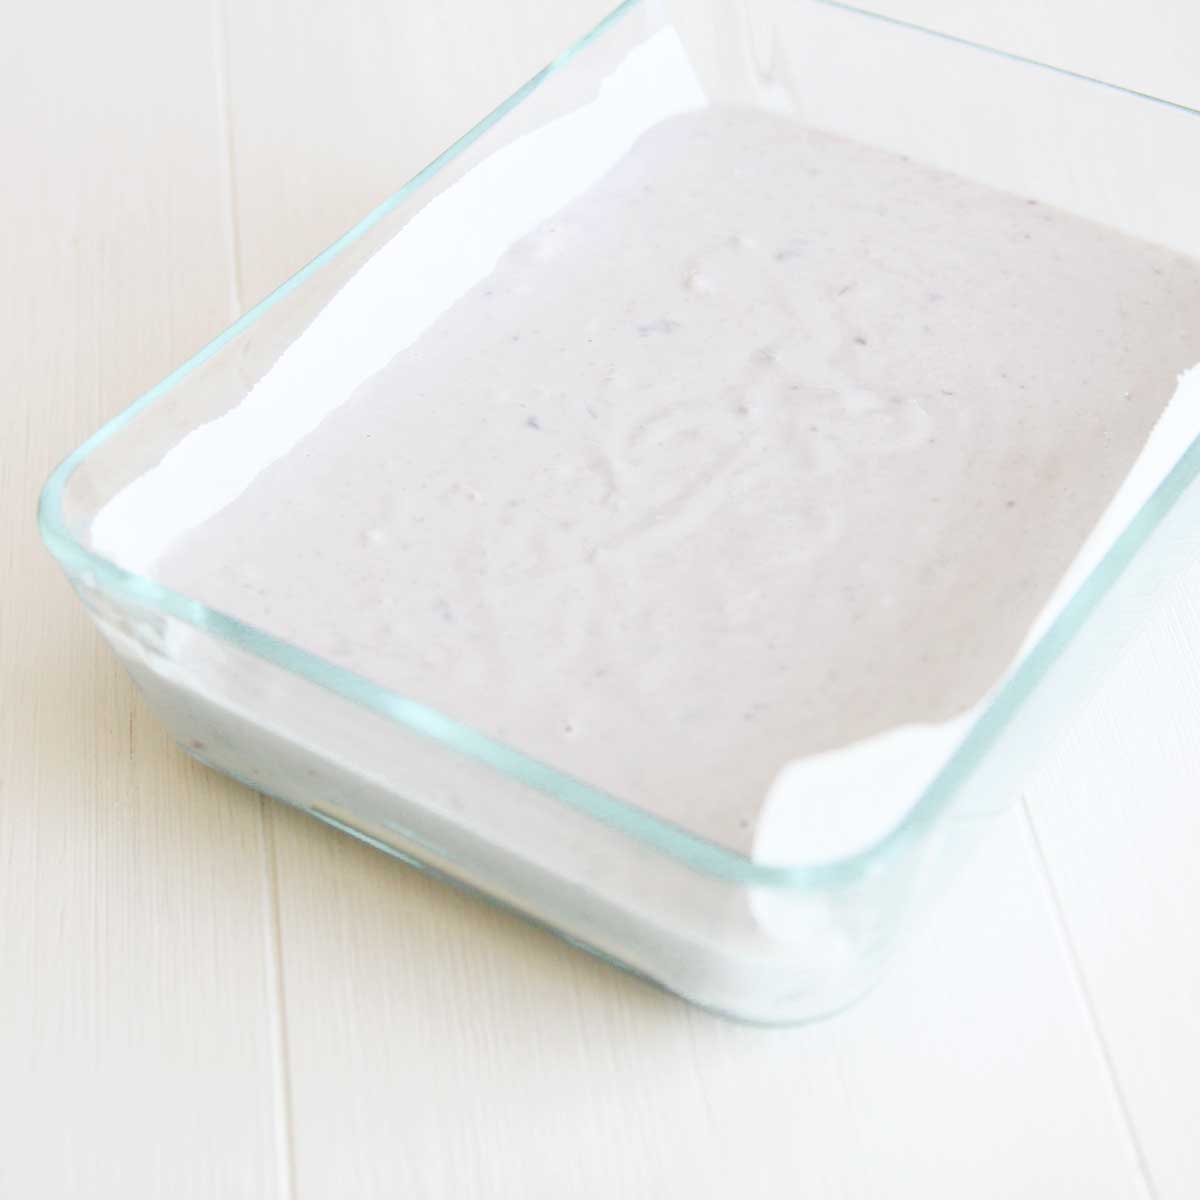
Pour batter into the greased cake pan or oven safe pan, and bake in oven 350F for 50-60 minutes , or until the middle is set and the edges are crispy.
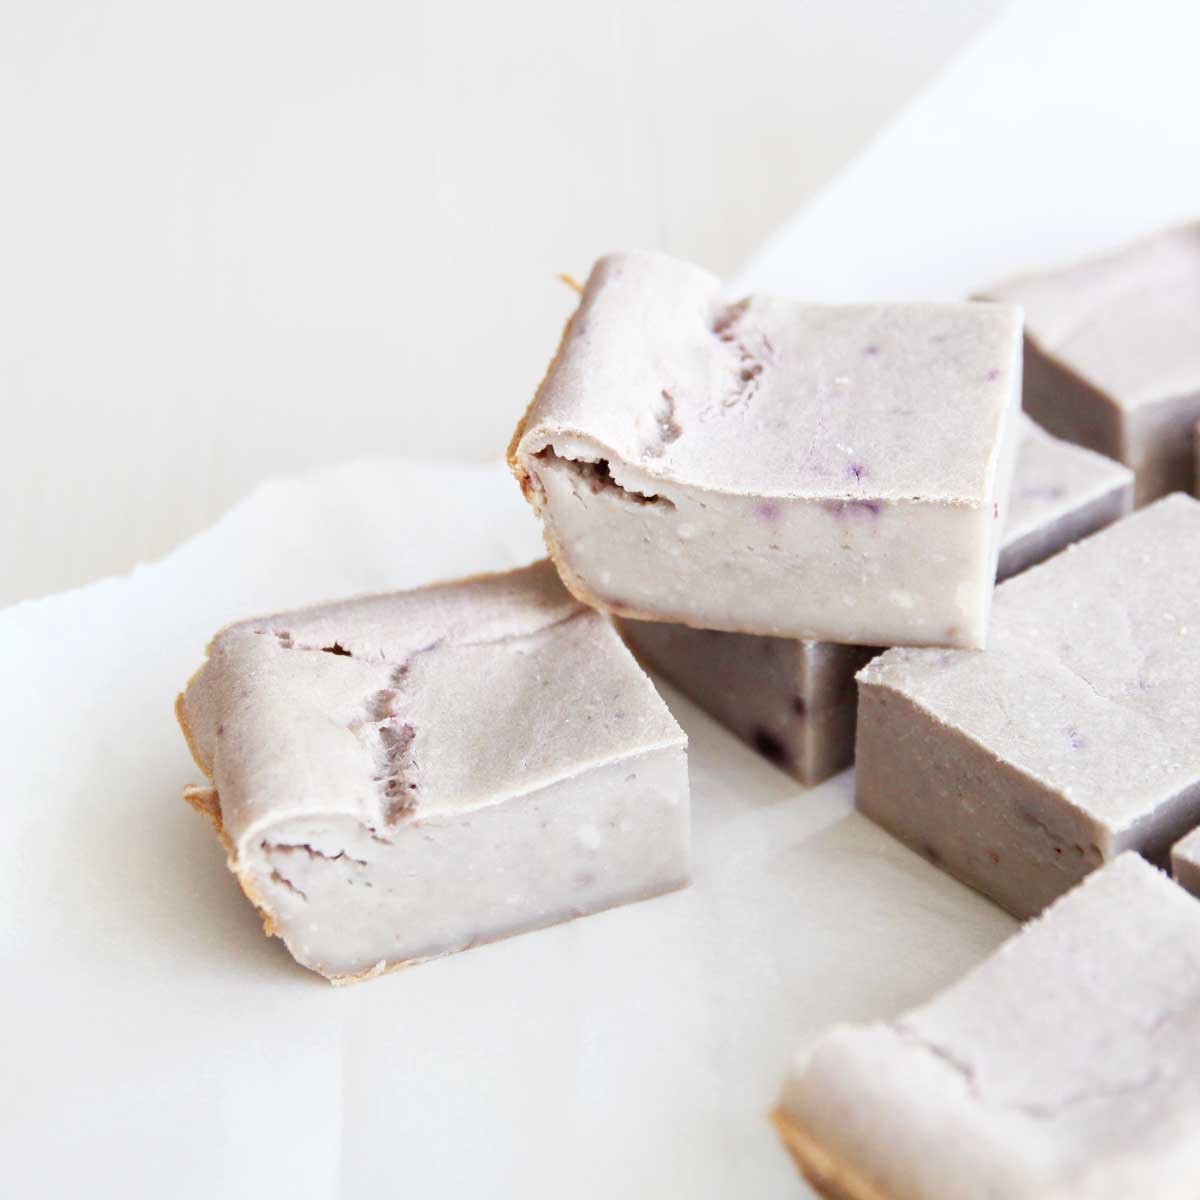
STEP 7
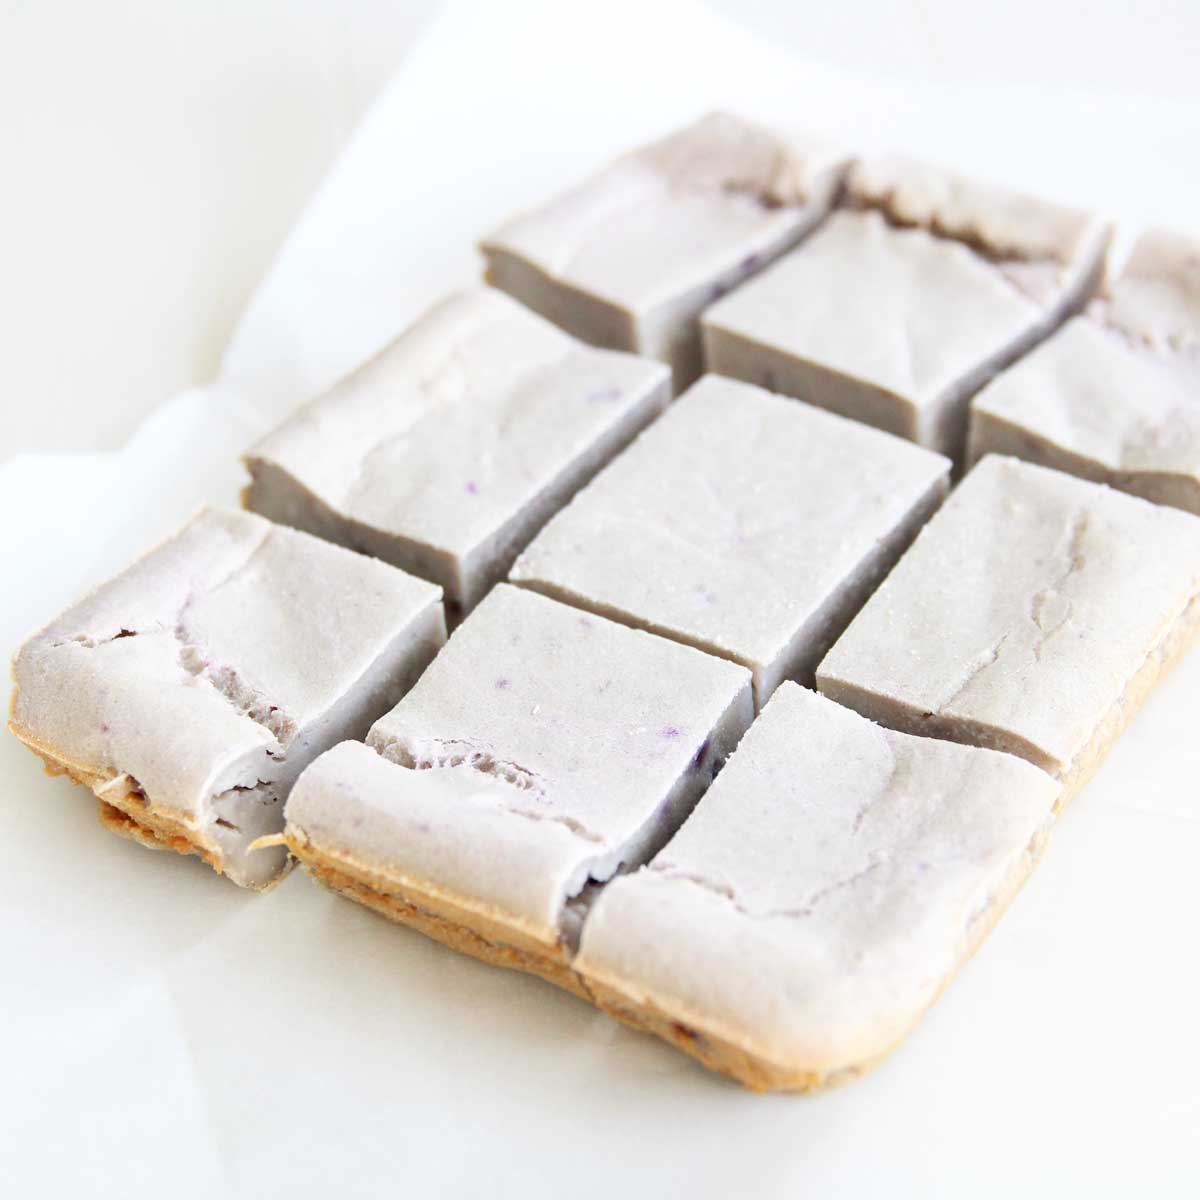
Let cool completely before serving, or cool the cakes in the freezer for 2-3 hours which helps to get clean slices of cakes.
STEP 8
Enjoy!
Recipe Variations and Optional Add Ins:
- The add in options for this Taro Nian Gao (mochi cake) recipe are pretty much unlimited and you can easily customize the flavor and texture to fit your own tastes! Here are some awesome ways you can make this sweet rice cake your own
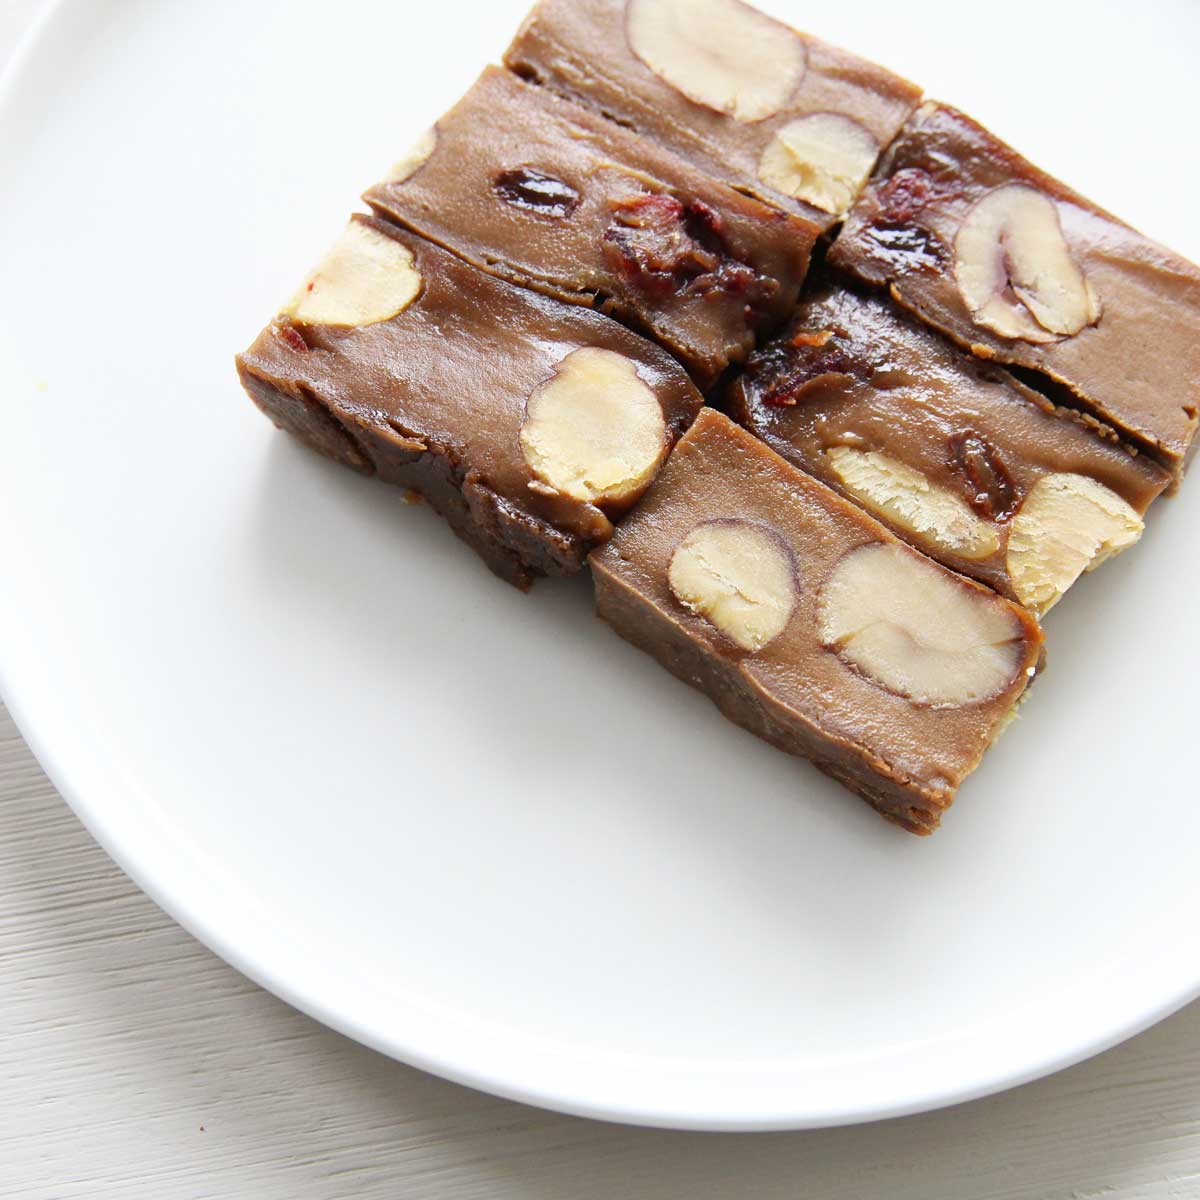
- Add more texture! Adding chopped nuts, seeds, or dried fruits or oats is a fantastic way to increase the nutrition and flavor in rice cakes. If you’re feeling indulgent, you can also add chocolate chips.
- Turn them into muffins – instead of baking this recipe in a round pan, divide the batter into muffin pans and steam/bake. You’ll have to adjust the baking time (about 20-25 minutes).
- Change up the liquid. Try using full fat coconut milk instead of almond milk. The fat in the coconut milk will translate to a silky, glossy rice cake that is more decadent than just almond milk.
How to Store Taro Nian Gao (Mochi Cake)
- Taro Nian Gao (Mochi Cake) can be kept covered at room temperature for up to 24 hours. Enjoy them fresh within this time for the best taste and texture.
- While it's possible to refrigerate mochi cakes, rice flour desserts like mochi tend to develop a waxy hard texture when stored in the fridge for more than 1-2 days.
- If your Nian Gaos lose their soft and chewy texture after refrigeration, you can re-steam or pan-fry them until hot and completely translucent to revive their original texture.
- For longer storage, consider wrapping the sweet rice cakes completely in plastic wrap or a Ziploc bag and freezing them. When ready to enjoy, defrost the frozen mochi cakes at room temperature. Frozen mochi cakes do not require re-steaming.
Final Tips & Reminders
- Glutinous rice flour is known by several names. In Asian grocery stores, you'll find it labeled as Glutinous Rice Flour or Mochiko Flour, but sometimes it's called Sweet White Rice Flour. Be sure not to confuse glutinous rice flour from regular white rice flour or brown rice flour, as they are not interchangeable!
- When using liquid ingredients in mochi recipes like this one, it's best if the liquid is hot (but not boiling). The heat of the liquid helps the mochi / glutinous flour become even more chewy and also makes the final product develop a glossy sheen.
Baked Taro Nian Gao (Mochi Cake) Recipe
Ingredients
Mochi Batter
- 1 ½ cup mochiko flour, sweet rice or glutinous rice flour (175g), read notes*
- ⅓ cup tapioca flour (45g)
- ½ cup granulated sugar of choice (100g), or a sugar free alternative, such as granulated monk fruit sweetener
- 1 cup mashed taro (220g), cooked and mashed while warm. about 3 medium taro
- 1 Tbsp mashed purple sweet potato (15g), for natural color **. You can also use 3 tsp of taro bubble tea powder, or lavendar food coloring.
- 1 cup almond milk, regular milk or water (228g)
- 3 Tbsp light olive oil or melted coconut oil (42 g)
Instructions
- Wash, peel, and steam the taro and purple sweet potatoes for 30-40 minutes until easily pierced with a toothpick; then, while still warm, mash it with a potato masher or fork until smooth and chunk-free.
- Preheat oven to 350 F. Grease a 8 x 8 inch square cake (I used a Pyrex glass dish) with some oil (spray oil works fine, too).
- In a clean bowl, mix glutinous rice flour (mochiko flour) with tapioca flour and sugar.
- Knead the cooked taro and purple sweet potato into the dry ingredients best you can, so that they are well incorporated with the flour. Set aside.
- Heat almond milk in a microwave safe bowl or glass measuring cup until hot, about 2 minutes. (This is an optional step to make the mochi chewier. Read notes***)
- Pour the hot almond milk into the flour mixture and use a whisk to mix well.
- Stir the coconut oil into the batter
- Pour batter into the greased cake pan or oven safe pan, and bake in oven 350F for 50-60 minutes , or until the middle is set and the edges are crispy.
- For softer texture, you can also steam the mochi batter on medium heat for 45-60 mins, or until the center of the mochi cake is set.
- Let cool completely before serving, or cool the cakes in the freezer for 2-3 hours which helps to get clean slices of cakes.
- Enjoy!


RaeLynn says
Hi! Does the purple sweet potato add any flavour? Or is it purely for colour?
All Purpose Veggies says
Hi RaeLynn! The purple sweet potato is just for added color and doesn't contribute too much flavor, unless you wanted to add more. Hope this helps!