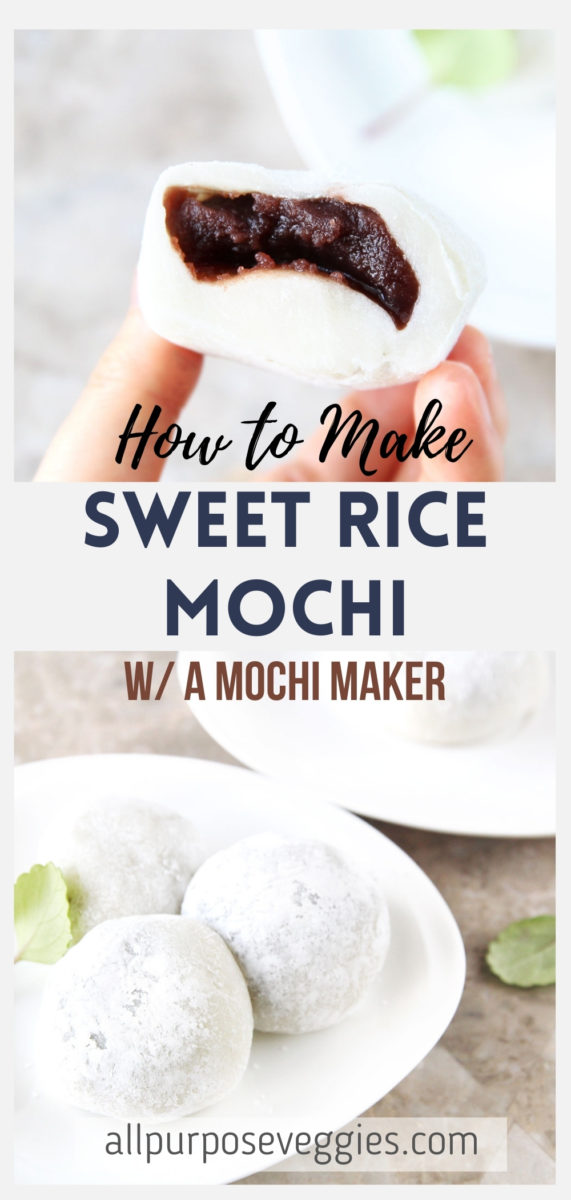
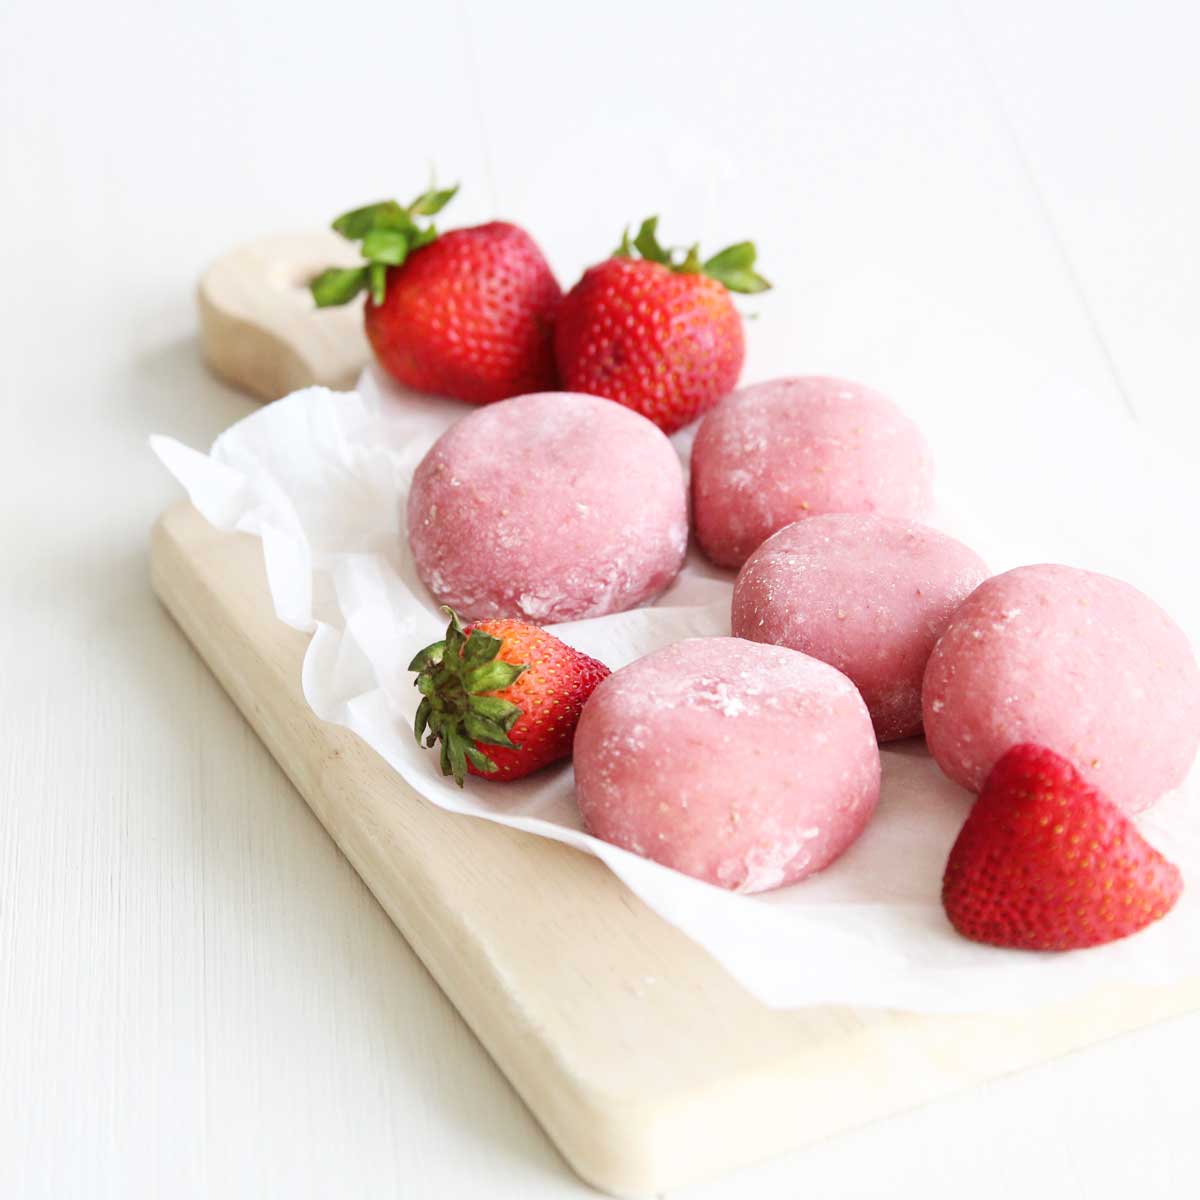
Making mochi from scratch has never been easier! Just wash and put the soaked sweet white rice into a mochi maker and press GO!
Mochi, basically pounded sweet white rice, is one of my family's favorite foods! That's why we use a mochi maker to easily steam and pound the rice into mochi. Here's what we use:
Ingredients & Equipment
**I’ve linked some of these ingredients and equipment to amazon.com to give you an idea of what they are, but you should also be able to find them in your local grocery store (usually, the natural & organic food section). They are also affiliate links, which means that I earn a commission as an Amazon Associate if you decide to purchase the items. The price will be the same for you, link or no link 🙂
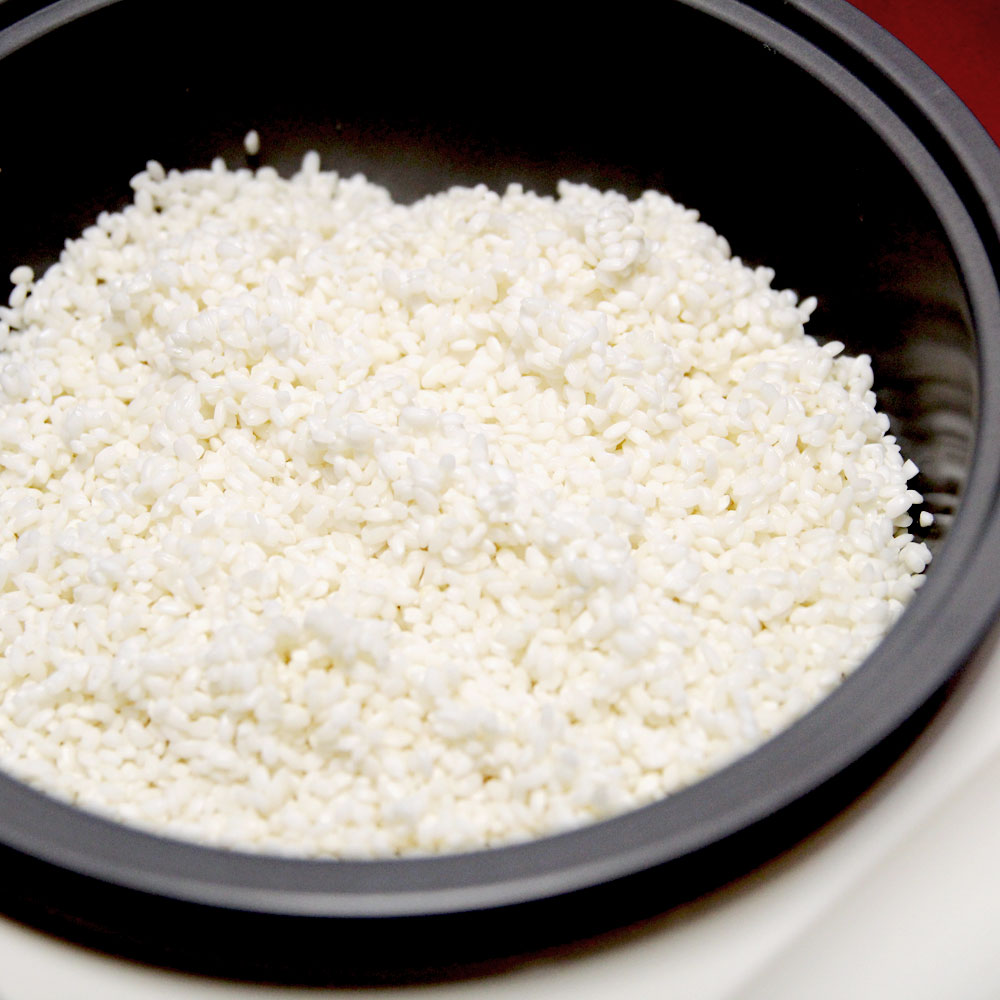
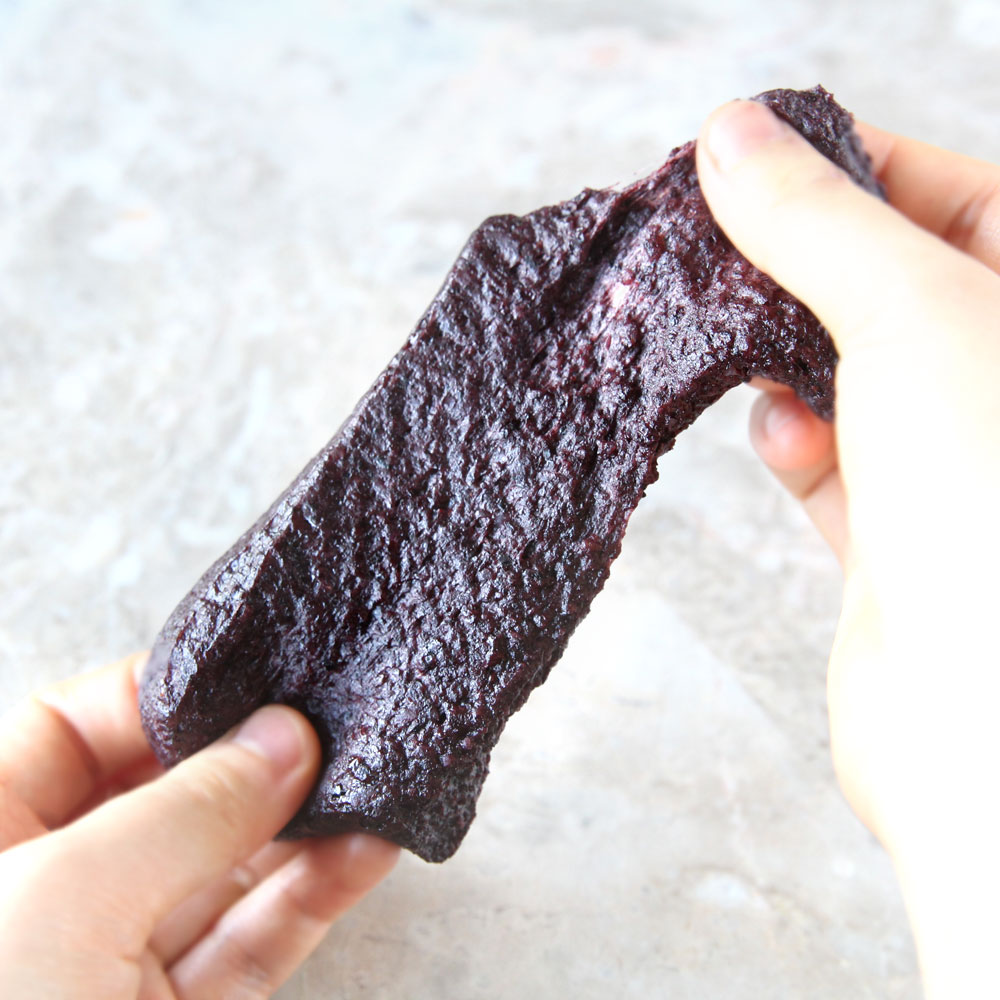
- Glutinous White Rice (also called sweet white rice) - glutinous white rice is different from regular white rice in that it has a sticky, supple, chewy texture when cooked. When steamed and pounded, it becomes the "mochi" or "sweet rice cake" (as we Koreans call it) that is popularly sold in East Asian dessert shops or stores. Here are some examples of Glutinous White Rice online that you can use to make mochi: here and here. (I'm only recommending the Korean and Japanese brands because that's what I used successfully in the past. I haven't ever tried using Thai Sticky Rice to make mochi so I'm not sure if it'll be the same). You can also use Glutinous BROWN Rice--see my other post!
Do PLEASE note that the results will BE VERY DIFFERENT AND NOT THE SAME when using regular long, medium, short grain or sushi rice. So double-check and make sure you're using Glutinous or Sweet Rice when making mochi.
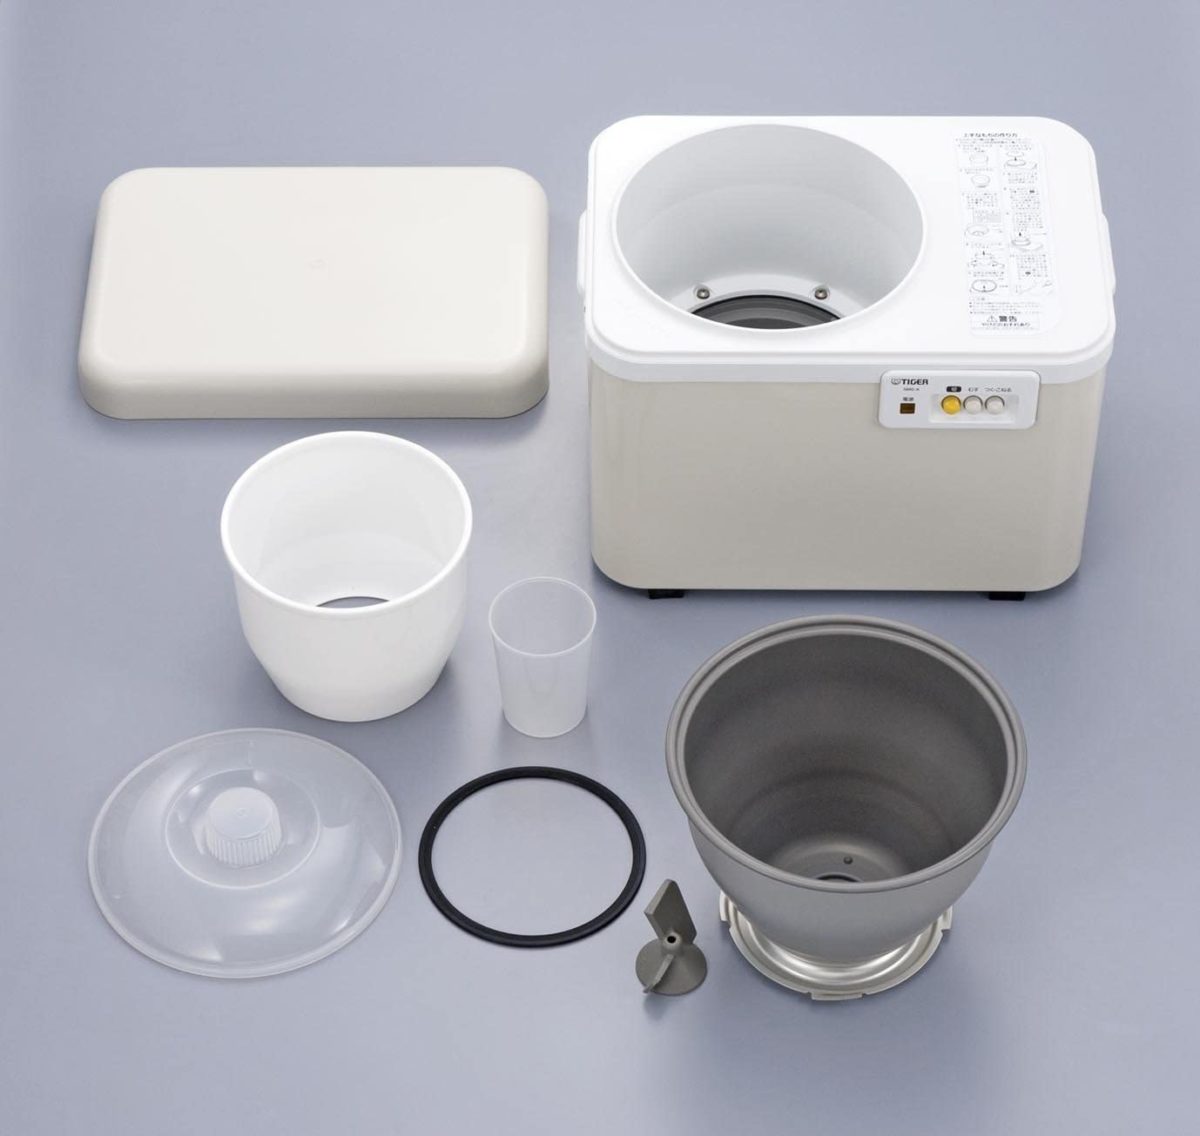
- Mochi Maker- A mochi maker lets you easily turn rice into mochi. I guess it's sort of an equivalent to bread makers for us Asians? The big two brands are Tiger and Zojirushi. You put the raw (uncooked), soaked rice into the mochi maker and let it steam and pound the rice into mochi! It's a handy appliance to have at home if you like mochi and intend to make them regularly, and I like it better than making mochi from rice flour since
- the whole grain rice is less processed than rice flour
- cost-saving (since rice is usually cheaper than the flour) **but only if you make and eat a lot of mochi since the machine itself is expensive**
- makes less of a mess and easier to clean
- Sesame Oil - I personally like using toasted sesame oil when making mochi because it helps adds depth of flavor to the resulting mochi. But you can also use any oil you have at home such as olive oil, coconut oil, or avocado oil.
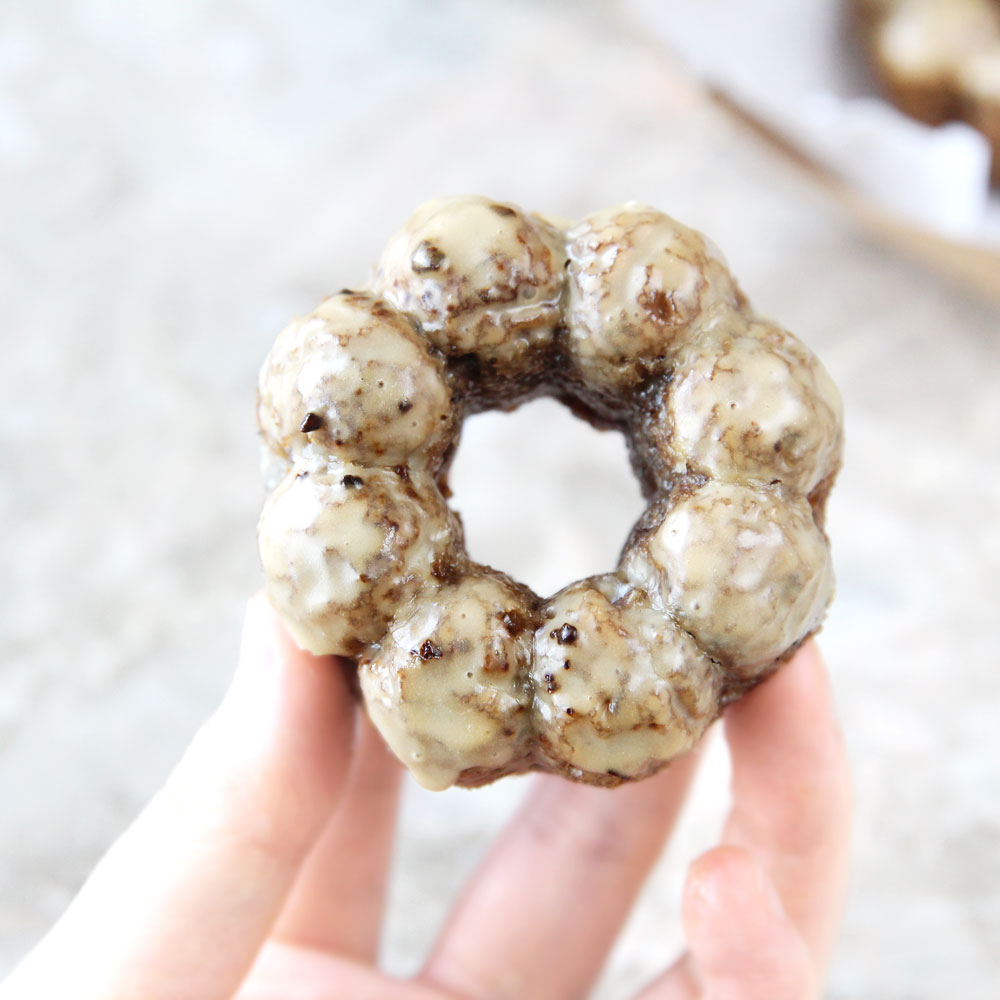
Other Mochi Maker Recipes
IS “GLUTINOUS” RICE GLUTEN-FREE?
Yes, it is! The word “glutinous” refers to the sticky, glutinous texture / consistency of the rice, not the “gluten” that’s found in most wheat products. That’s why rice is a terrific choice for those following a gluten-free diet.
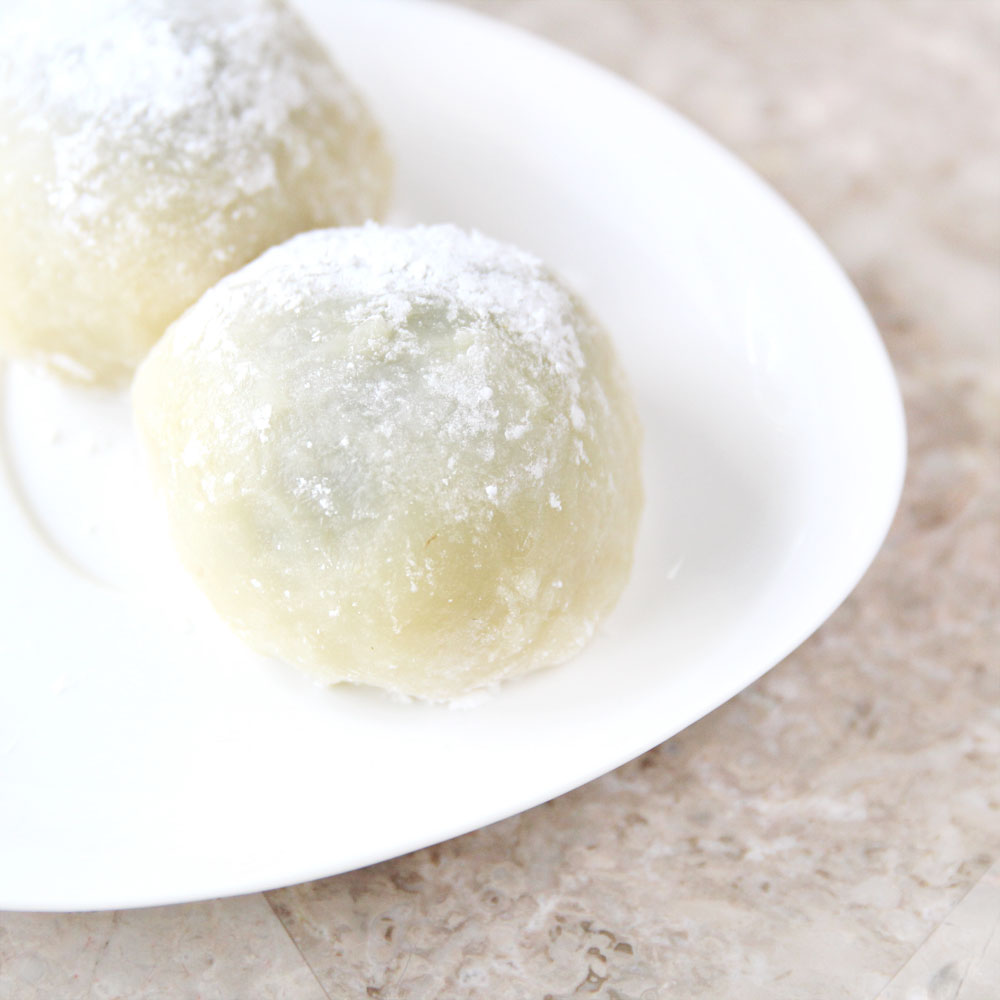
How to Make Sweet White Rice Mochi
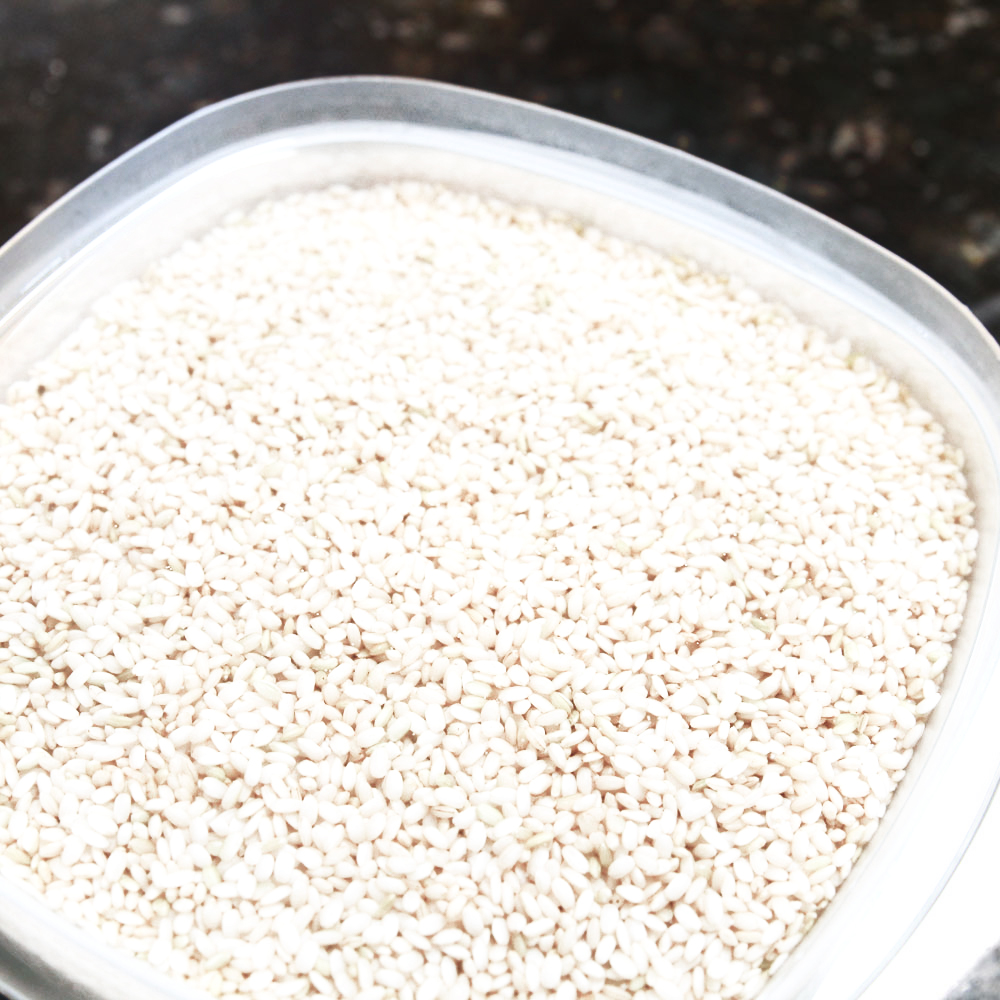
- Wash and rinse the glutinous white rice until the water is no longer cloudy.
- Soak the rice in water (about 2 cups of water for every 1 cup of rice) and let sit overnight in room temperature, up to 12 hours. You can leave it covered or uncovered.
3. Prepare the Mochi maker machine by filling it with about 2 cups of water (there is a separate area for this, right below where the steamer bowl should be placed). This water will be used by the machine to steam the rice.
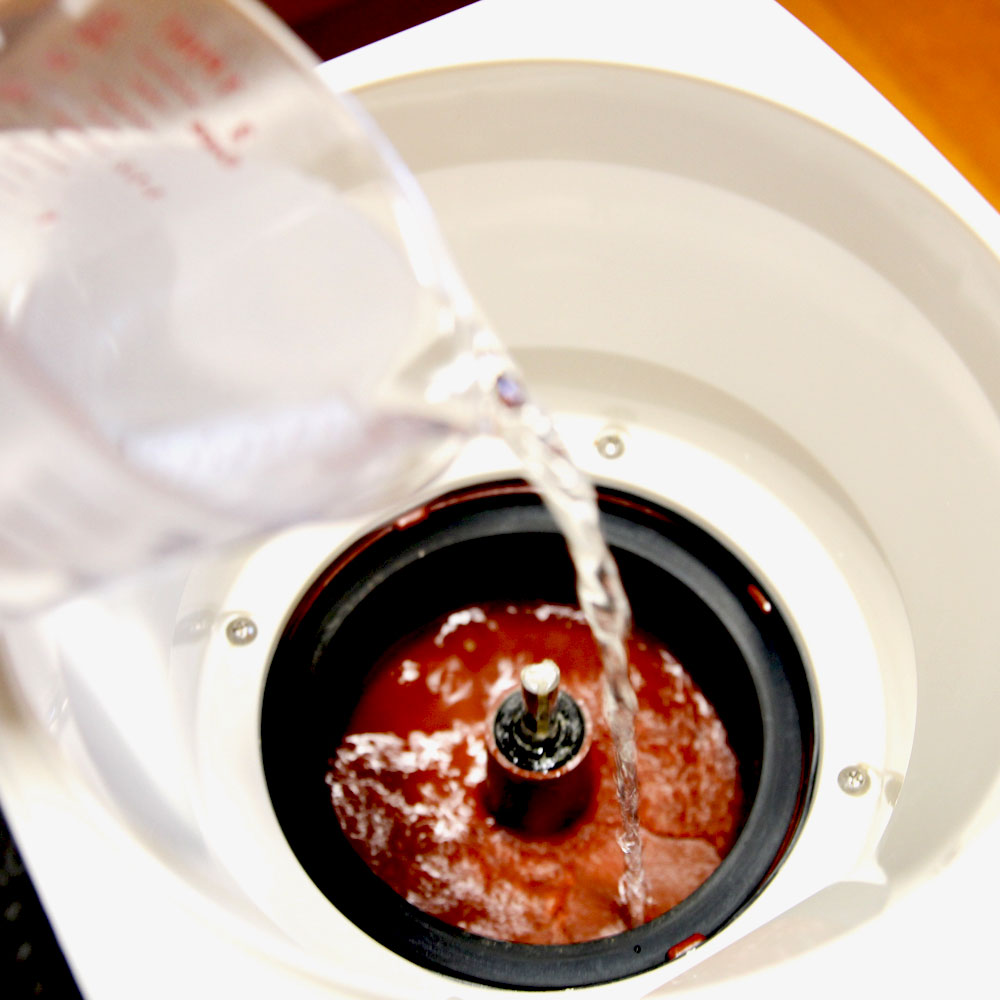
4. Now that the water is filled, fit the bowl into the machine
5. DRAIN the water from the soaked rice using a sieve, then transfer the drained rice into the bowl of the mochi maker
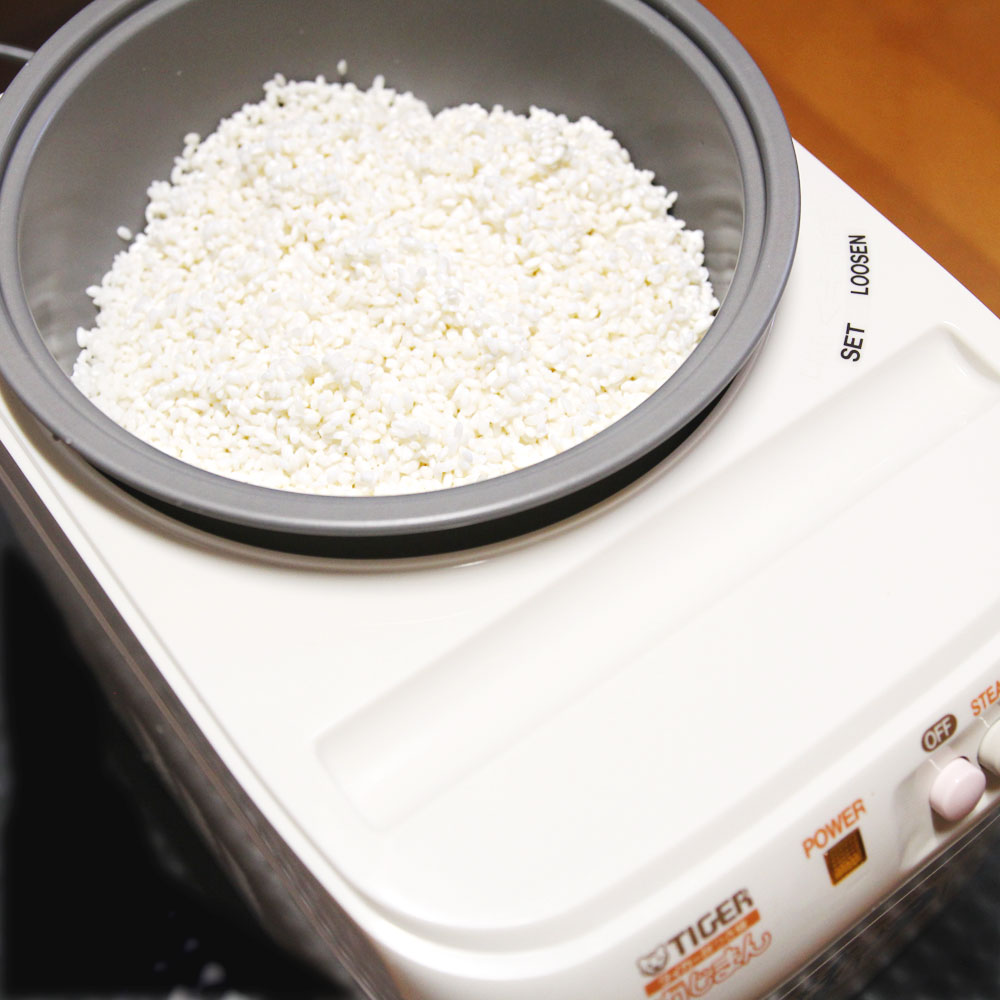
6. Close the lid and press STEAM!
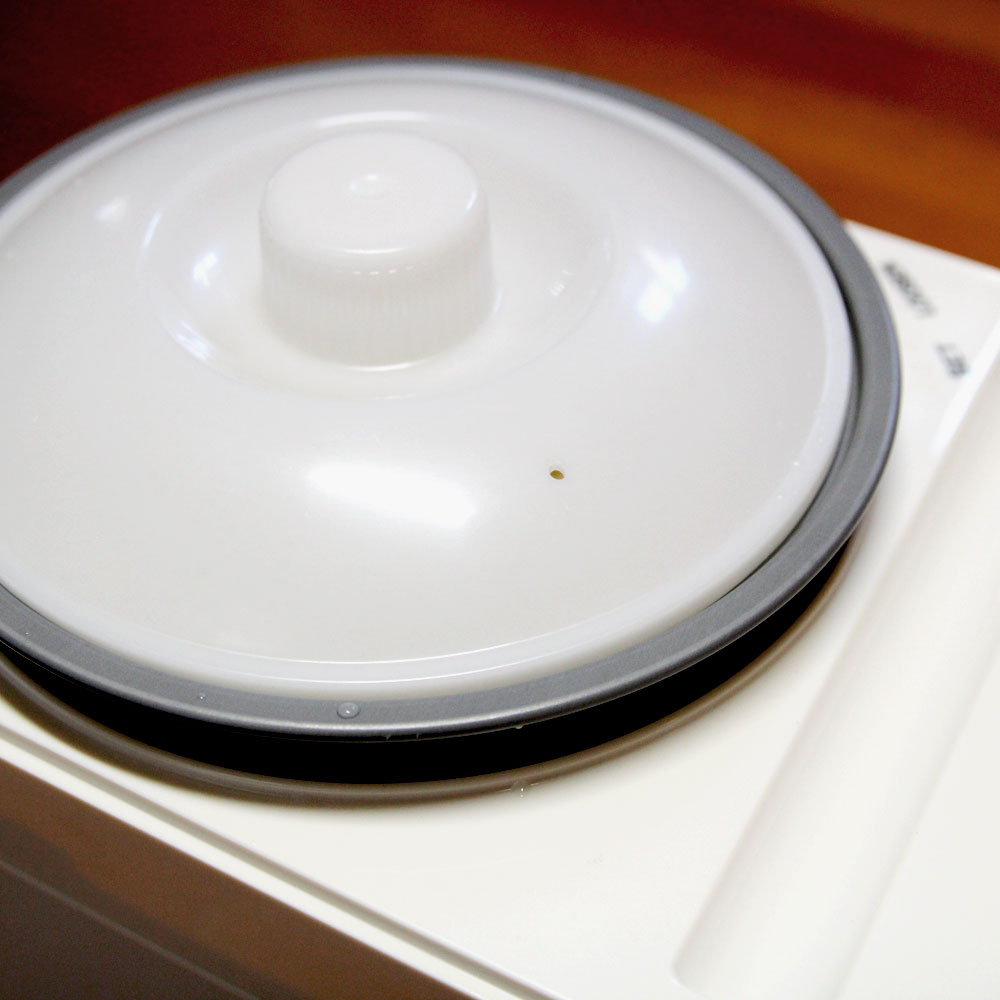
7. After about 30 minutes, a buzzer like alarm will go off when the rice has finished steaming
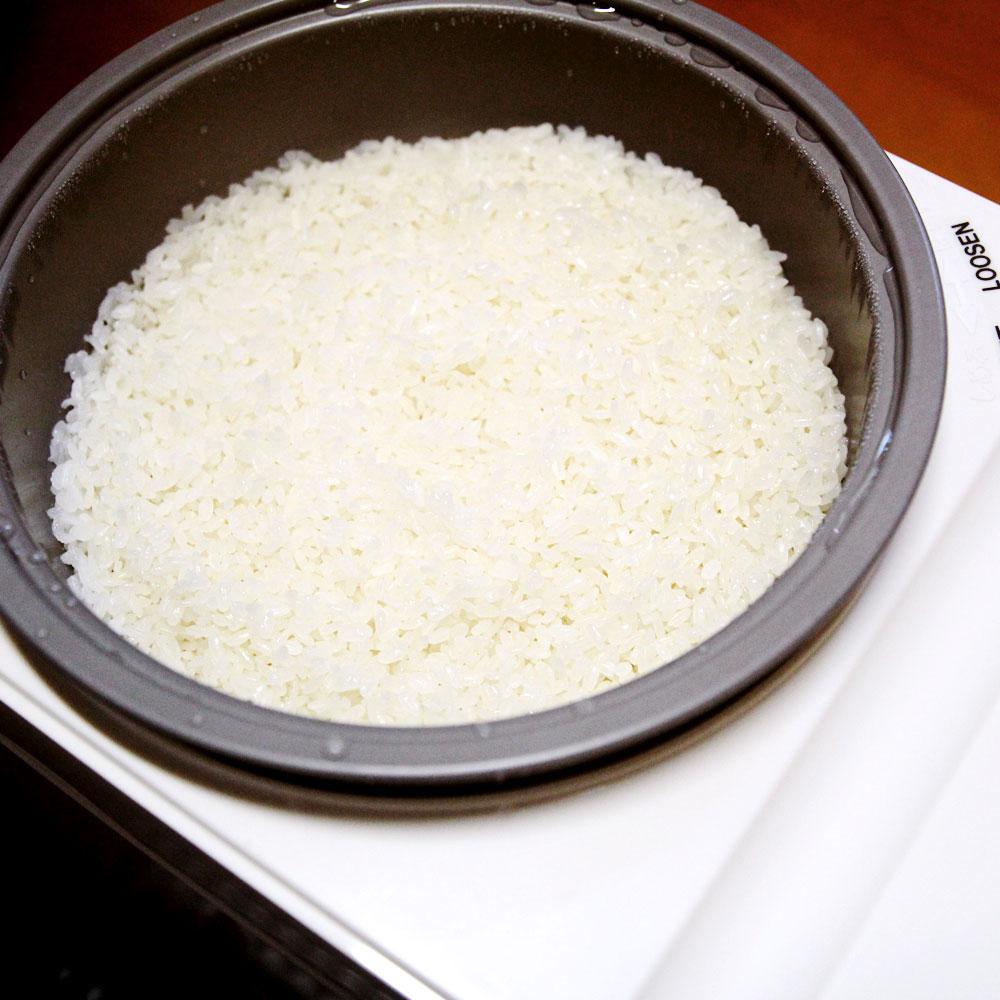
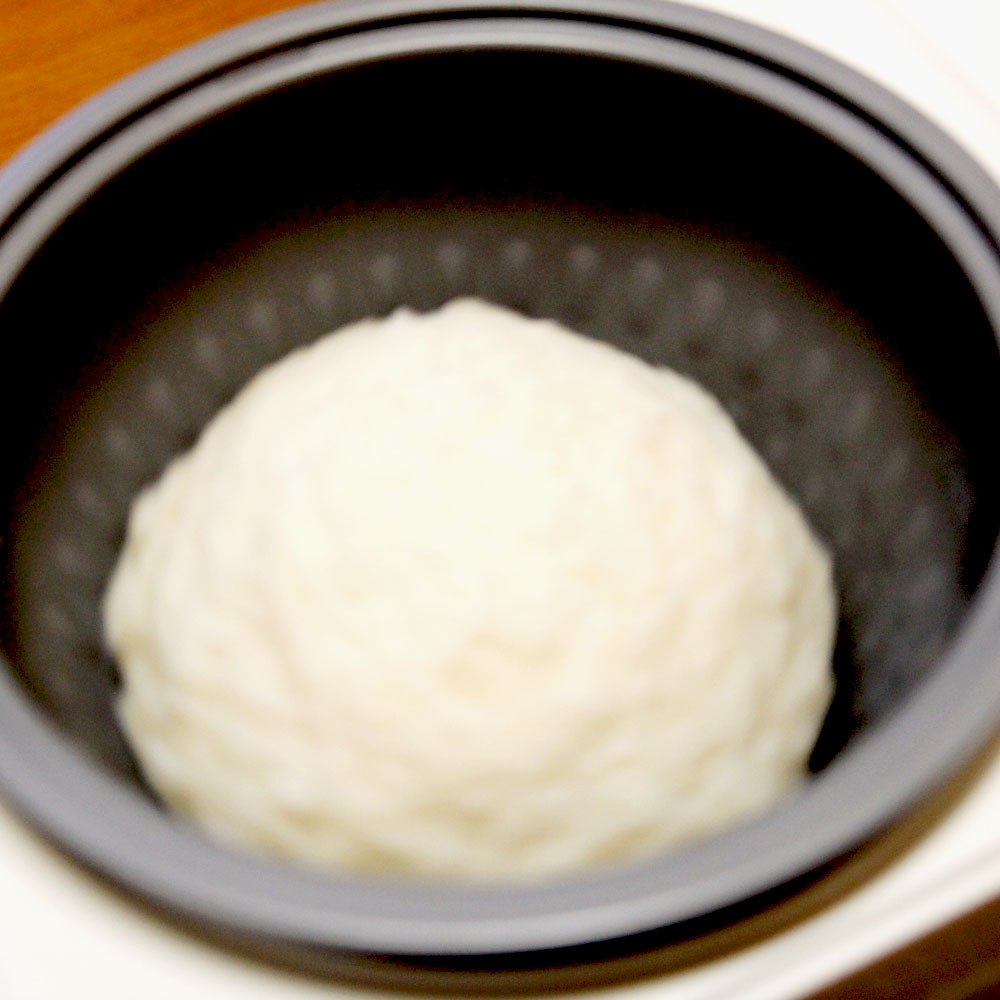
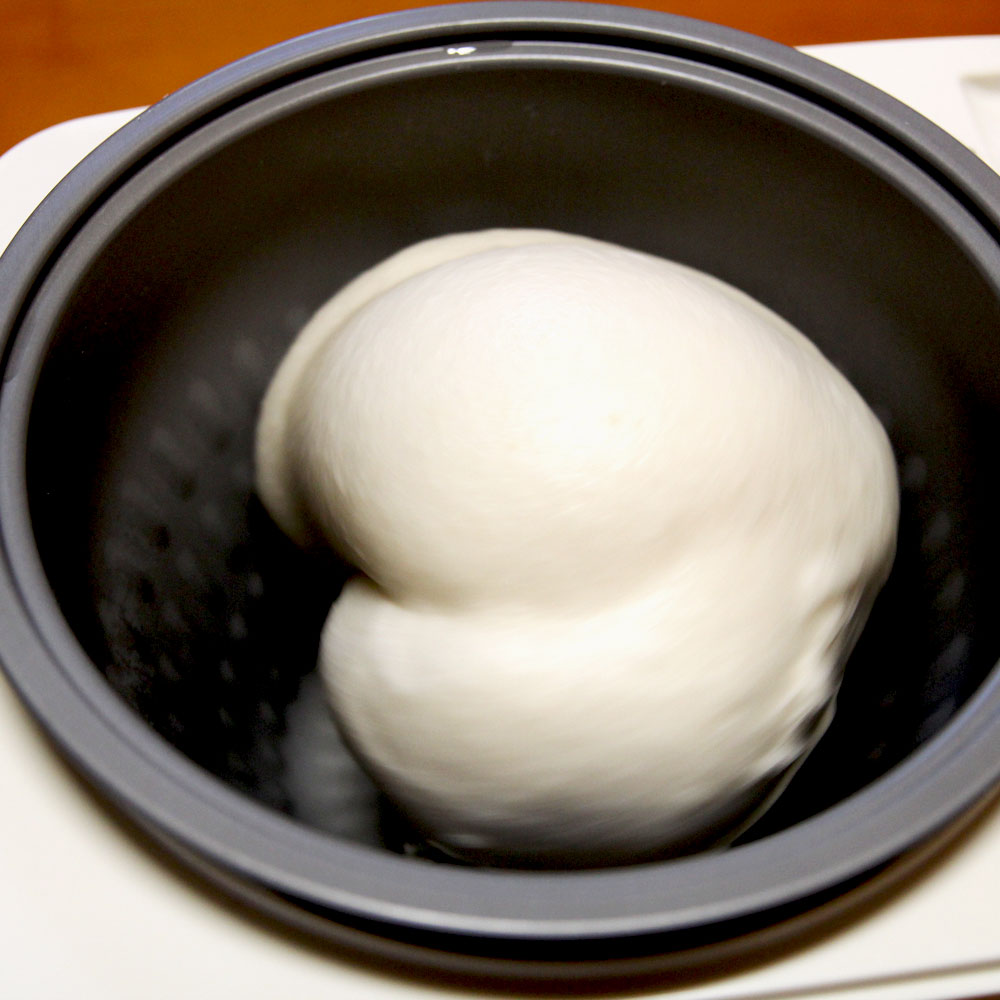
8. Now, press POUND. The machine will start churning and "pounding" the cooked rice.
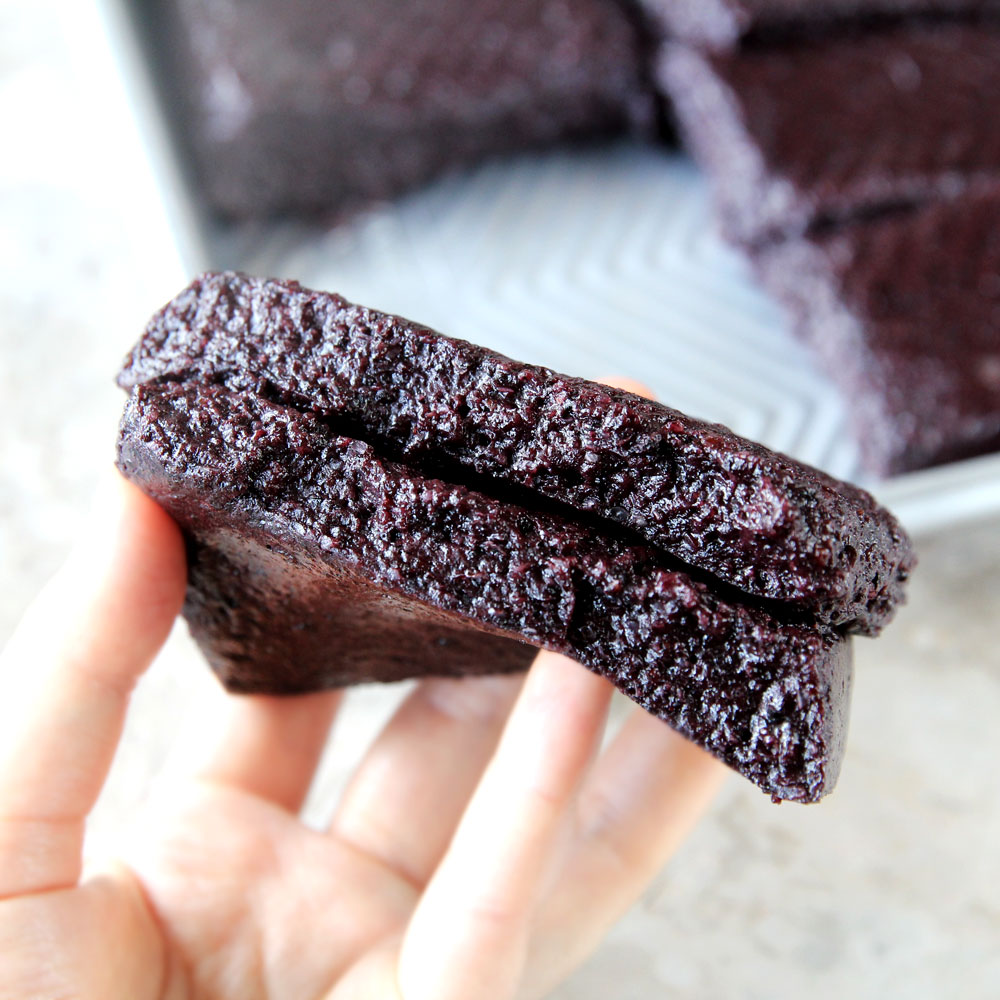
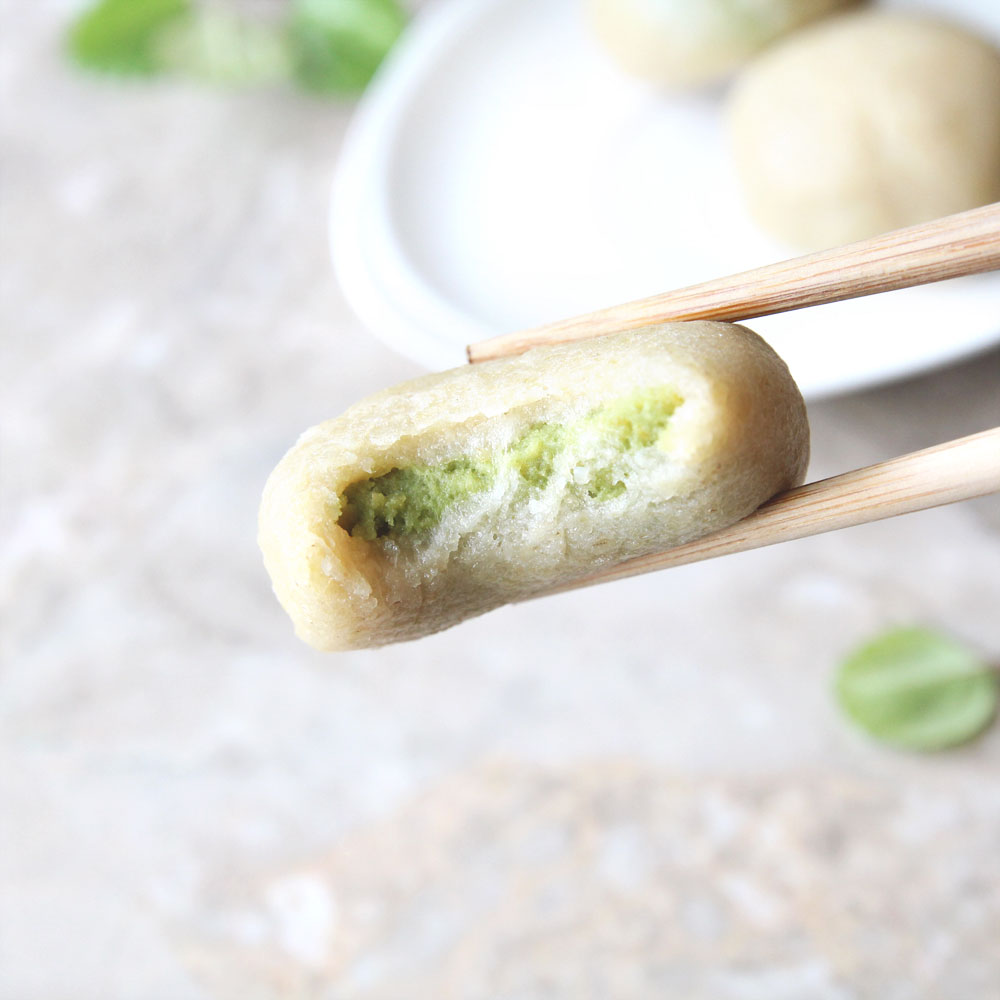
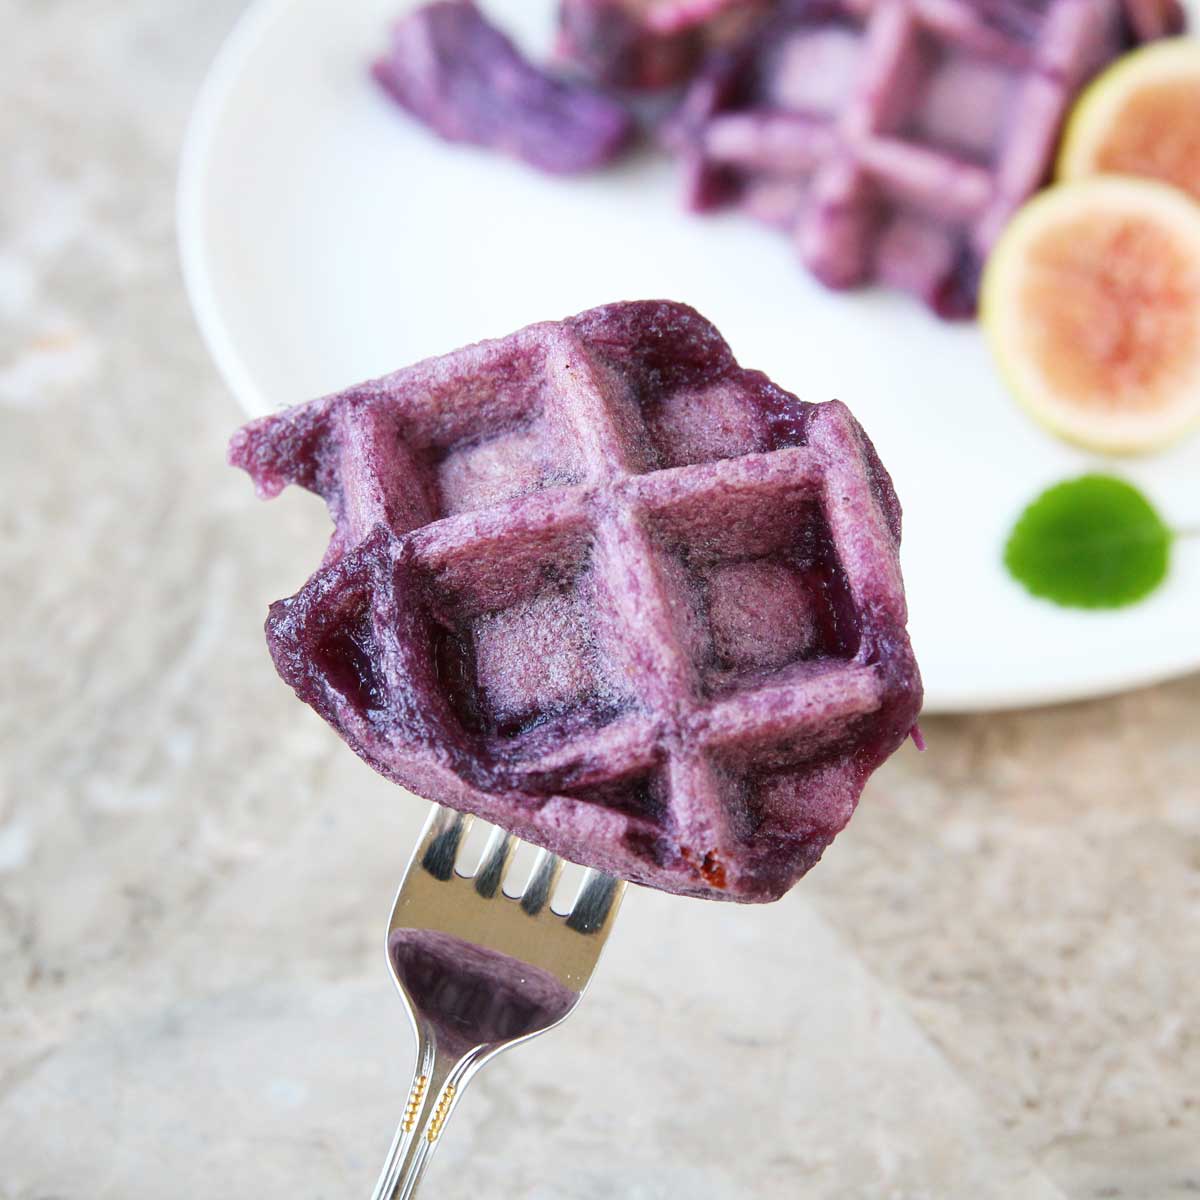
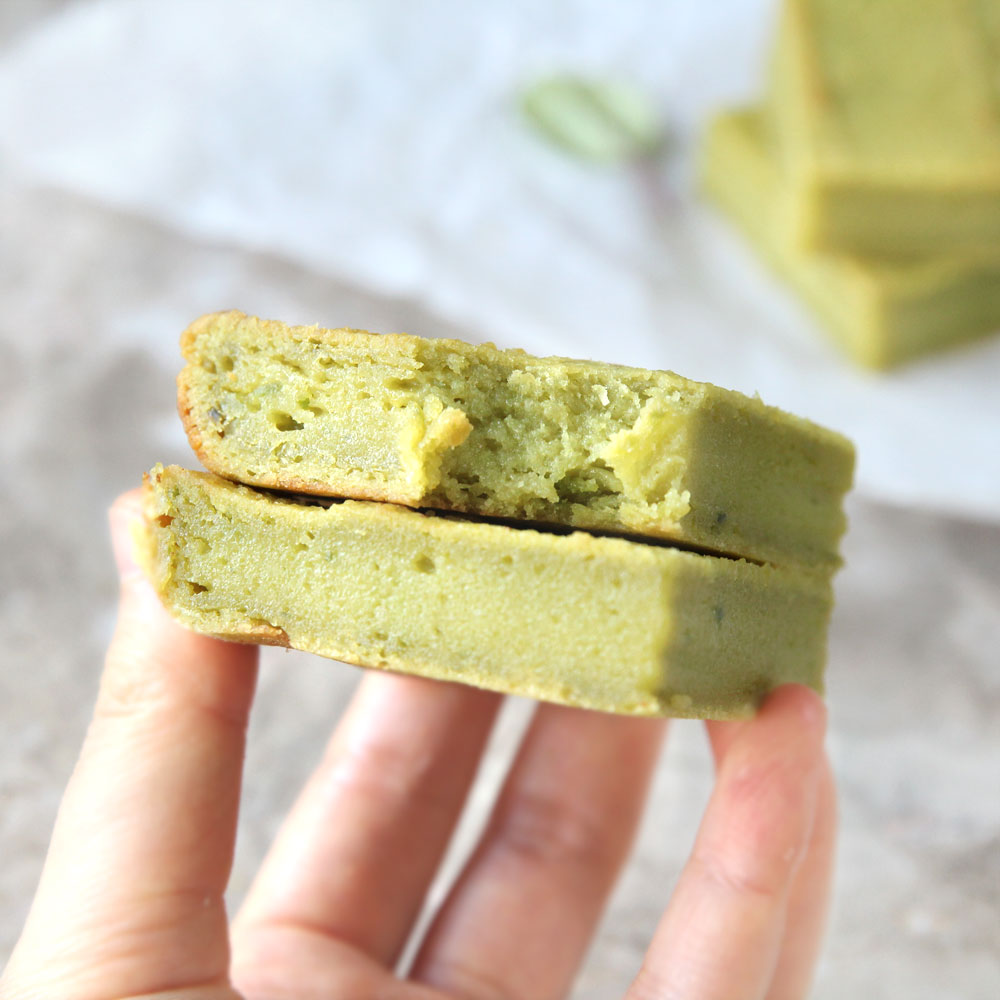
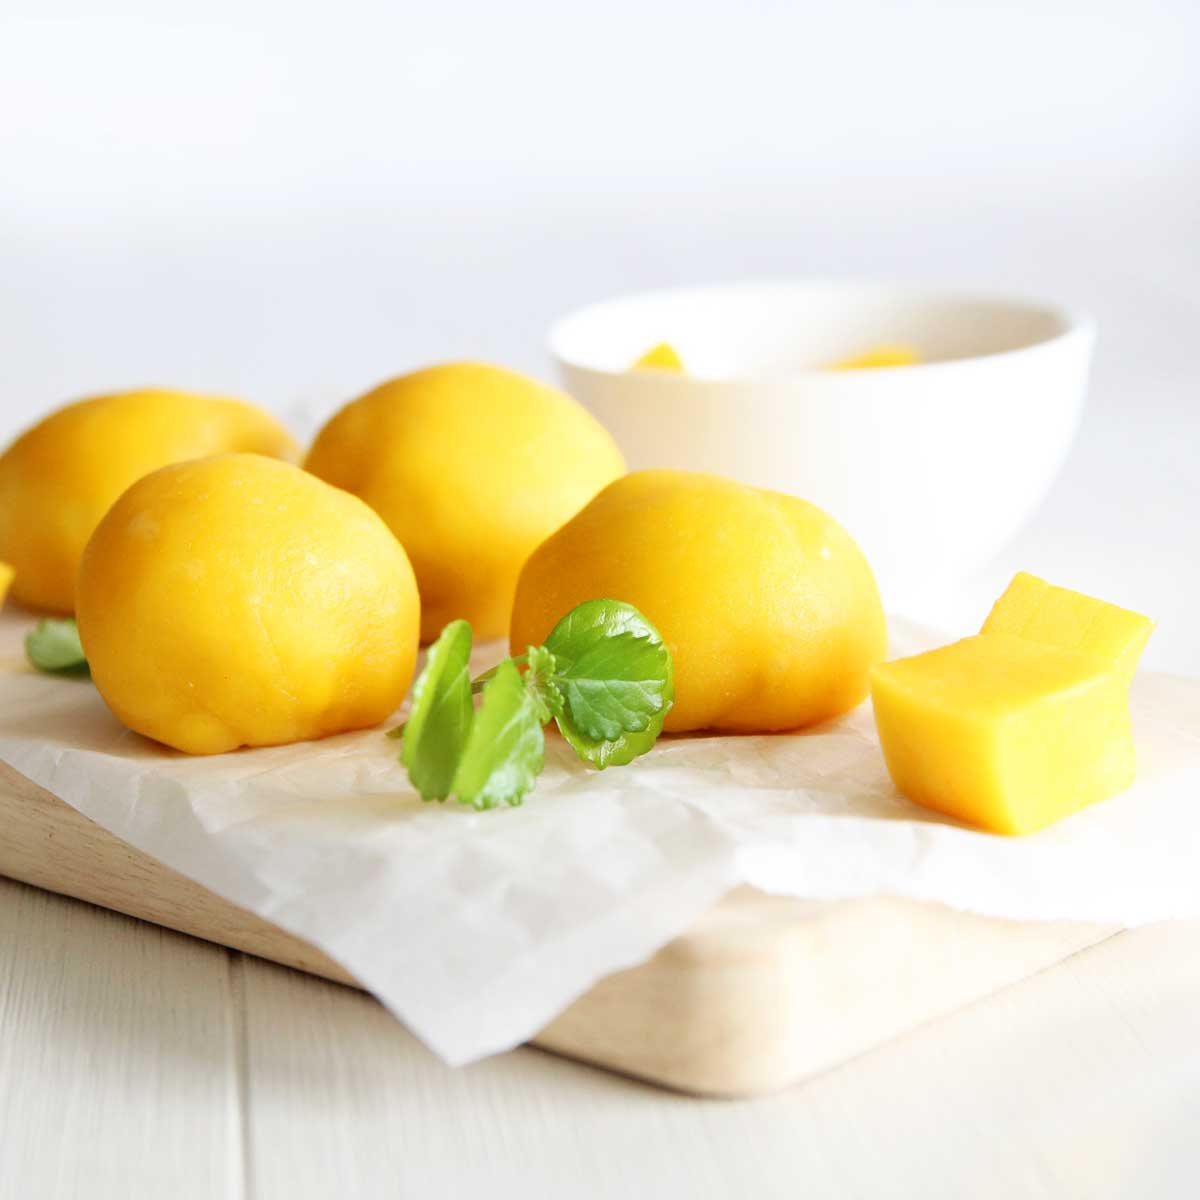
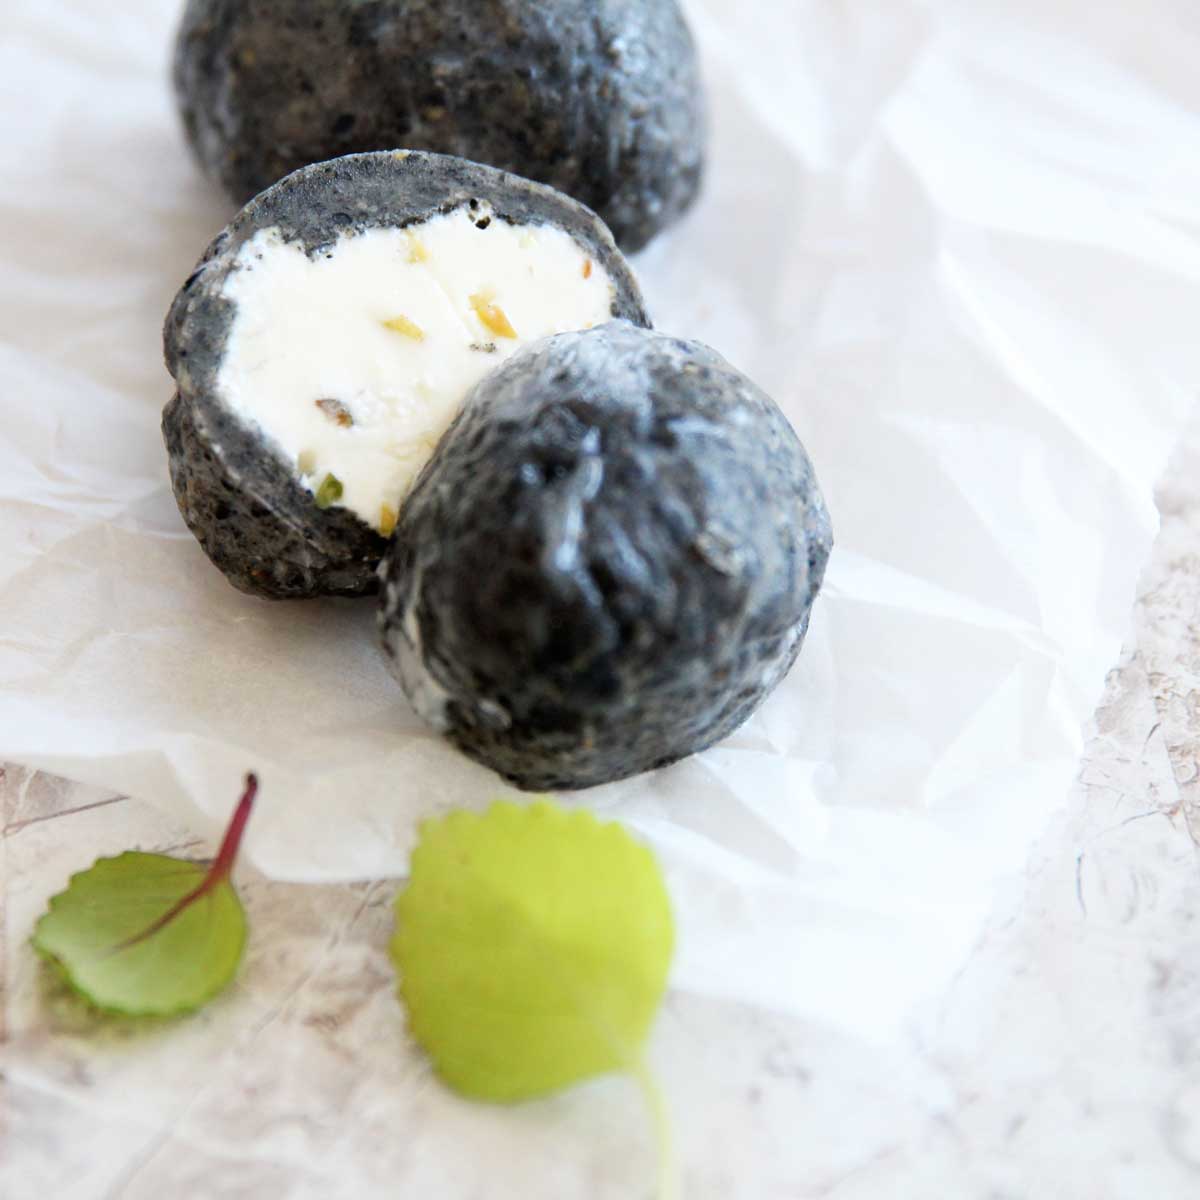
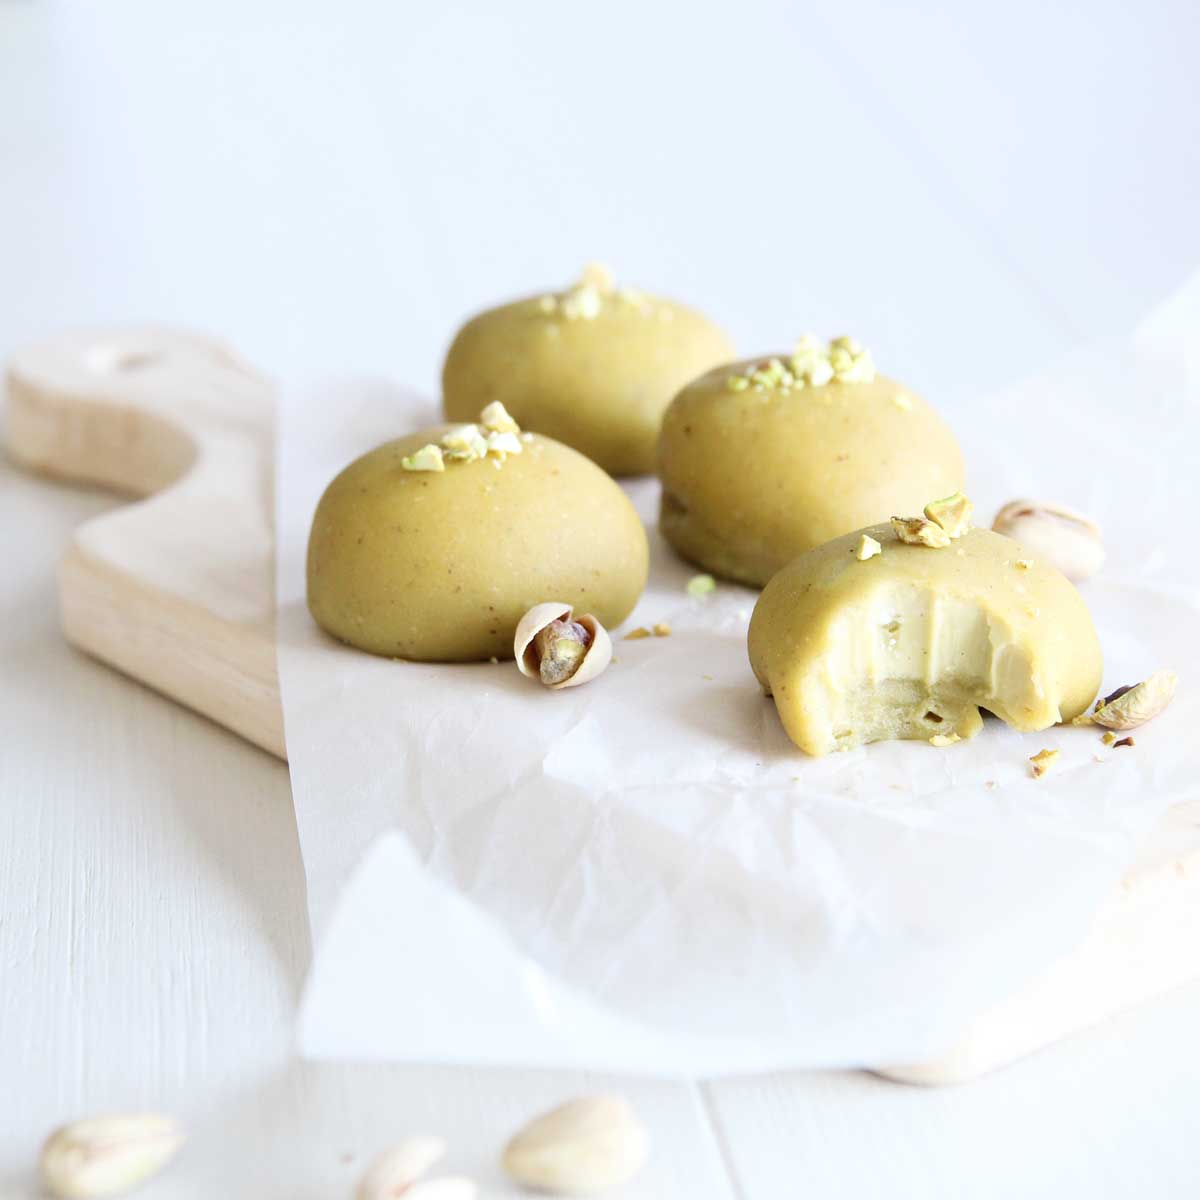
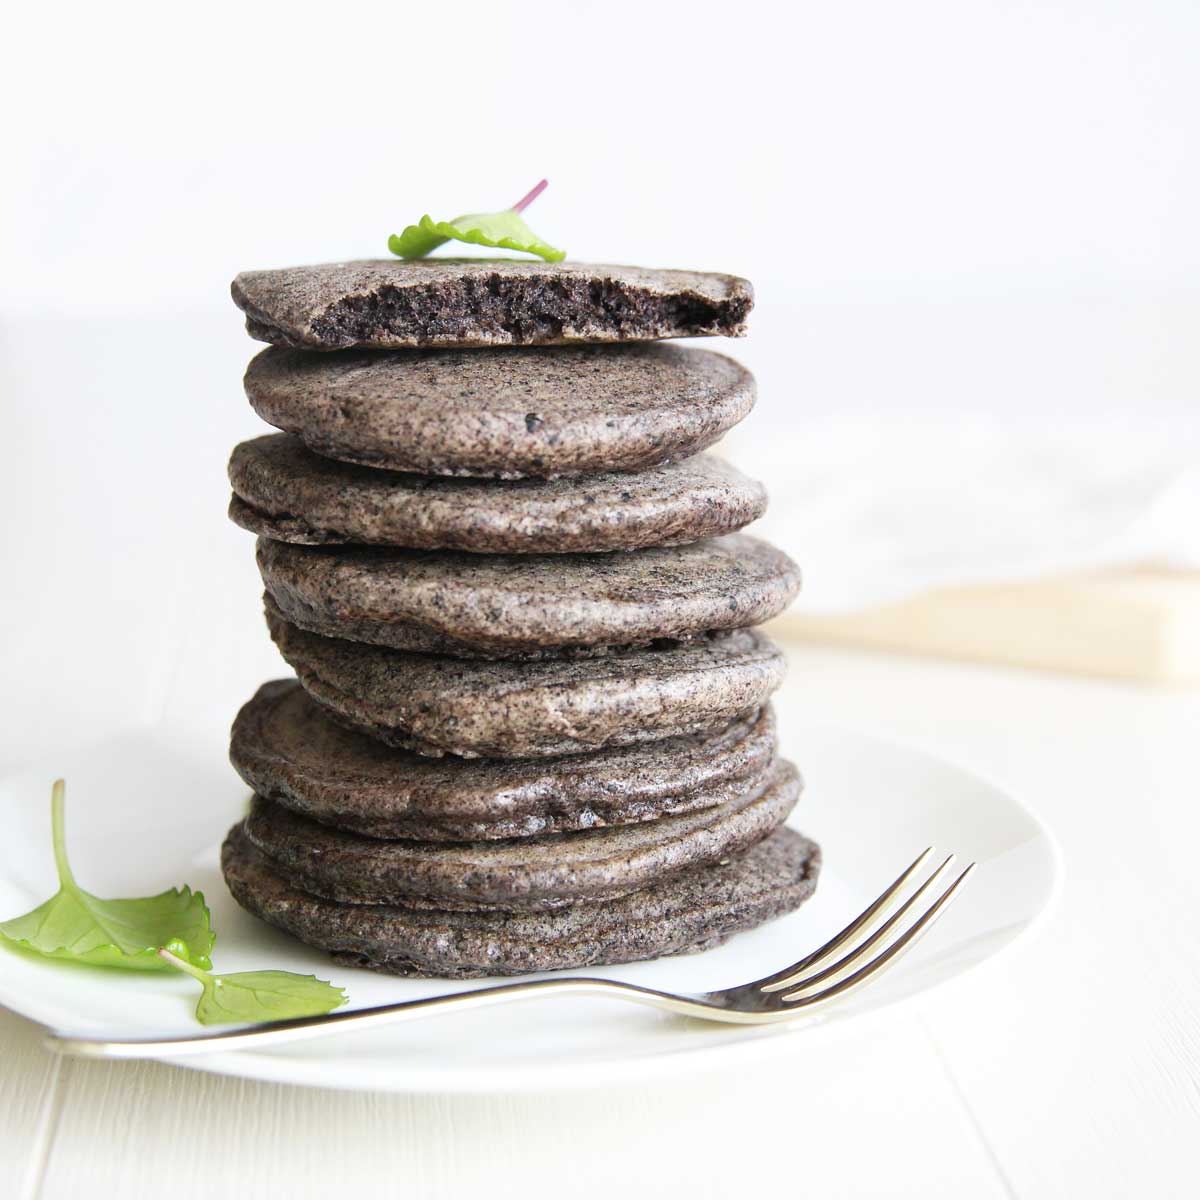
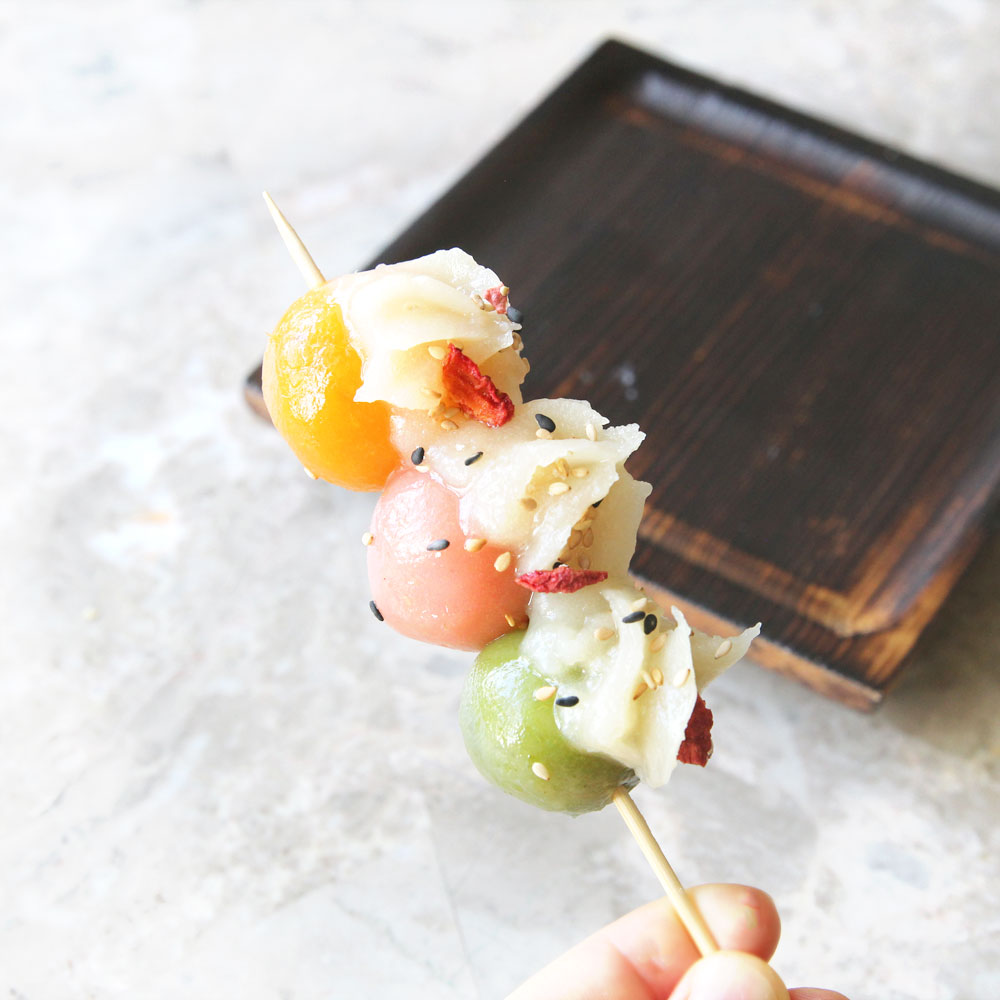
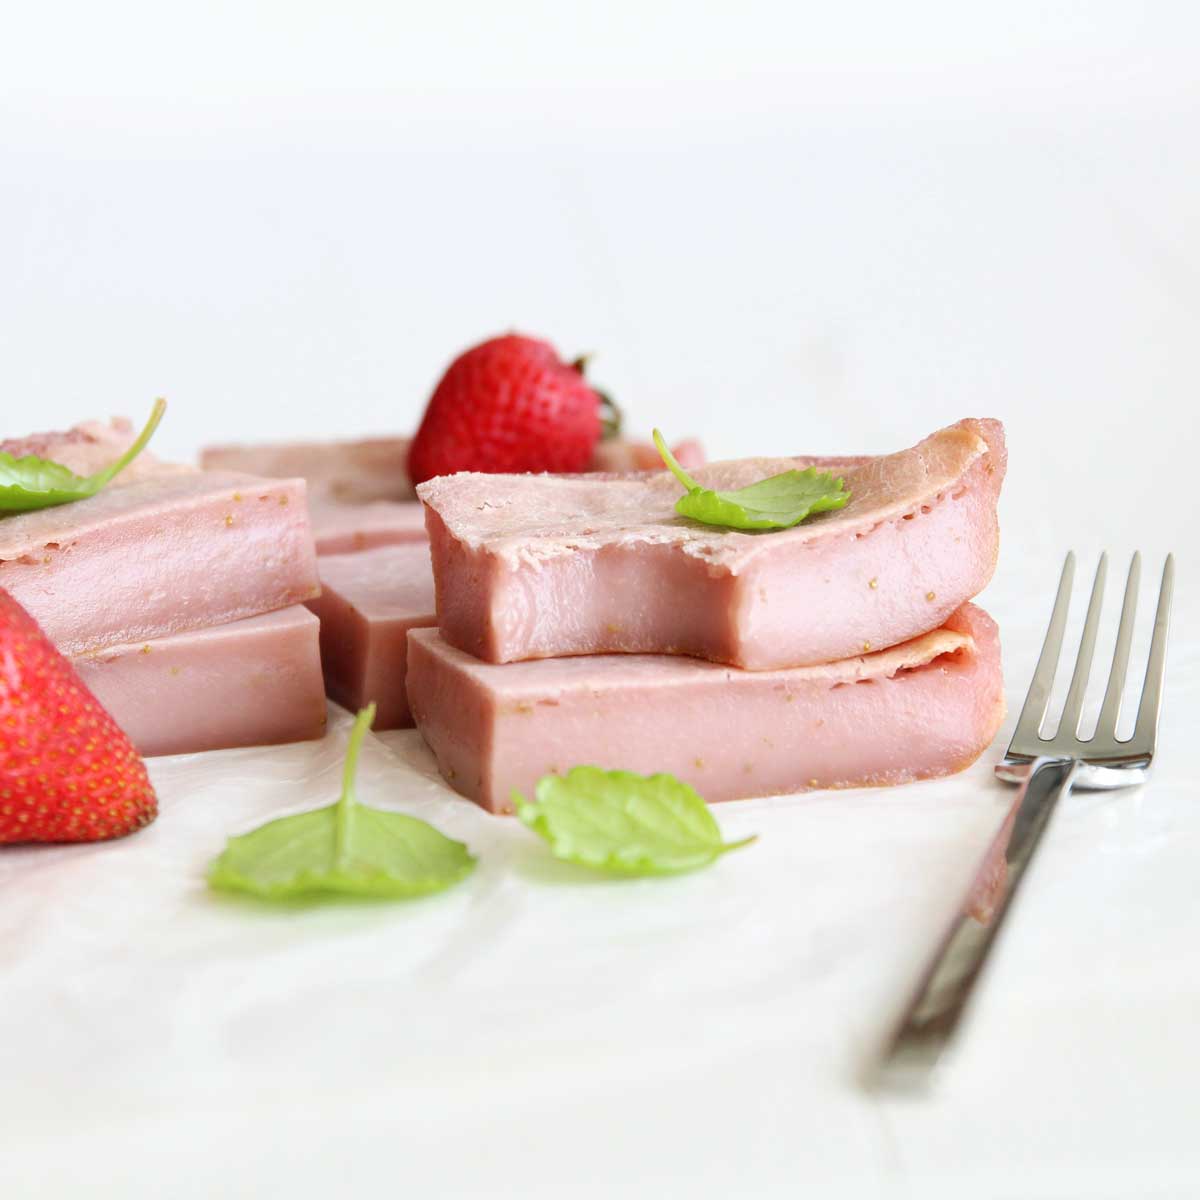
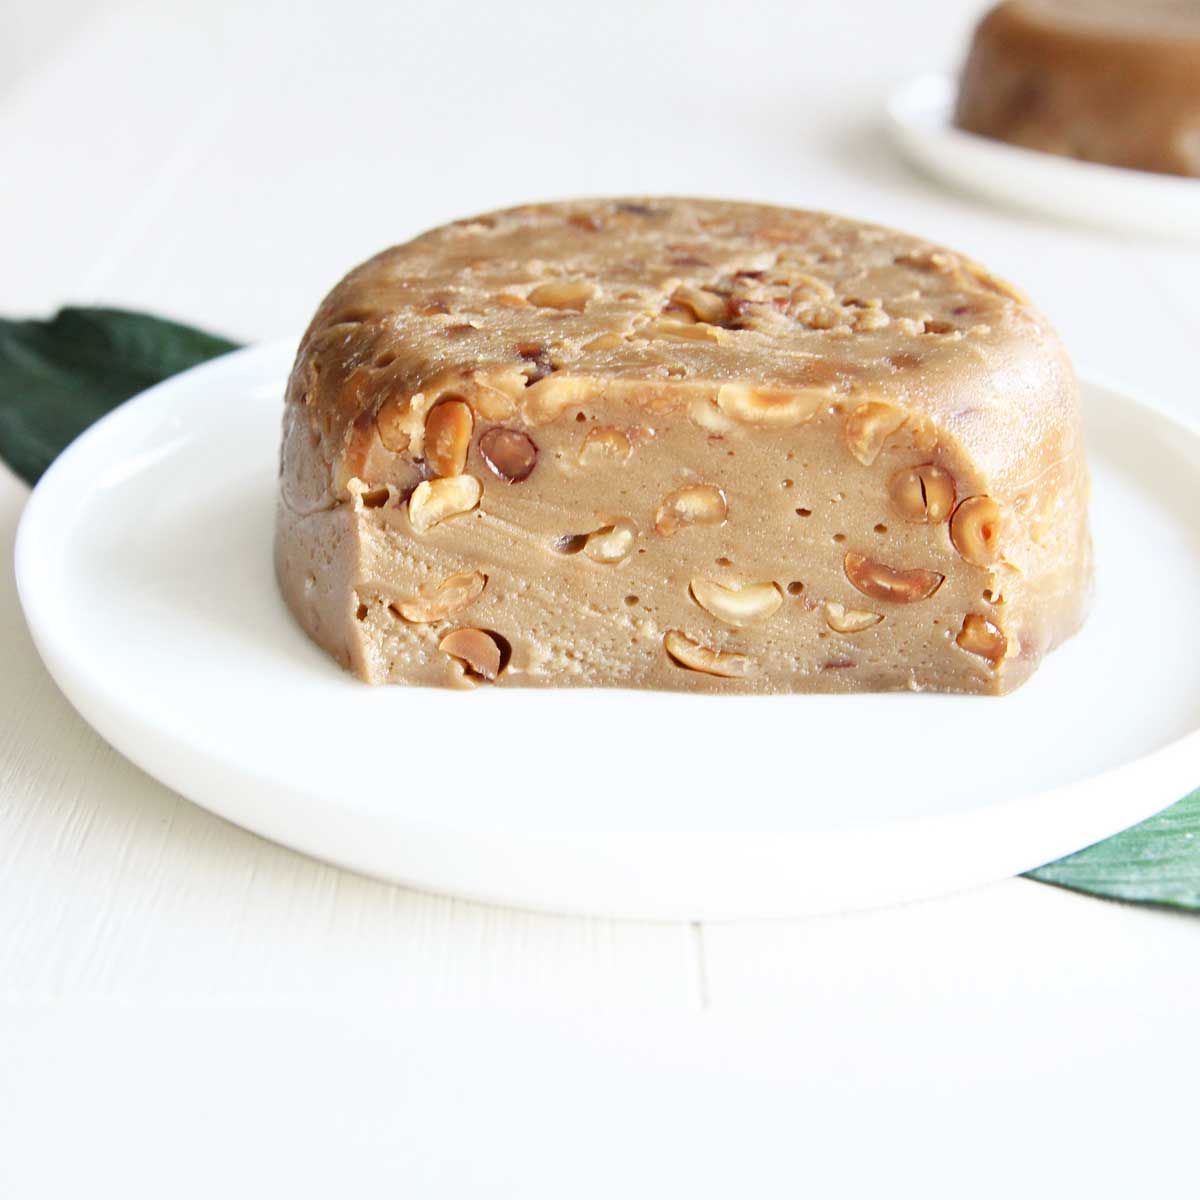
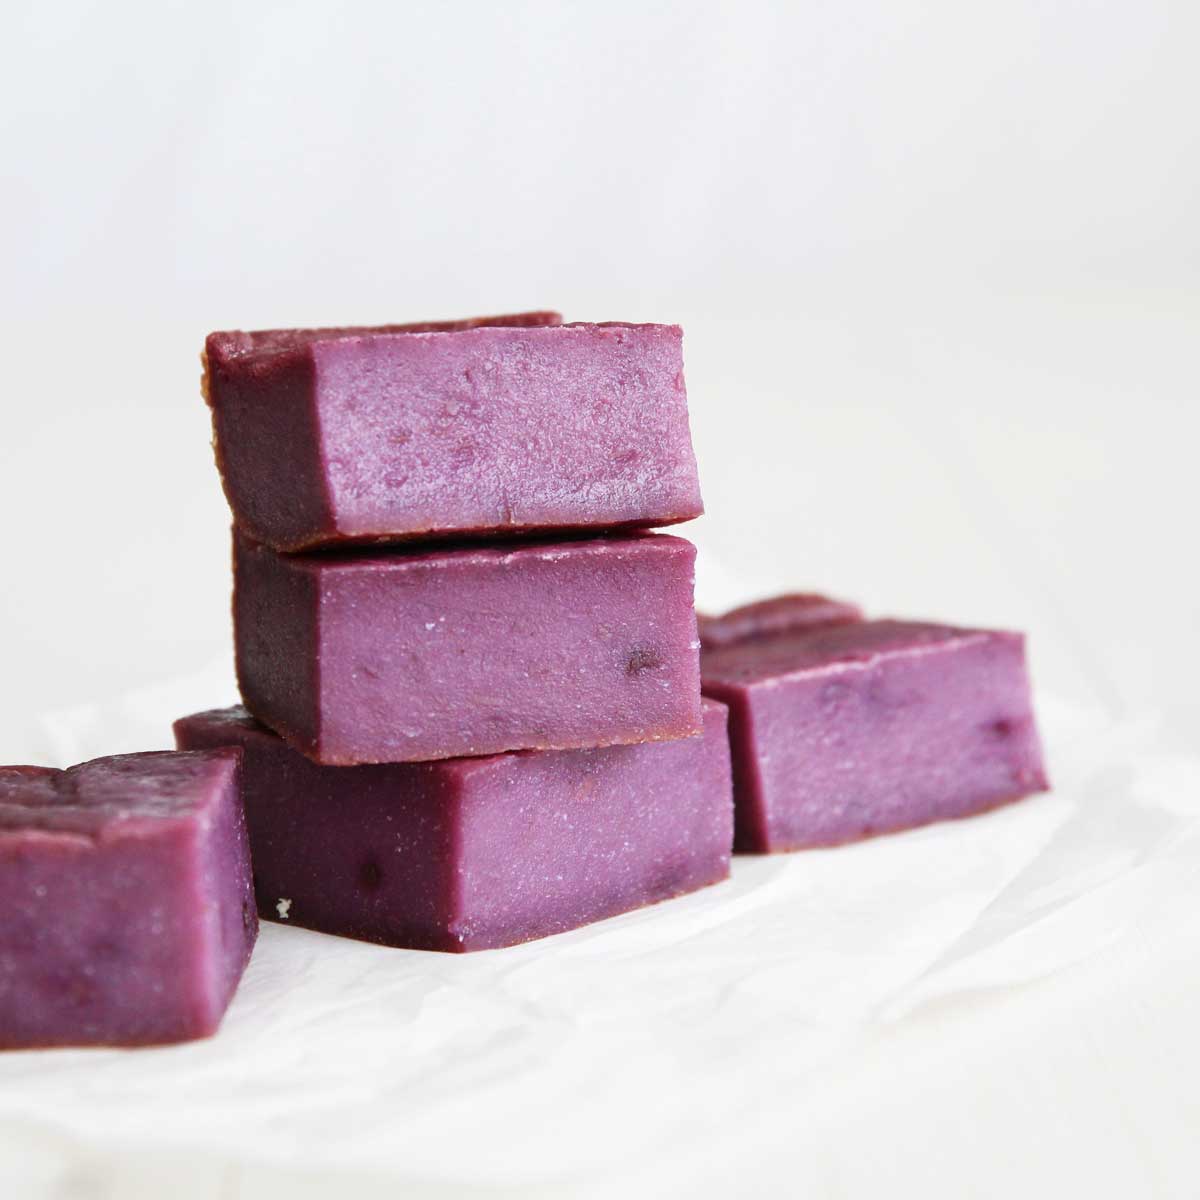
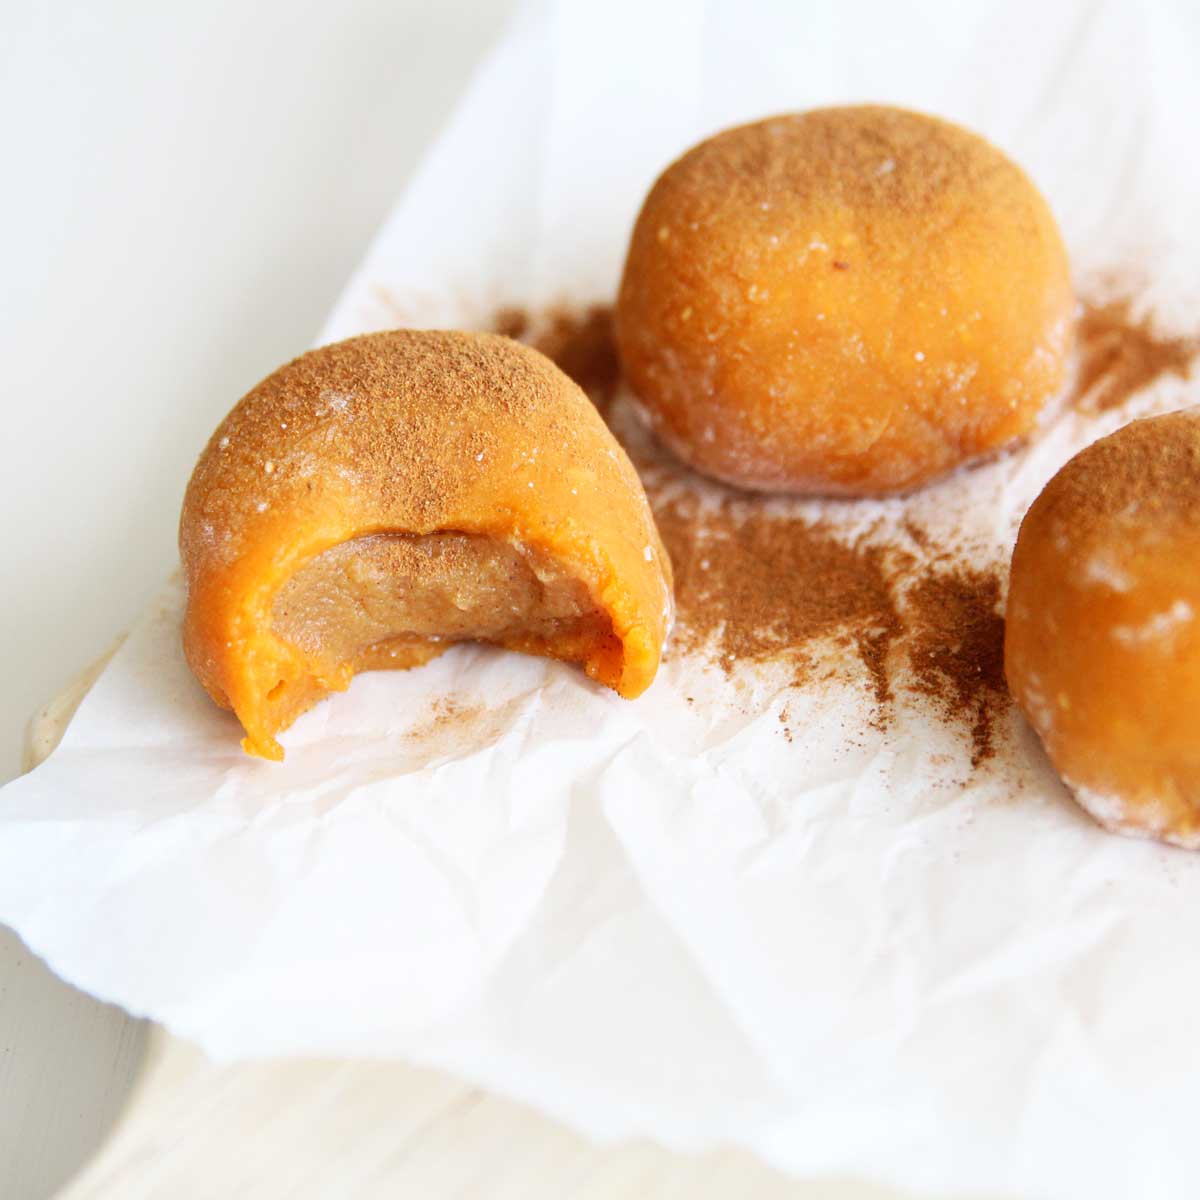
9. Add the salt, sugar and water as the rice starts mixing. Use ⅓ cup water for a chewier mochi, or ½ cup water for a softer, more flexible mochi. You can also add food coloring or powders (matcha powder, purple sweet potato powder, etc.) to color the mochi.
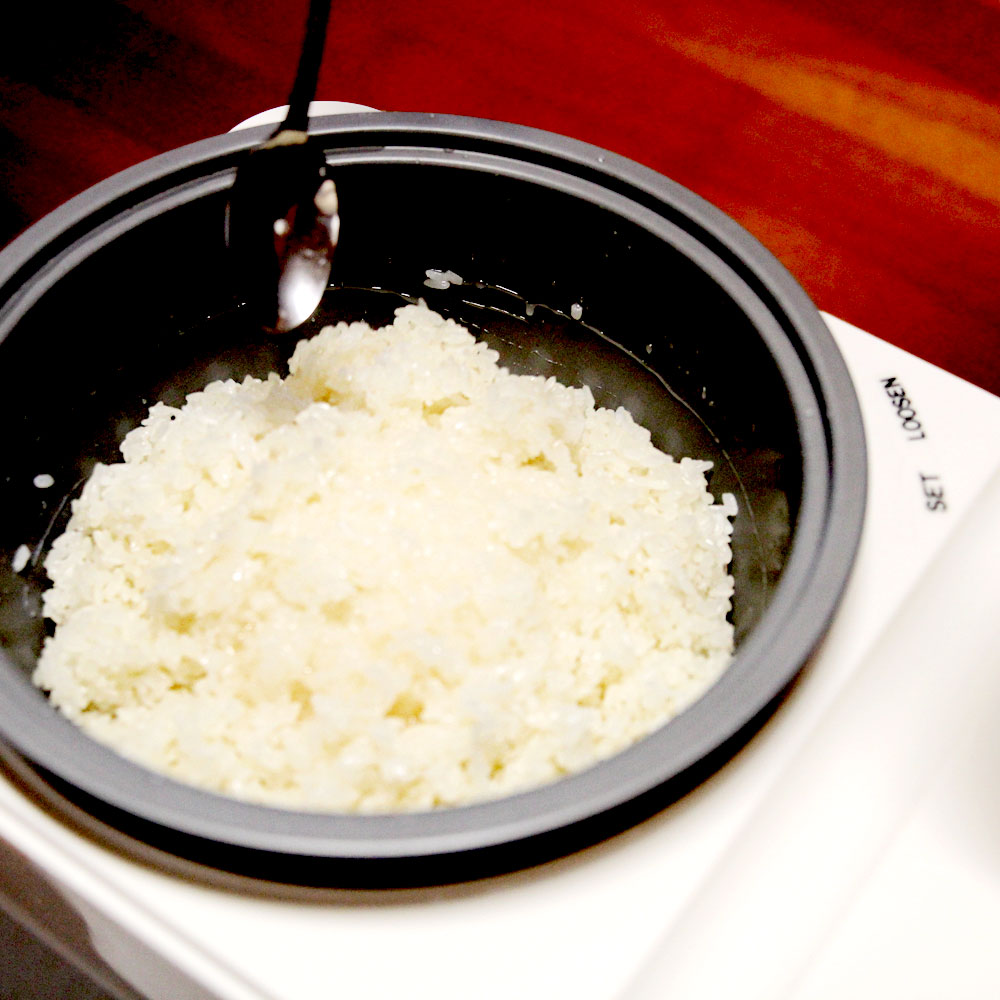
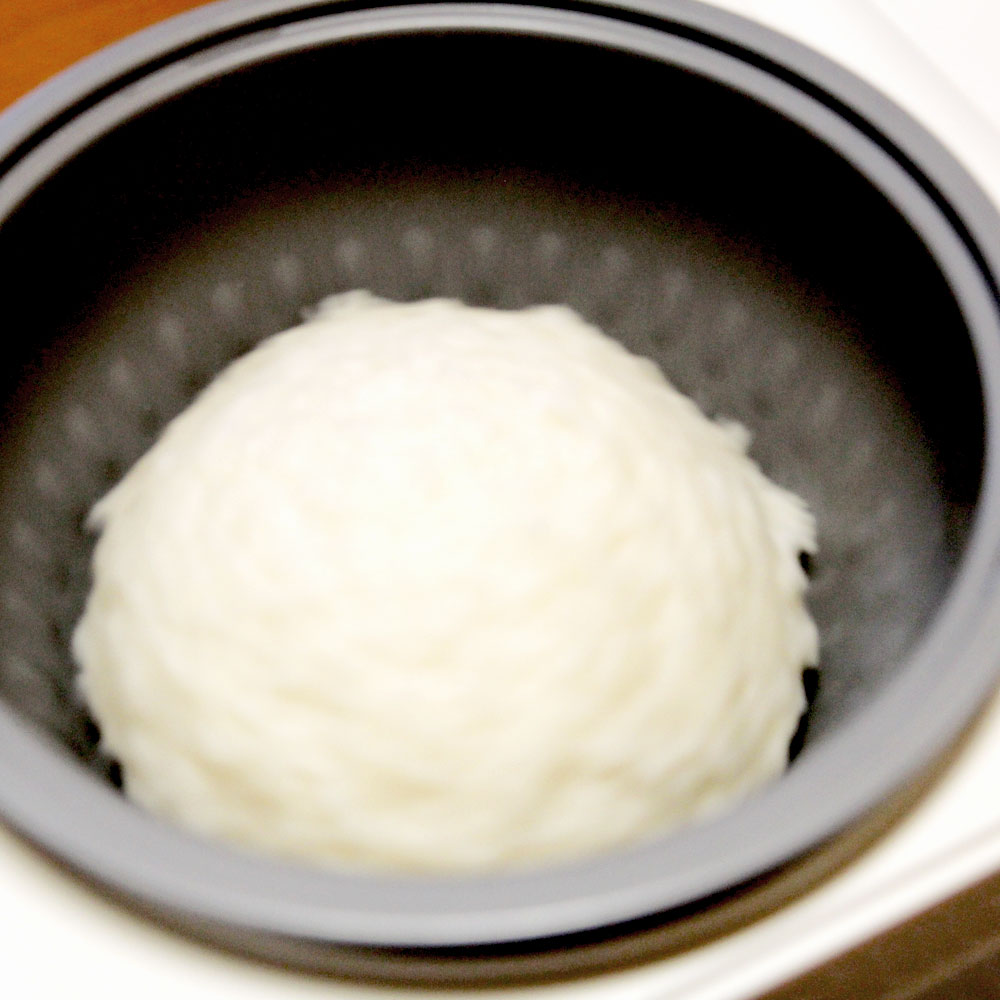
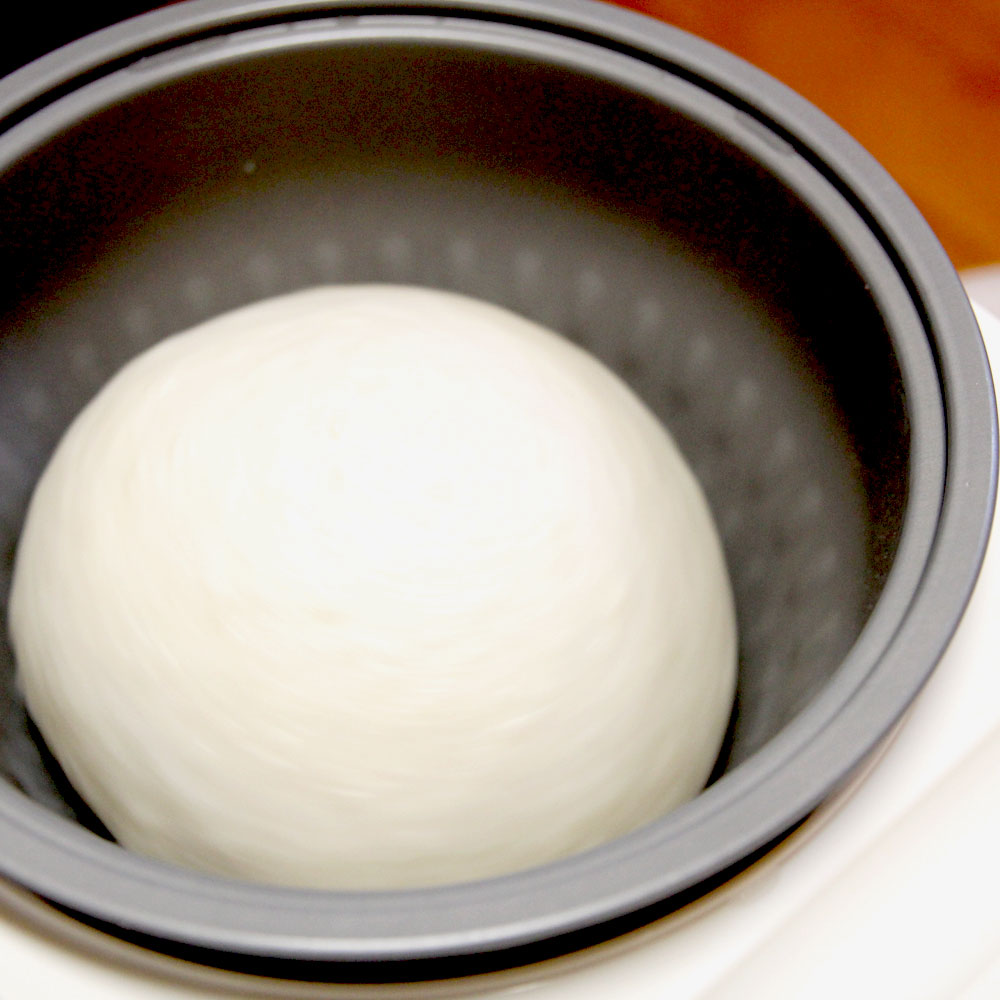

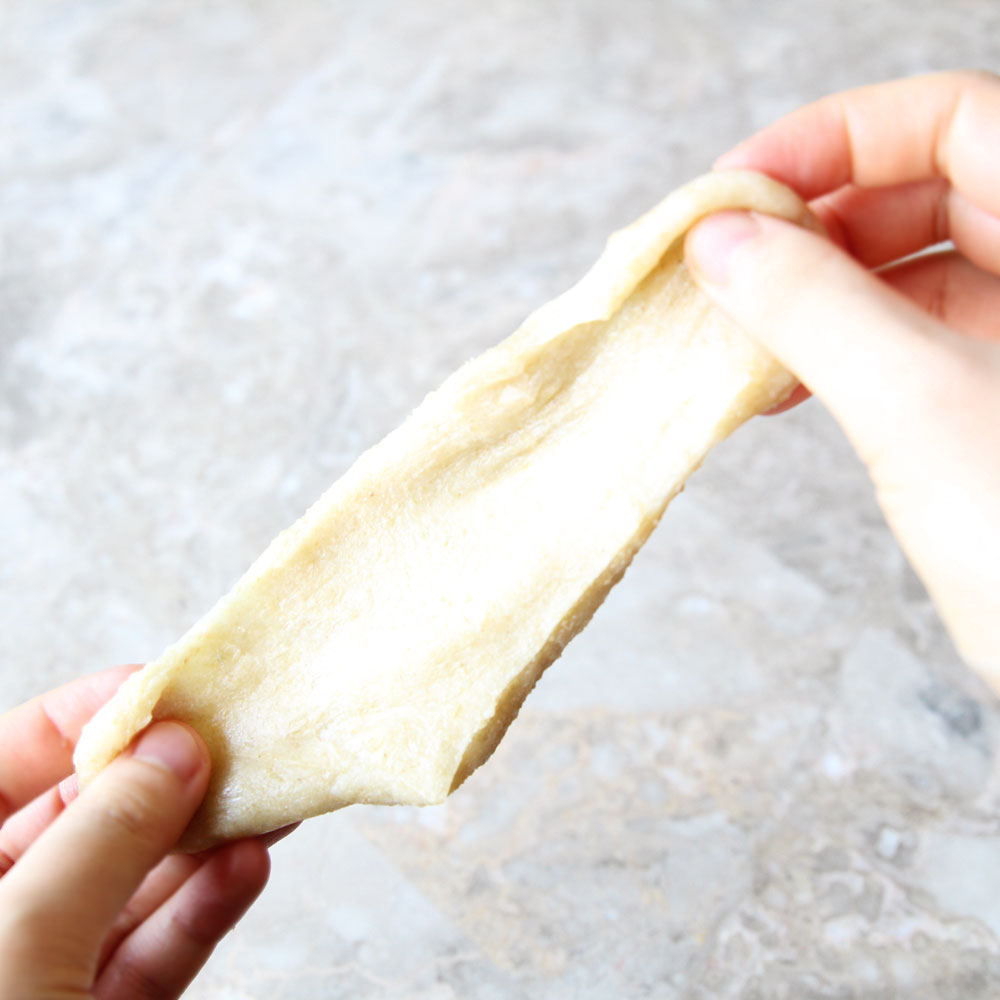
10. There isn't an alarm for when the mochi is finished pounding so you'll have to eyeball it and stop the machine when the mochi looks smooth and supple (after about 15-20 minutes of pounding).
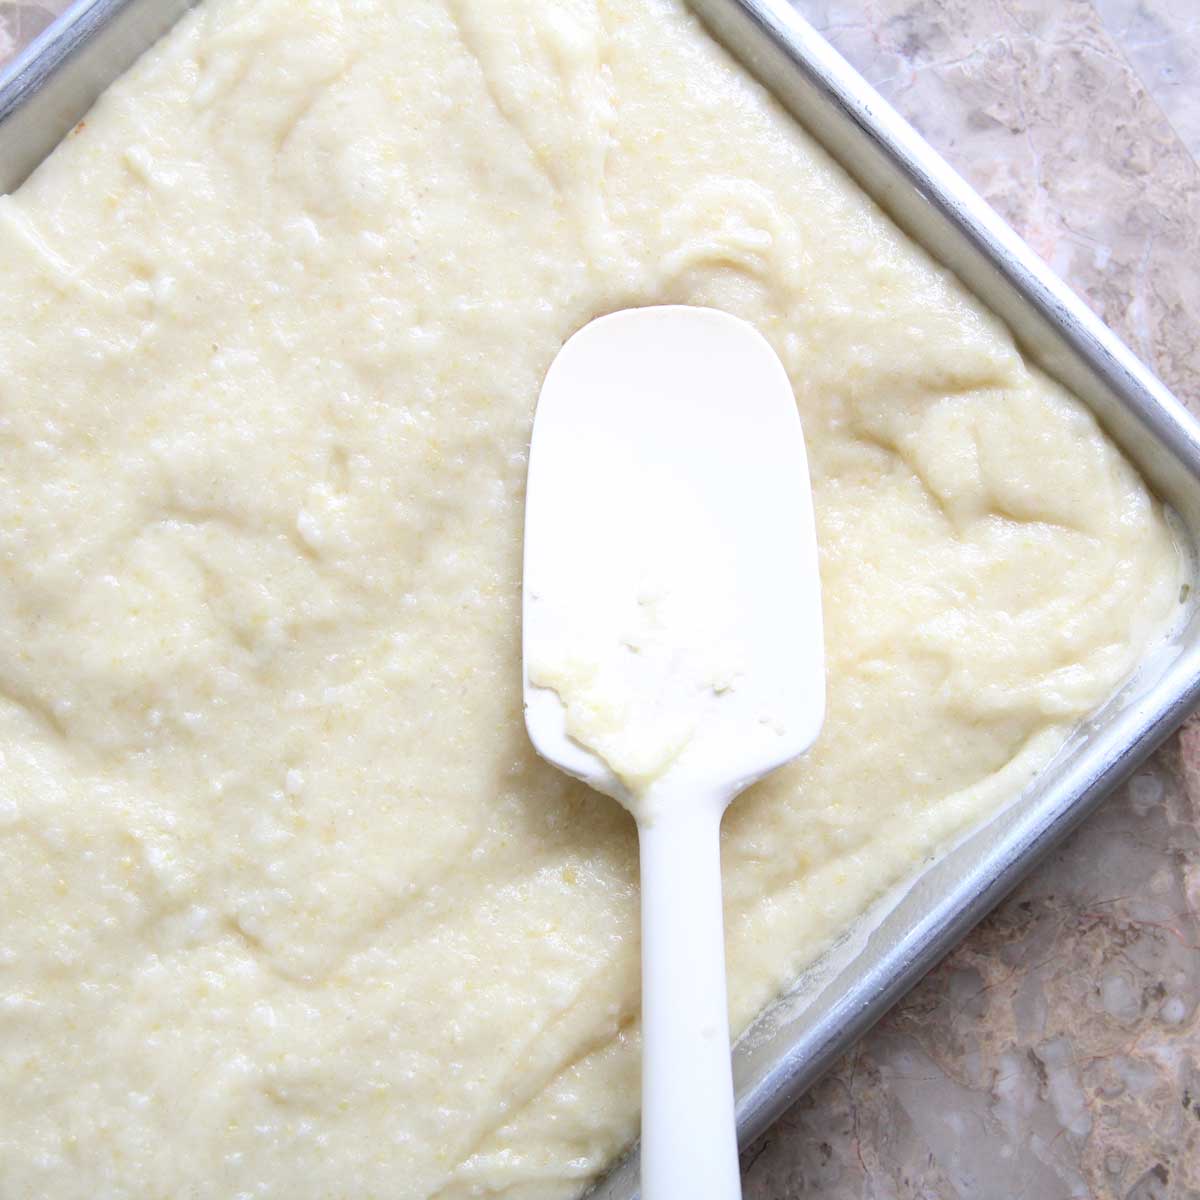
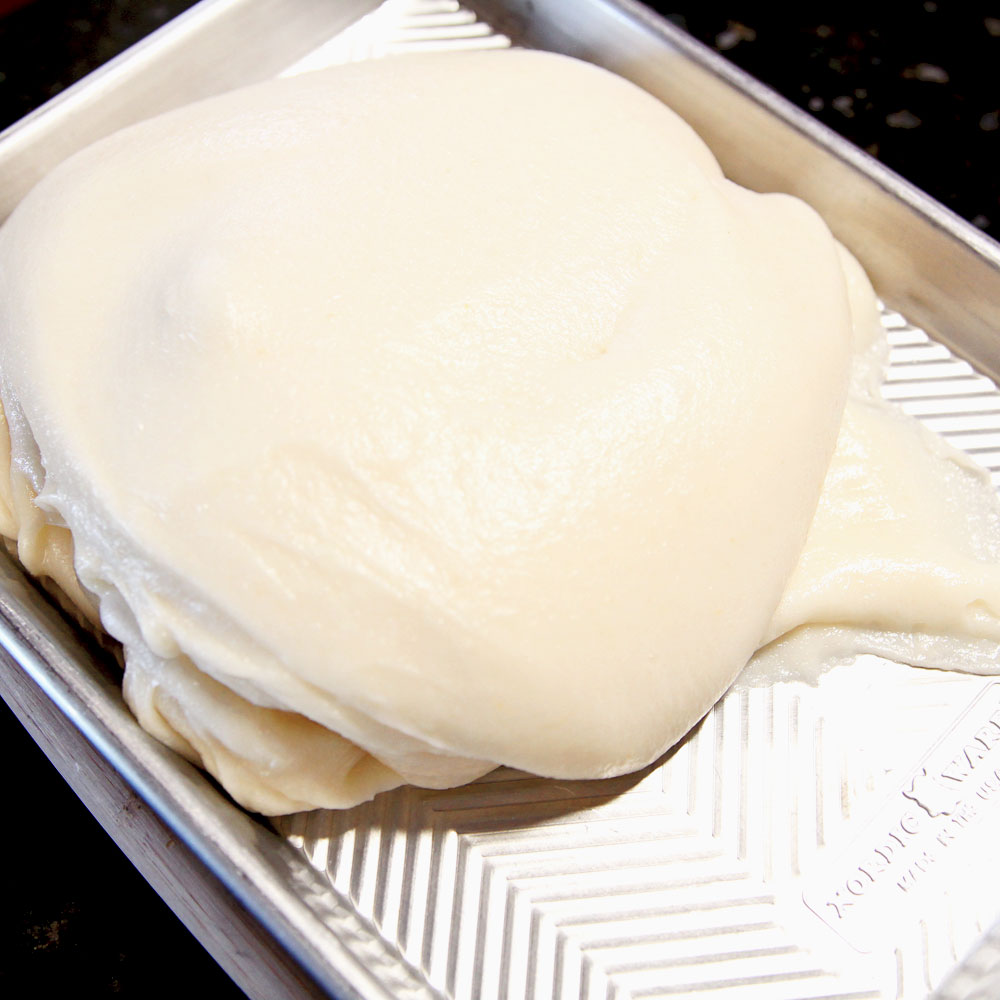
11. Turn over the mochi onto a a tray greased with sesame oil
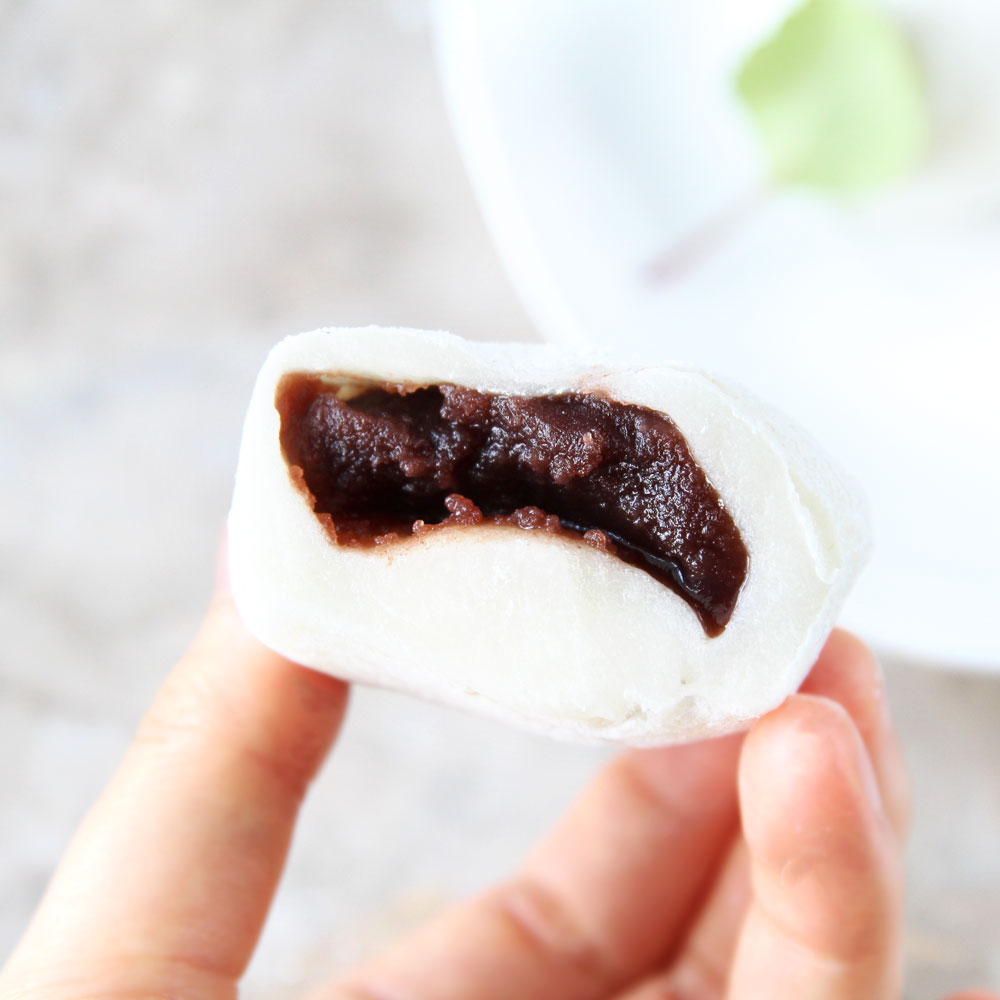
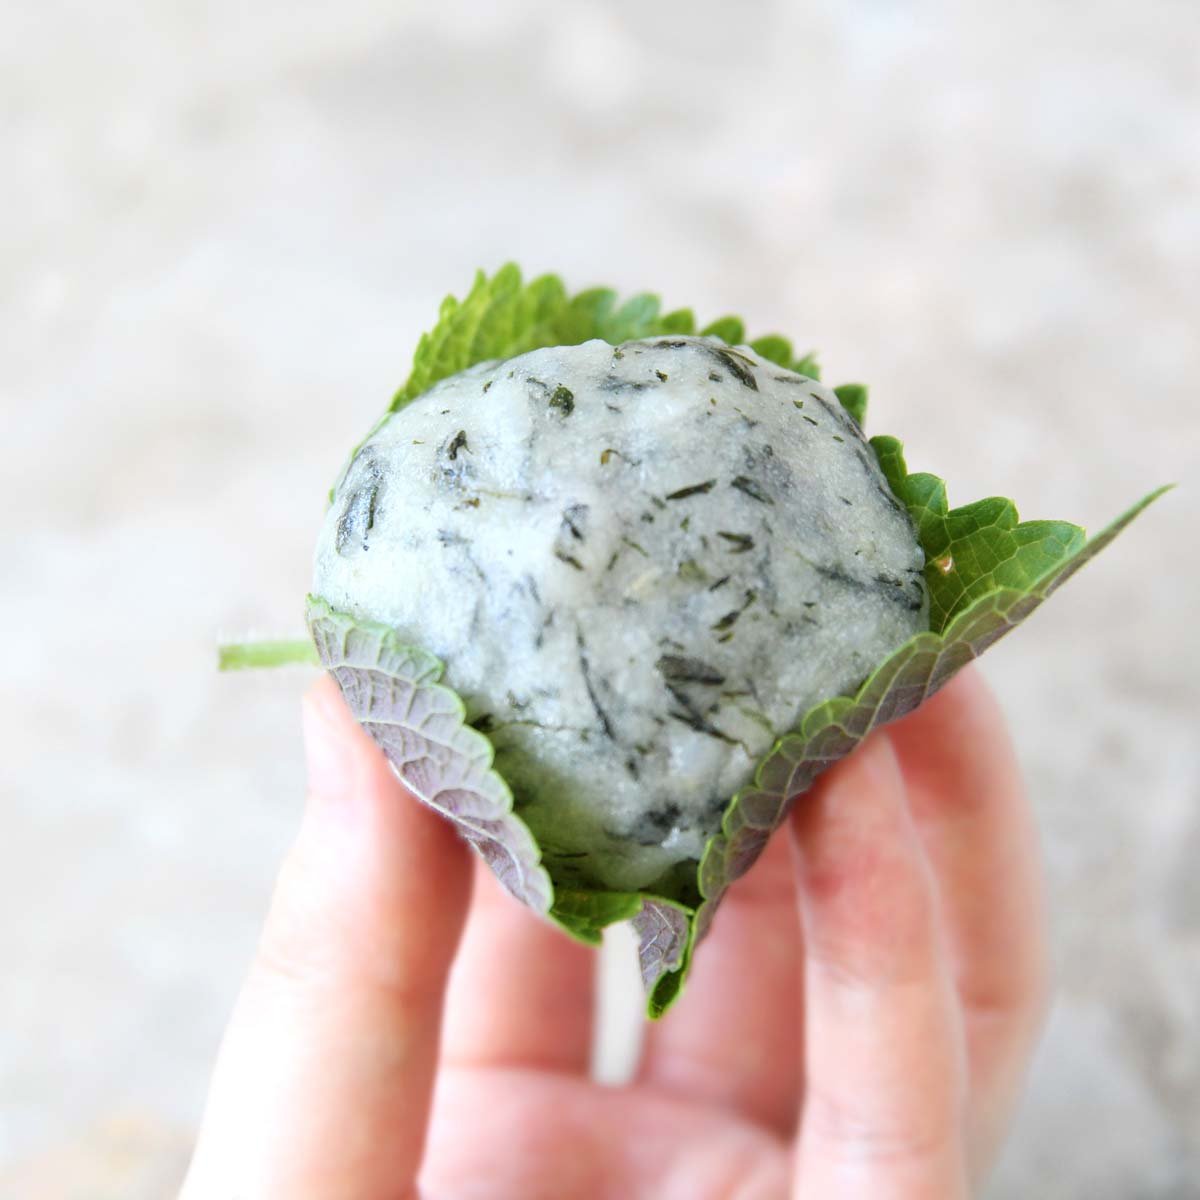
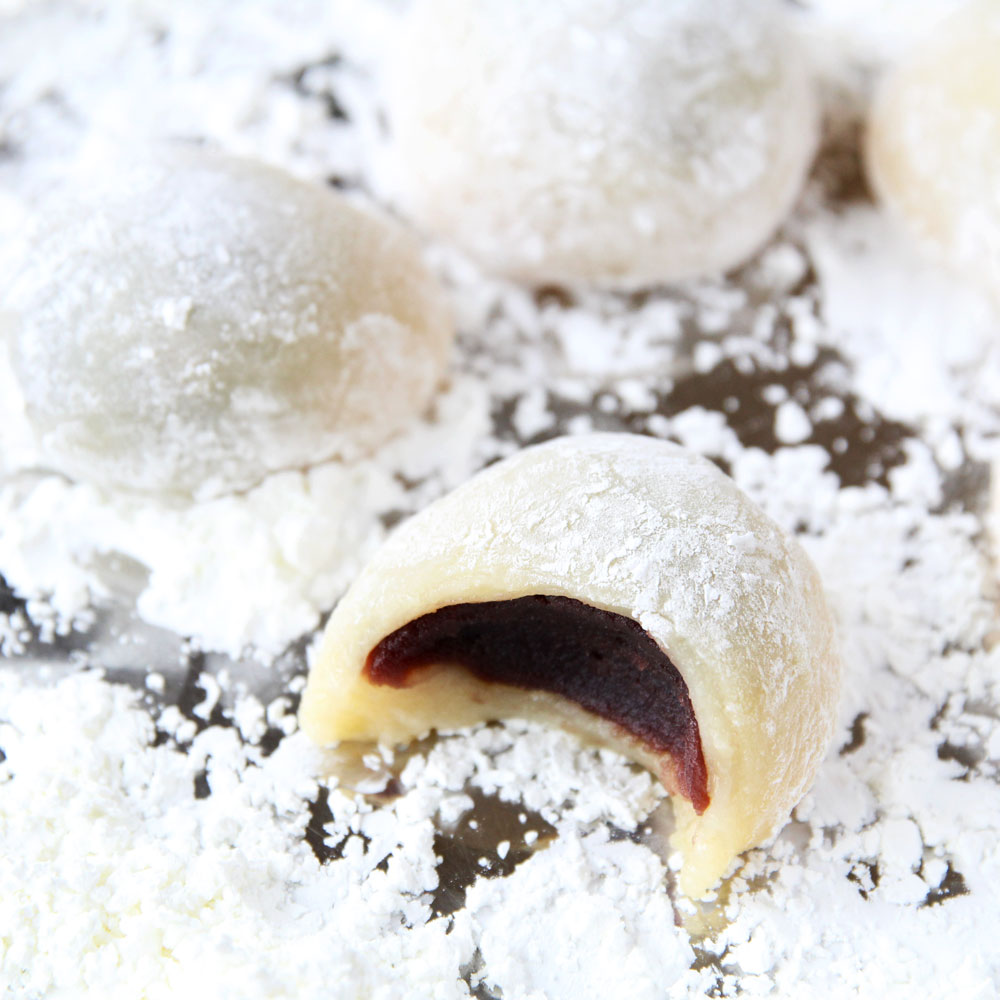
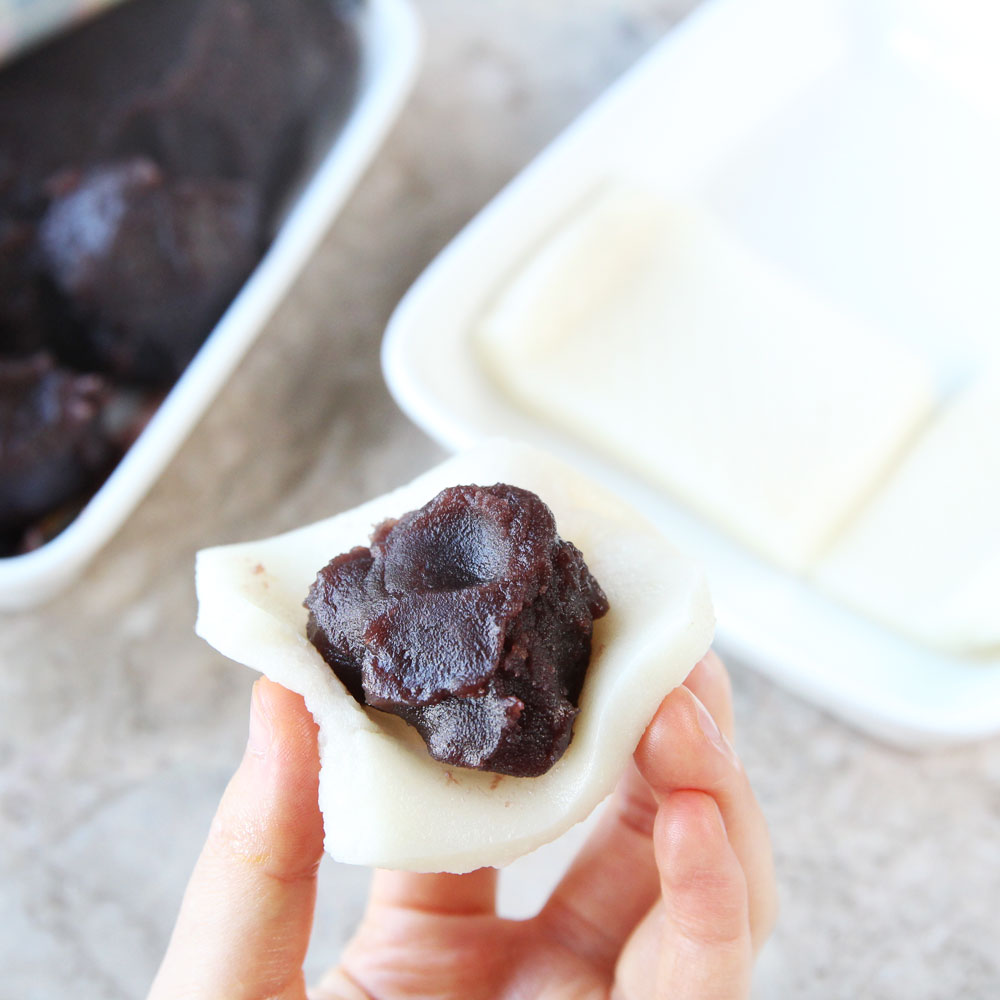
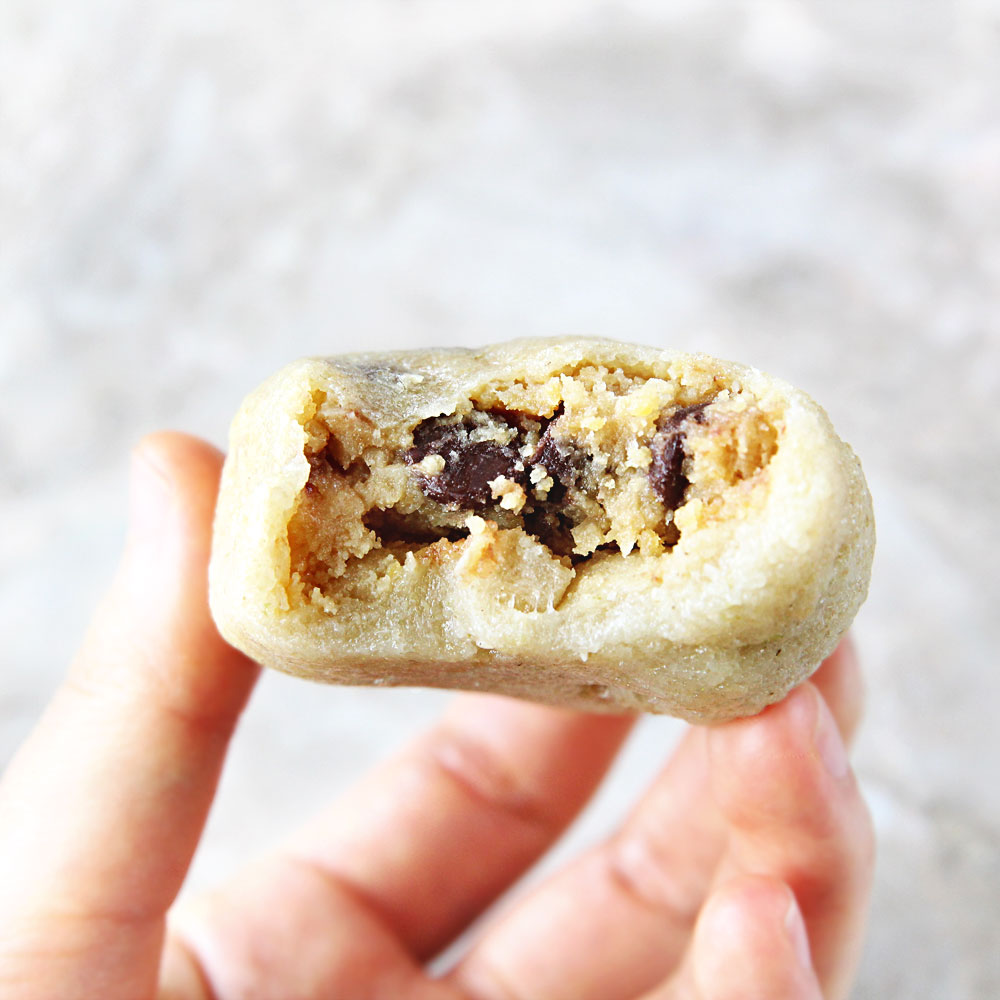
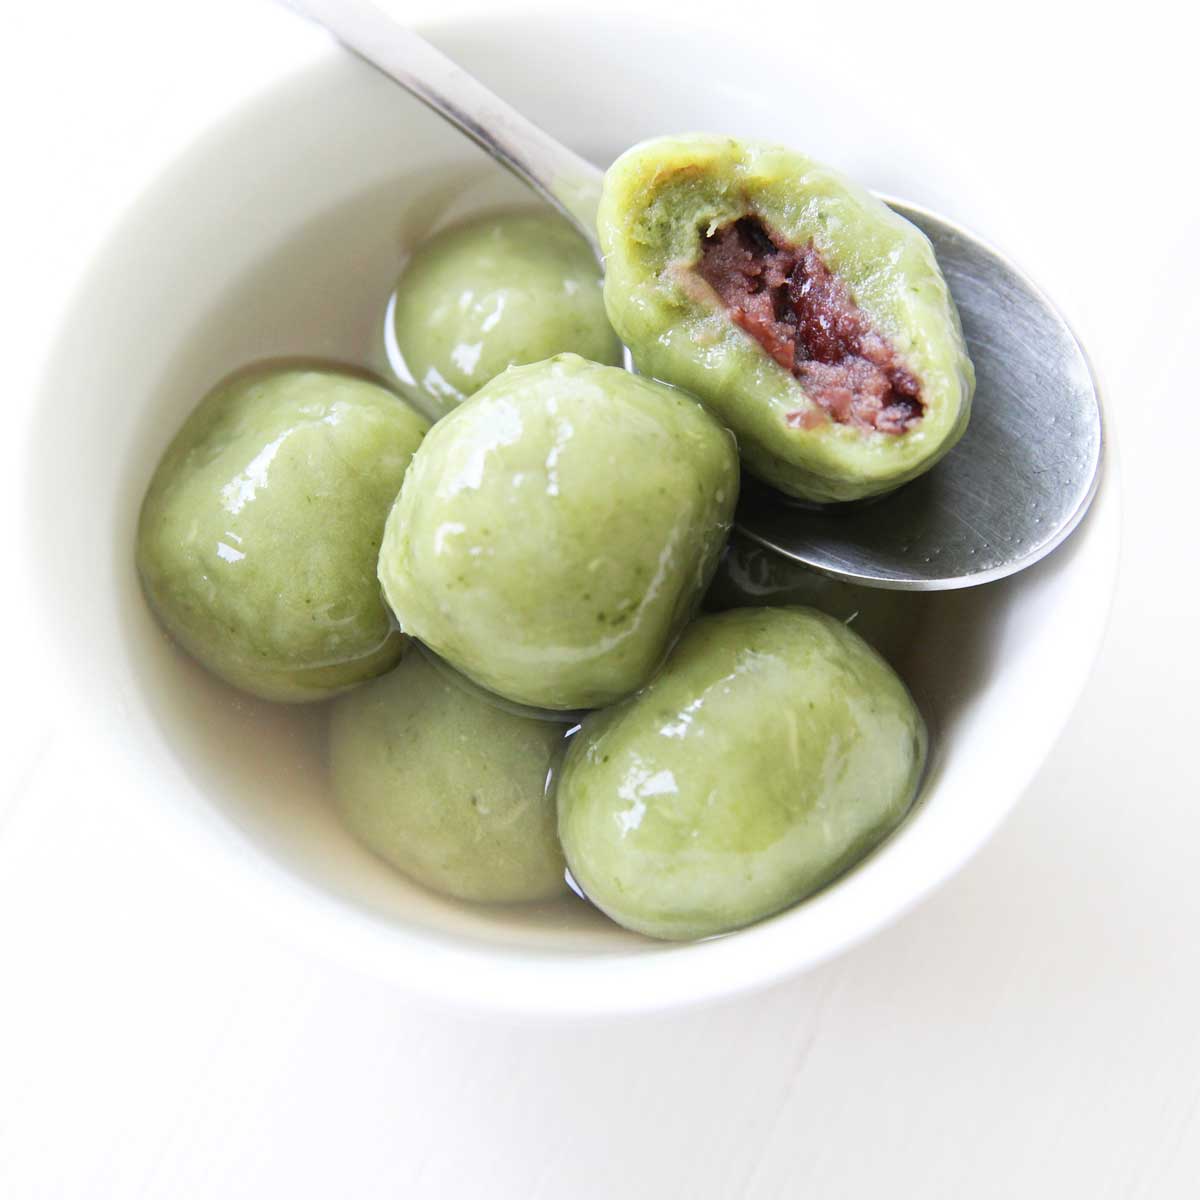
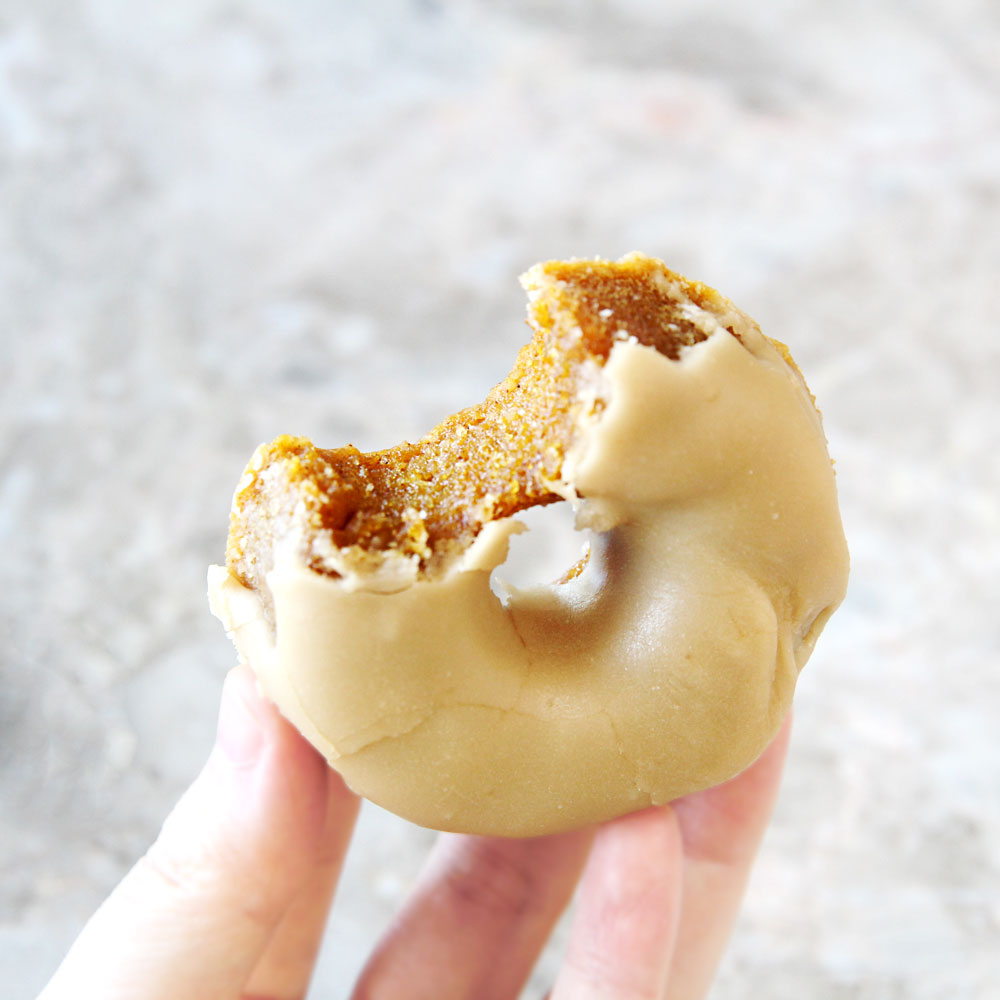
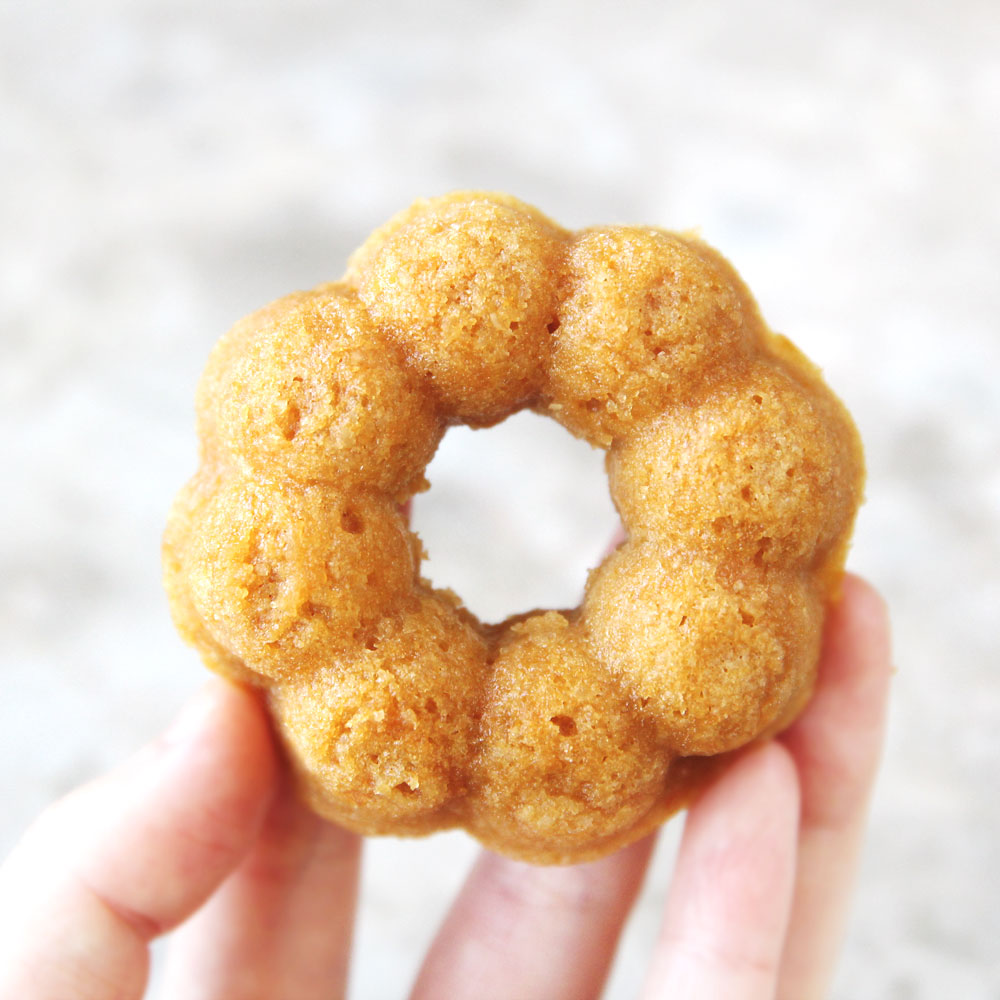
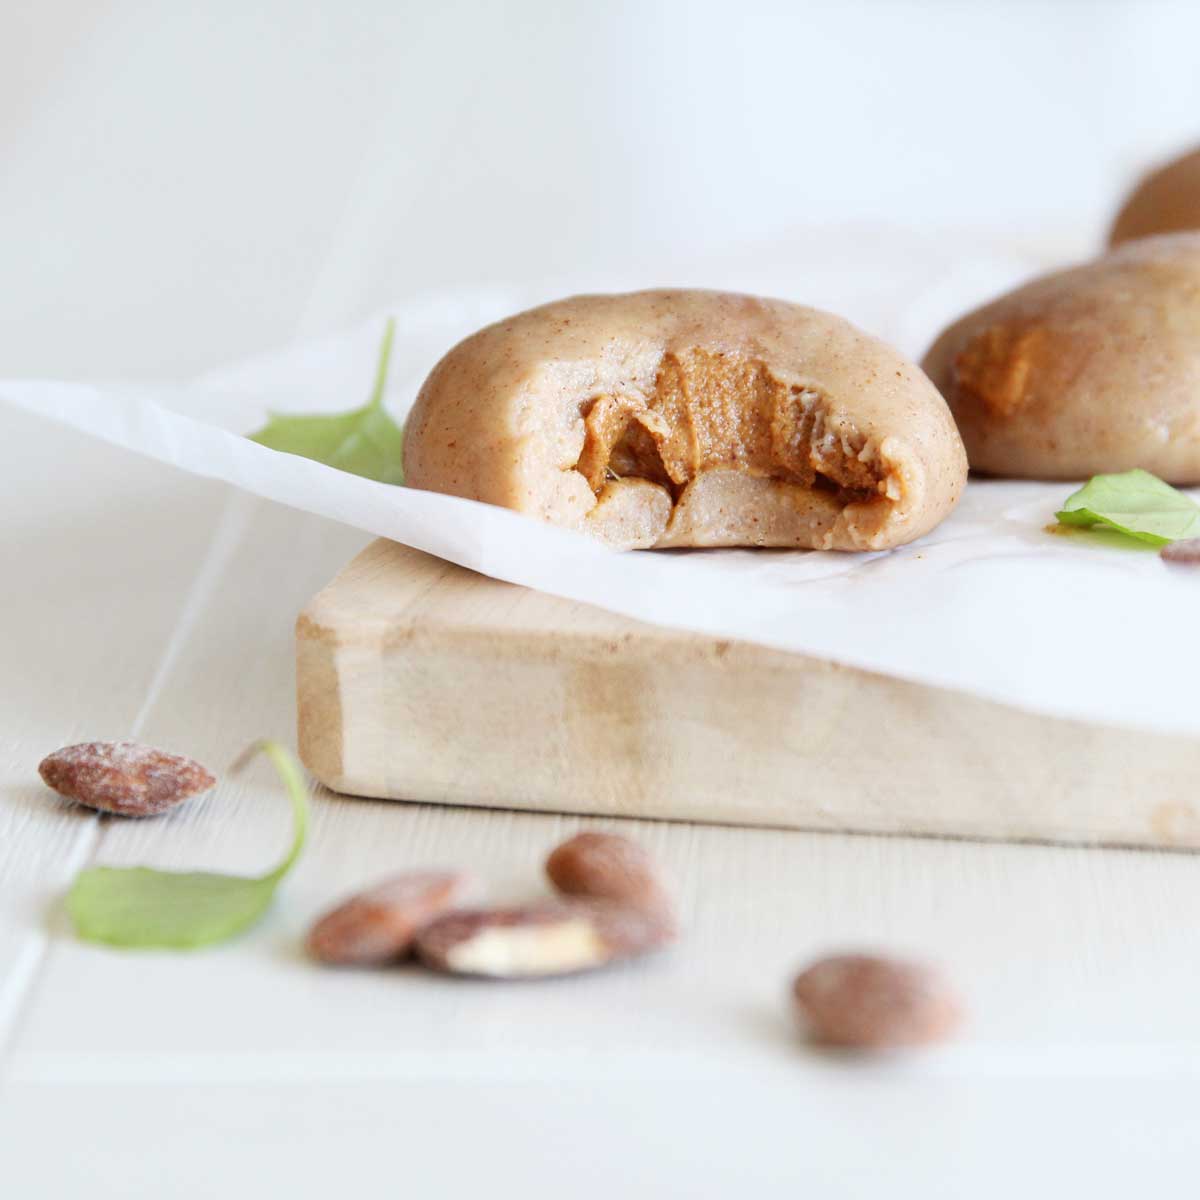
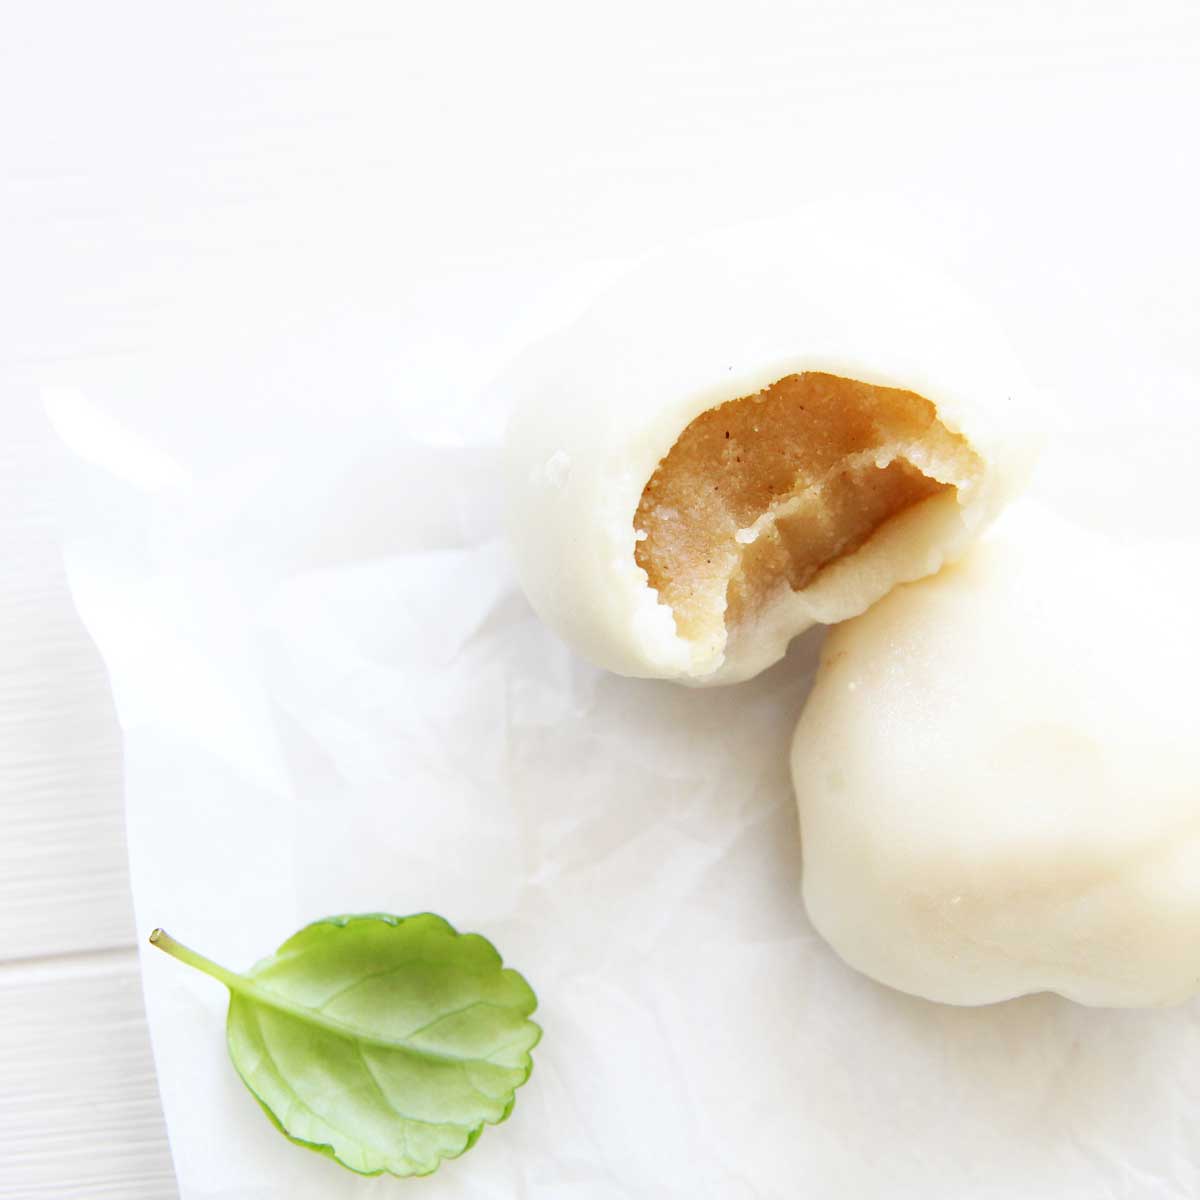
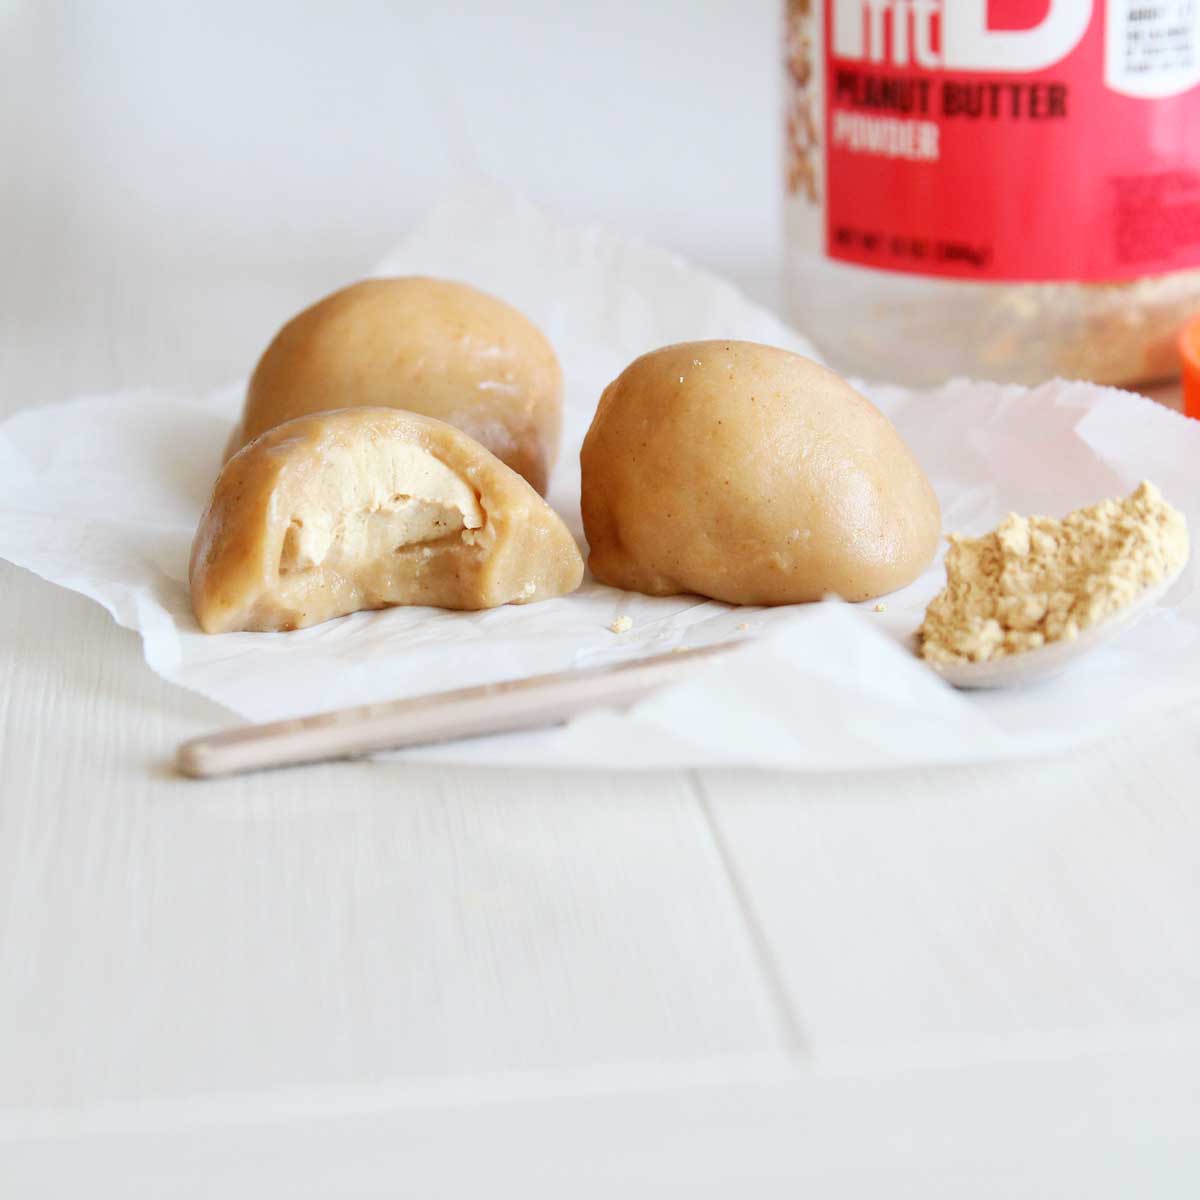
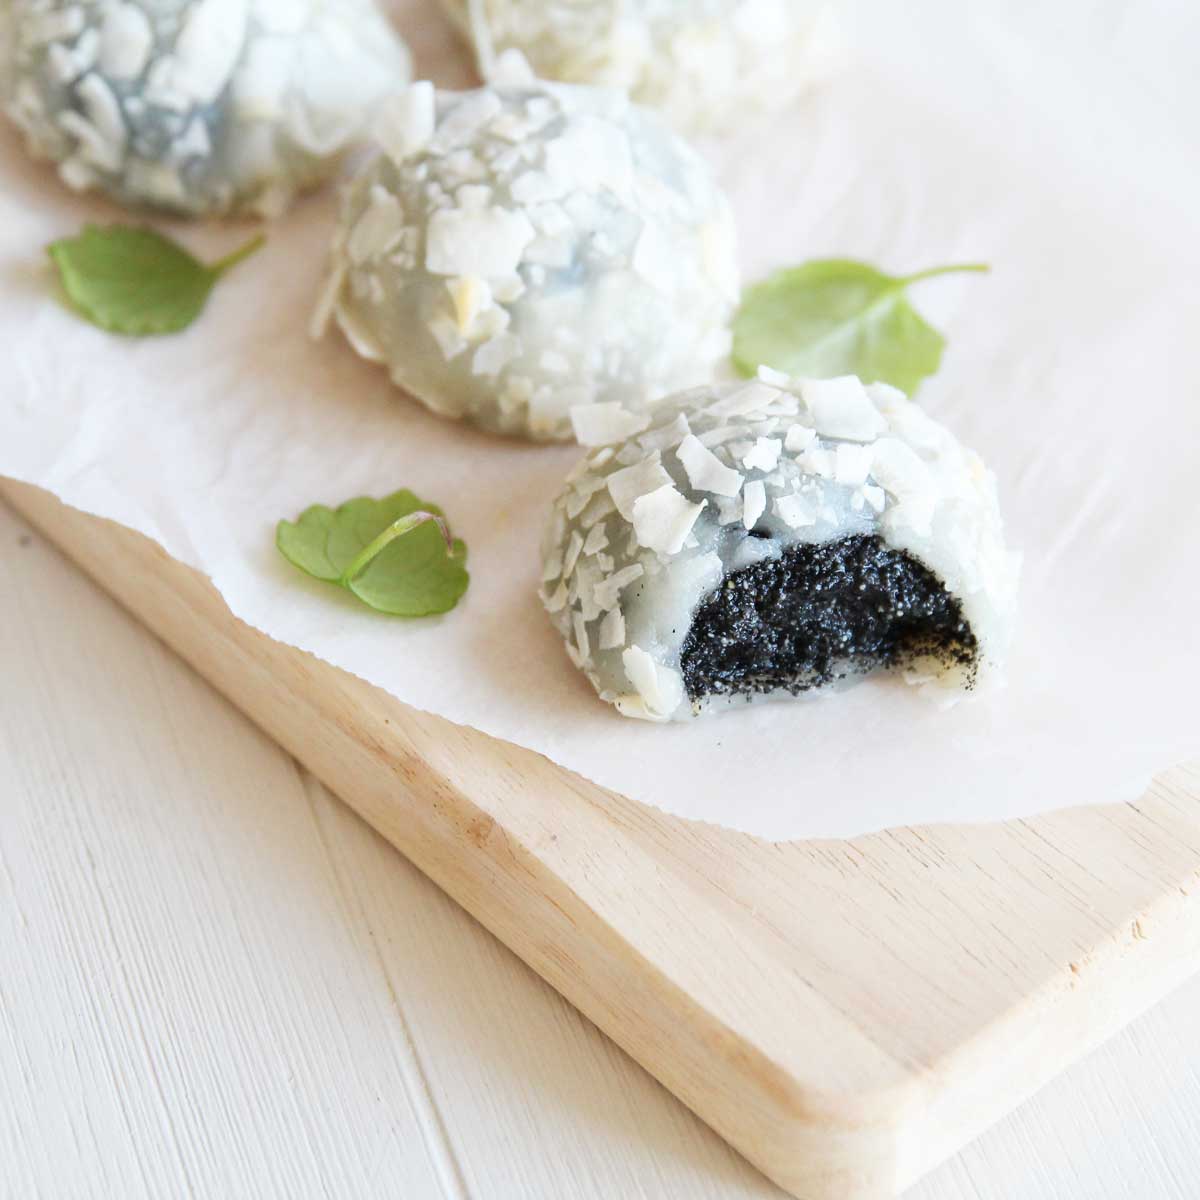
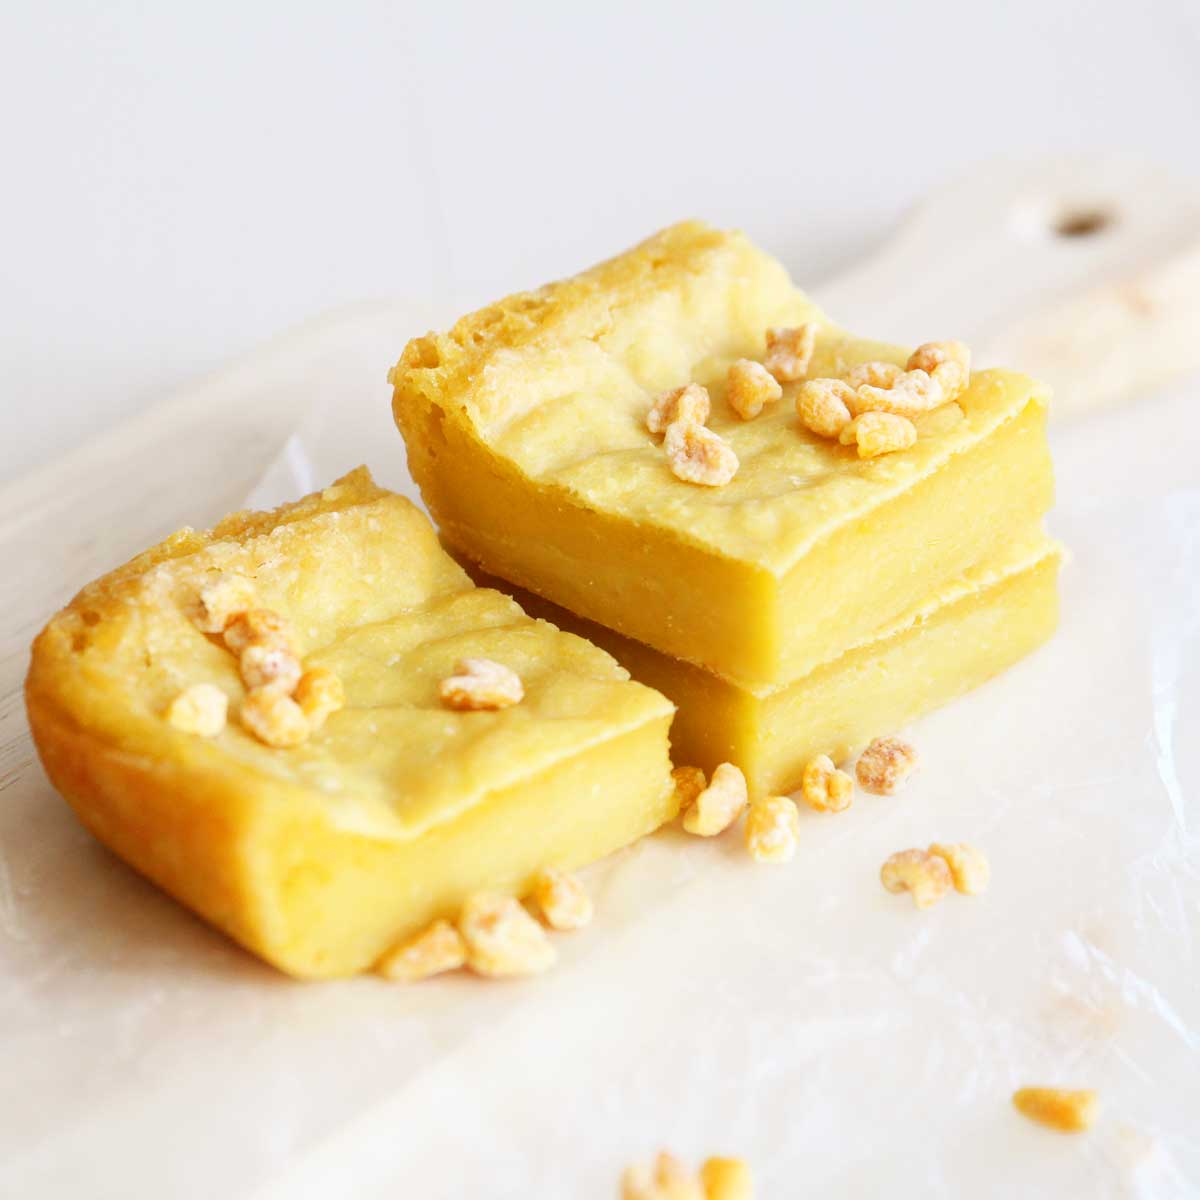
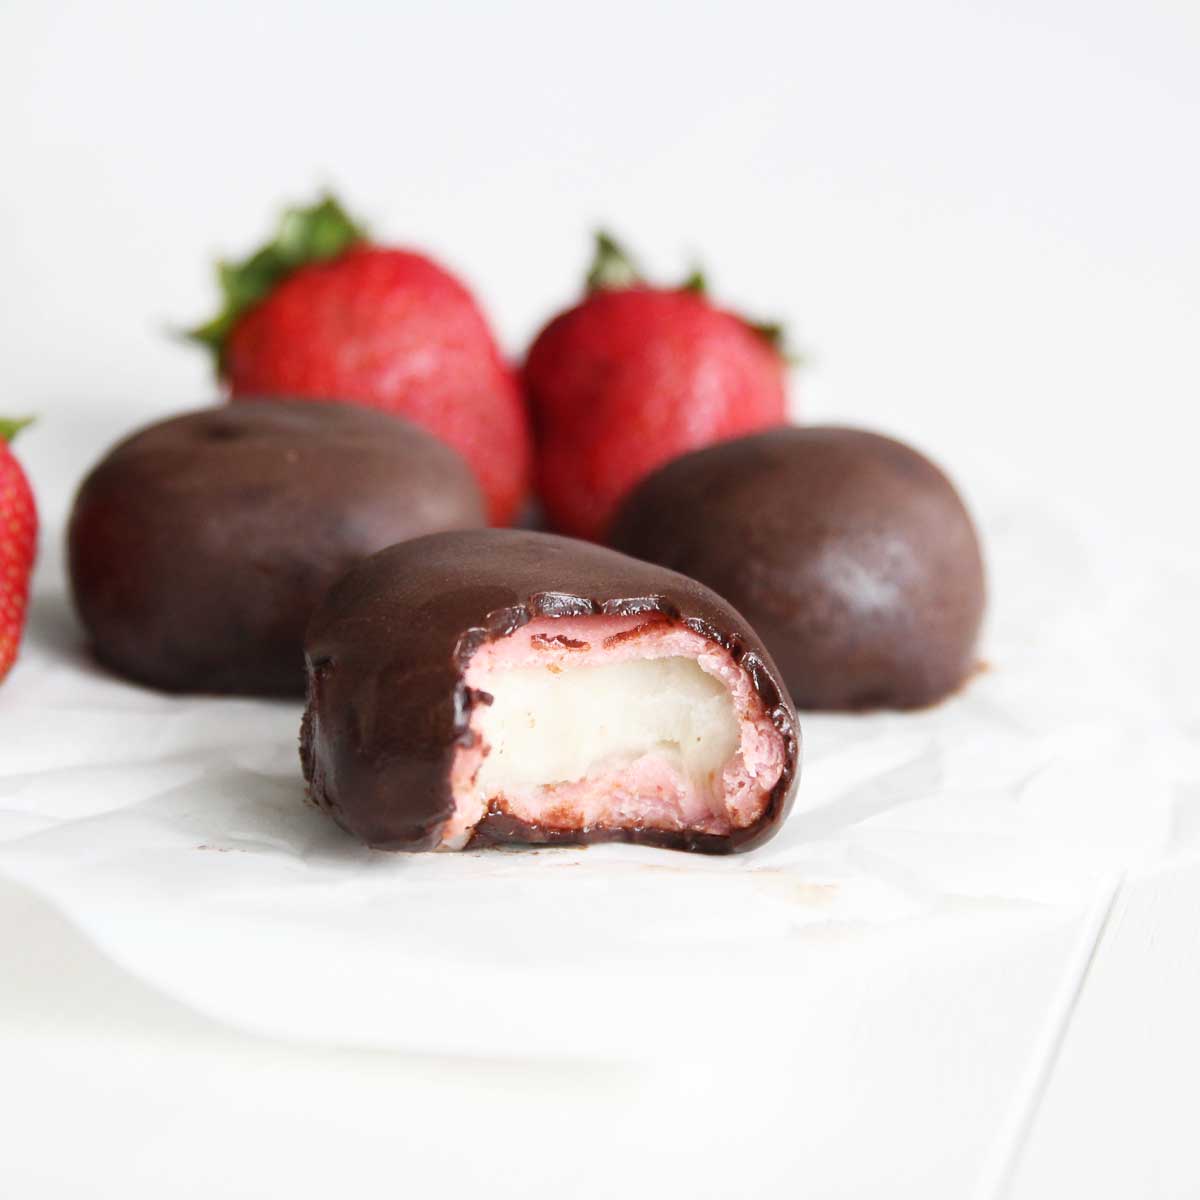
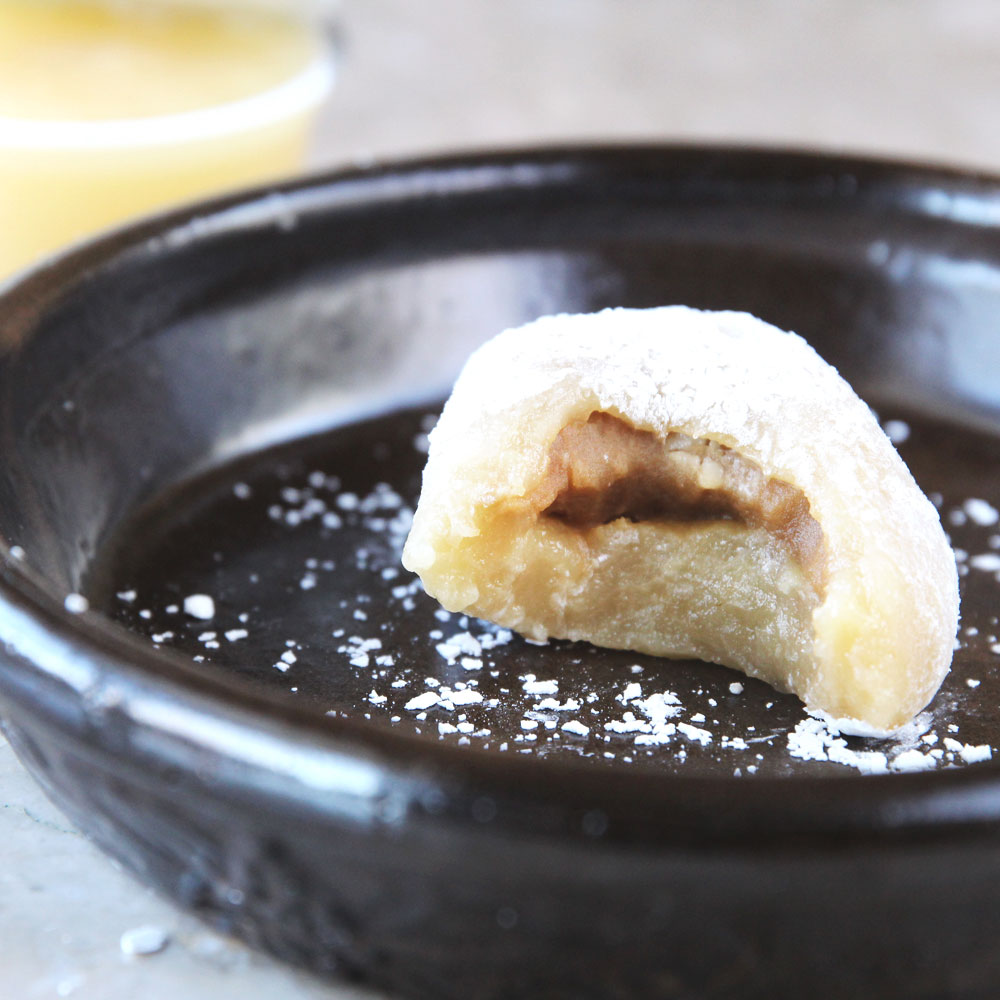
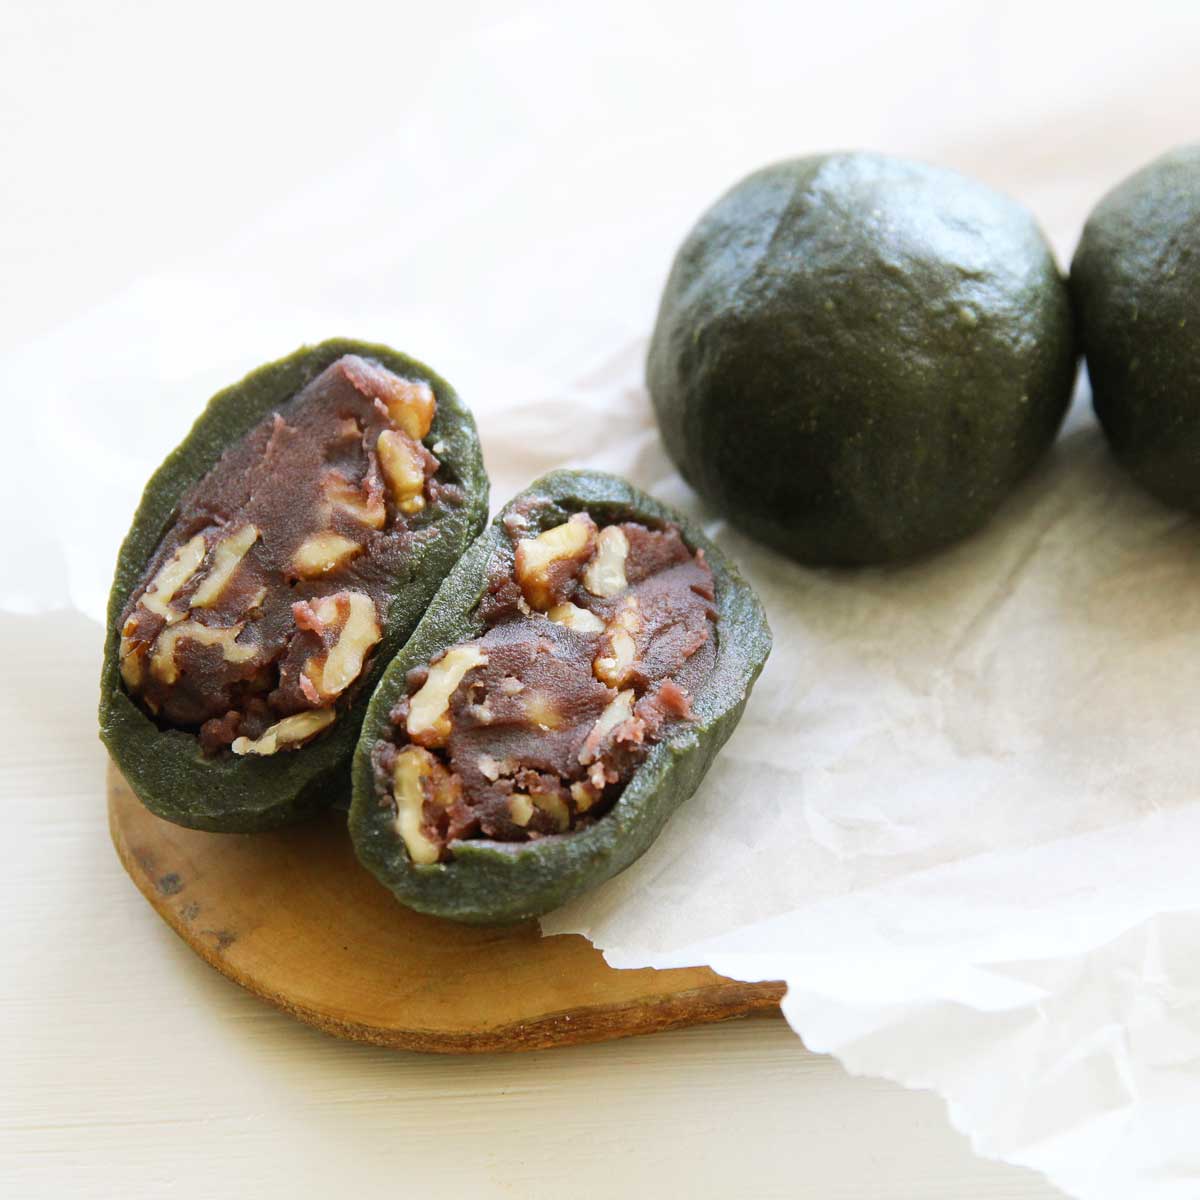
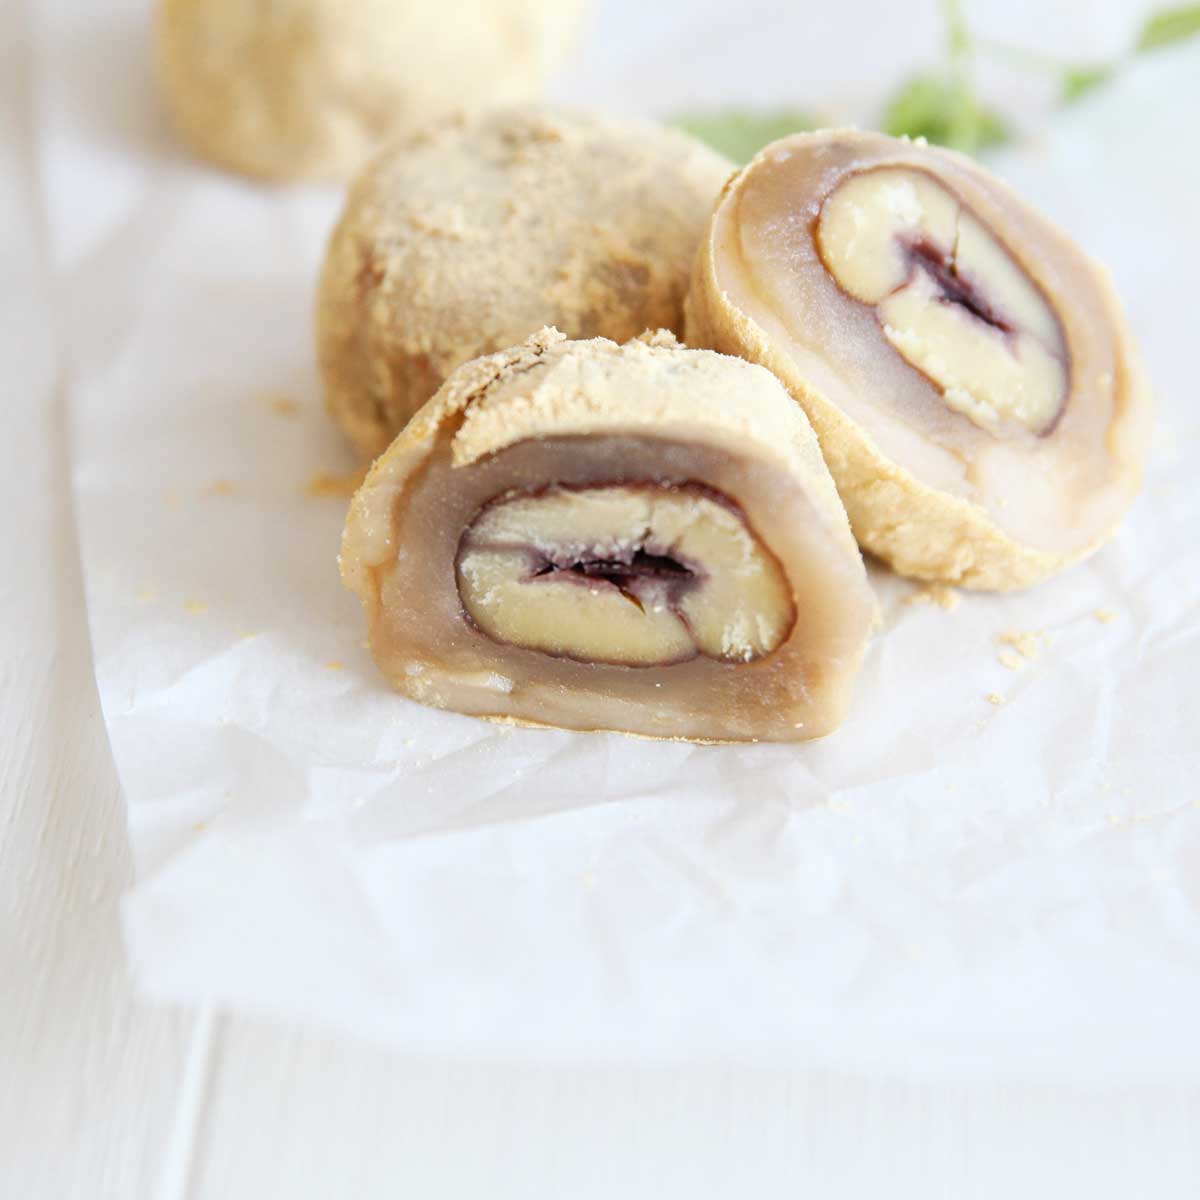
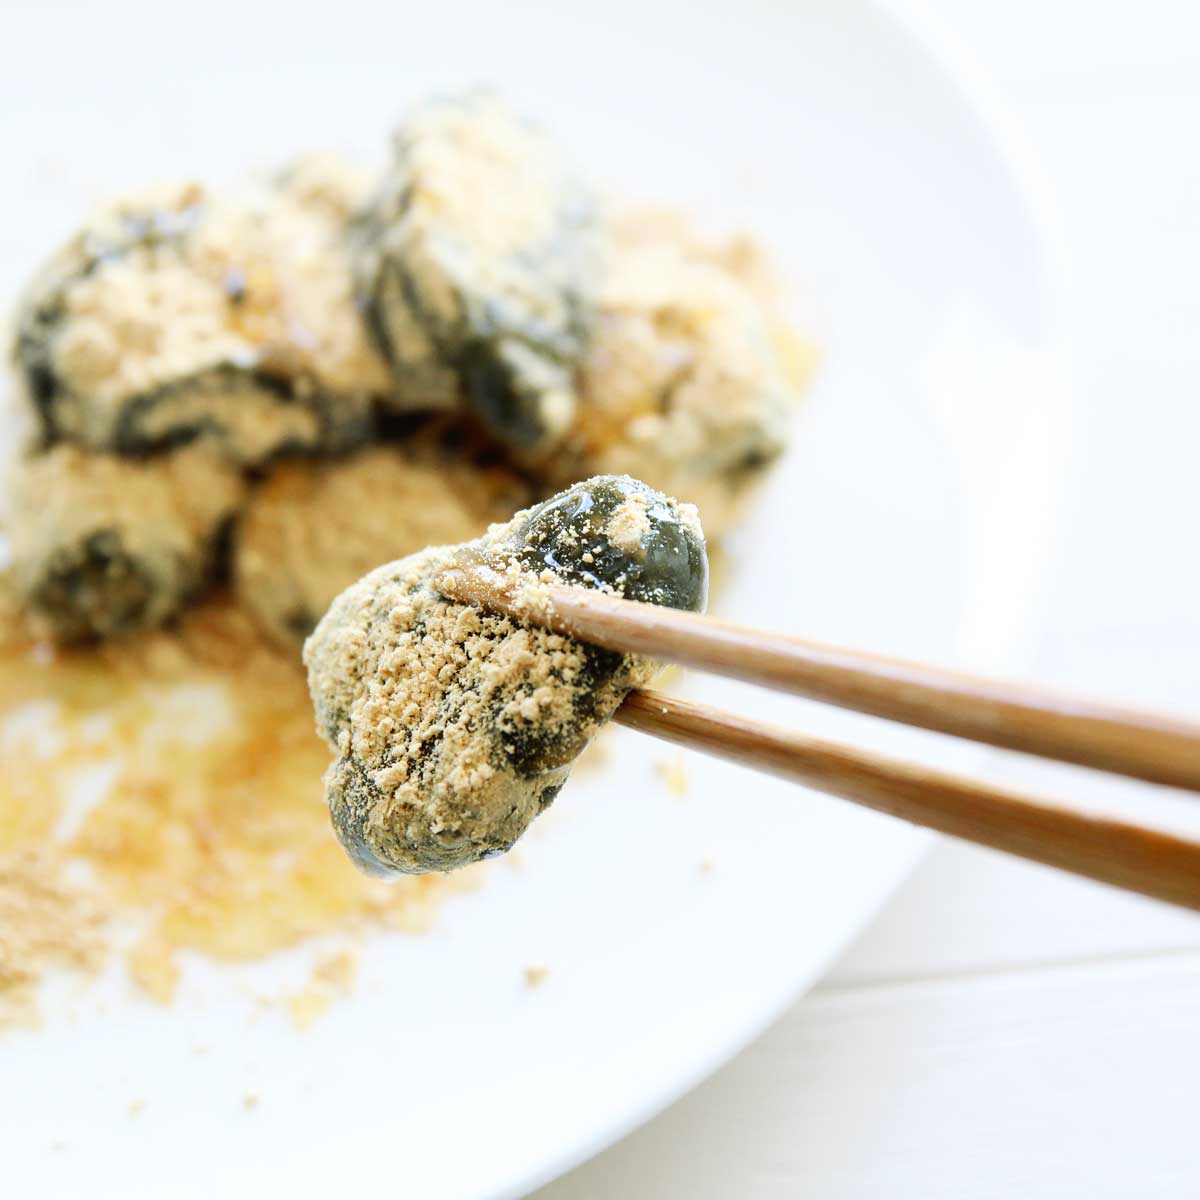
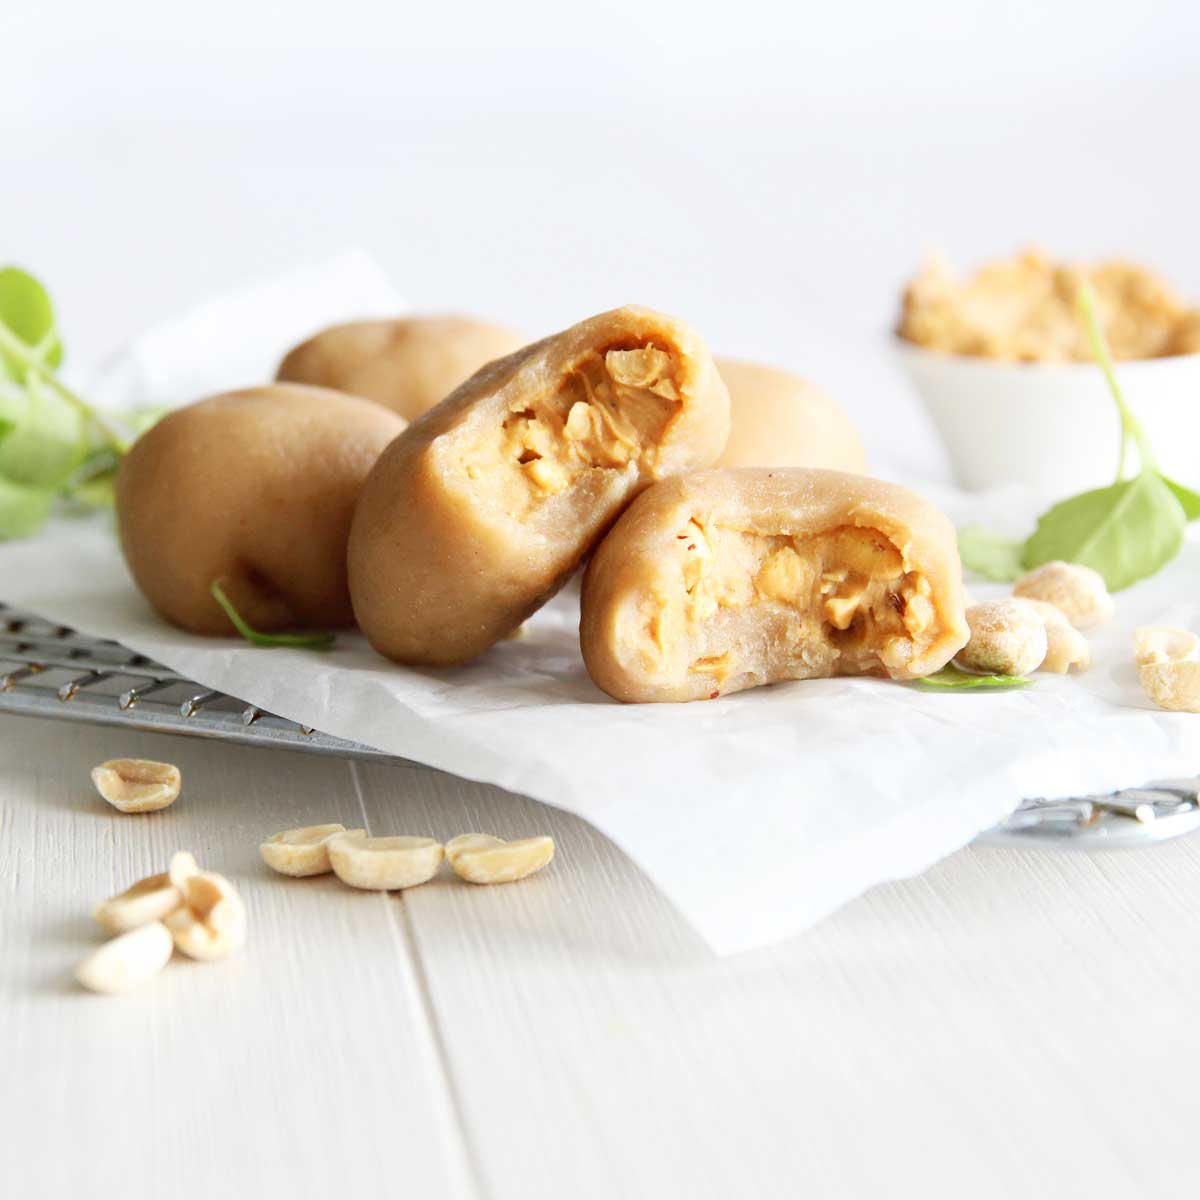
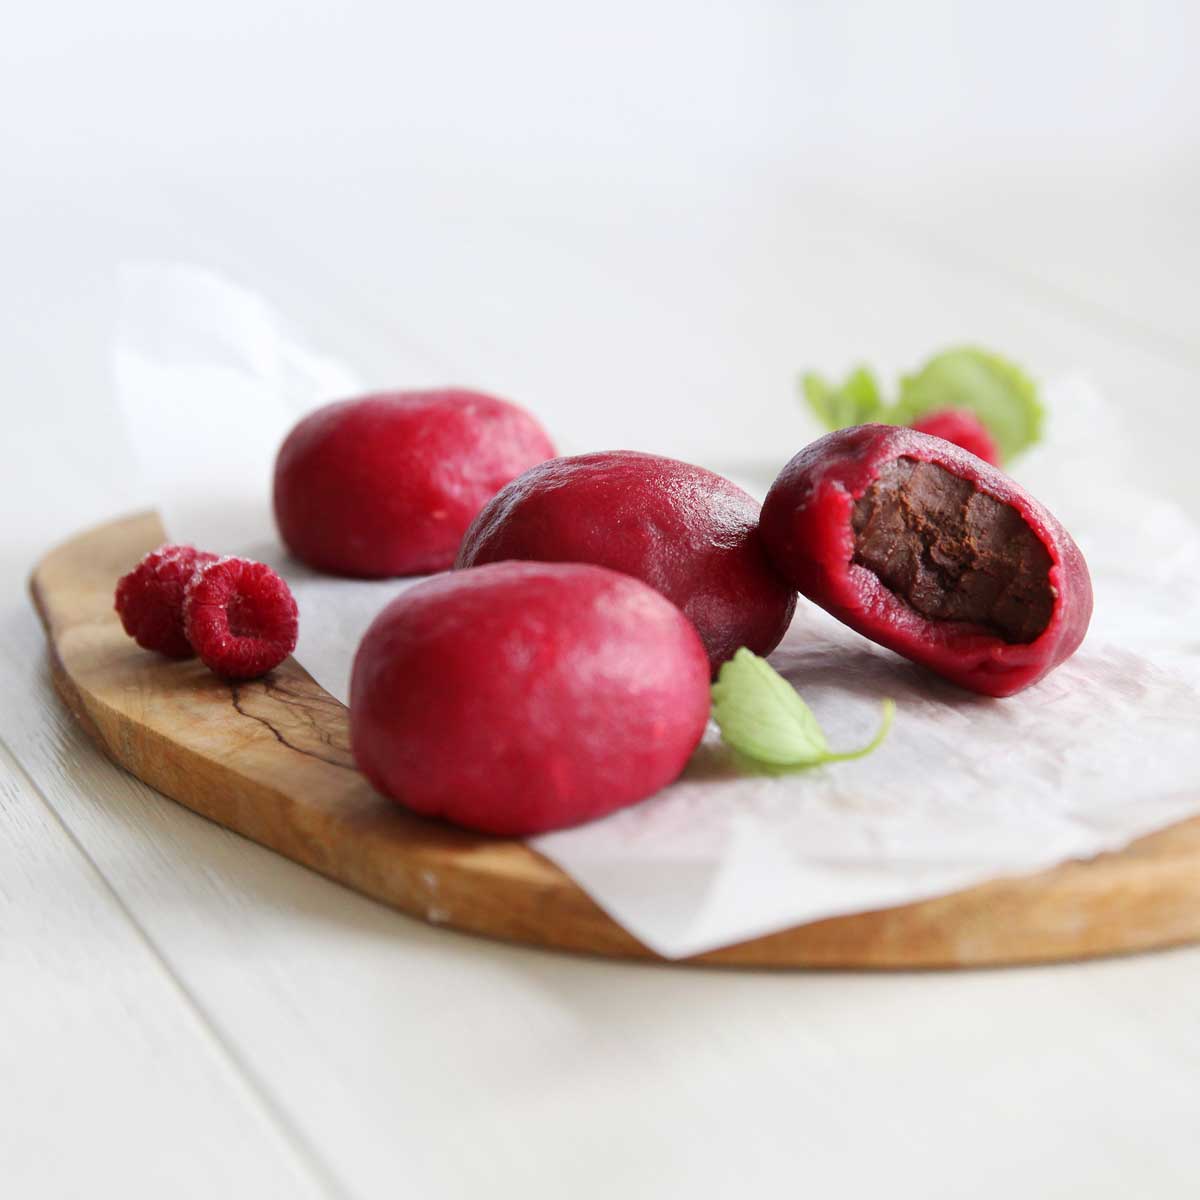
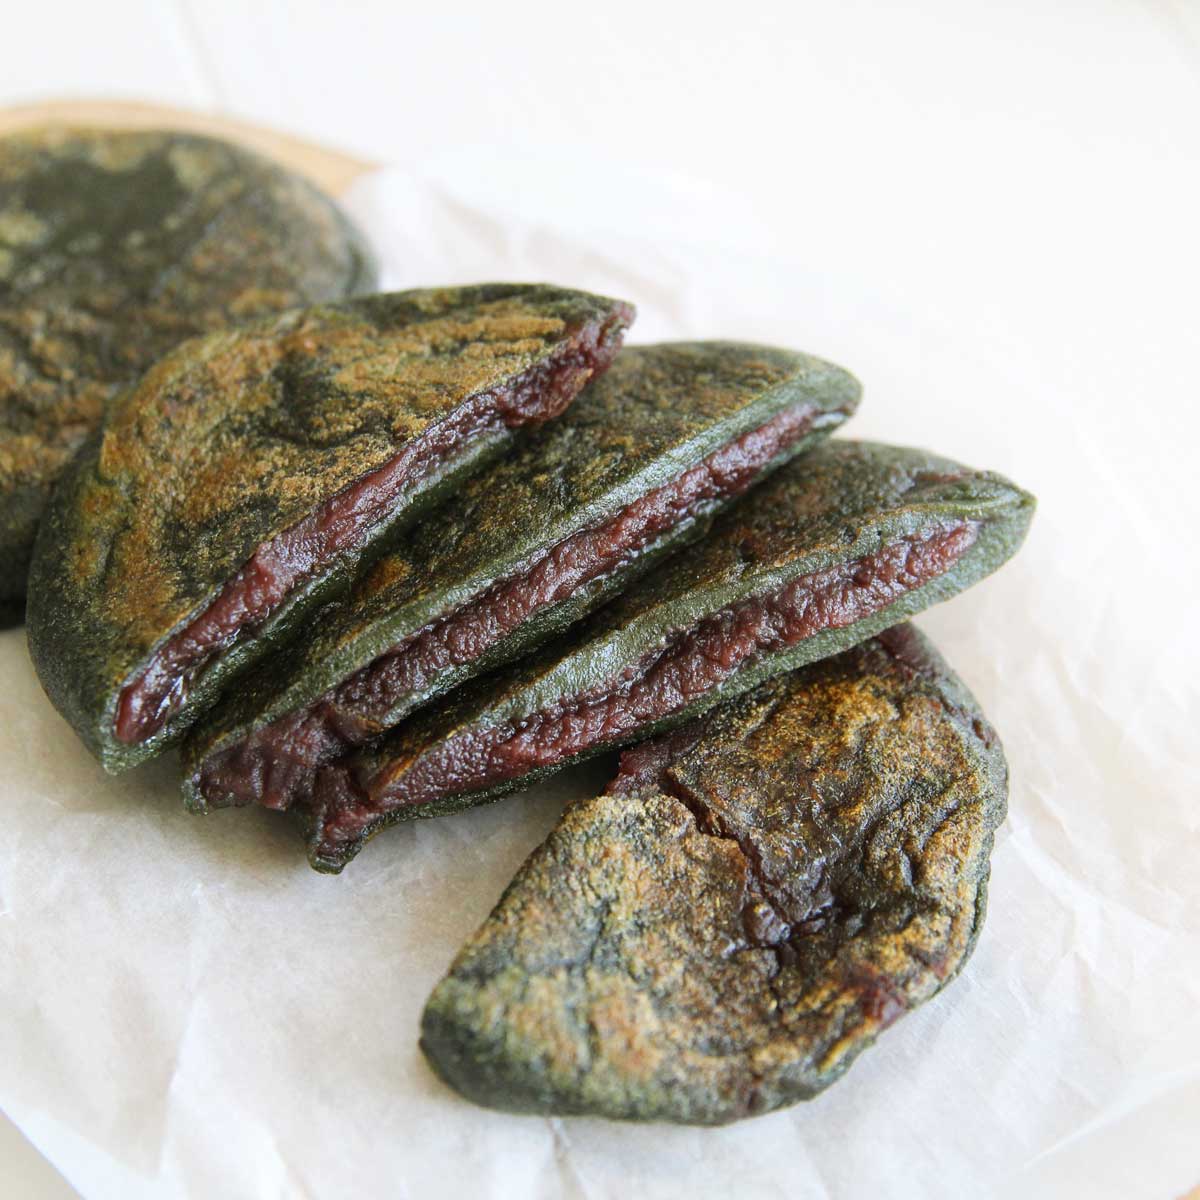
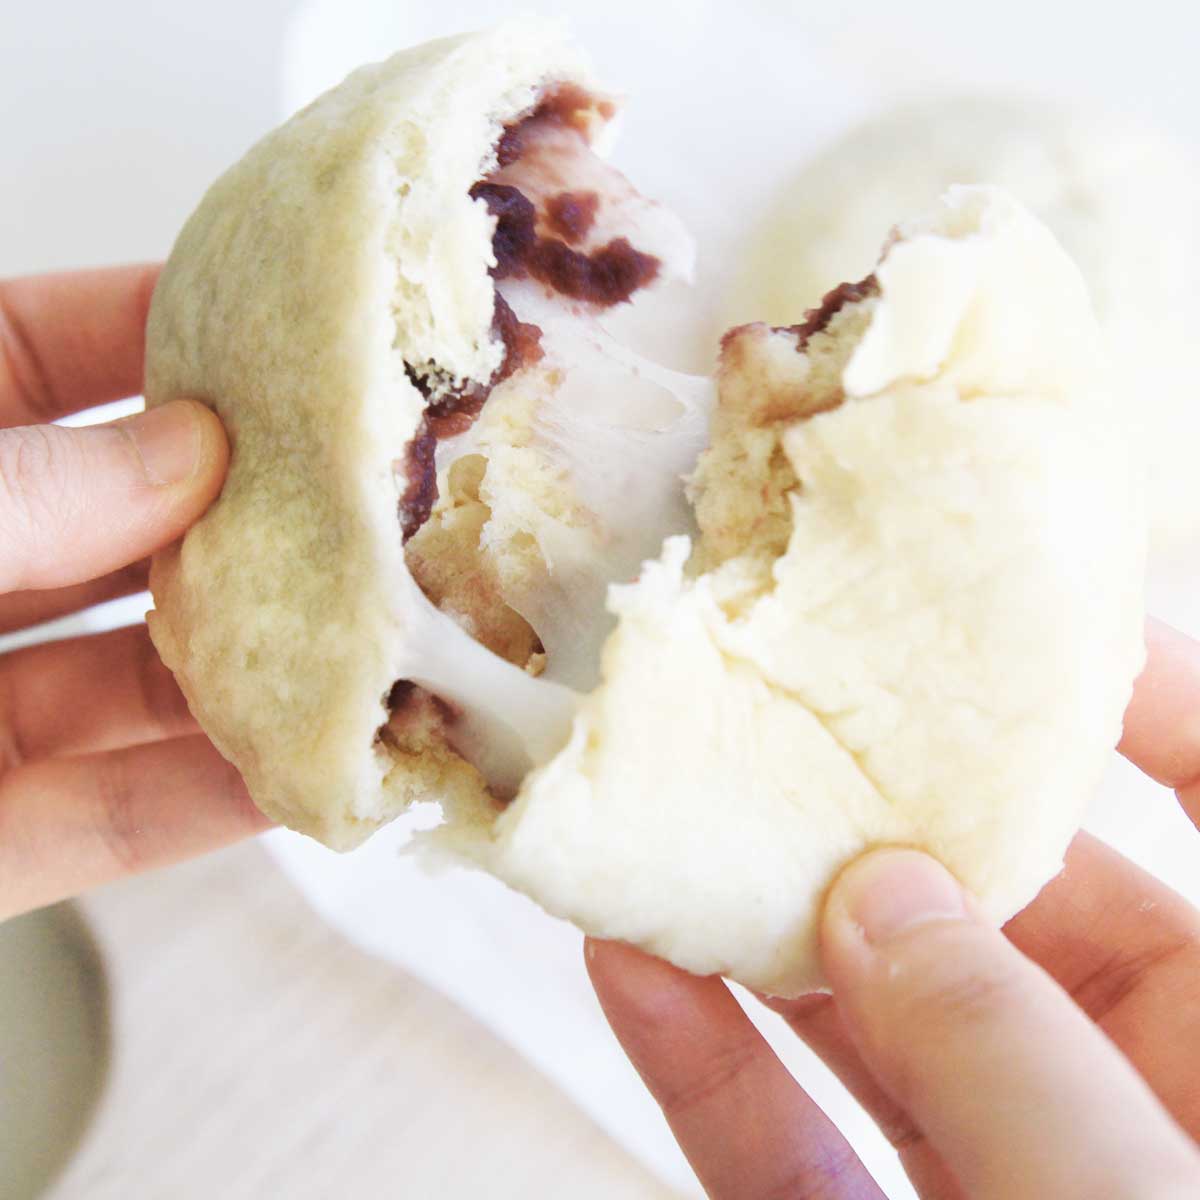
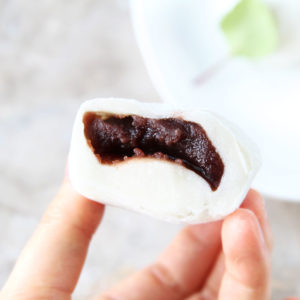
12. You can either tear off a few pieces of this mochi dough and make mochi filled with sweetened red bean paste, like this one.
OR
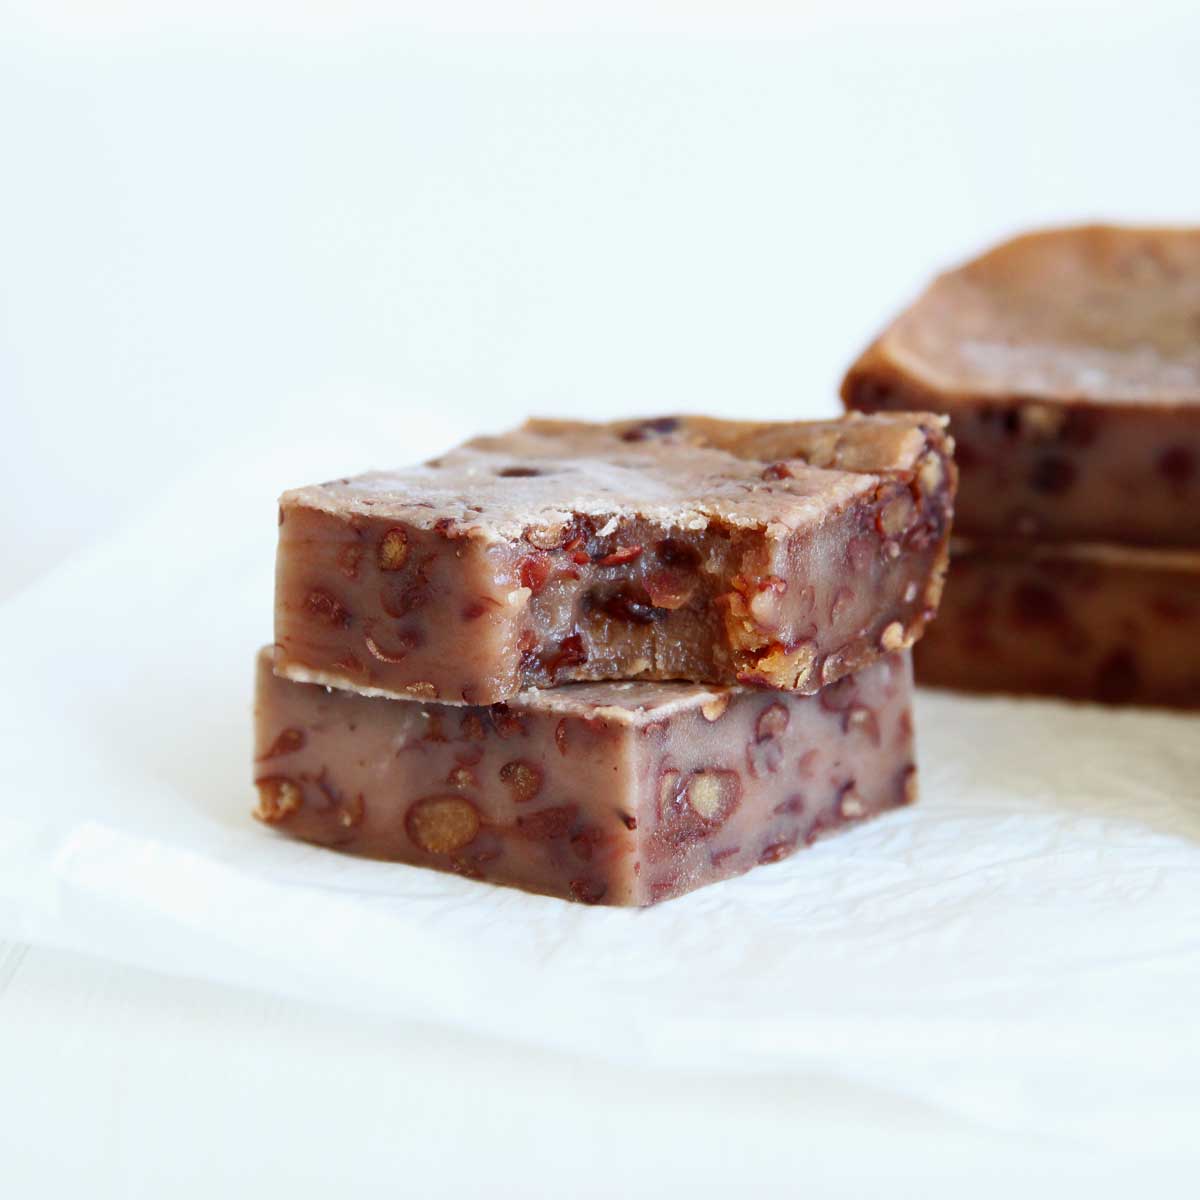
13. Use a silicone spatula or wet/oiled fingers to press the mochi dough into the pan.
IMPORTANT: it's difficult to work with mochi once it's cooled, so work quickly or microwave the mochi in between shaping.
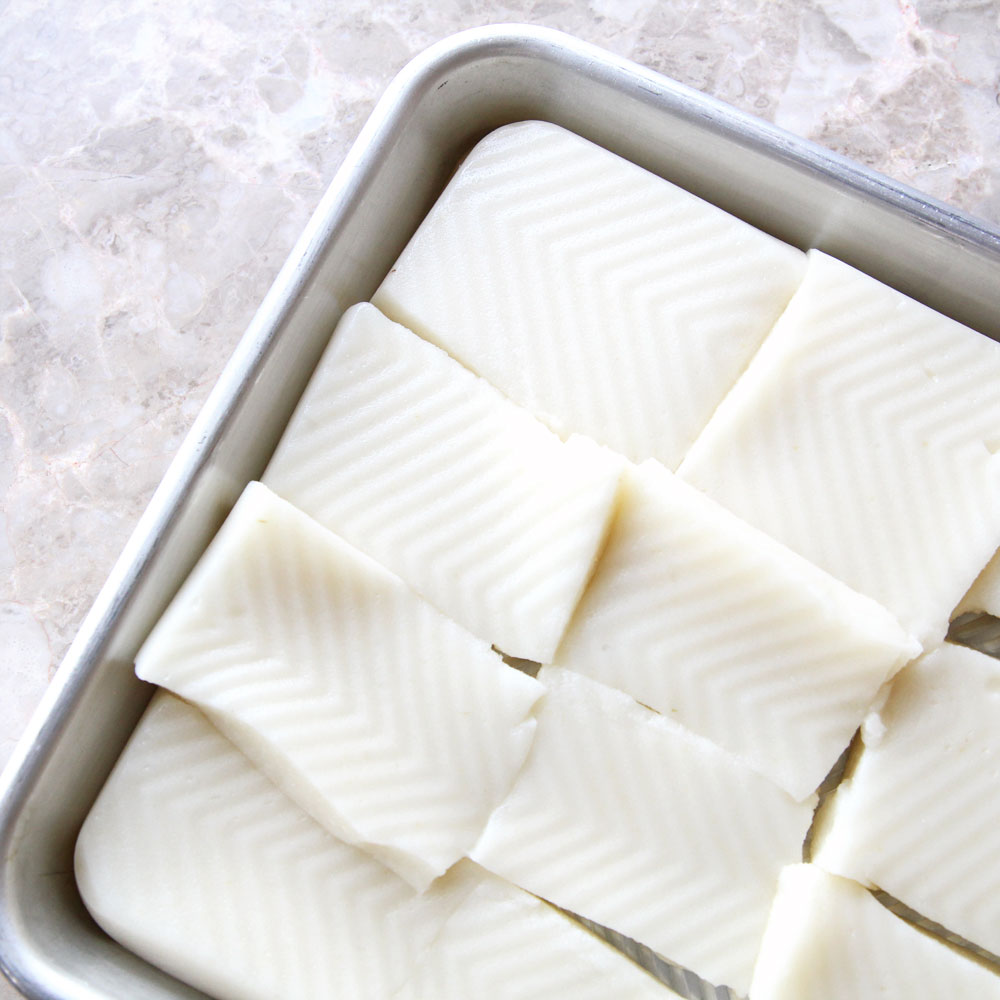
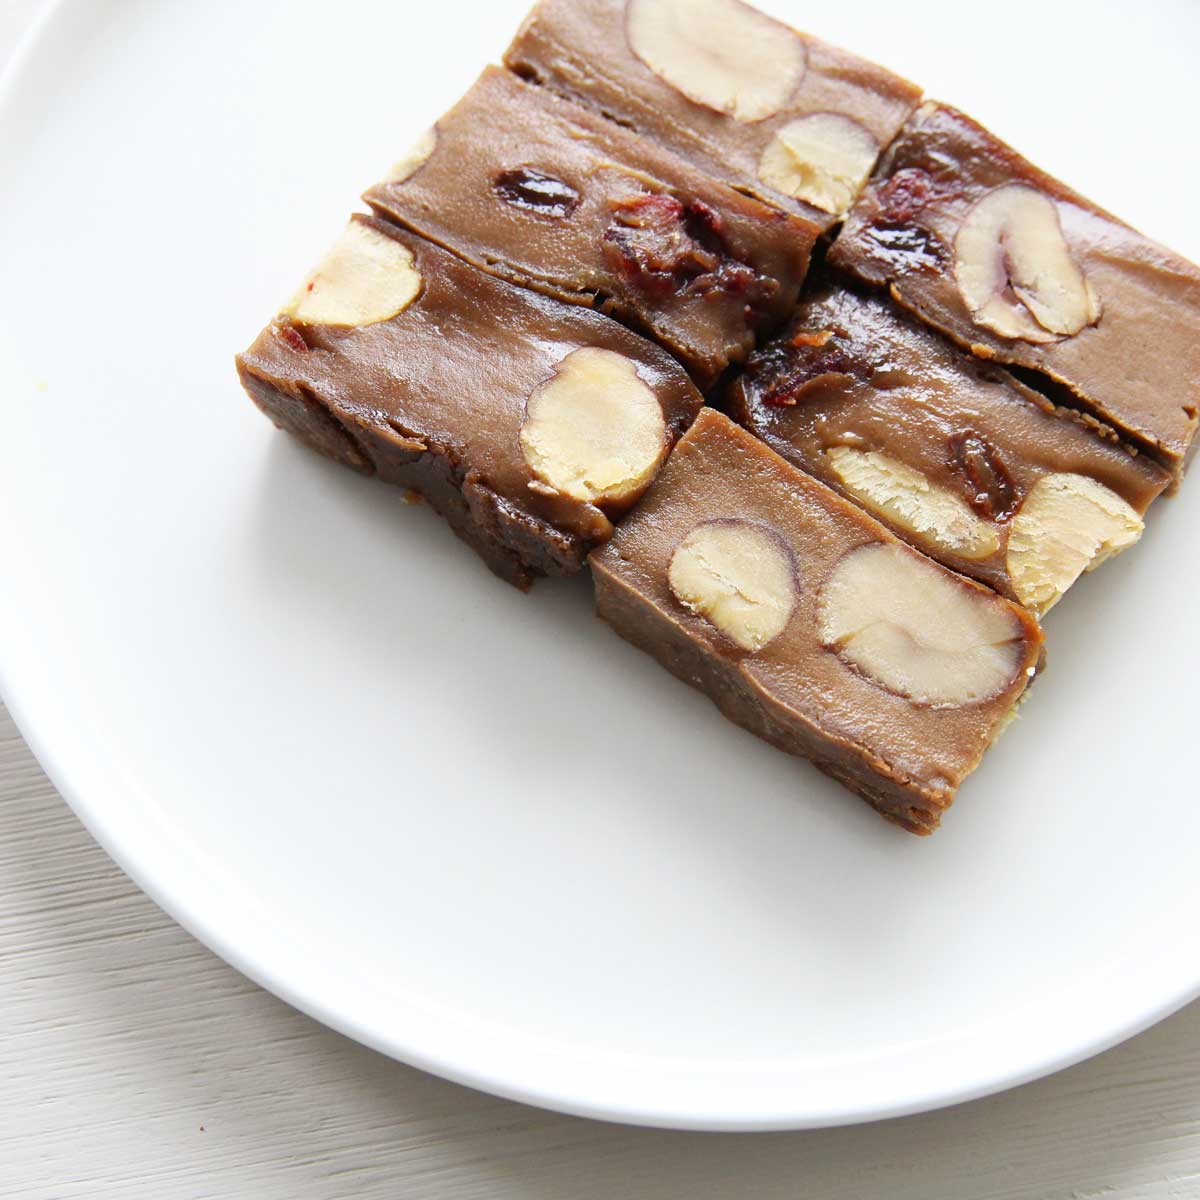
14. Turn over the mochi once cooled, and use scissors to cut into squares
14. Eat as is, or save for later by freezing them in one layer inside a large gallon Ziploc bag. Defrost at room temperature or microwave when ready to eat.
What if you don't have a mochi maker?
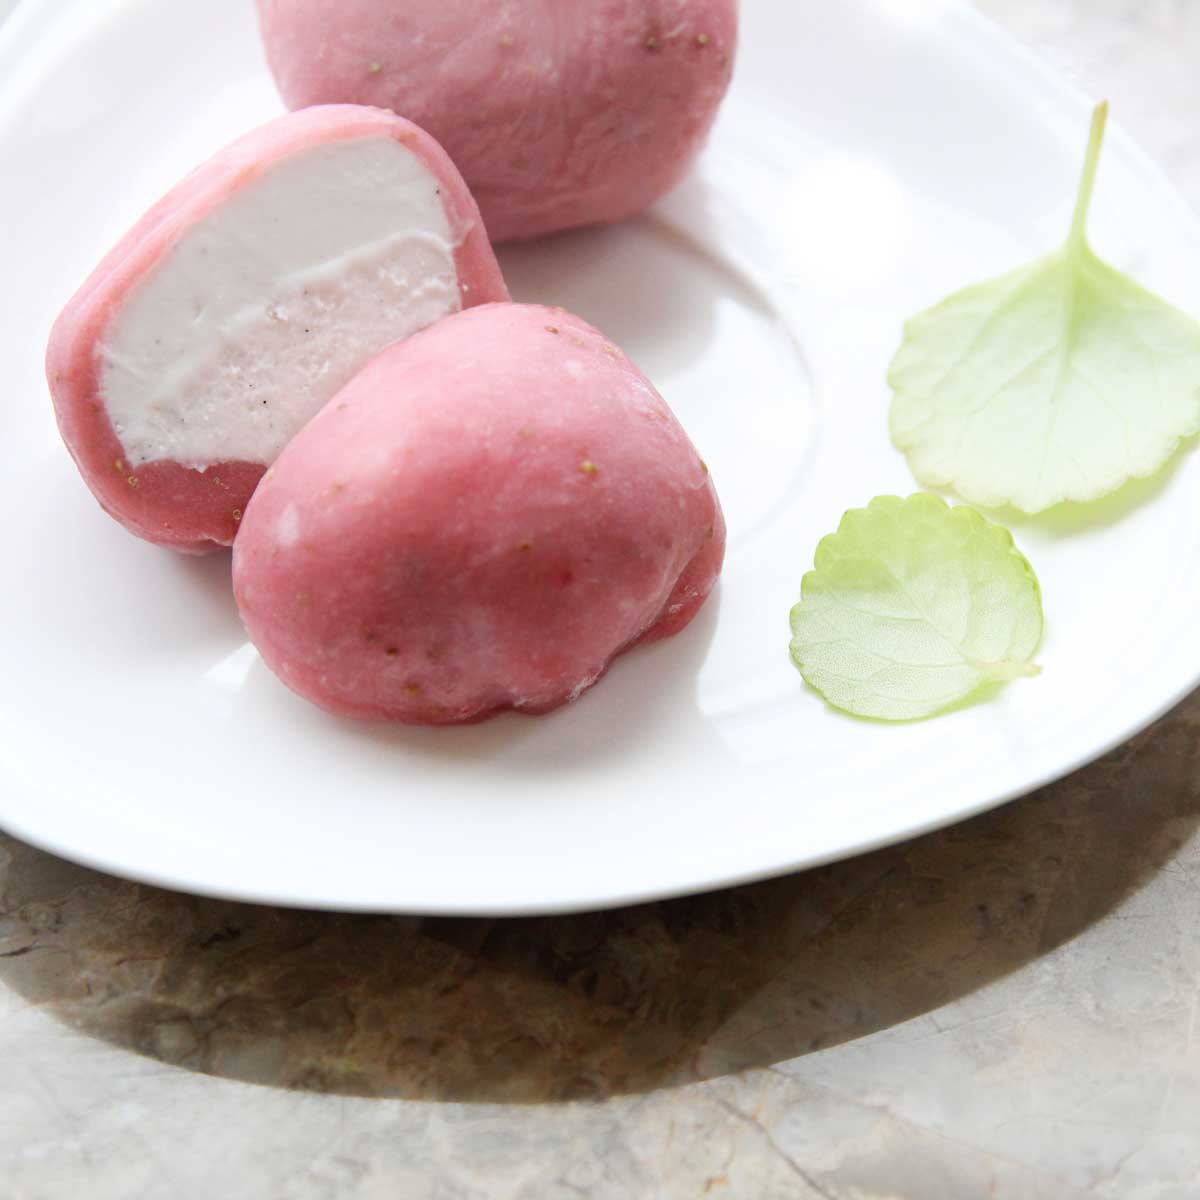
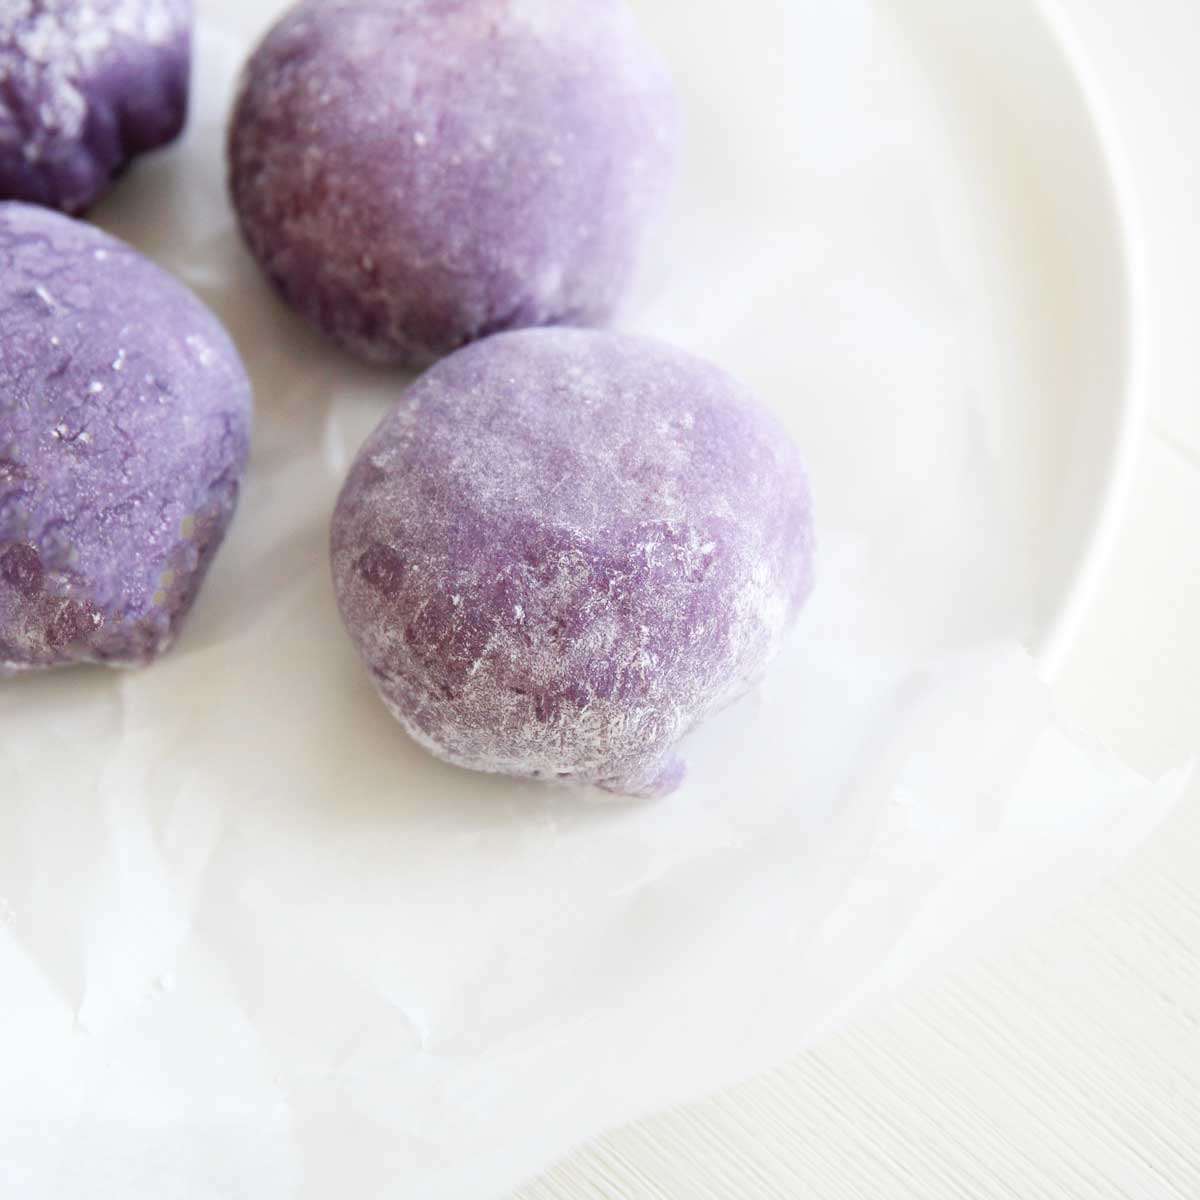
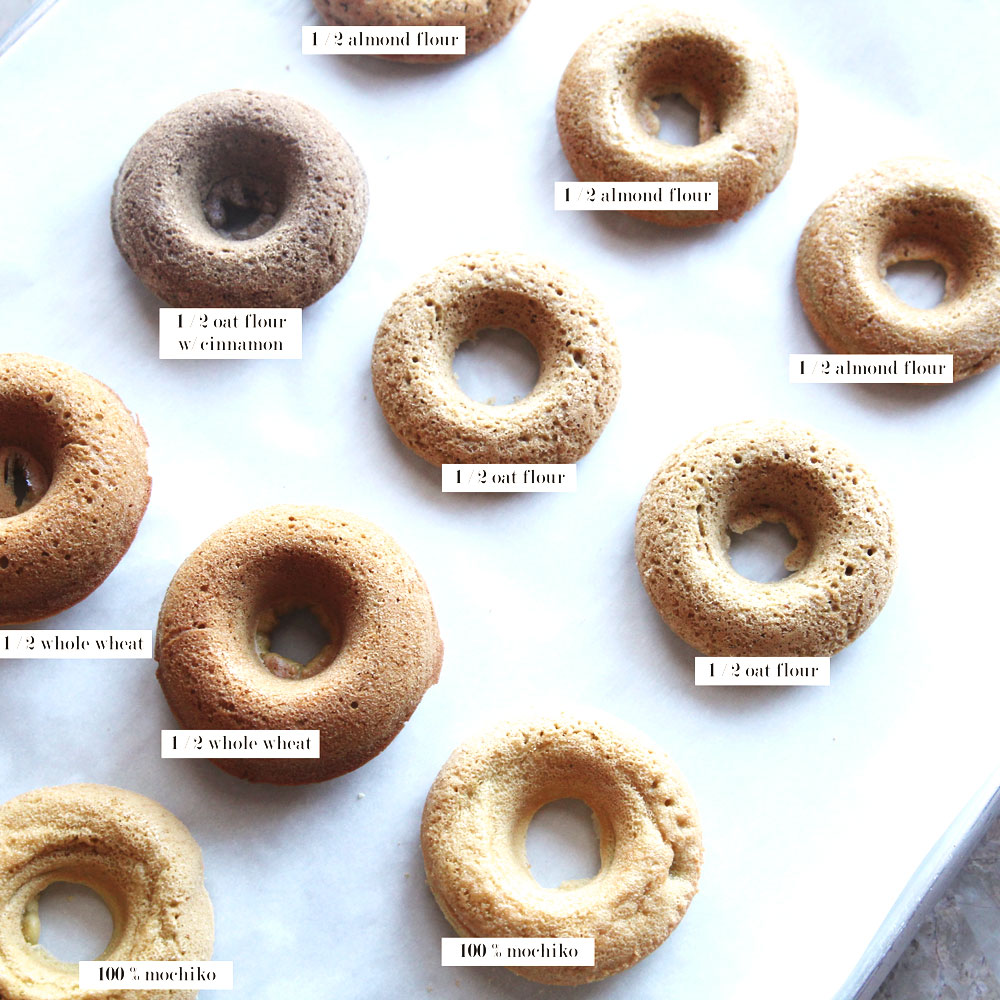
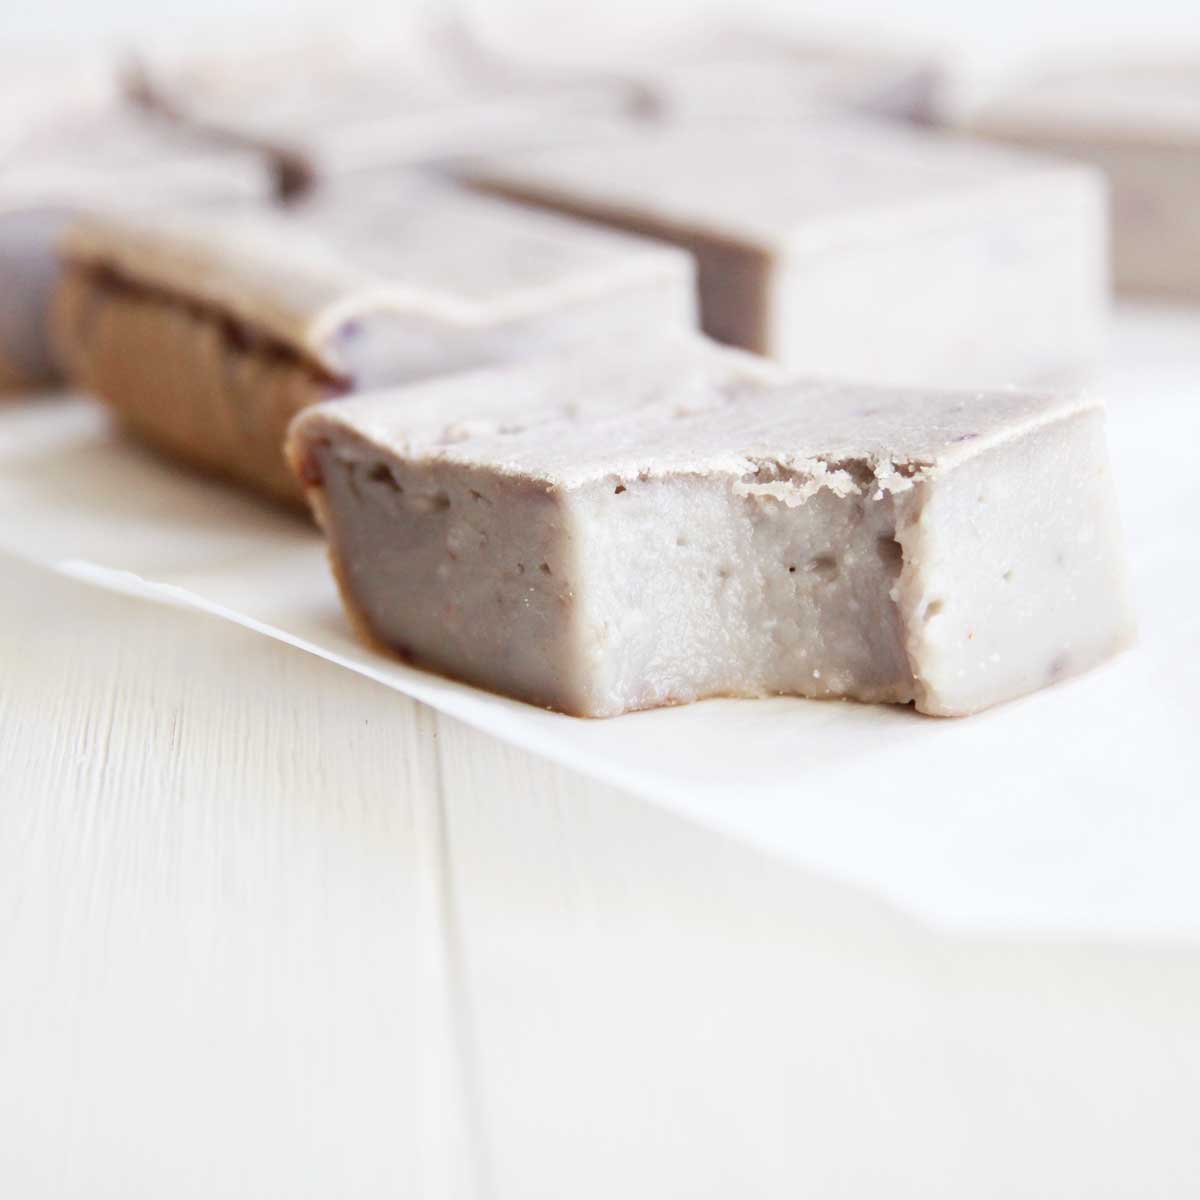
You can make mochi in the microwave using glutinous white rice flour (a.k.a. sweet rice flour, mochiko flour). I have a recipe that also incorporates silken tofu. Check it out below!
VARIATIONS / OTHER WAYS YOU CAN ENJOY MOCHI
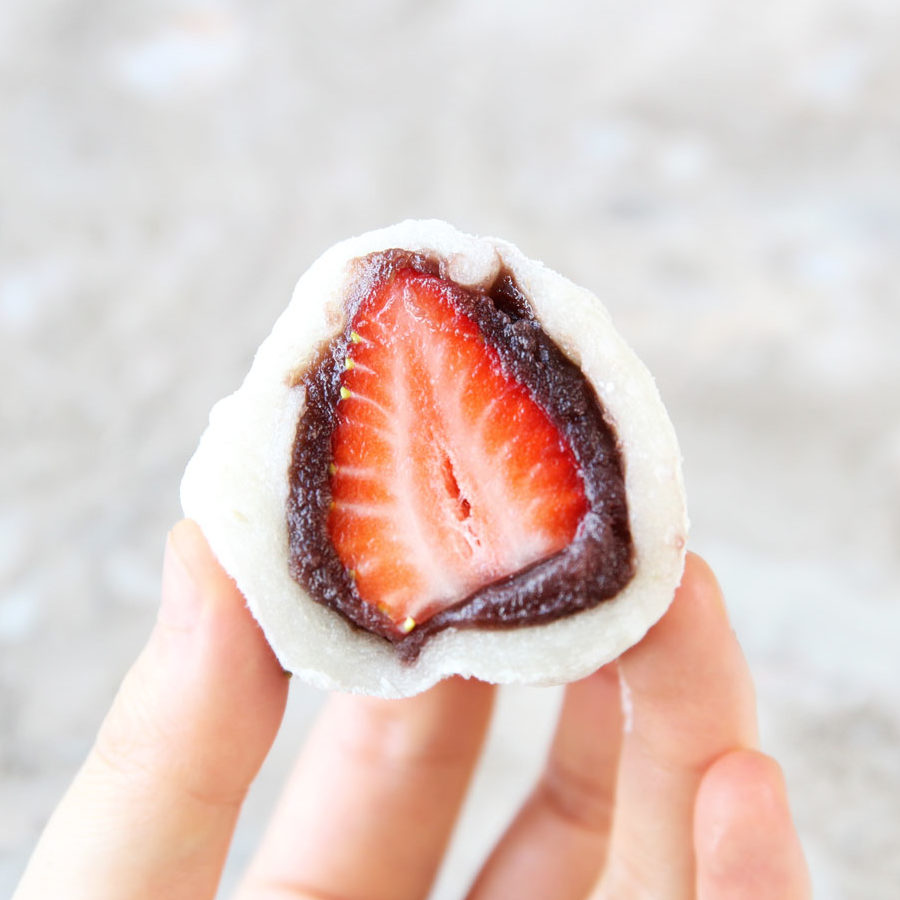
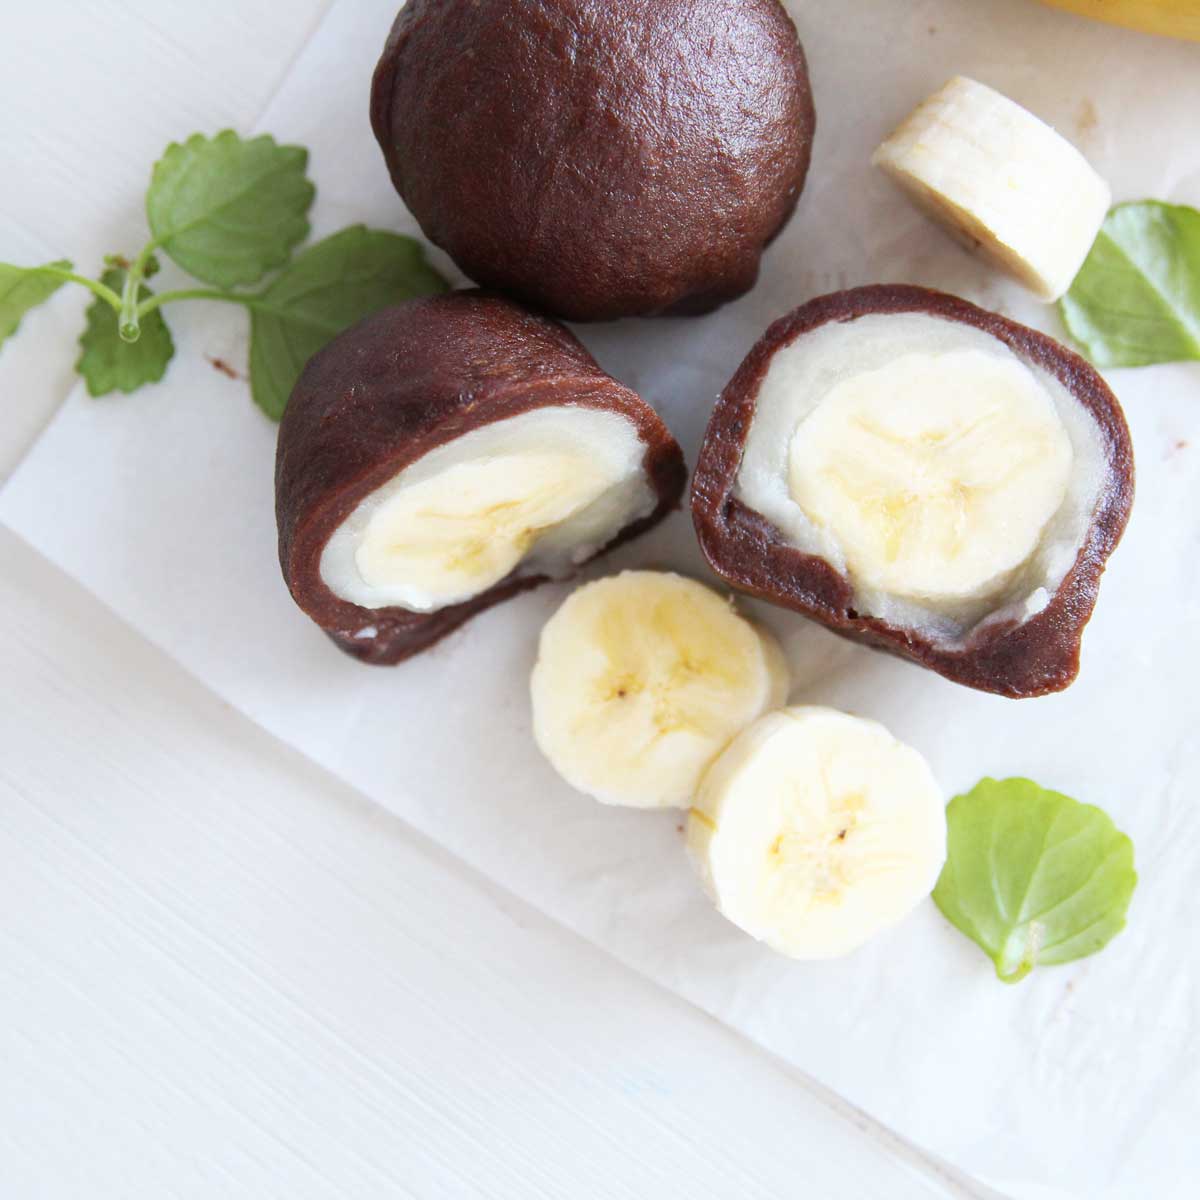
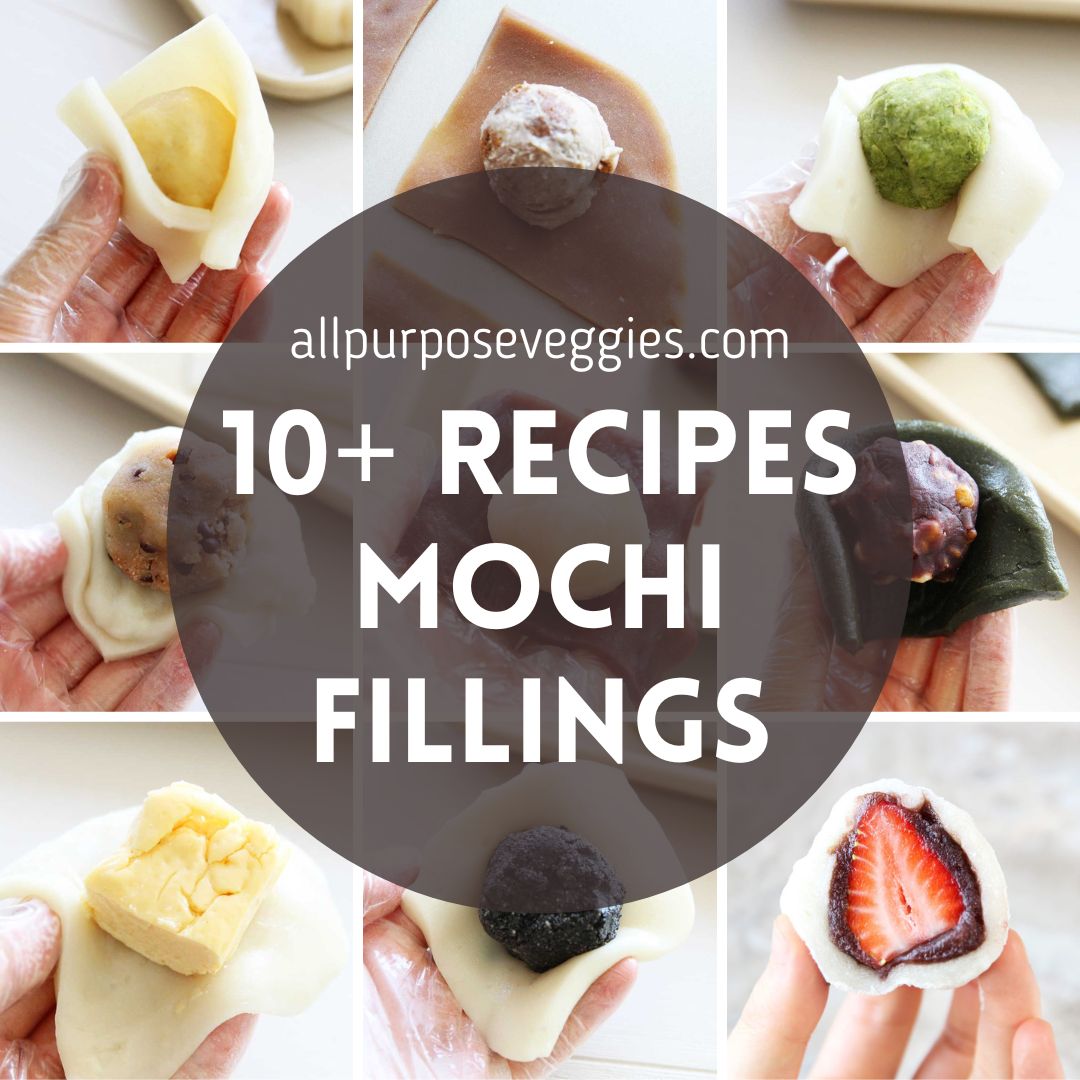
1. Filling Ideas:
- Sweetened Red Bean Paste (a.k.a. Koshi An): I eat this stuff by spoonfuls! It's a versatile ingredient that goes inside my sweet rice mochi recipe as well my tofu mochi recipe, but it's also used as fillings inside sweet breads, pancakes, cookies and more. You can find Sweetened Red Bean paste in most Asian grocery stores, and online (Amazon).
- Sweetened White Bean Paste (a.k.a. Shiro An)
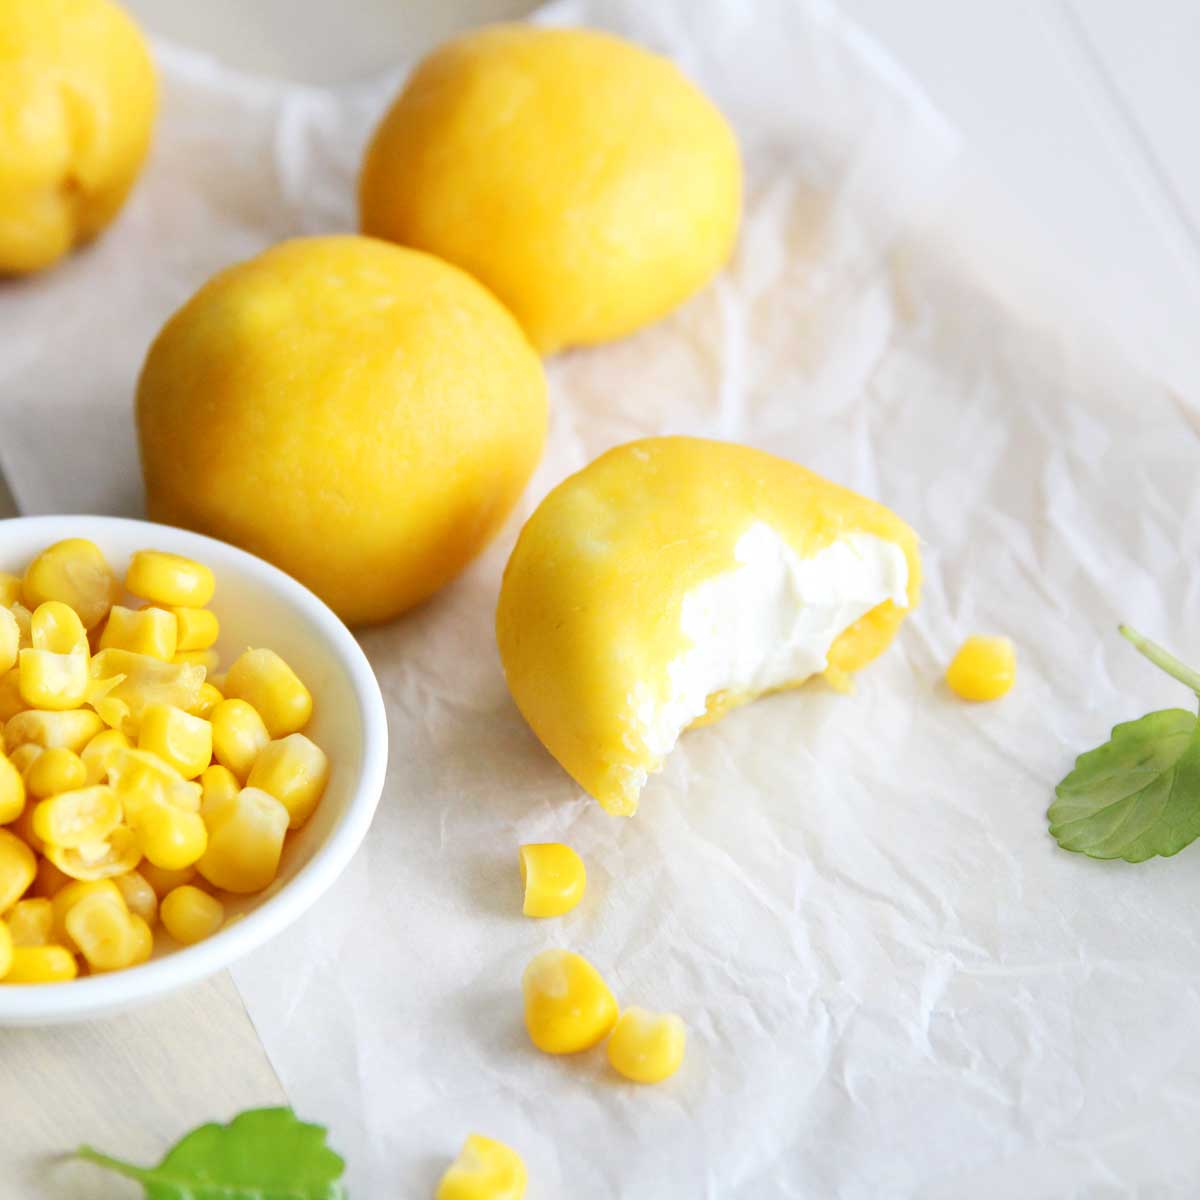
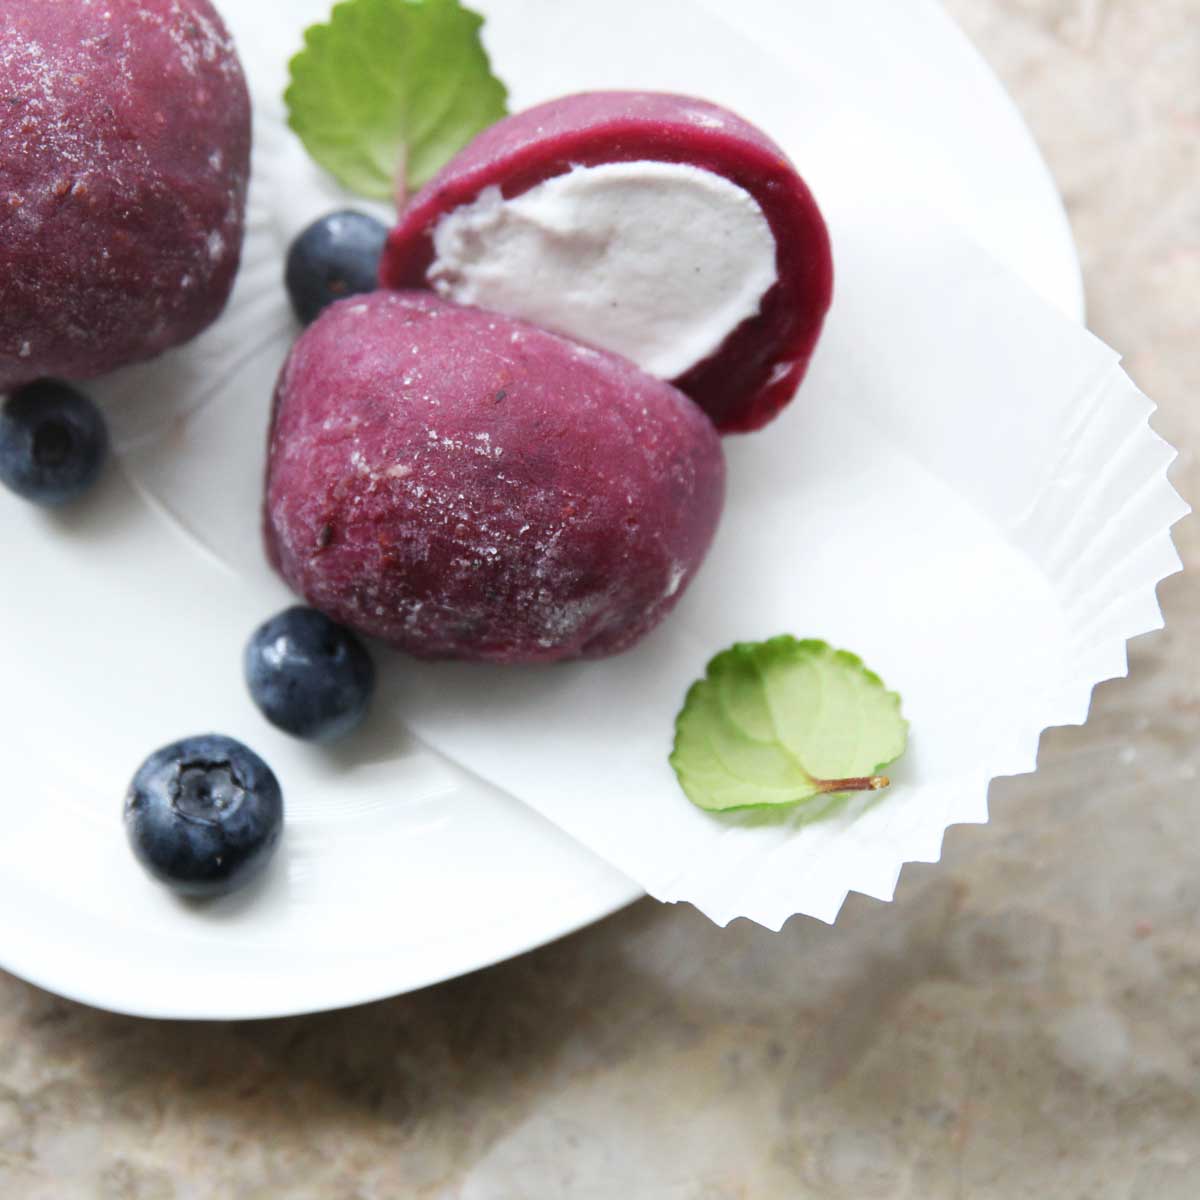
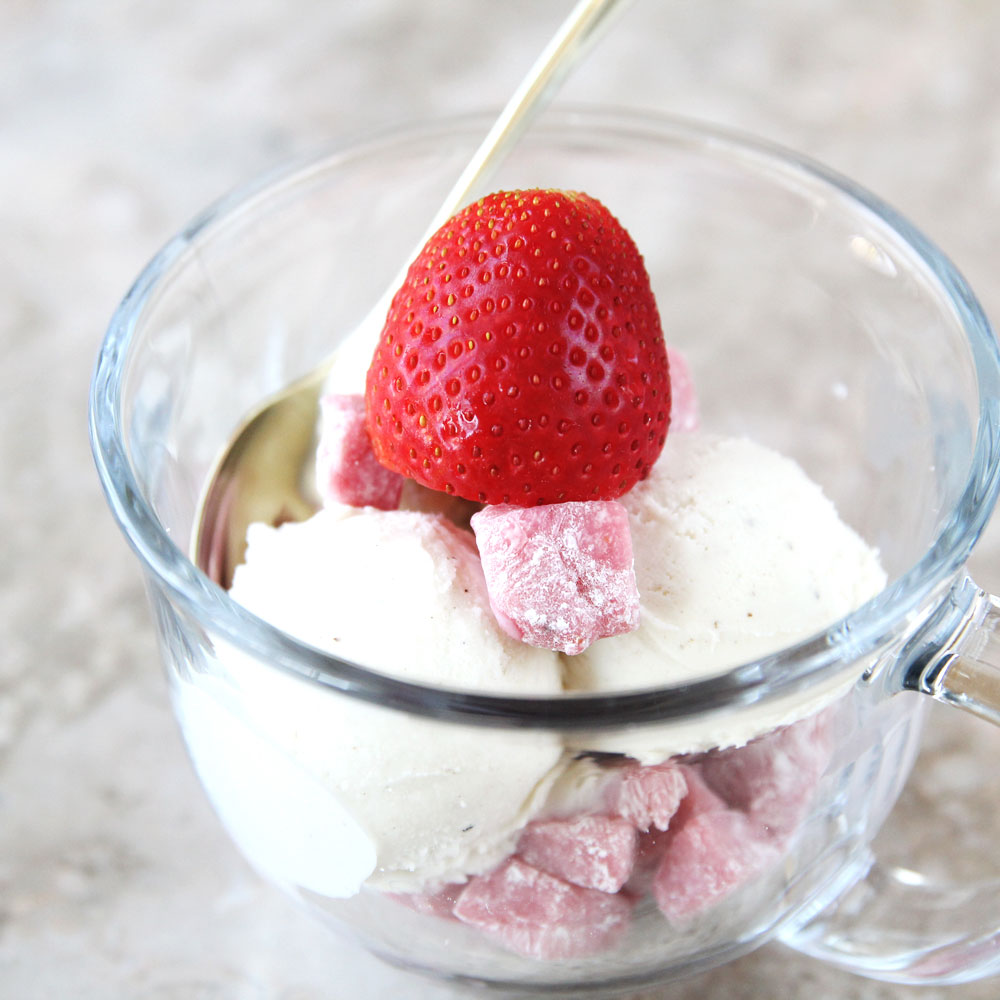
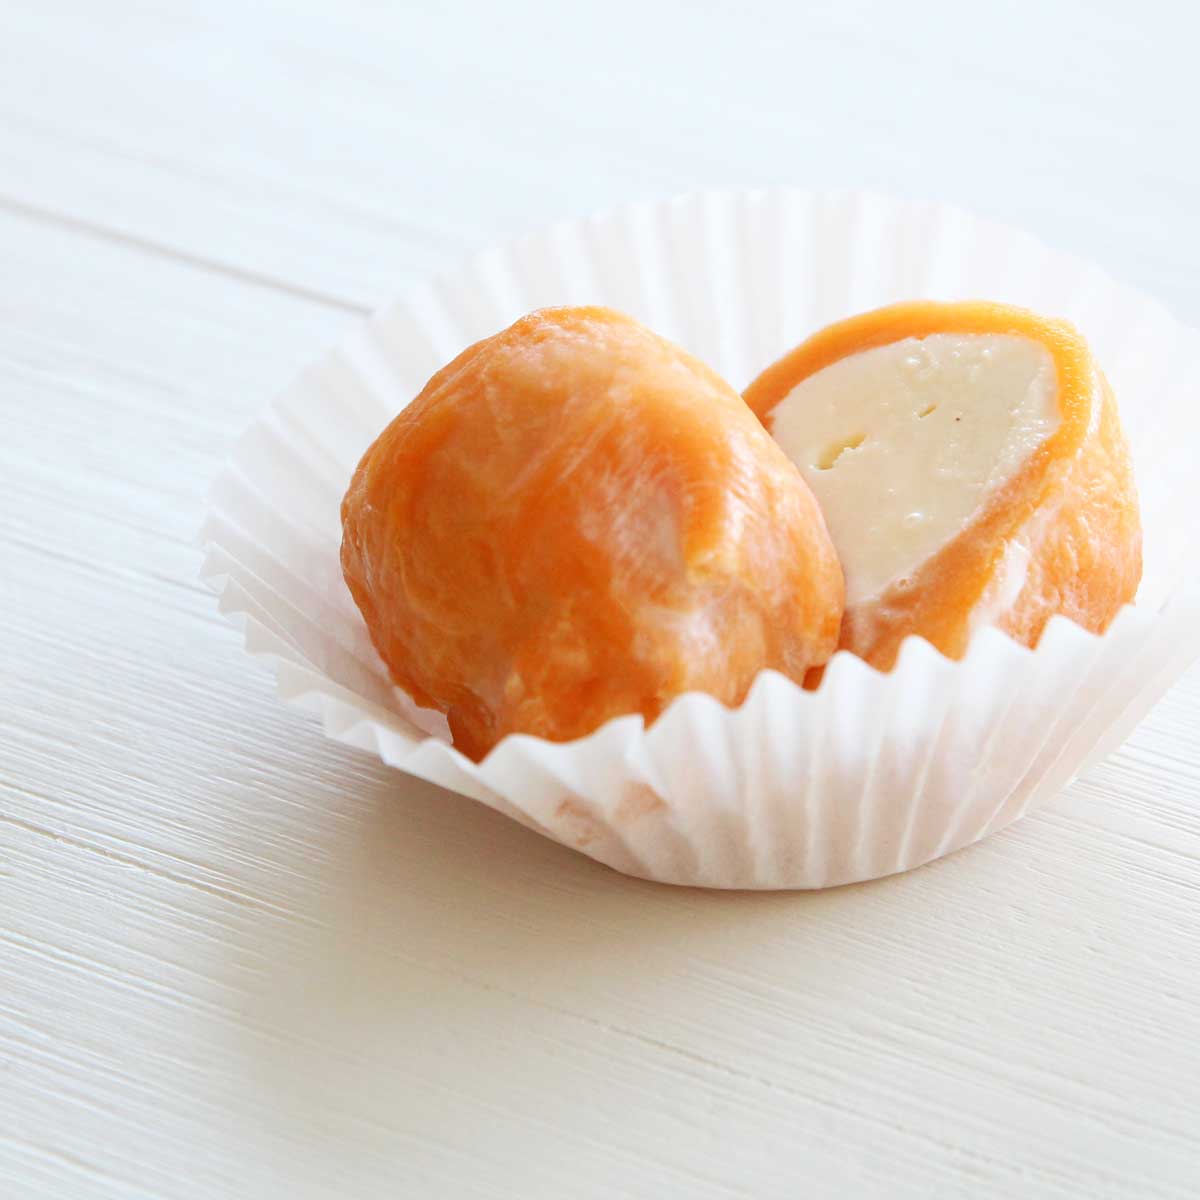
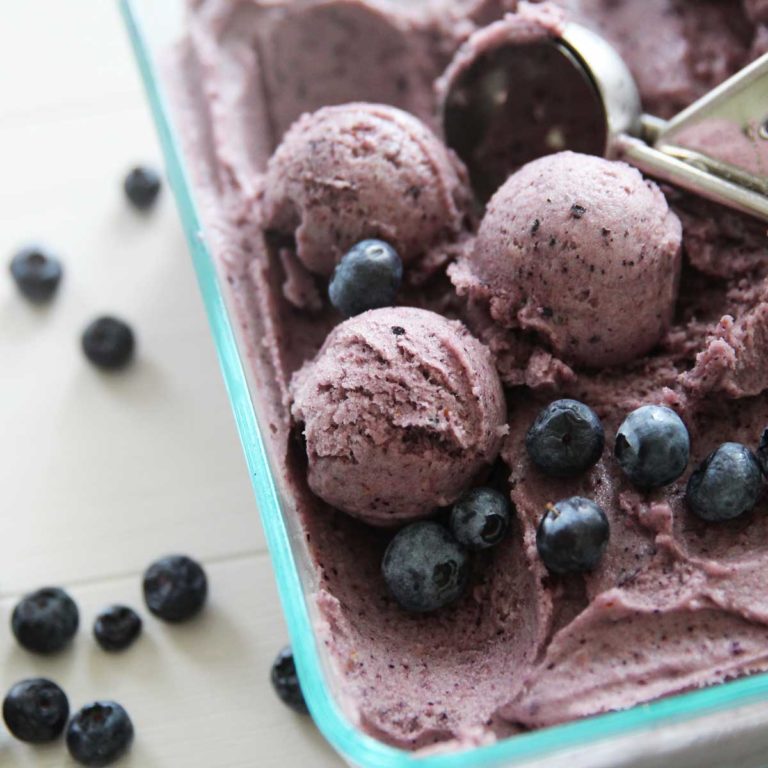
- Icecream
- Check out more recipes below

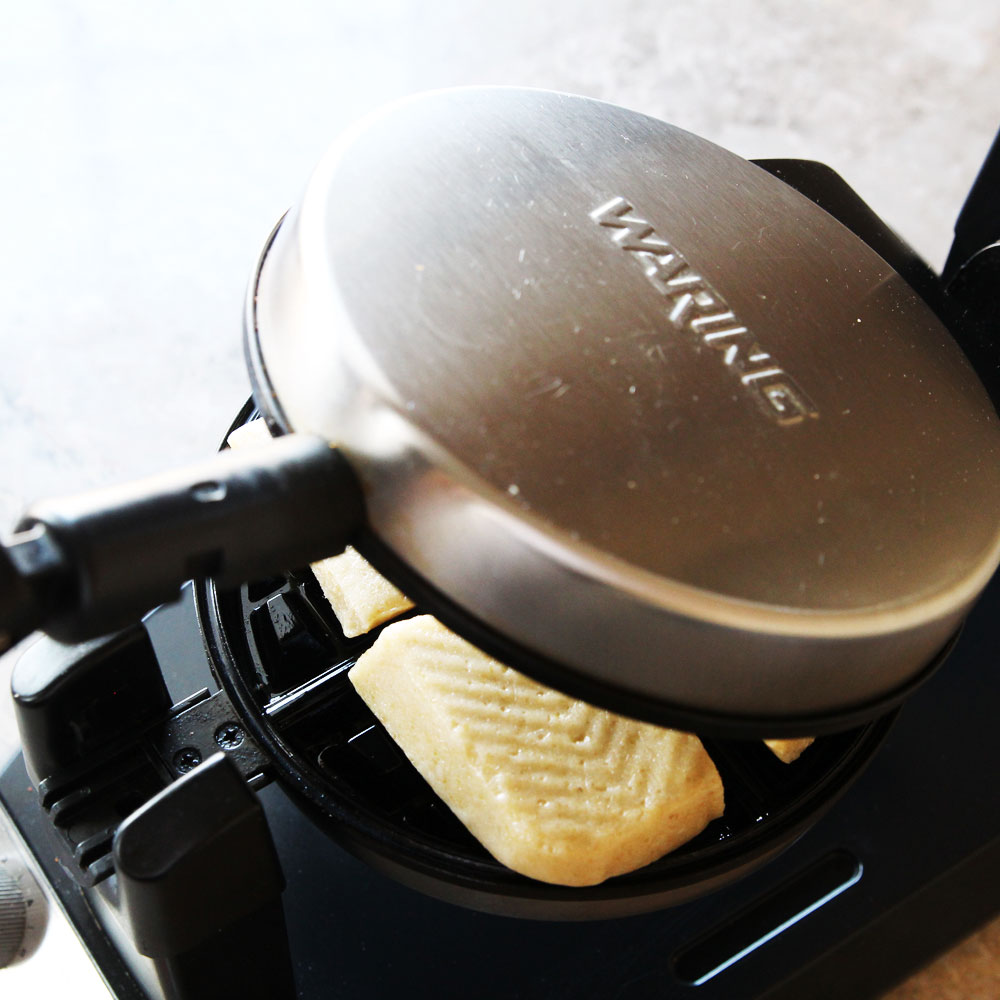
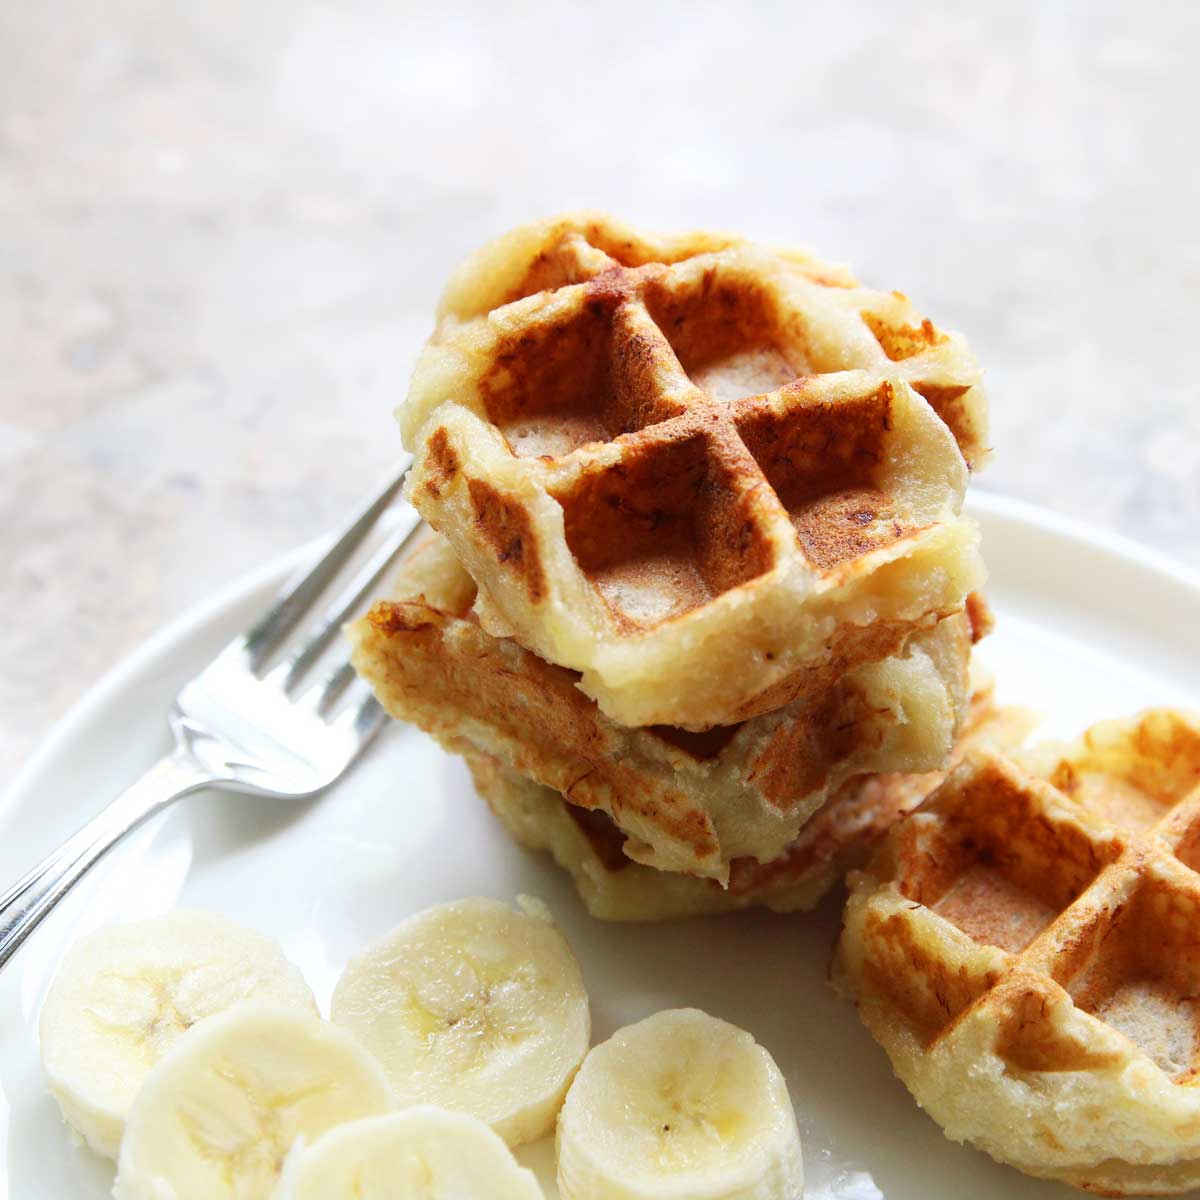
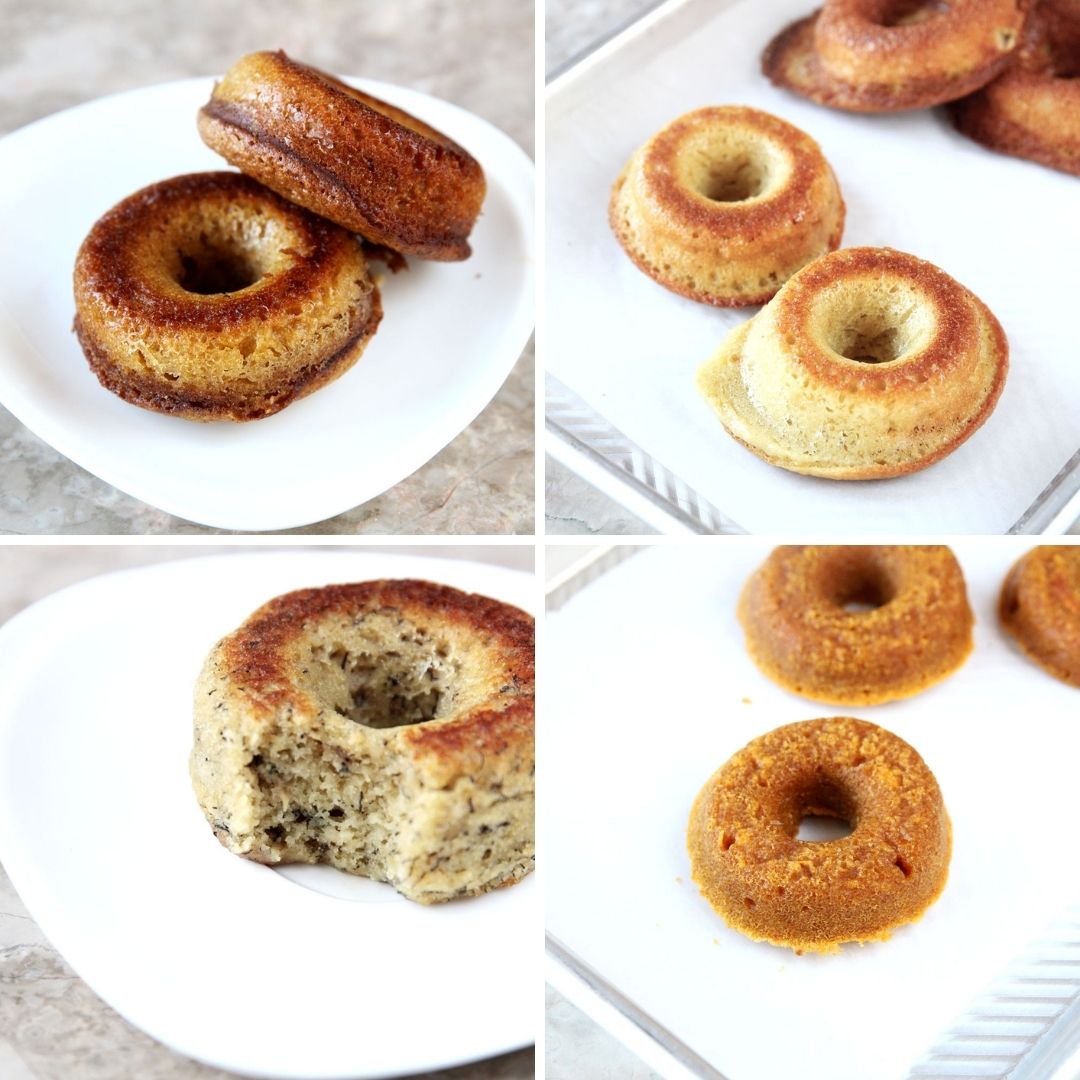
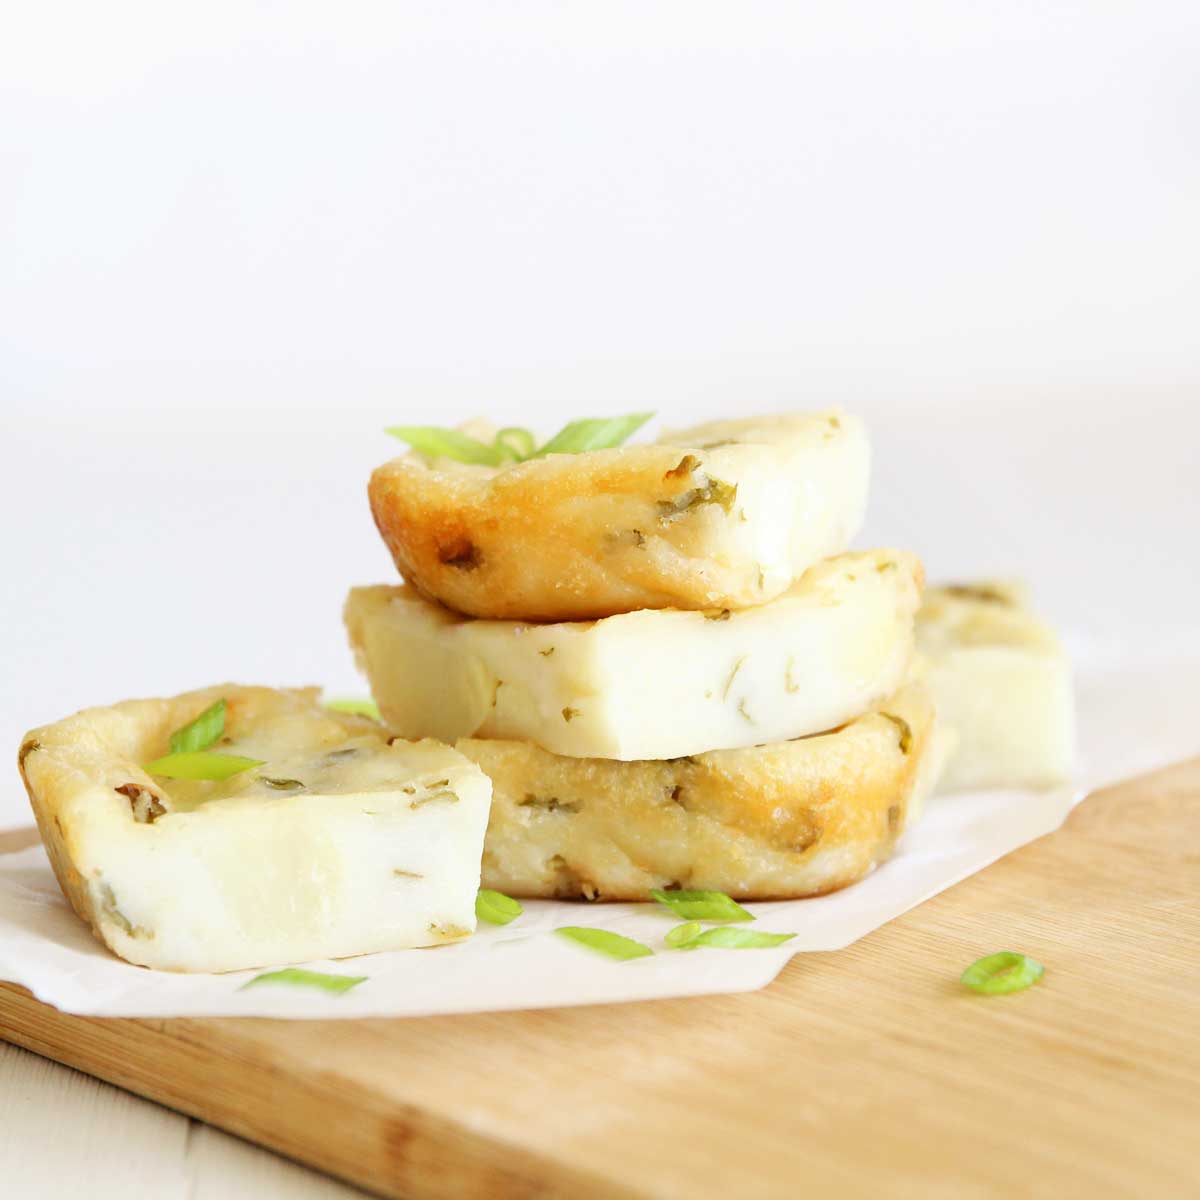
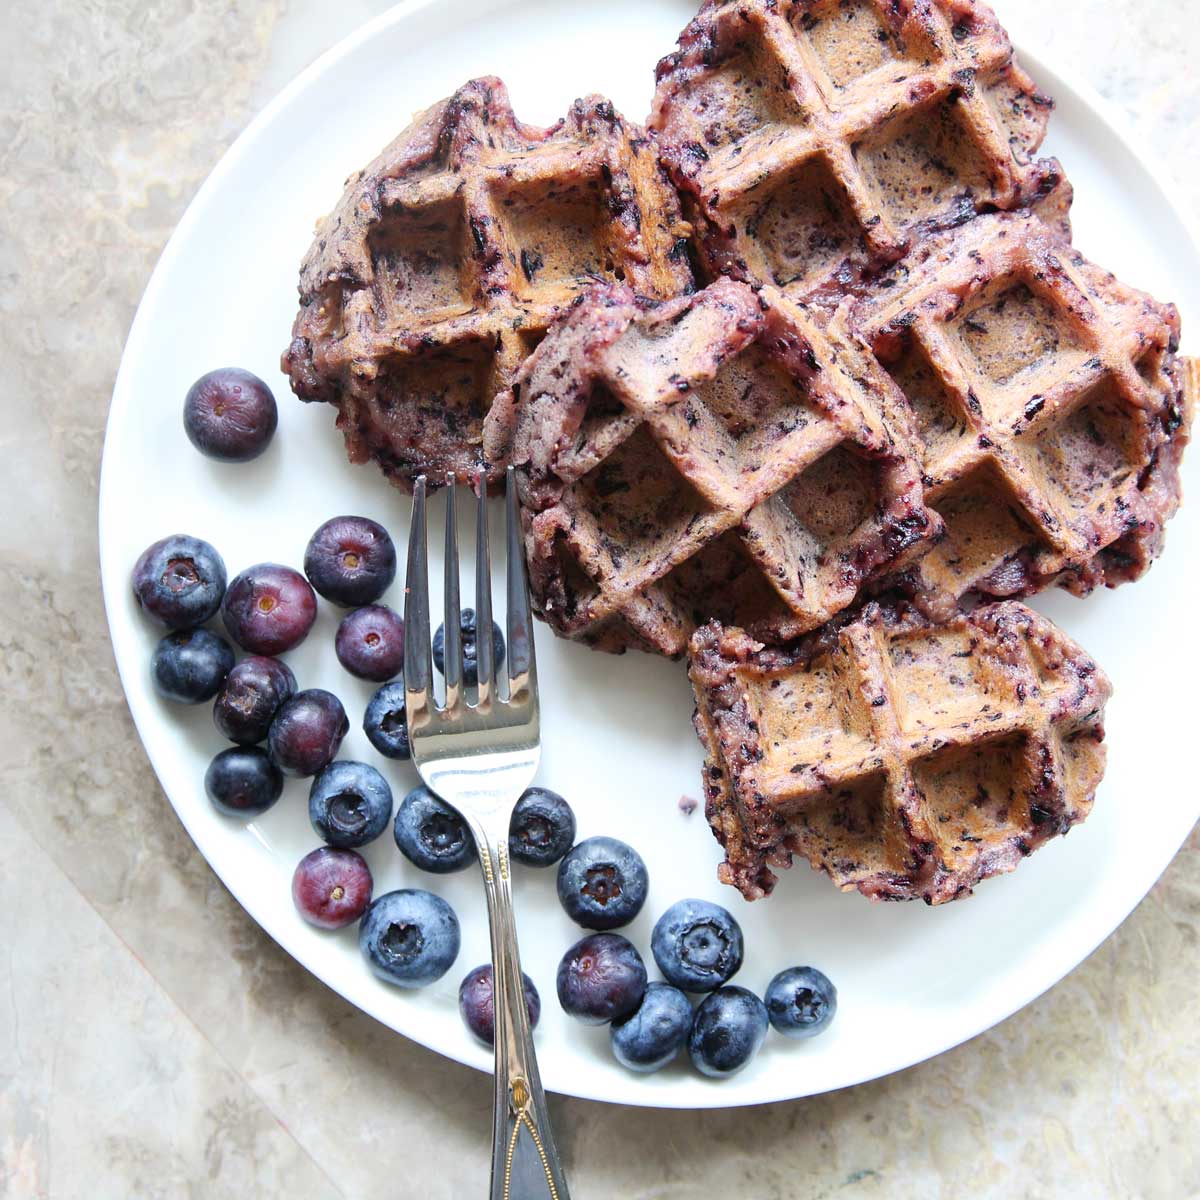
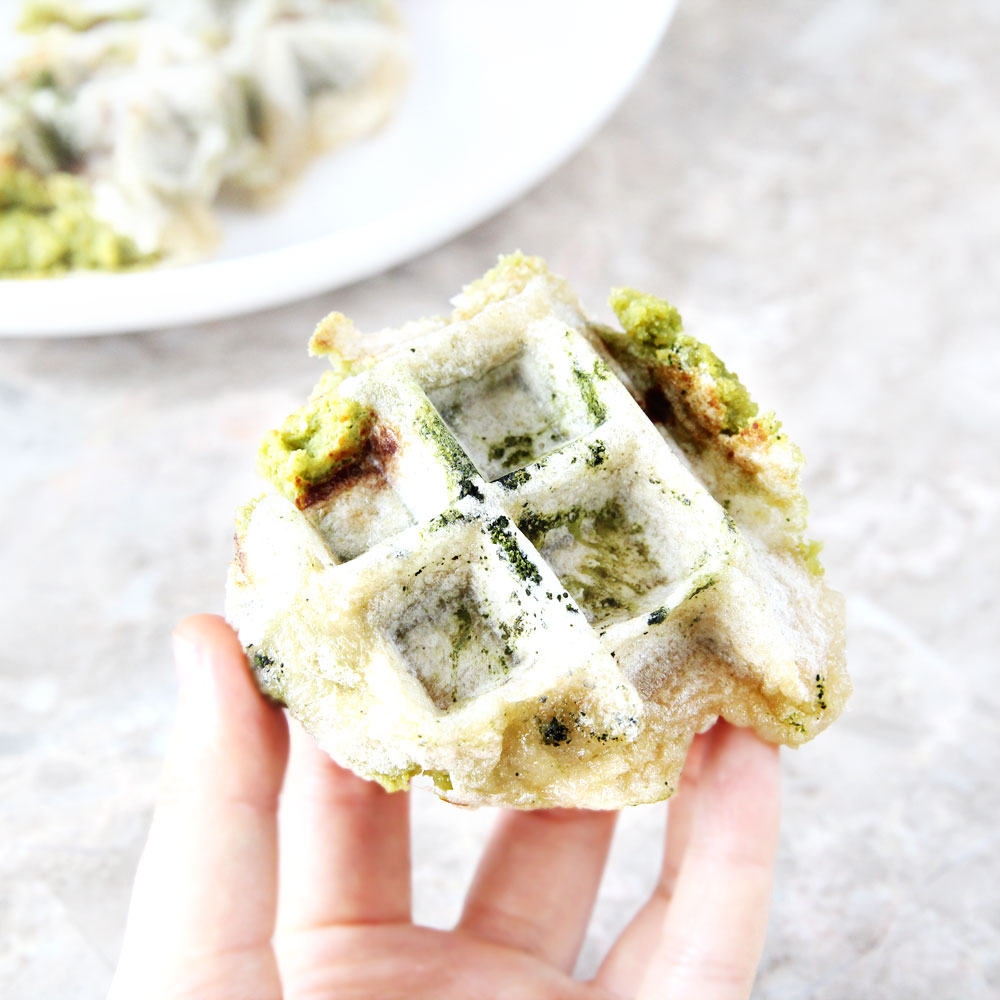
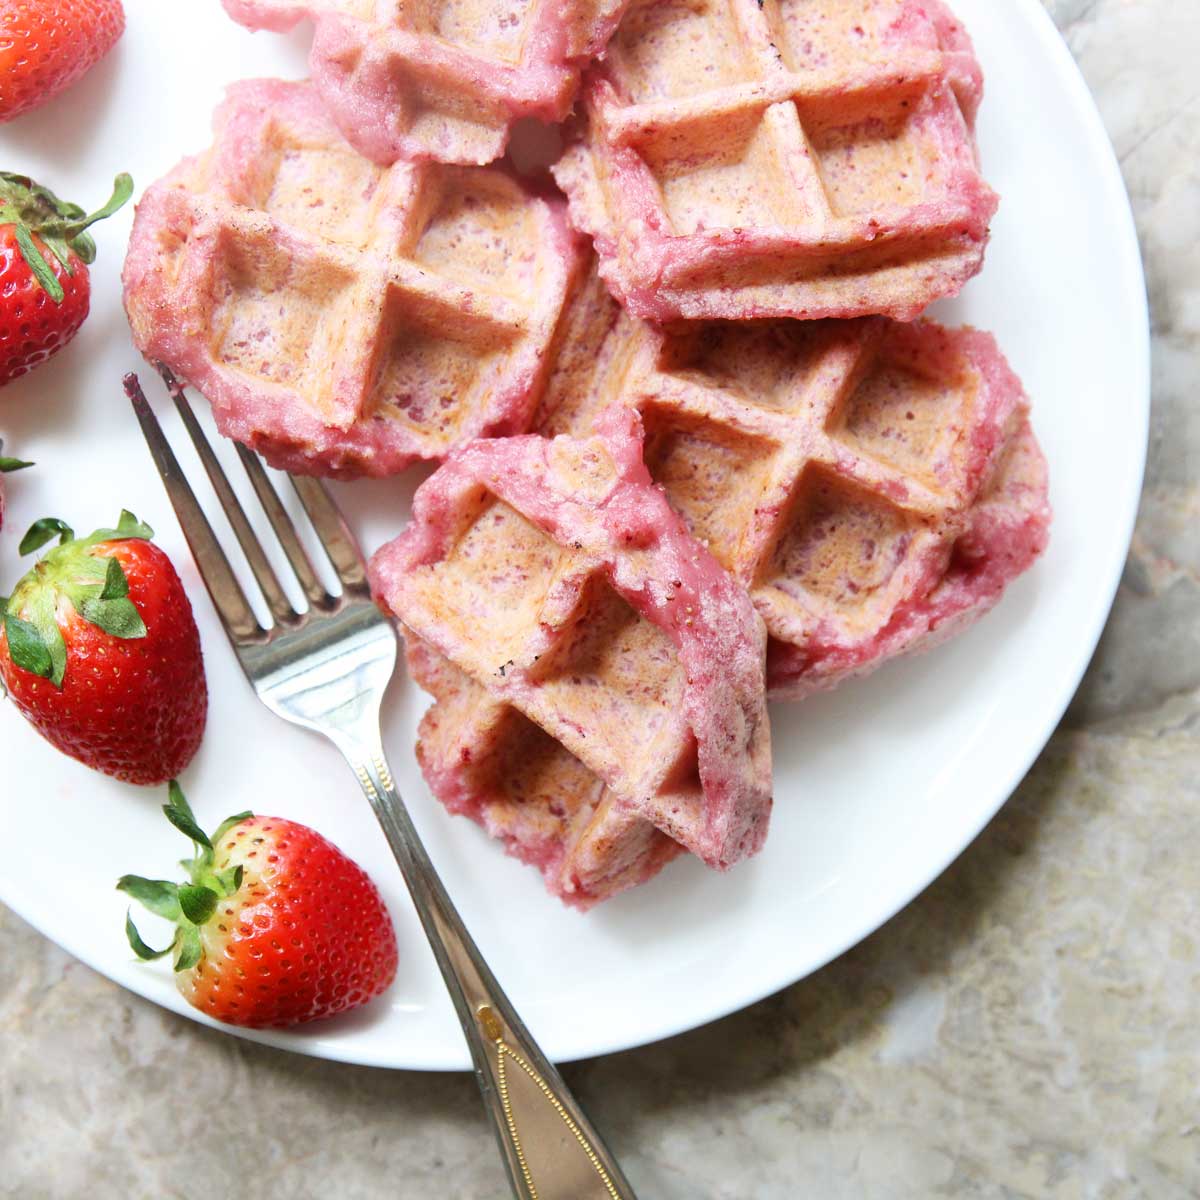
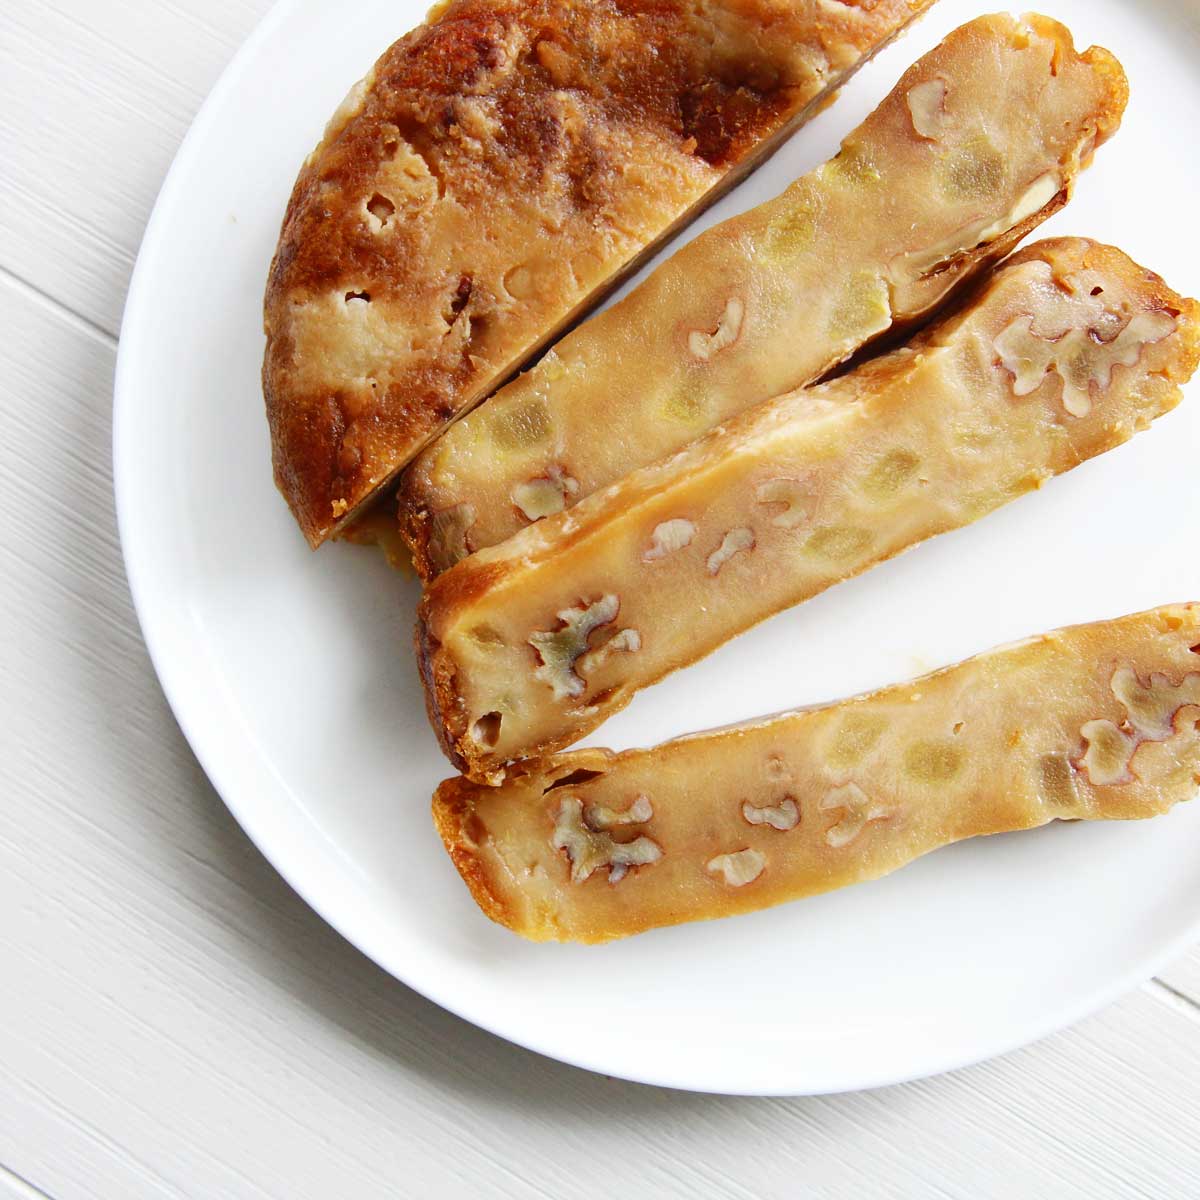
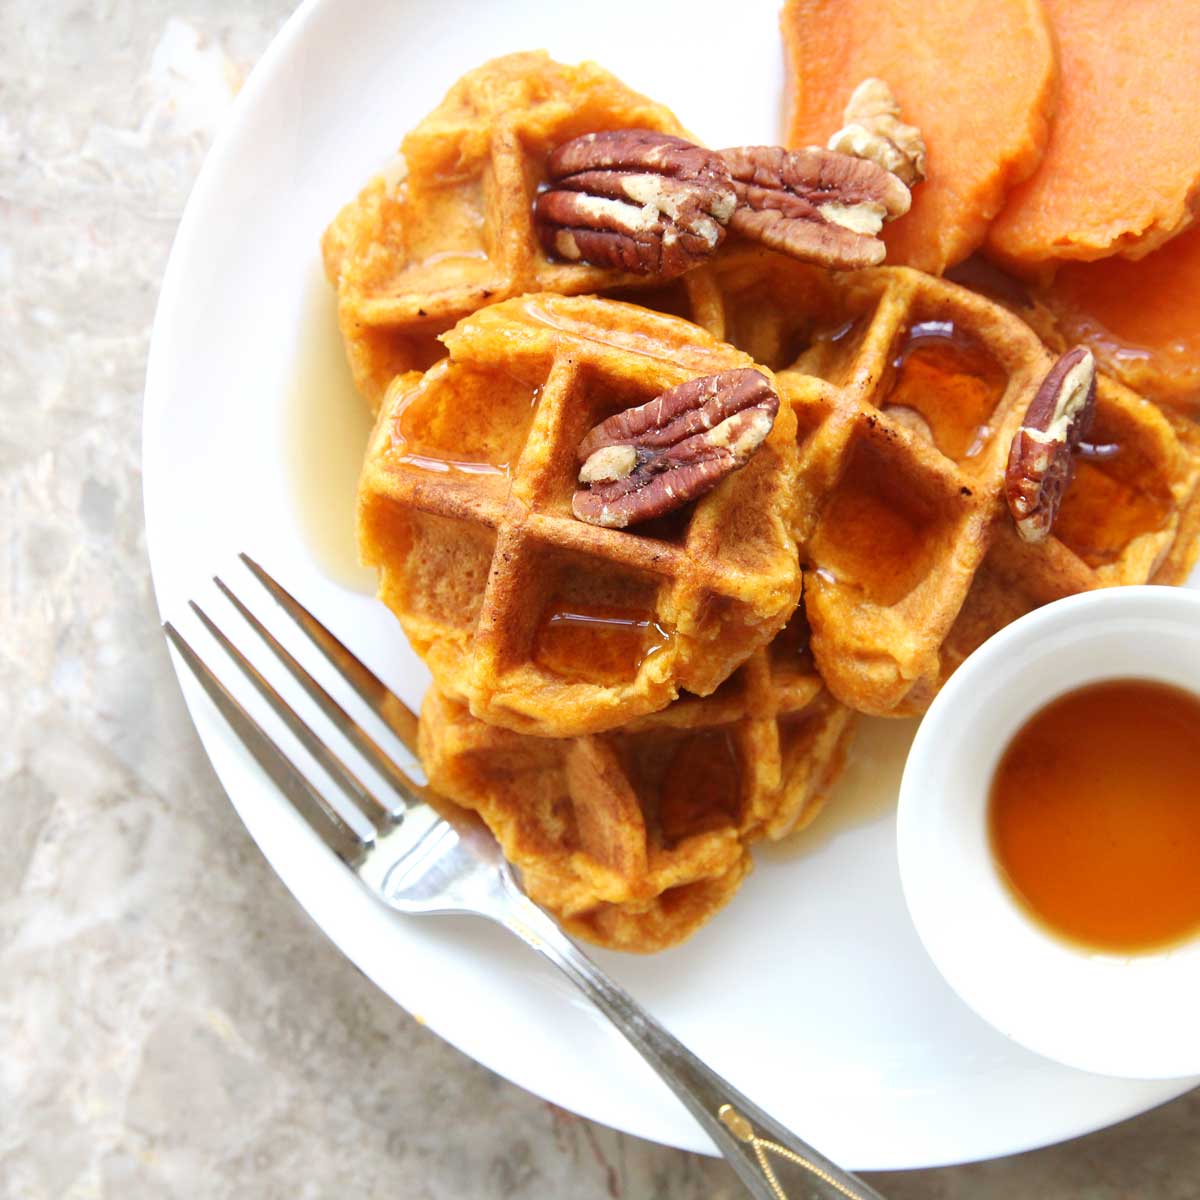
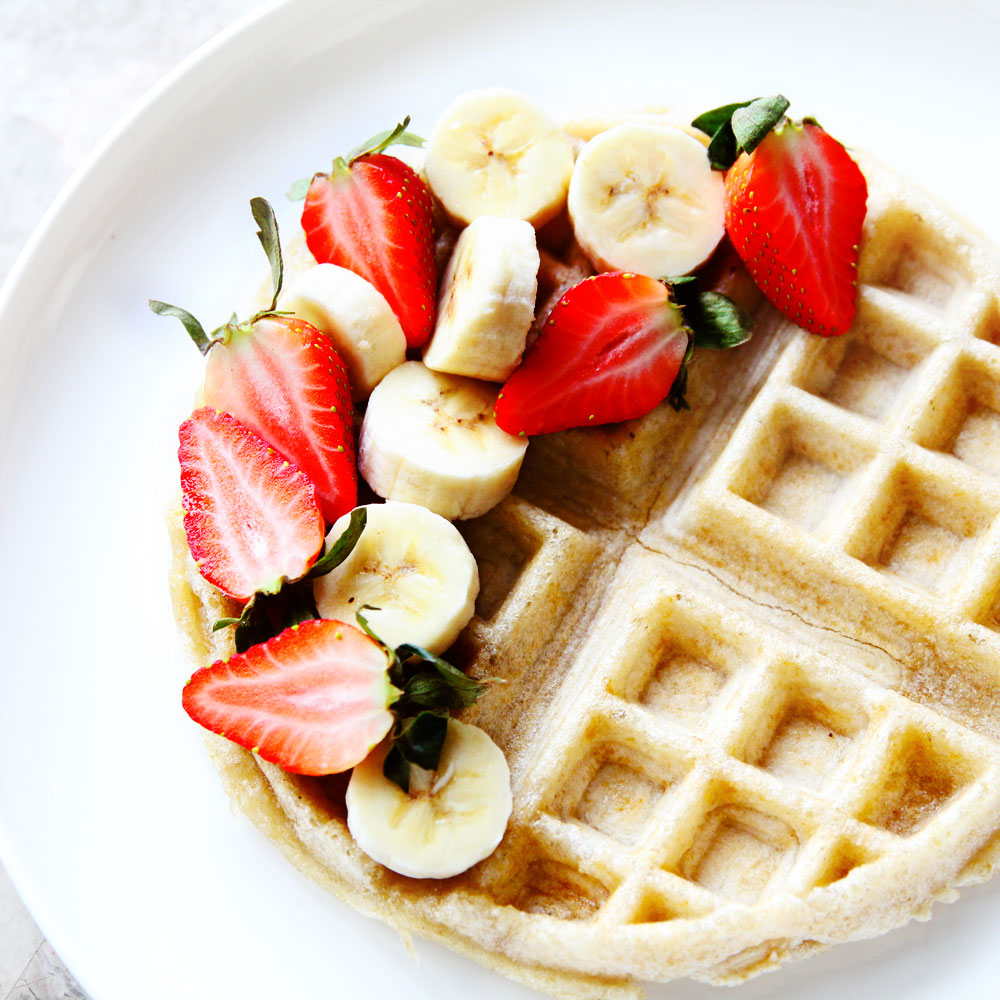
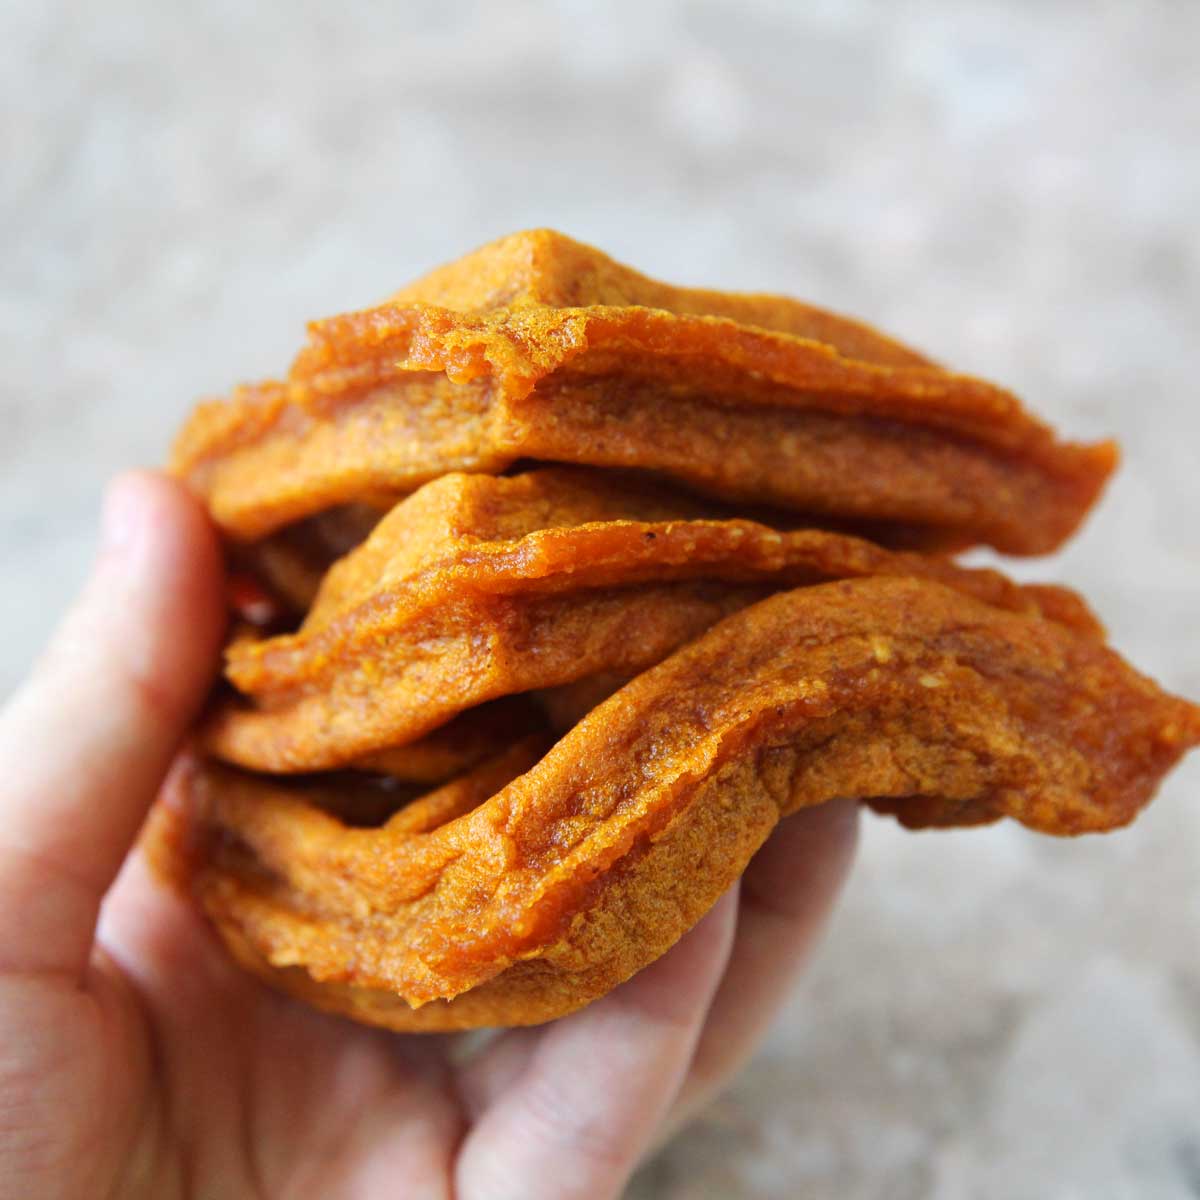
2. WAFFLED!
Lay the mochi squares on a pre-heated waffle iron, cook for about 3 minutes and watch it puff up! See the full recipe here

You Might Also Like these Mochi Recipes


Sweet Rice Mochi (Using a Mochi Maker)
Equipment
- Mochi Maker Machine
Ingredients
SOAK THE RICE IN WATER OVERNIGHT
- 5 cups glutinous white rice or sweet white rice*
- enough water for soaking about 10 cups
ADD TO THE STEAMER
- 2 cups of water
ADD DURING THE POUNDING PROCESS
- 1 tsp salt
- 3 Tbsp sugar, honey or maple syrup optional
- ⅓ to ½ cups of water**
USE AFTER THE MOCHI IS OUT OF THE MACHINE
- sesame olive canola or vegetable oil
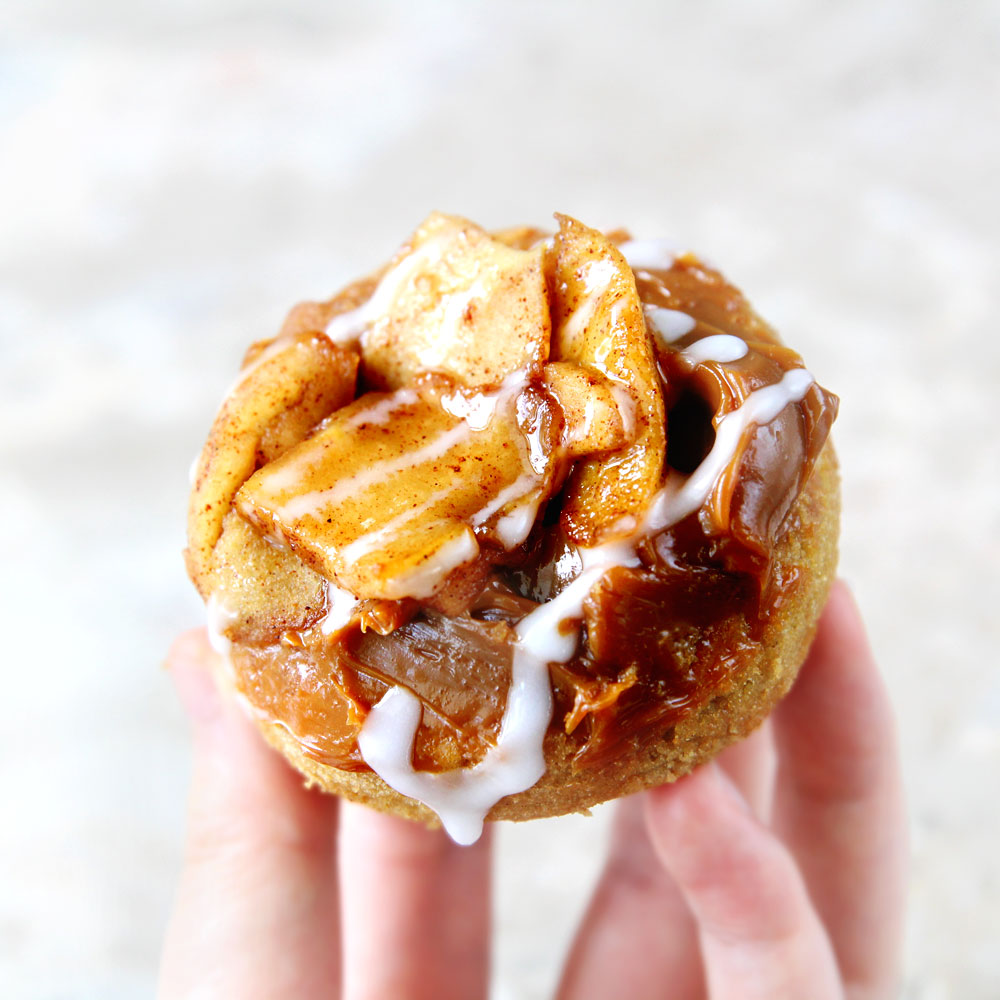
- mochi filling such as sweetened beans icecream or Nutella
Instructions
- Wash, rinse then soak the 5 cups of glutinous white rice in double the amount of water in a bowl or large container overnight (about 8-12 hours). Drain.
- Prepare the mochi maker by filling it with 2 cups of water (there is a separate area for this, right below where the steamer bowl should be placed).
- Fit the bowl and paddle into the machine
- Transfer the drained rice into the steamer bowl.
- Close the lid and press STEAM (takes about 30 minutes, an alarm will go off when it's done)
- When the rice is done steaming, open the lid and sprinkle in the salt. Add the colored water or puree of choice if you want to make colored or different flavored mochi
- Press POUND
- Allow the mochi machine to pound the rice for 15-20 minutes and stop the machine. Pour into a well greased pan.
- Use the mochi dough immediately to shape into desired shape.
- OR, press onto the greased pan and allow to cool. Use scissors or a sharp knife to slice and portion the mochi. Enjoy!


Annee says
Thanks for this! I saw a friend of mine use a Mochi maker before but she said she brought it from Japan and I didn’t know you could buy one here! Nice to have the instructions in English
All Purpose Veggies says
🙂
Annamarie says
I never knew how simple it was to make mochi from cooked sweet rice, and must say this is a fantastic party idea, like mochi party with different fillings. I also love that you have filling ideas other than red bean paste. Do you have an ice cream mochi recipe yet?
All Purpose Veggies says
Hi Annamarie, Unfortunately I don't yet, but that sounds like a fantastic summer recipe idea!