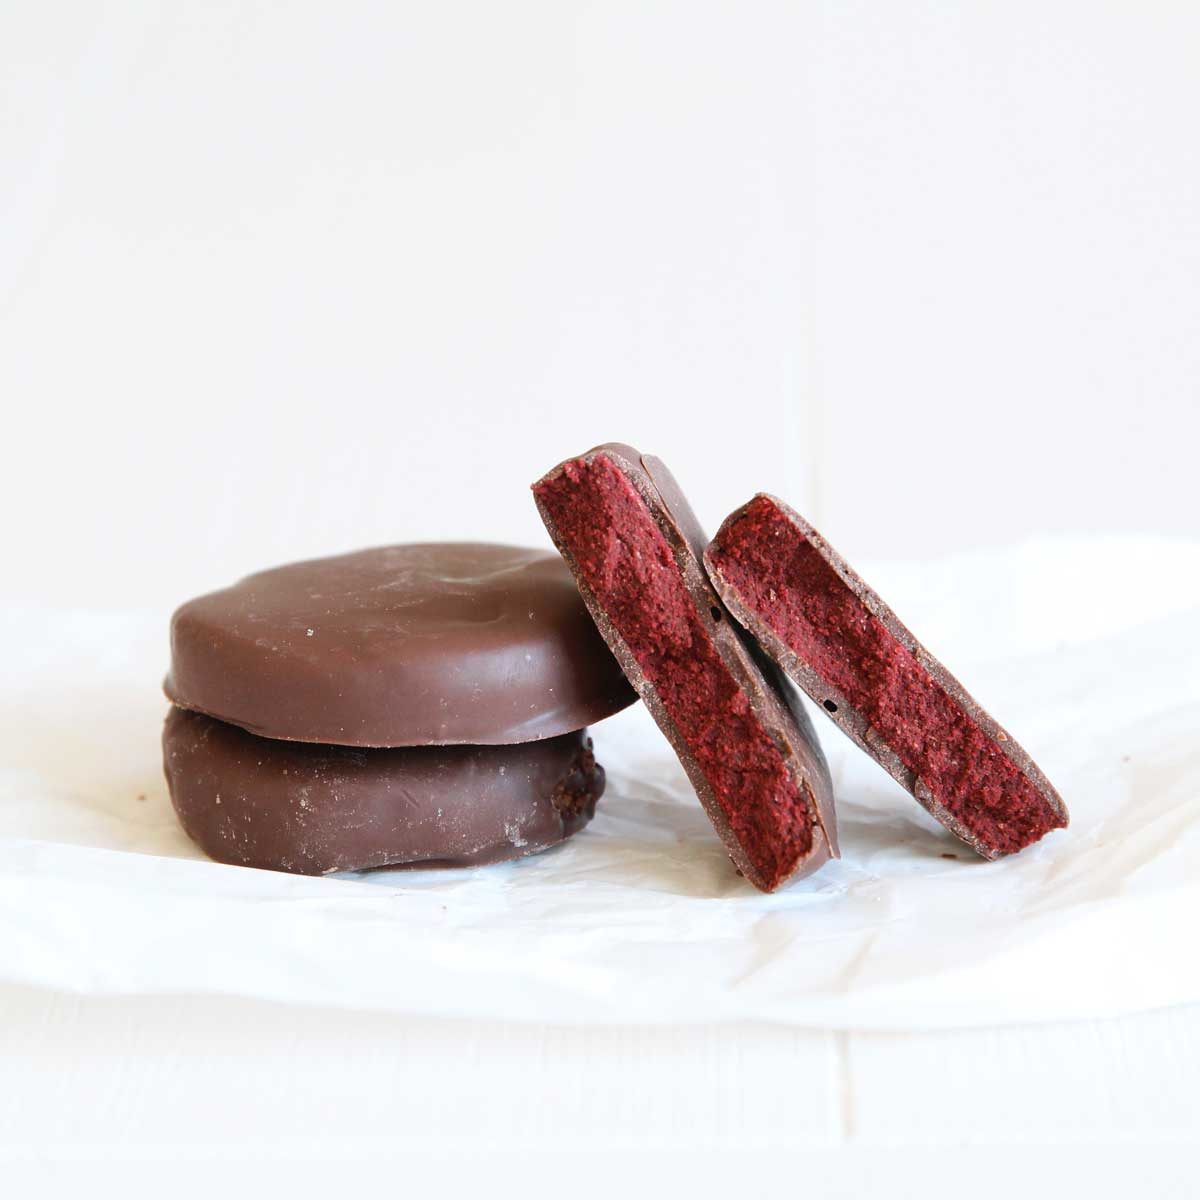
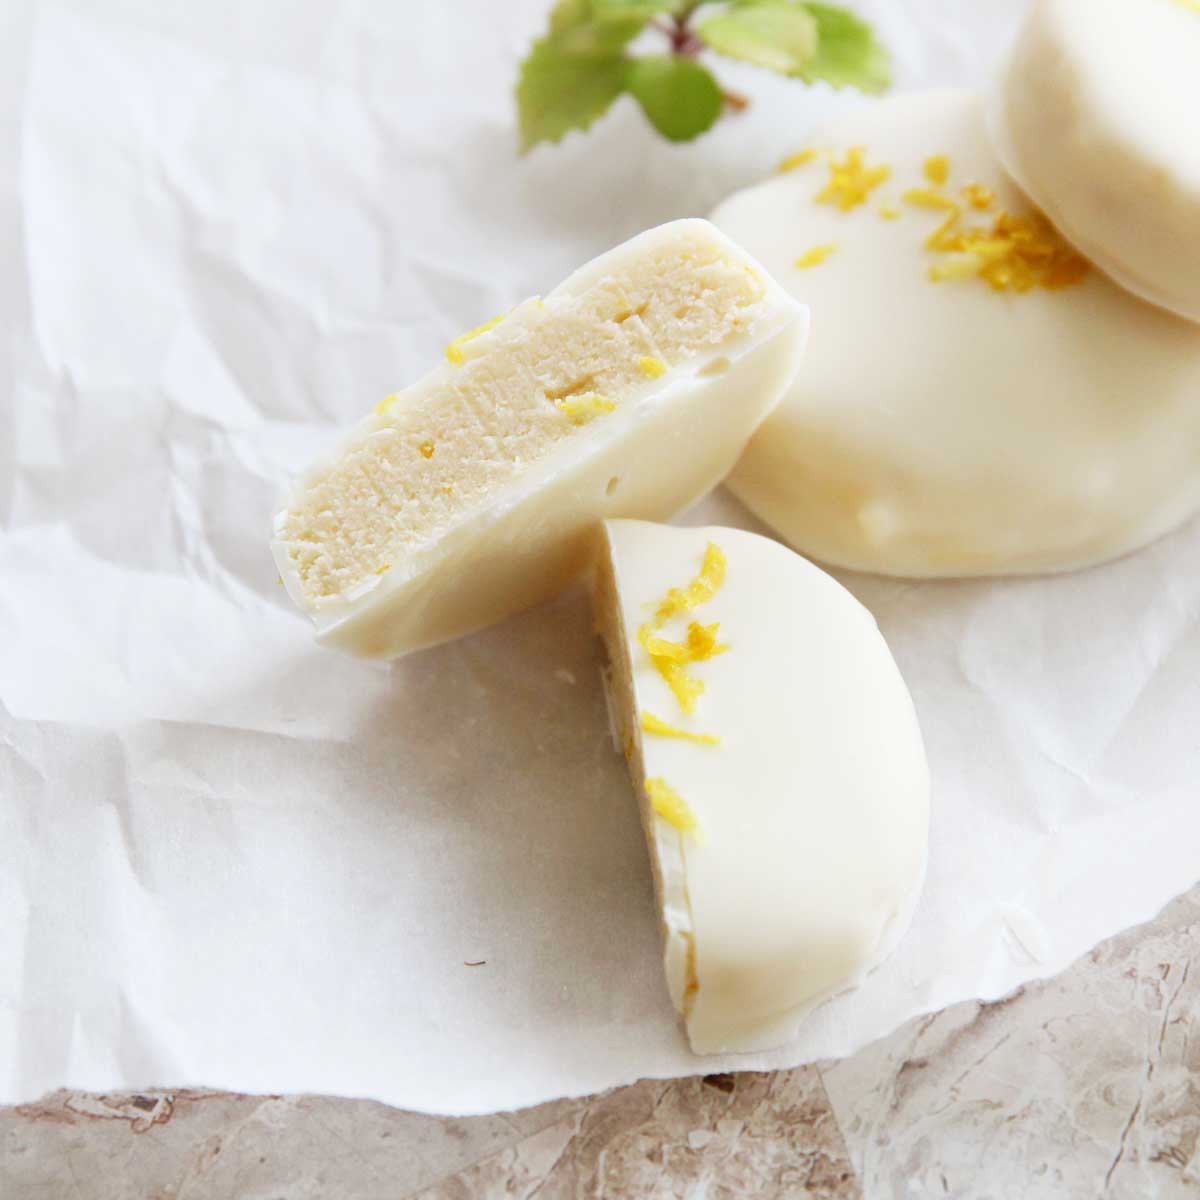
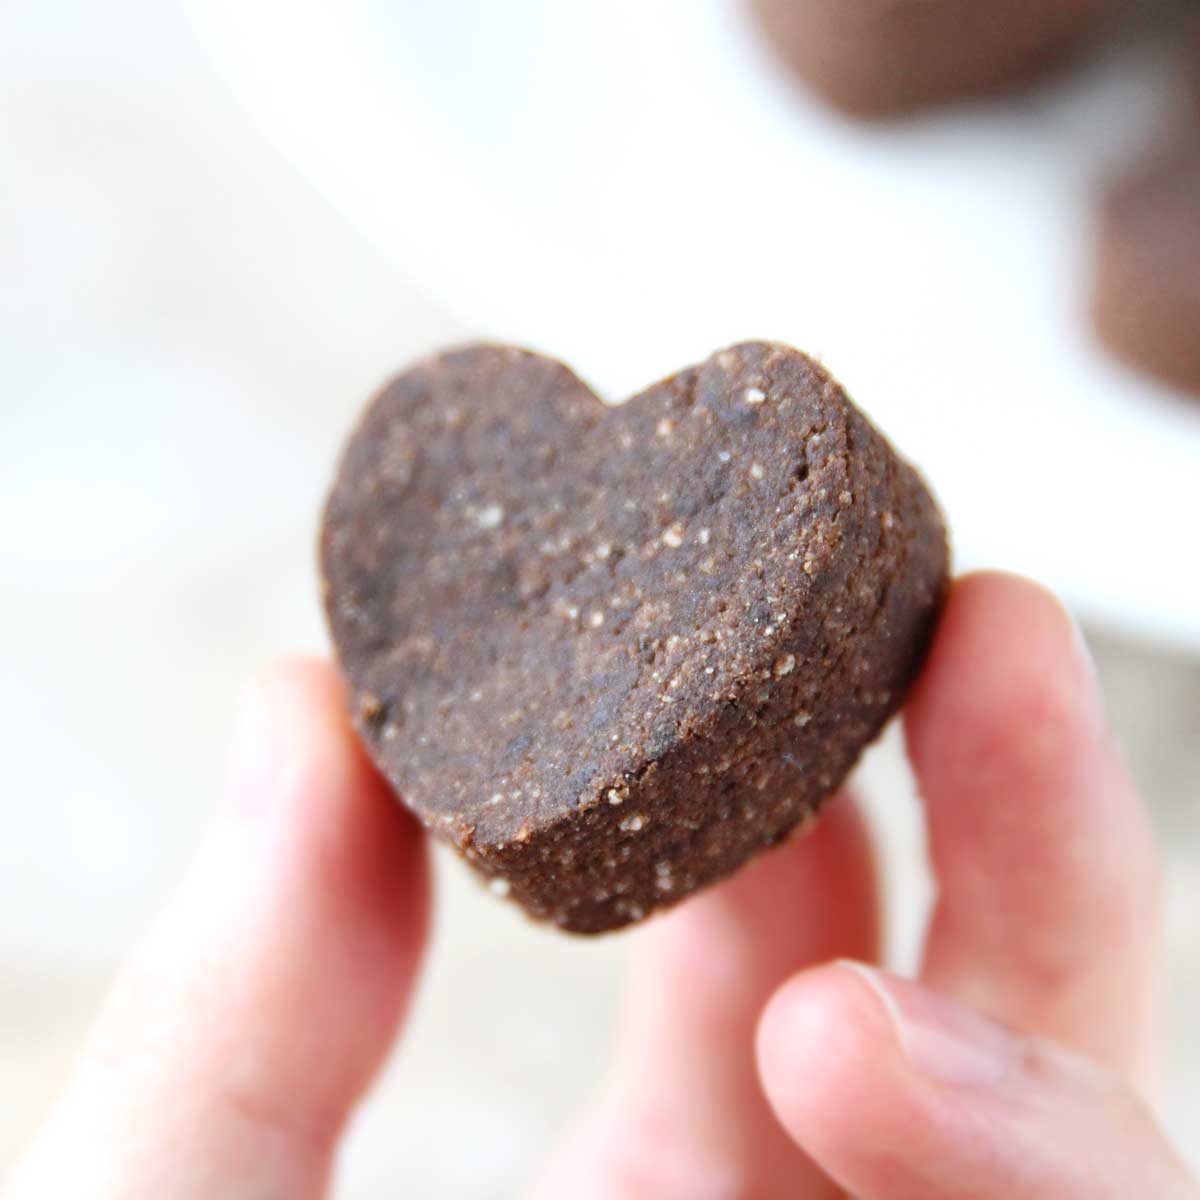
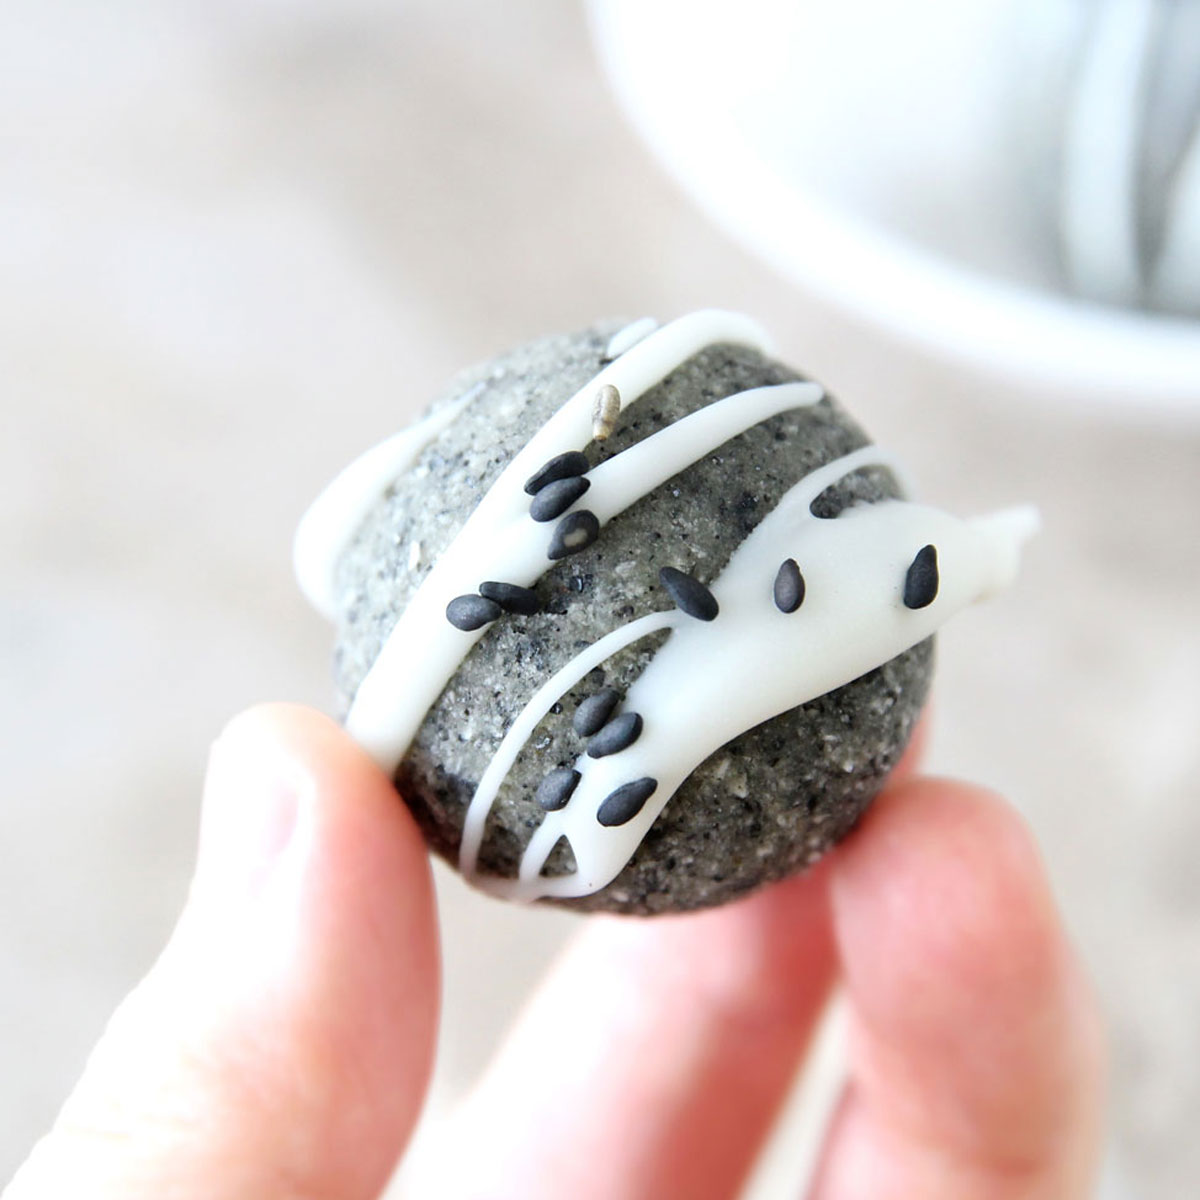
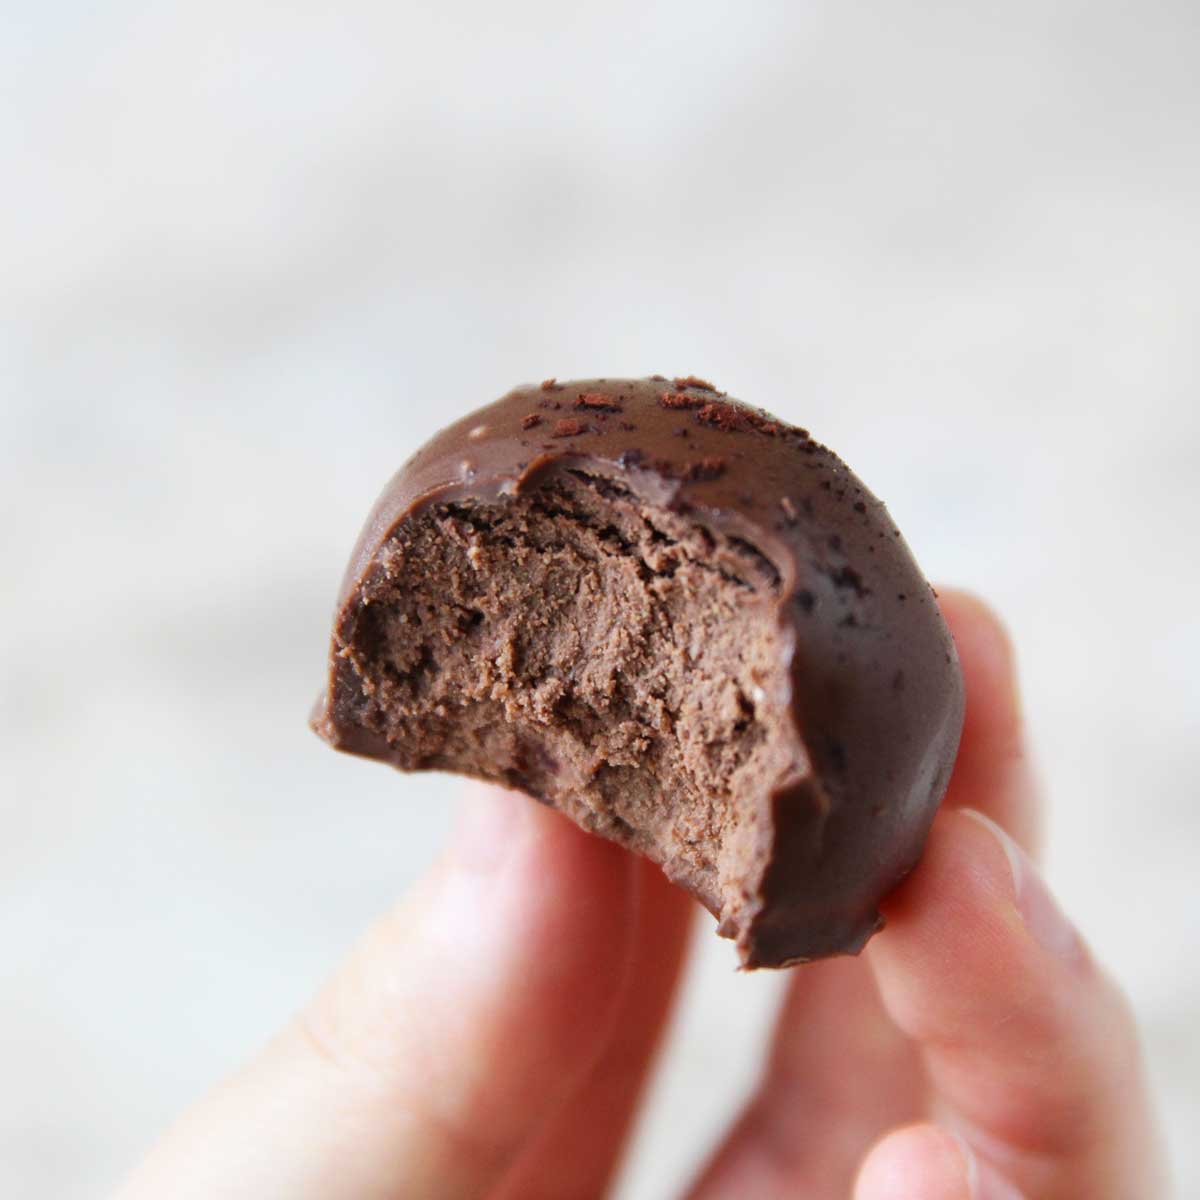
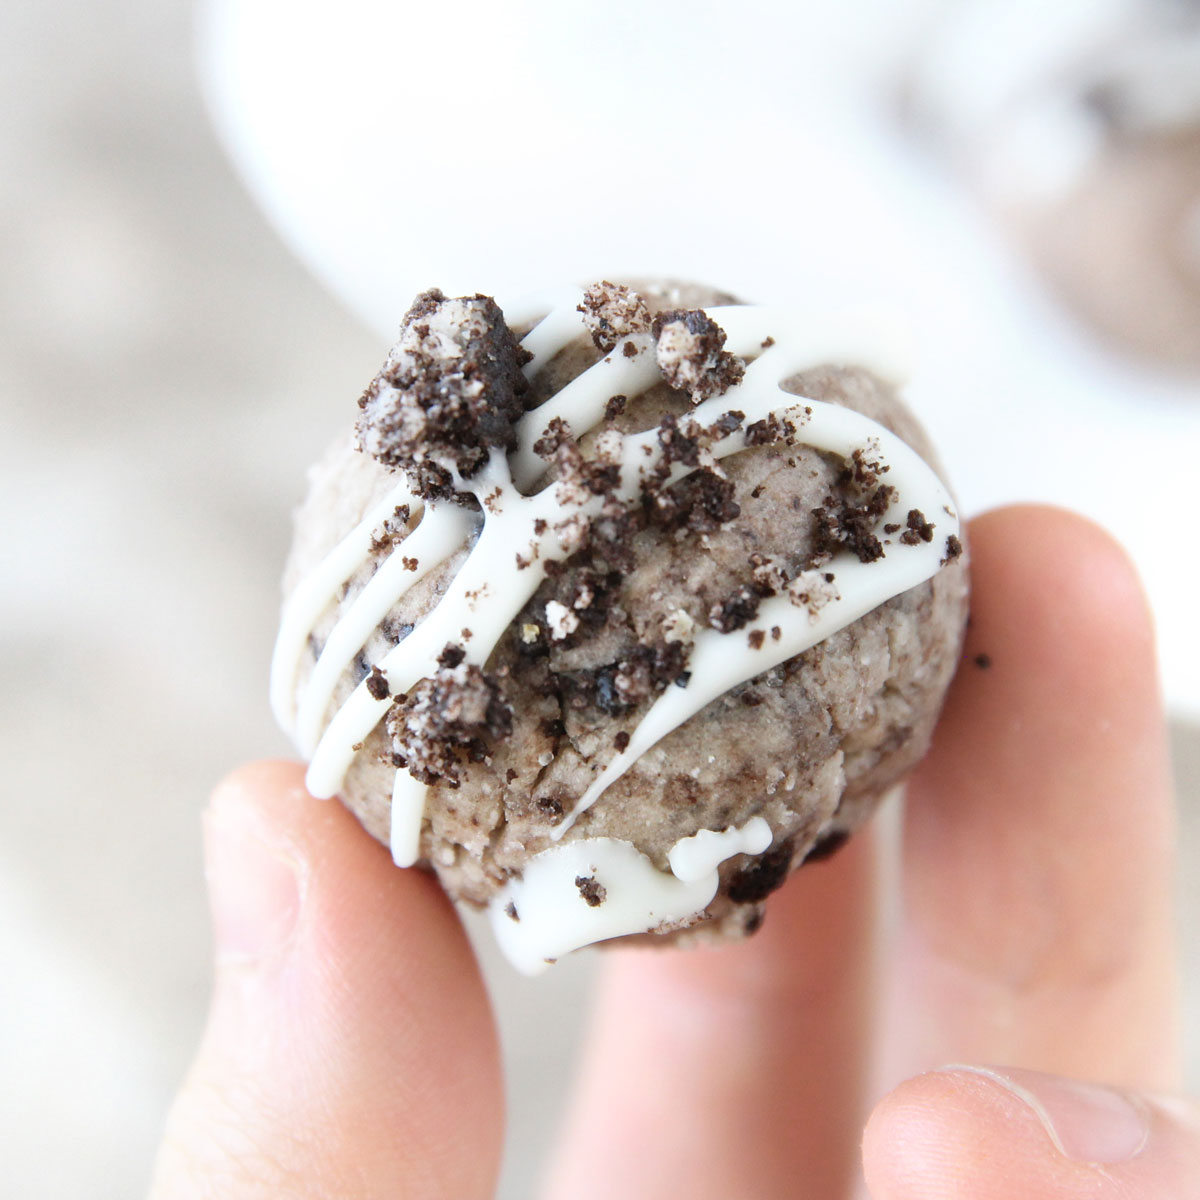
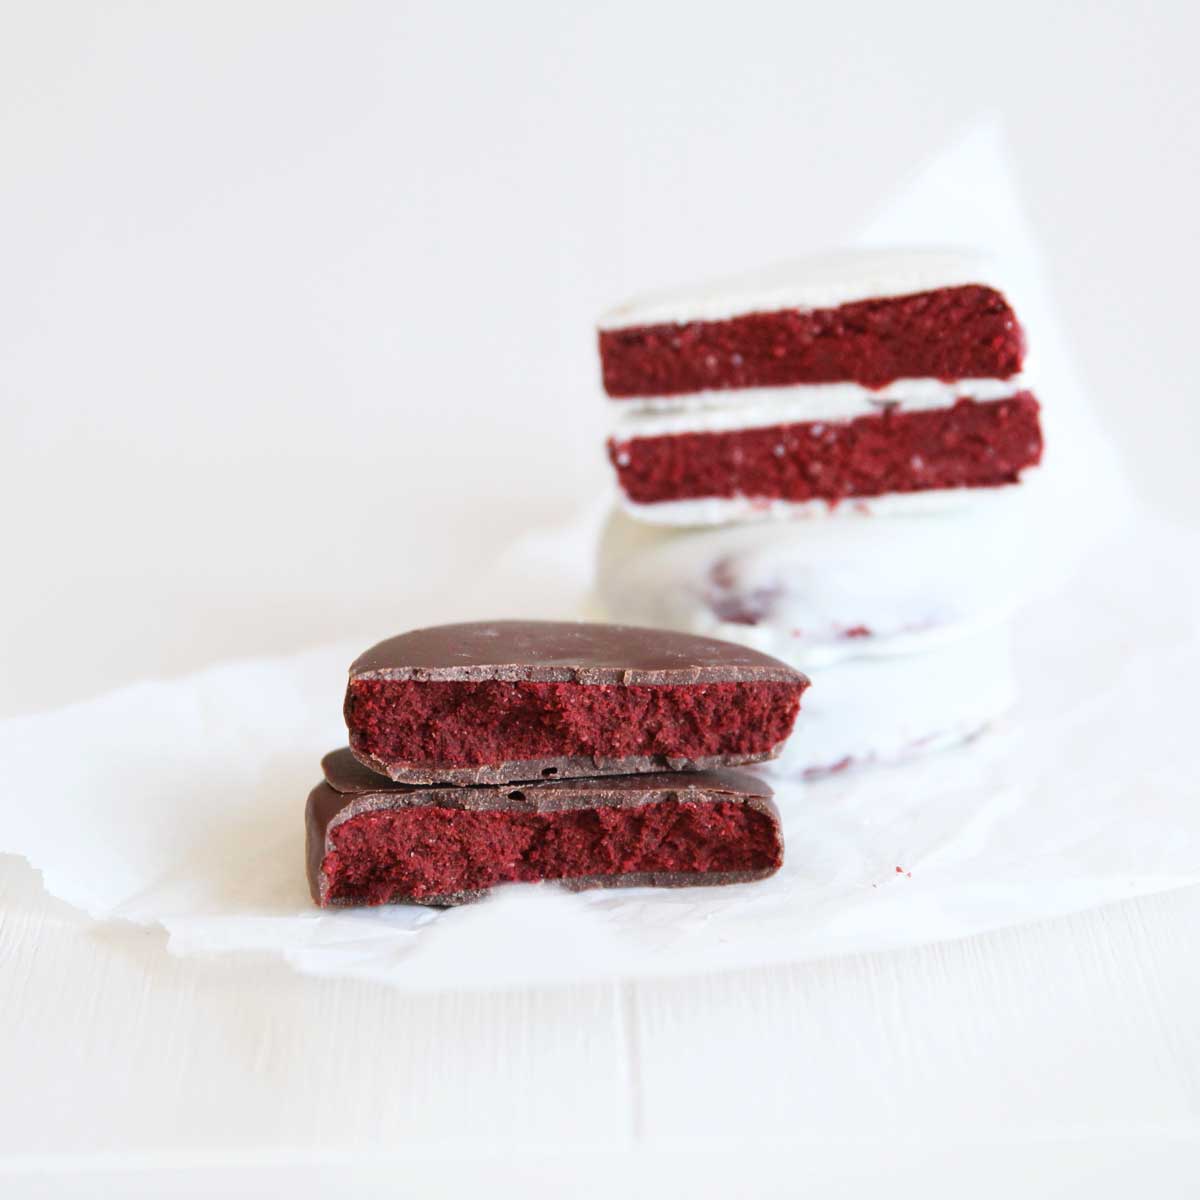
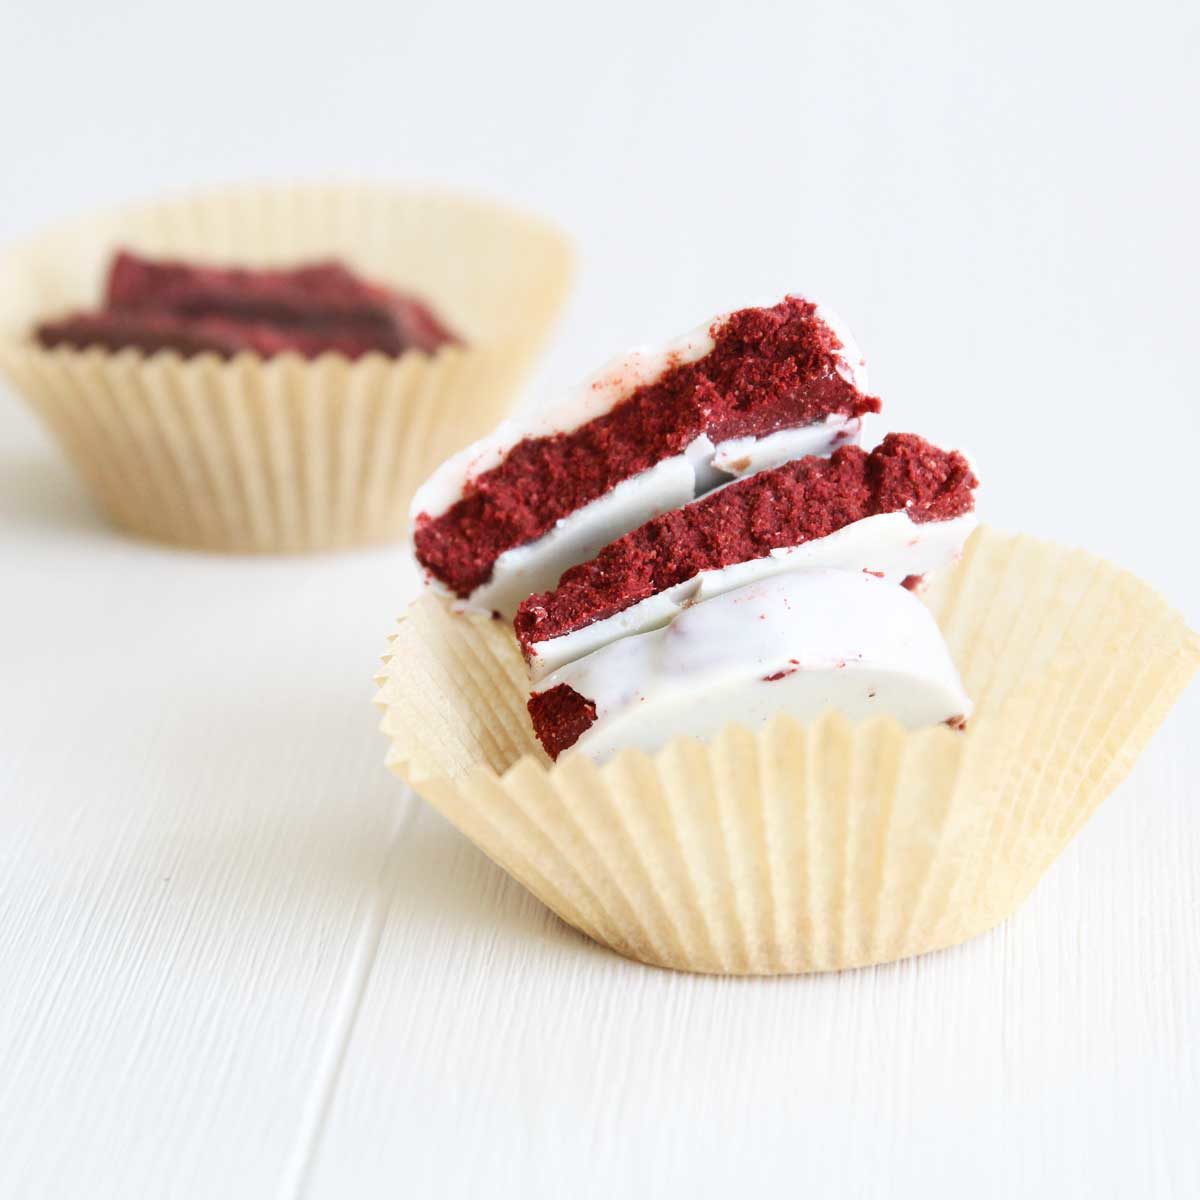
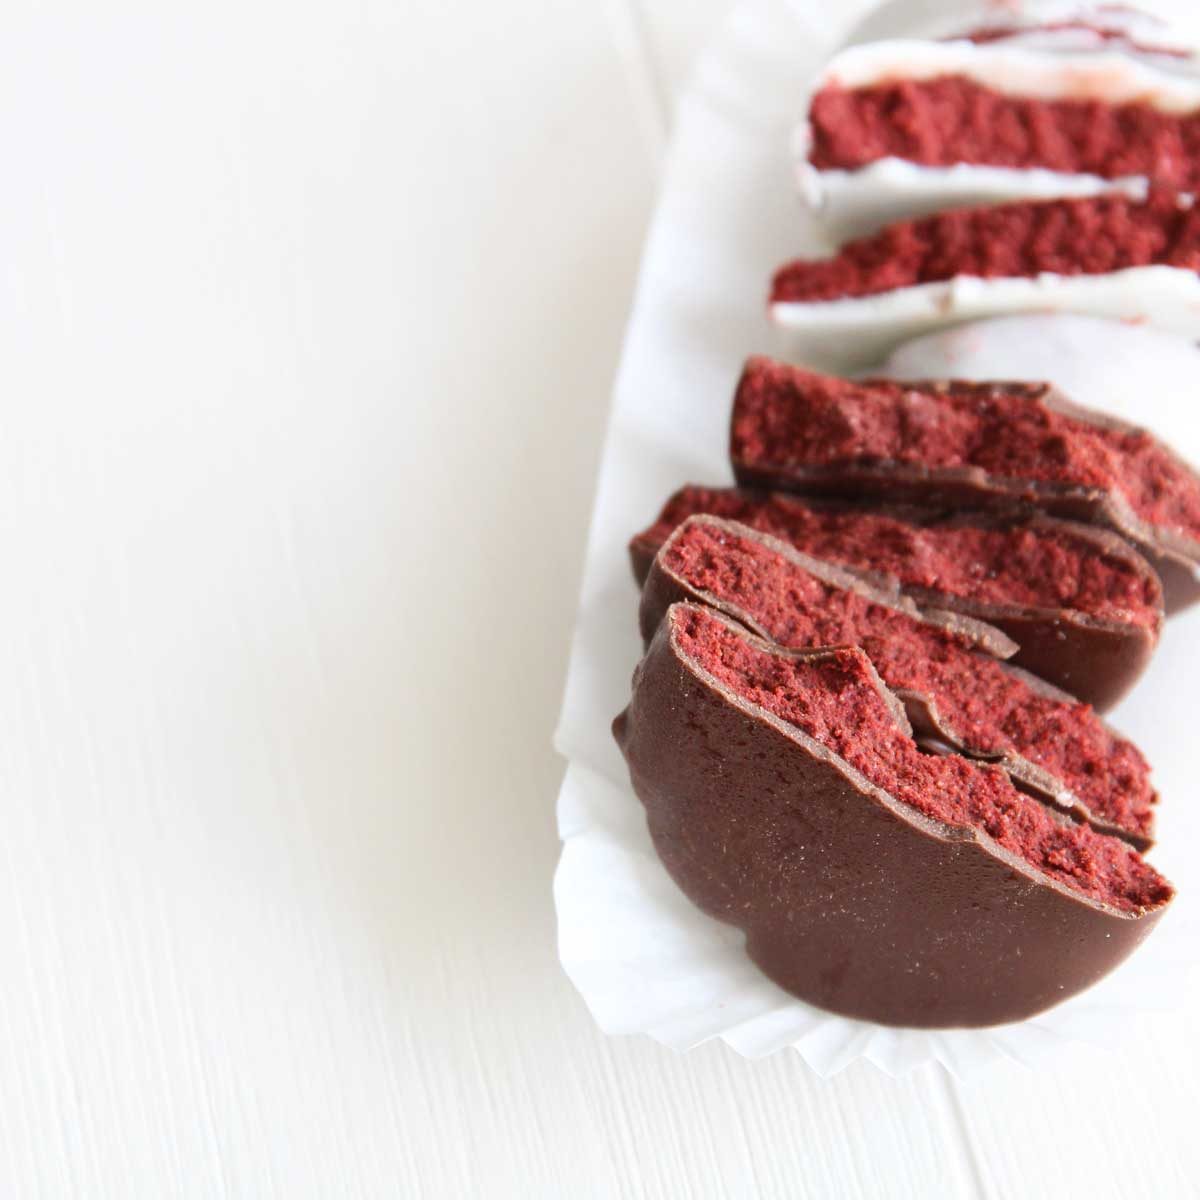
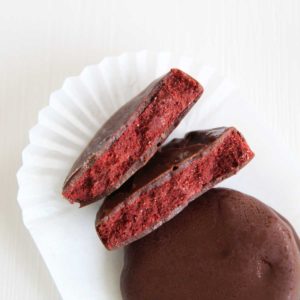
Here's a delicious protein cookie recipe that looks super impressive, but actually really easy to make. These beautiful chocolate-covered red velvet cookies are no-bake, and prepared within minutes with chocolate protein powder. They're also low carb, vegan-adaptable and keto-friendly!
Here's why I love this recipe
- no-bake
- easy to prepare
- high-protein
- low calories
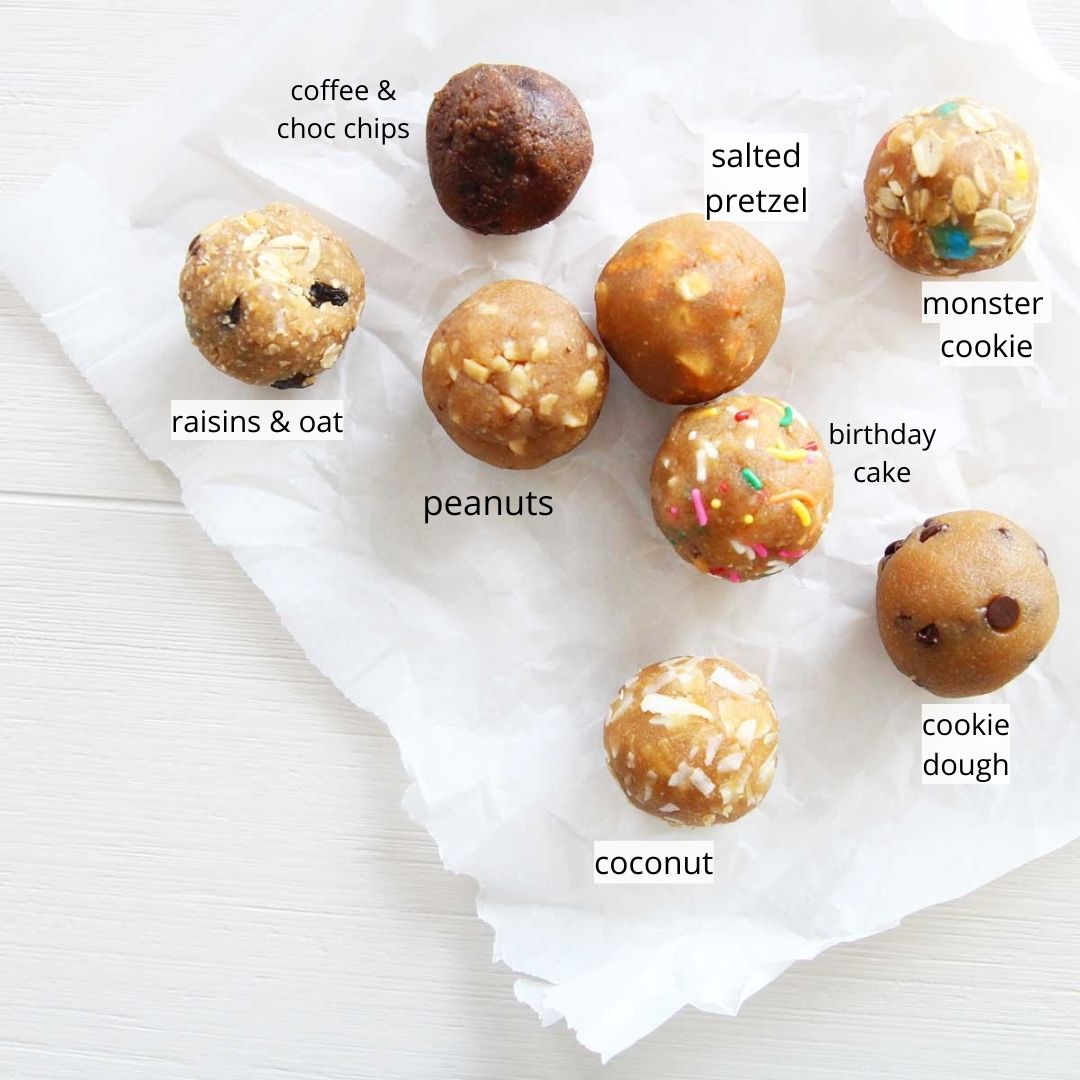
Ingredients used to make Red Velvet Protein Cookies
**I've linked some of these ingredients to amazon.com to give you an idea of what they are, but you should also be able to find them in your local grocery store (usually, the natural & organic food section). They are also affiliate links, which means that I earn a commission as an Amazon Associate if you decide to purchase the items. The price will be the same for you, link or no link 🙂
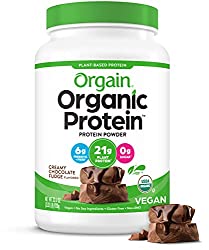
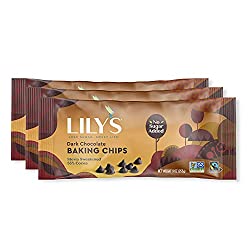
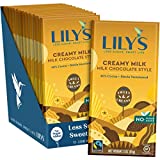
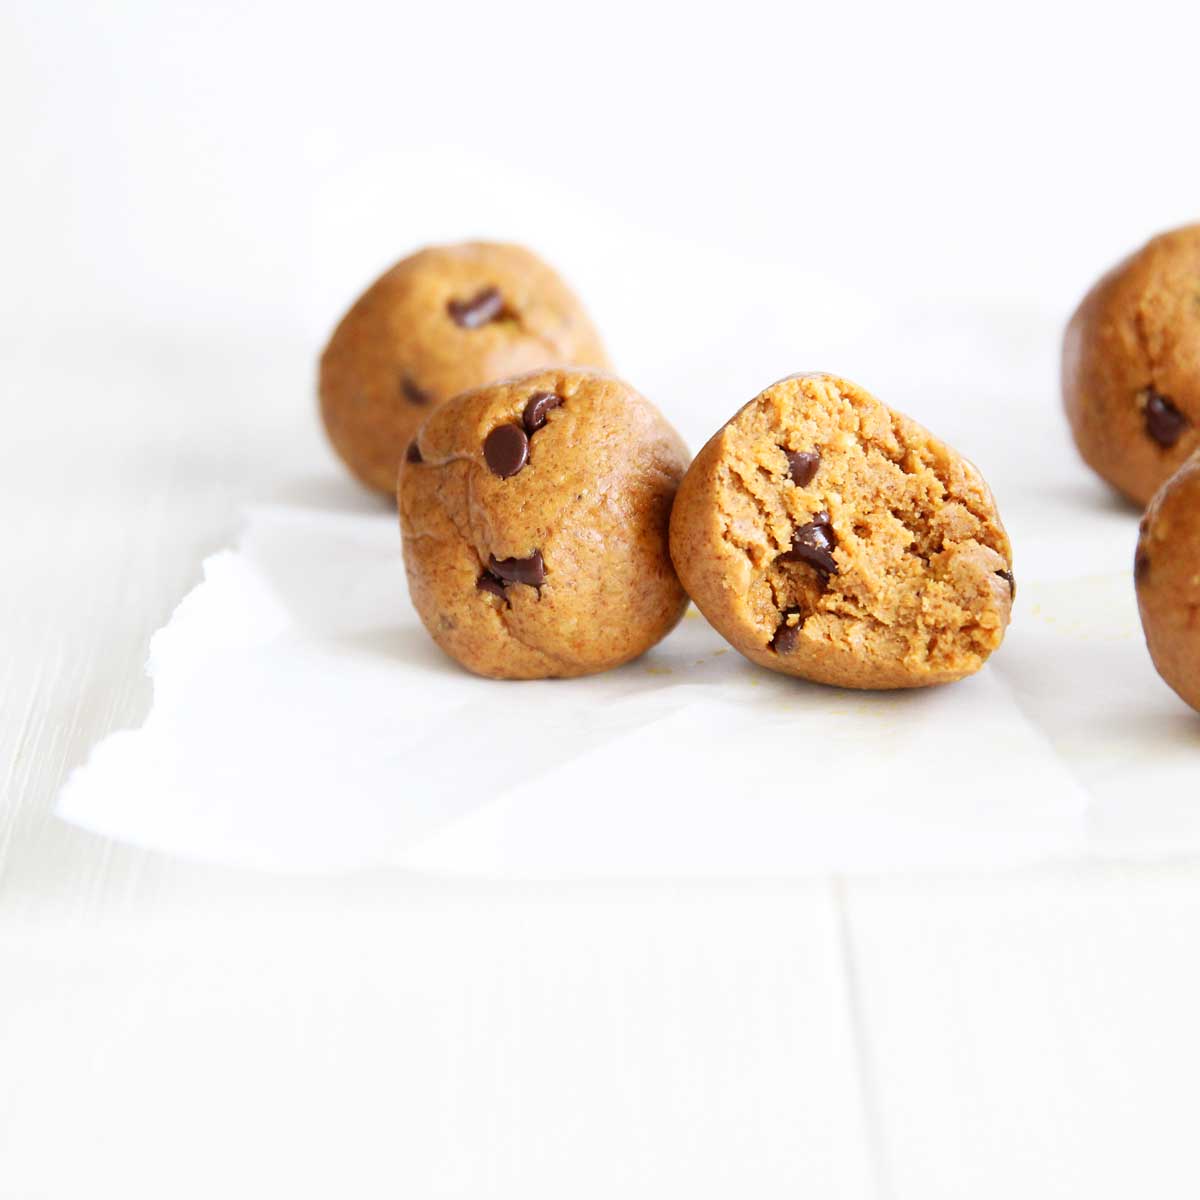
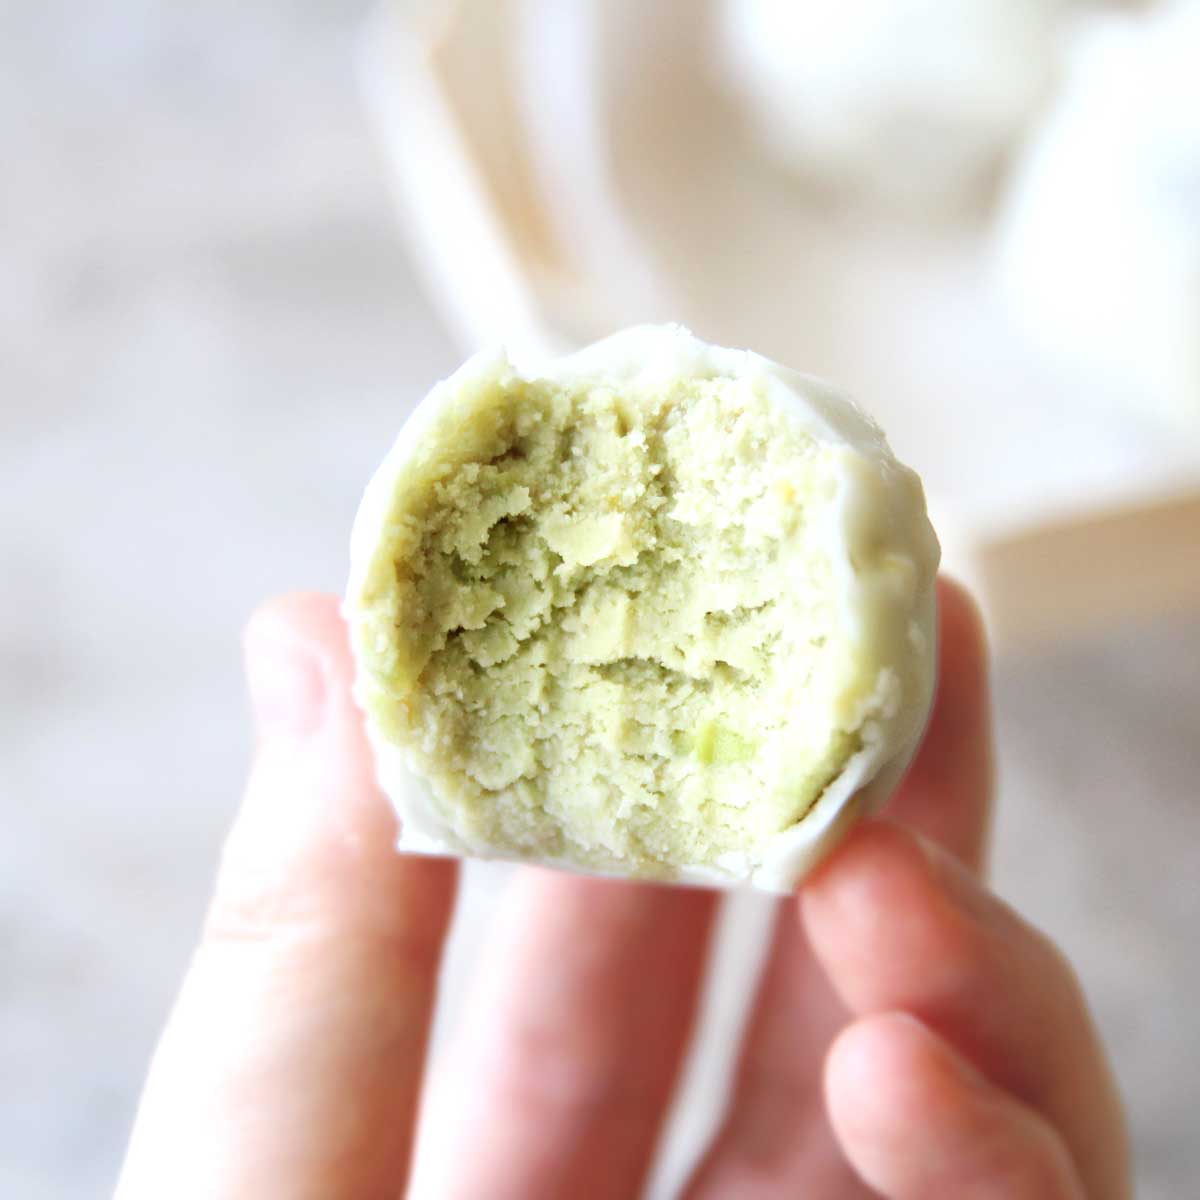
- Protein Powder – You can use any protein powder for this, but for this recipe I used a plant-based chocolate protein powder, like this one below. You can also use vanilla protein powder, too. Just add an extra teaspoon of cocoa powder.
- Coconut Flour - you can use any brand of coconut flour for this recipe. Here is a brand of coconut flour I like to use.
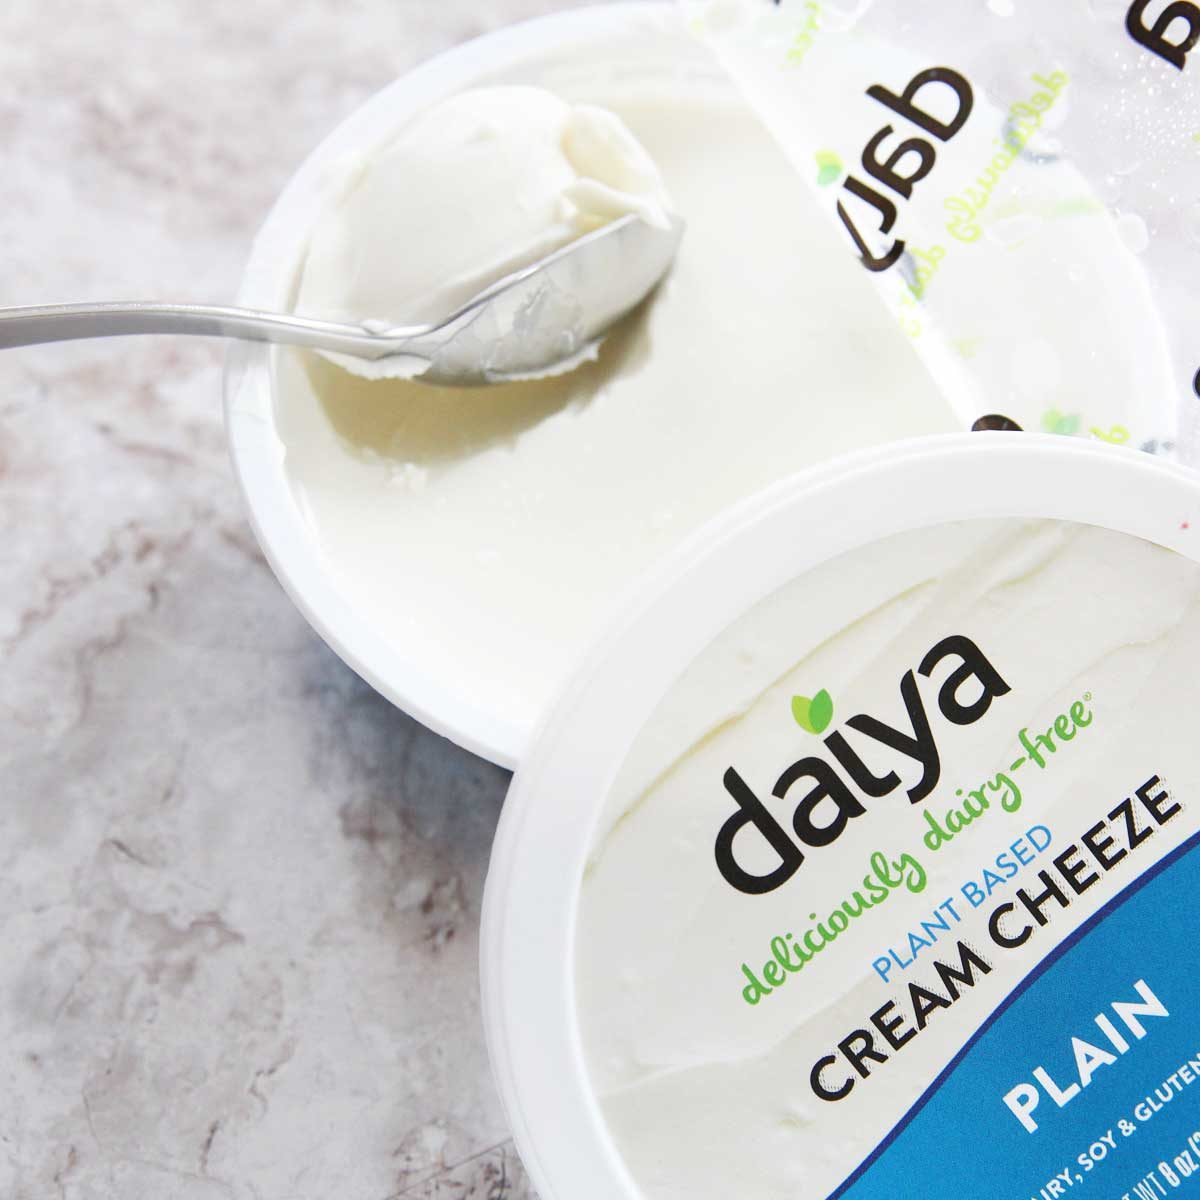
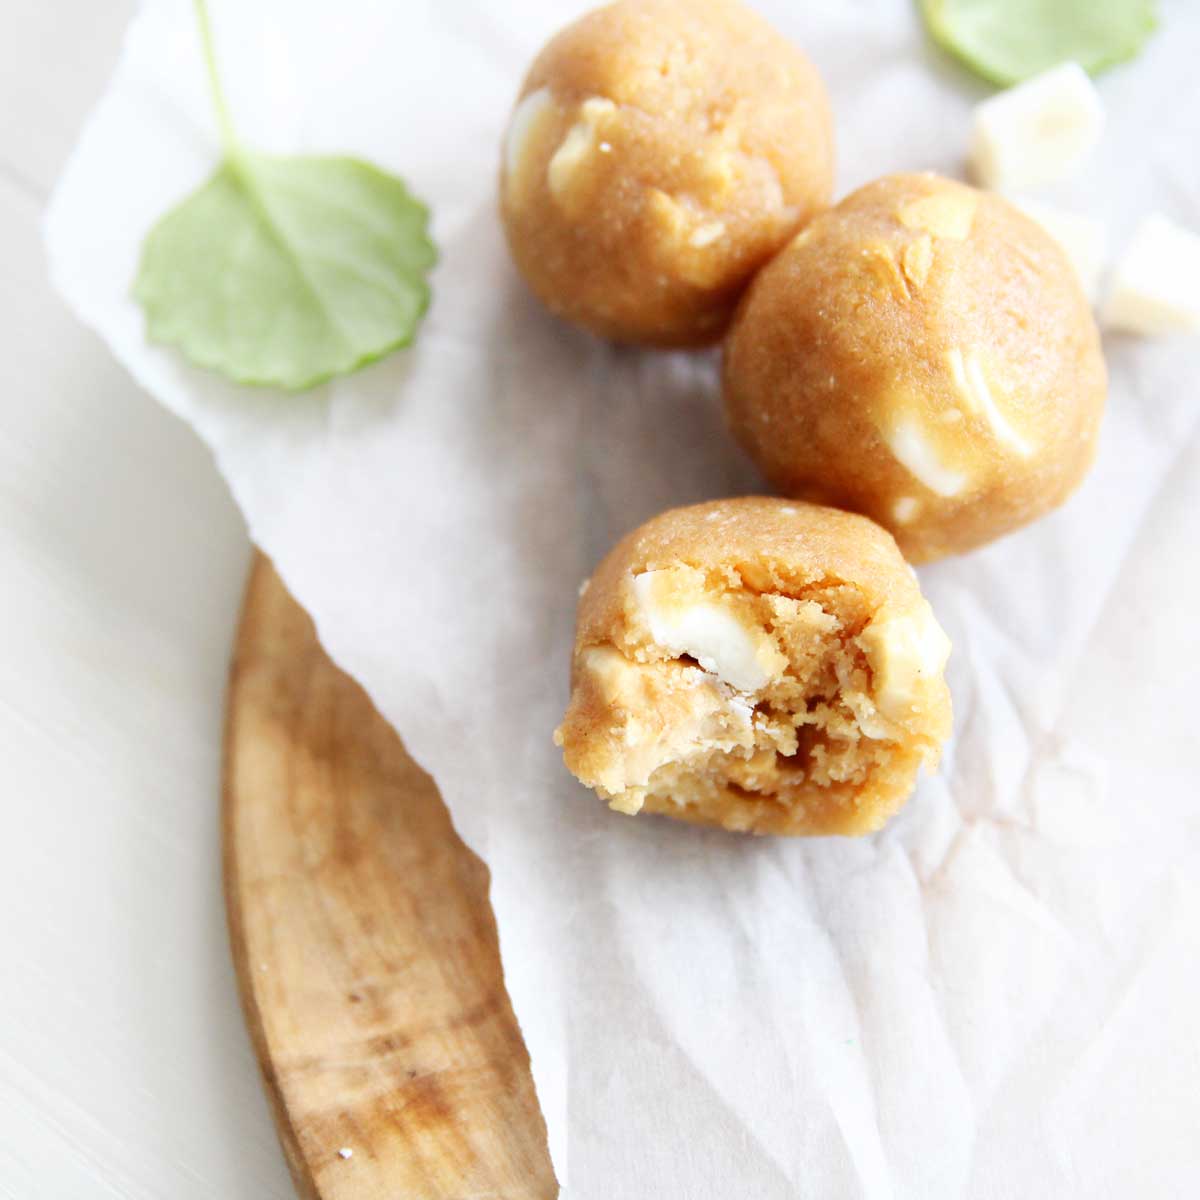
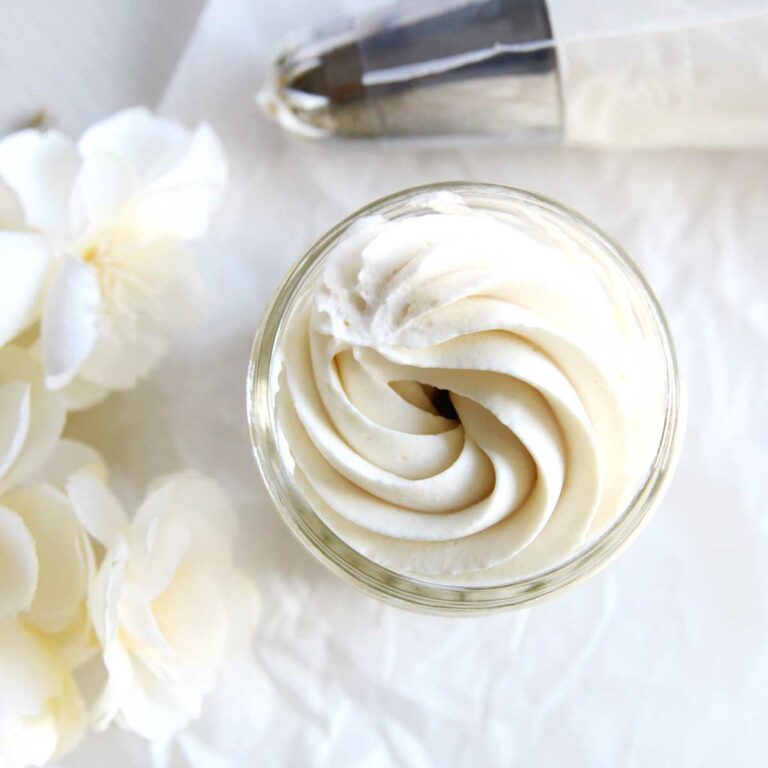
- Cream Cheese – you can use either dairy or vegan cream cheese (such as cream cheese made from almond milk). For this recipe, I used the dairy free cream cheese you see below.
- Powdered monk fruit sweetener - to make this low-sugar and keto, use a sugarfree sweetener like this one. Regular powdered sugar also works.
- Red Food coloring - I used this no-taste red icing gel from Wilton to color this recipe.

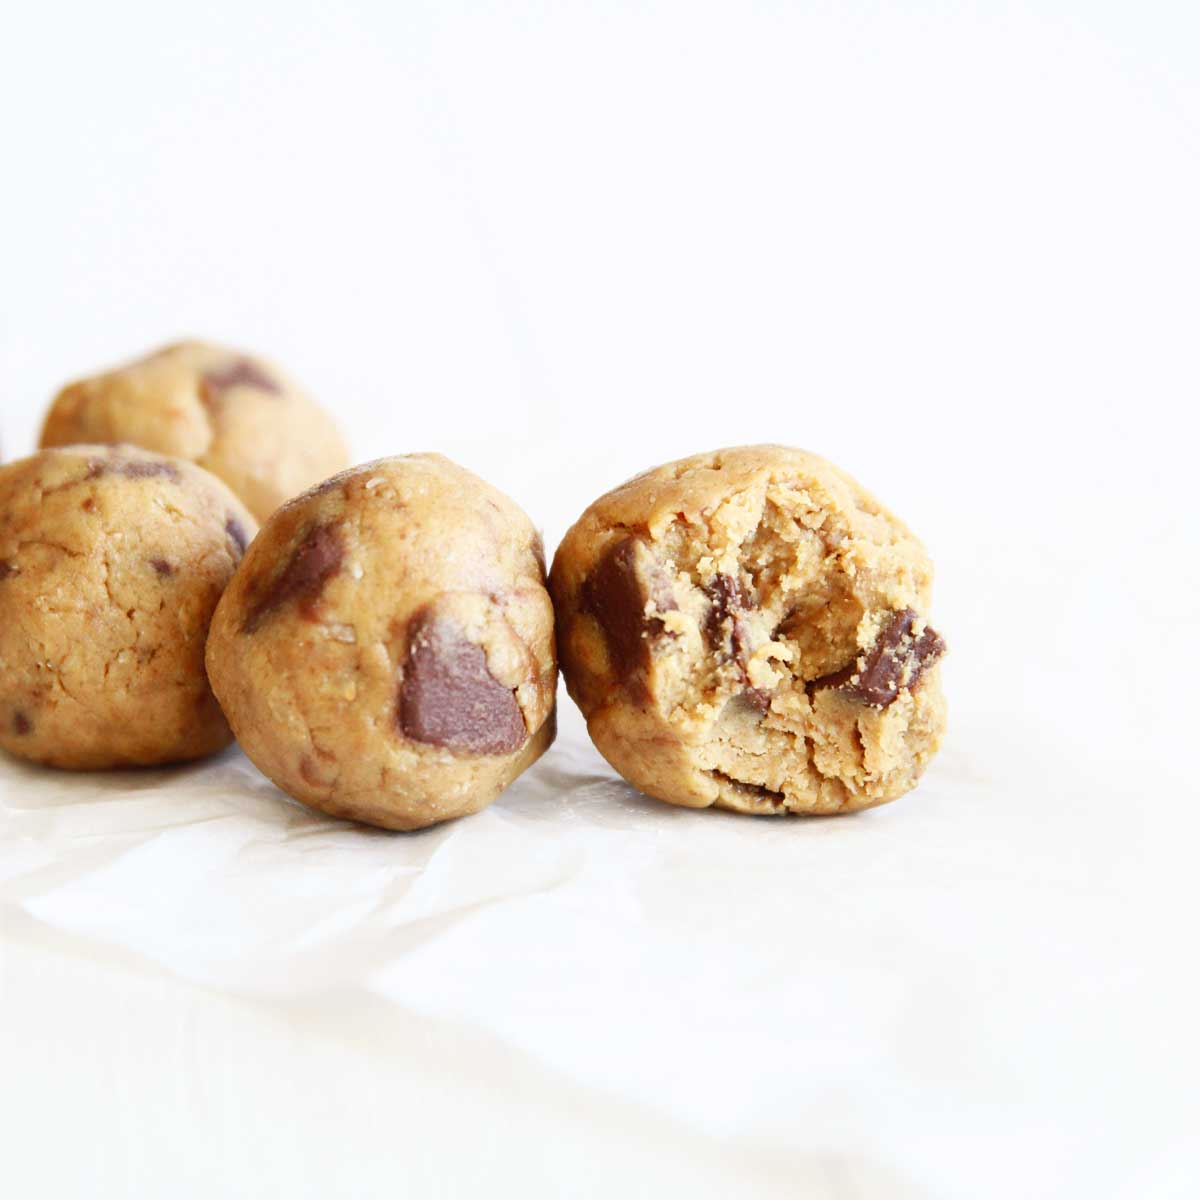
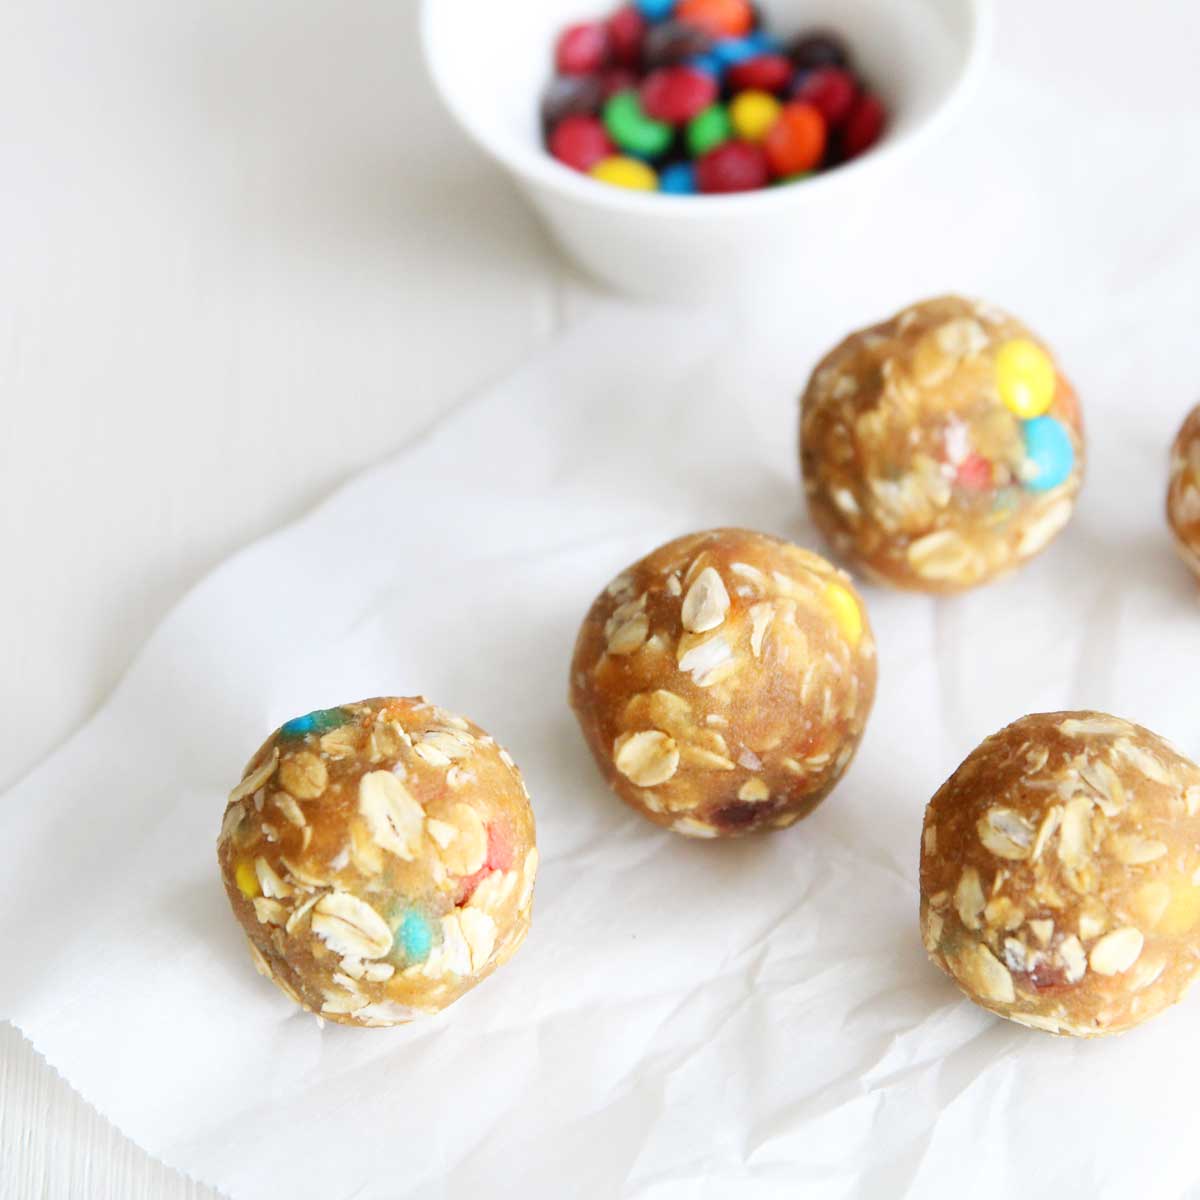
- Chocolate Chips - you can use any chocolate chips (or chopped chocolate) in this recipe. I like this lower sugar, stevia-sweetened brand. If you want, you can also use unsweetened chocolate.
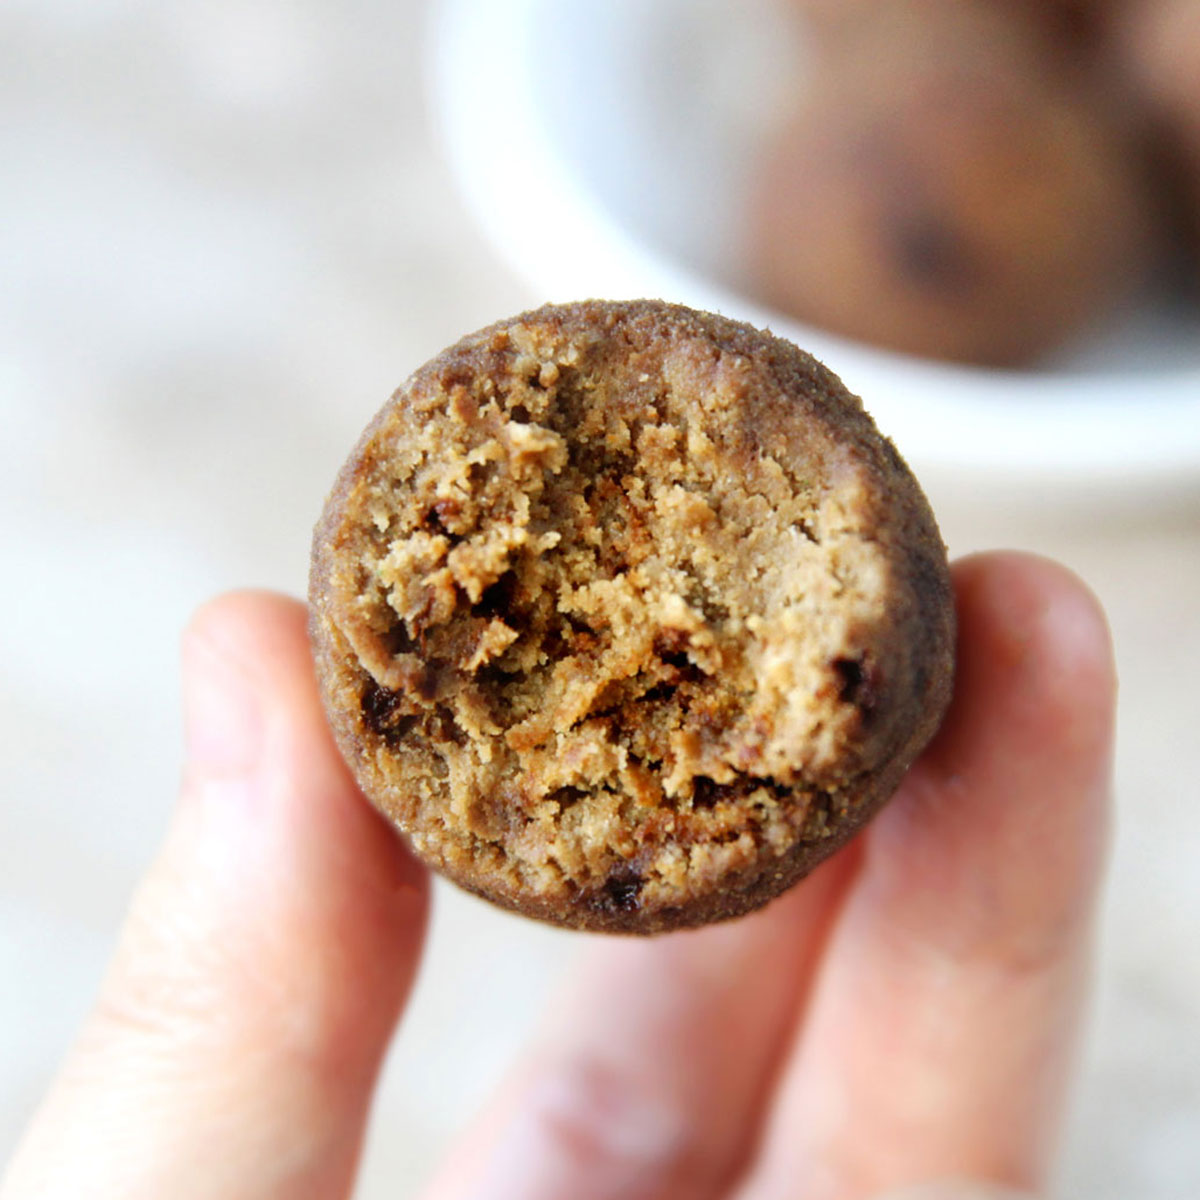
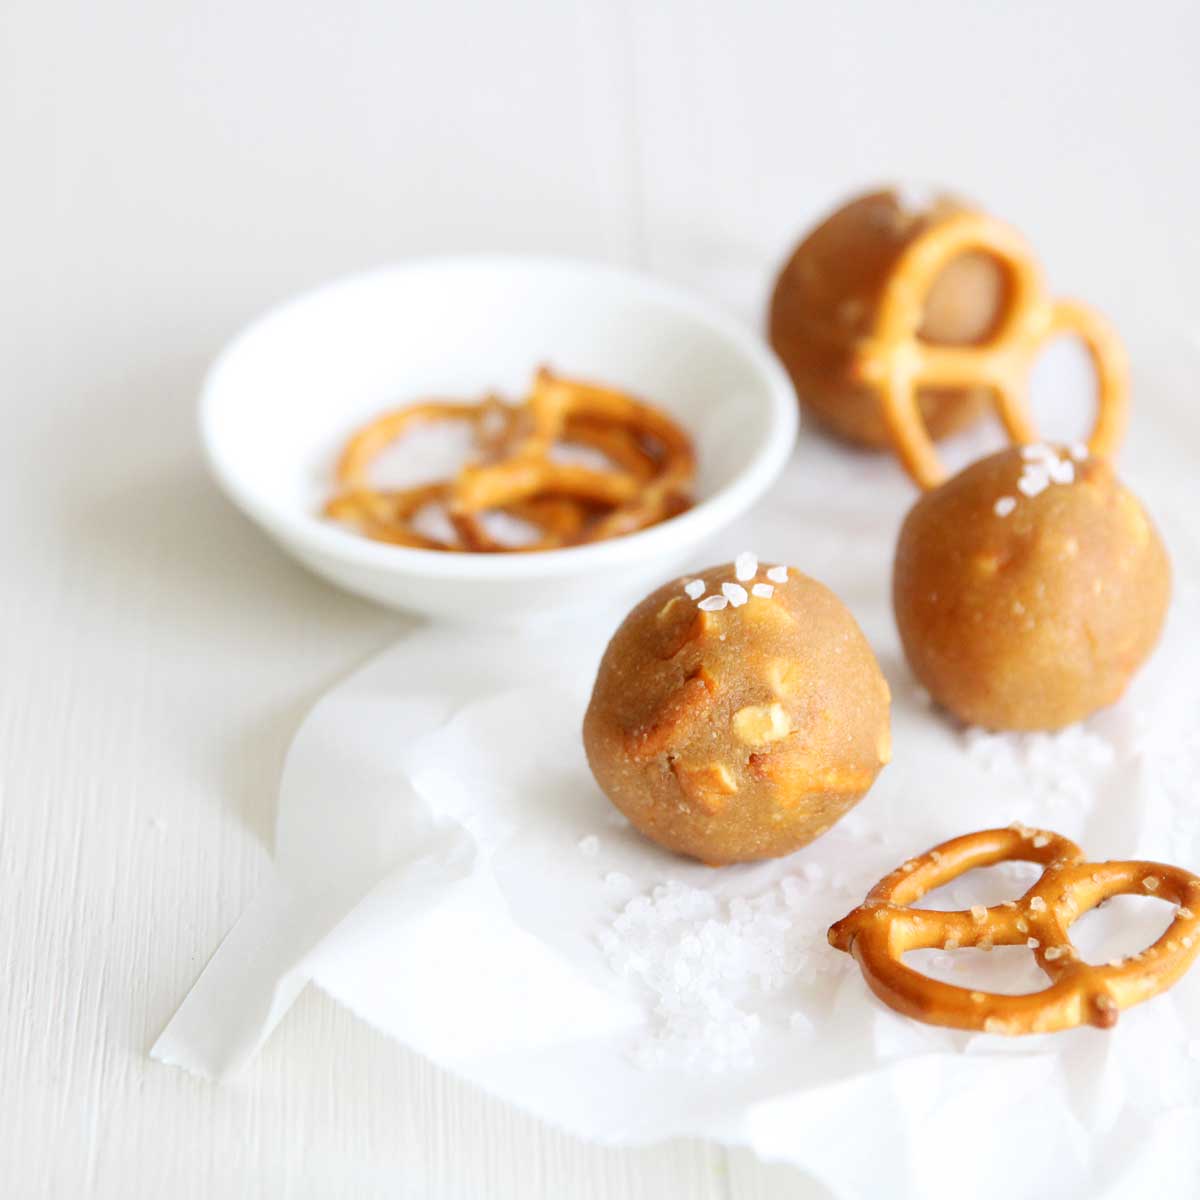
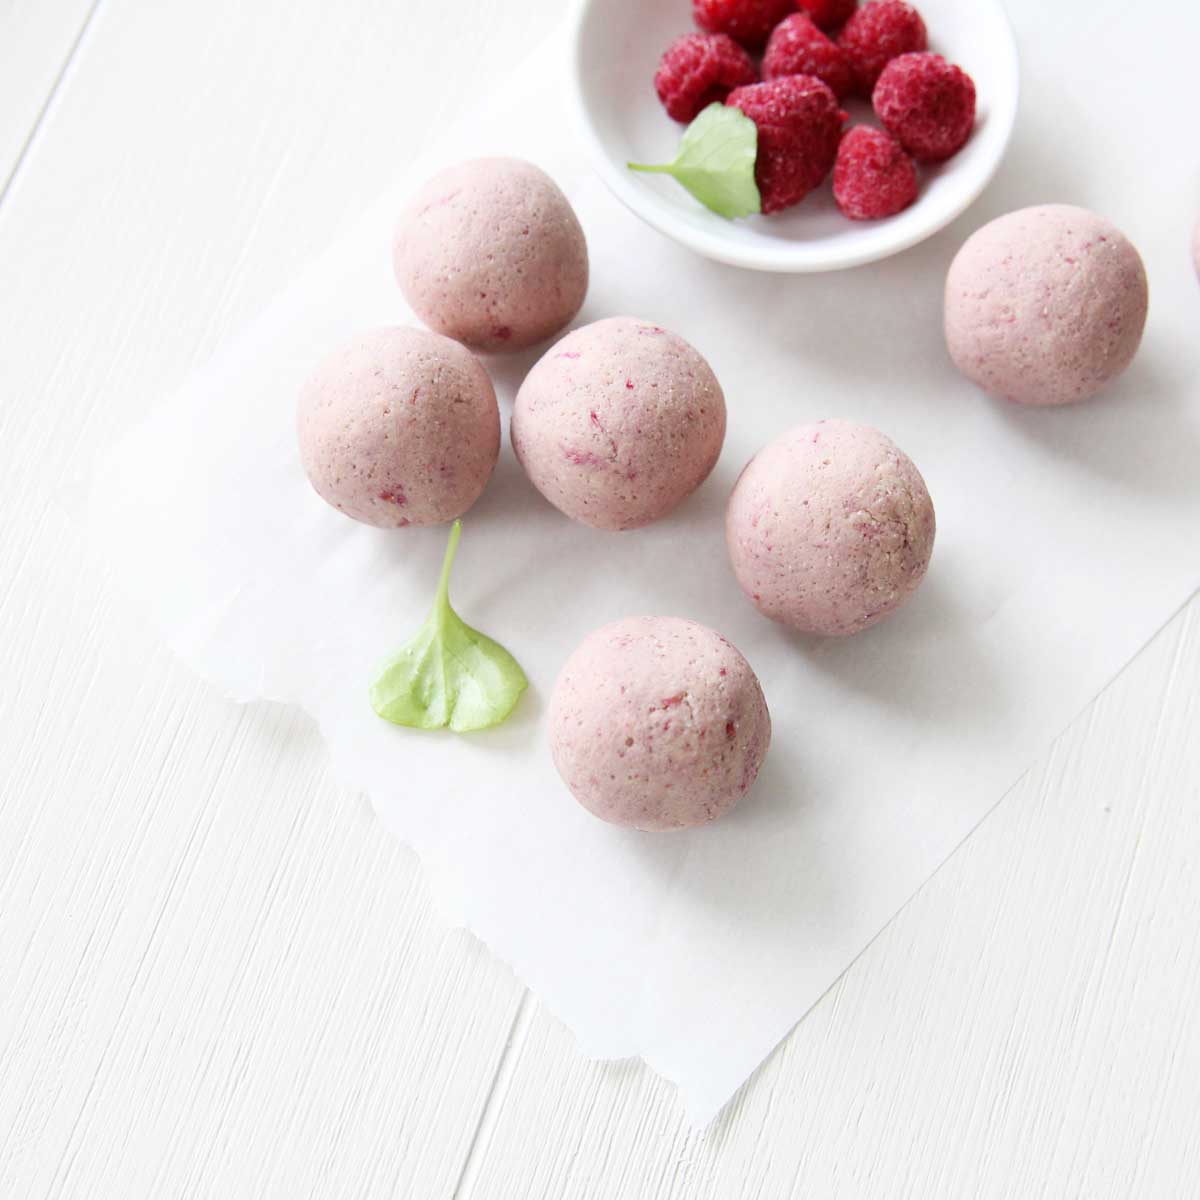
More Protein Powder Recipes (HERE)


How to Make
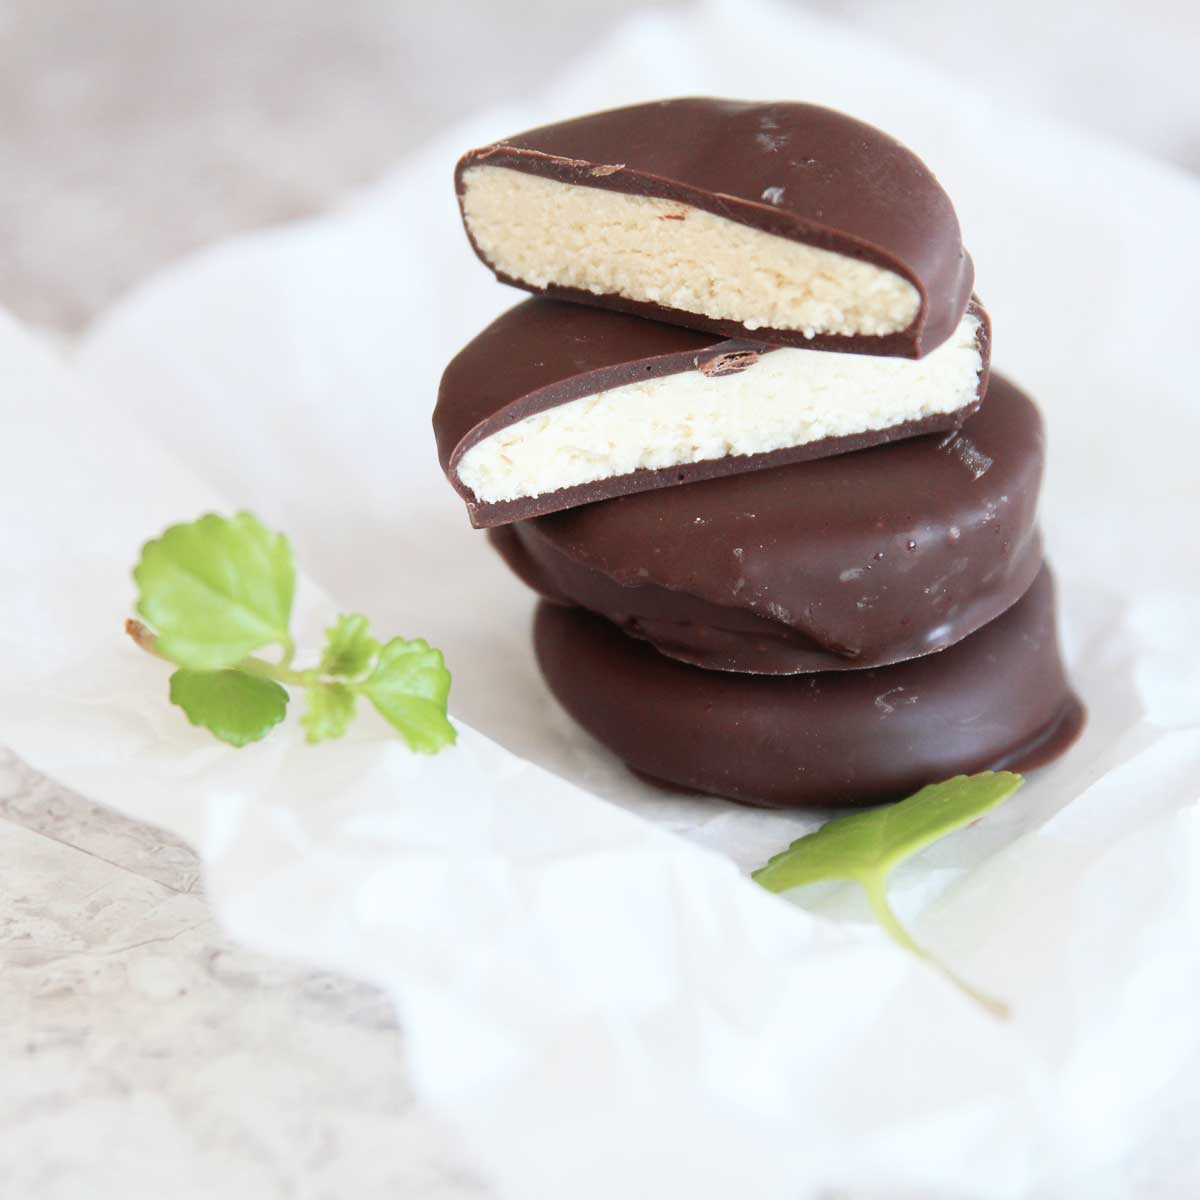
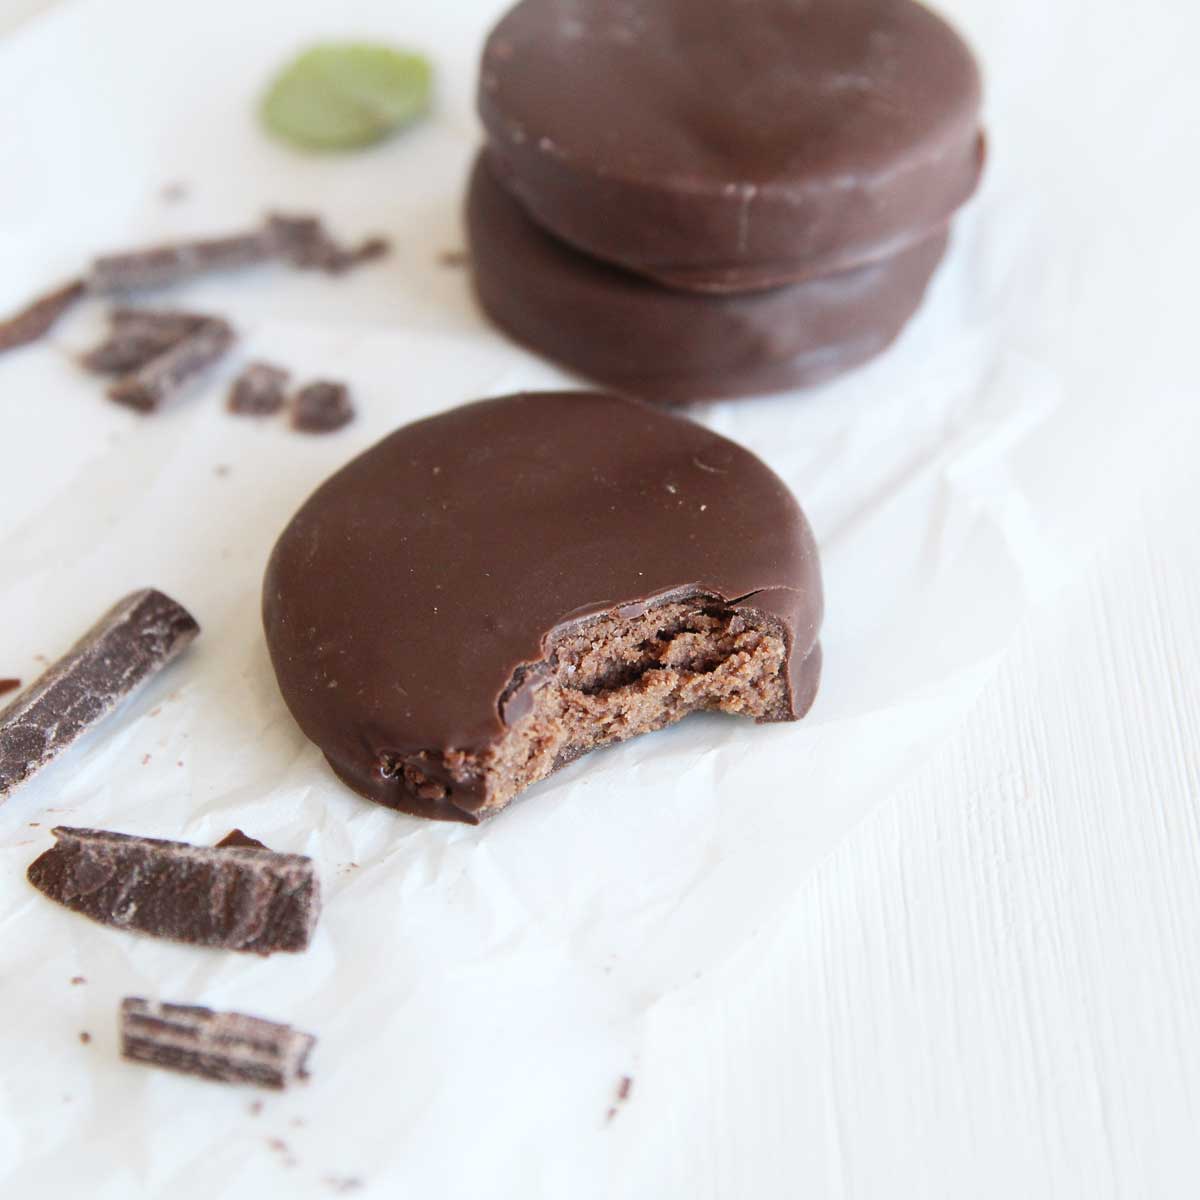
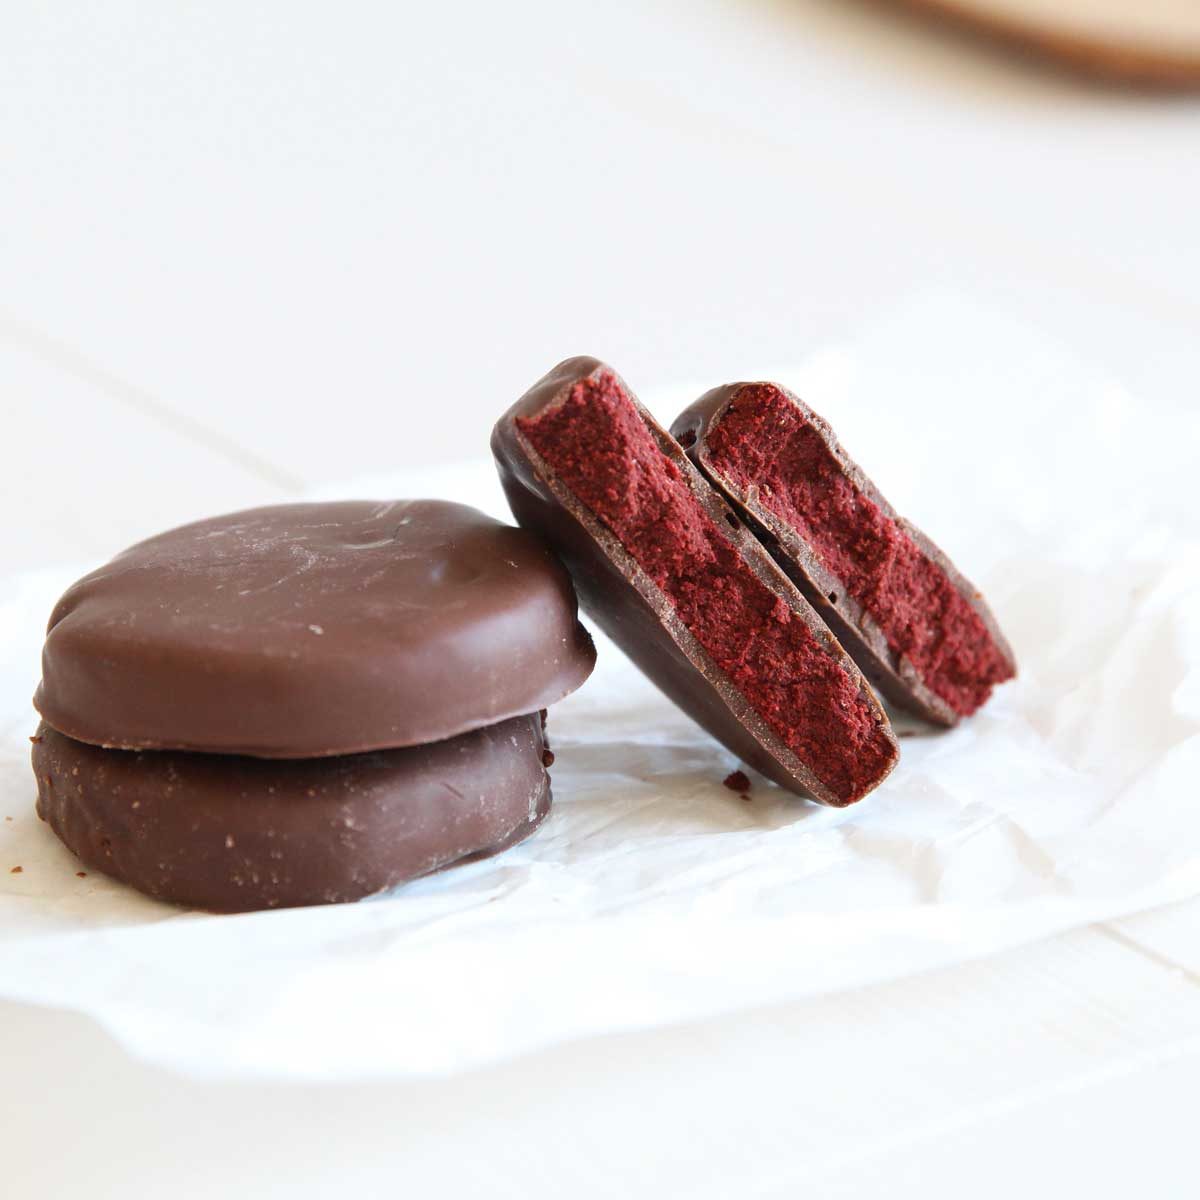
Chocolate Covered Red Velvet Protein Cookies
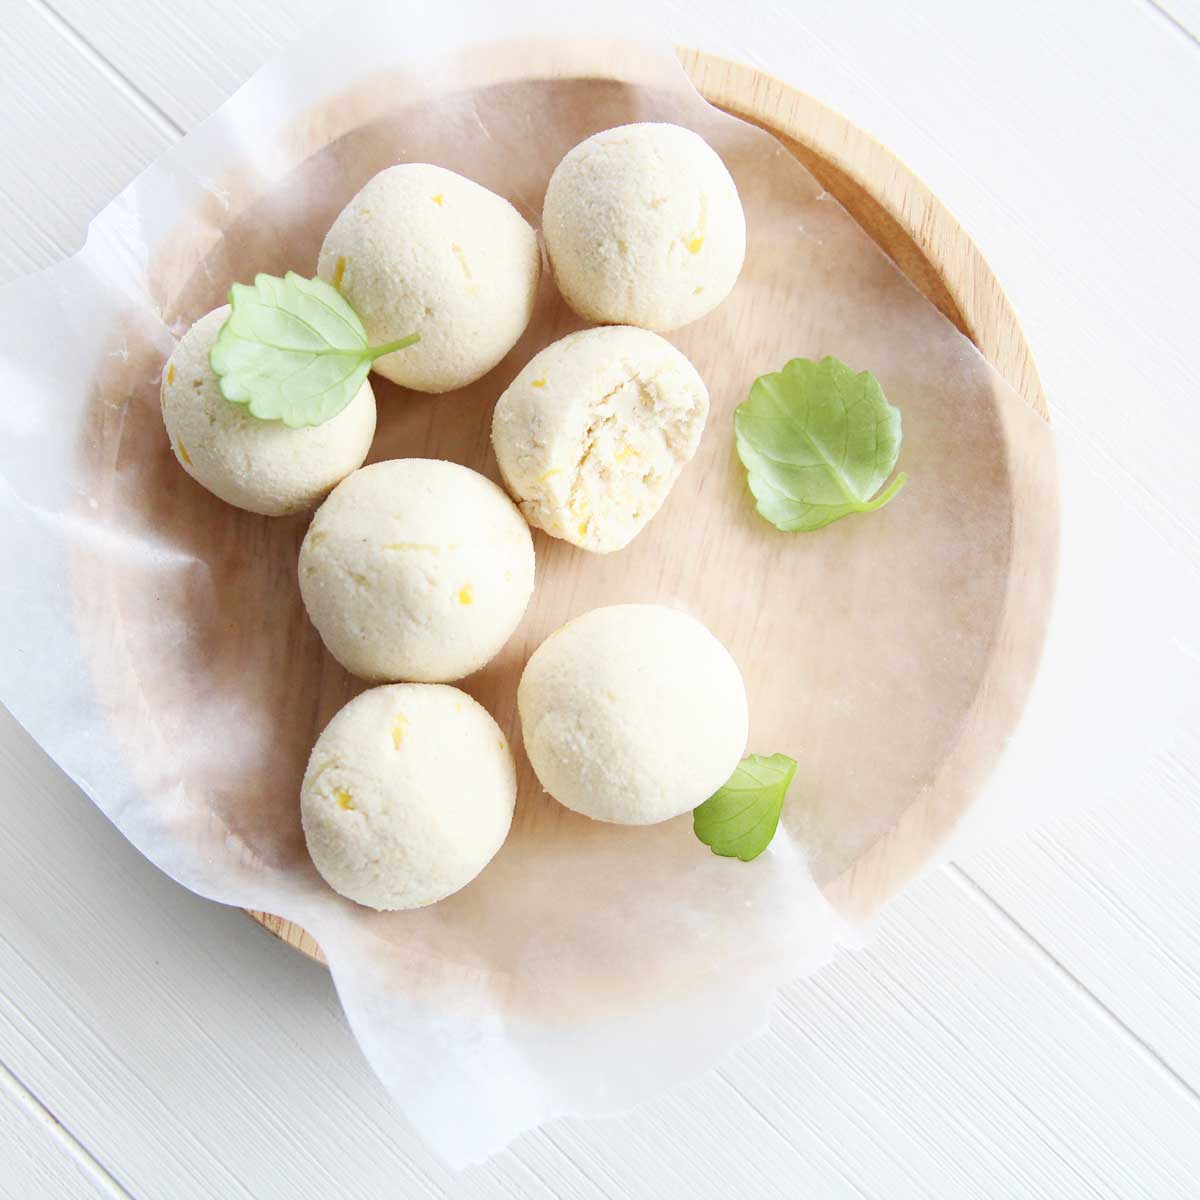
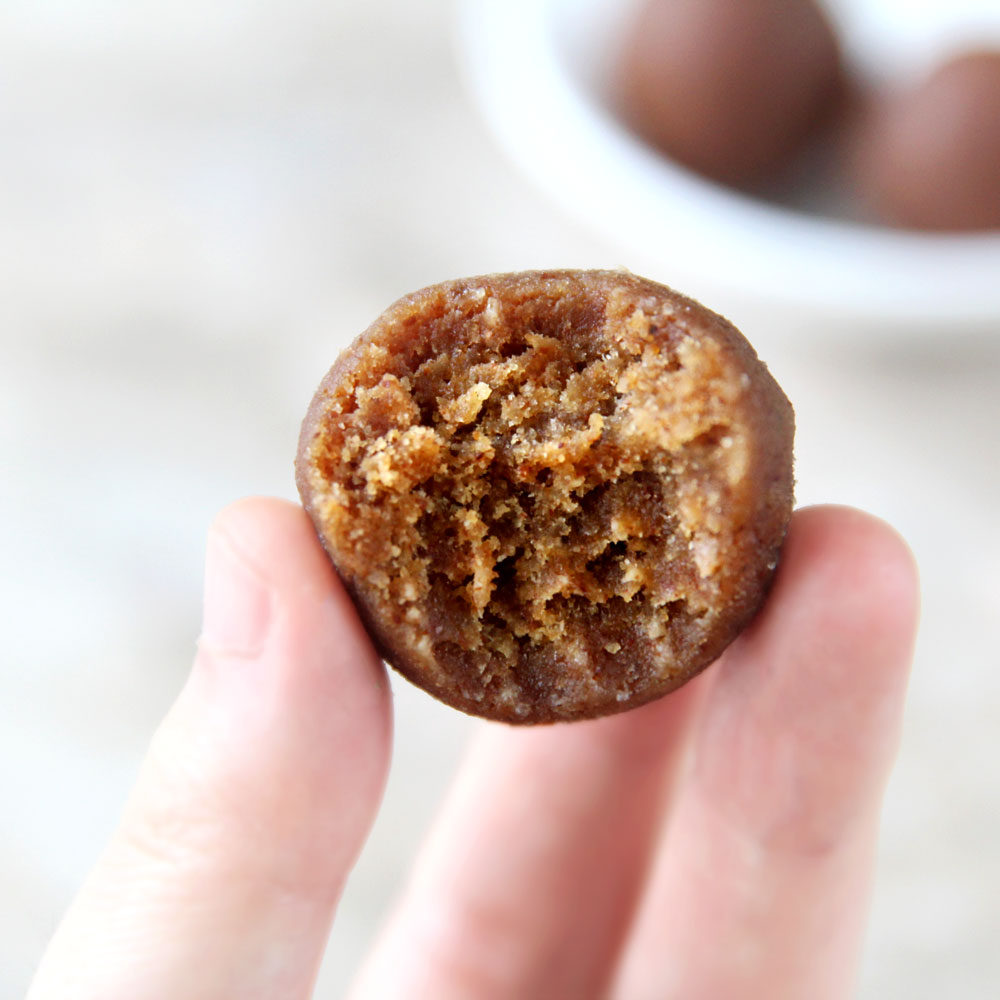
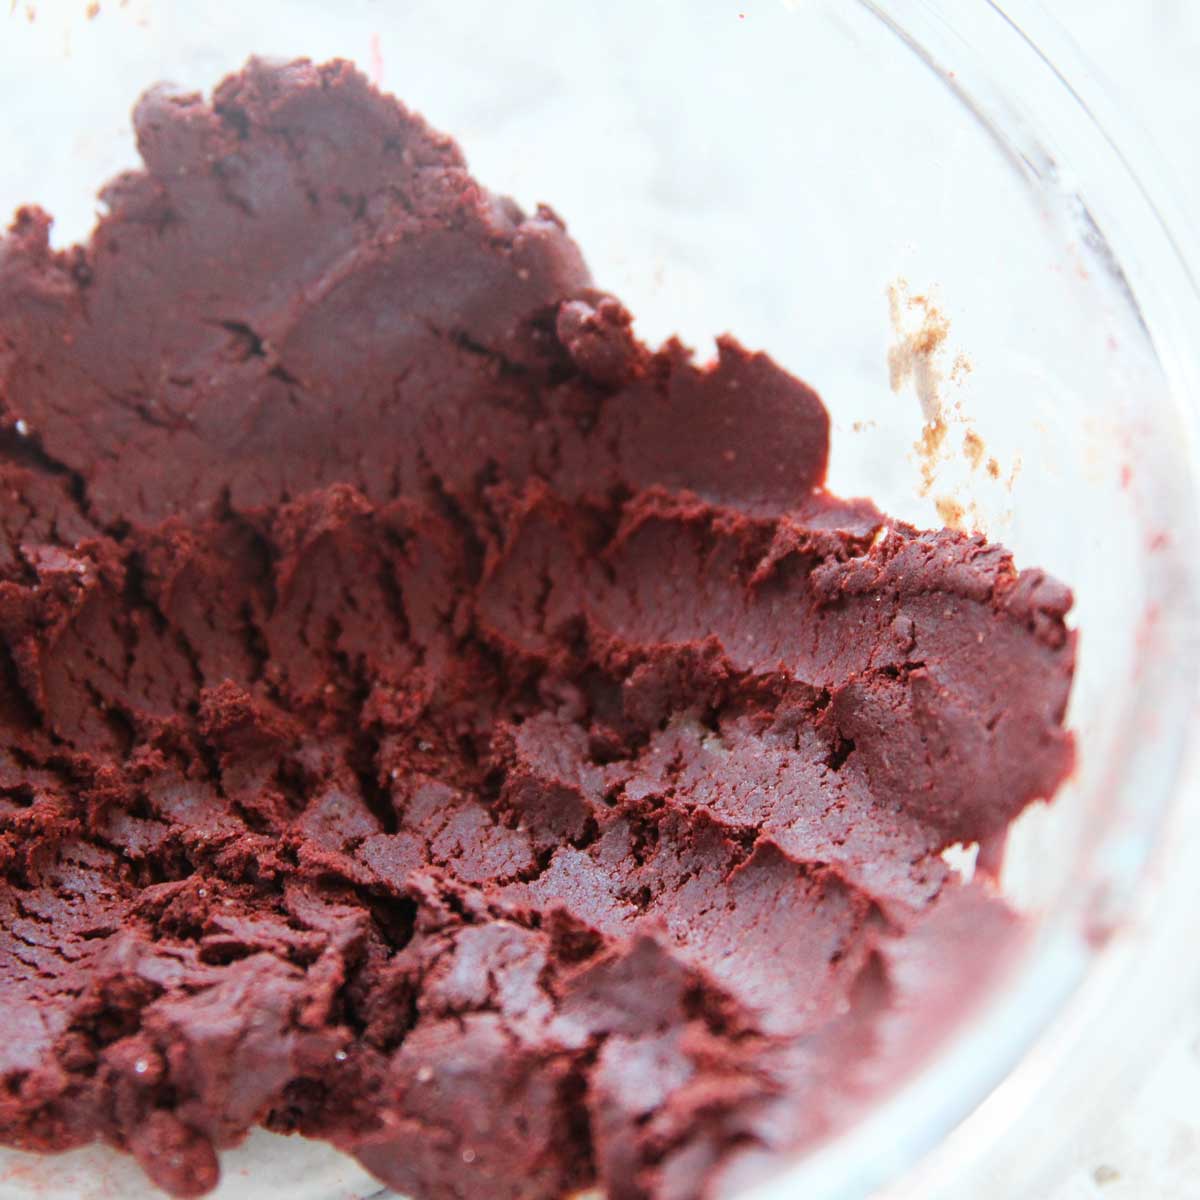
STEP 1

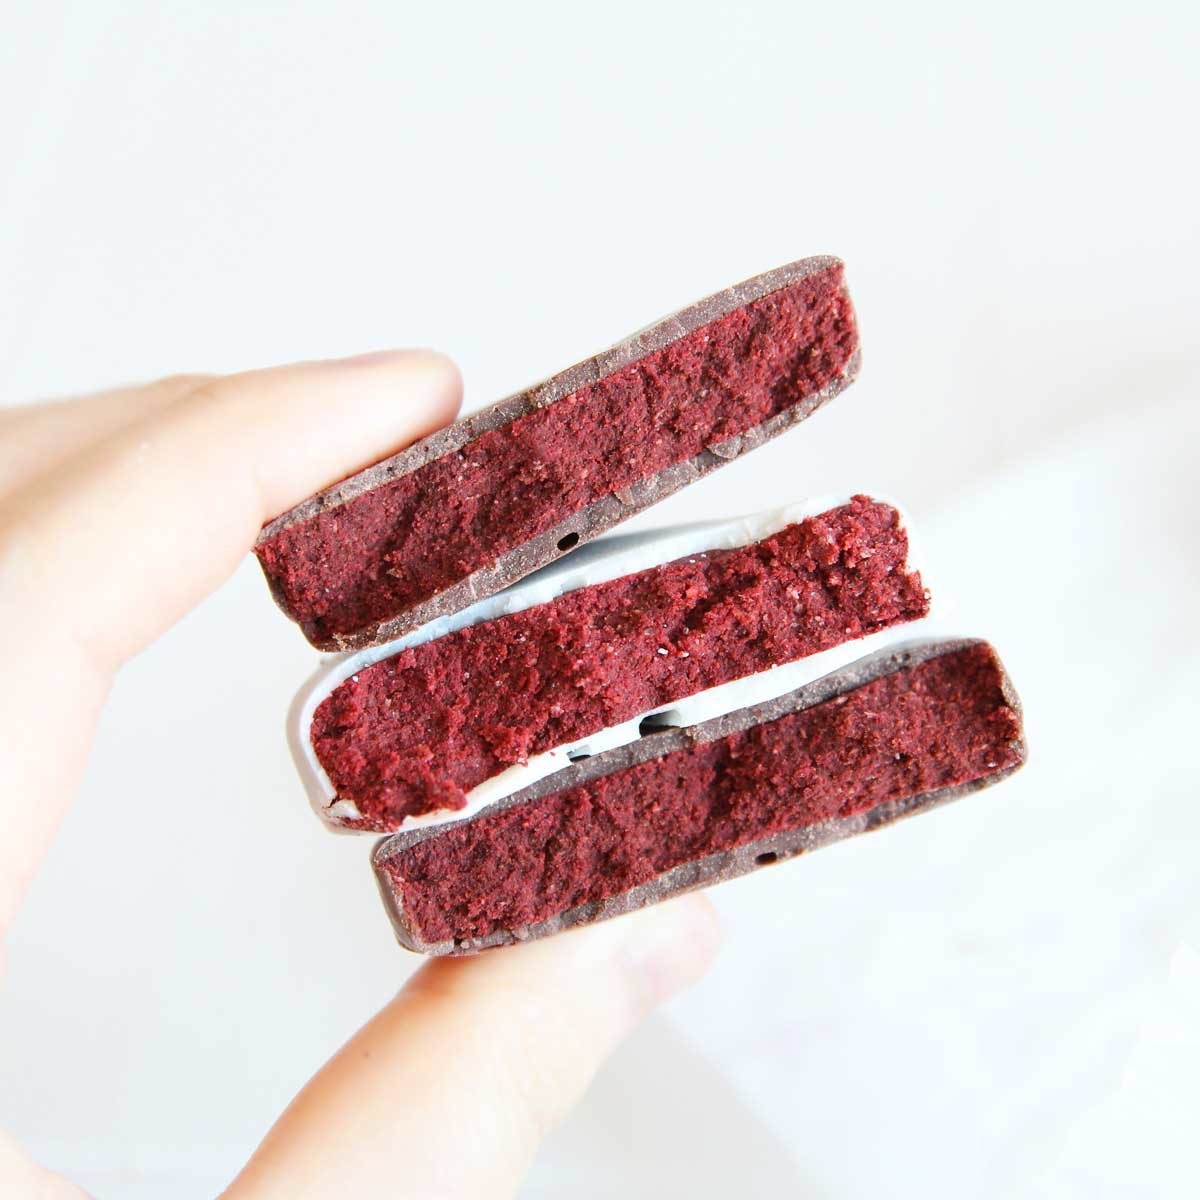
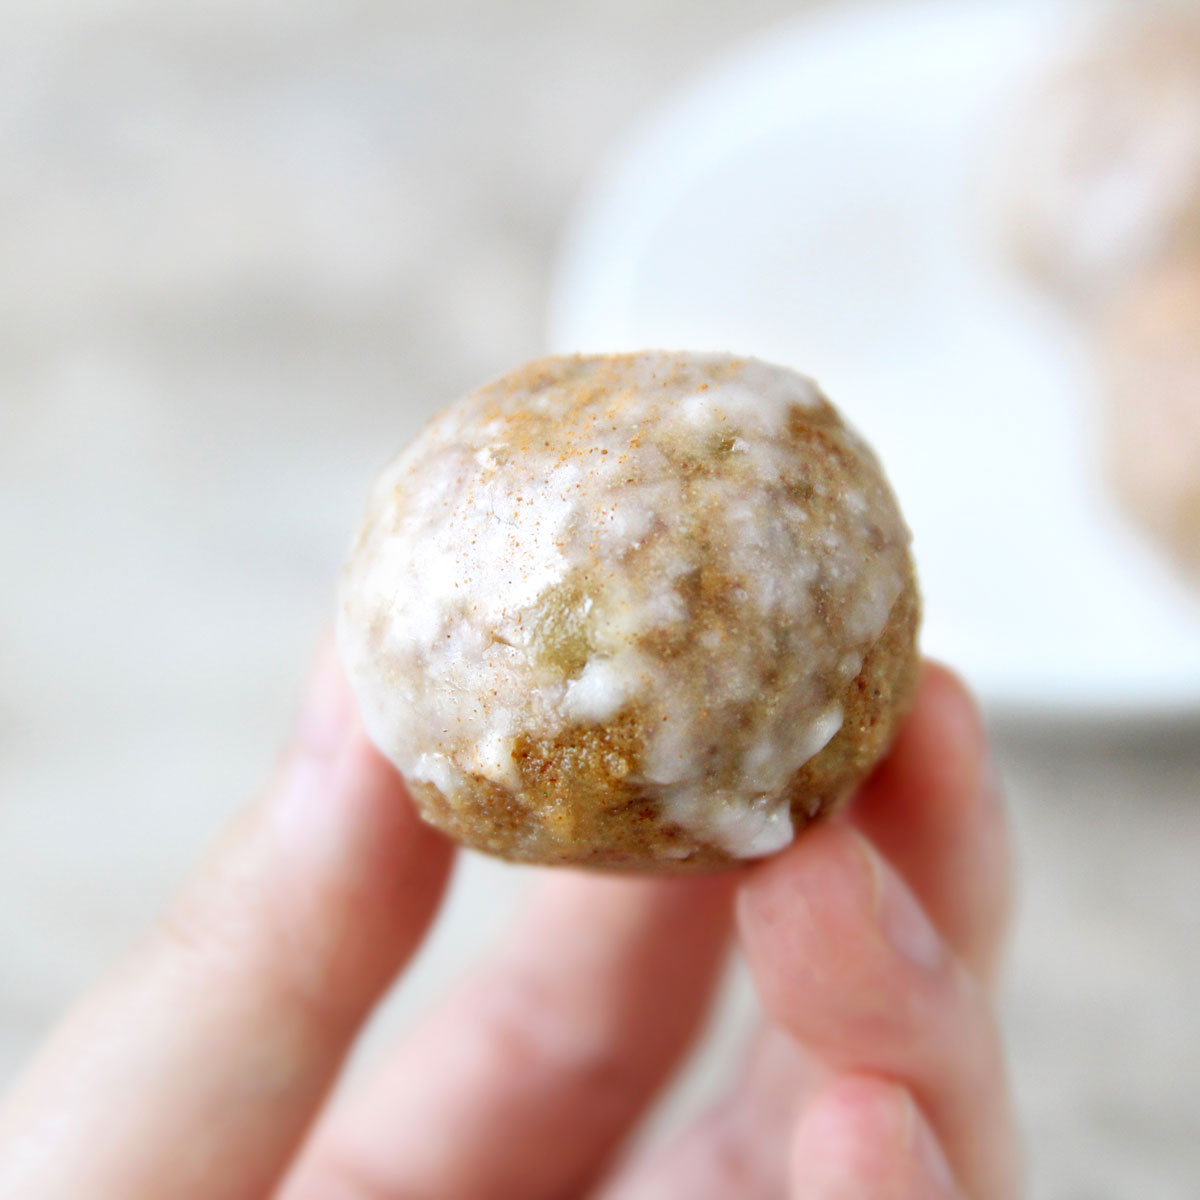
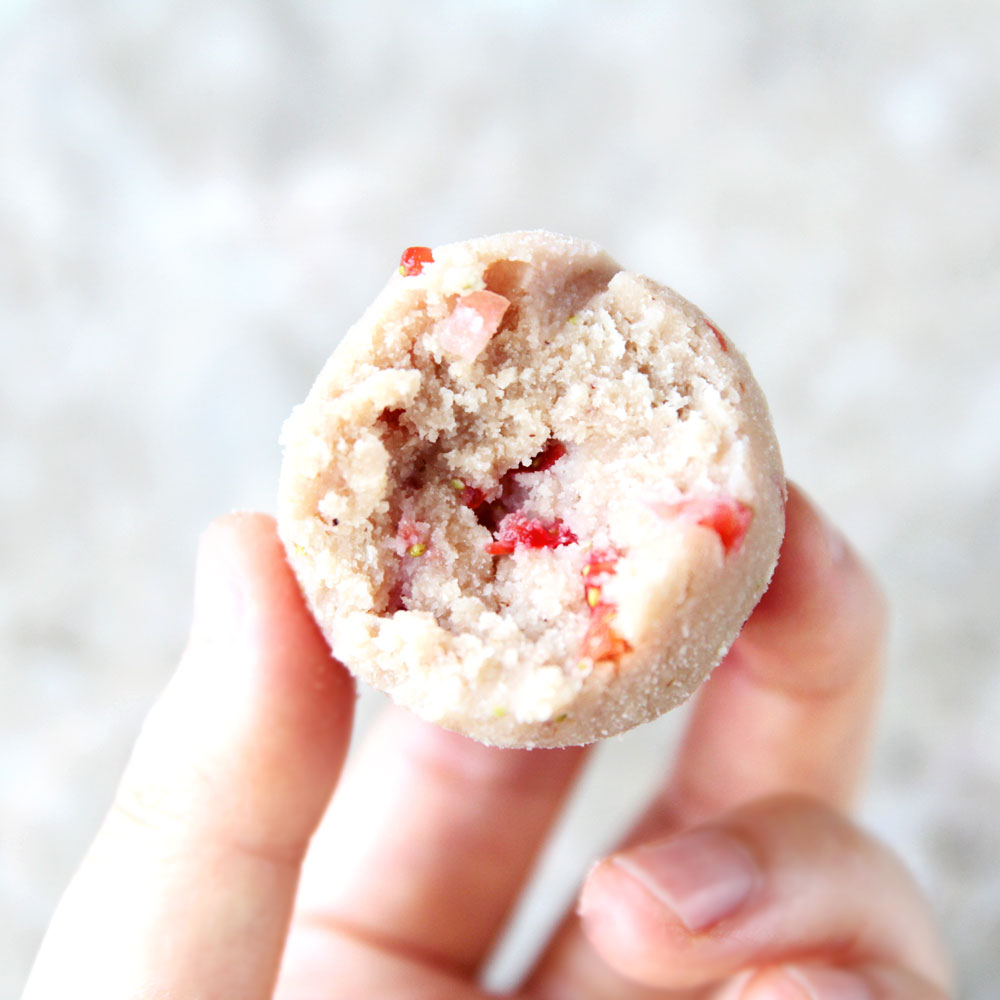
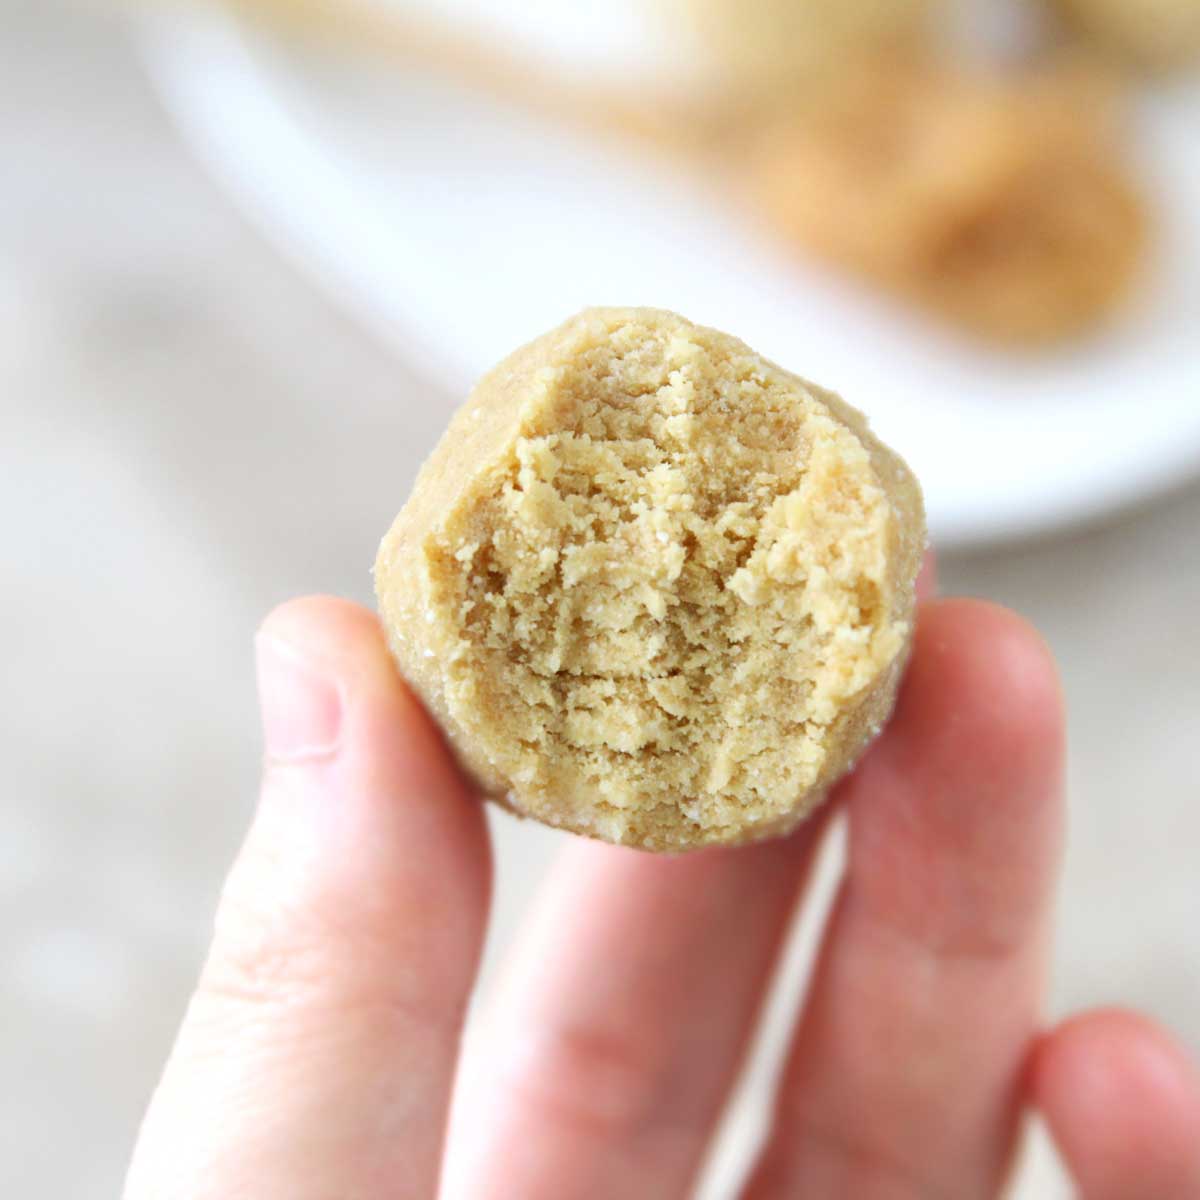
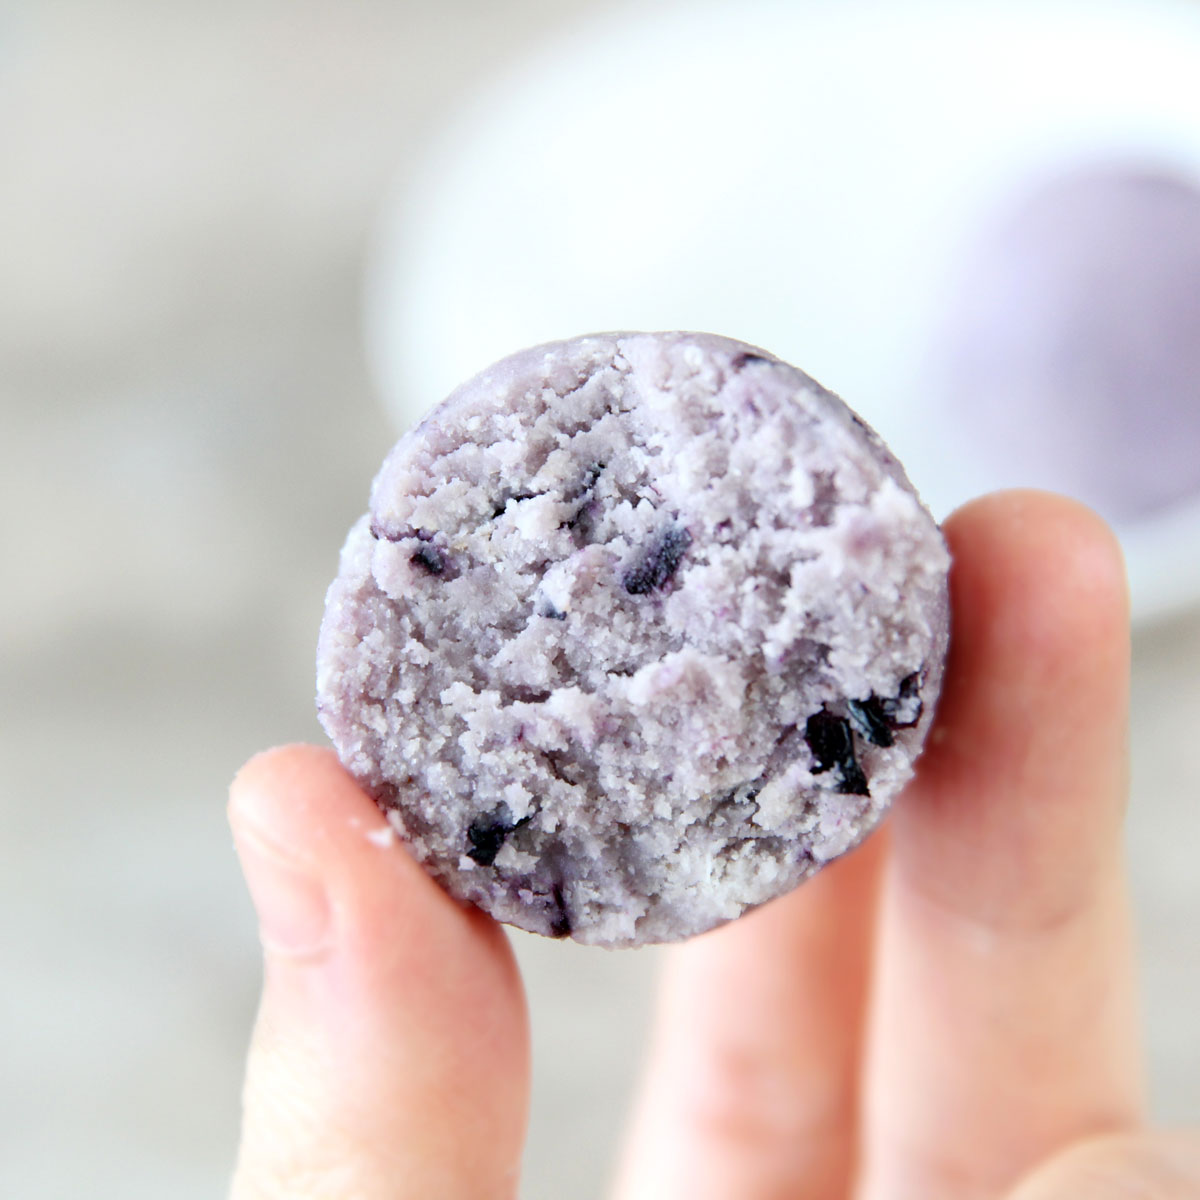
Mix together all the filling ingredients - I find that it’s best to use my hands to mix the dough because it takes some kneading and pressing to get the dough to come together.
STEP 2
If you want a more creamy filling for the cookies, you can add more cream cheese
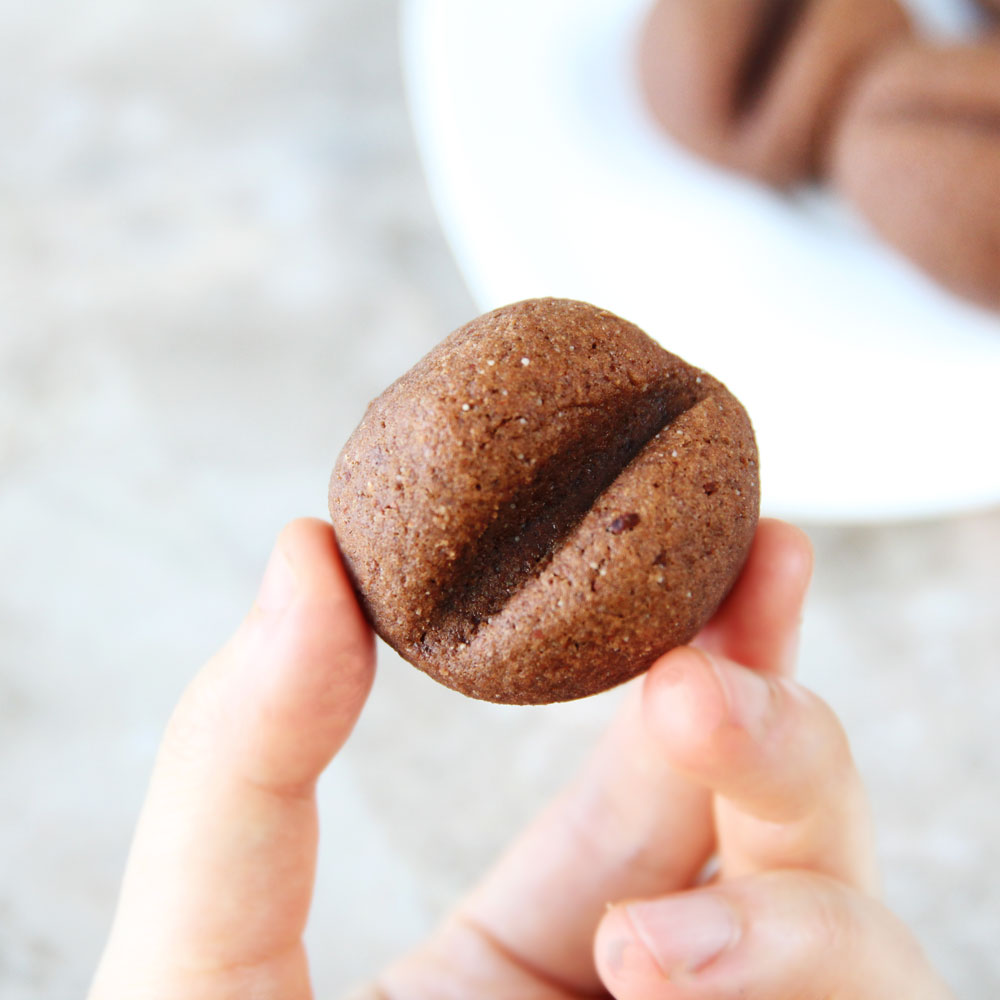
STEP 3
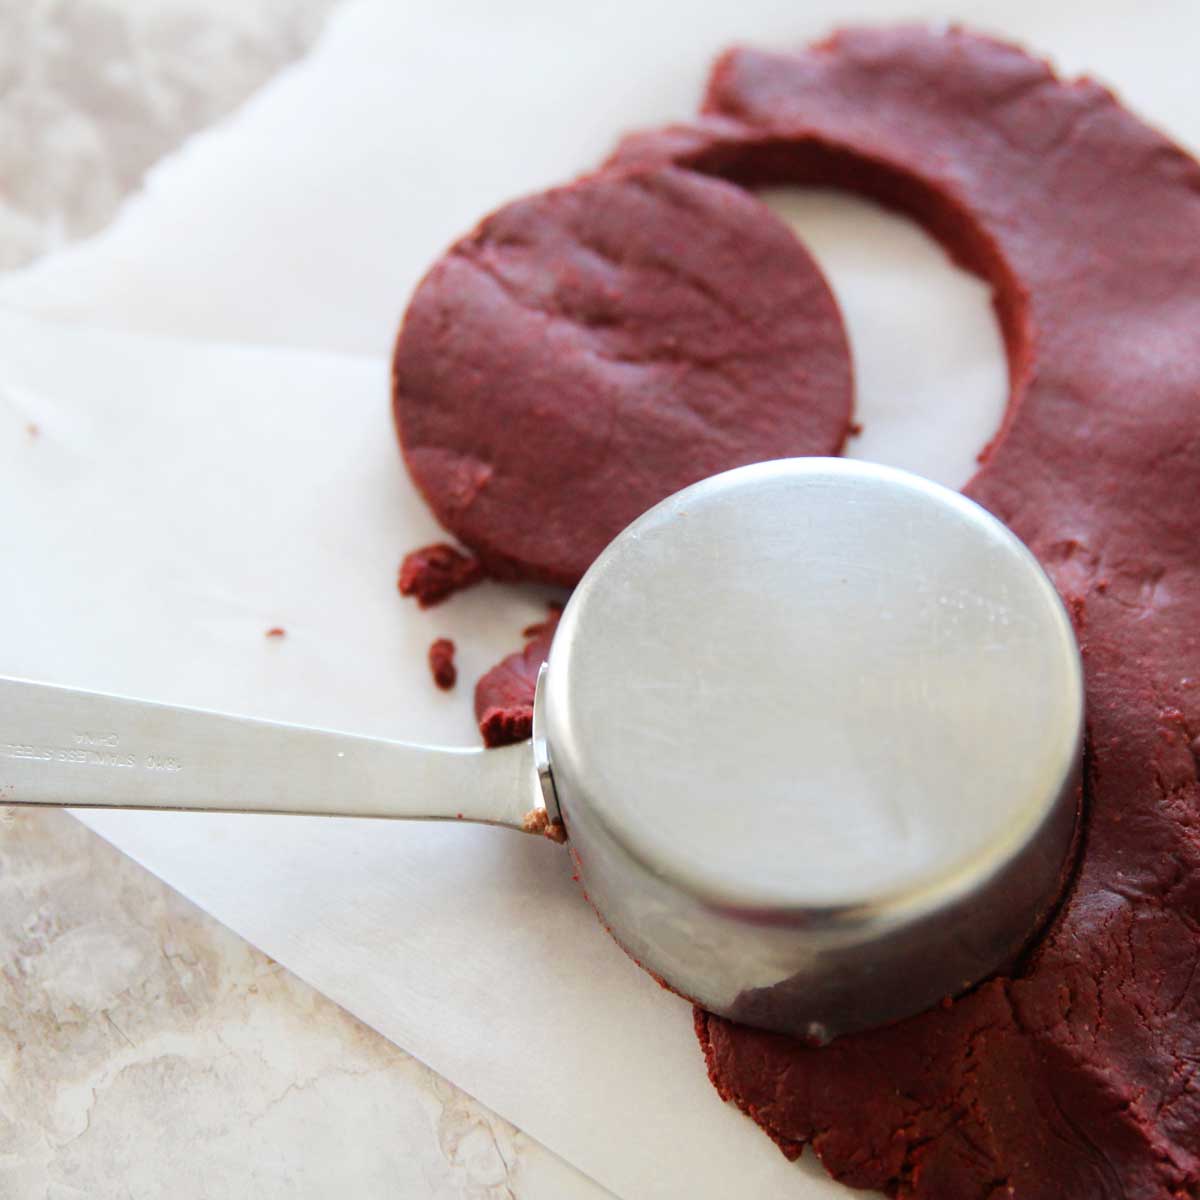
Flatten into desired thickness, and use a ¼ c measuring cup or a round cookie cutter to cut out the filling into rounds. For the best result, or if the filling is too soft, refrigerate the dough before cutting.
STEP 4
Refrigerate or freeze the filling rounds for 30-40 minutes until solid. This helps the dipping into the chocolate step so much easier.
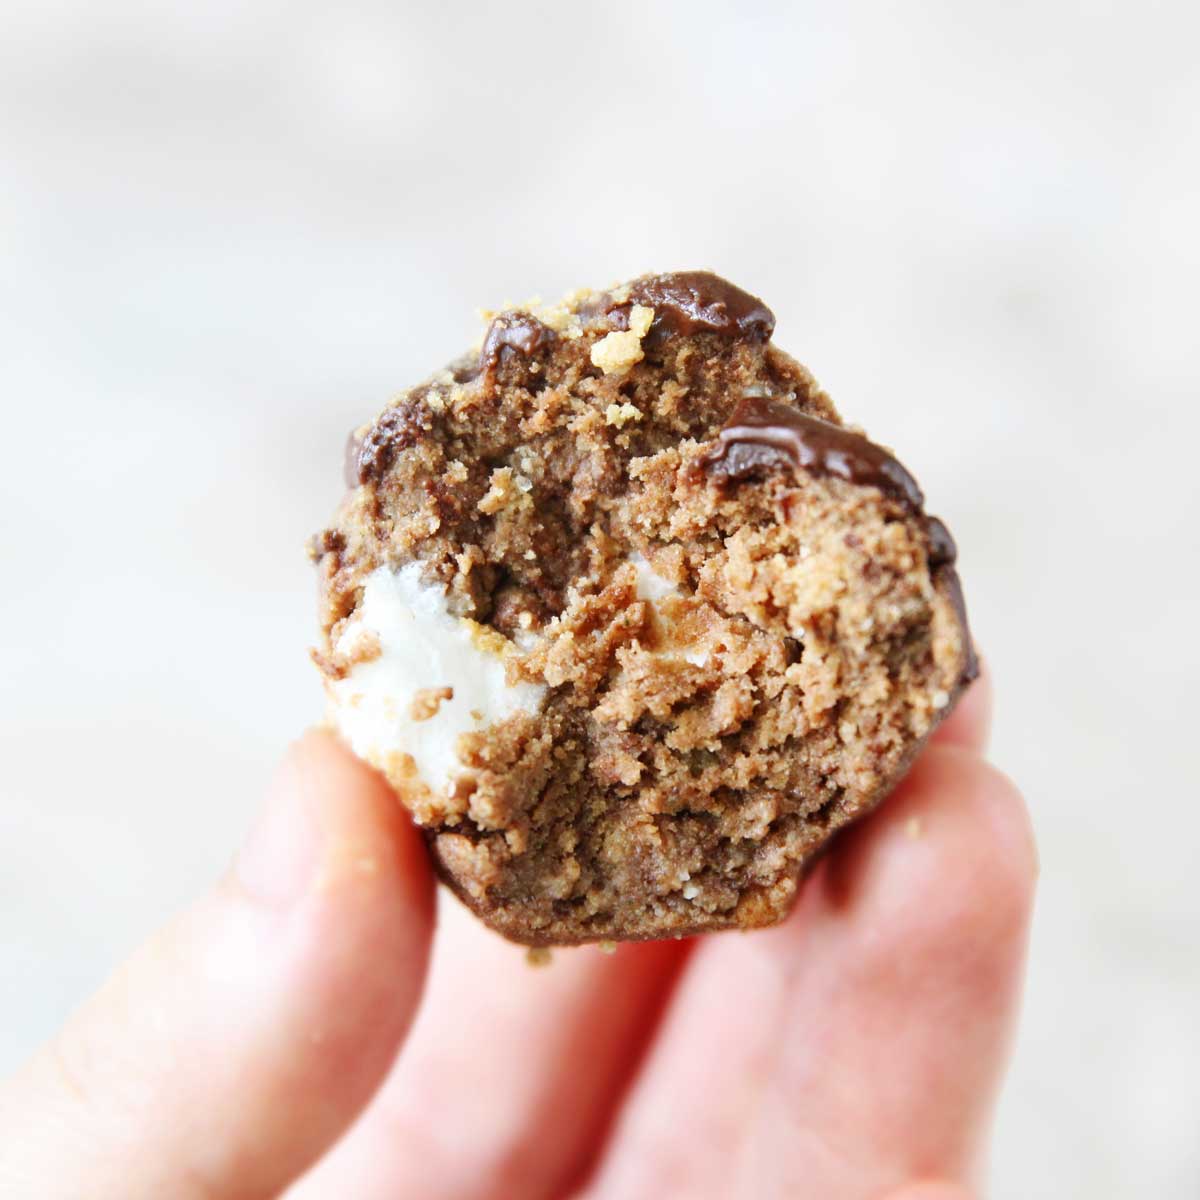
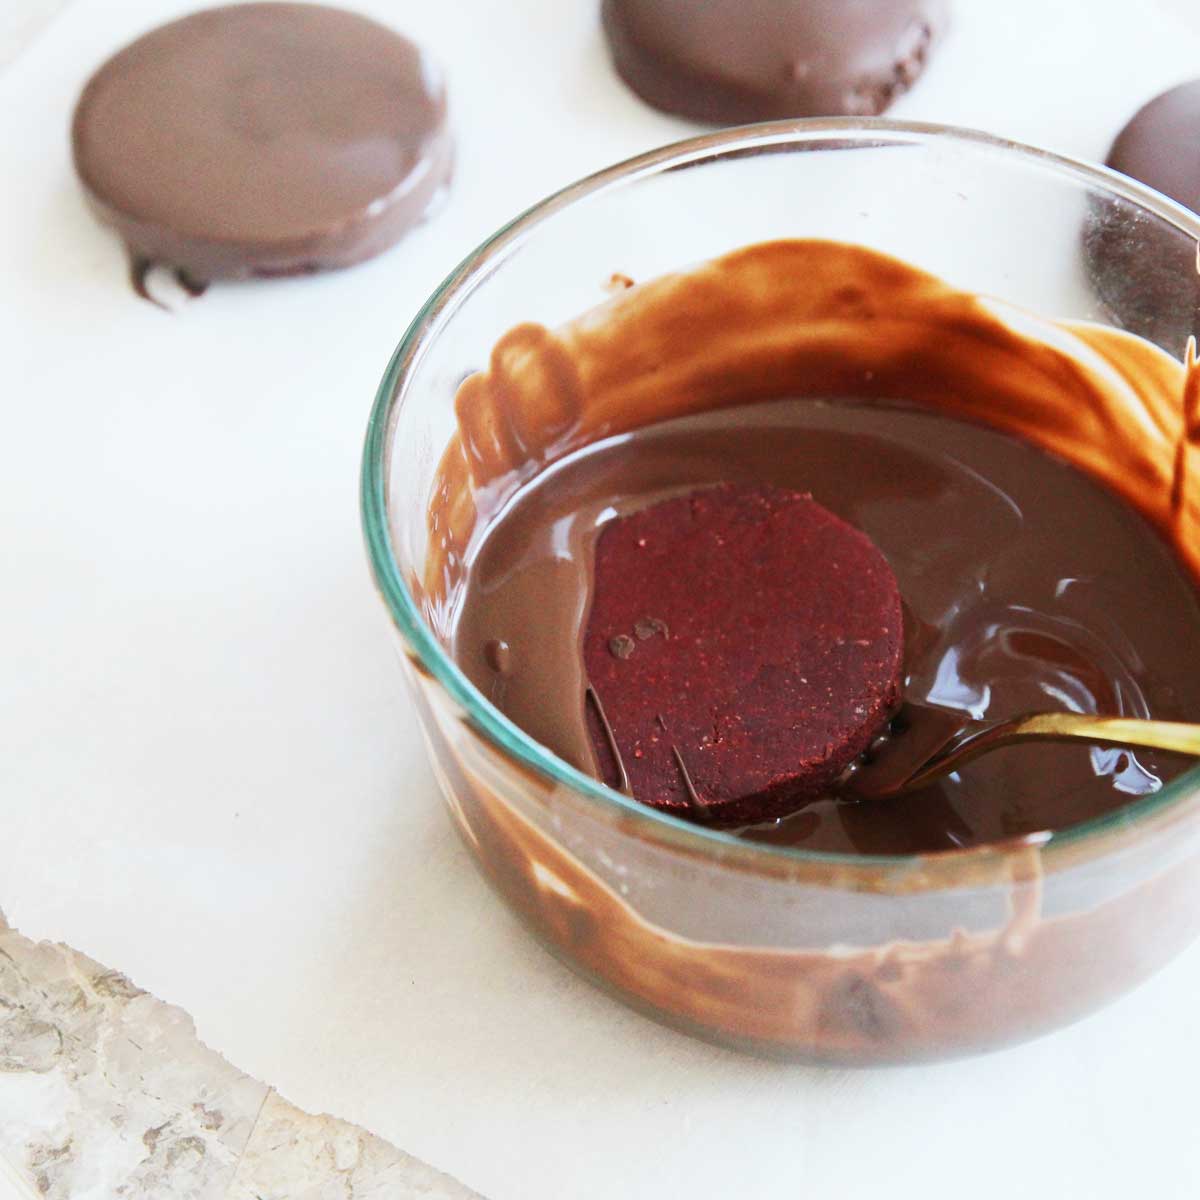
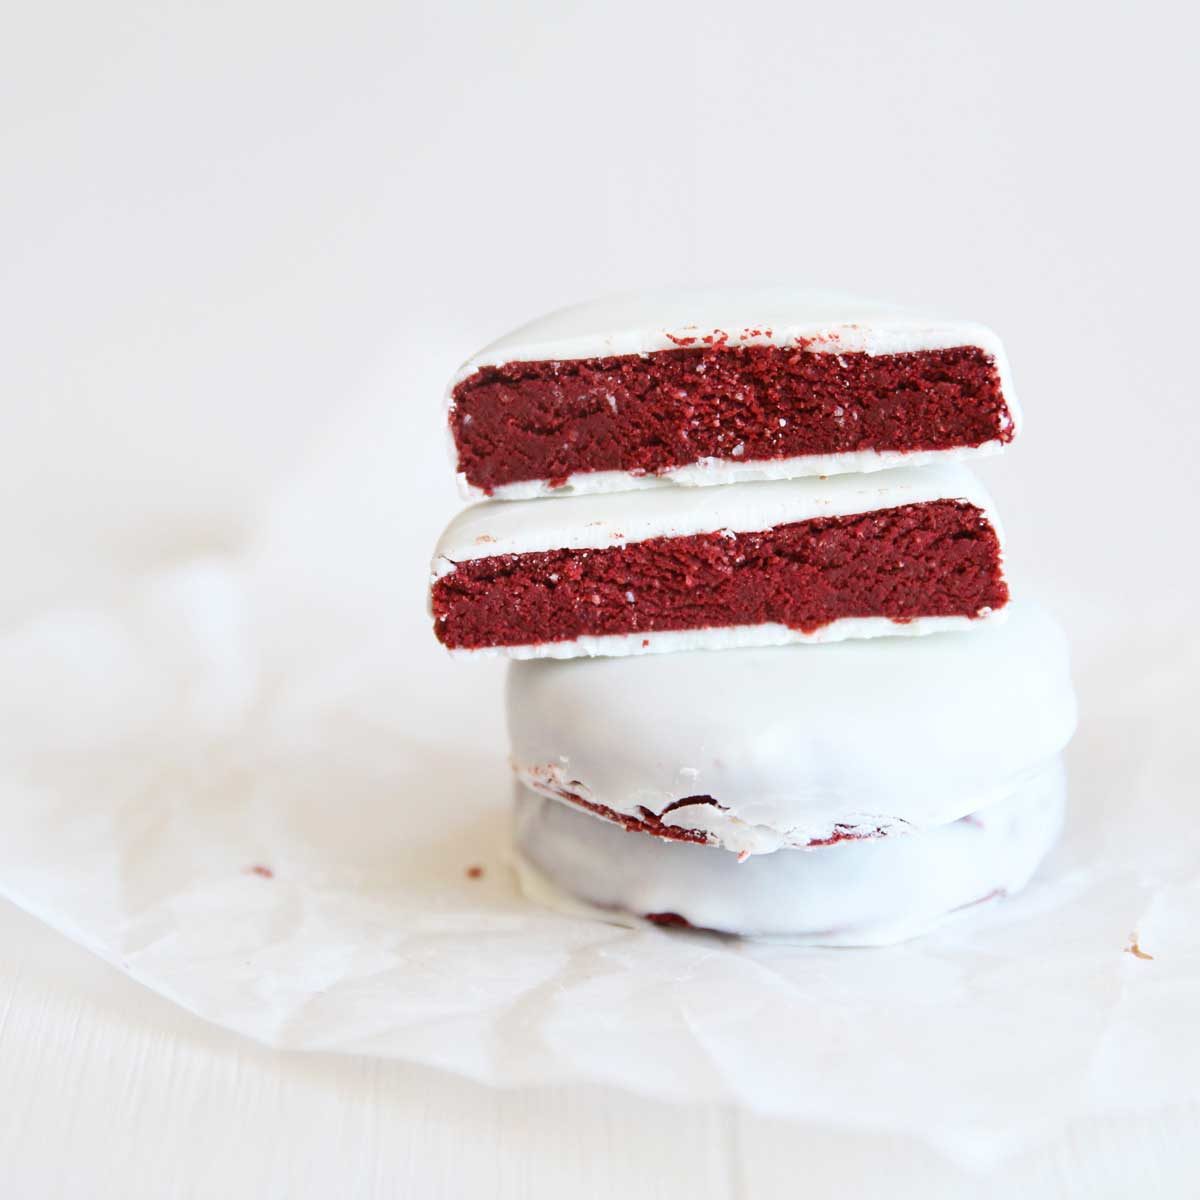
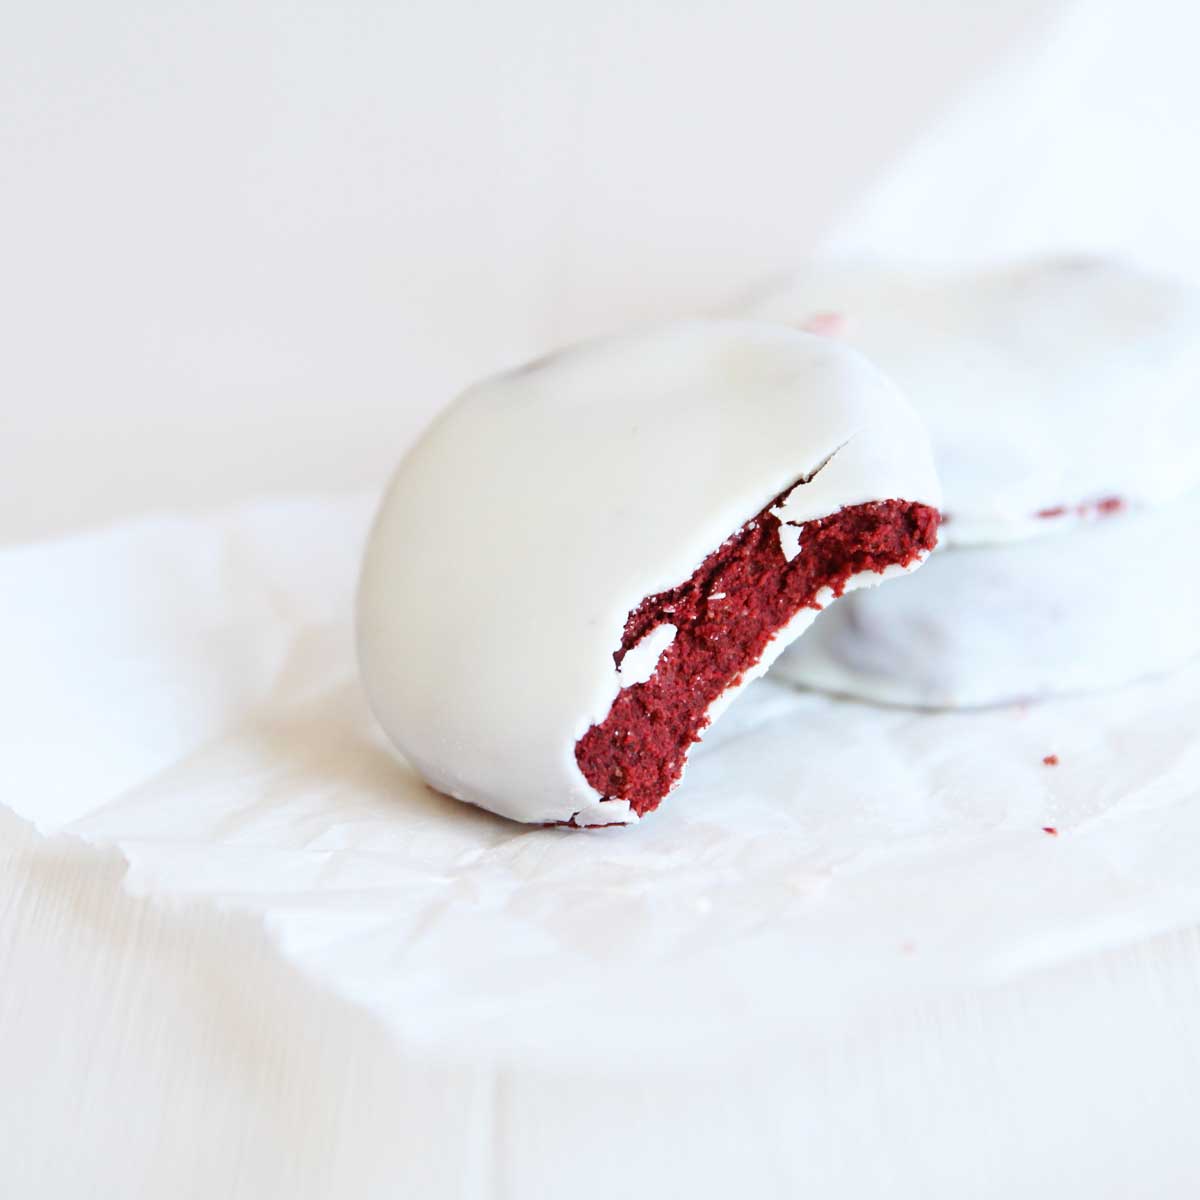
Coat in melted chocolate
STEP 5
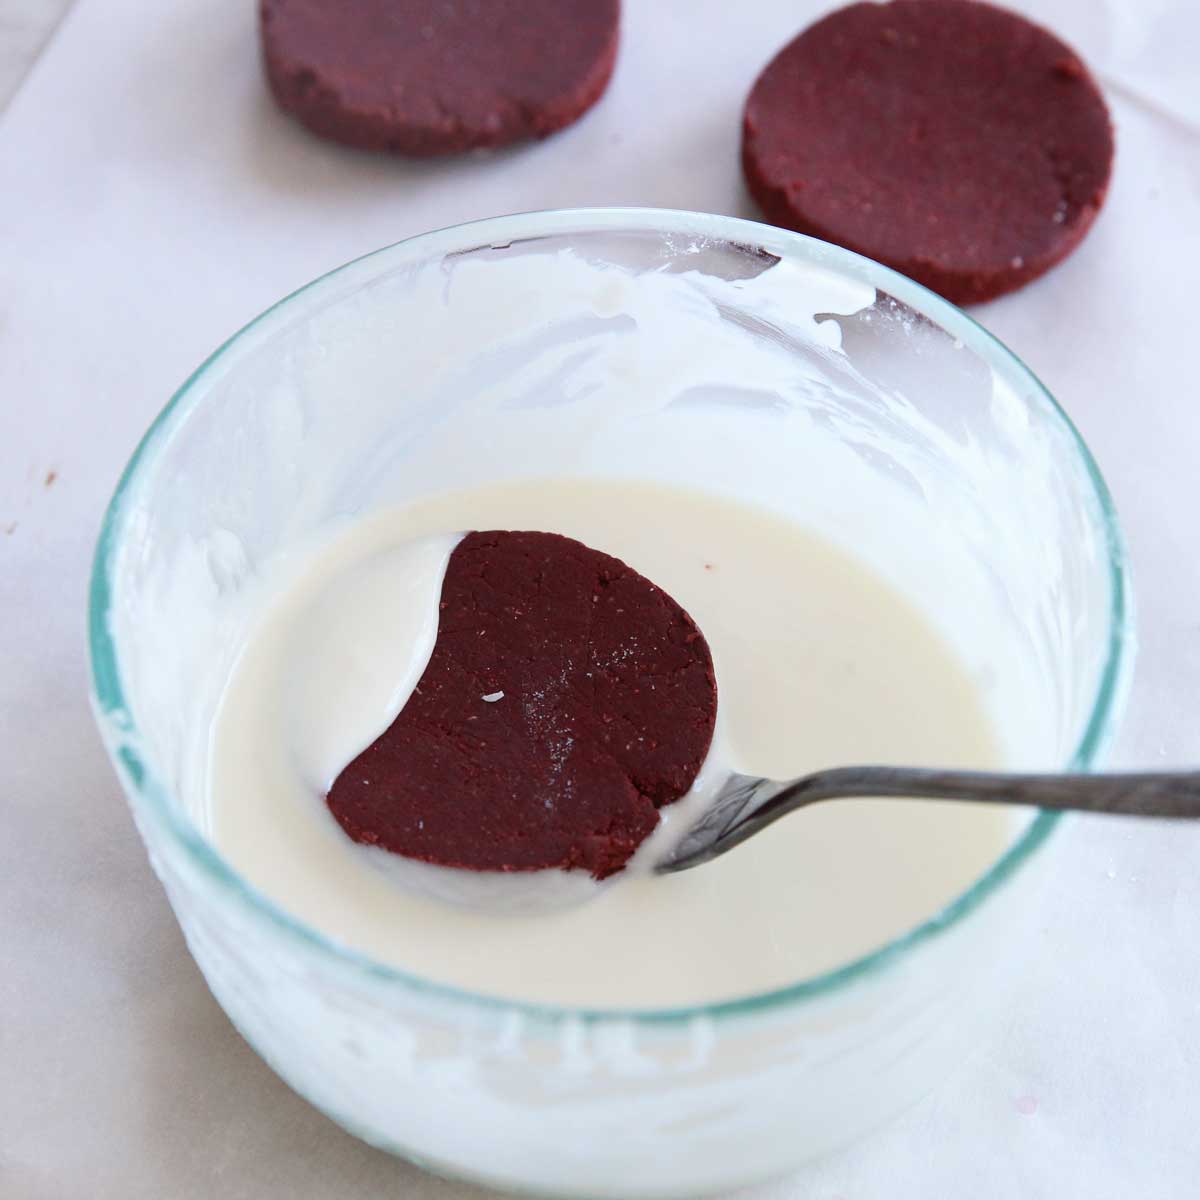
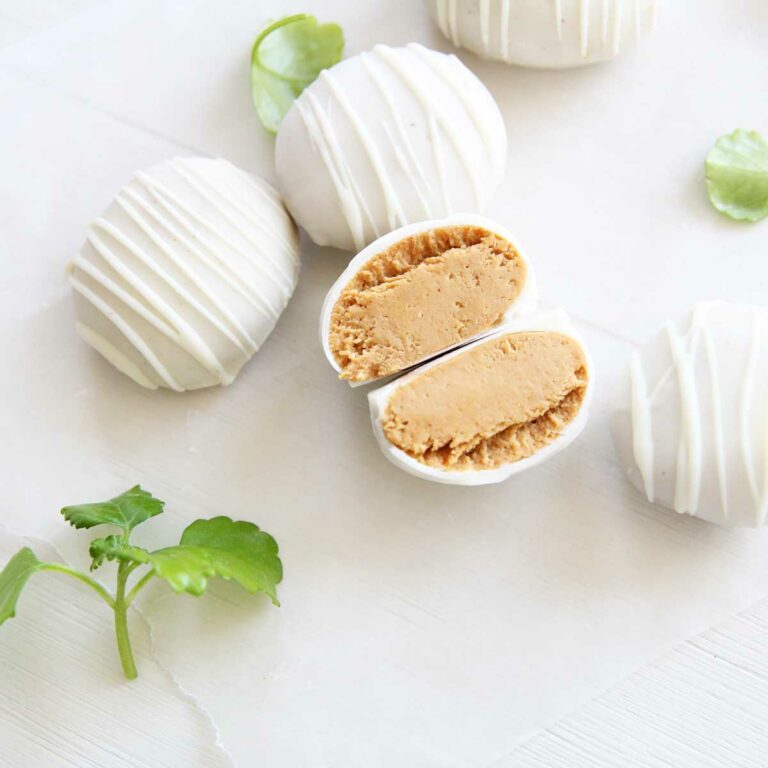
I coated half of mine in white chocolate!
STEP 6
Wait for the chocolate to set, then enjoy!
Recipe Variations and Optional Add Ins:
- Feel free to experiment with natural flavoring / extracts. Add a teaspoon of vanilla extract (I didn't feel like it was essential so I left it out in this recipe), or other flavorings or extracts, such as chocolate or peppermint extract.
Just keep in mind that some extracts contain alcohol, and since this is a no-bake recipe, the alcohol won't have a chance to fully evaporate. If serving this to kids, or if you're sensitive to alcohol, be sure to use non-alcoholic extracts or flavorings. Here are some non-alcoholic brands, here: Non-alcoholic peppermint extract, non-alcoholic vanilla extract
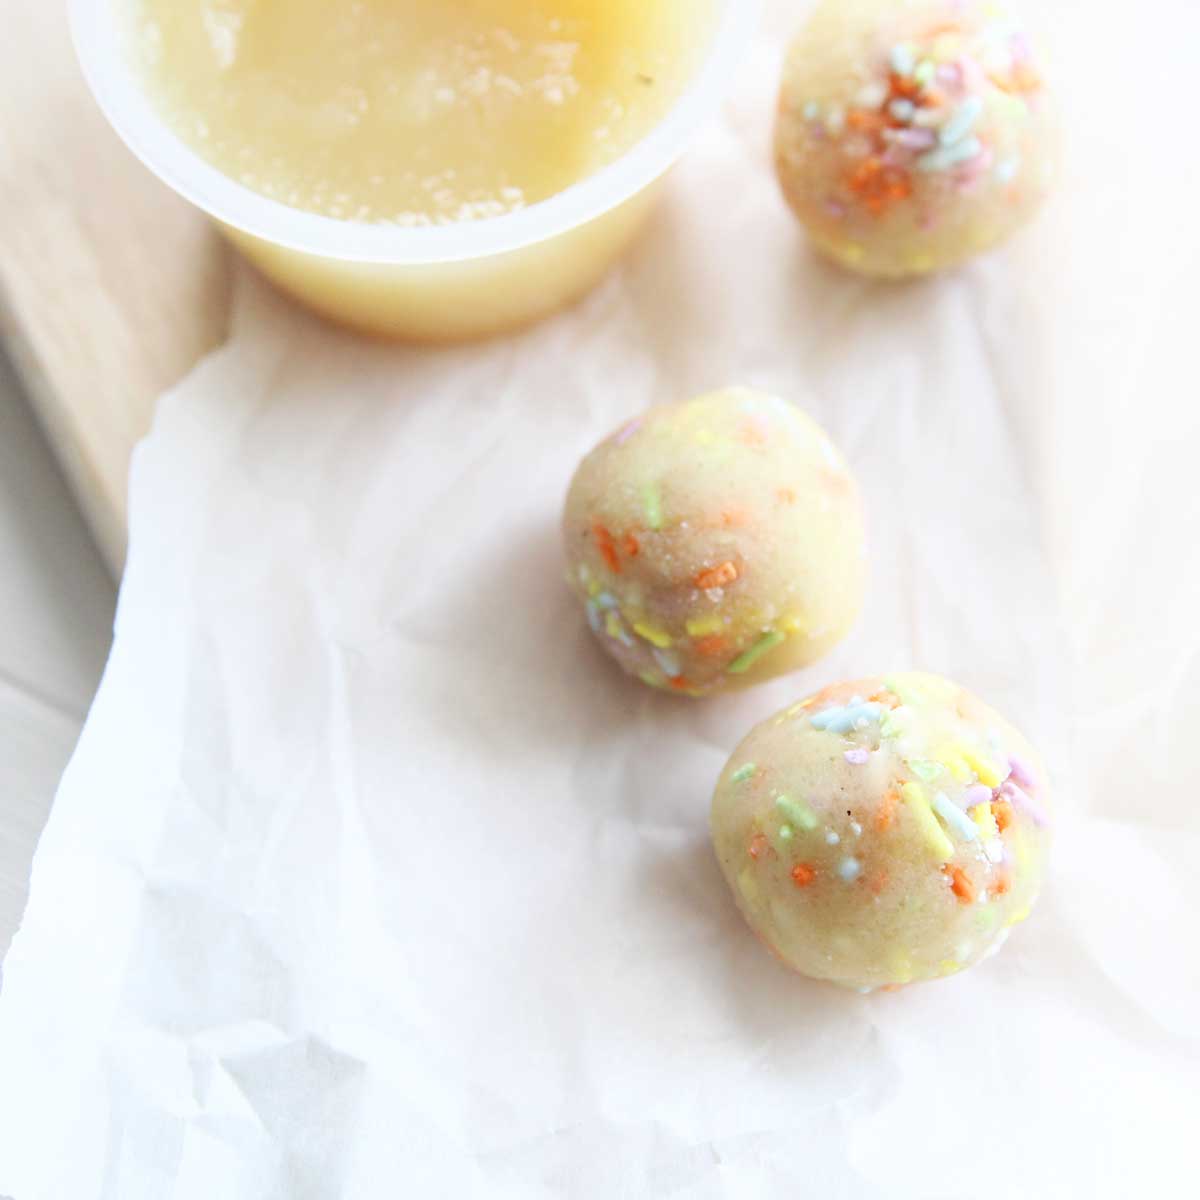
- Making this for the Easter Holidays? Instead of red food coloring, use a light pastel (pink, blue, purple) food coloring, and instead of using round cookie cutters, use an egg-shaped or bunny cookie cutter instead. Decorating them can be a fun, kid-friendly activity!

How to Make this Healthier
- Make this healthier by adding a tablespoon of ground flaxseed, hemp seeds, or chia seeds. This ups the fiber content and helps keep you fuller longer.
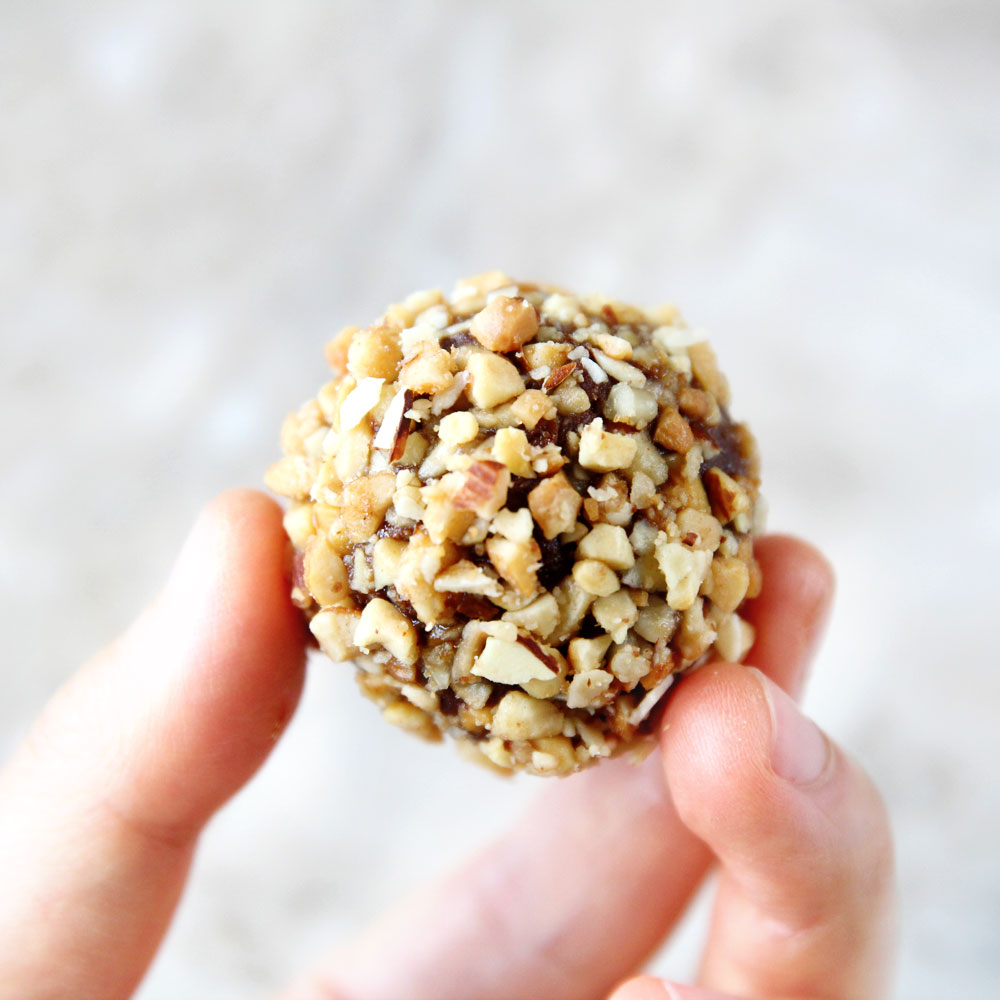
What Can You Do with Leftover Melted Chocolate?
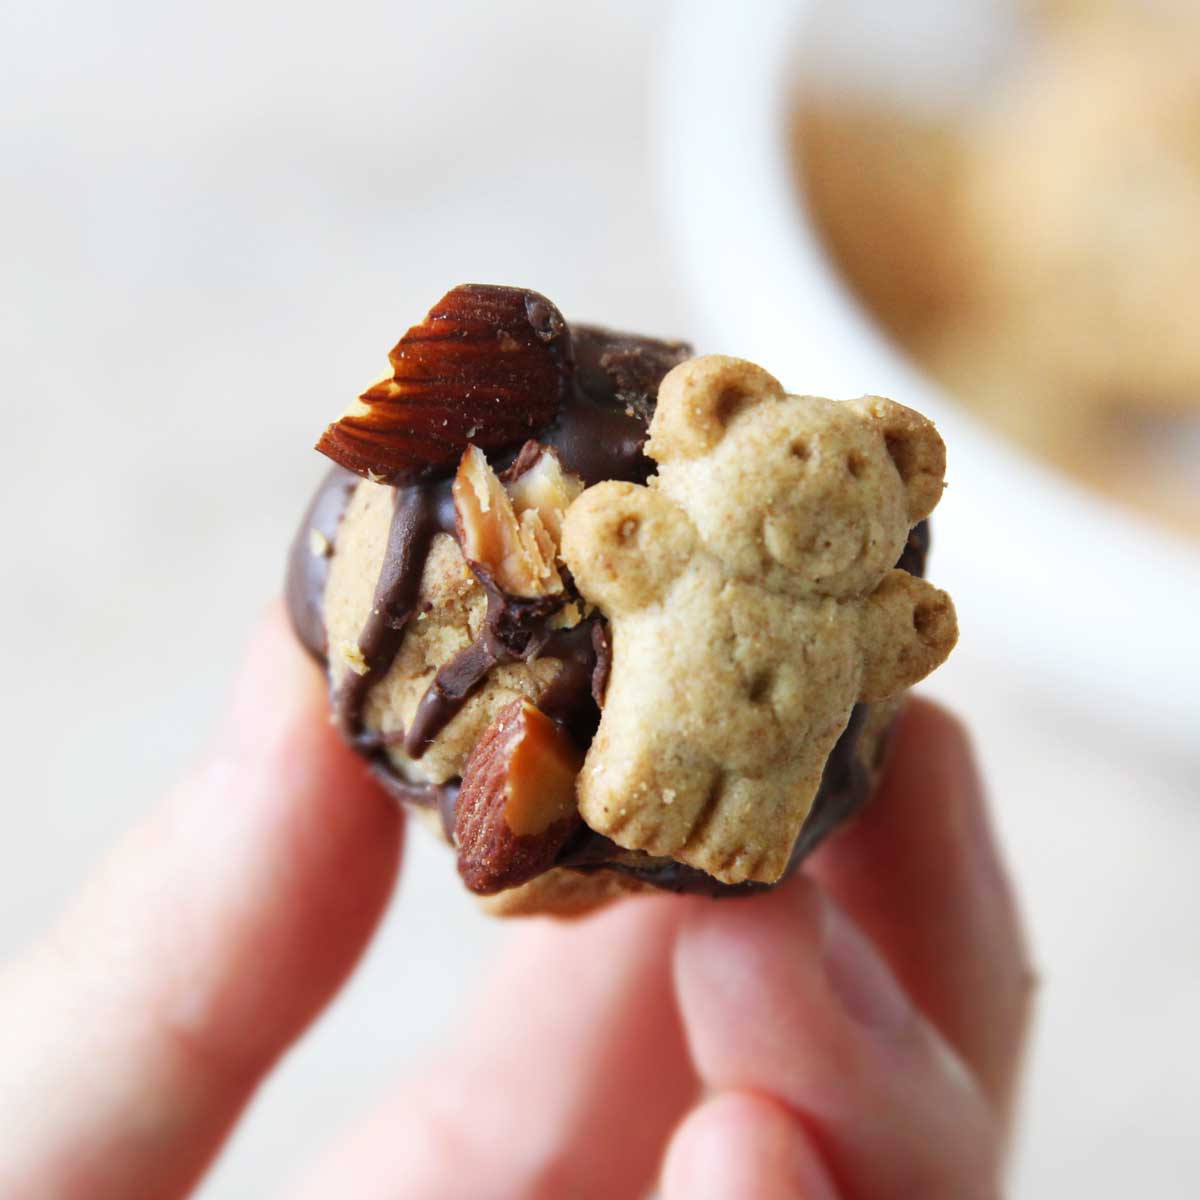
It's always a good idea to melt a little more chocolate than you need so that you can ensure proper coating, but what do you do with the leftover melted chocolate? Melted chocolate hardens in cold water, so it makes it a pain to clean if there's a lot left over. Here's what I do when that happens. Stir in chopped nuts or seeds to make nut/seed clusters! All you have to do afterward is drop spoonfuls of this chocolate-nut-seed mixture and let it harden. It's one of my favorite snacks to eat when I'm craving something unhealthy but feeling deserving of something indulgent 🙂
How to Store Red Velvet Protein Cookies
- Because of the cream cheese, it's best to store these red velvet protein cookies in the fridge. Store them in an airtight container, and you can keep them fresh for up to 3-5 days.
- For longer storage, you can also freeze these treats. Store them in an airtight container and defrost overnight in the fridge when ready to eat. They should be good for 2-3 months.
MORE RECIPES LIKE THIS HERE
Final Tips
- Coconut flour and protein powders are all very different depending on brands, so if you find that the dough is too soft, add more coconut flour; if the dough is too thick, add a teaspoon or more of water, honey or liquid sweetener of choice.

Chocolate Covered Red Velvet Protein Cookies
Ingredients
Filling
- ½ cup plant based chocolate protein powder
- 2 Tbsp coconut flour
- 1 Tbsp cocoa powder
- ¼ cup powdered monkfruit sweetener or regular powdered sugar
- ¼ cup cream cheese
- 1 tsp no-taste red coloring gel
Coating
- ⅓ cup melted chocolate
Instructions
- Mix together all the filling ingredients - I find that it’s best to use my hands to mix the dough because it takes some kneading and pressing to get the dough to come together.
- If you want a more creamy protein cookie, add more cream cheese. You may also need more sugar if you're working with unflavored protein powder.
- Flatten into desired thickness, and use a ¼ c measuring cup or a round cookie cutter to cut out the filling into rounds. For the best result, or if the filling is too soft, refrigerate the dough before cutting.
- Refrigerate or freeze the filling rounds for 30-40 minutes until solid. This helps the dipping into the chocolate step easier.
- Coat in melted chocolate, and let it set.
- Enjoy!


Leave a Reply