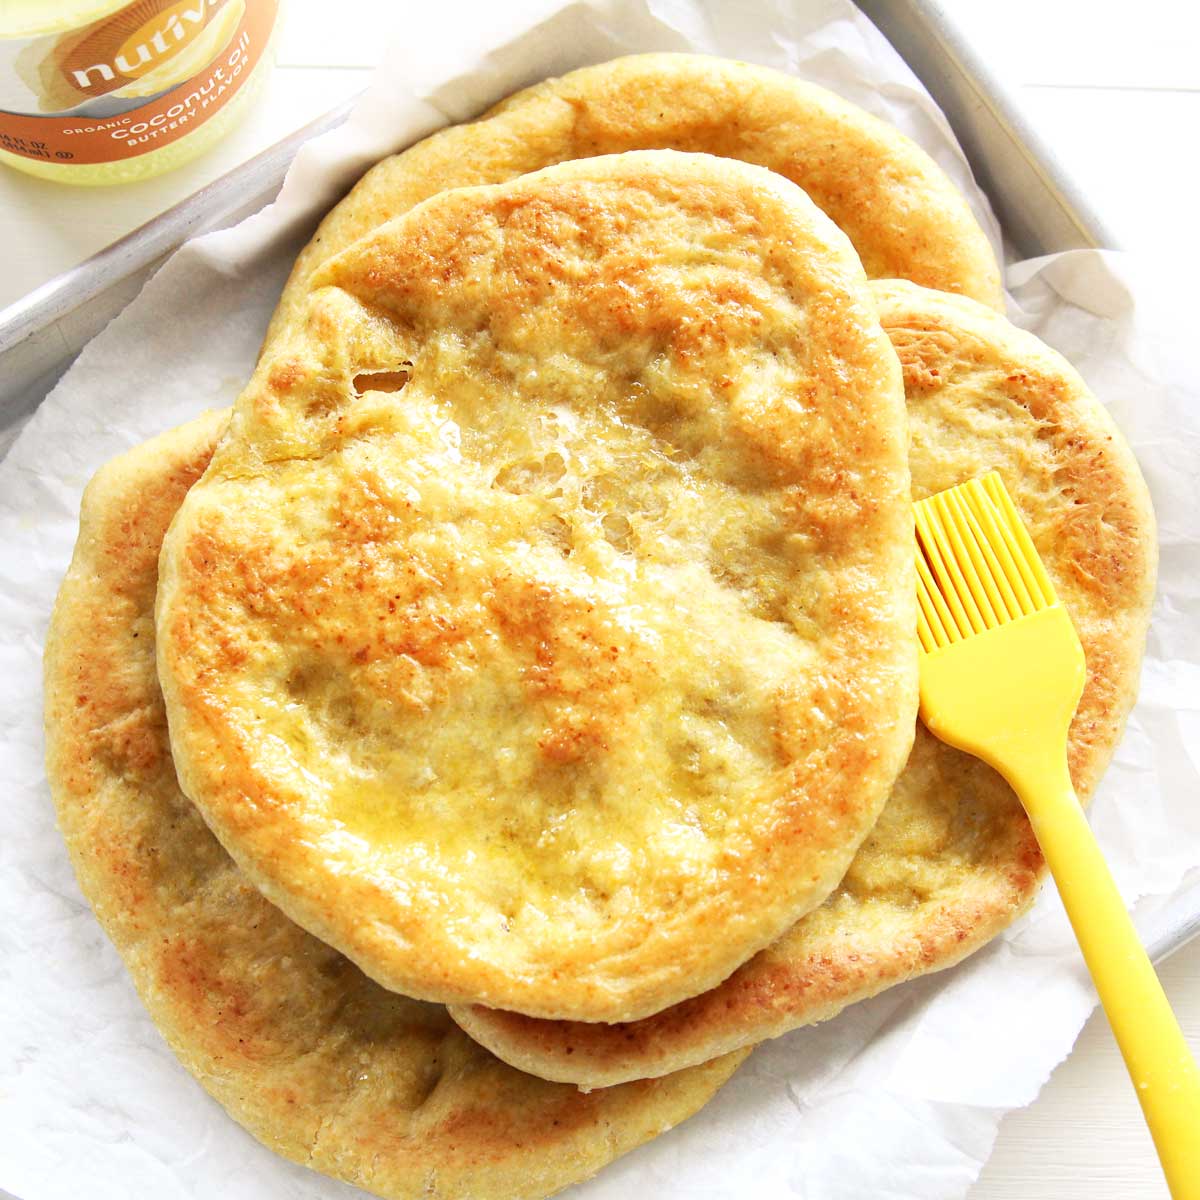
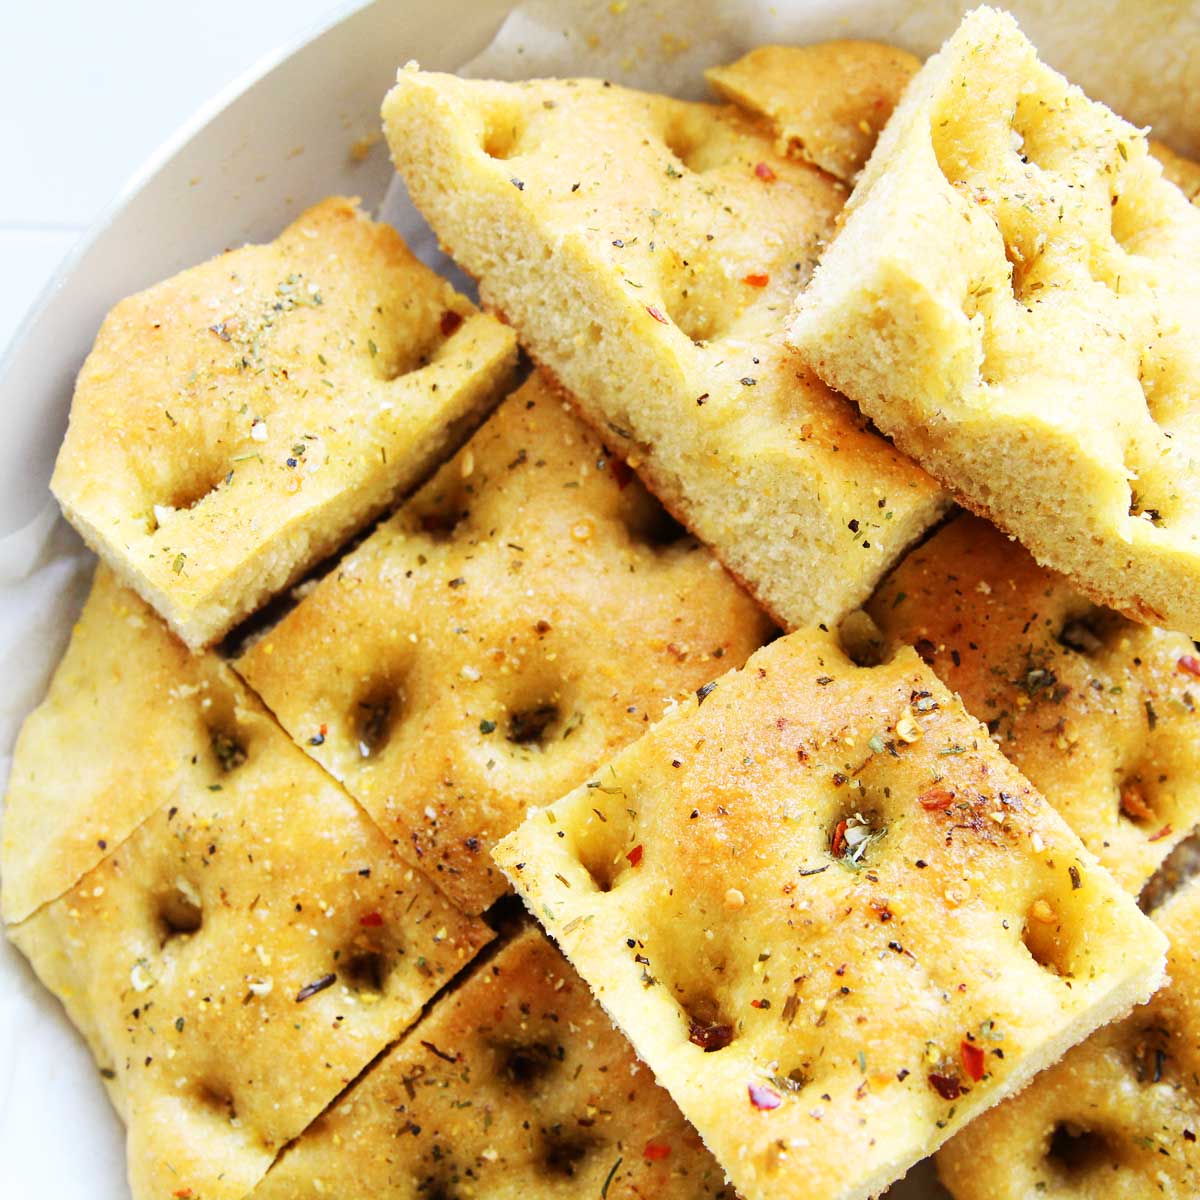
Here's how you can use my no knead cornmeal pizza dough recipe to make easy overnight breadsticks. Made with canned corn puree, bread flour, along with other common pantry staples, these breadsticks can be prepped the day before, then shaped and baked the next day when you need them.

Here's why I love this recipe
- vegan - no eggs, milk or butter required
- only 7 ingredients
- healthier and has more fiber than traditional breadsticks thanks to the corn puree
- easy to prepare and no kneading required
- can be made ahead of time

Ingredients Used to Make Easy Overnight Breadsticks
**I've linked some of these ingredients to amazon.com to give you an idea of what they are, but you should also be able to find them in your local grocery store (usually, the baking aisle, or the natural & organic food section). They are also affiliate links, which means that I earn a commission as an Amazon Associate if you decide to purchase the items. The price will be the same for you, link or no link 🙂
- Bread Flour - I used bread flour for this recipe (I use King Arthur Bread Flour most), which I prefer and highly recommend for the best texture and structure. Please read the note on the substitution section below if using other flours.
- Instant Yeast - you can find instant yeast in the baking section near the flours. My favorite is SAF Instant Premium Yeast, which works quickly and consistently produces great results. I recommend using instant yeast over active yeast for this recipe since active yeast (unlike instant yeast) needs to be activated in water, which we don't add until the very end.
- Sugar - I used raw cane sugar, but you can use regular granulated white sugar, or healthier alternatives like coconut, date, or maple sugars which are less processed and more natural. I also sometimes like to use honey powder.
- For yeasted breads, I would not recommend using sugar-free substitutes such as monk fruit sweetener or stevia powder since they can cause the bread to not rise properly. If you prefer a lower sugar recipe, you're welcome to leave out the sugar. The bread might taste slightly plain, but it will not significantly impact the shape or texture of the bread.
- Salt - Pink Himalayan salt is what I have at home, so it’s what I use, but you can use any kind for this recipe.

- Corn - we'll need whole kernel corn for this recipe. I used canned corn, but the corn can be from fresh, or from frozen. Read below to see how you should prep the corn depending on which you use:
- Canned Corn - For best results, drain and rinse the corn with water before using. It's best if you can find a "no salt added" corn. If you're using regular (salt added) corn, you can also adjust by using just half of the salt that's called for in the recipe.
- Frozen Corn - cook the frozen corn in the microwave or over stovetop at least until it's thawed or warm.
- Fresh Corn - Remove the corn kernels from the corn using a sharp knife. Since the corn will be cooked with the bread, there's no need to pre-cook the corn before using.
- Cooked Corn - no prep required on this one 🙂
- Corn Meal, any kind - in this recipe, the corn meal is optional, since we're already using a lot of corn puree. The corn meal is just used to add some additional texture, and it can be subbed with equal amounts of bread flour.
- Olive Oil - I like using light olive oil since it has a neutral flavor, but you can also any cooking oil of your choice like coconut oil, or avocado oil instead
Equipment
- I used a KitchenAid Stand Mixer with a dough hook to knead the dough. You're also welcome to use a bread machine, or knead the dough by hand.
More Recipes with Corn (HERE)

Step by Step Guide
How to Make Easy Overnight Breadsticks
STEP 1
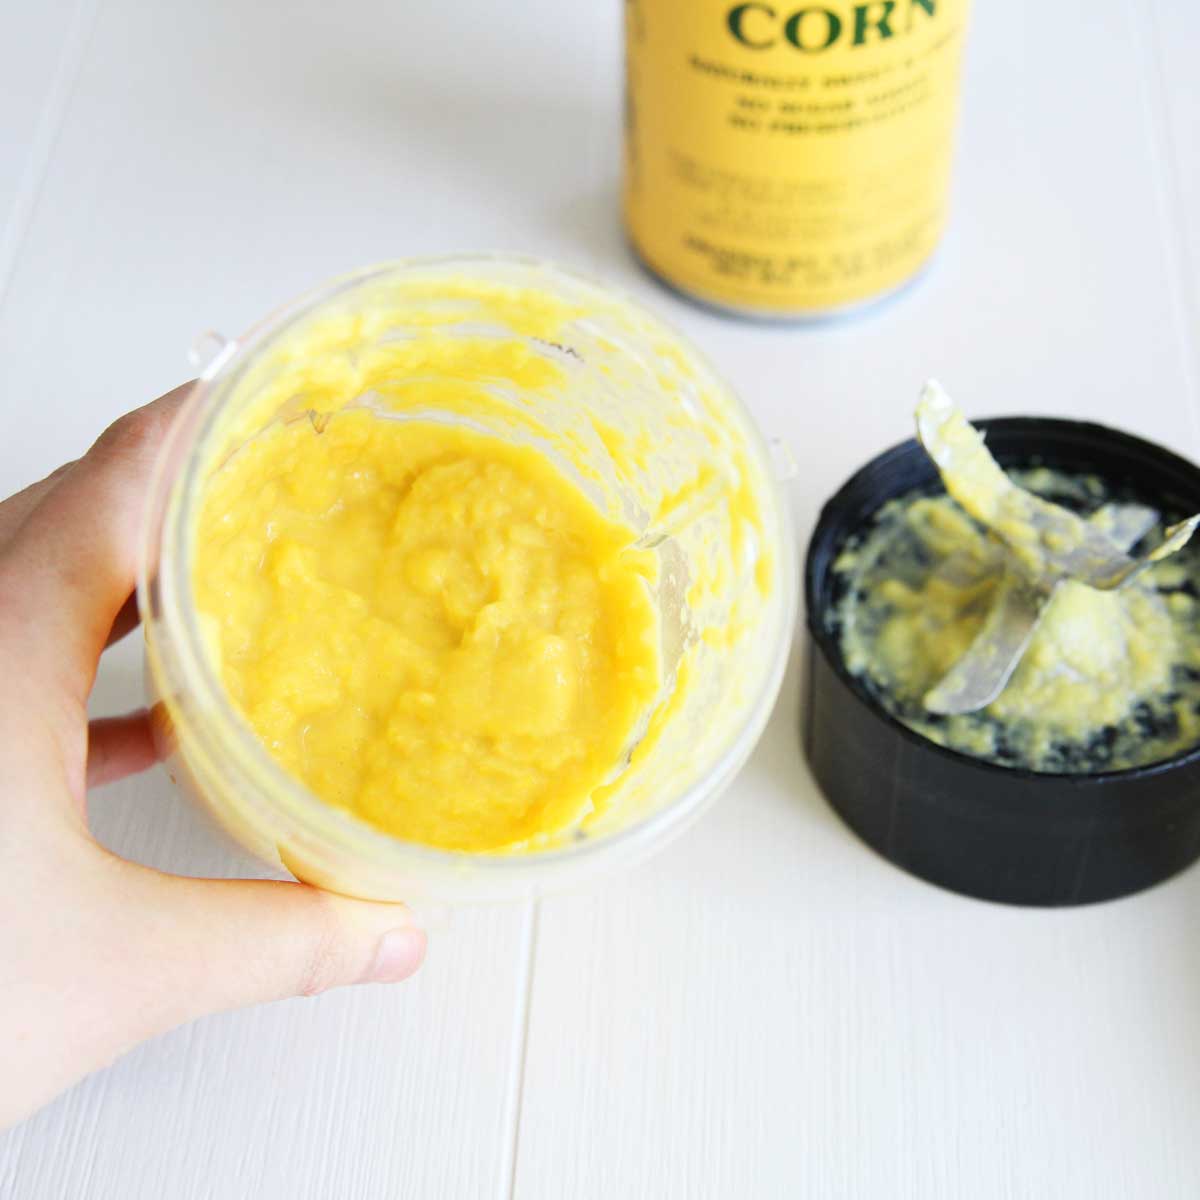
Prepare corn puree*** by blending the corn kernels in a mini blender until creamy.
If using regular (salt added) canned corn, be sure to rinse the corn with water a few times to remove the excess salt.
STEP 2
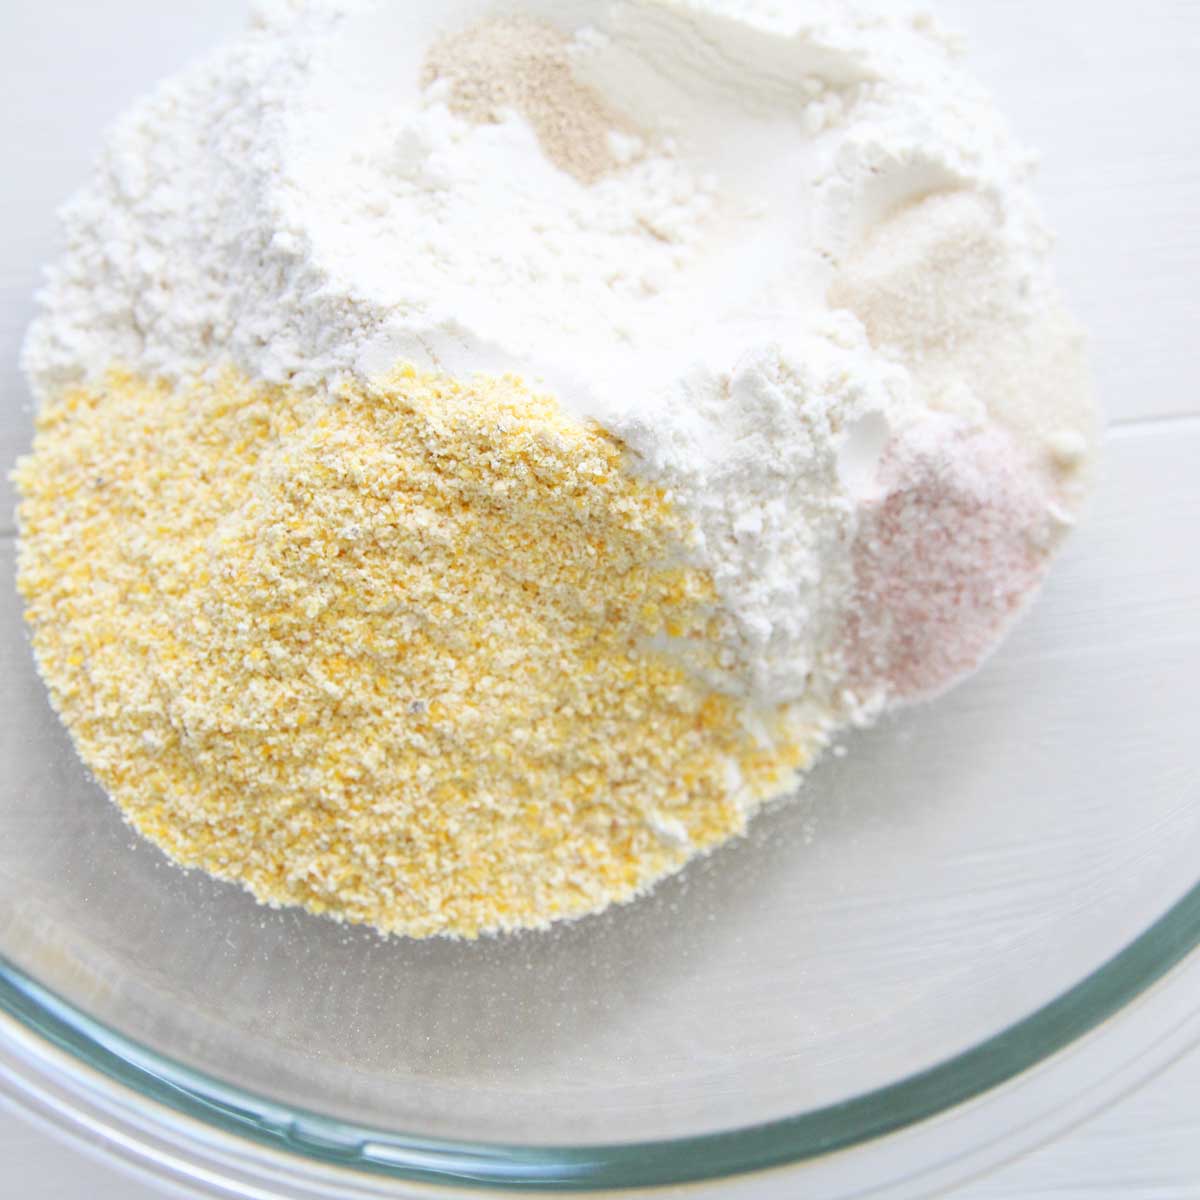
Mix all the dry ingredients (bread flour, corn meal, yeast, sugar, salt) in a clean bowl.
STEP 3
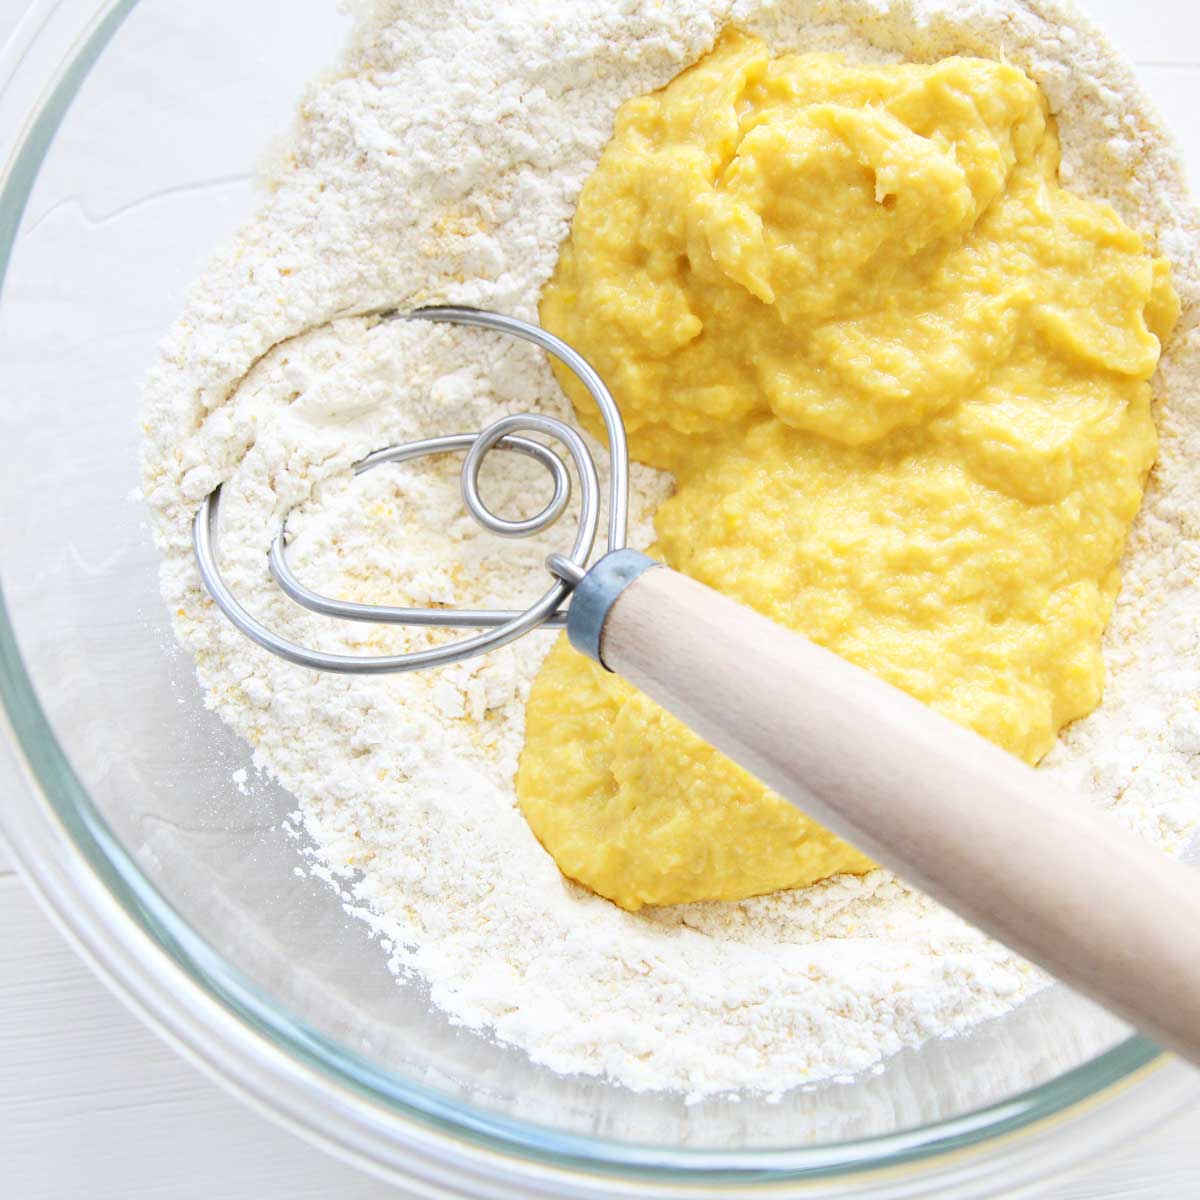
Add the corn puree to the dry ingredients, until just combined.
STEP 4
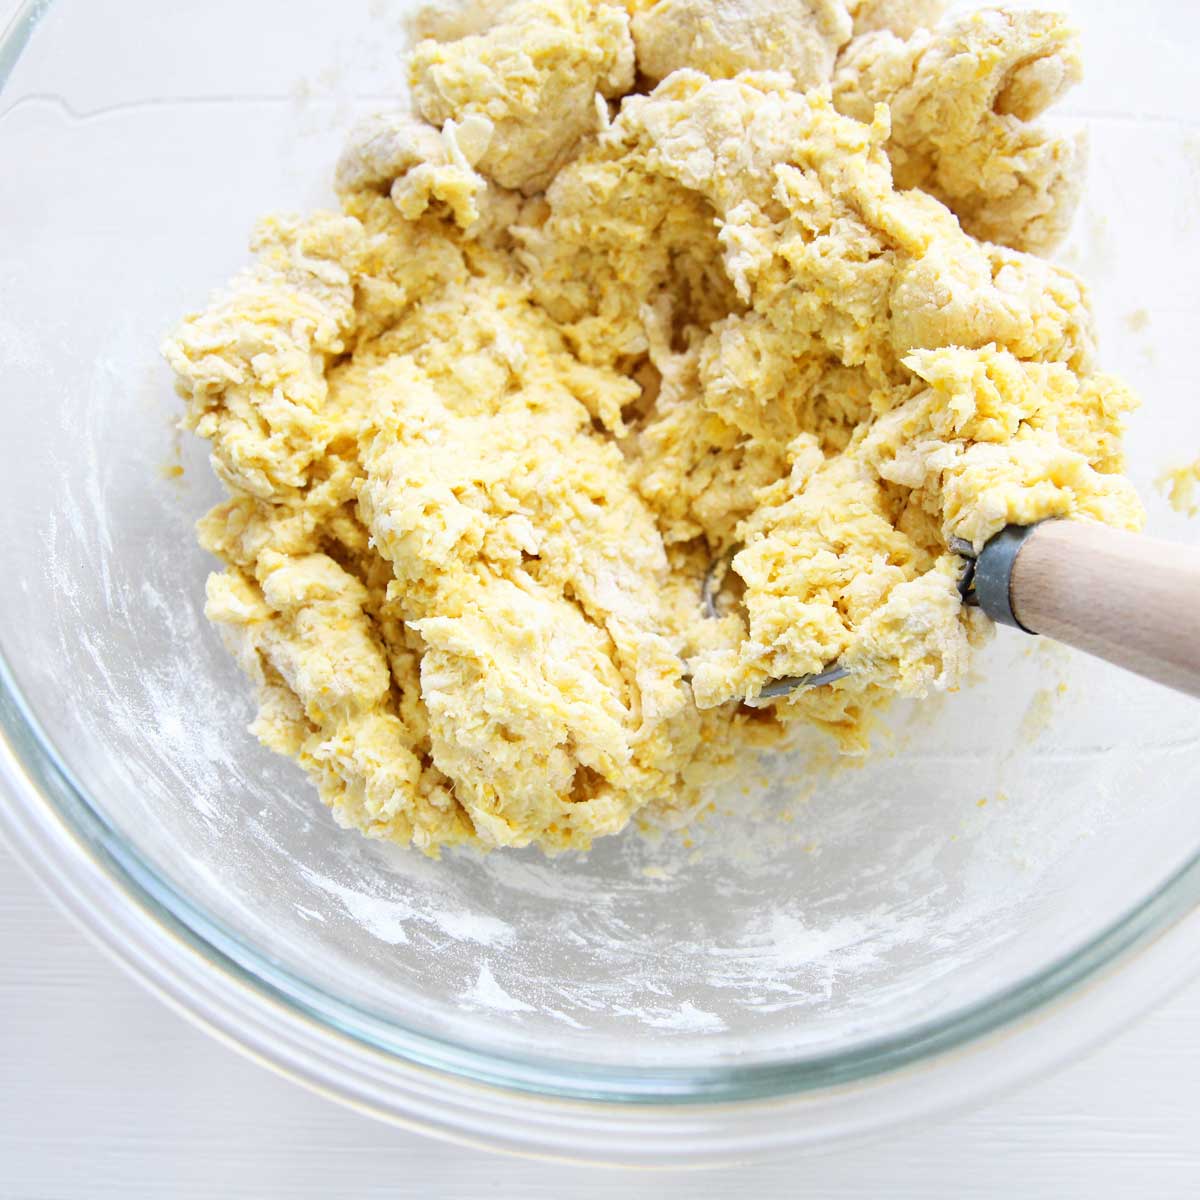
Stir in olive oil. The dough will be sticky, shaggy and rough on the surface.
Cover the bowl with a loose fitting lid, or with a plastic wrap with one side left slightly open. Let the dough sit at room temperature for 1 hour, and then in the fridge overnight (or 10-12 hours).
The long proof allows the dough to develop a richer, more savory flavor. You can even keep the dough in the fridge for up to 5 days if you wish.
STEP 5
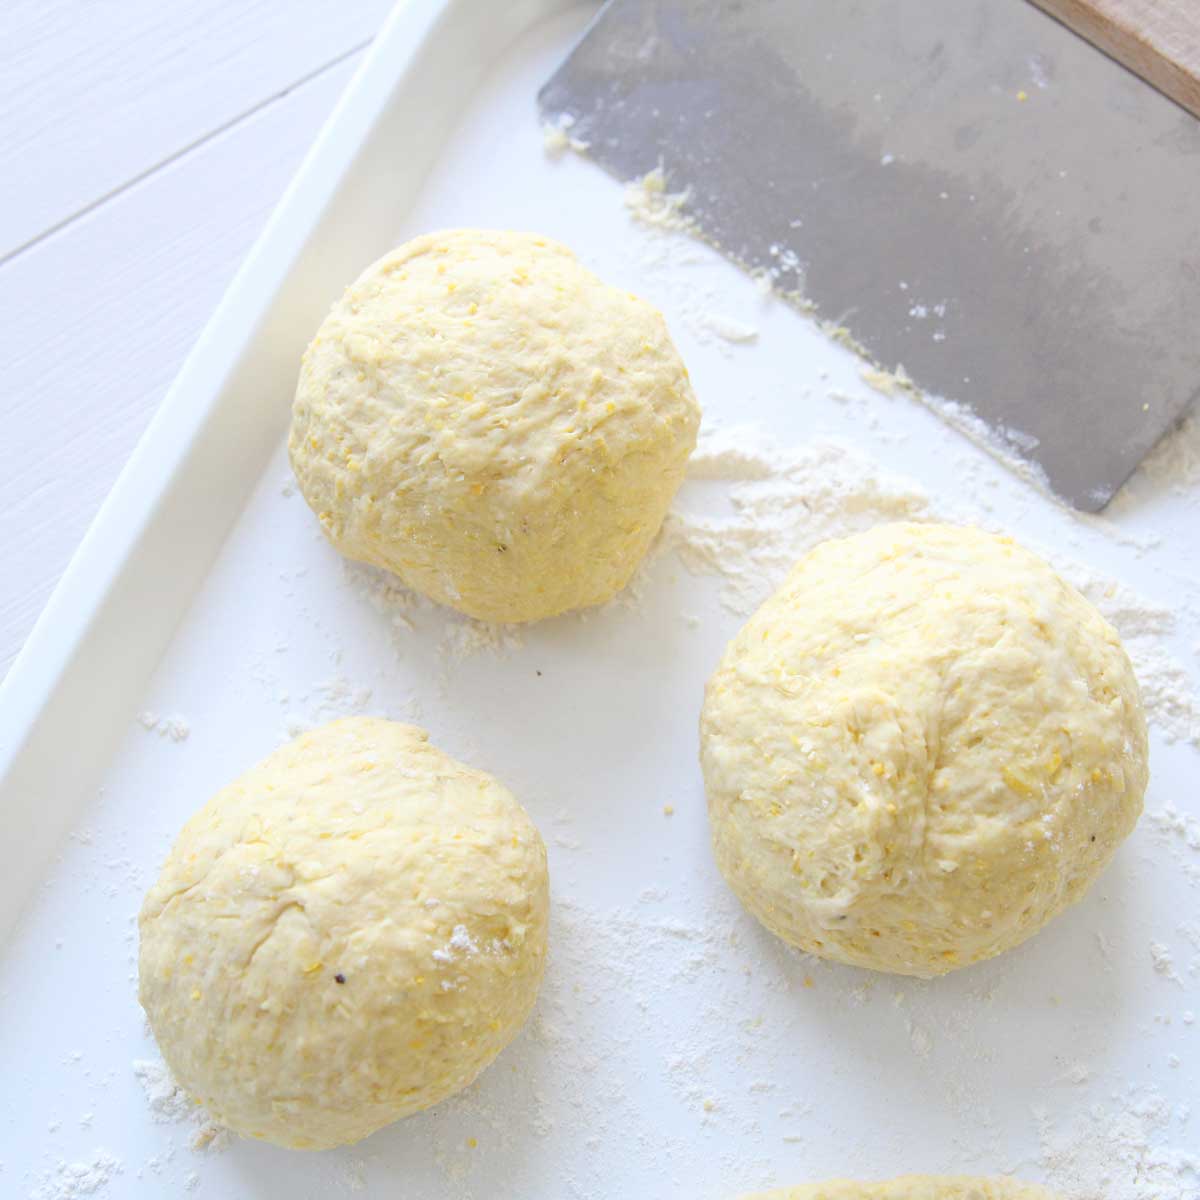
Take the bowl out of the fridge and allow it to return to room temperature (about 1-2 hours), then Remove the dough from the bowl, and place it on a generously floured surface.
Gently deflate the dough and divide into 4 pieces.
STEP 6
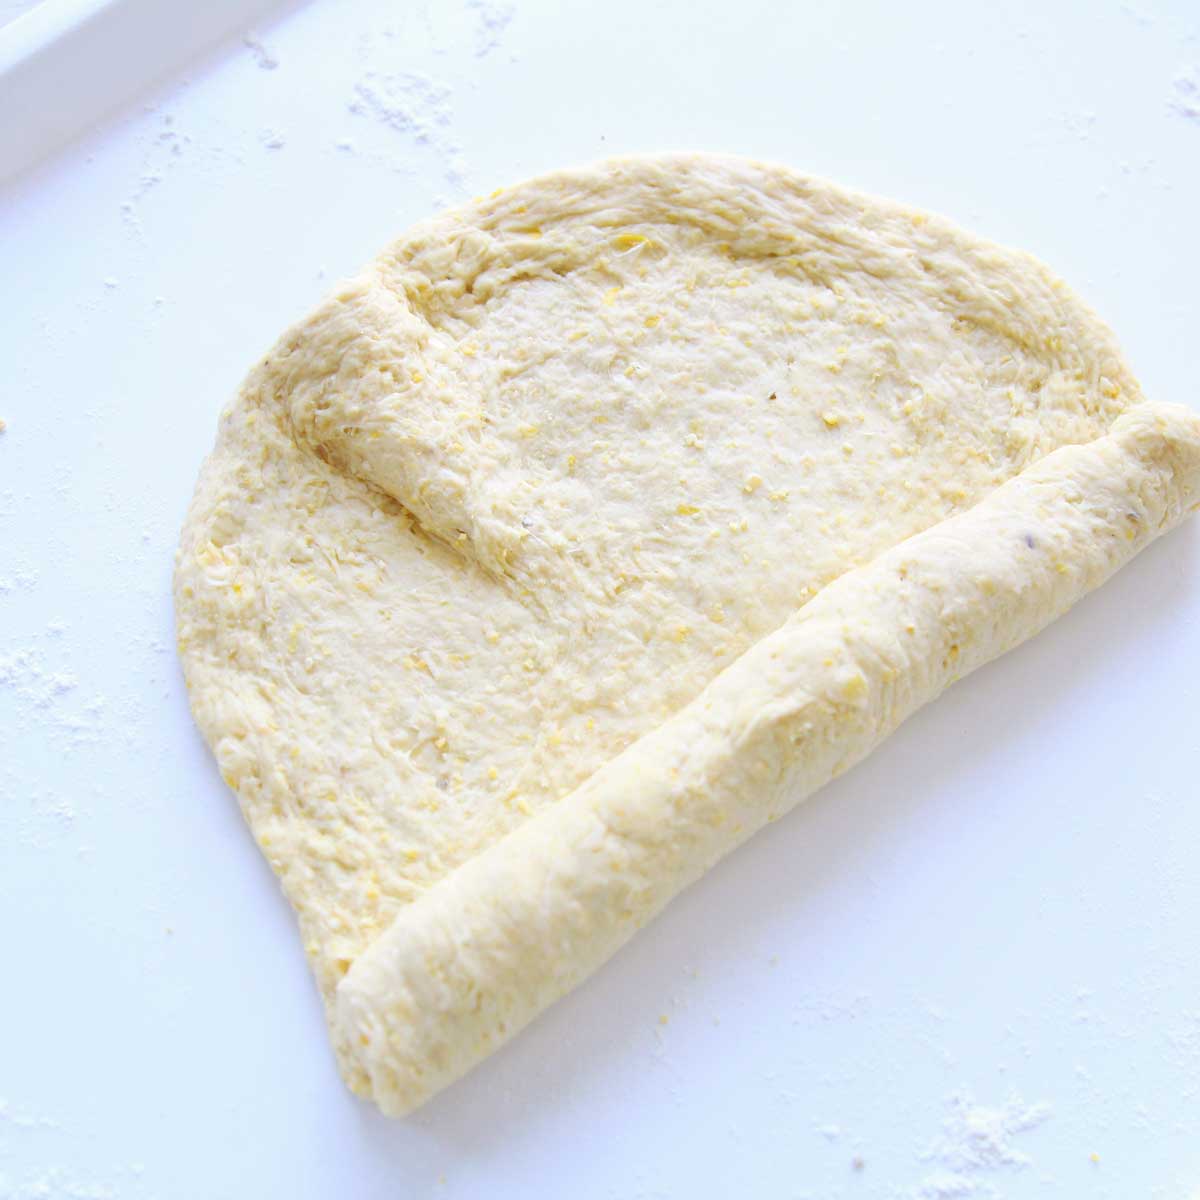
Use your hands or a rolling pin to stretch out each of the divided dough into a rectangle, about 10 x 4 inches in size.
Starting from the long side, roll the dough tightly into a tight and long cylinder (like a sushi roll or cinnamon roll). Pinch the ends to seal.
STEP 7
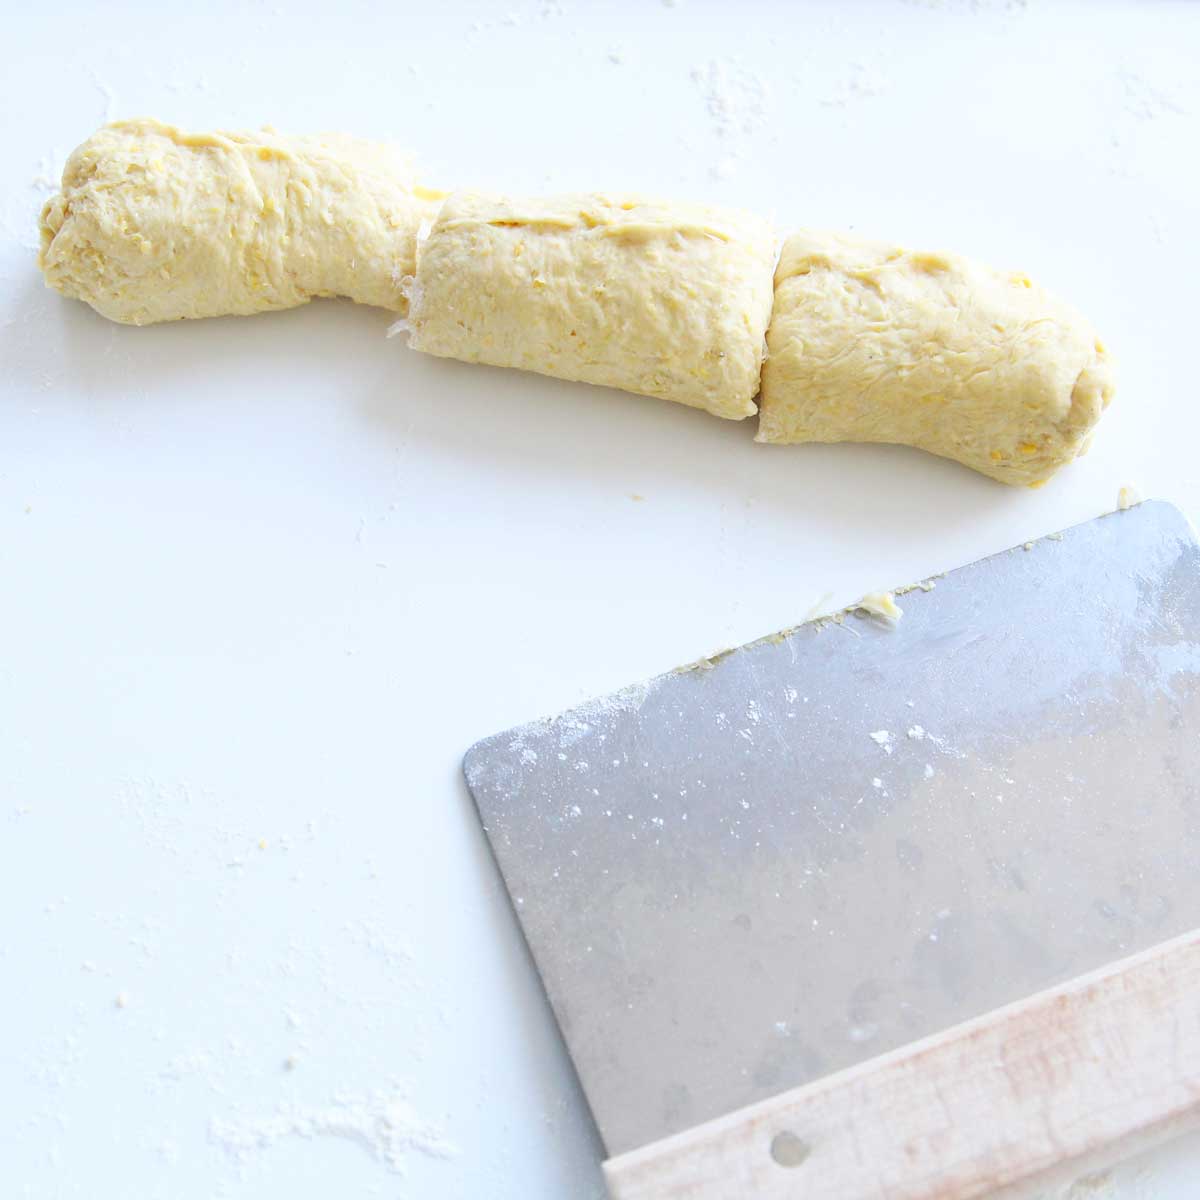
Cut the log into 3 equal pieces, then transfer to a well-floured surface and roll or stretch each piece of dough until they're 5 inches in length.
STEP 8
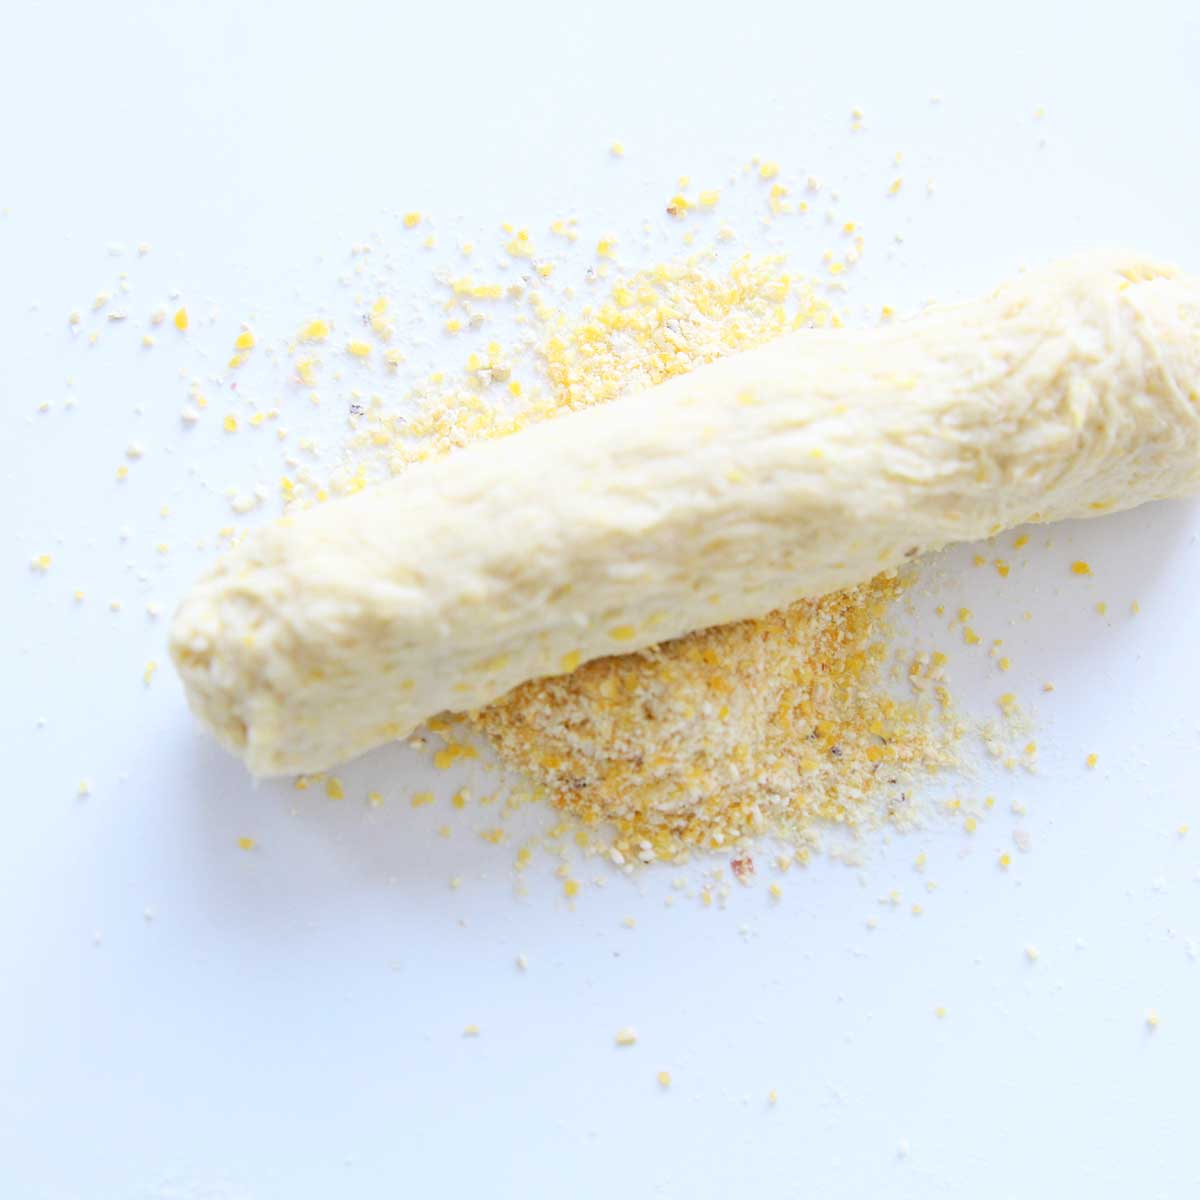
TIP: instead of flour, you can also roll these breadsticks in some cornmeal for more texture and color.
STEP 9

Arrange the breadsticks on a parchment lined baking sheet, about 2 inches apart. Let them rise until doubled, about 40-60 minutes.
STEP 10

Bake in a 400F oven for 12-15 minutes, or until golden brown. Enjoy!
How to Make Overnight Breadsticks Healthier
- Want to add more fiber? Substitute white whole wheat flour for up to half of the bread flour called for in this recipe. You'll need to add a few more tablespoons of water to adjust the hydration since whole wheat flour absorbs more water than white flour.
Note on Substitutions
- Unfortunately, gluten-free flours cannot be substituted for bread flour in this recipe.
- While bread flour is highly recommended, all-purpose flour can be used instead with 1 tsp of vital wheat gluten for every cup of flour.
- Liquid sweeteners such as maple syrup, honey or molasses can replace all of the sugar in this recipe, but it makes the dough softer and more difficult to handle since it contributes additional moisture. Increase bread flour by 1 Tablespoon to adjust.
Final Tips for Easy Overnight Breadsticks
- Weigh your flour for the best results. 1 cup of bread flour = 120 grams / 4.23 oz. This is recommended since scooping the flour directly from the bag can can pack the flour into the measuring cup, and this means you'll end up with more flour than what's called for in the recipe. If you don't have a kitchen scale, you can measure the flour by spooning pre-sifted flour into the measuring cup, then using the straight end of the spoon to level the flour across the top to sweep off the excess.
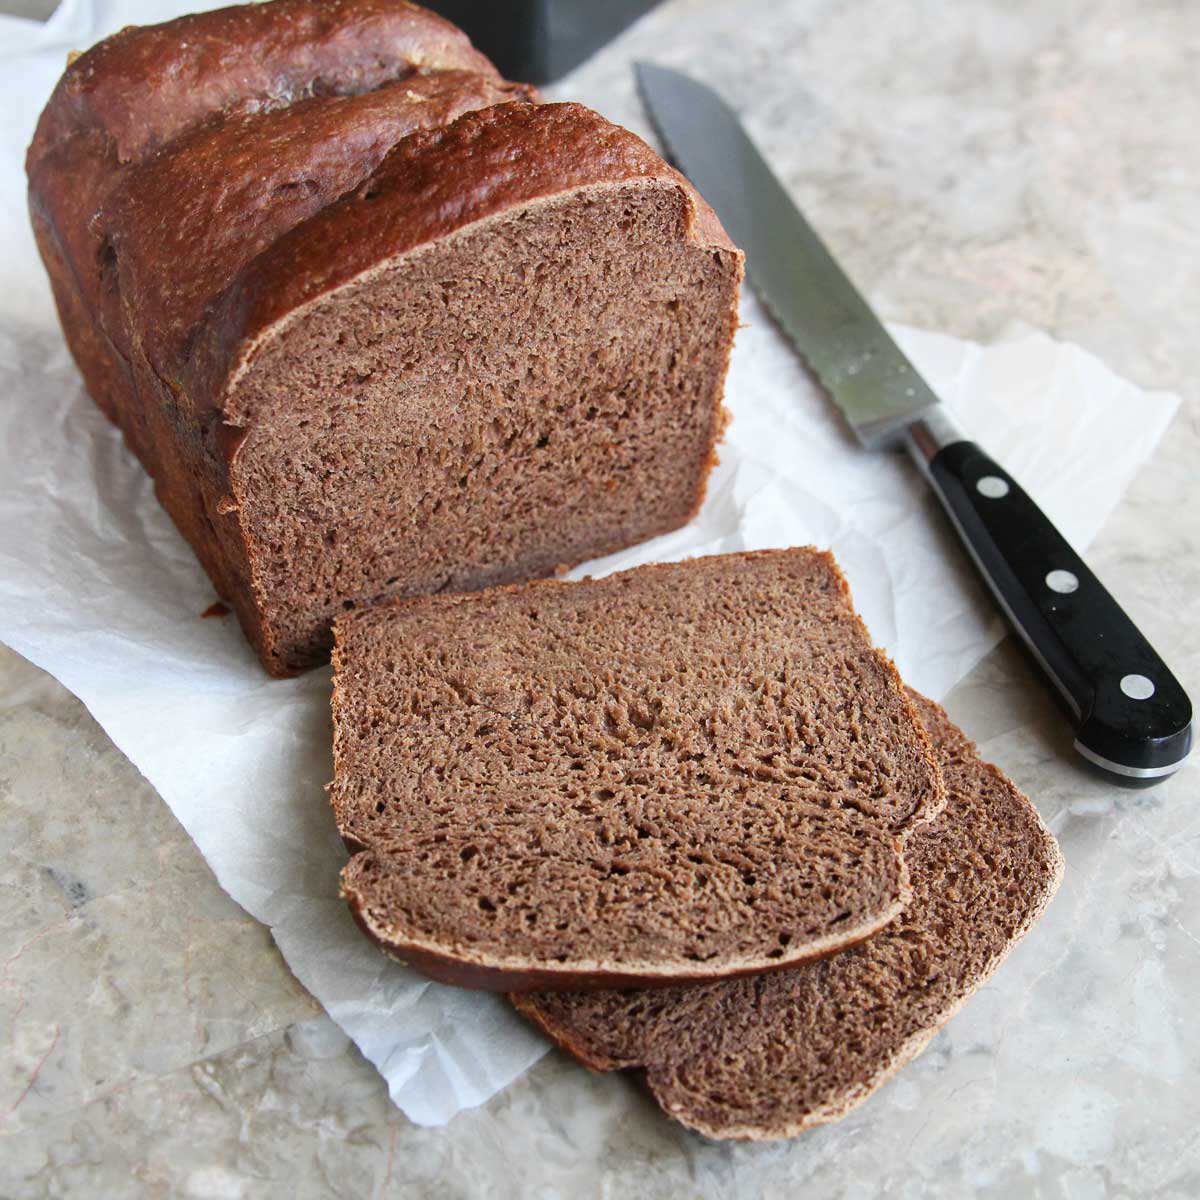
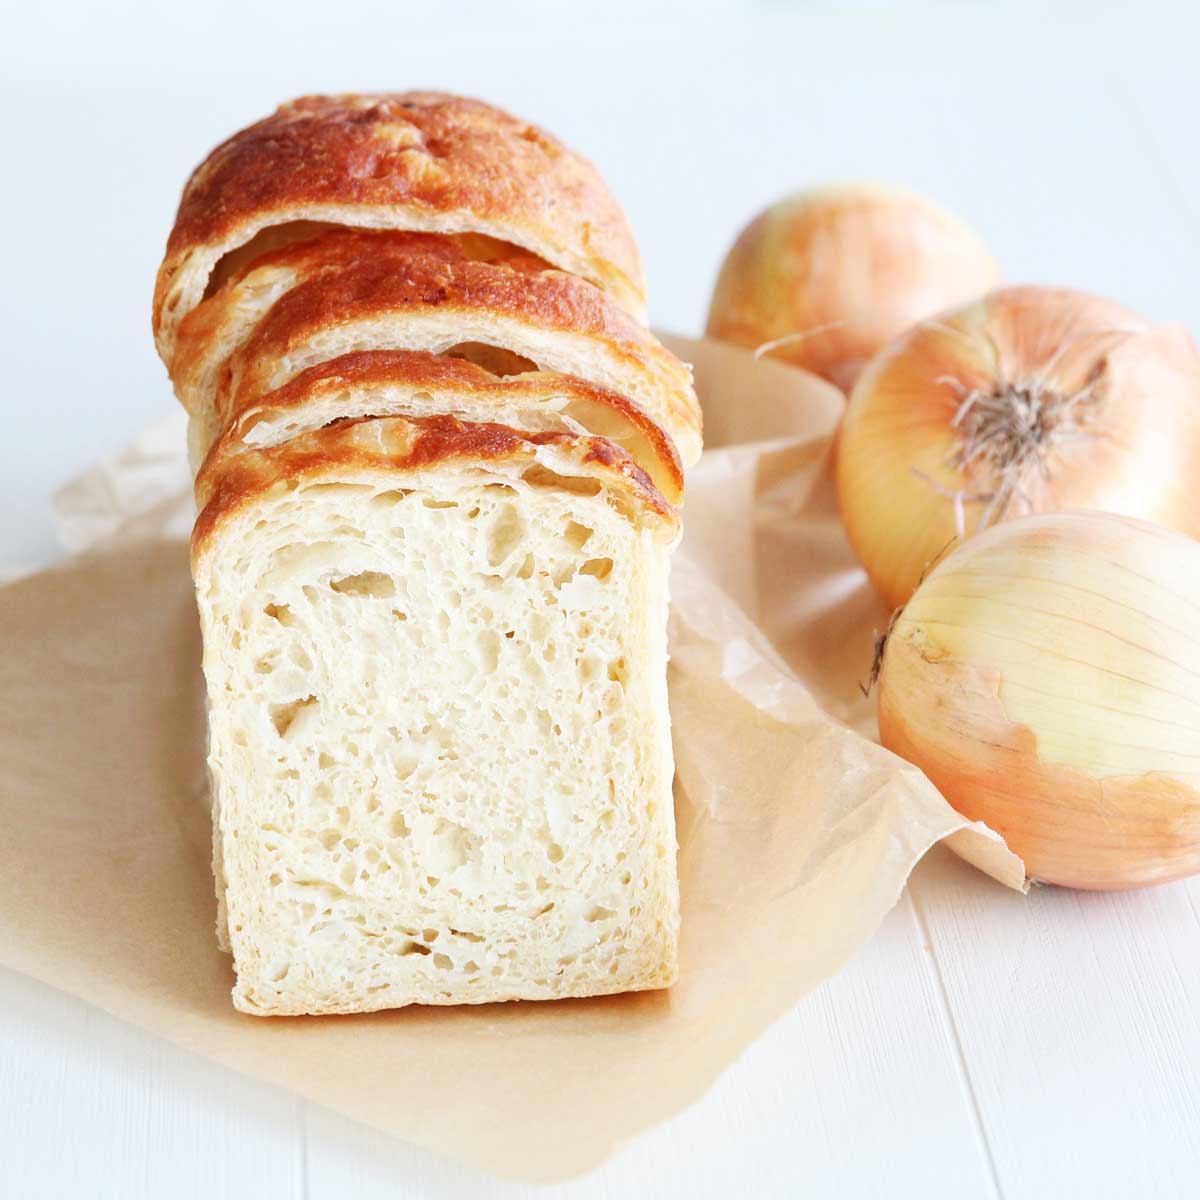
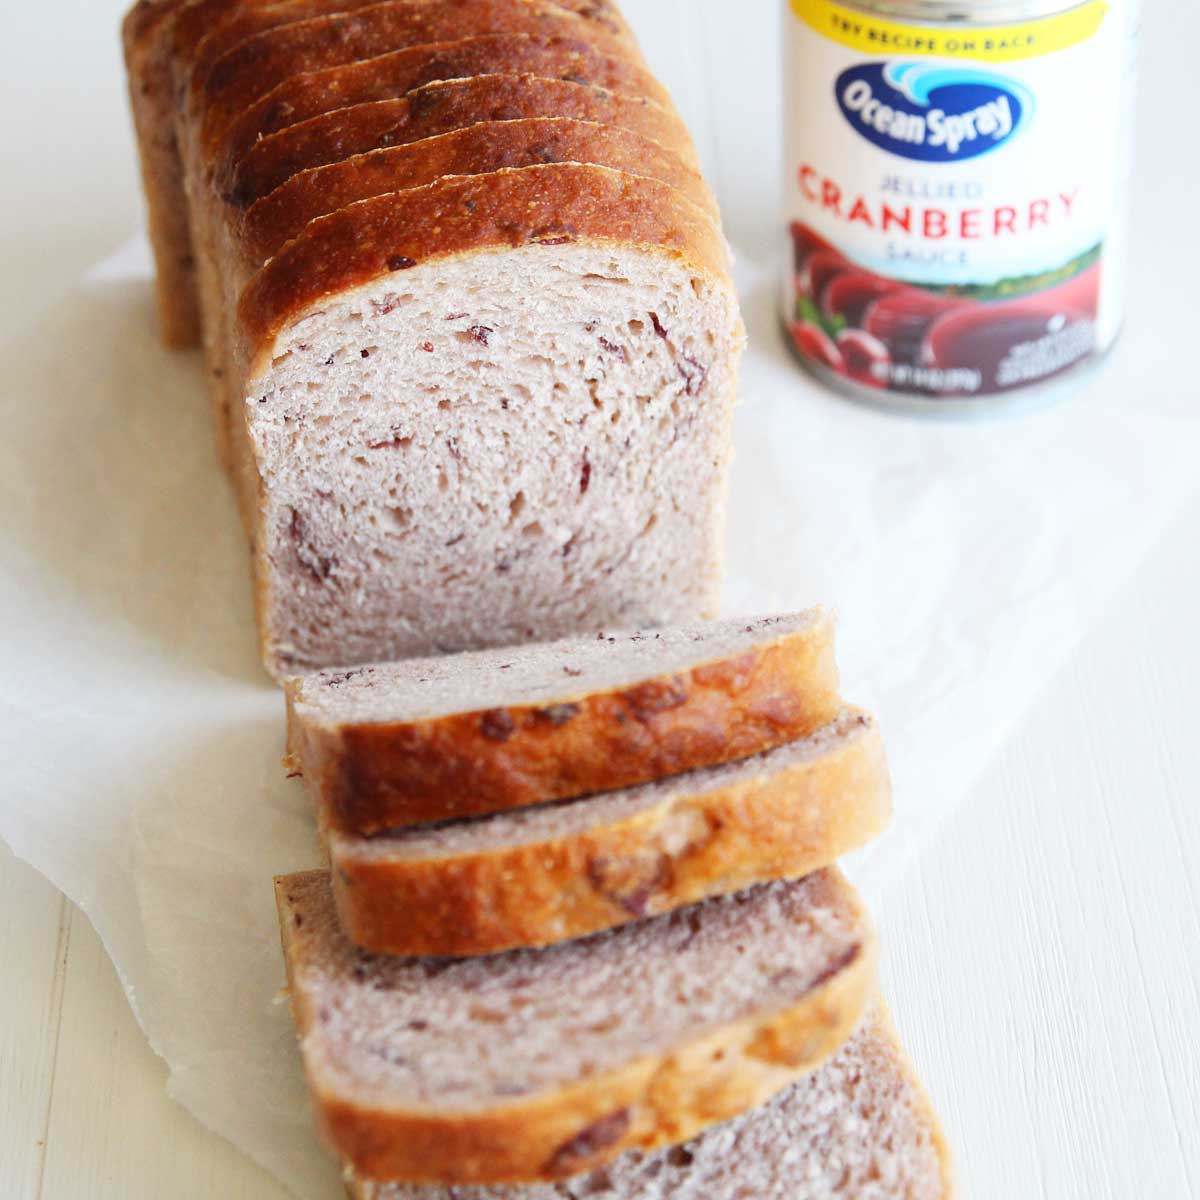
More Bread Recipes (HERE)


Easy Homemade Breadsticks Using Cornmeal Pizza Dough
Equipment
- 1 Danish Dough Whisk
Ingredients
- 1 (15 oz) can whole kernel corn (no salt added) , or about 1 ½ cups of corn kernels*
- 1 ¾ cups bread flour (210 g), sifted and leveled**
- ¼ cup corn meal , or more bread flour
- ½ tsp instant yeast
- 1 Tbsp granulated sugar
- 1 tsp salt
- 1 Tbsp light olive oil or other neutral flavored oils like grapeseed oil
Instructions
- Prepare corn puree*** by blending the corn kernels in a mini blender until creamy. If using regular (salt added) canned corn, be sure to rinse the corn with water a few times to remove the excess salt.
- Mix all the dry ingredients (bread flour, corn meal, yeast, sugar, salt) in a clean bowl.
- Add the corn puree to the dry ingredients, until just combined.
- Stir in olive oil. The dough will be sticky, shaggy and rough on the surface.
- Cover the bowl with a loose fitting lid, or with a plastic wrap with one side left slightly open.
- Let the dough sit at room temperature for 1 hour.
- Now transfer the bowl with the dough (don't stir or punch down the dough) to the fridge and let it sit in the fridge overnight (or 10-12 hours).Note: You can keep the dough in the fridge for up to 5 days if you wish.
- On baking day, take the bowl out of the fridge and allow it to return to room temperature (about 1-2 hours).
- Remove the dough from the bowl, and place on a generously floured surface.
- Gently deflate the dough and divide into 4 pieces.
- Use your hands or a rolling pin to stretch out each of the divided dough into a rectangle, about 10 x 4 inches in size.
- Starting from the long side, roll the dough tightly into a tight and long cylinder (like a sushi roll or cinnamon roll). Pinch the ends to seal.
- Cut the log into 3 equal pieces, then transfer to a well floured surface and roll or stretch each piece of dough until they're 5 inches in length.TIP: instead of flour, you can also roll these breadsticks in some cornmeal for more texture and color.
- Arrange the breadsticks on a parchment lined baking sheet, about 2 inches apart.
- Cover with a damp towel or plastic wrap and let them rise until doubled, about 40-60 minutes.
- Brush the breadsticks in almond milk (or milk of choice) and sprinkle with additioonal cornmeal, if desired.
- Bake in a 400F oven for 12-15 minutes, or until golden brown.
- Once out of the oven, brush with butter or garlic oil for more flavor.
- Serve warm. Enjoy!
- The breadsticks can be stored wrapped, at room temperature, for 3-5 days. For longer storage, you can place them in a plastic freezer bag or airtight container and freeze up to 3 months, then defrost them at room temperature or microwave before eating.
Notes
- Canned Corn - For best results, drain and rinse the corn with water before using. It's best if you can find a "no salt added" corn. If not, we can also adjust the salt that's added to the bread by using half the amount of salt called for in the recipe.
- Frozen Corn - cook the frozen corn in the microwave or over stovetop at least until it's thawed or warm.
- Fresh Corn - Remove the corn kernels from the corn using a sharp knife. since the corn will be cooked with the bread, there's no need to pre-cook the corn before using.
- Cooked Corn - no prep required on this one 🙂


Leave a Reply