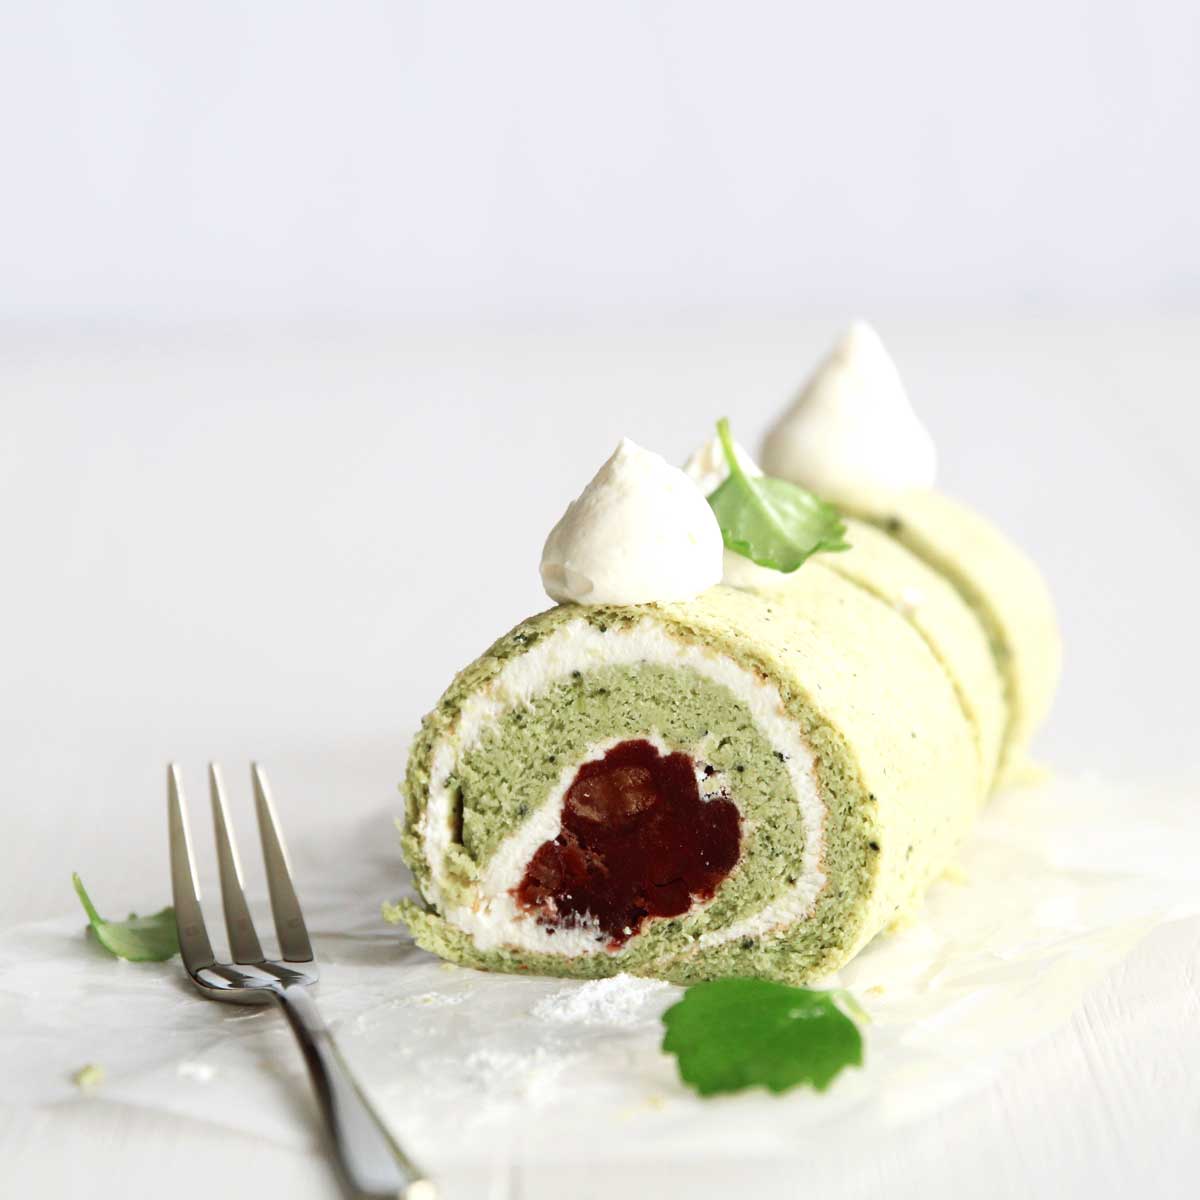
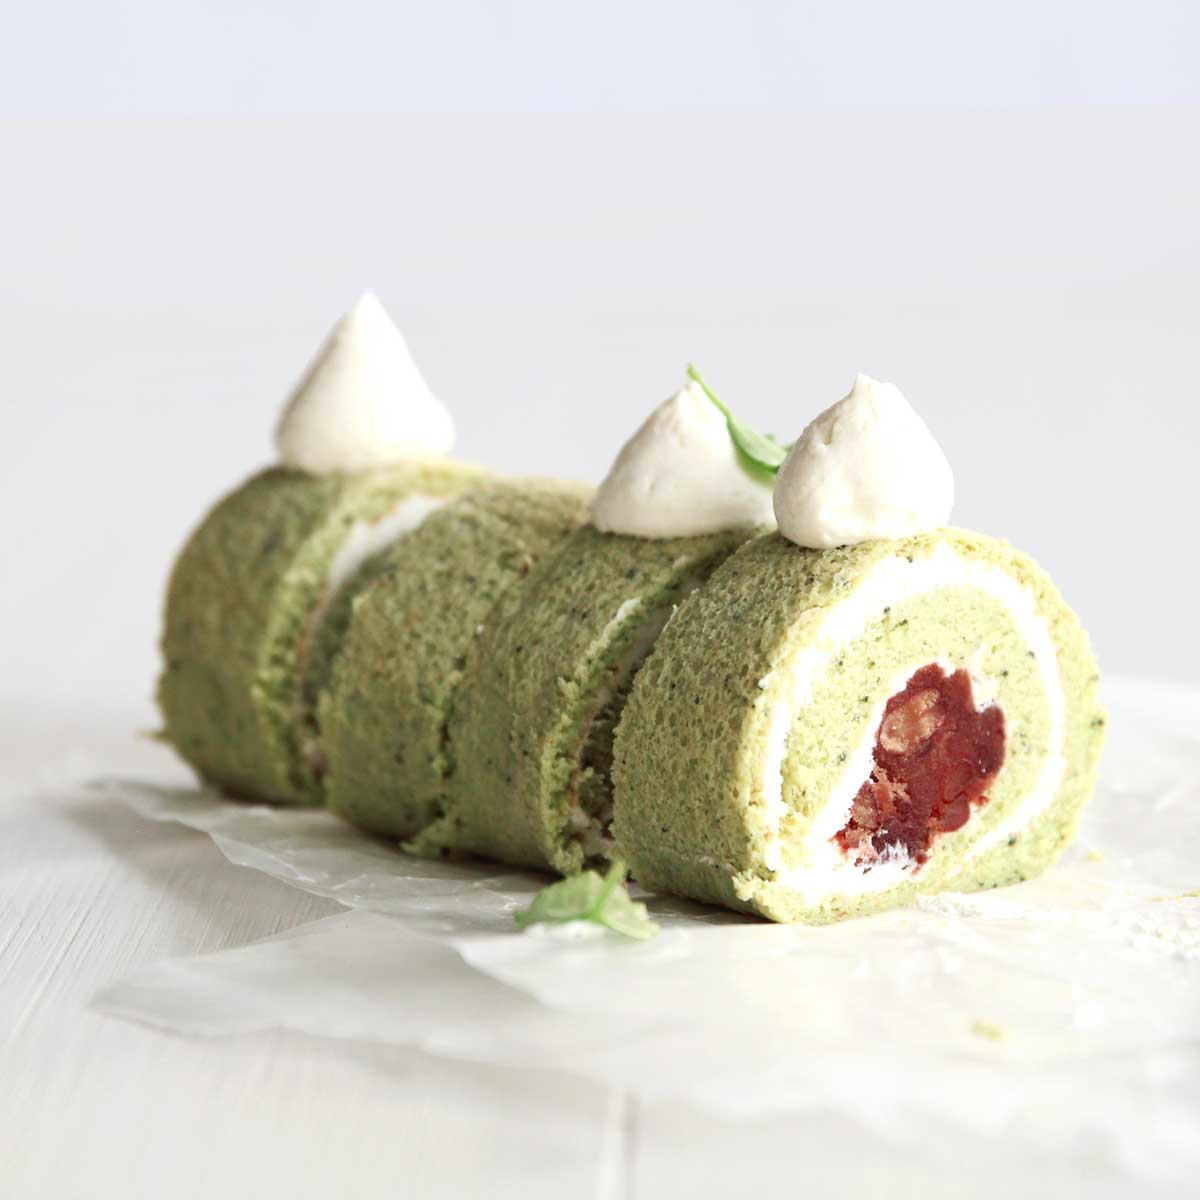
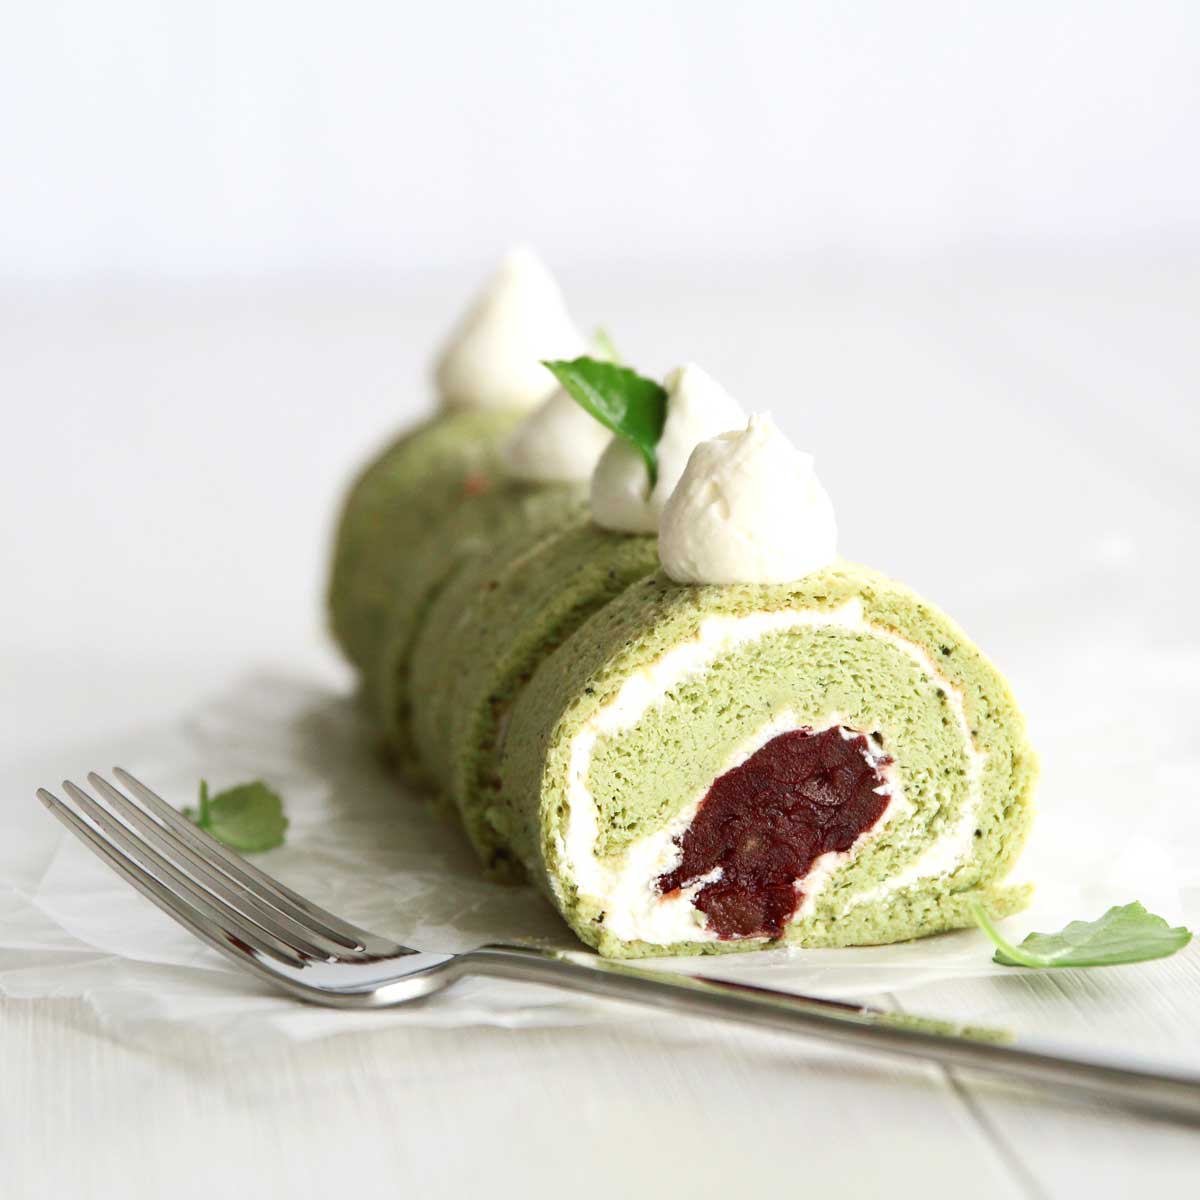
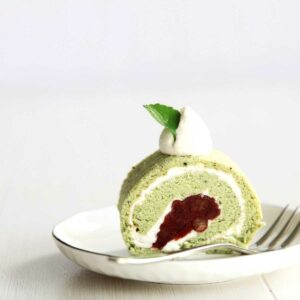
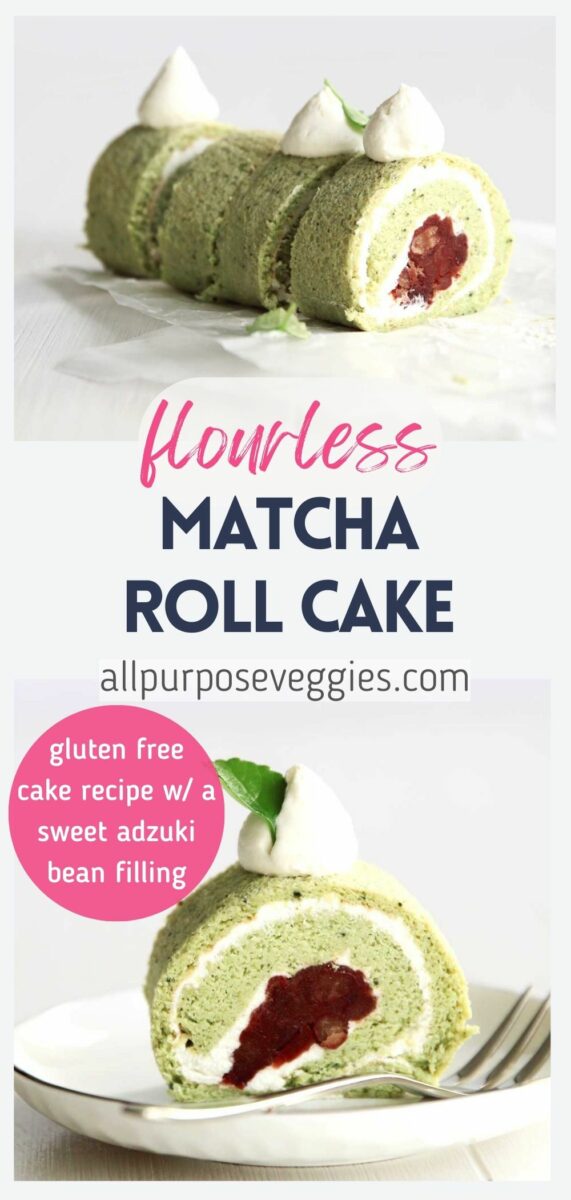
Discover the taste of Japan with this incredible Matcha Roll Cake! This soft & airy Japanese Matcha Roll Cake not only looks like a work of art with its vibrant green shade and luscious filling of whipped cream and sweet adzuki beans – but it also packs a serious flavor punch!
The secret to its extra soft, fluffy and melt-in-your-mouth texture comes from the fact that cornstarch is used instead of regular wheat flour. So if you’re looking for a delicate, yet flavorful dessert that will satisfy your sweet tooth while keeping things light and healthy, look no further. You won’t want to miss a chance to share this with your friends and loved ones!
WHY I LOVE THIS RECIPE
- Requires only just a couple of ingredients
- Flourless and gluten-free!
- Soft, fluffy, with a melt-in-your-mouth texture
- Japanese Roll Cake recipes are lower carb and lower fat than traditional roll cakes
Ingredients Used to Make Japanese Matcha Roll Cake
**I've linked some of these ingredients to amazon.com. They are also affiliate links, which means that I earn a commission as an Amazon Associate if you decide to purchase the items. The price will be the same for you, link or no link 🙂
- Eggs - the egg yolks and egg whites are whipped separately to help create the airy and soft cake texture. They also act as leavening agents, which makes it even more important, since eggs are the only leavening agent in this recipe (no baking soda/baking powder are added here). Please keep in mind that for egg whites to whip properly they should be placed in a completely clean and grease-free bowl, and there should be NO trace of egg yolks mixed in with the white.
- Sugar - Sugar sweetens the cake but it also helps to stabilize the whipped eggs so that they don't deflate. Keep in mind that sugar-free substitutes such as monk fruit sweetener should NOT be used in the cake batter since they can cause the cake to not rise properly.
- Heavy Cream - You'll want to heat the heavy cream (also called whipping cream) right before use (I usually just heat it in the microwave for ~40 seconds). The hot cream helps to stabilize and enrich the egg yolk mixture, making it creamy and adding additional moisture to the cake.
- Cornstarch - this ingredient is the reason why this flourless cake recipe works! Cornstarch is used instead of cake flour in this recipe. It helps provide structure and stability while maintaining a soft, tender crumb.
- Cream of Tartar (optional) - adding the cream of tartar is optional, but I add it when I whip egg whites since it speeds up the egg whipping process.
- Applesauce - you can use any kind or any flavored applesauce. I used unsweetened.
- Matcha Powder – preferably ceremonial grade matcha powder for the best color, but any kind works. Sold in Asian grocery stores, or online, below:

- Coarse Sweetened Red Bean Paste: Red bean paste is a thick and smooth sweet paste made from cooked adzuki red beans that’s been mashed and then cooked down with sugar. The sweetened red bean paste has a sweet almost syrupy flavor with mild earthy notes. It has a creamy and hearty texture that pairs perfectly with East Asian dessert recipes, especially those made with rice flour. I used the Morinaga Ogura An (Sweetened Red Beans) 15.16 Oz (sold on Amazon).
- Sweetened Condensed Milk - this is my secret ingredient for making whipped cream taste AMAZING. The rich, milky sweetness of the sweetened condensed milk almost makes the whipped cream taste like white chocolate (but with matcha!).
How Does Cornstarch create a light & fluffy Japanese Matcha Roll Cake?
The fine texture of cornstarch adds a silky, velvety quality to cake recipes. Since cornstarch is lighter than cake flour and gluten-free, it helps create a cake with a lighter, more delicate structure with a spongy and airy crumb. It also acts as a thickener to help stabilize the whipped eggs. Cakes made with cornstarch are also perfect for roll cakes since it's easier to shape into a roll without cracking.

Gluten Free Japanese Matcha Roll Cake with a Sweet Adzuki Filling
Ingredients
For the Cake:
- 5 large egg whites room temperature, (190g)
- ¼ cup sugar (50g)
- ½ tsp cream of tartar (this is an optional ingredient that helps speed up egg whipping. Read note*)
- 5 large egg yolks (73g)
- 2 Tbsp sugar (25g)
- ¼ cup heavy cream heated in the microwave for 40 seconds (56g)
- ⅓ cup cornstarch sifted (43g)
- 2 tsp matcha powder , can add more for darker color
- ⅓ cup unsweetened applesauce , equals one 4oz / 113g mini cup
For the Filling:
- 1 ⅔ cups heavy cream cold (397g)
- ½ cup Sweetened Condensed Milk , or ⅓ cup sugar of choice**
- 1 cup sweetened red bean paste , use coarse for best texture
Instructions
Preheat the Oven:
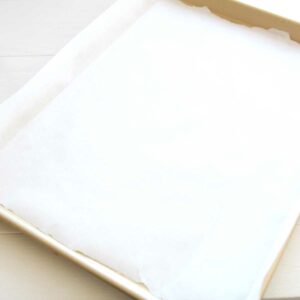
- Preheat your oven to 340°F (170°C). Line a 13x18-inch (33x46 cm) sheet pan with parchment paper. Make sure the parchment paper extends slightly over the edges.
Prepare the Meringue:
- In the bowl of a stand mixer, add the room temperature egg whites. Add cream of tartar if desired.
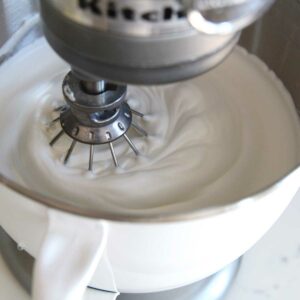
- Using the whisk attachment, start whipping the egg whites at low speed, gradually increasing to high as they become frothy.
- While whipping, gradually add the ¼ cup of sugar, until stiff peaks form. This should take a few minutes. The meringue should be glossy and hold its shape.
Prepare the Egg Yolk Mixture:
- In a separate 5 quart mixing bowl, add the egg yolks and the remaining 2 tablespoons of sugar.
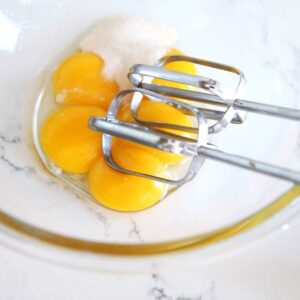
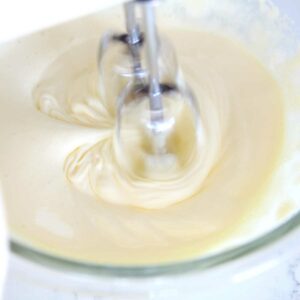
- Using a hand blender, whip the egg yolks and sugar together until they become pale and slightly thickened. This usually takes a few minutes of blending.
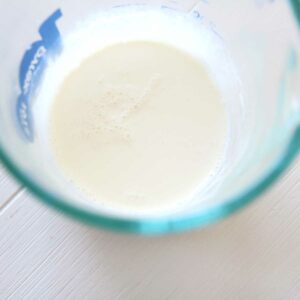
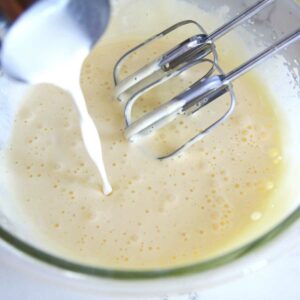
- In a microwave safe bowl, heat the heavy cream in the microwave for 40 seconds until it only just starts to boil.
- Stirring constantly, pour the hot cream into the egg yolk mixture a little at a time. Be sure to stir constantly to ensure that the hot cream does not cook the eggs.
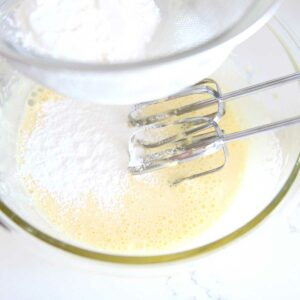
- Sift the cornstarch over the egg yolk mixture and use the hand blender to blend it in until well combined.
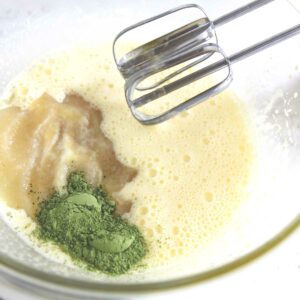
- Mix in the applesauce and matcha powder
Combine the Meringue and Egg Yolk Mixture:
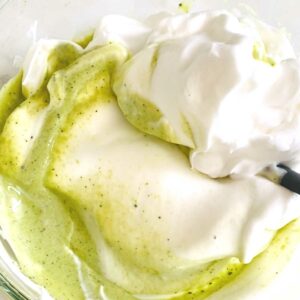
- Gently fold the whipped egg yolk mixture into the meringue using a wide spatula. Be gentle to maintain the airiness and not deflate the batter.
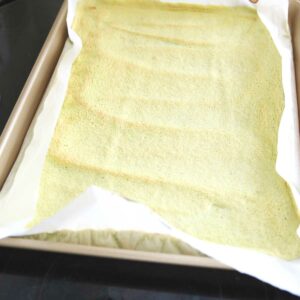
Bake the Cake:
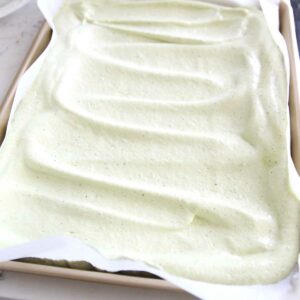
- Pour the cake batter onto the prepared baking sheet. Use a spatula to spread it evenly into the corners.
- Bake in the preheated oven for about 17-20 minutes, or until the cake is set and lightly golden on top. Allow the cake to cool completely.
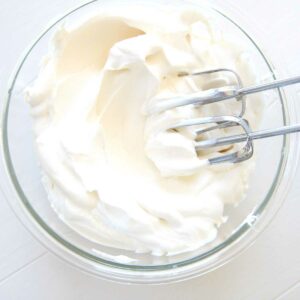
Prepare the Filling:
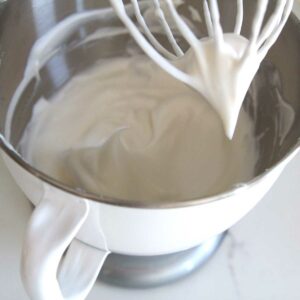
- In a clean 3 quart mixing bowl, combine the heavy cream and the sweetened condensed milk (read notes** for substitutes)
- Whip the cream until it reaches stiff peaks. Set aside.
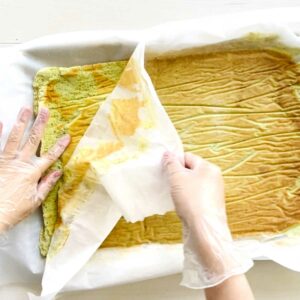
Flip the Cake:
- Line another sheet pan or large cutting board lined with parchment paper.
- Place the second pan upside down on top of the cake, then flip both pans together.

- Carefully remove the original parchment paper from the cake.
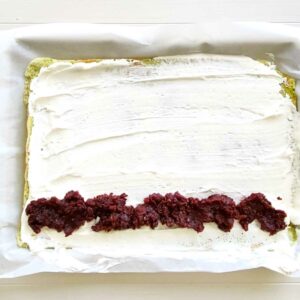
Assemble the Cake:
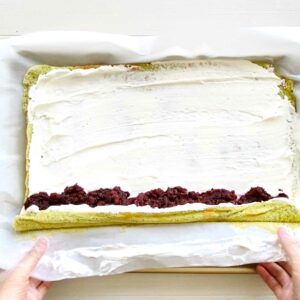
- Spread a generous layer of the sweetened whipped cream evenly over the entire surface of the cake.
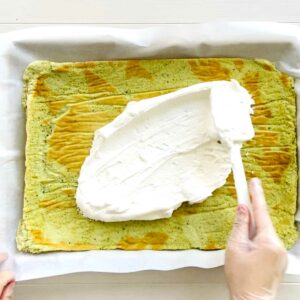
- Towards the end of the cake, drop spoonfuls of sweetened red bean paste
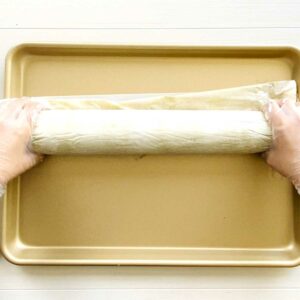
- Carefully roll the cake into a cylinder shape
- Refrigerate the cake for at least an hour before serving to allow the flavors to meld.
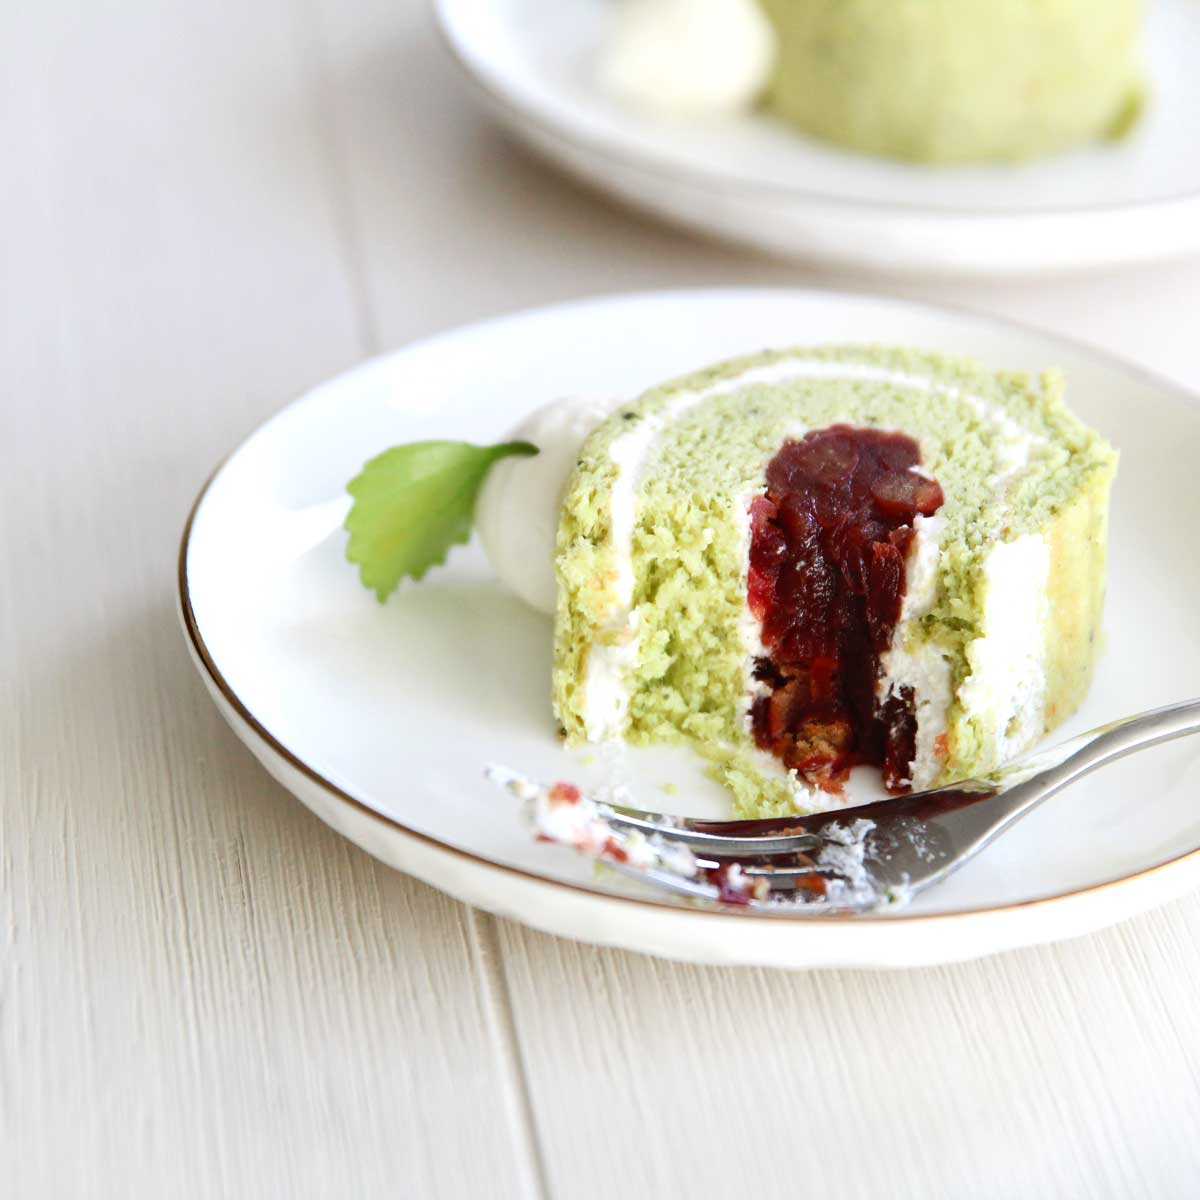
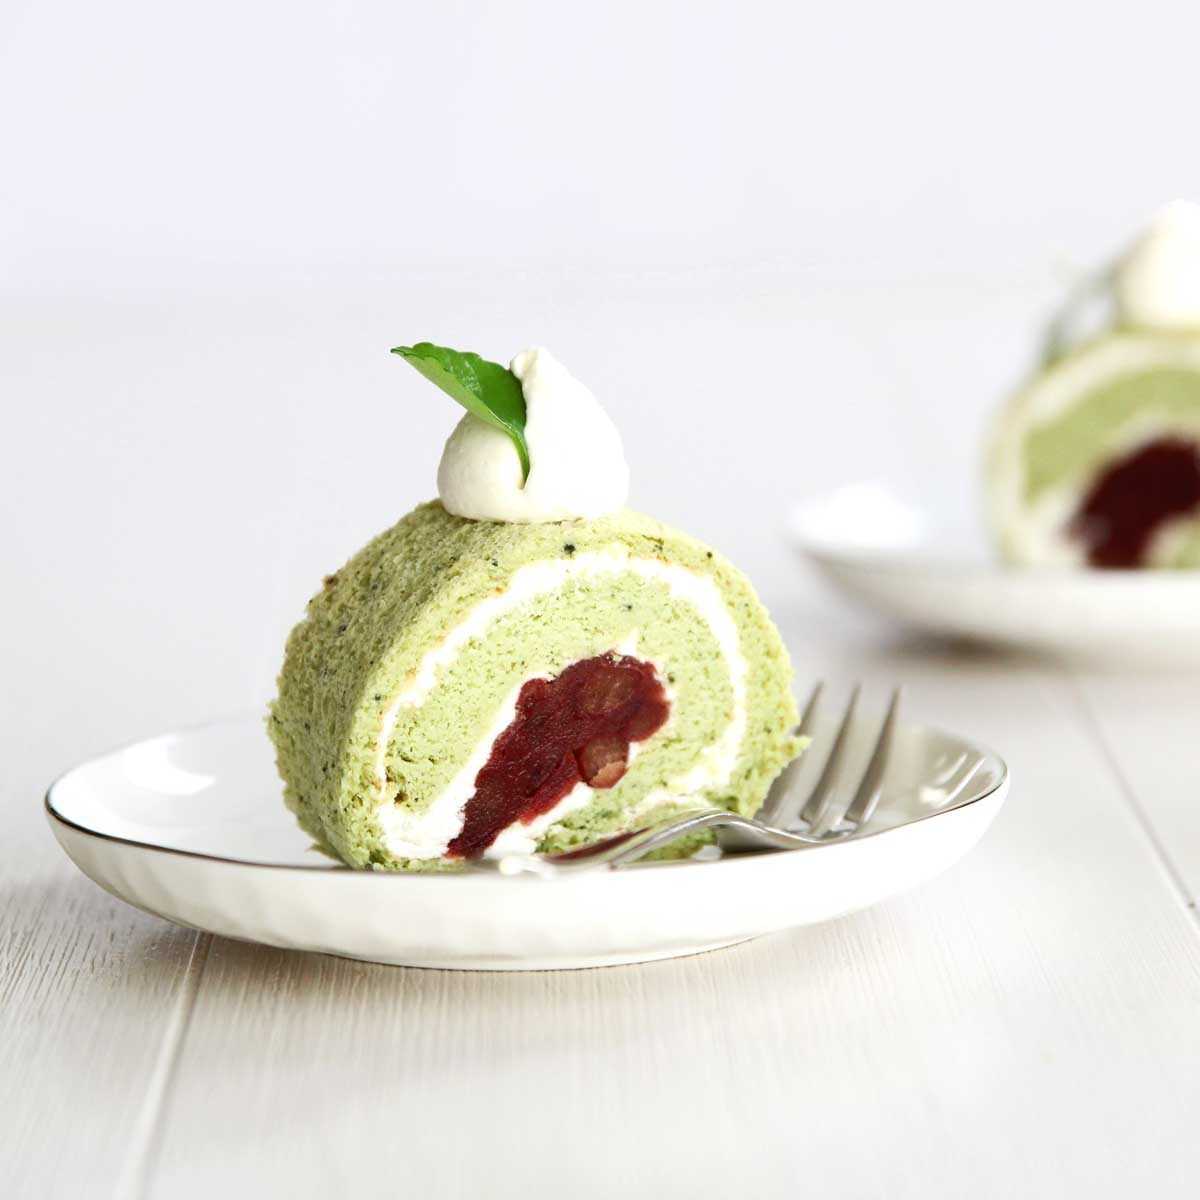
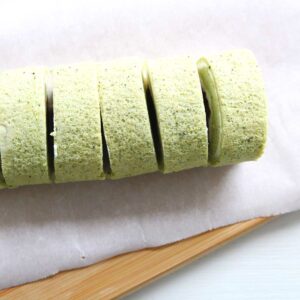
- Slice, serve, and enjoy! Recipe yields approximately 10-12 servings.
How to Store:
- The cake should be stored in the refrigerator. Wrap it tightly in plastic wrap or place it in an airtight container to prevent moisture loss and absorption of odors from the fridge.
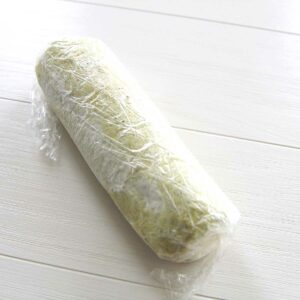
- For longer storage, wrap the cake in several layers of plastic wrap or aluminum foil to prevent freezer burn. You can also cut it into individual slices before wrapping. Place the wrapped cake in a resealable freezer bag or an airtight container. When ready to eat, thaw the cake in the refrigerator overnight.
- Always store any fillings or toppings separately, especially if they contain dairy or fresh fruit, and apply them just before serving or after thawing the cake.
- Enjoy!
Video
Notes
Nutrition
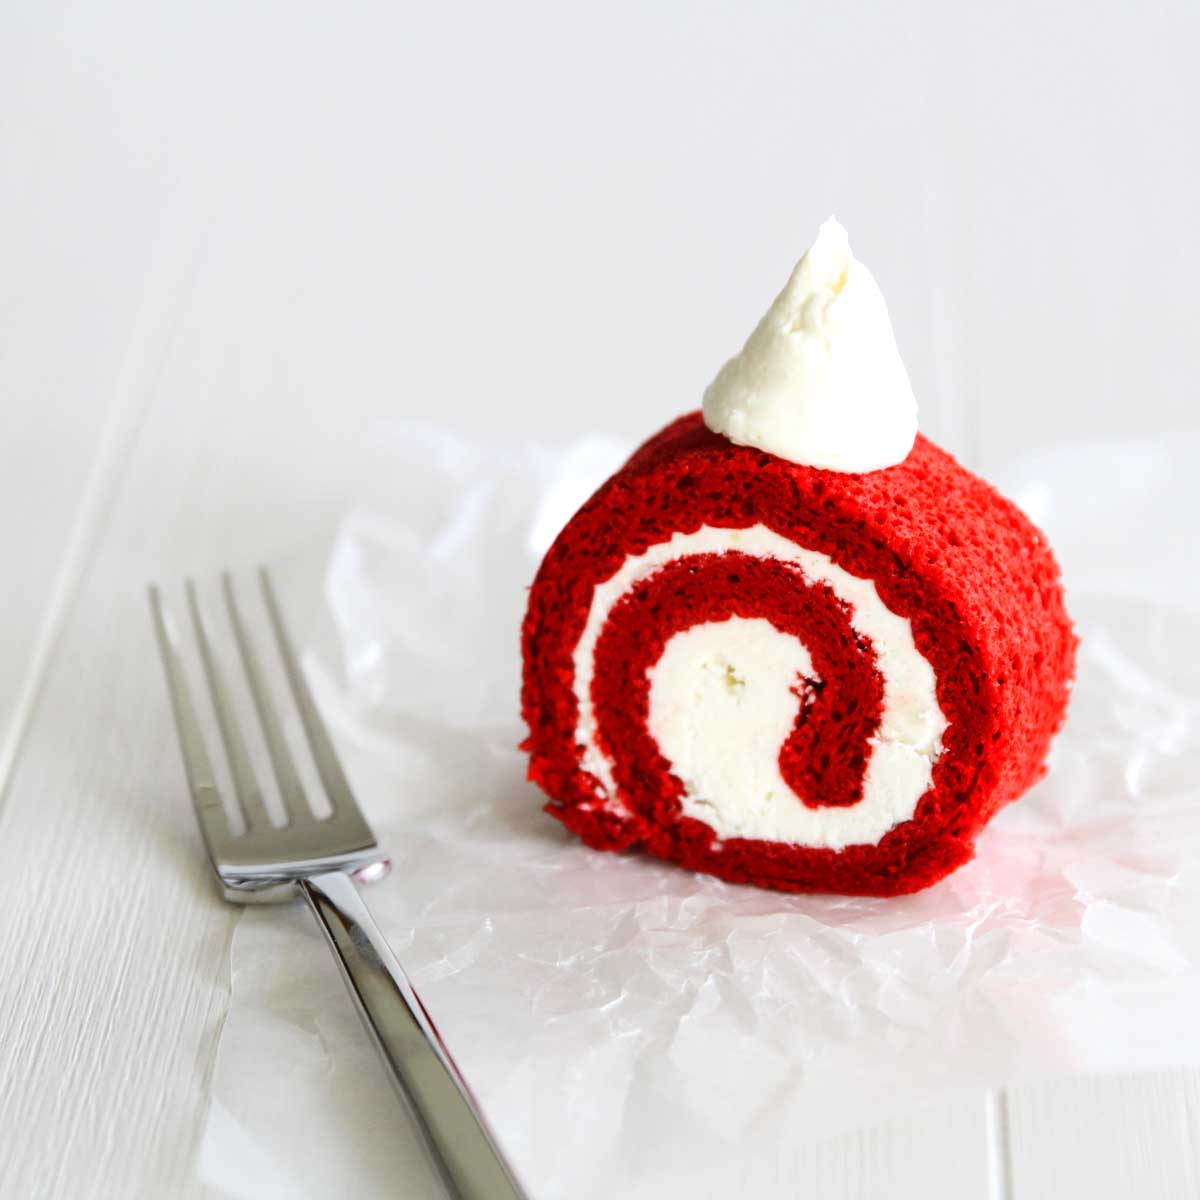
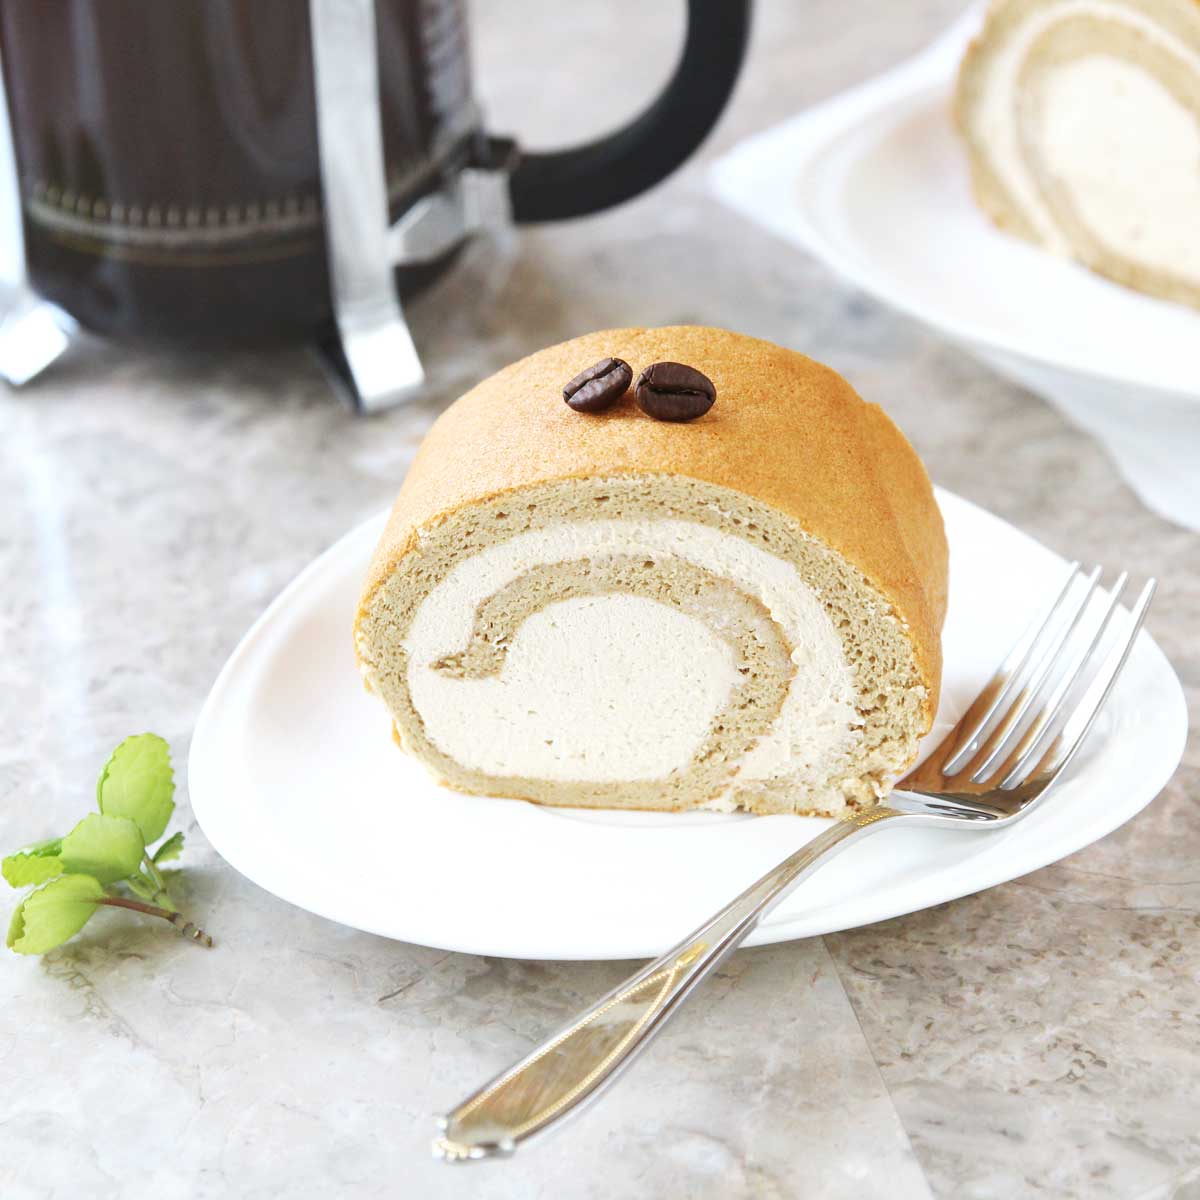
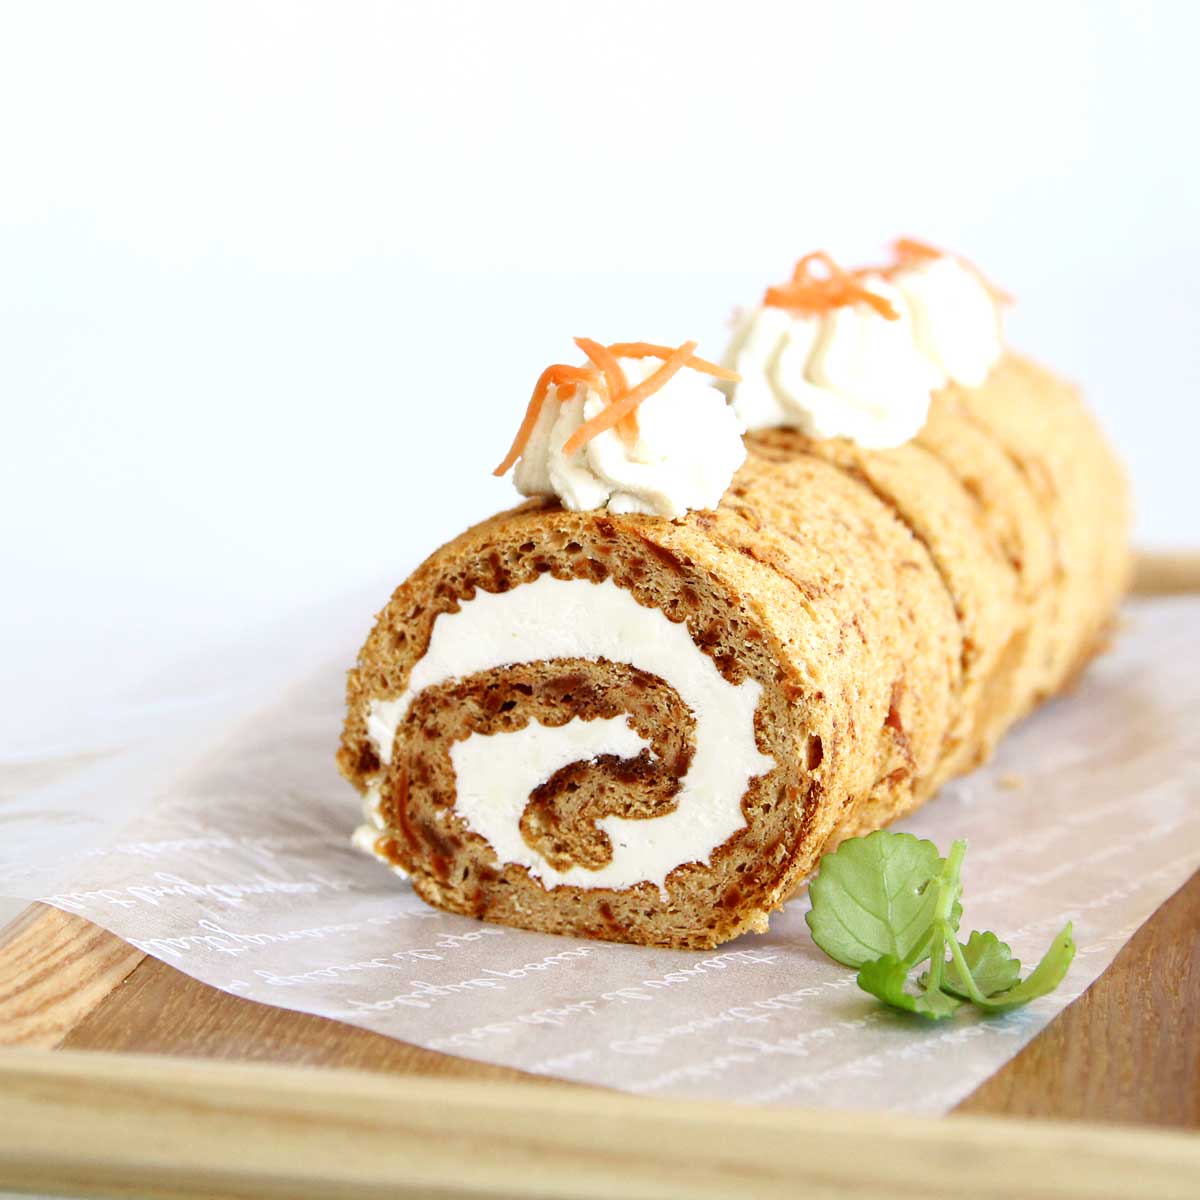
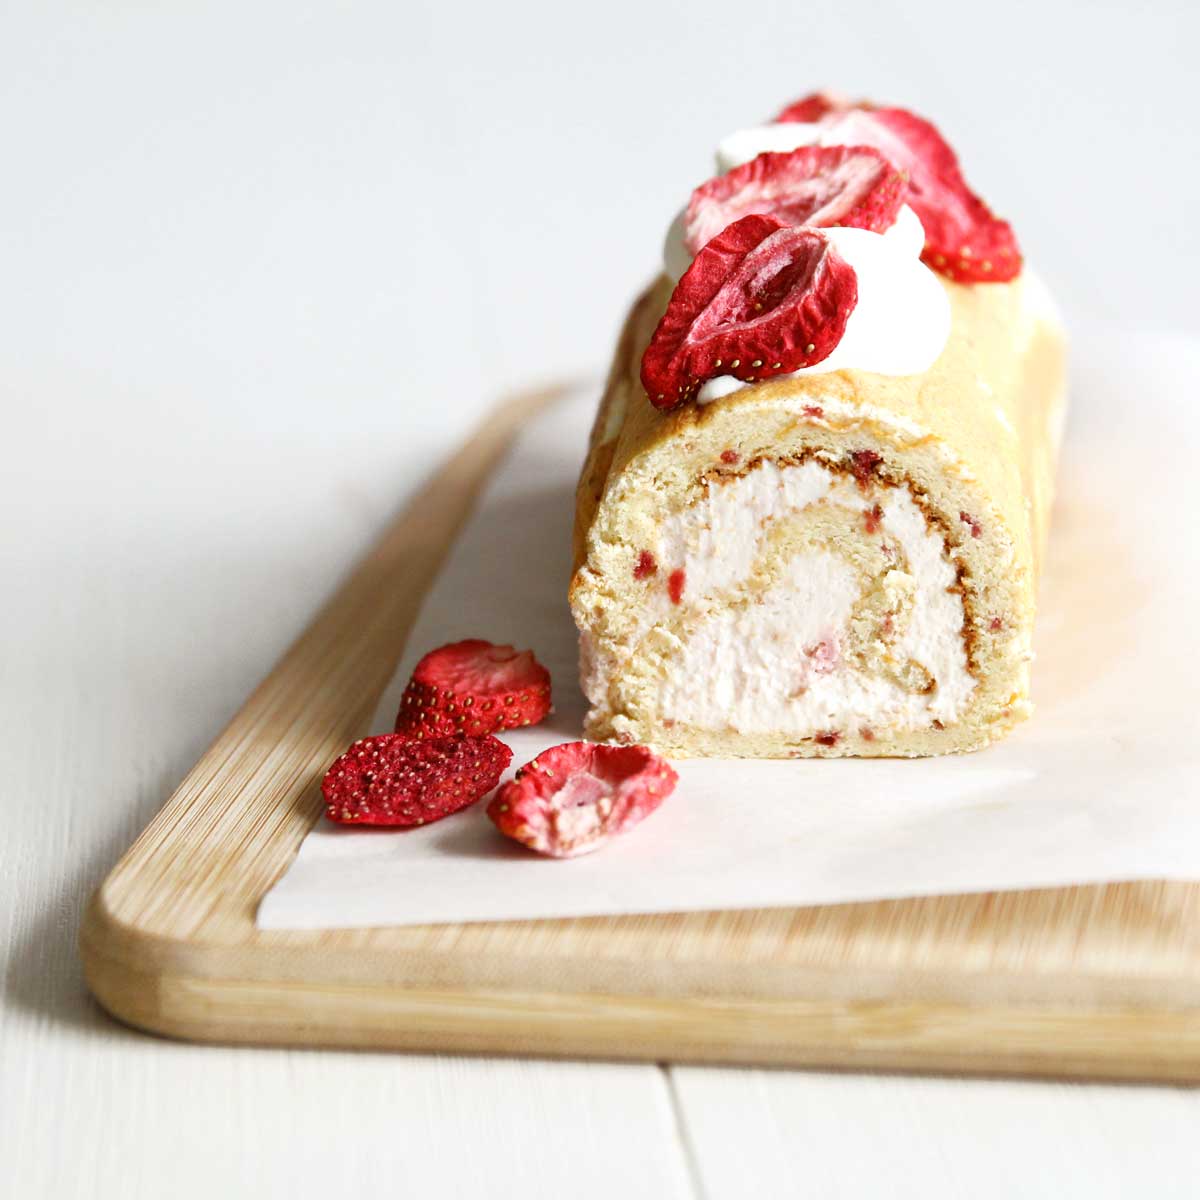
See All My Roll Cake Recipes (HERE)
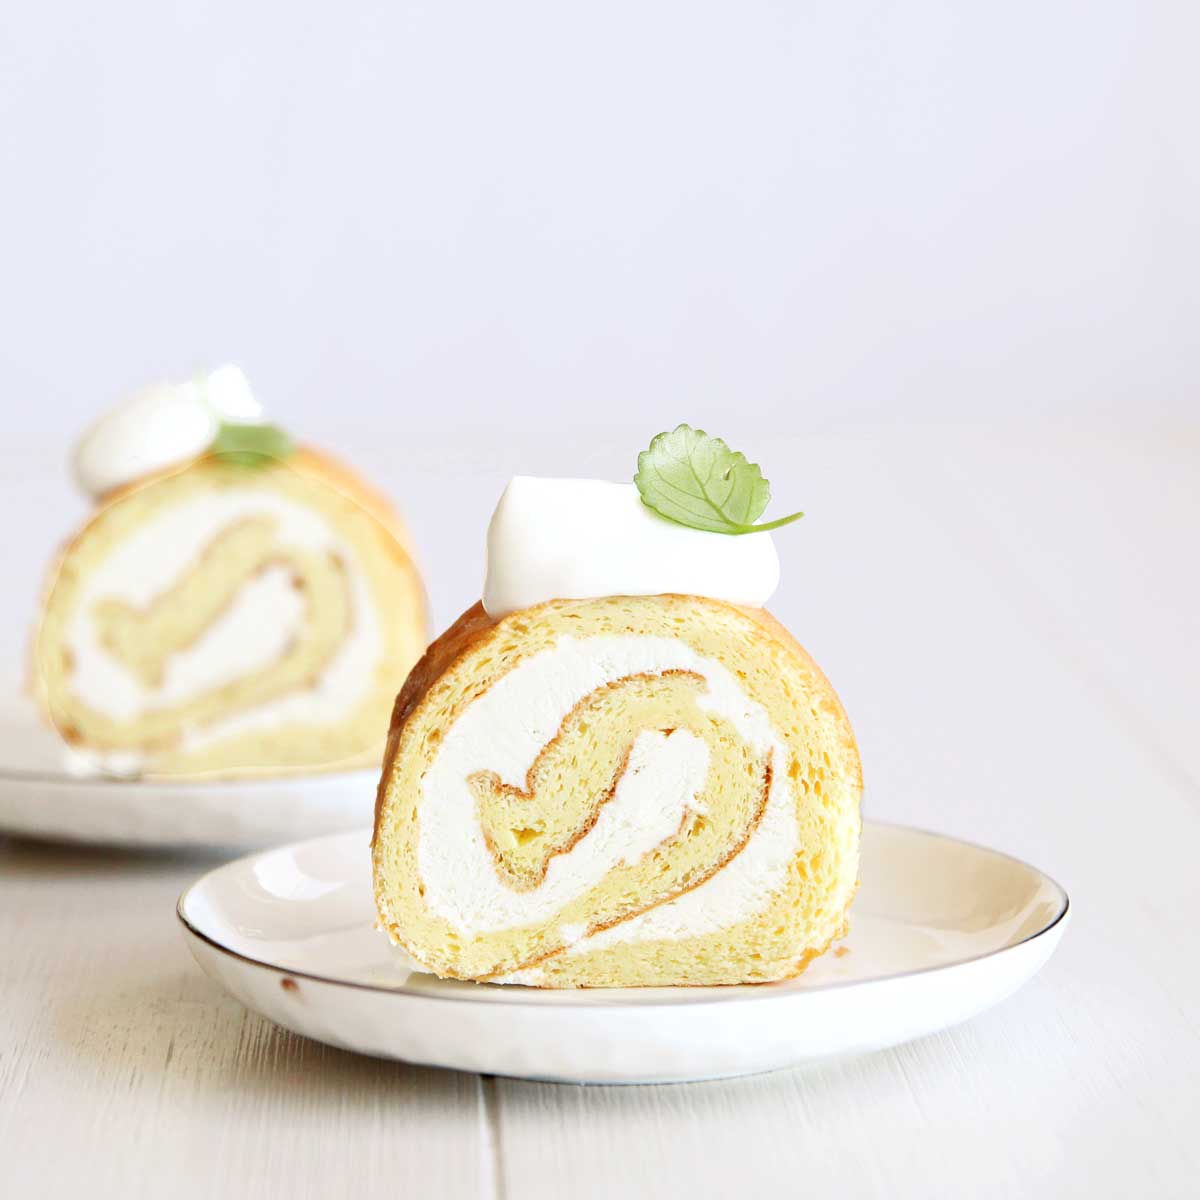
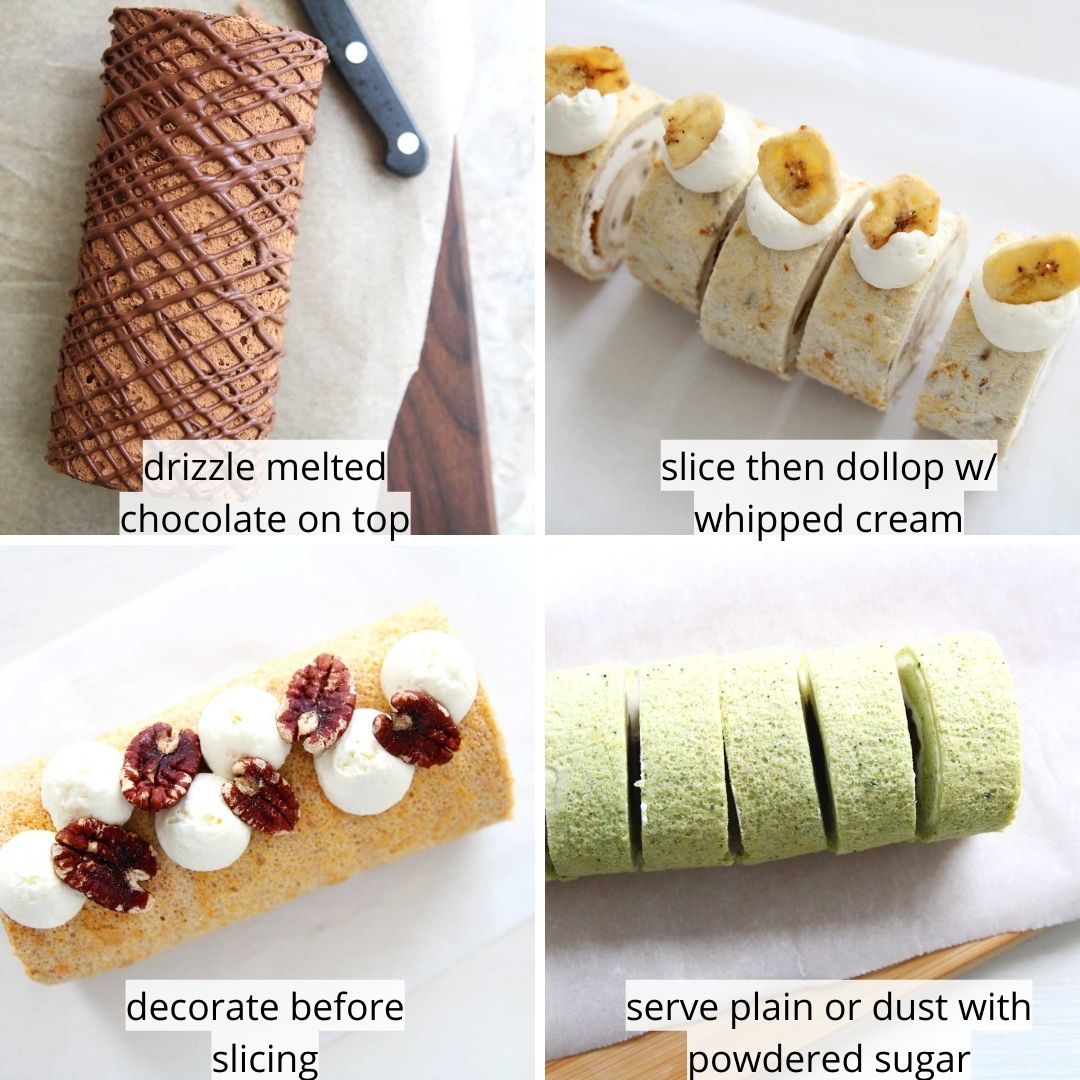
How to Decorate Roll Cakes
- For a easy deco idea, dust the roll cake with powdered sugar or sugar-free powdered sugar. Just make sure you use a sieve to sift the sugar on top!
- Place dollops of extra whipped cream or use a piping bag/piping tip to top the cake. Decorate with fresh fruit, nuts or edible flowers for an elegant touch!
How to Store Japanese Matcha Roll Cake
- The cake should be stored in the refrigerator. For best results, wrap it tightly in plastic wrap or place it in an airtight container to prevent moisture loss and absorption of odors from the fridge.
- For longer storage, I recommend wrapping the cake in several layers of plastic wrap or aluminum foil to prevent freezer burn. You can also cut it into individual slices before wrapping. Place the wrapped cake in a resealable freezer bag or an airtight container. When ready to eat, thaw the cake in the refrigerator overnight.
- If you have any fillings or toppings left over, it's always best to store them separately, especially if they contain dairy or fresh fruit, and apply them just before serving or after thawing the cake.
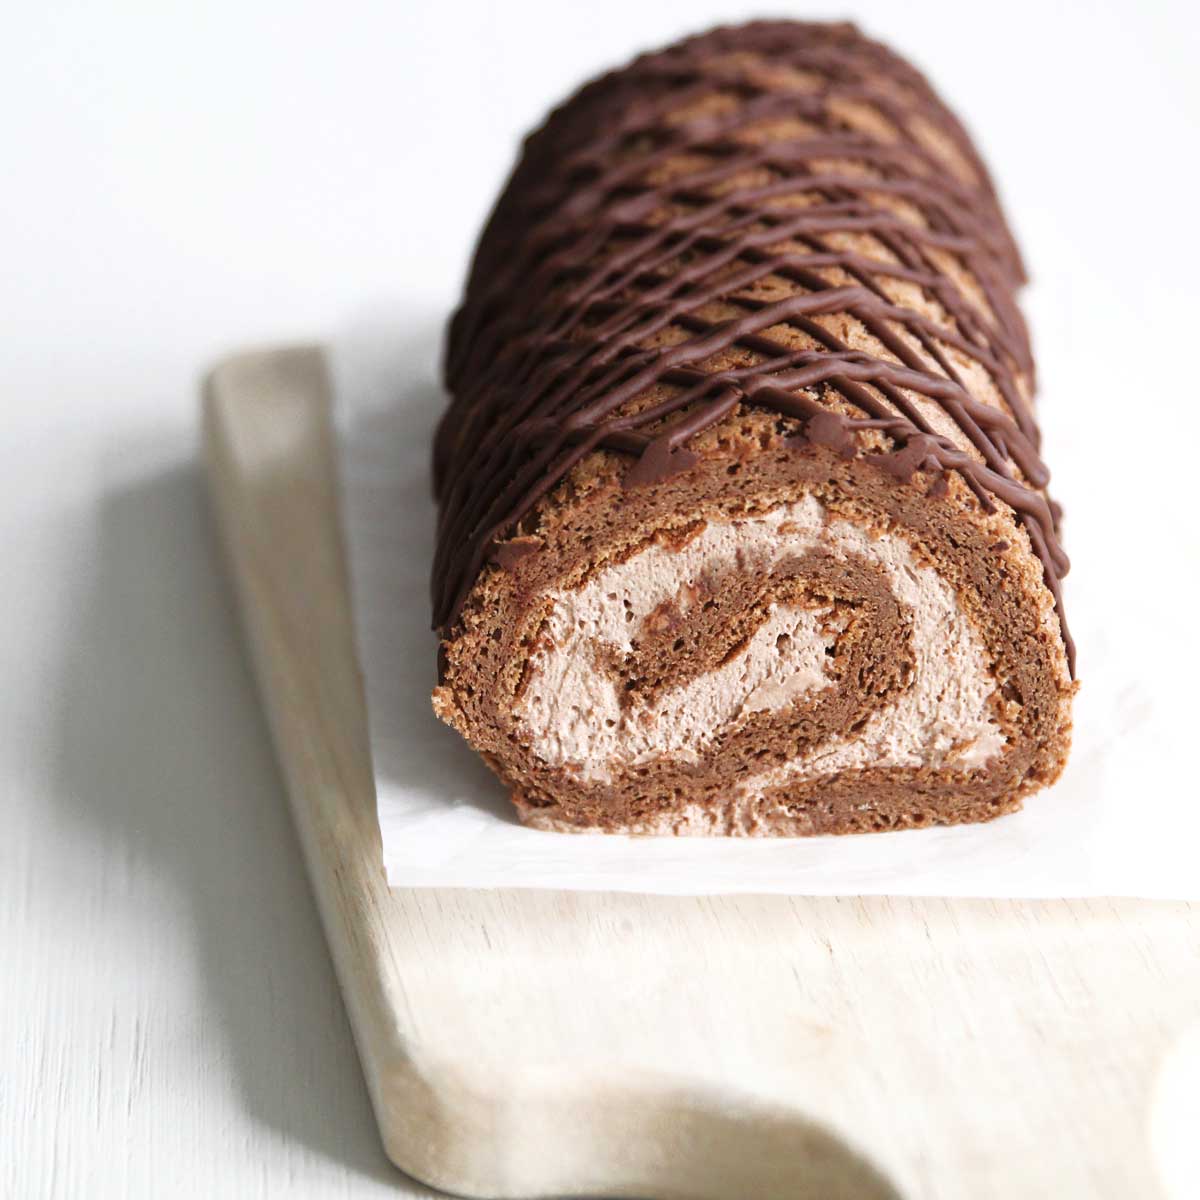
Flavor Variations and Optional Add Ins:
- Add natural flavoring / extracts. Feel free to add 1-2 teaspoons of vanilla extract (I didn't feel like it was essential so I left it out in this recipe), or other flavorings or extracts of your choice.
- Try different flavored whipped cream by adding natural flavoring. You can also try cream cheese whipped cream, coffee flavored whipped cream, or even chocolate whipped cream.
Final Tips
- Use batter right away after prep. They will deflate over time, so I've found that you don’t want the batter sitting out on the counter for too long.
- Baking time (as well as serving size) will vary based on the size of your baking pan, the material (silicone vs metal) of the pan. Bake the cake until the color is golden-brown on the top, or until a toothpick comes out clean/dry when poked into the middle.


Leave a Reply