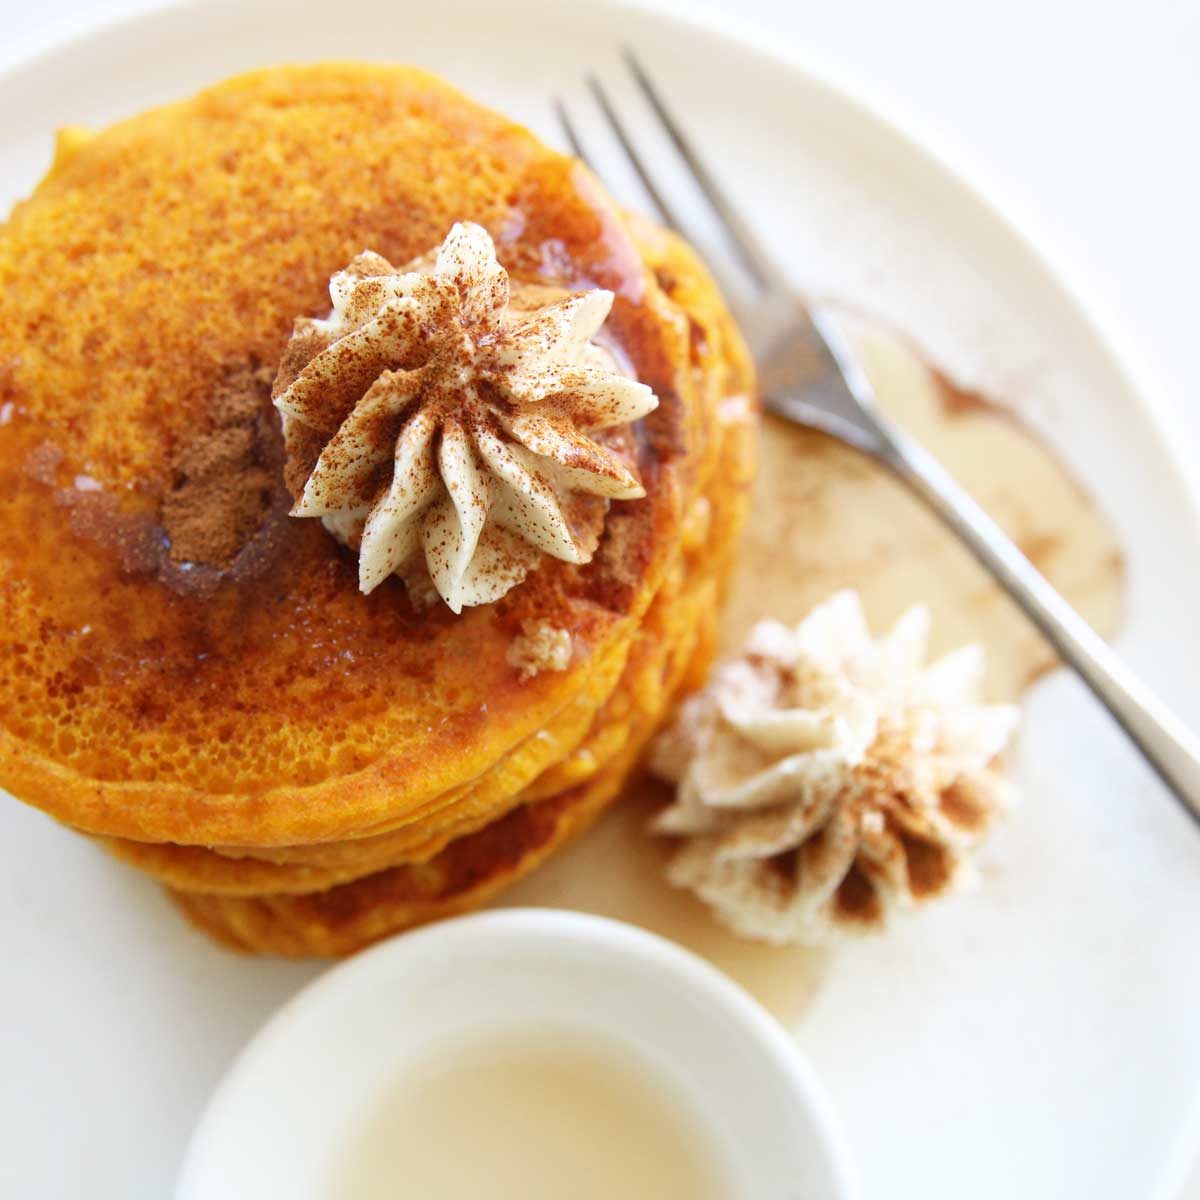
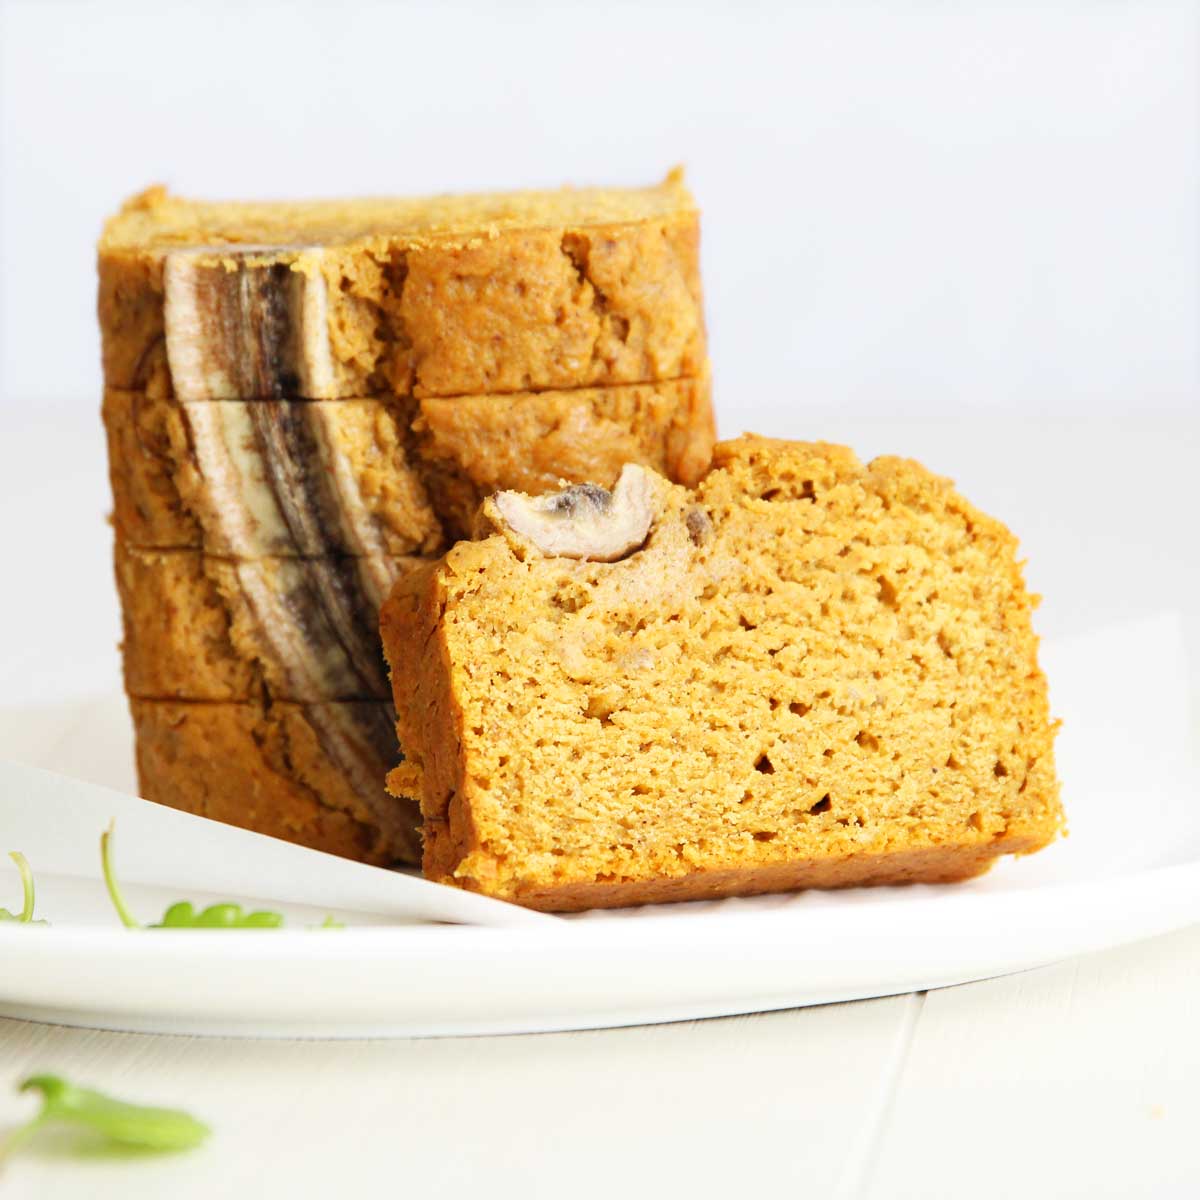
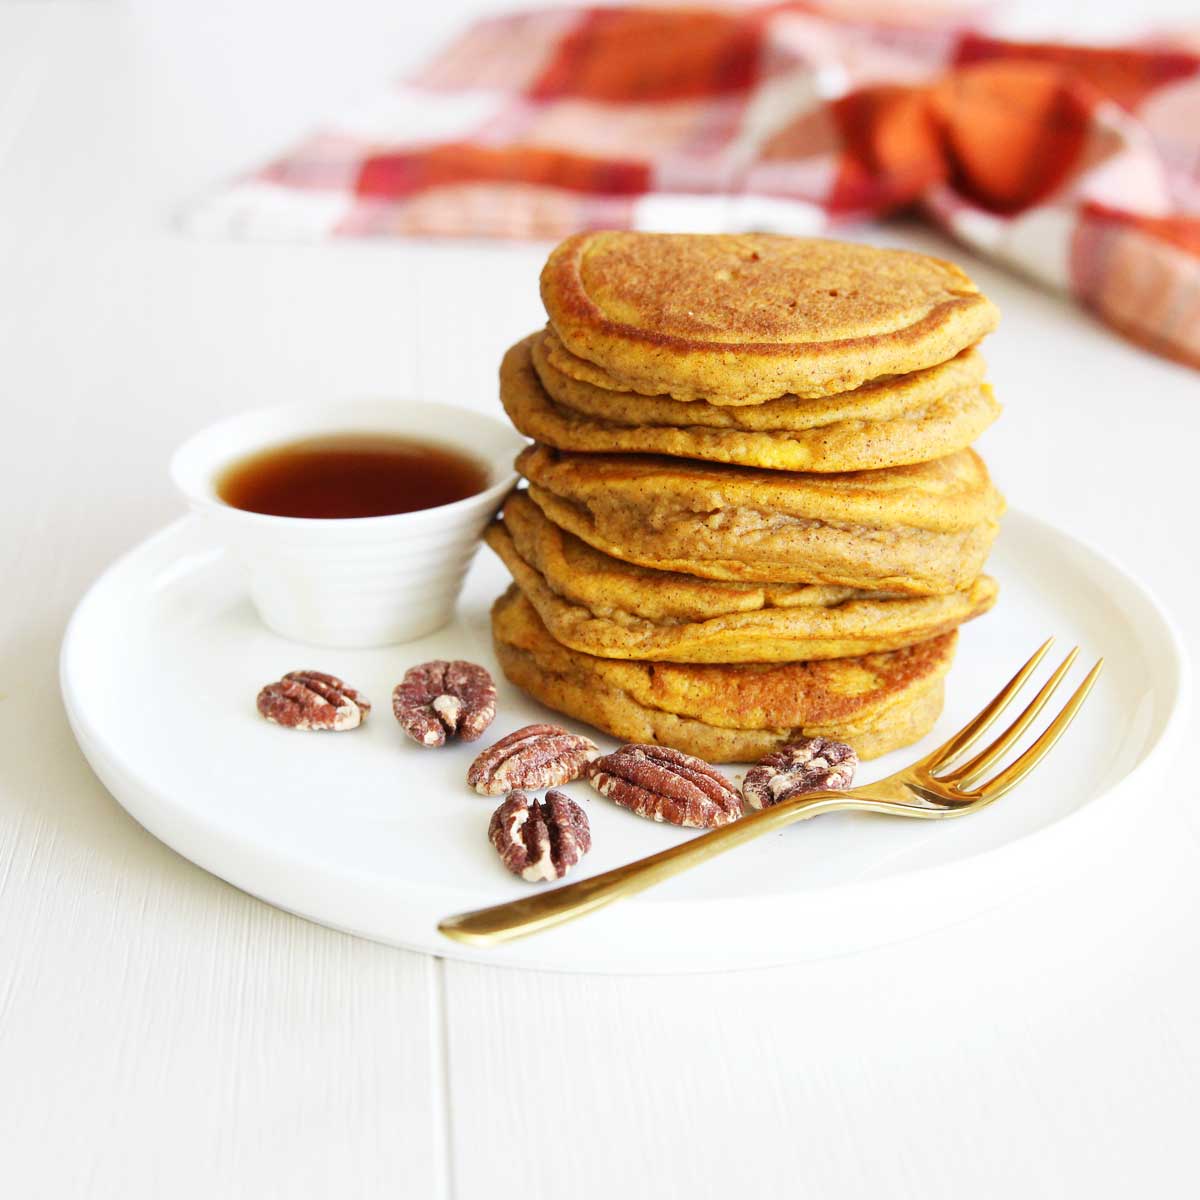
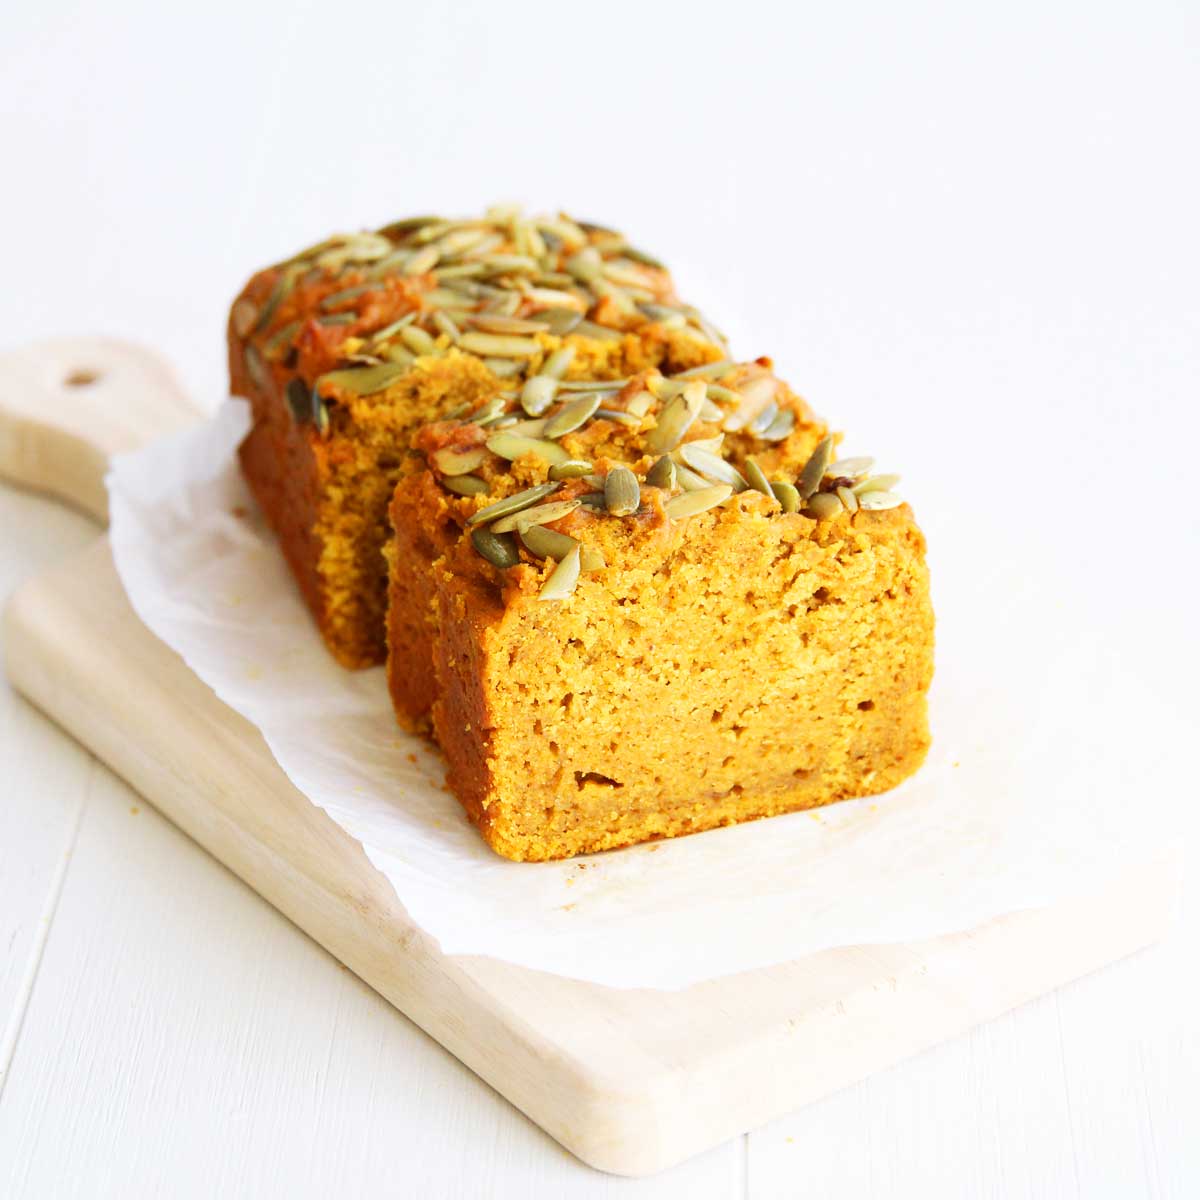
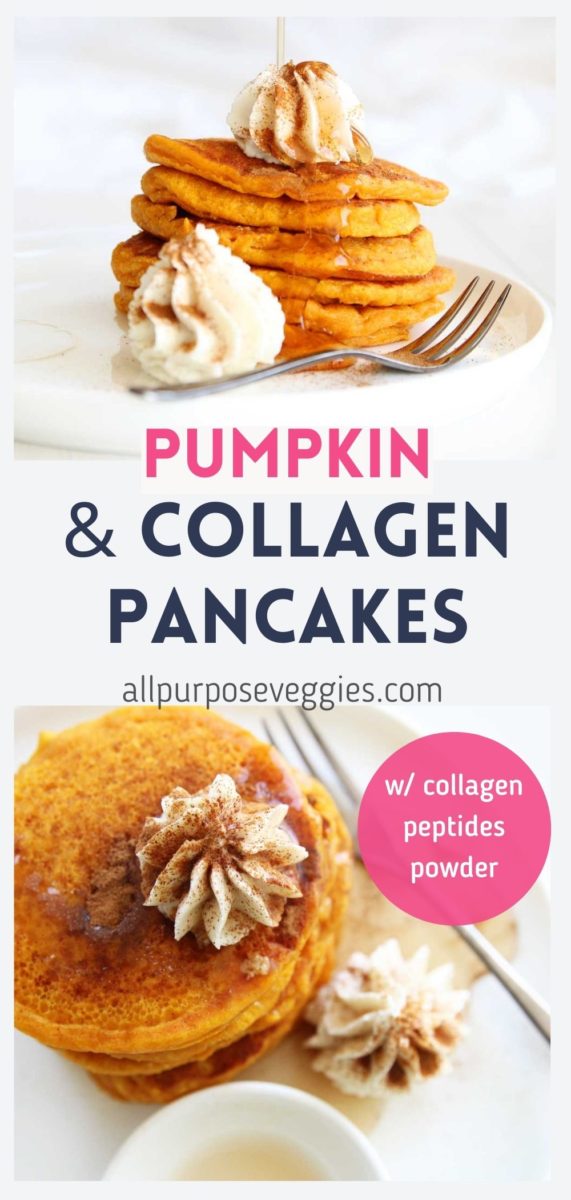
Pumpkin pancakes are a perfect breakfast for the fall season, but it’s something that I crave all year long. These particular easy pumpkin pancakes using collagen peptides protein powder are no exception. The protein pancake batter is made with a blend of collagen peptides powder, a powdered supplement that helps support healthy hair, skin, nail, bone and joint health, as well as coconut flour, tapioca flour, sugar, eggs, and pumpkin puree.
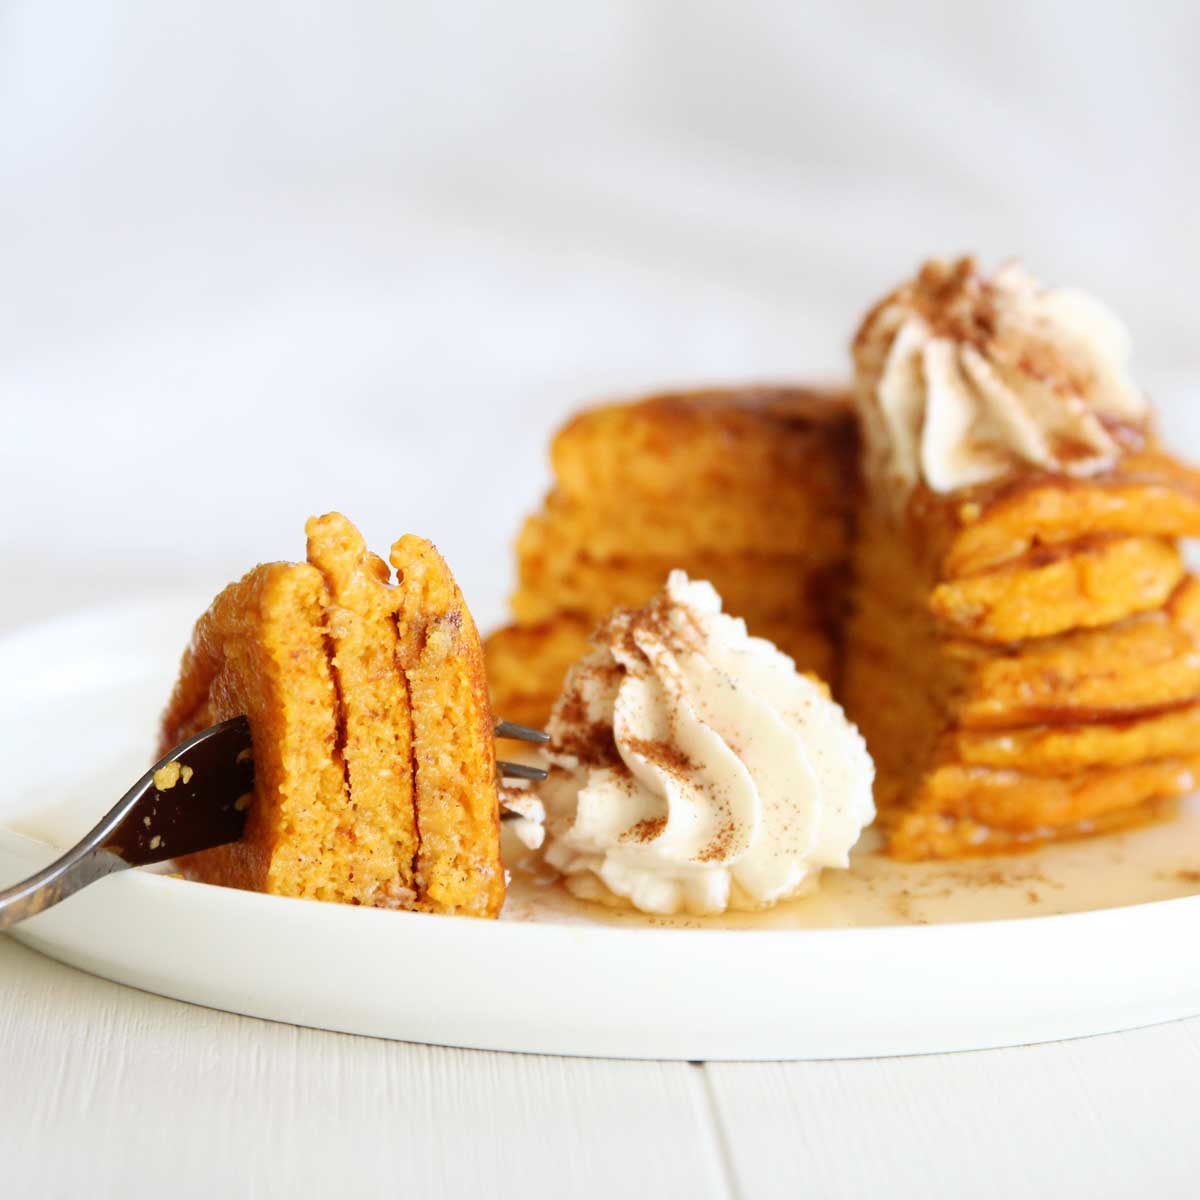
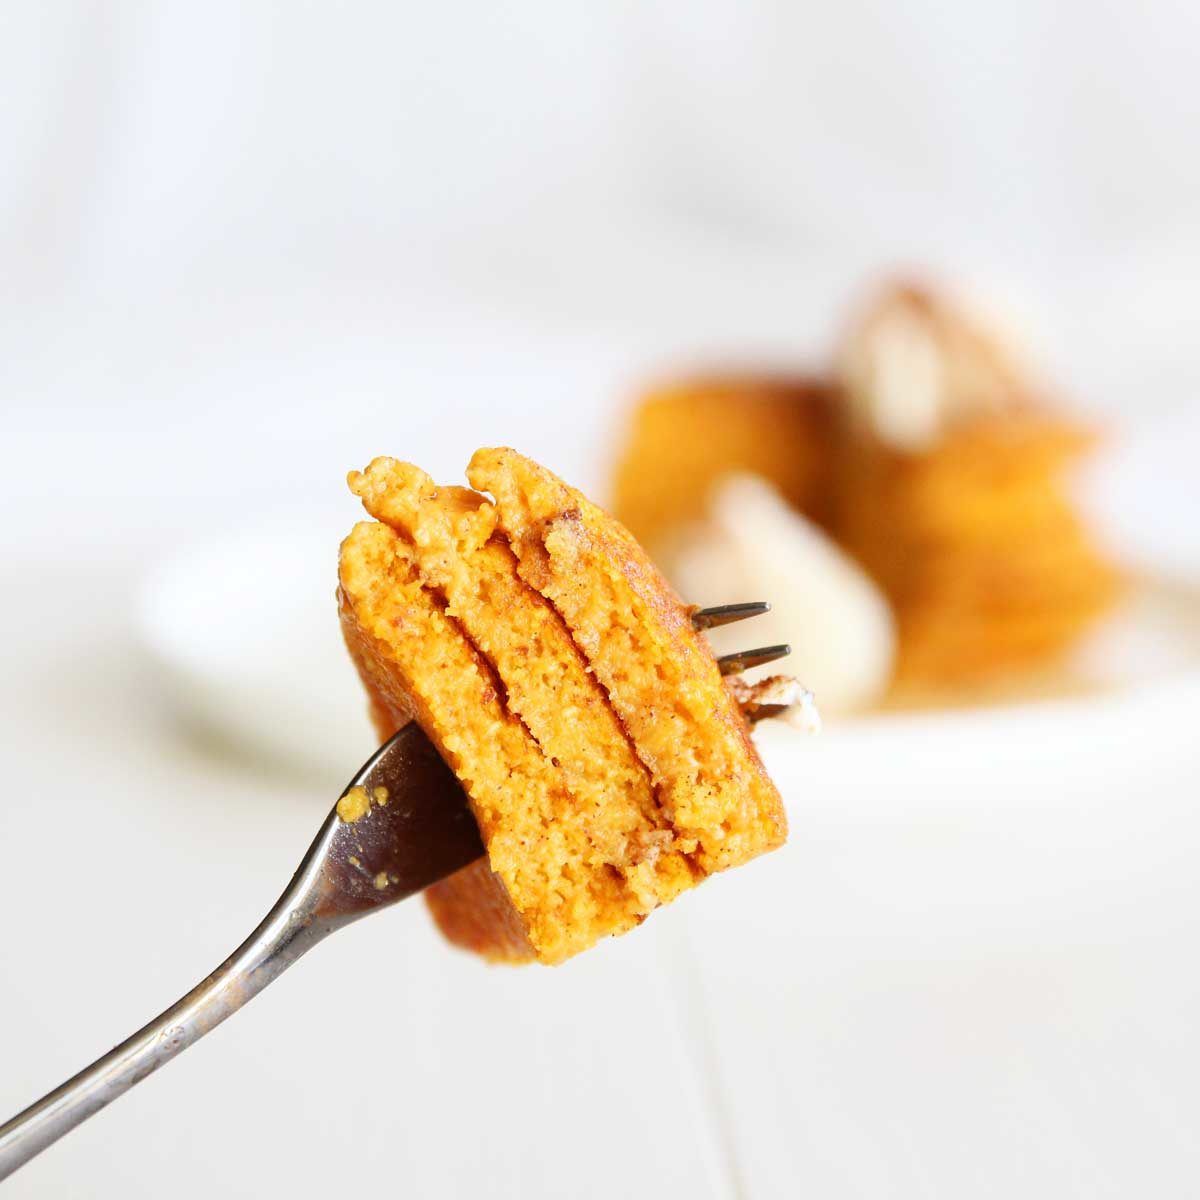
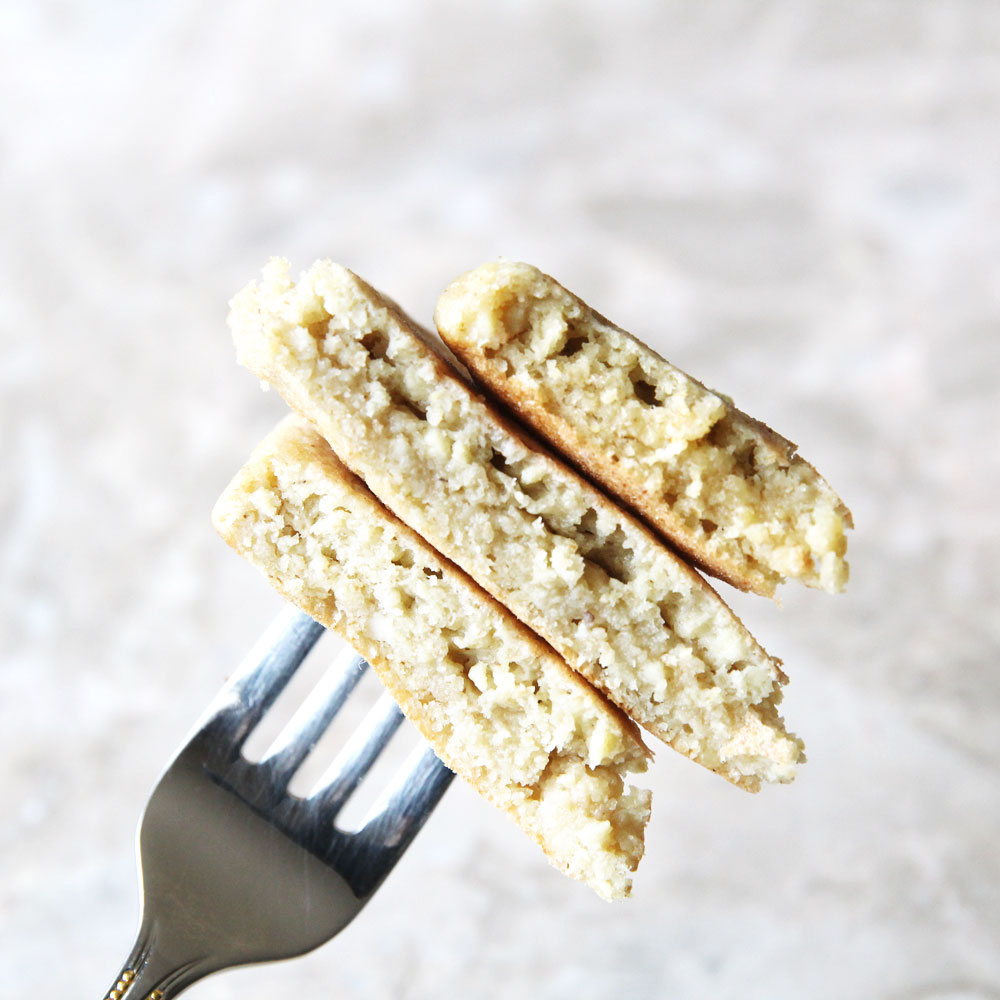
The collagen powder does make these pancakes slightly eggy tasting and soft, but I love making and eating these healthy and nutritious pancakes since it’s a perfect way to incorporate more collagen into the diet. Cheers to healthy skin, hair and nail health!
Ingredients You'll Need for Making Pumpkin Pancakes with Collagen Peptides Protein Powder
**I've linked some of these ingredients to amazon.com to give you an idea of what they are, but you should also be able to find them in your local grocery store (usually, the natural & organic food section). They are also affiliate links, which means that I earn a commission as an Amazon Associate if you decide to purchase the items. The price will be the same for you, link or no link 🙂
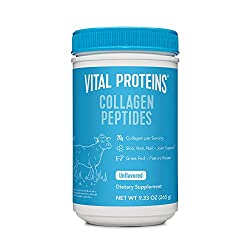
- Collagen Peptides - I used Vital Proteins Collagen Peptides Powder for this recipe. You're welcome to substitute with other brands of collagen peptides, but I would not try substituting with other protein powders (i.e. whey, casein, pea, hemp, brown rice, egg protein, etc) since collagen behaves very differently from other types of protein powders and is not interchangeable.
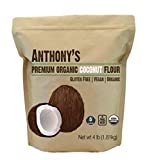
- Coconut Flour - you can use any brand of coconut flour for this recipe. Here is a brand of coconut flour I like to use.
- Tapioca Flour - helps bind the collagen powder and other ingredients in these pancakes
- Sugar of Choice – I used monk fruit sweetener in this recipe to keep this recipe low-sugar and low carb, but raw cane sugar, coconut, date, and maple sugars are perfectly acceptable substitutes.
- Baking Powder - like this one
- Cinnamon powder
- Eggs - I used large eggs for this recipe
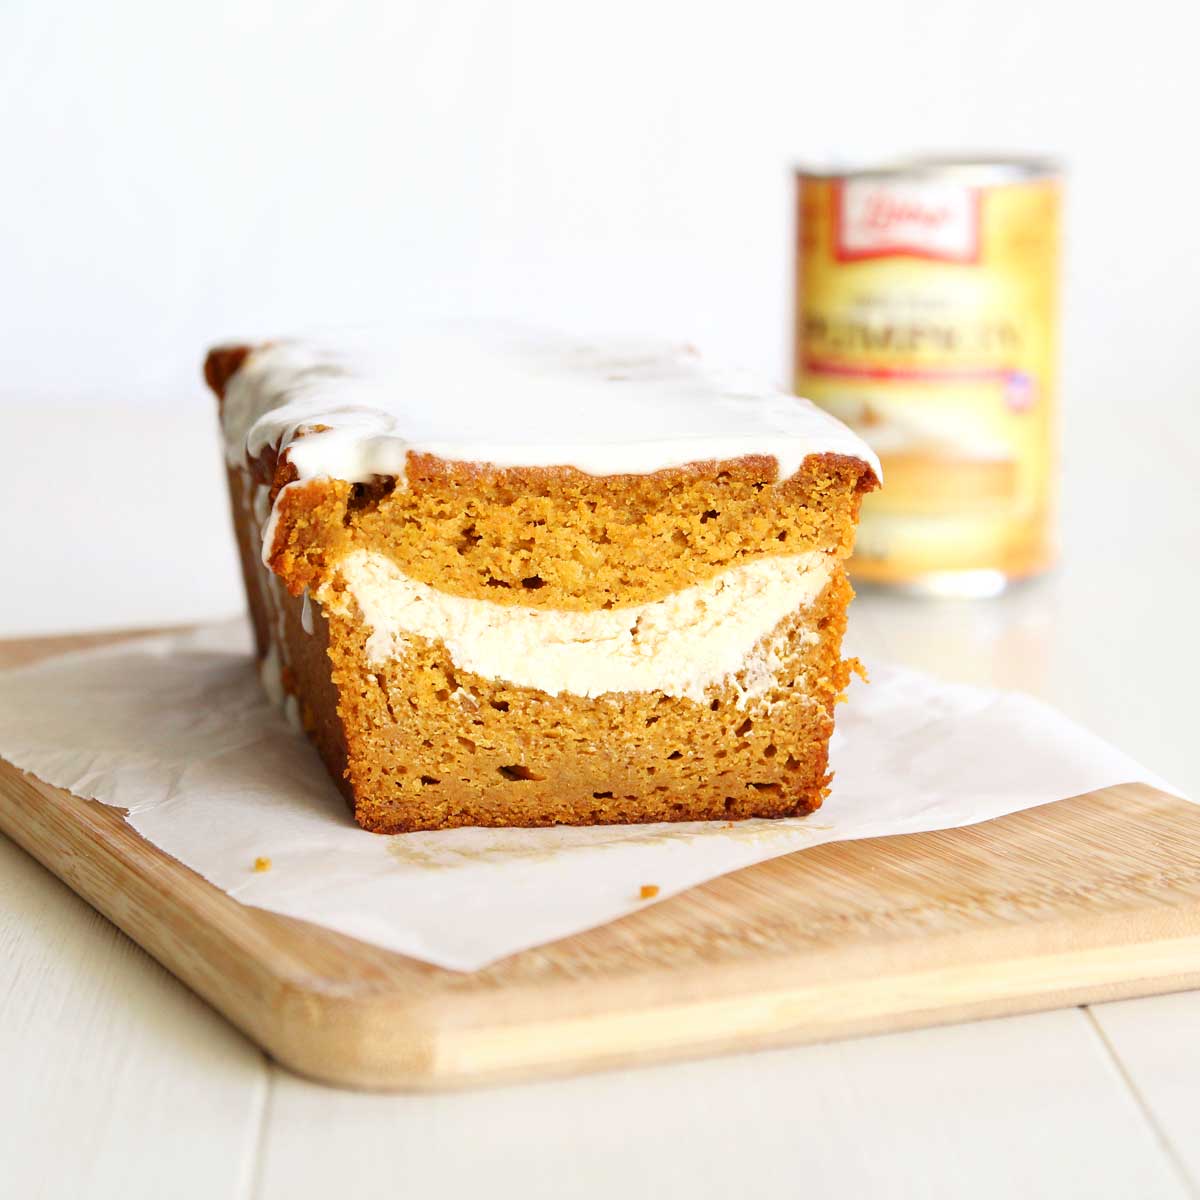
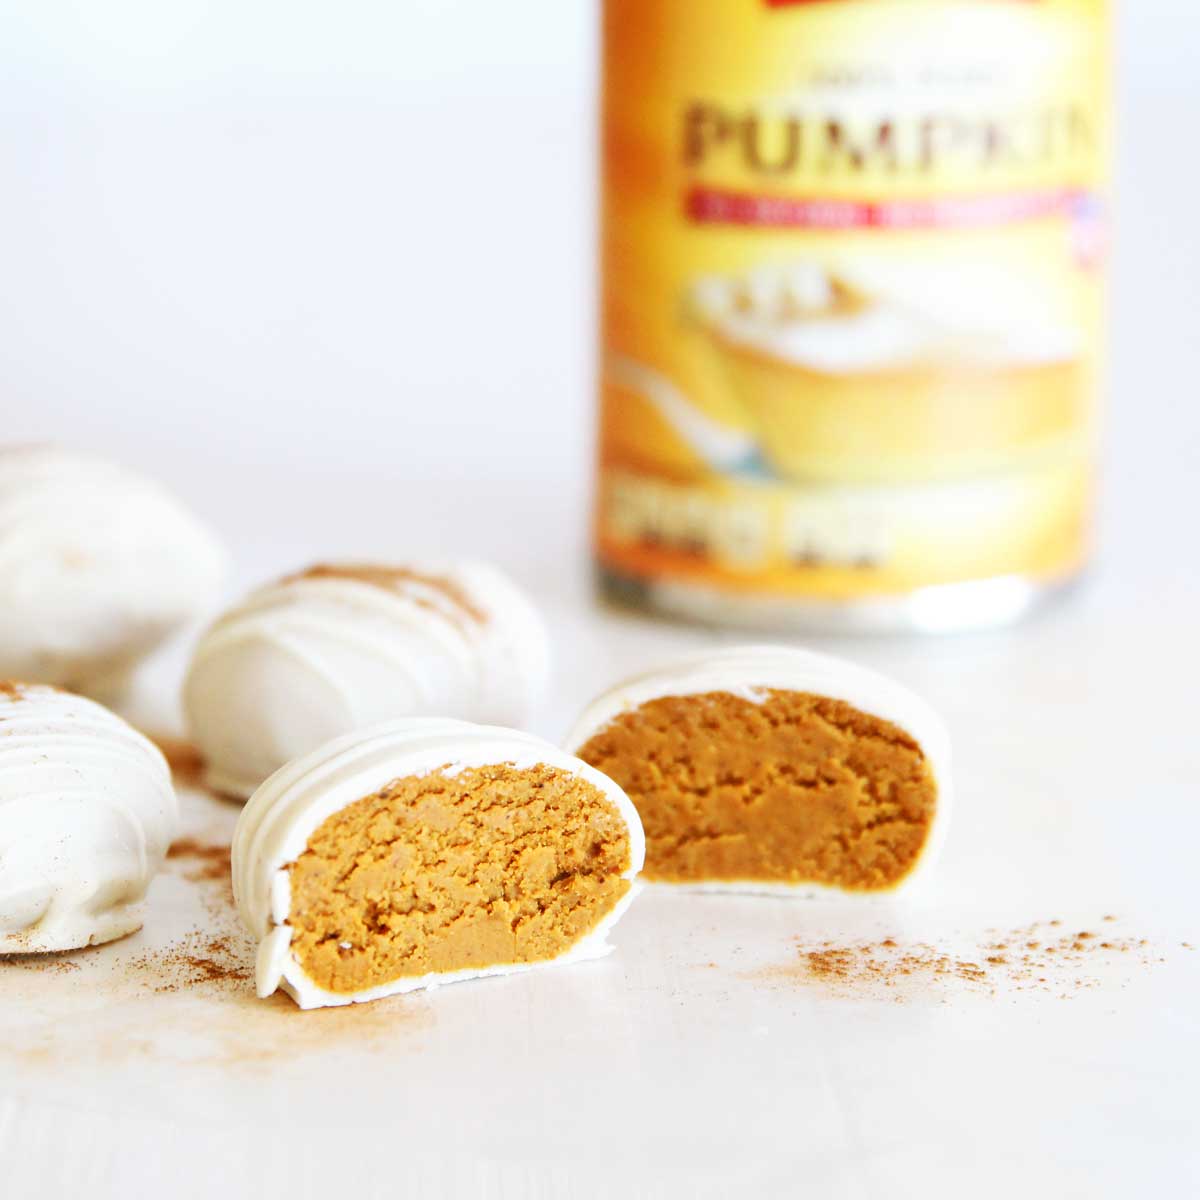
- Pumpkin puree - I used canned pumpkin puree, which you can find in the baking aisle.
- No oil required 🙂
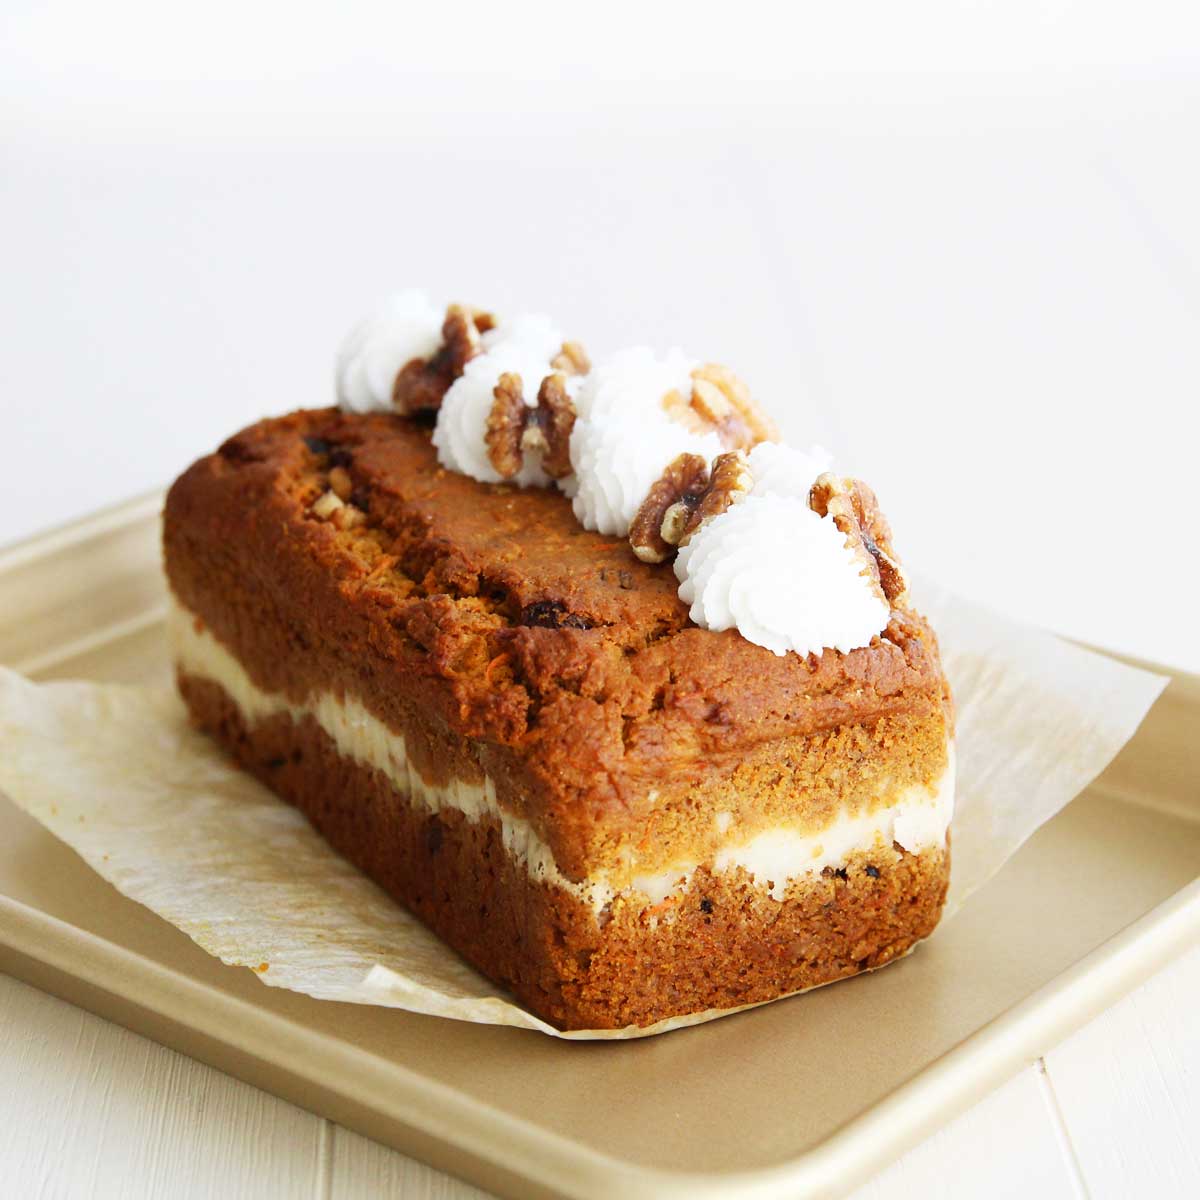
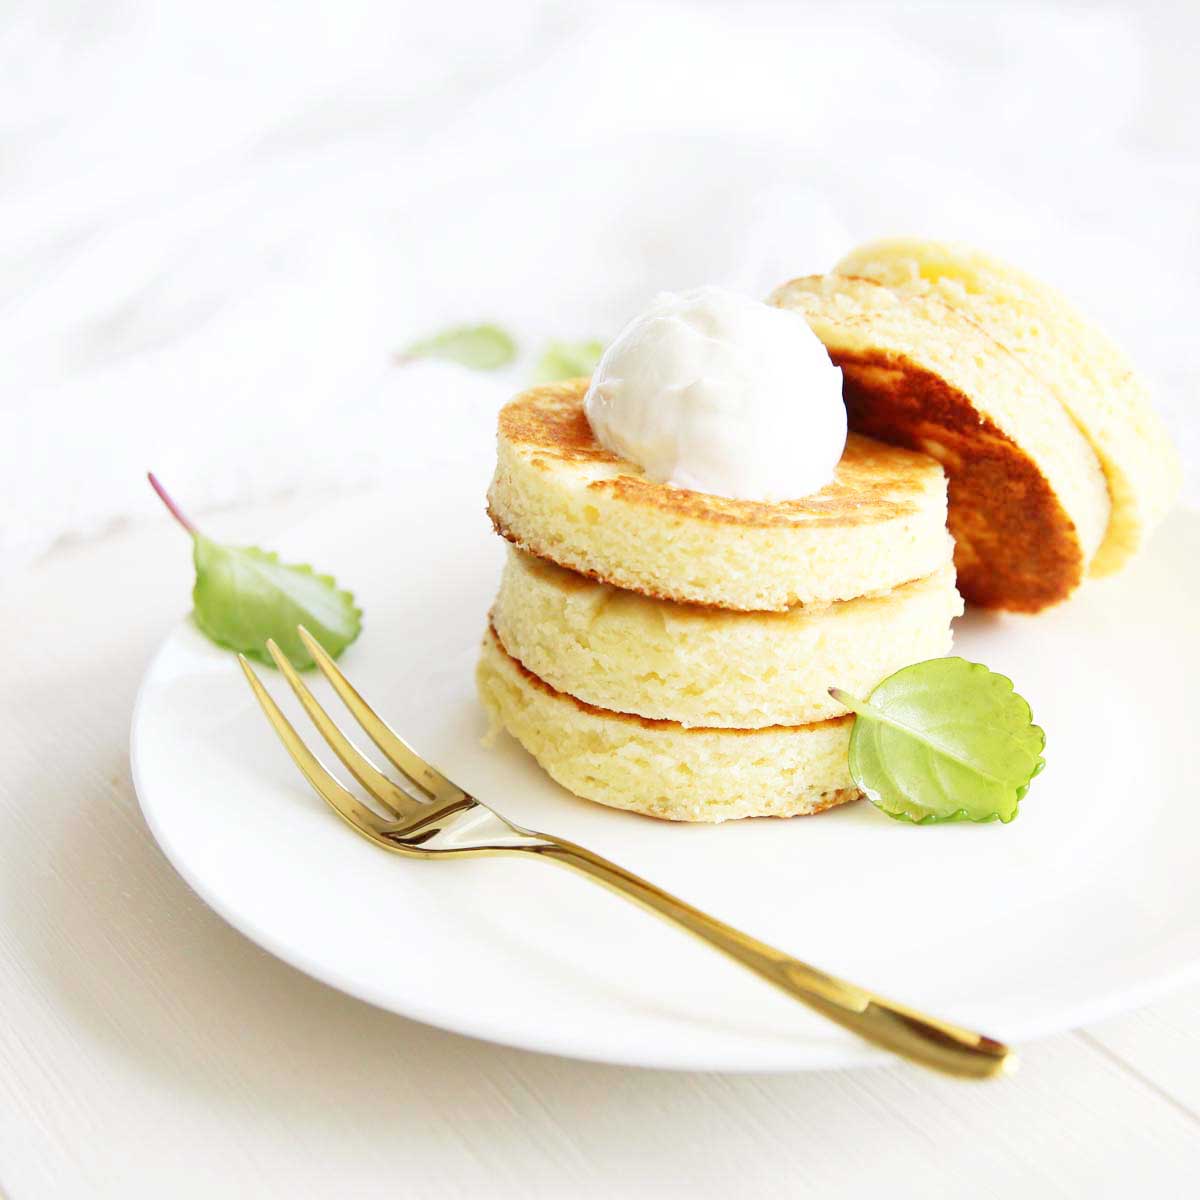
FOR THE DECO
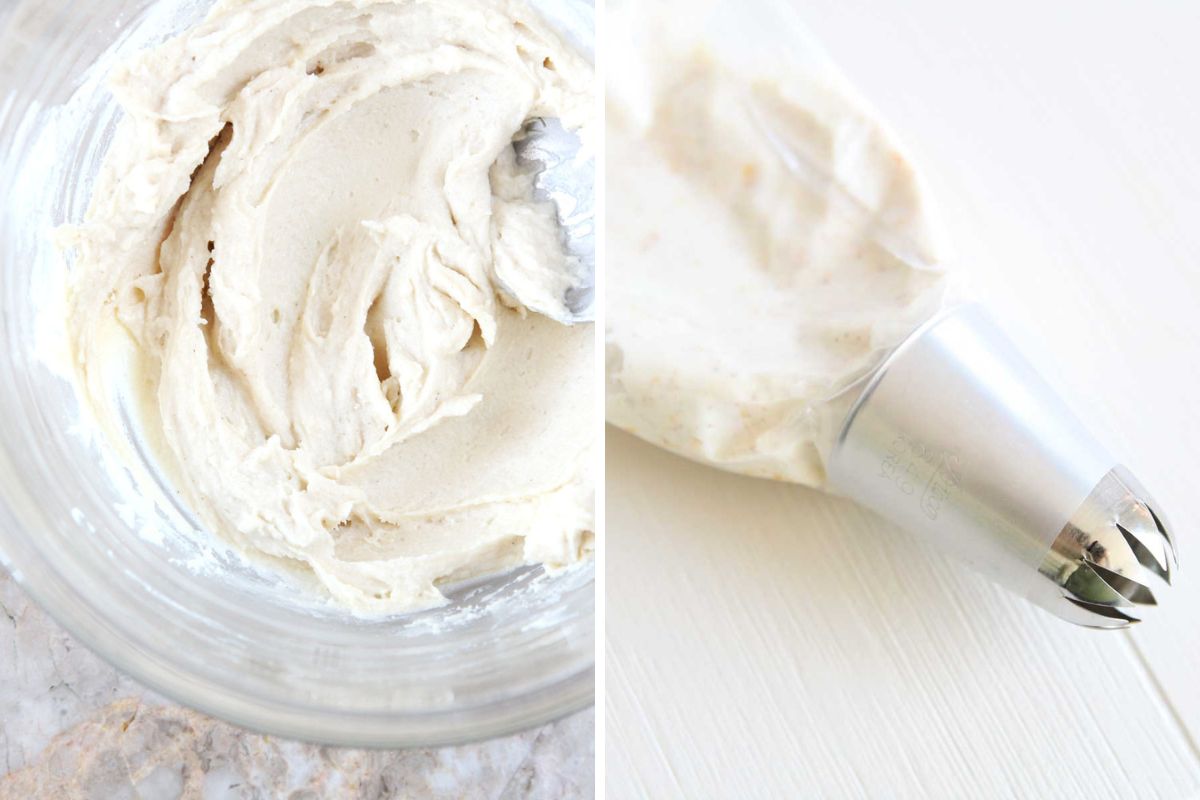
- I used my 2-ingredient almond yogurt frosting recipe, which you can find here
- I spooned the frosting into a piping bag fitted with a large closed star tip.
More Pumpkin Recipes (HERE)


Step by Step Guide
How to Make Pumpkin Pancakes using Collagen Peptides Powder
STEP 1
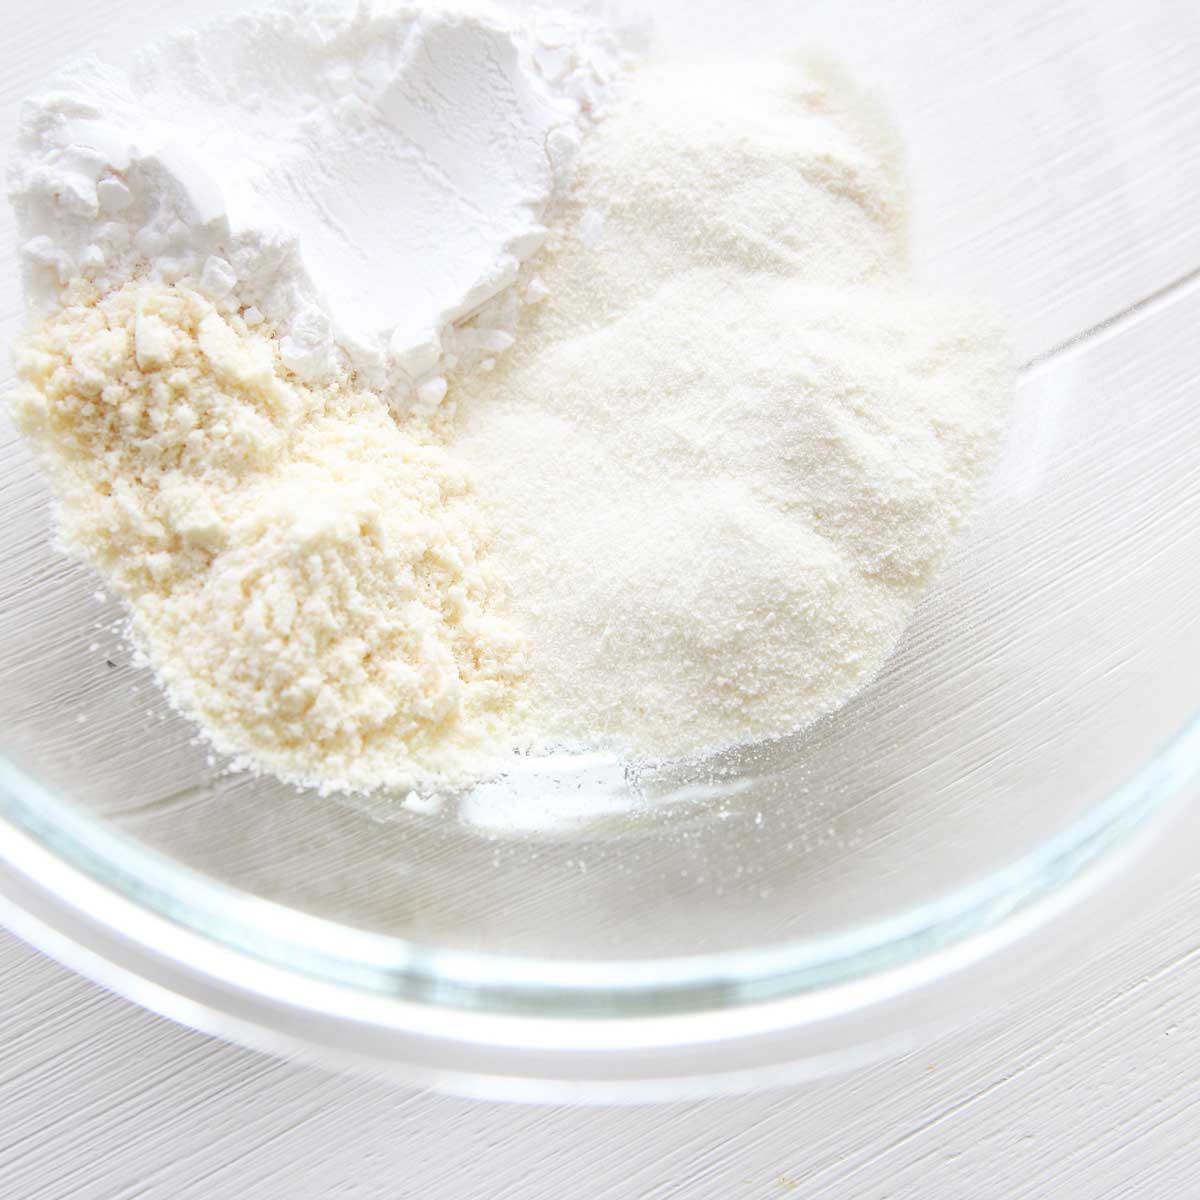
In a clean bowl, mix all the dry ingredients together (the protein powder, flours, sugar, baking powder)
STEP 2
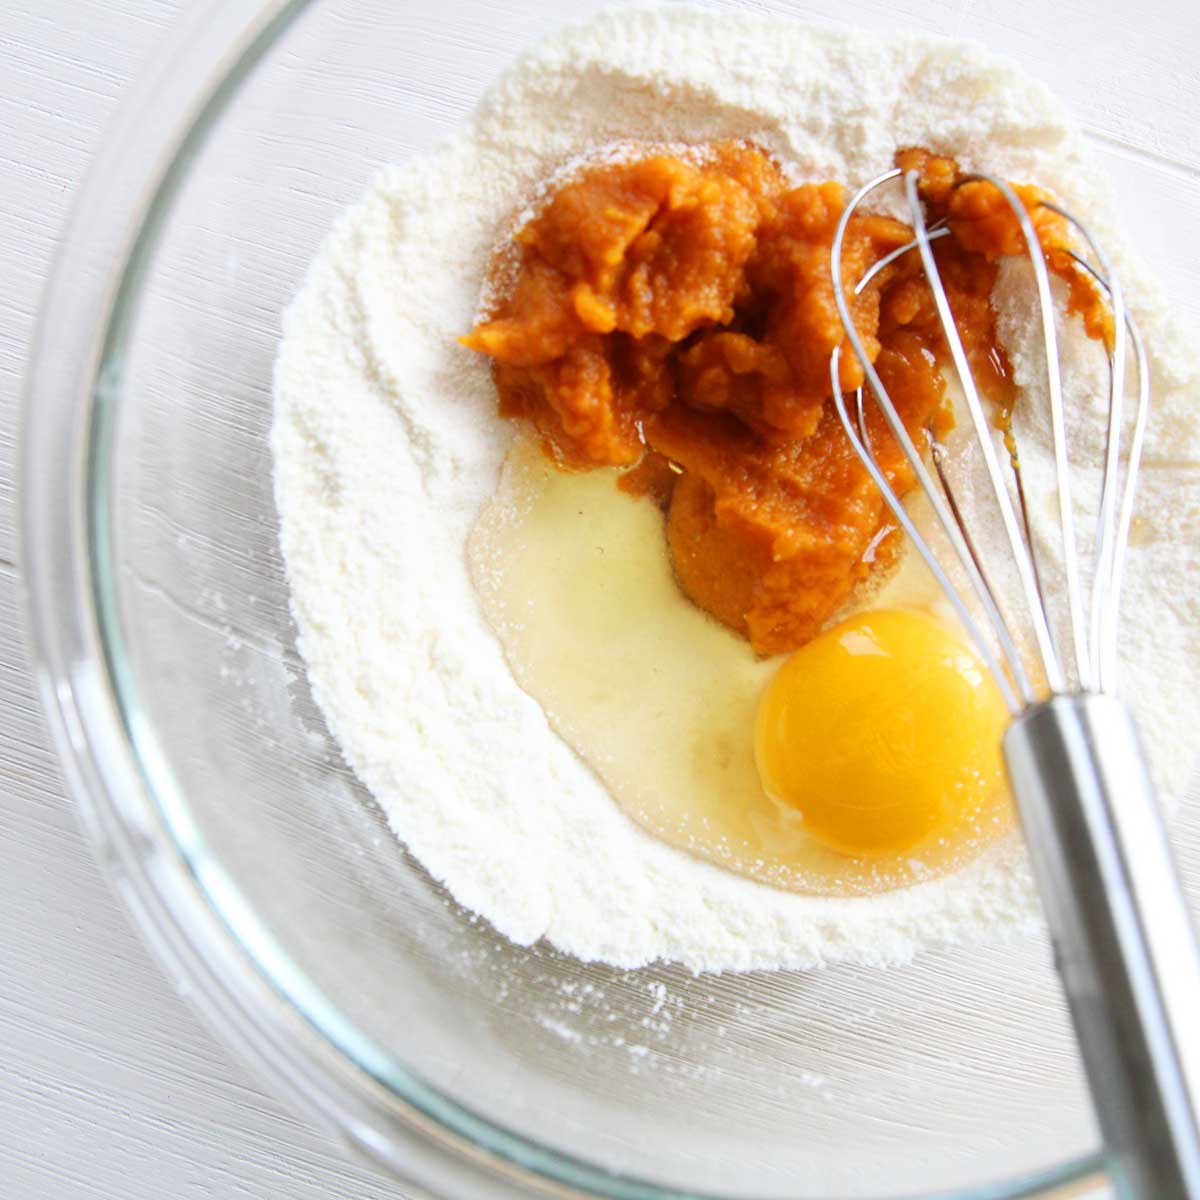
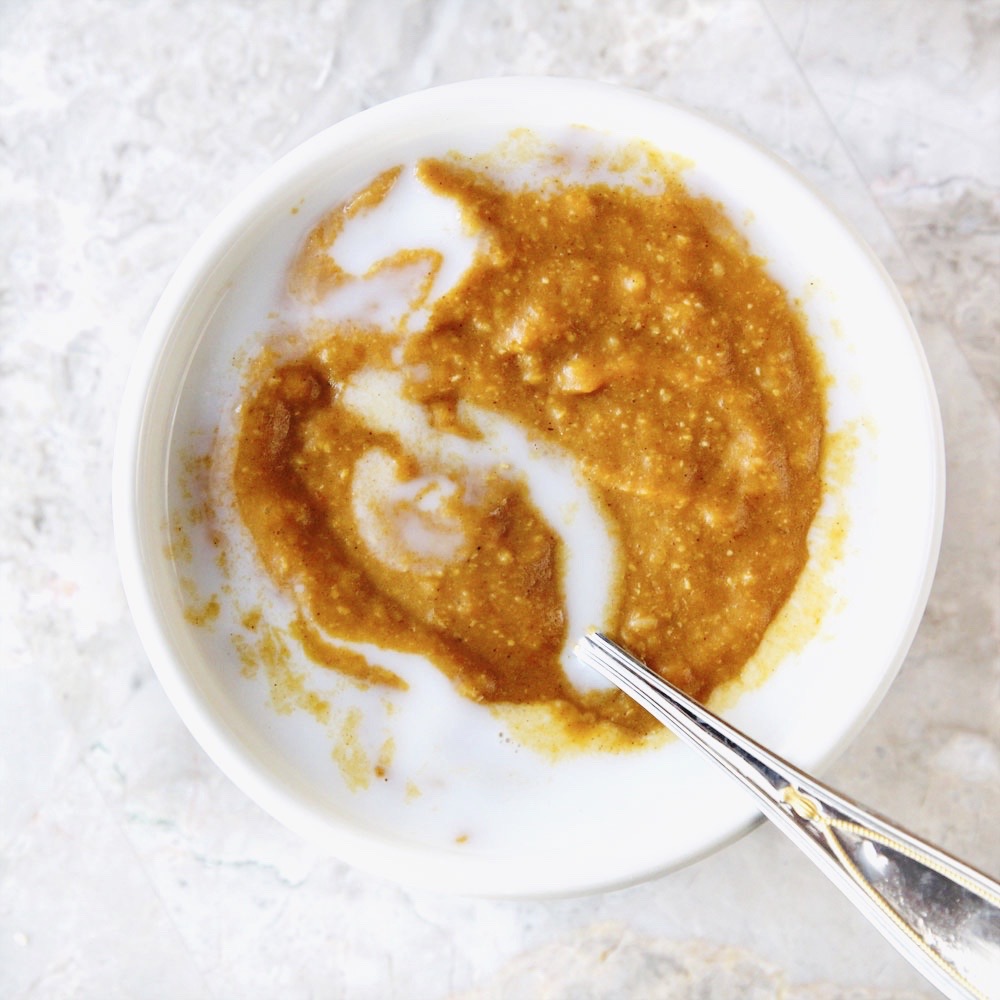
Add the wet ingredients (eggs, oil, puree) and mix until smooth.
STEP 3
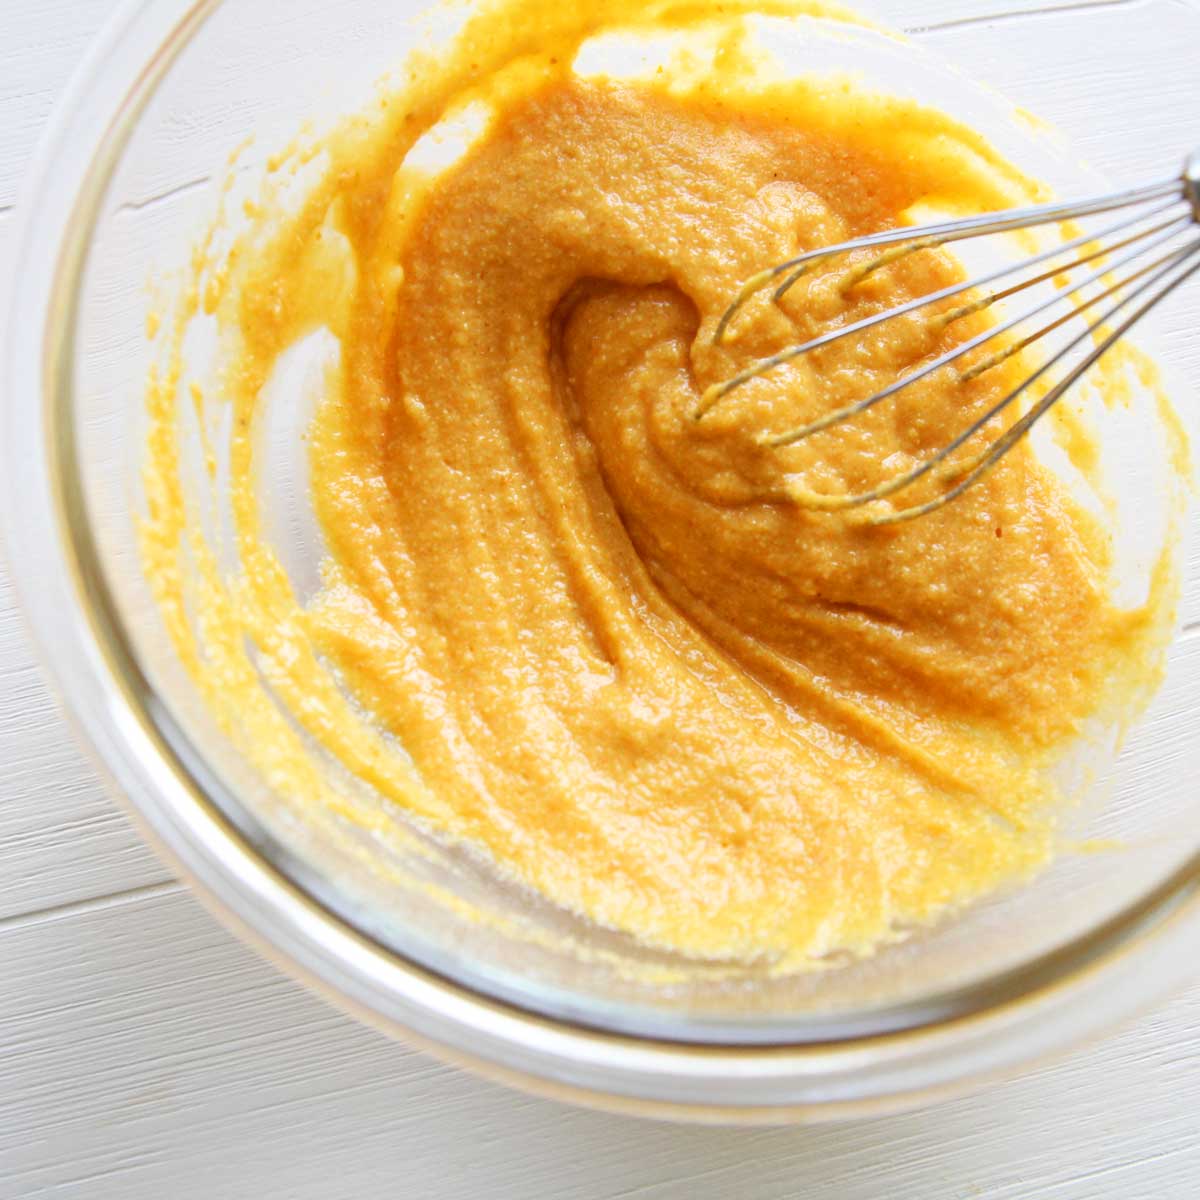
The batter will be slightly thick, and won't spread very well on the griddle
STEP 4
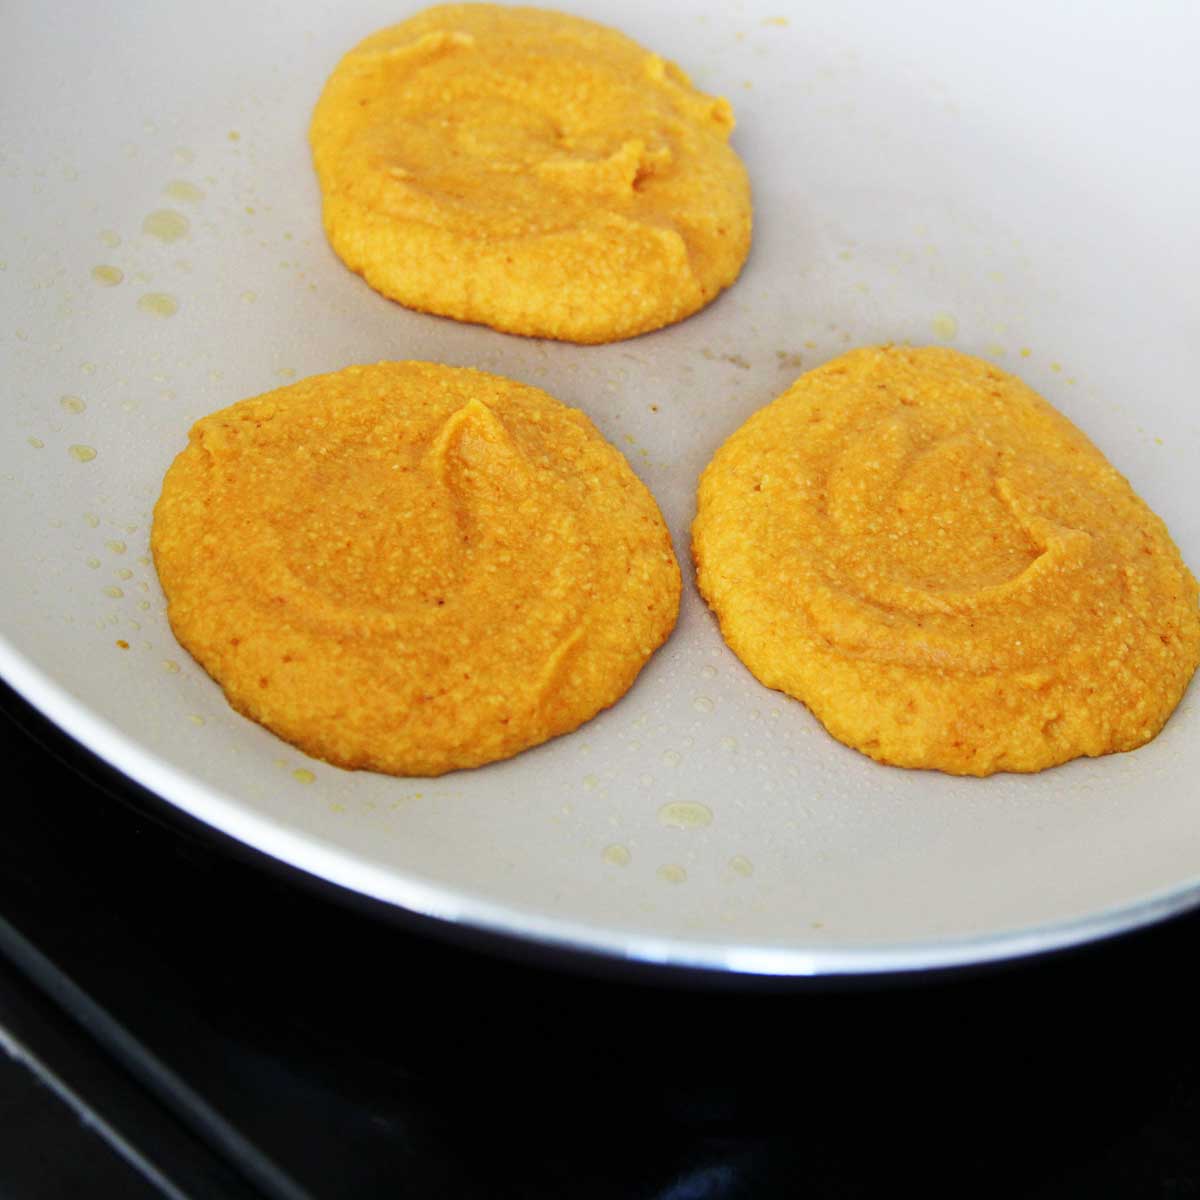
Cook pancakes over low-medium heat (full directions in the recipe card). You'll need to use a spoon or ladle to spread out the pancakes since they don't spread very well.
STEP 5
Repeat with the remaining batter
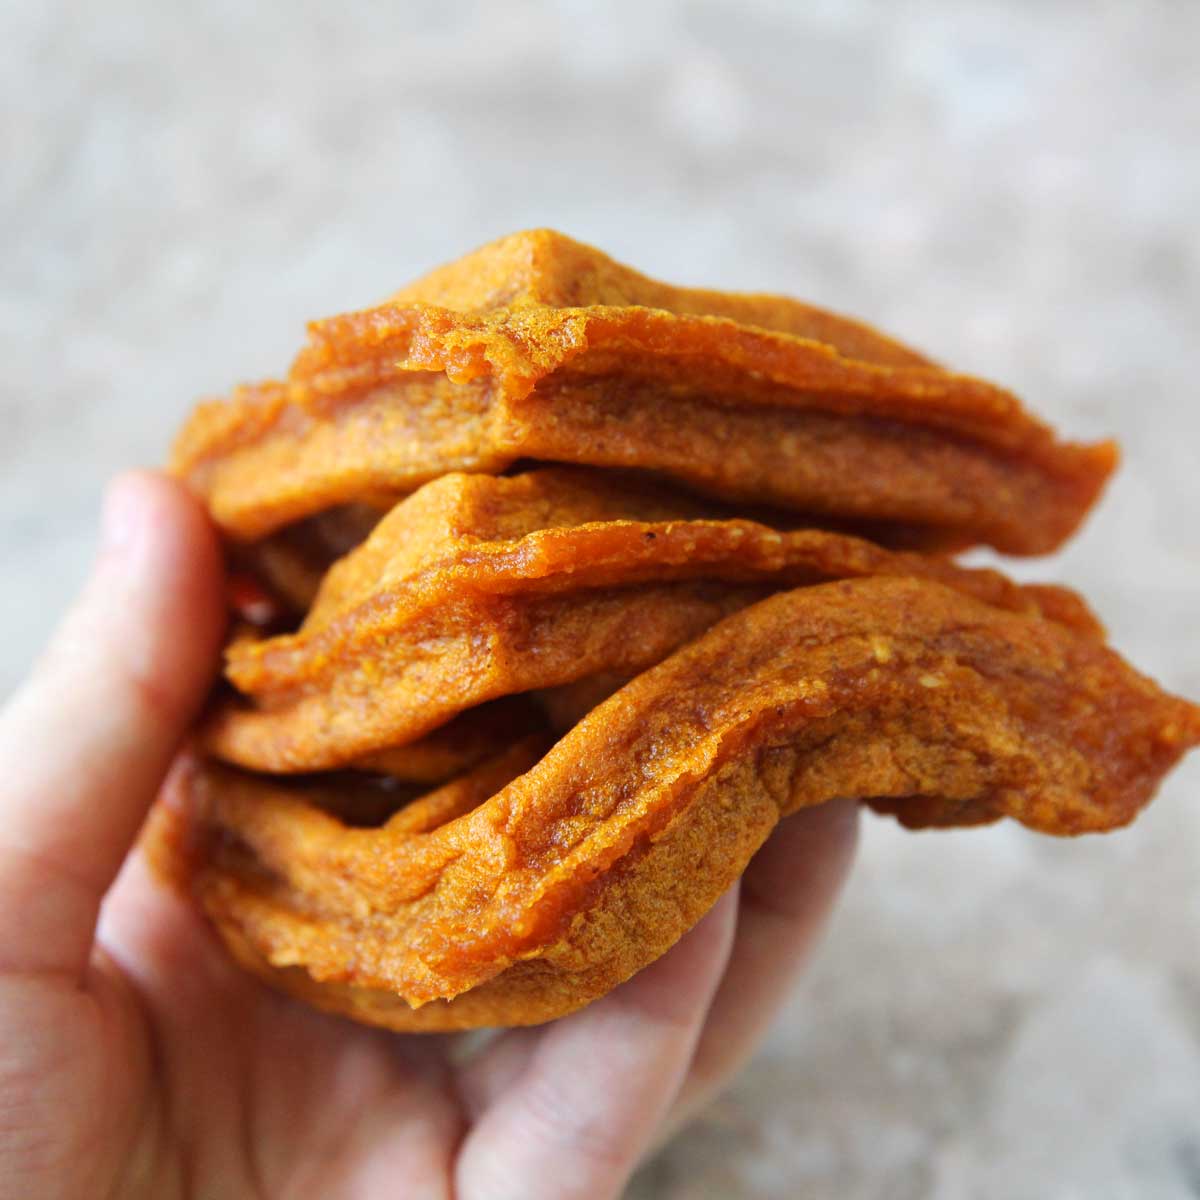
STEP 6
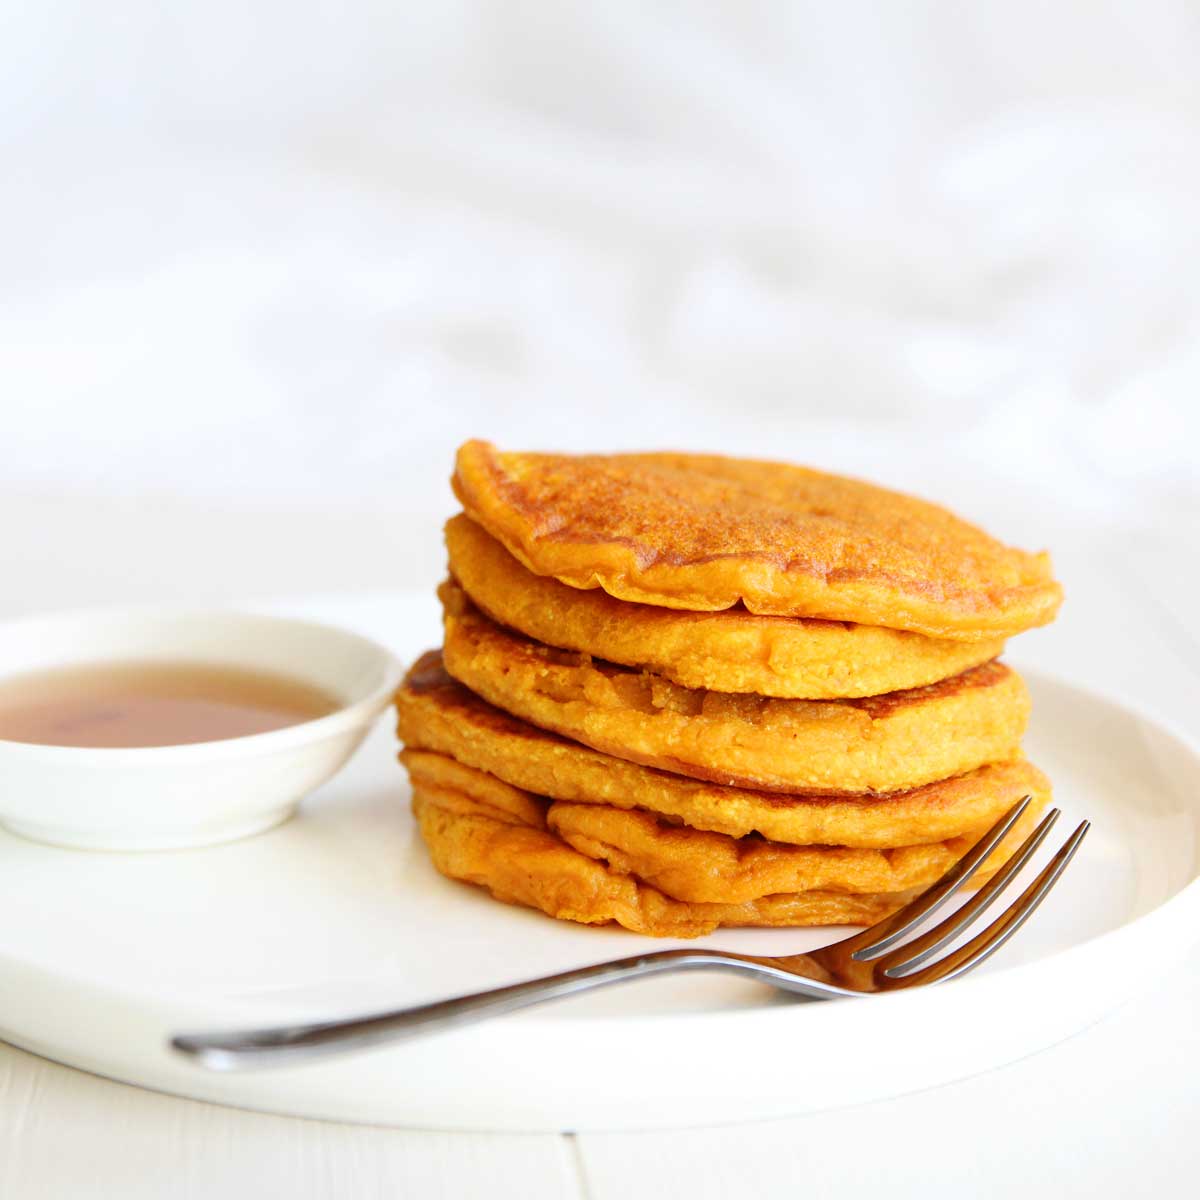
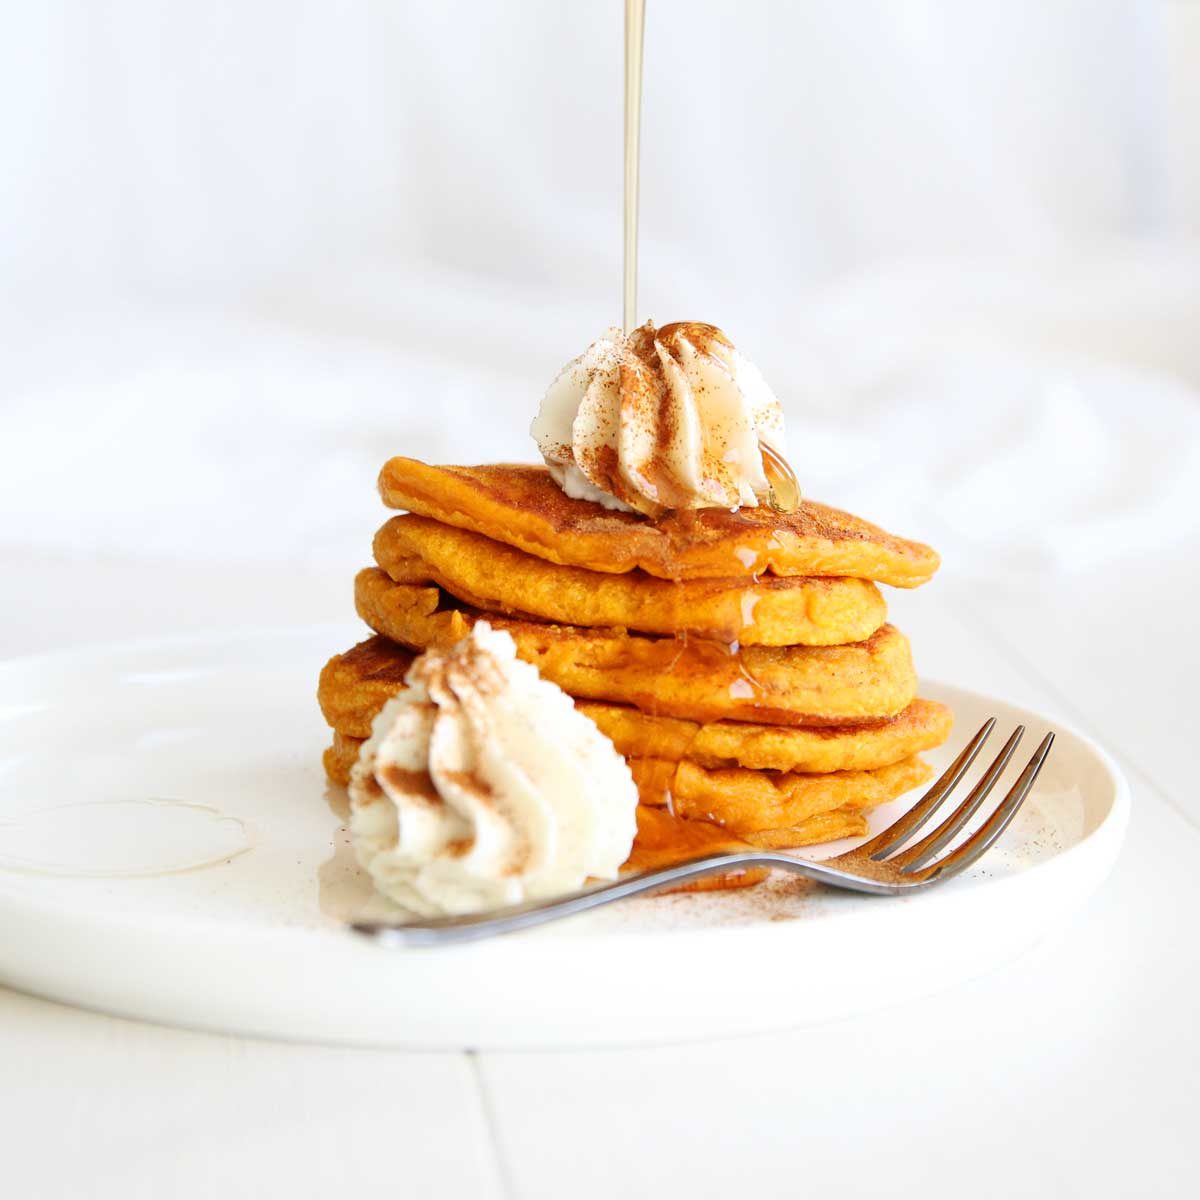
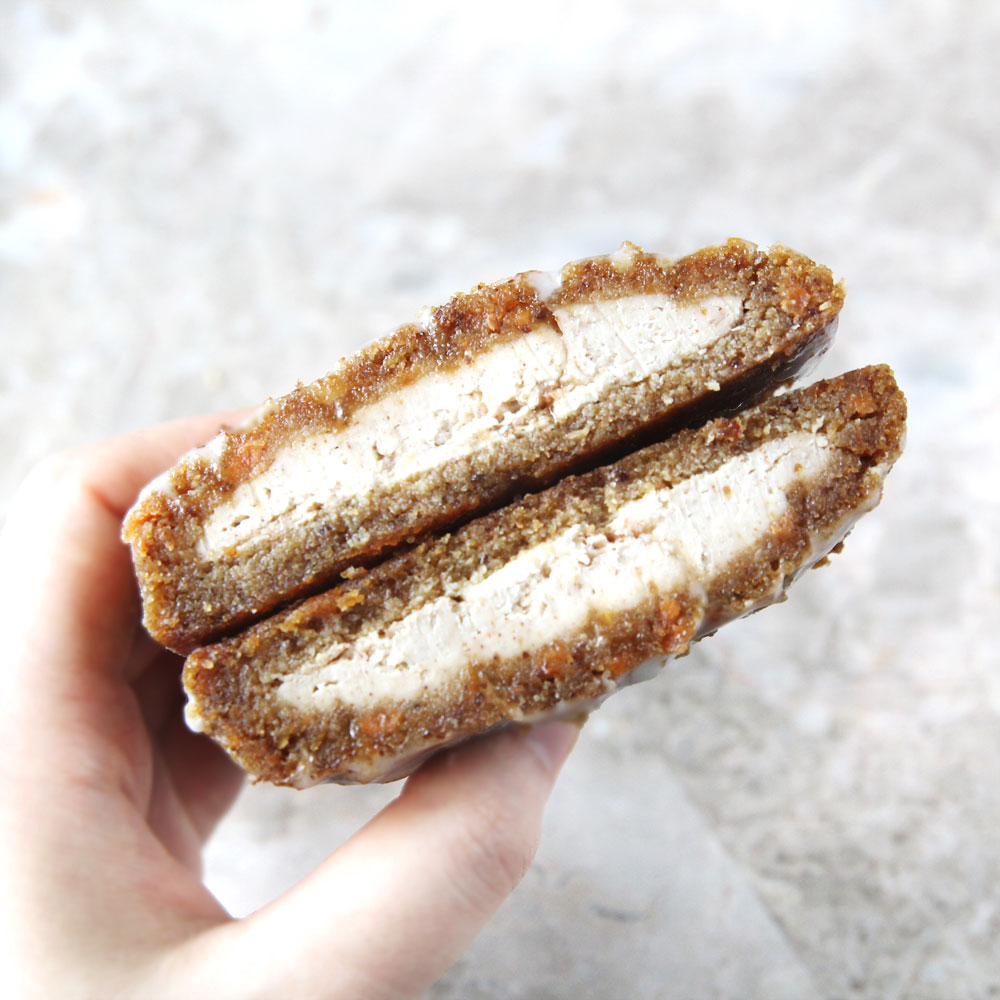
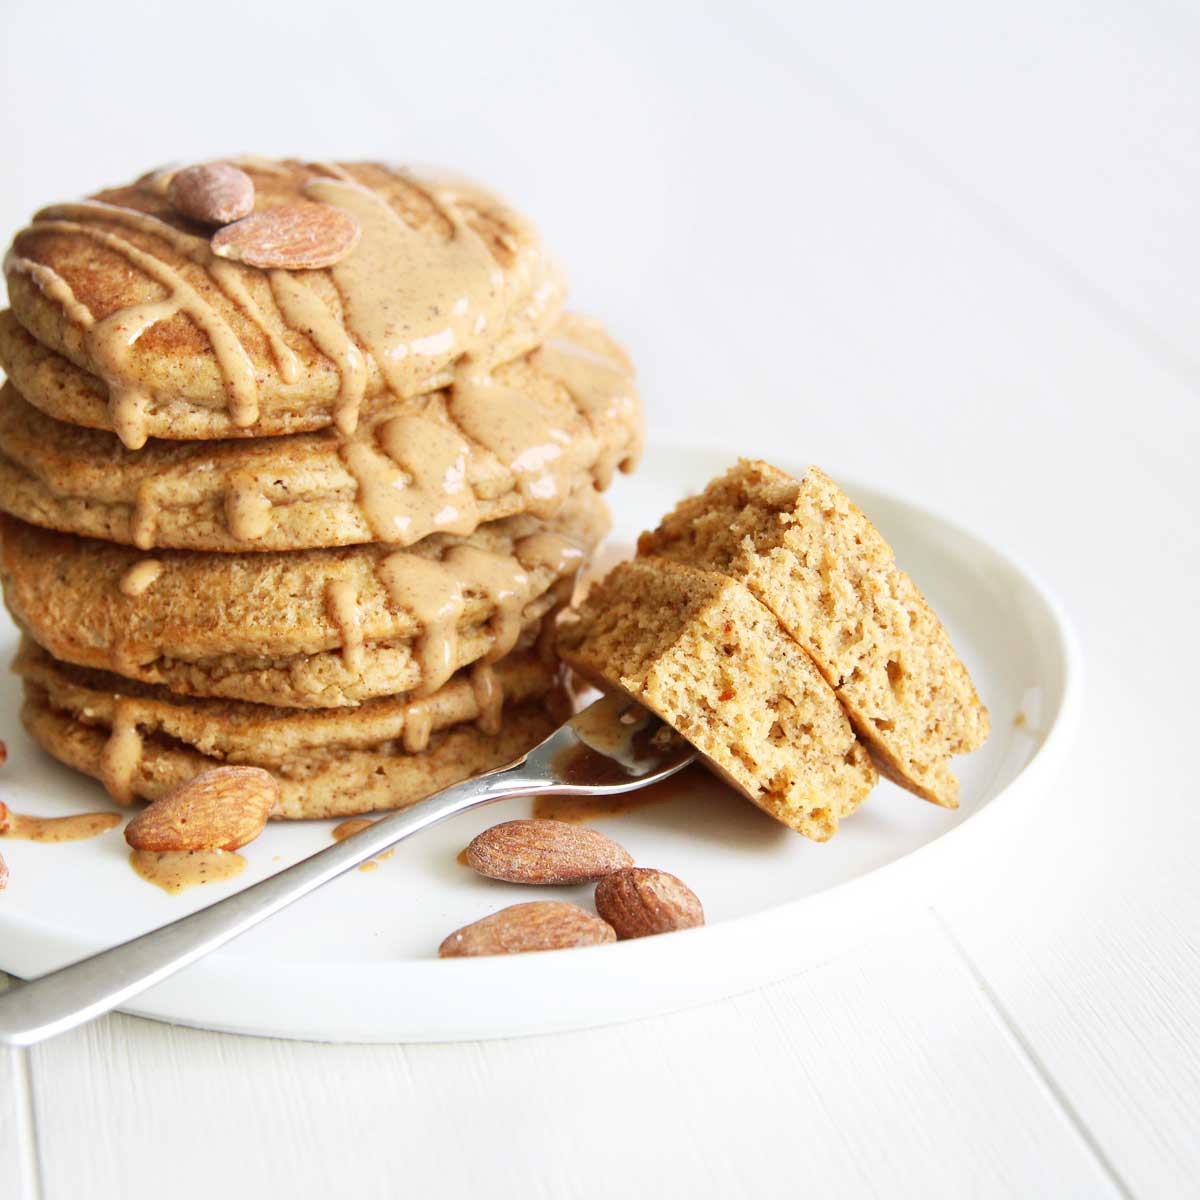
and stack 'em up!
STEP 7
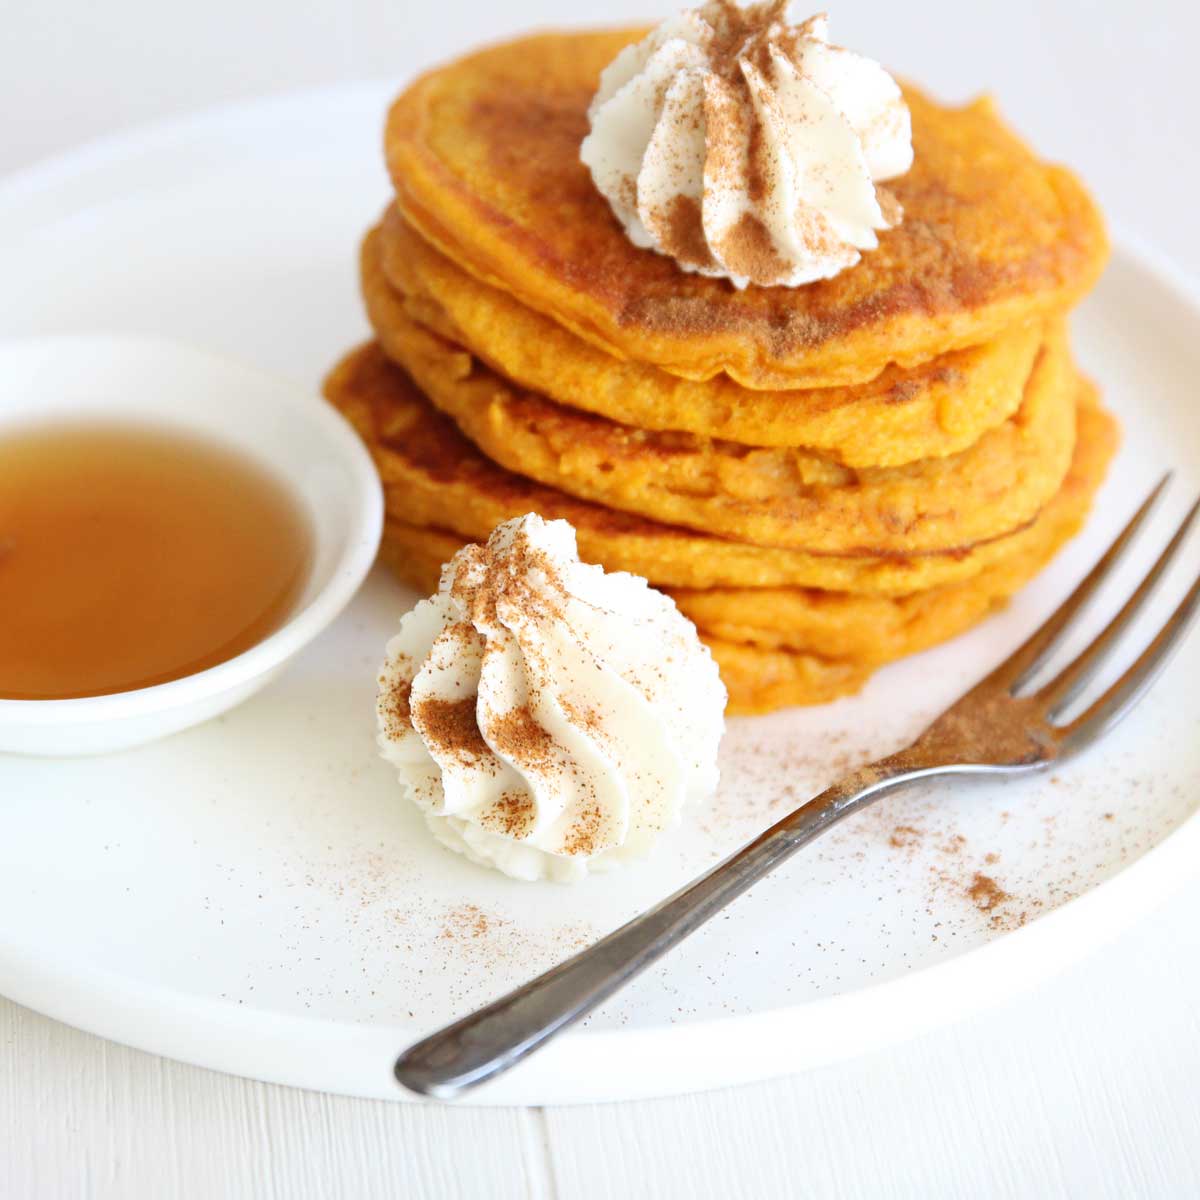
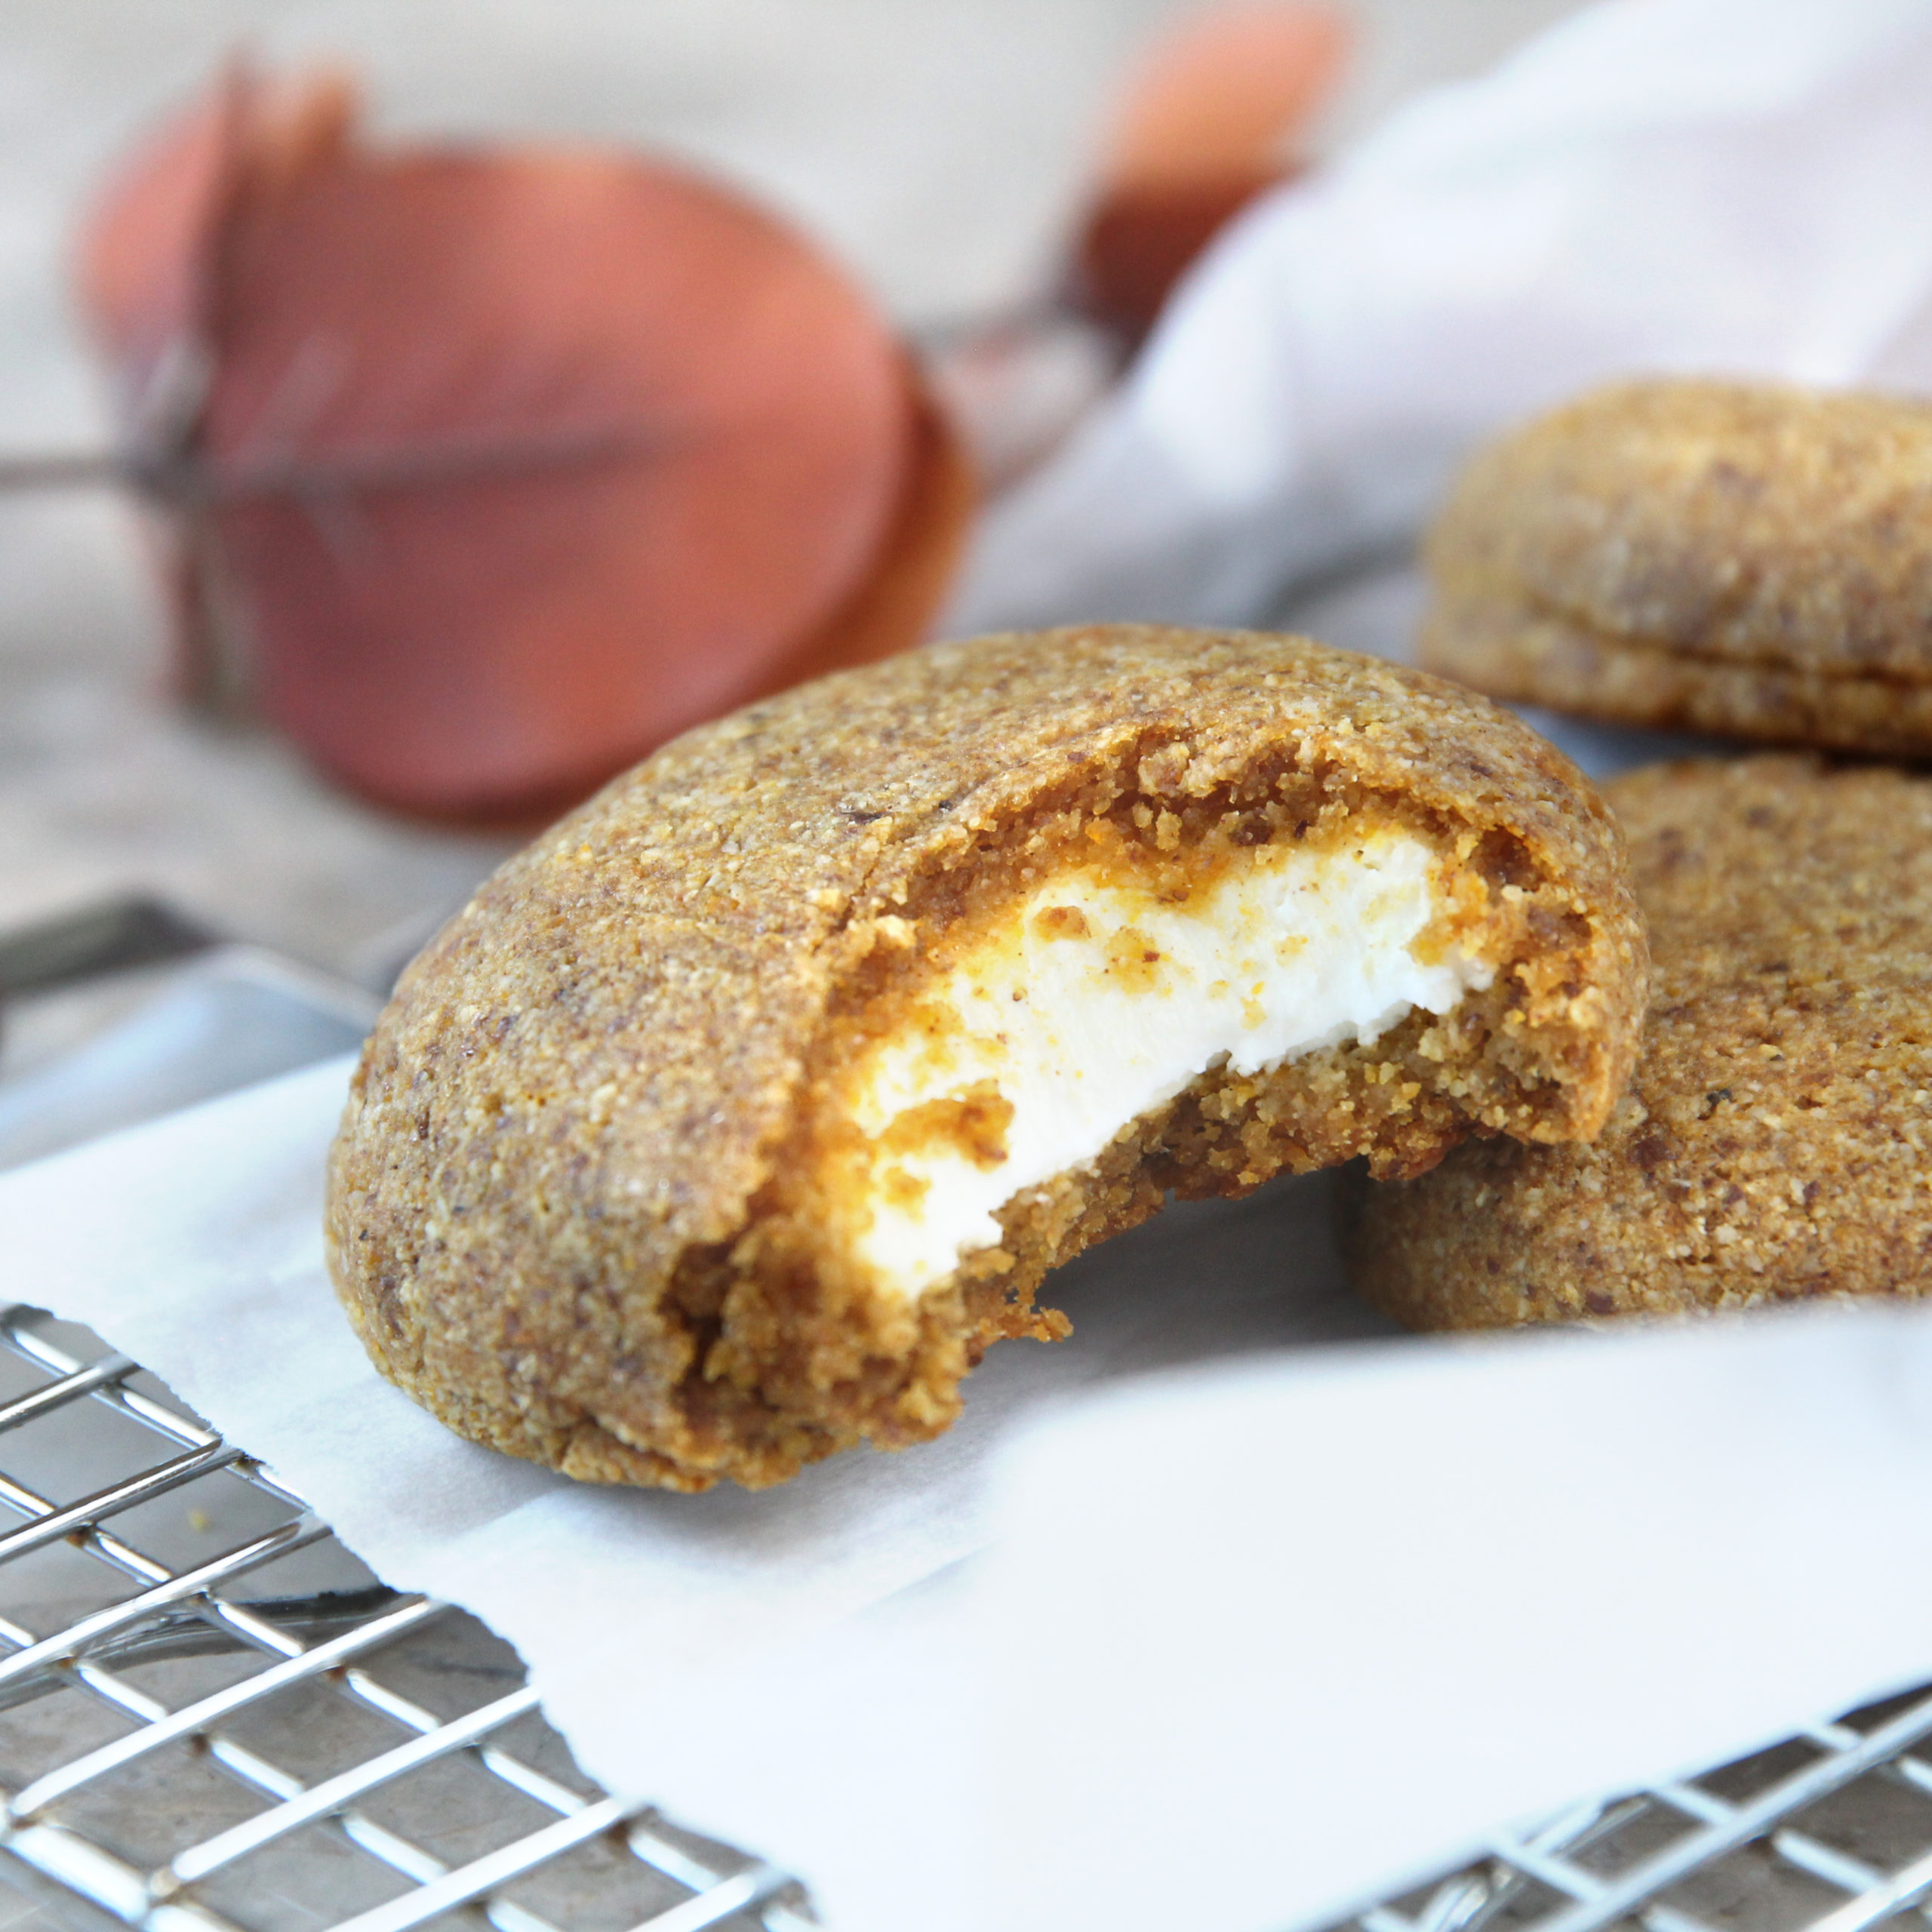
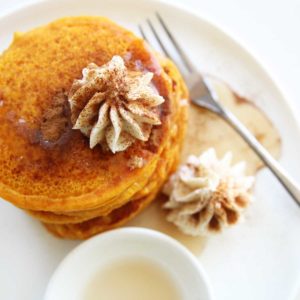
Top with almond yogurt frosting (recipe here), whipped cream, or cream cheese frosting
Recipe Variations and Optional Add Ins for Pumpkin Pancakes Using Collagen Peptides Protein Powder
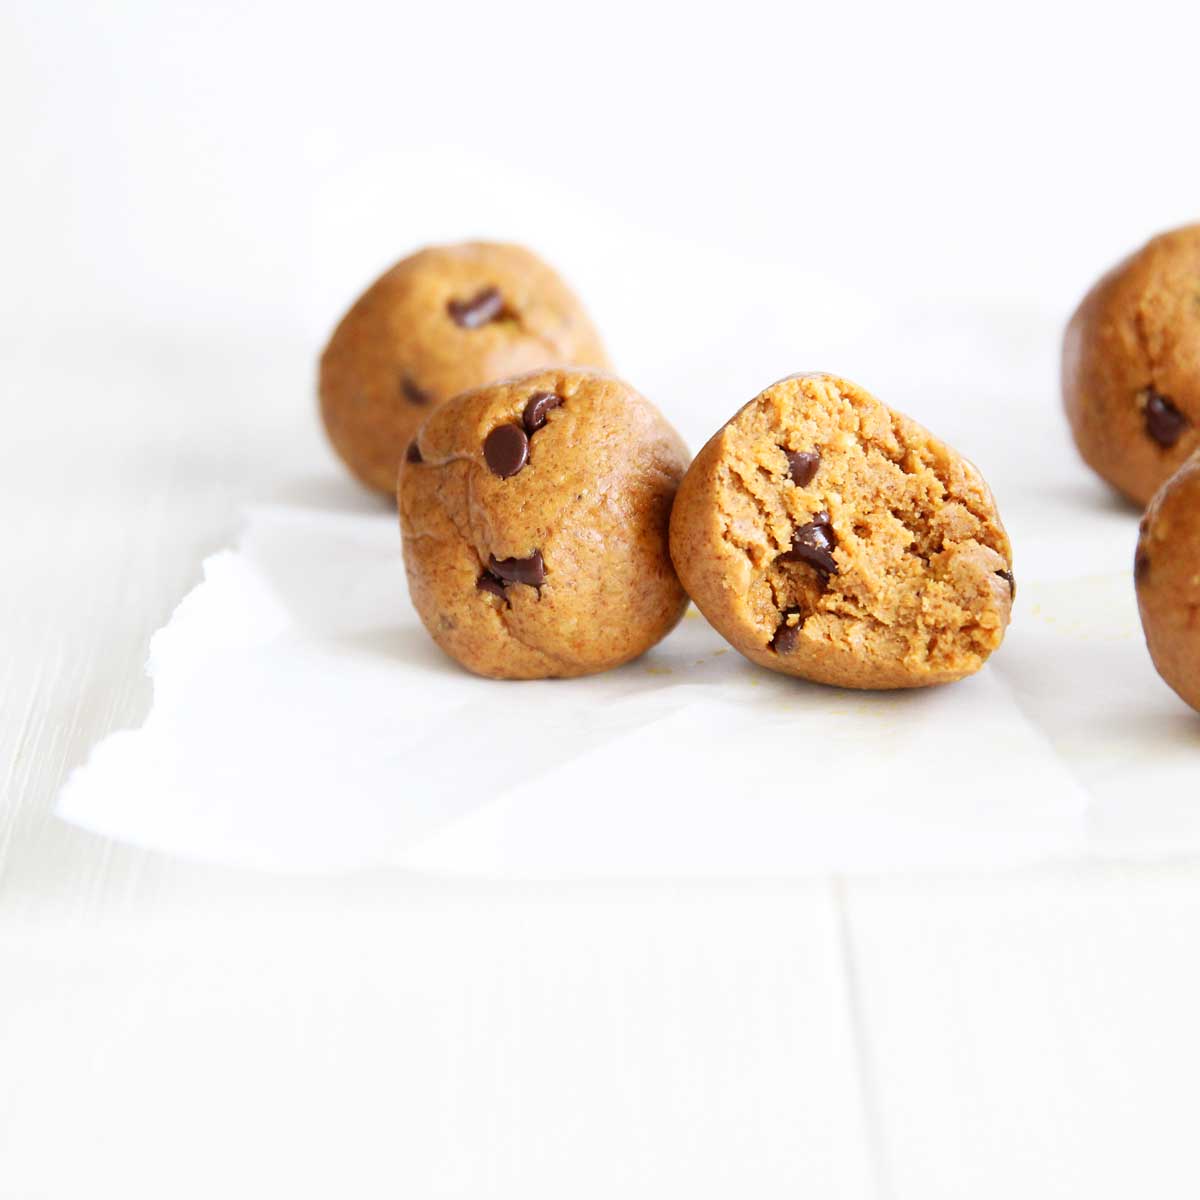
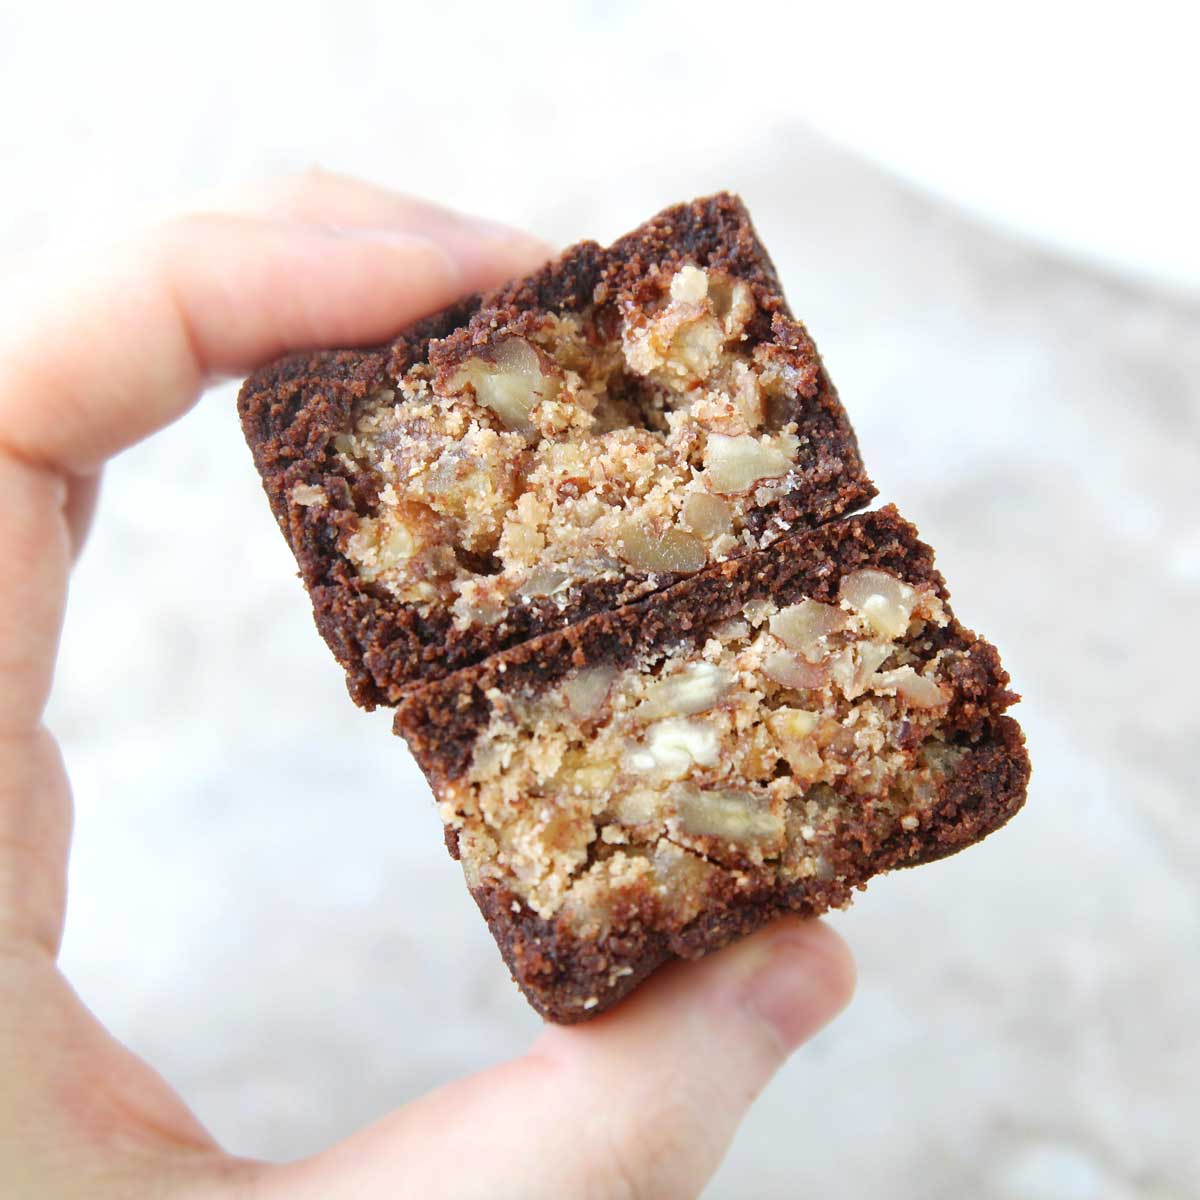
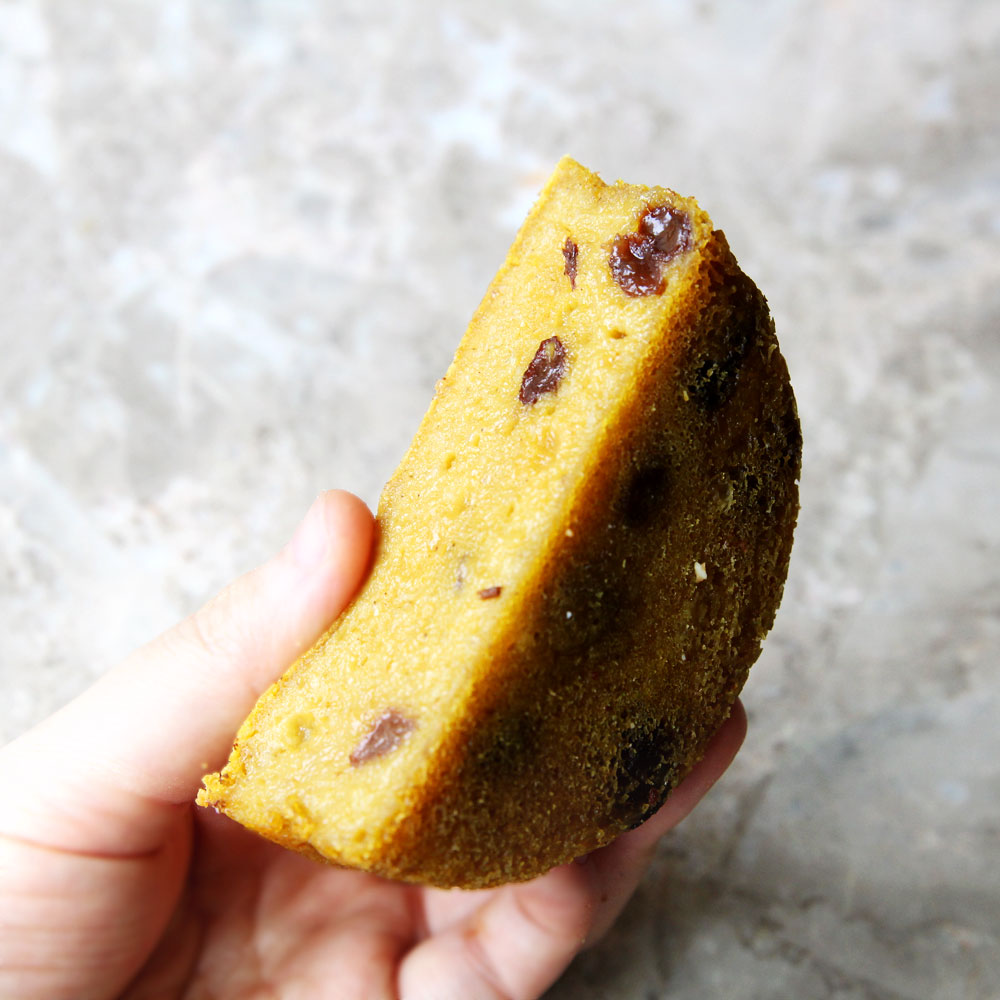
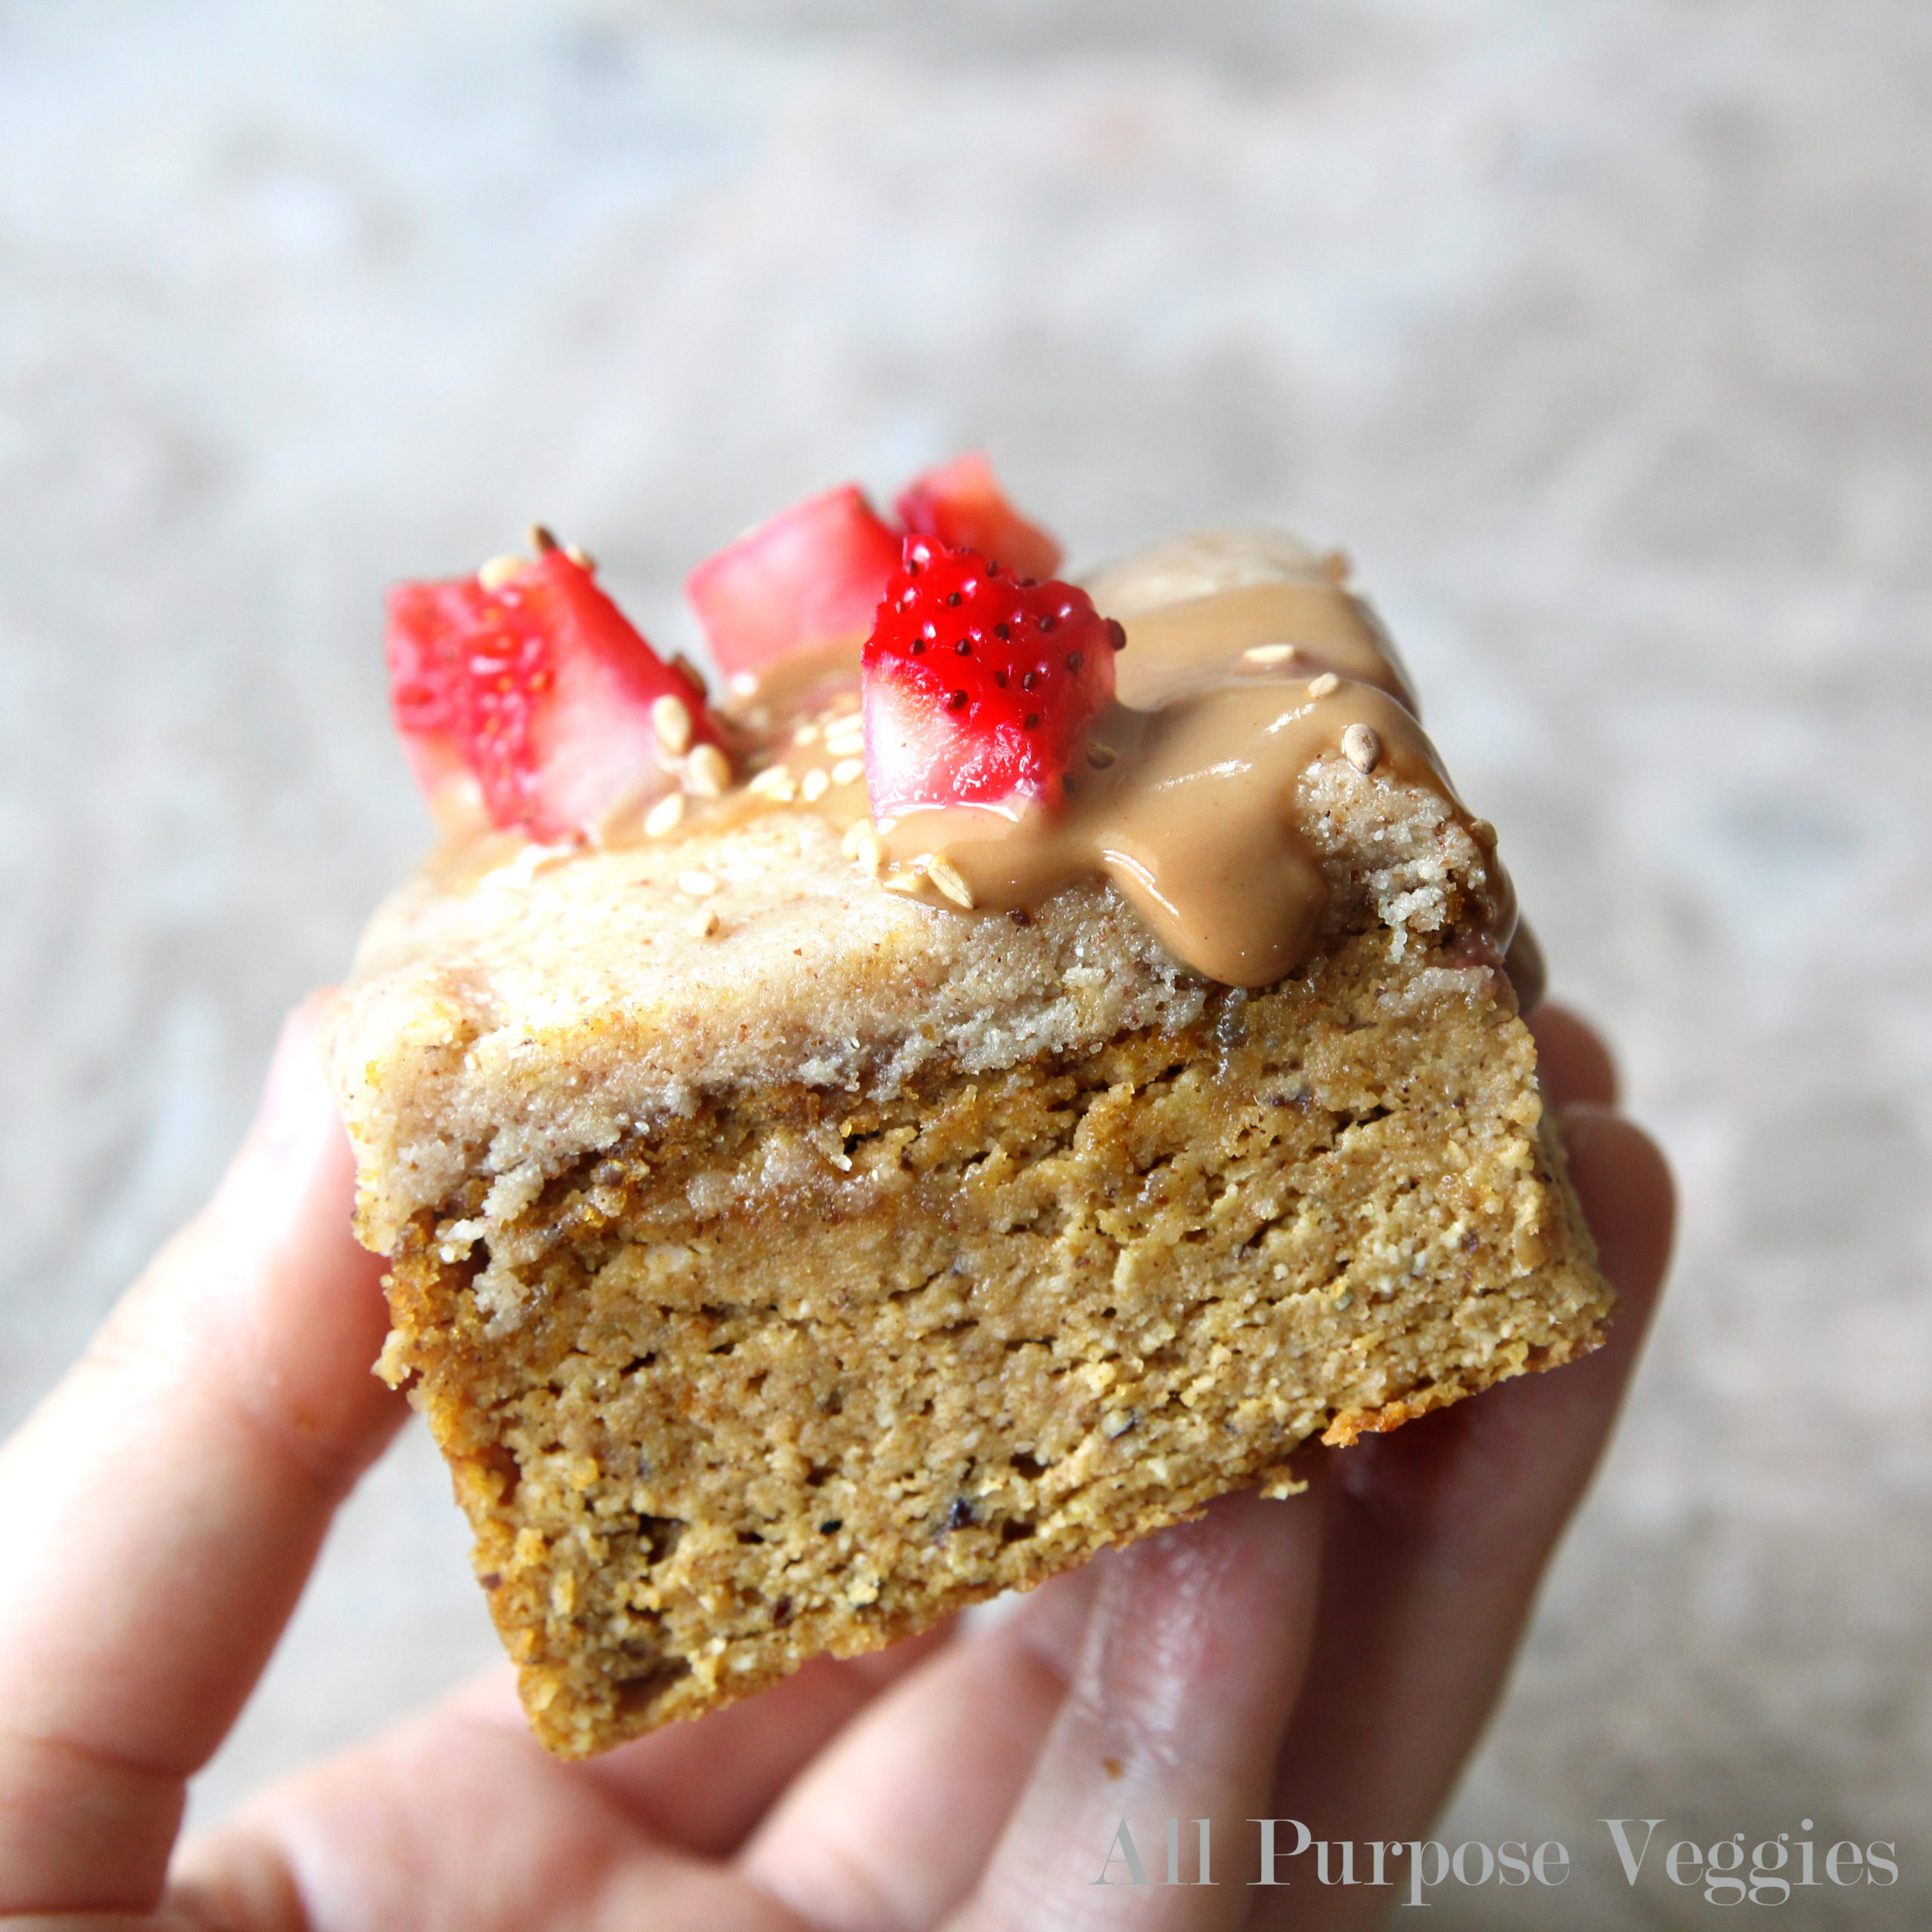
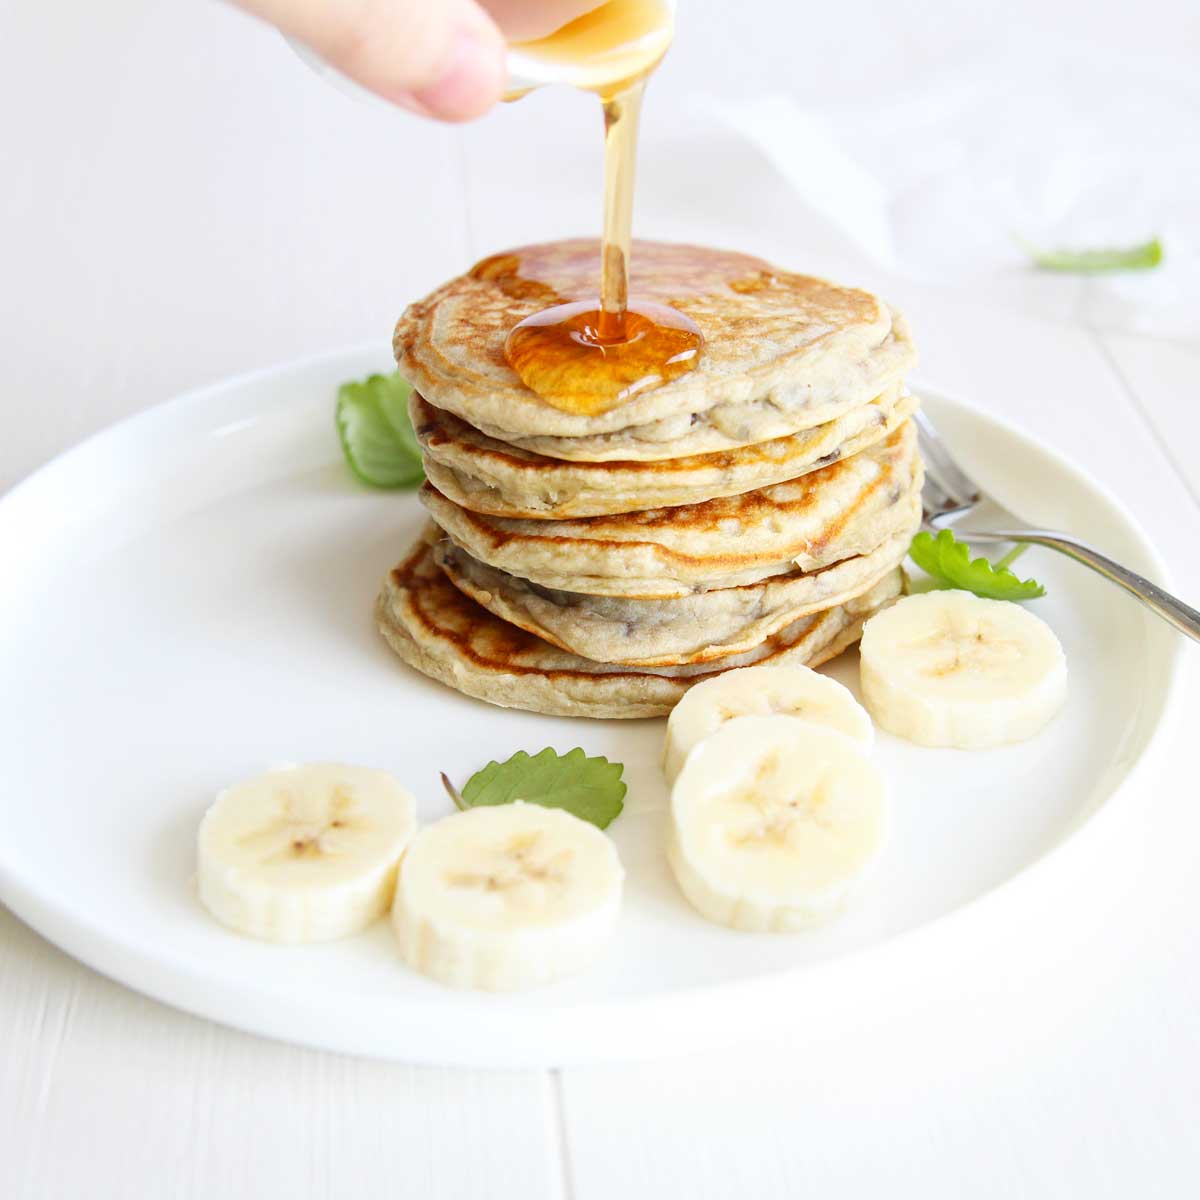
- You don’t have to keep this pancake batter plain. Feel free to add some chopped nuts, berries or chocolate chips to keep this recipe interesting.

How to Make this Pancake Recipe Healthier
- Make these pancakes even healthier by adding a tablespoon of nuts, seeds into the batter to add texture and nutrition.
- You can also reduce the sugar by half (this would make this less sweet), or substitute the sugar with a sugar-free substitute.
How to Store Pumpkin Collagen Pancakes
- It's best to eat these pancakes immediately and within 2-3 hours, but you can also store them covered in the fridge for up to 3 days and reheat them over a lightly greased skillet until warm.
- These pancakes can also be frozen up to 4 months. Make sure to freeze them in a single layer, or in between sheets of parchment paper, so that they aren't frozen in one big stack.
Final Tips
- Stay with medium-low heat! It's the secret to having evenly cooked pancakes without burning them.
- Use lid to cook slowly.
- Use a cookie scoop to dispense even amounts of batter onto your skillet. Also helps you get perfectly round shapes, not to mention how easier it is to place the batter at the exact spot you want it so that they’re spaced apart.
- Preheat the skillet/ pan first, and don't forget to lightly oil your pan to prevent sticking.
More Pancake Recipes (HERE)

Healthy Collagen Pumpkin Pancakes
Ingredients
- ¼ cup collagen peptides powder*
- 1 Tbsp coconut flour
- 1 Tbsp tapioca flour
- 1 Tbsp granulated sugar of choice**
- 1 tsp baking powder
- 1 large egg
- ⅓ cup pumpkin puree
- ½ tsp cinnamon powder
Instructions
- In a clean bowl, mix all the dry ingredients together (the flours, sugar, baking powder)
- Add the wet ingredients (eggs, oil, puree) and mix until smooth. The batter will be slightly thick.
- To cook pancakes, heat a skillet, or griddle over medium low heat***
- Lightly grease the pan with olive oil, butter, or spray oil.
- Using a ⅓ cup measuring cup or a portion scoop (i.e. cookie scoop), drop 2-3 rounds of batter onto the skillet, with some space in between for the pancake batter to spread.
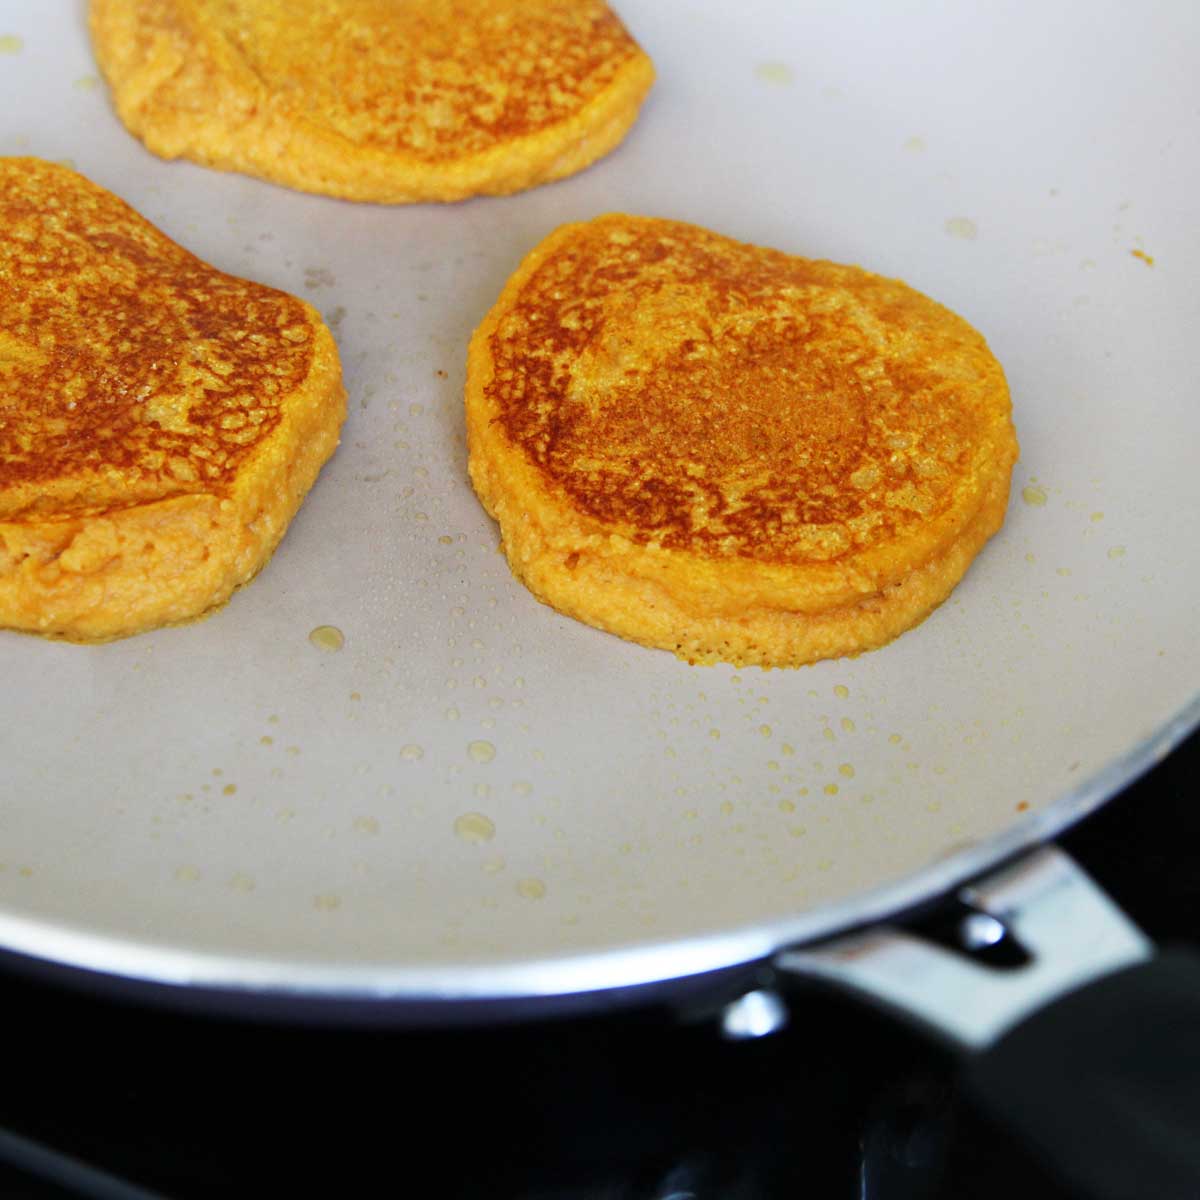
- For best results, cover with a lid and cook for about 1-2 minutes until you see bubbles forming on top.
- Flip the pancakes carefully using a thin and flexible spatula. Press down lightly with a spatula if the pancakes have not spread much
- Cook for a couple more minutes until the center of the pancakes are cooked through
- Repeat with the remaining batter.
- Top with almond yogurt frosting (recipe here), whipped cream, or cream cheese frosting
Notes
1. Stay with medium-low heat! It's the secret to having evenly cooked pancakes without burning them.
2. Use lid to cook slowly.
3. Use a cookie scoop to dispense even amounts of batter onto your skillet. Also helps you get perfectly round shapes, not to mention how easier it is to place the batter at the exact spot you want it so that they’re spaced apart.
4. Preheat frying pan first, and don't forget to lightly oil your pan to prevent sticking.


Leave a Reply